Understanding Peel and Stick Subway Tiles
Benefits and Features
- Quick and Easy Installation: No need for messy grout or mortar.
- Cost-Effective: Budget-friendly option compared to traditional tiles.
- Versatile Design: Wide range of styles, colors, and patterns.
In August 2025, homeowners continue to seek innovative and efficient ways to refresh their living spaces. Peel and stick subway tiles remain a top choice, offering a hassle-free method to revamp your kitchen with minimal effort and maximum style. Unlike traditional tiles, they eliminate the need for messy grout or mortar, saving both time and labor costs. Imagine achieving a stunning kitchen makeover without the typical complexities of tile installation, all while staying well within your budget. This article was recently updated to ensure its timeliness and accuracy.
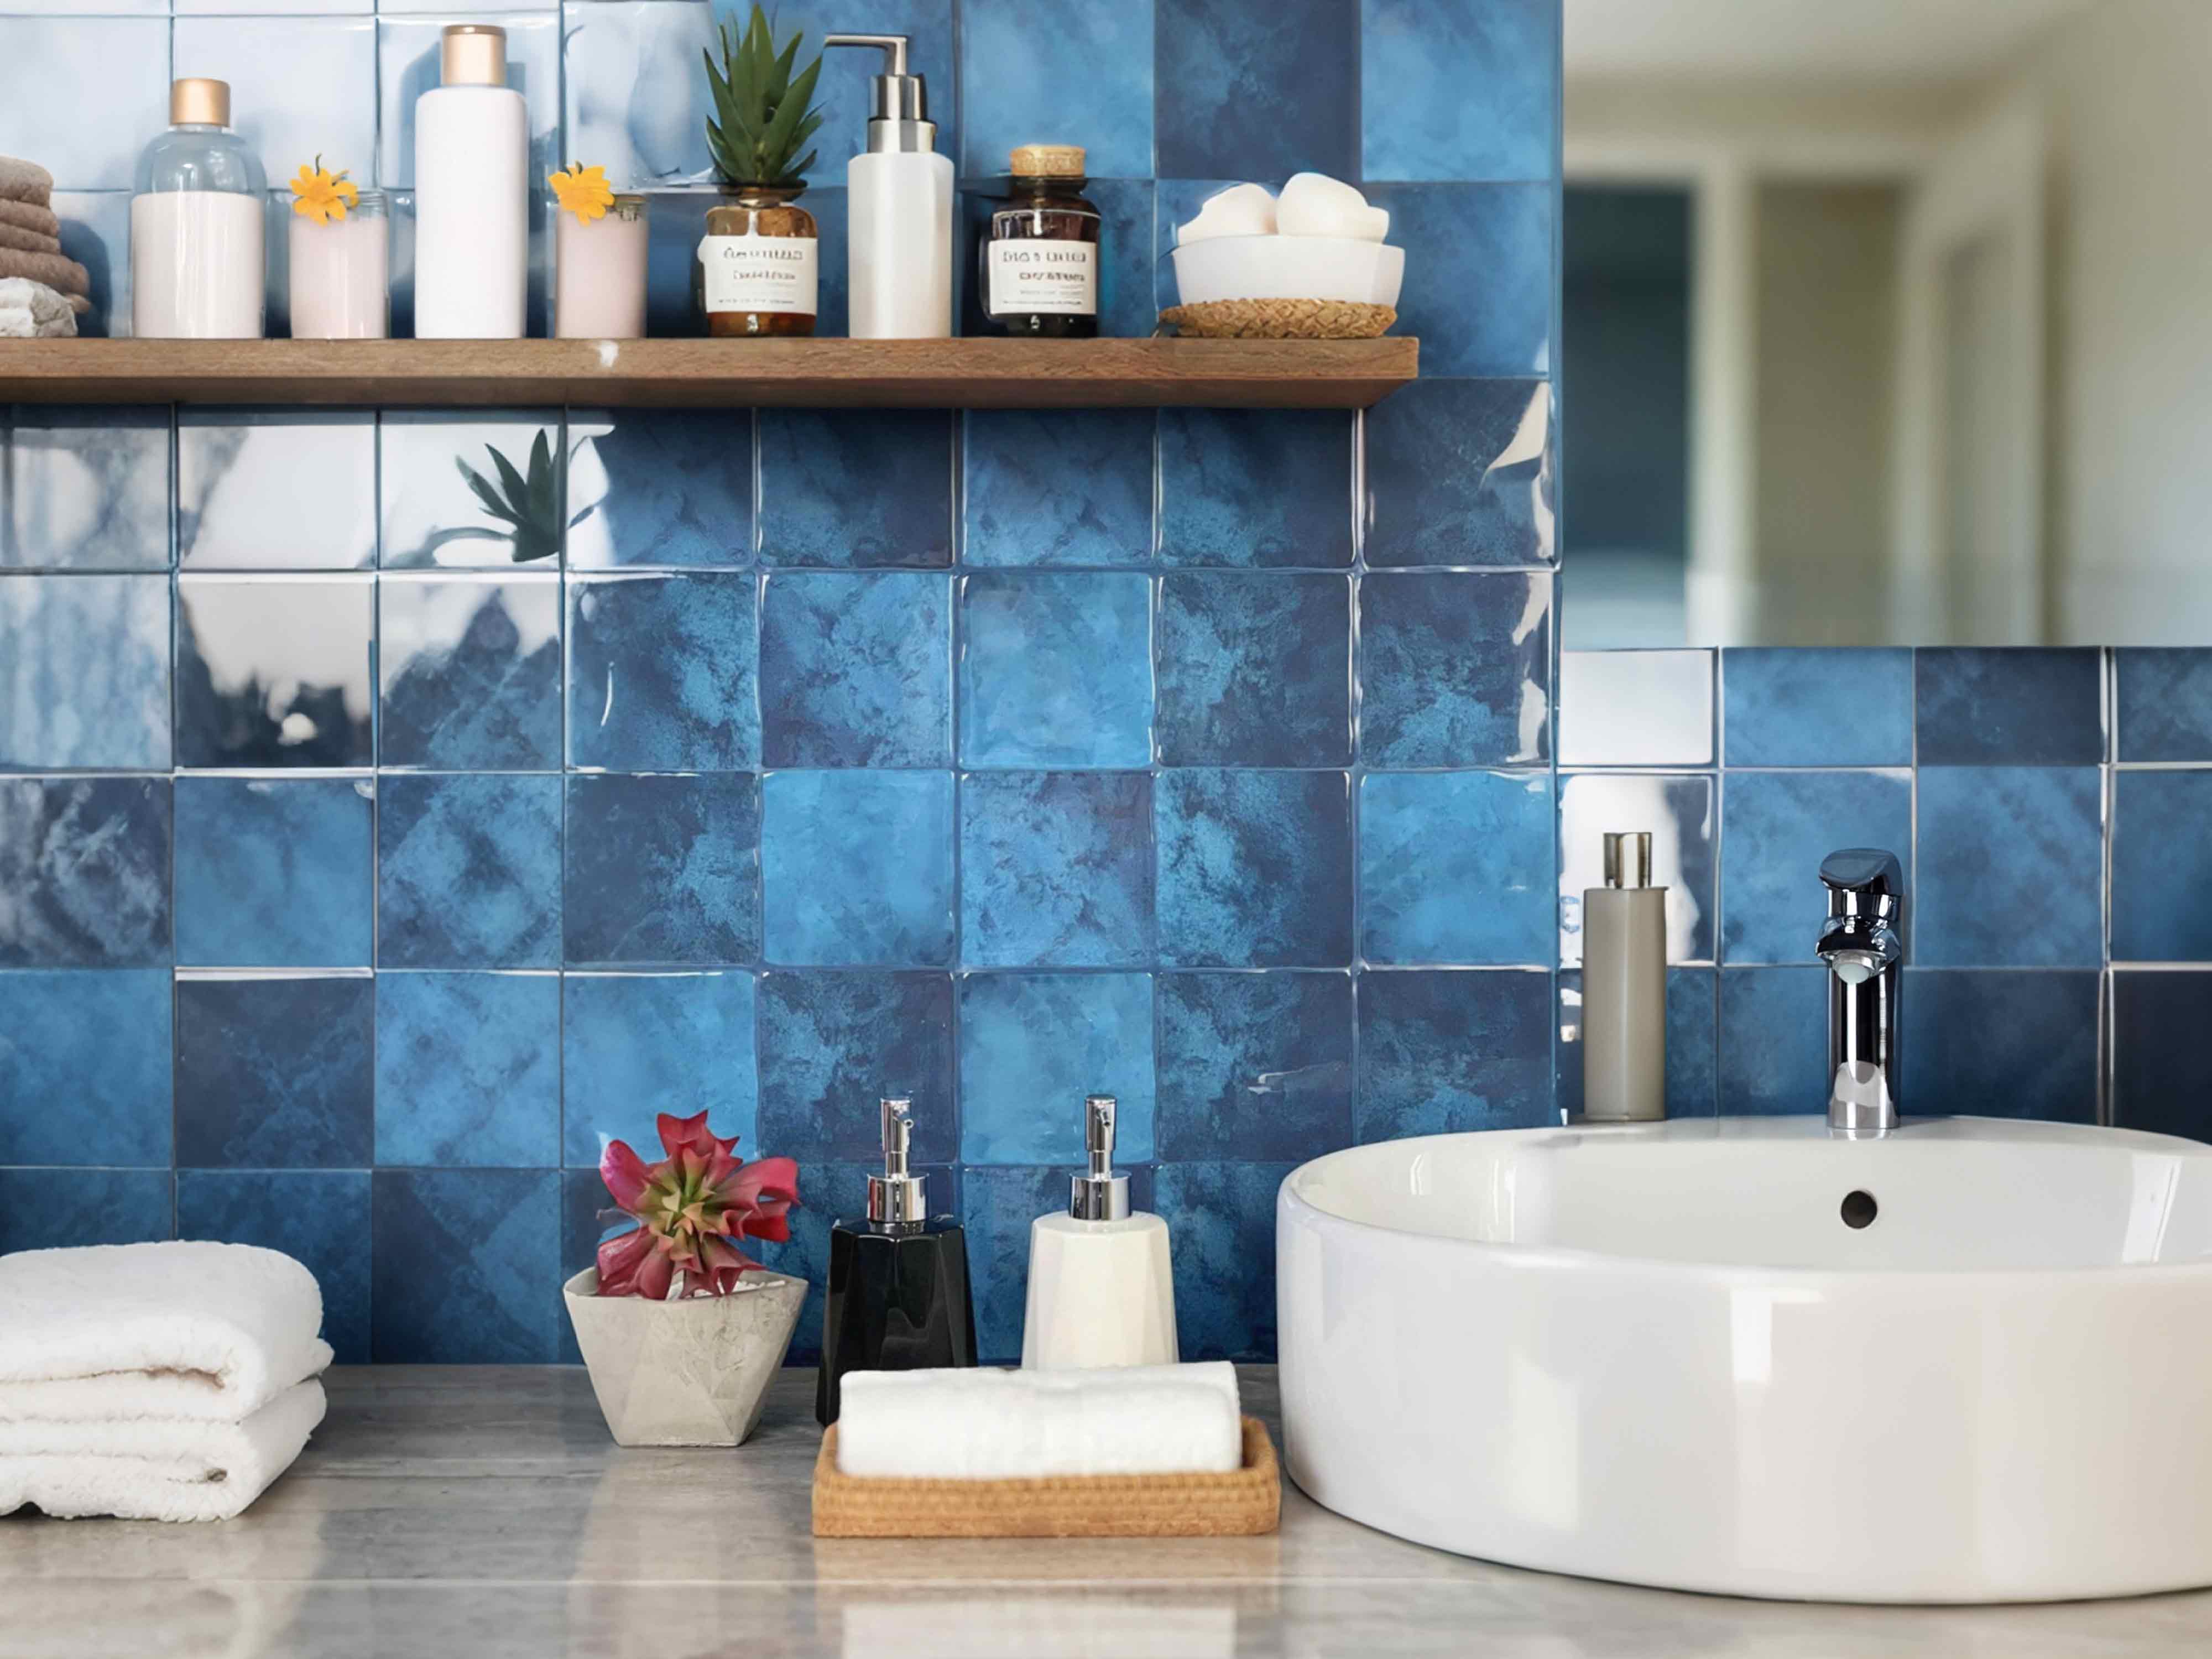
These tiles aren’t just practical; they’re also versatile. With a variety of styles, colors, and patterns, you can easily find the perfect match for your kitchen’s aesthetic. Whether you prefer classic white tiles or something more daring like the Stickwoll Crimson Horizon, the options are endless.
Materials and Texture Options
- PVC and Vinyl: Durable and resistant to moisture.
- Gel and Epoxy Coatings: Offer a glossy finish.
- Marble and Stone Look-alikes: Achieve a luxurious look without the cost.
Peel and stick subway tiles come in different materials, each with its unique perks. PVC and vinyl options are popular because they’re durable and handle moisture well. This makes them ideal for kitchens where spills and splashes are common.
For those aiming for a luxurious feel, tiles with gel or epoxy coatings provide a glossy finish that mimics more expensive materials. If you want the look of marble without the heavy price tag, check out Stickwoll’s Marble Peel and Stick Tiles. These options prove that chic design doesn’t have to break the bank.
Comparative Cost Analysis with Traditional Tiles
- Lower Material Costs: Significantly cheaper than ceramic or stone.
- Reduced Labor Costs: DIY installation means no professional fees.
- Minimal Maintenance Costs: Easy to clean and maintain over time.
When it comes to affordability, peel and stick tiles stand out. Traditional tiles often require costly materials and professional installation, which can add up quickly. Peel and stick alternatives, however, allow you to do it yourself, cutting down on labor costs.
Maintenance is also a breeze. Unlike traditional tiles that may need regular sealing or grout cleaning, peel and stick tiles require minimal upkeep. A simple wipe-down is enough to keep them looking fresh.
Modern Kitchen Design with Peel and Stick Tiles
Popular Patterns and Styles
- Herringbone and Chevron: Add visual interest and depth.
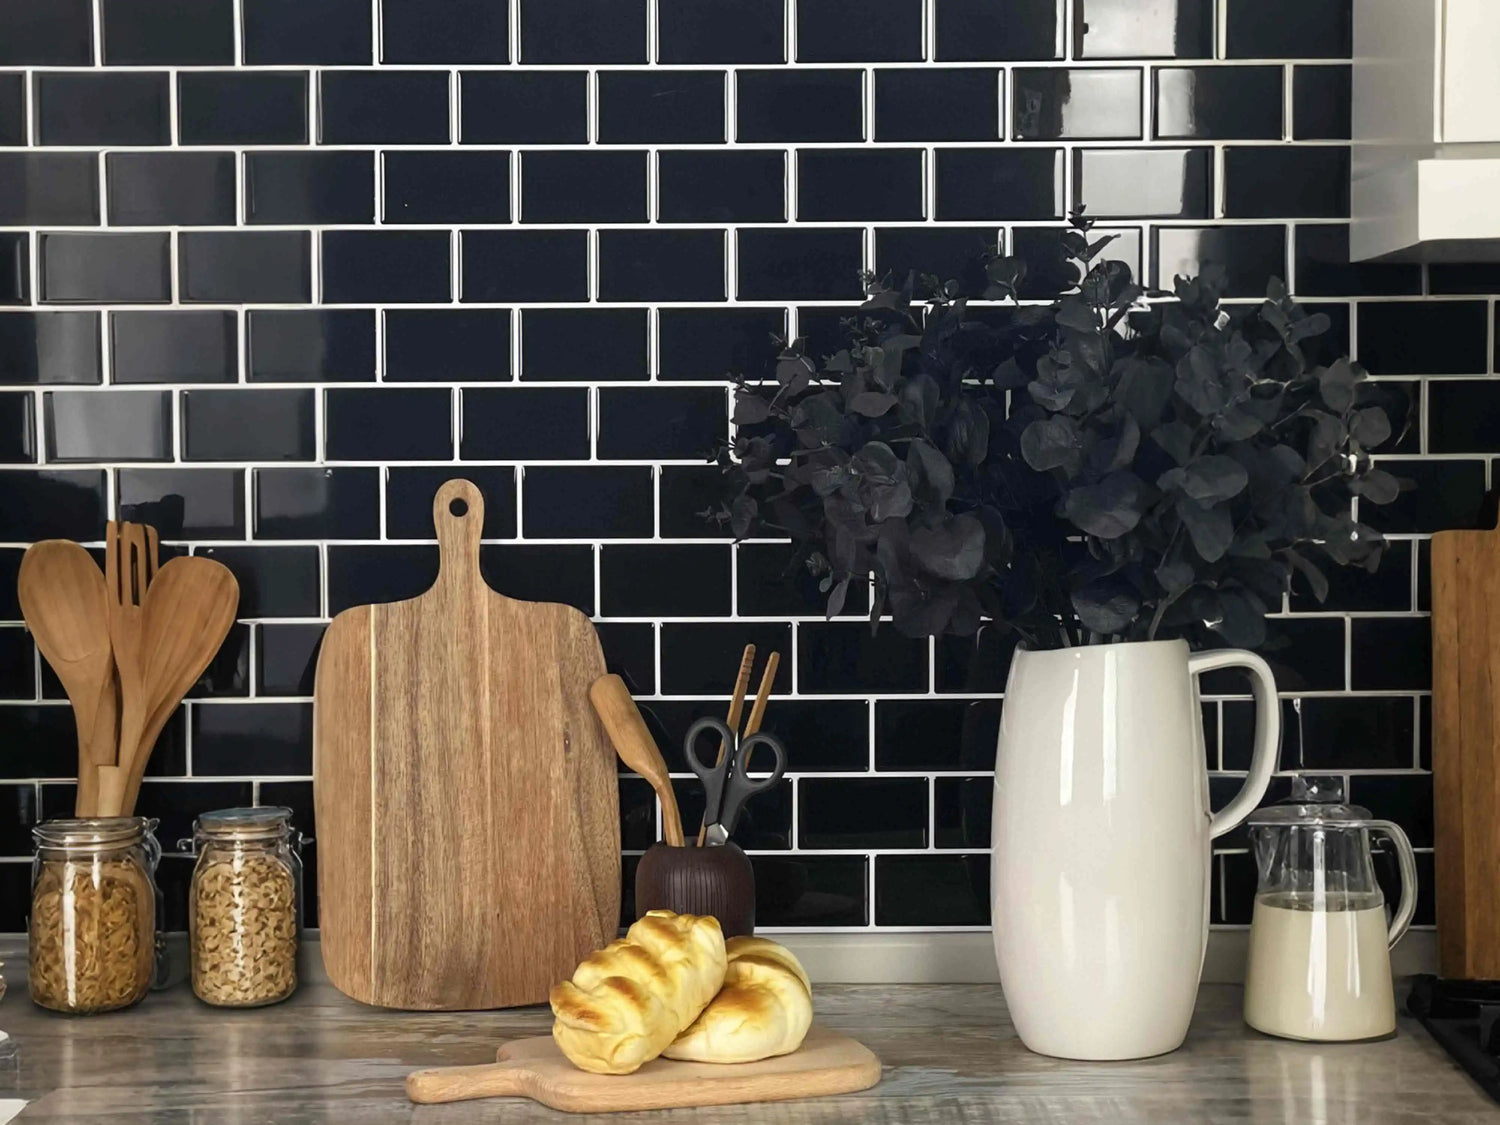
- Brick and Metro Patterns: Timeless and versatile for various decors.
- Mosaic and Geometric Designs: Modern and eye-catching.
Modern kitchen design is all about combining style with function, and peel and stick subway tiles deliver both. Consider patterns like herringbone or chevron to add a touch of sophistication to your space. These designs create visual interest and make your kitchen feel more dynamic.
If you’re after a classic look, brick and metro patterns are timeless choices that suit various decor styles. And for those who love a bold statement, mosaic and geometric designs are perfect. They turn your backsplash into a piece of art, transforming the entire room.
Color Palettes to Suit Various Themes
- Monochrome and Neutral Tones: Elegant and understated.
- Bright and Bold Colors: Liven up the kitchen with vivid hues.
- Metallic and Glossy Finishes: Add a touch of glamour.
Choosing the right color palette is crucial when designing your kitchen. Monochrome and neutral tones are elegant and understated, creating a calm and inviting atmosphere. They’re perfect if you’re aiming for a minimalist look.
On the other hand, bright and bold colors can liven up your kitchen, making it a vibrant space for cooking and socializing. If you’re feeling adventurous, metallic and glossy finishes add a touch of glamour and modernity.
Creating a Focal Point with Tile Design
- Accent Walls: Use tiles to highlight a specific area.
- Mix and Match Patterns: Combine styles for a unique look.
- Feature Backsplashes: Draw attention with striking designs.
Creating a focal point is a great way to enhance your kitchen’s design. Accent walls, for instance, can be achieved by using peel and stick tiles in a bold pattern or color. This draws the eye and adds personality to your space.
Mixing and matching patterns is another way to create a captivating look. Combining different styles can result in a unique design that’s all your own. And don’t underestimate the power of a feature backsplash. A striking tile design behind the stove or sink can become the centerpiece of your kitchen.
Installation Process Made Simple
Step-by-Step Guide to Applying Tiles
- Prepare the Surface: Clean and dry the wall.
- Plan the Layout: Measure and mark the area.
- Apply the Tiles: Peel, stick, and press firmly.
Installing peel and stick subway tiles is straightforward. First, make sure your wall is clean and dry, removing any dust or grease. This ensures that the tiles adhere properly.
Next, plan your layout. Measure the area and mark where each tile will go. This helps avoid mistakes and ensures a professional finish. Finally, peel the backing off the tiles, stick them onto the wall, and press firmly to secure them in place.
Tips for Ensuring a Flawless Finish
- Use a Level: Keep lines straight and even.
- Work Slowly: Take your time for best results.
- Trim Excess: Use a utility knife for clean edges.
To achieve a flawless finish, use a level to keep your lines straight and even. This is especially important for larger areas where uneven lines are more noticeable.
Working slowly and methodically is key. Rushing can lead to mistakes, so take your time to ensure each tile is perfectly placed. If there are any excess edges, trim them with a utility knife for a clean look.
Maintenance and Longevity Tips
- Regular Cleaning: Wipe with a damp cloth to remove dirt.
- Avoid Harsh Chemicals: Use mild cleaners to prevent damage.
- Inspect and Repair: Check tiles periodically for any lifting.
Maintaining peel and stick tiles is simple. Regularly wipe them down with a damp cloth to remove dirt and keep them looking new. Avoid using harsh chemicals, as these can damage the adhesive or the tile surface.
Periodically inspect your tiles to ensure they’re still firmly in place. If you notice any lifting or peeling, address it promptly to maintain their longevity. For more detailed care tips, check out our Peel and Stick Tile Maintenance Guide.
From Classic to Contemporary
Traditional Subway Tile Patterns
- Horizontal Layout: Timeless and simple.
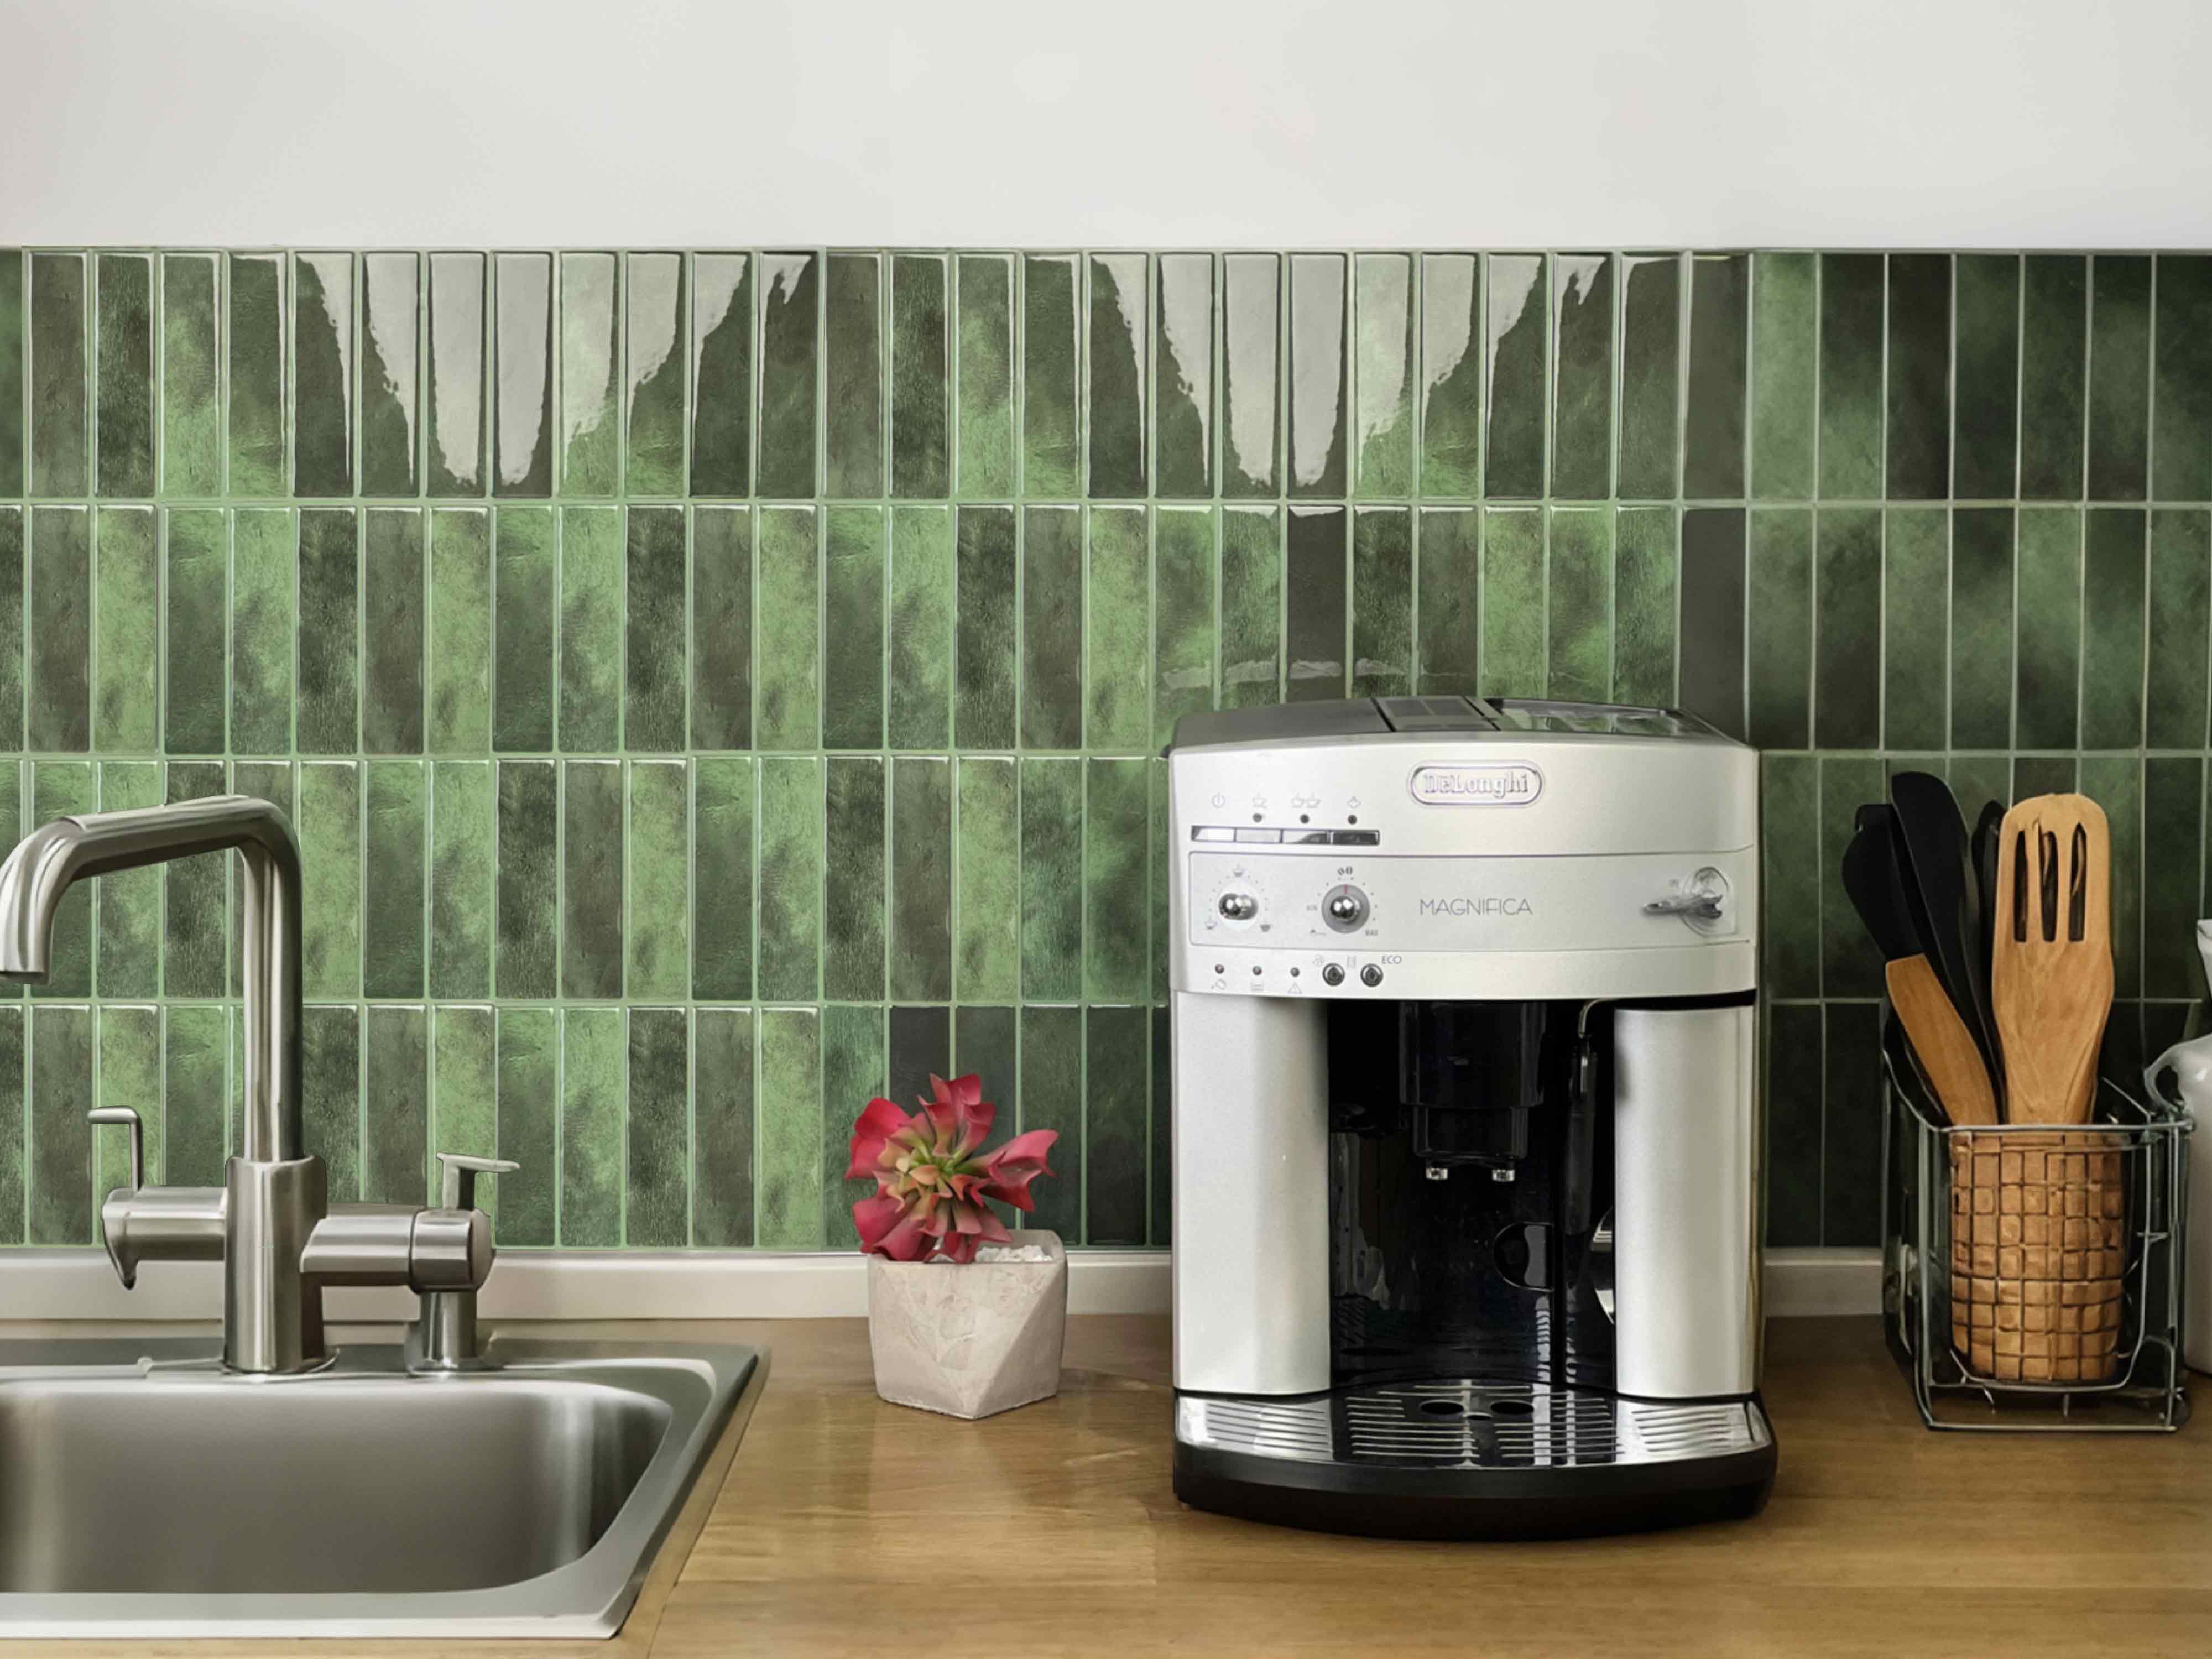
- Vertical Stacking: Modern twist on a classic design.
- Offset Pattern: Adds texture and movement.
Traditional subway tile patterns are a great starting point for creating a classic kitchen look. The horizontal layout is timeless and simple, providing a clean and organized aesthetic.
For a modern twist, consider a vertical stacking pattern. This contemporary approach gives a sense of height and can make your kitchen feel more spacious. Alternatively, an offset pattern adds texture and movement, breaking up the uniformity of traditional layouts.
Adapting Classic Styles for Modern Kitchens
- Mix Materials: Combine with glass or metal accents.
- Incorporate Technology: LED lighting to highlight tiles.
- Blend Textures: Pair smooth tiles with textured walls.
Bringing classic styles into the modern era is all about innovation. Mixing materials, such as combining subway tiles with glass or metal accents, creates a fresh and contemporary look. This blend of textures adds depth and interest to your kitchen.
Incorporating technology is another way to modernize classic tiles. LED lighting, for example, can be installed to highlight your backsplash, creating a stunning visual effect. For more modern decor ideas, explore our Modern Peel and Stick Tiles guide.
Integrating with Existing Décor Elements
- Match Colors: Coordinate with existing color schemes.
- Complement Styles: Ensure tiles enhance existing decor.
- Balance Patterns: Avoid overwhelming the space.
When integrating peel and stick subway tiles into your existing décor, consider color matching. Choose tiles that coordinate with your current color schemes for a cohesive look.
Complementary styles are also important. Ensure that the tiles enhance, rather than clash with, your existing decor. Balance is key, so avoid overwhelming the space with too many patterns or colors.
DIY vs Professional Installation
Pros and Cons of DIY
- Pros: Cost savings, personal satisfaction, control over the project.
- Cons: Time-consuming, skill-dependent, potential for mistakes.
DIY installation of peel and stick tiles comes with its own set of pros and cons. On the plus side, it offers significant cost savings since you won’t need to hire a professional. It also provides a sense of personal satisfaction and control over the project.
However, it can be time-consuming and requires a certain level of skill. There’s also the potential for mistakes, which could end up costing more in the long run if you need to fix them.
When to Hire a Professional
- Complex Layouts: Seek help for intricate designs.
- Large Installations: Professional efficiency for big projects.
- Time Constraints: Save time with expert assistance.
Hiring a professional might be the better option for complex layouts or large installations where efficiency is key. Professionals can handle intricate designs and ensure a flawless finish.
If time is a concern, getting expert assistance can save you a lot of hassle. They can complete the project quickly and accurately, leaving you with a beautiful kitchen in no time.
Cost Considerations and Budgeting
- Material Costs: Calculate based on tile selection.
- Labor Costs: Factor in professional fees if hiring help.
- Unexpected Expenses: Budget for additional supplies or repairs.
When considering costs, start with the materials. Calculate the total expenses based on your tile selection, keeping in mind that peel and stick options are generally more affordable.
If hiring a professional, factor in labor costs. It’s also wise to budget for unexpected expenses, such as additional supplies or minor repairs. For budget-friendly kitchen revamp ideas, check our Renovation on Budget blog.
Conclusion
As we move further into 2025, peel and stick subway tiles continue to prove themselves as an exciting and practical solution for modern kitchen upgrades. Their unmatched ease of installation, cost-effectiveness, and vast design possibilities make them a standout choice for anyone looking to infuse their space with a chic, contemporary twist. Whether you embrace the DIY spirit or prefer the expertise of a professional, these versatile tiles offer an ideal path to realizing your kitchen renovation dreams. Ready to begin your transformation journey? Explore our comprehensive Peel and Stick Tile backsplash kitchen makeover ideas and start revitalizing your home today!
Frequently Asked Questions
What surfaces are suitable for peel and stick tile installation?
Smooth, clean surfaces like painted drywall and existing tile are ideal. Avoid dusty or textured walls for best results. For tips on applying tiles, visit our Applying Peel and Stick Tiles blog.
How long do peel and stick tiles last?
With proper care, they can last several years. Regular cleaning and avoiding harsh chemicals help maintain their durability. For more, see our Peel and Stick Tile Maintenance Guide.
Can I use peel and stick tiles in a bathroom?
Yes, but choose moisture-resistant options for wet areas. Learn about them in our Waterproof Peel and Stick Tiles blog.
Are peel and stick tiles renter-friendly?
Absolutely, they can be removed without significant wall damage, making them perfect for renters. For more, check our blog on Removable Peel and Stick Tiles for Renters.


Leave a comment
This site is protected by hCaptcha and the hCaptcha Privacy Policy and Terms of Service apply.