Verwandeln Sie Ihren Mietraum mit selbstklebenden Fliesen
Wie Peel-and-Stick-Fliesen Mieträume verbessern
Peel-and-Stick-Fliesen sind ein echter Wendepunkt für Mieter. Sie ermöglichen es Ihnen, Ihren Raum zu verwandeln , ohne dauerhafte Veränderungen vorzunehmen. Das ist entscheidend, da Vermieter oft strenge Regeln für Änderungen haben. Mit diesen Fliesen können Sie einen schönen Raum gestalten, ohne Ihren Mietvertrag zu verletzen.
- Einfache Transformation: Diese Fliesen bieten eine schnelle Möglichkeit, jeden Raum zu aktualisieren.
- Keine dauerhaften Änderungen: Einfach zu entfernen, ohne Spuren zu hinterlassen.
- Kostengünstige Lösungen: Budgetfreundlich im Vergleich zu herkömmlichen Renovierungen.
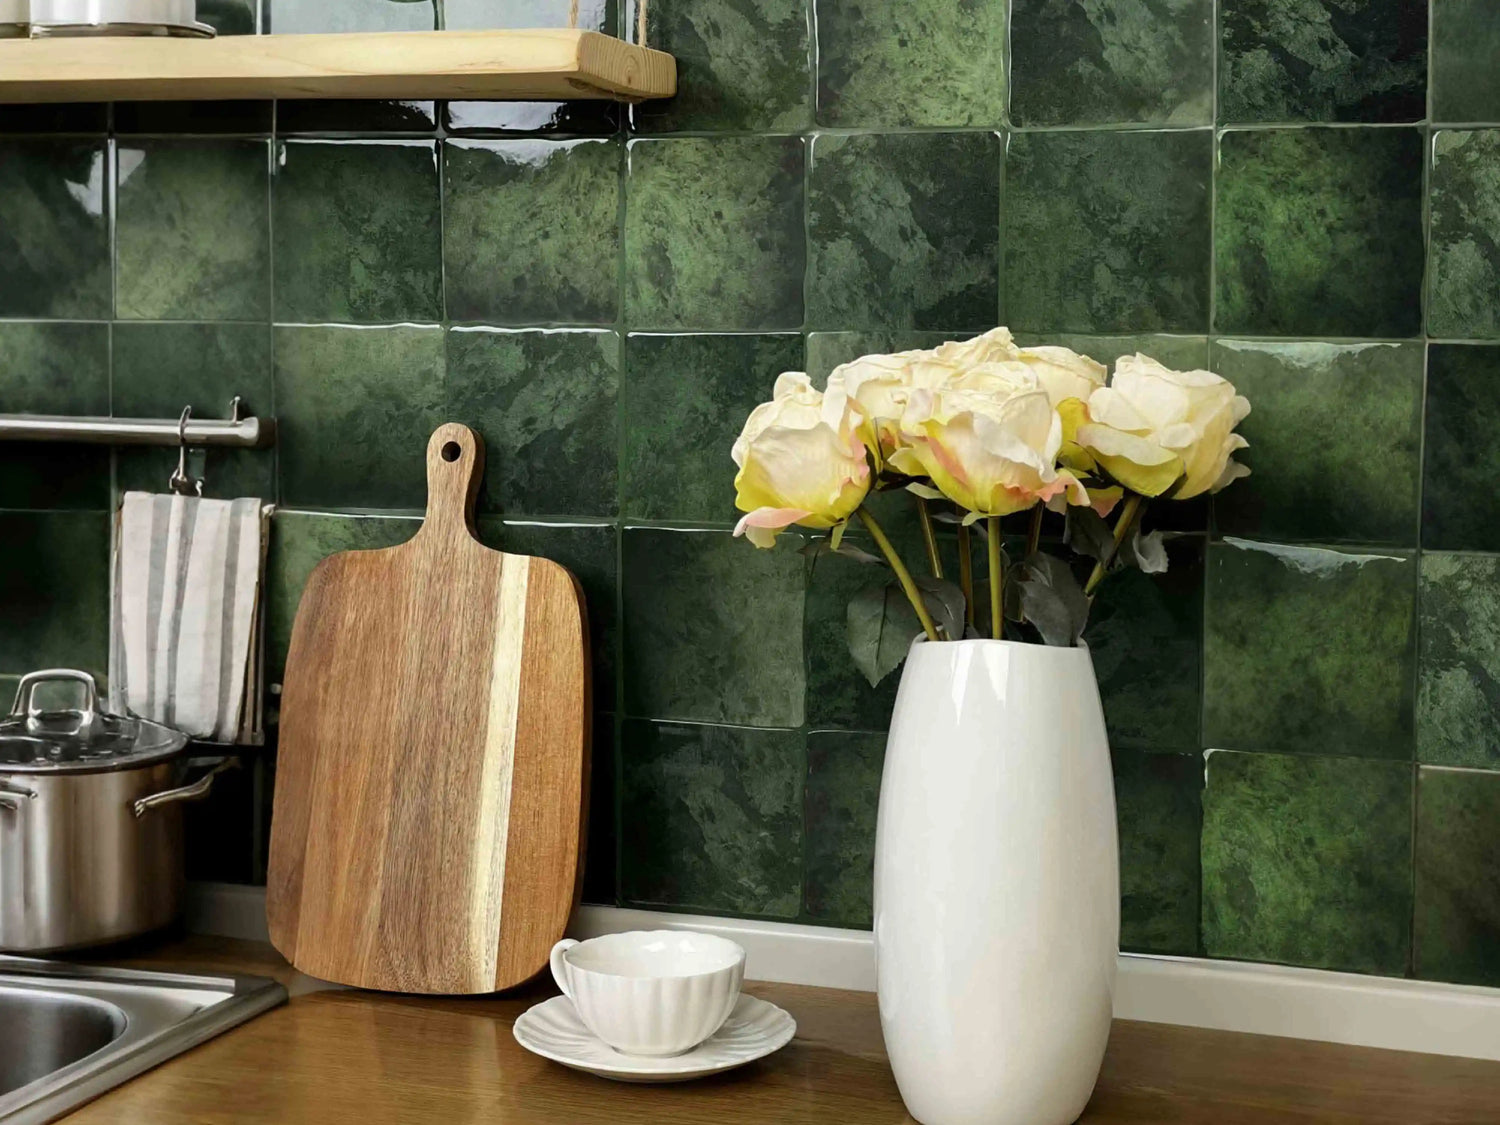
Stellen Sie sich vor, Sie betreten jeden Tag eine langweilige Küche. Durch das Hinzufügen eines bunten Peel-and-Stick-Fliesenspiegels können Sie dem Raum sofort Leben einhauchen. Sie genießen ein neues Aussehen und sind stolz auf Ihren personalisierten Raum, während Sie gleichzeitig Ihren Vermieter zufriedenstellen.
Warum man Peel-and-Stick-Fliesen traditionellen Optionen vorziehen sollte
Traditionelle Fliesen benötigen Zement, Fugenmörtel und viel Zeit. Peel-and-Stick-Fliesen hingegen sind benutzerfreundlich und selbstgemacht (DIY) freundlich.
- Keine Werkzeuge erforderlich: Kein Bedarf an Hämmern oder Bohrmaschinen.
- Zeitsparend: Schnelle Installation in nur wenigen Stunden.
- Messfrei: Kein Fugenmörtel bedeutet keine Reinigung.
Überlegen Sie mal: Sie sind gerade in eine neue Mietwohnung gezogen. Sie möchten Ihr Badezimmer renovieren, aber keine teuren Umbauten investieren. Selbstklebende Badezimmerfliesen sind Ihre perfekte Lösung. Sie können den Raum an einem Wochenende aufwerten und ein frisches Aussehen genießen, ganz ohne Schmutz.
Wie abnehmbare Fliesen eine einfache Personalisierung ermöglichen
Die Personalisierung Ihres Raums ist entscheidend. Abnehmbare Fliesen ermöglichen es Ihnen, ihren Stil ohne Einschränkungen auszudrücken. Egal, ob Sie moderne Designs oder etwas Traditionelleres lieben, es gibt eine Peel-and-Stick-Fliese für Sie.
- Vielfalt an Designs: Von Marmoroptik bis hin zu lebendigen Farben.
- Mix and Match: Erstellen Sie einzigartige Muster, indem Sie verschiedene Fliesen kombinieren.
- Ändern Sie nach Belieben: Designs einfach tauschen, wenn sich der Geschmack ändert.
Zum Beispiel, wenn Sie mit einem schlanken, modernen Look beginnen, aber später ein lebendigeres Gefühl wünschen, können Sie die Fliesen ganz einfach austauschen. Diese Flexibilität bedeutet, dass sich Ihre Wohnkultur mit Ihnen entwickelt und Ihre Mietwohnung wirklich wie ein Zuhause anfühlt.
Installationstipps für Peel-and-Stick-Fliesen
Wie Sie Ihre Oberflächen für die Anwendung vorbereiten
Die richtige Vorbereitung Ihrer Oberfläche ist entscheidend, um sicherzustellen, dass Ihre Fliesen an Ort und Stelle bleiben. Saubere und glatte Oberflächen sind am besten für selbstklebende Fliesen geeignet.
- Gründlich reinigen: Entfernen Sie Schmutz und Fett mit milder Seife.
- Stellen Sie sicher, dass die Oberfläche trocken ist: Feuchtigkeit kann verhindern, dass Fliesen haften.
- Ebene und glatte Oberfläche: Füllen Sie alle Löcher oder Risse.
Stellen Sie sich vor, Sie installieren selbstklebende Wandfliesen in der Küche. Beginnen Sie damit, die Wand mit Seife und Wasser abzuwischen, um sicherzustellen, dass kein Fett zurückbleibt. Lassen Sie die Wand vollständig trocknen, bevor Sie mit dem nächsten Schritt fortfahren.
Was ist die Schritt-für-Schritt-Anleitung zum Verlegen von Fliesen
Die Installation von selbstklebenden Fliesen ist ein einfacher Vorgang. So gelingt es richtig:
- Maßnehmen und Schneiden: Messen Sie Ihren Raum aus und schneiden Sie die Fliesen passend zu.
- Die Rückseite abziehen: Die Kleberückseite vorsichtig abziehen.
- Aufkleben und Drücken: Kacheln anbringen und fest andrücken, um Luftblasen zu entfernen.
Stellen Sie sich vor, Sie haben ein neues Set Stickwoll Timberline Checks. Messen Sie Ihre Wand, schneiden Sie die Fliesen so zu, dass sie genau passen, und ziehen Sie die Rückseite ab. Drücken Sie jede Fliese fest an die Wand, wobei Sie darauf achten, dass keine Luftblasen darunter eingeschlossen werden.
Häufige Herausforderungen und wie man sie überwindet
Bei der Installation könnten einige Hürden auftreten. Aber keine Sorge; sie sind leicht zu bewältigen.
- Kacheln haften nicht: Stellen Sie sicher, dass die Oberfläche sauber und trocken ist.
- Unregelmäßige Kanten: Verwenden Sie eine Wasserwaage für gerade Linien.
- Luftblasen: Glätten Sie Blasen mit einer Kreditkarte oder einem Roller.
Zum Beispiel, wenn Ihnen auffällt, dass eine Fliese nicht gut haftet, überprüfen Sie noch einmal, ob die Oberfläche vollständig trocken ist. Wenn Sie Luftblasen haben, drücken Sie diese vorsichtig mit einem flachen Werkzeug von der Mitte zu den Rändern heraus.
Erfahren Sie mehr über das Verlegen von Fliesen auf gestrichenen Wänden
Für detailliertere Anleitungen besuchen Sie unseren internen Blog zum Thema Anbringen von Peel-and-Stick-Fliesen auf gestrichenen Wänden. Dieser Leitfaden hilft Ihnen, ein makelloses, nahtloses Erscheinungsbild zu erzielen, besonders nützlich in Räumen, in denen Farbe die Hauptwandverkleidung ist.
Stile und Designs zum Berücksichtigen
Was sind beliebte Fliesendesigns für Mieter
Viele Designs richten sich an Mieter, die Stil ohne Dauerhaftigkeit suchen. Hier ist ein Einblick in die aktuellen Trends:
- Classic Subway Tiles: Einfach, aber elegant.
- Marmor-Optik Fliesen: Luxuriös ohne den hohen Preis.
- Geometrische Muster: Fette Entscheidungen, die herausstechen.
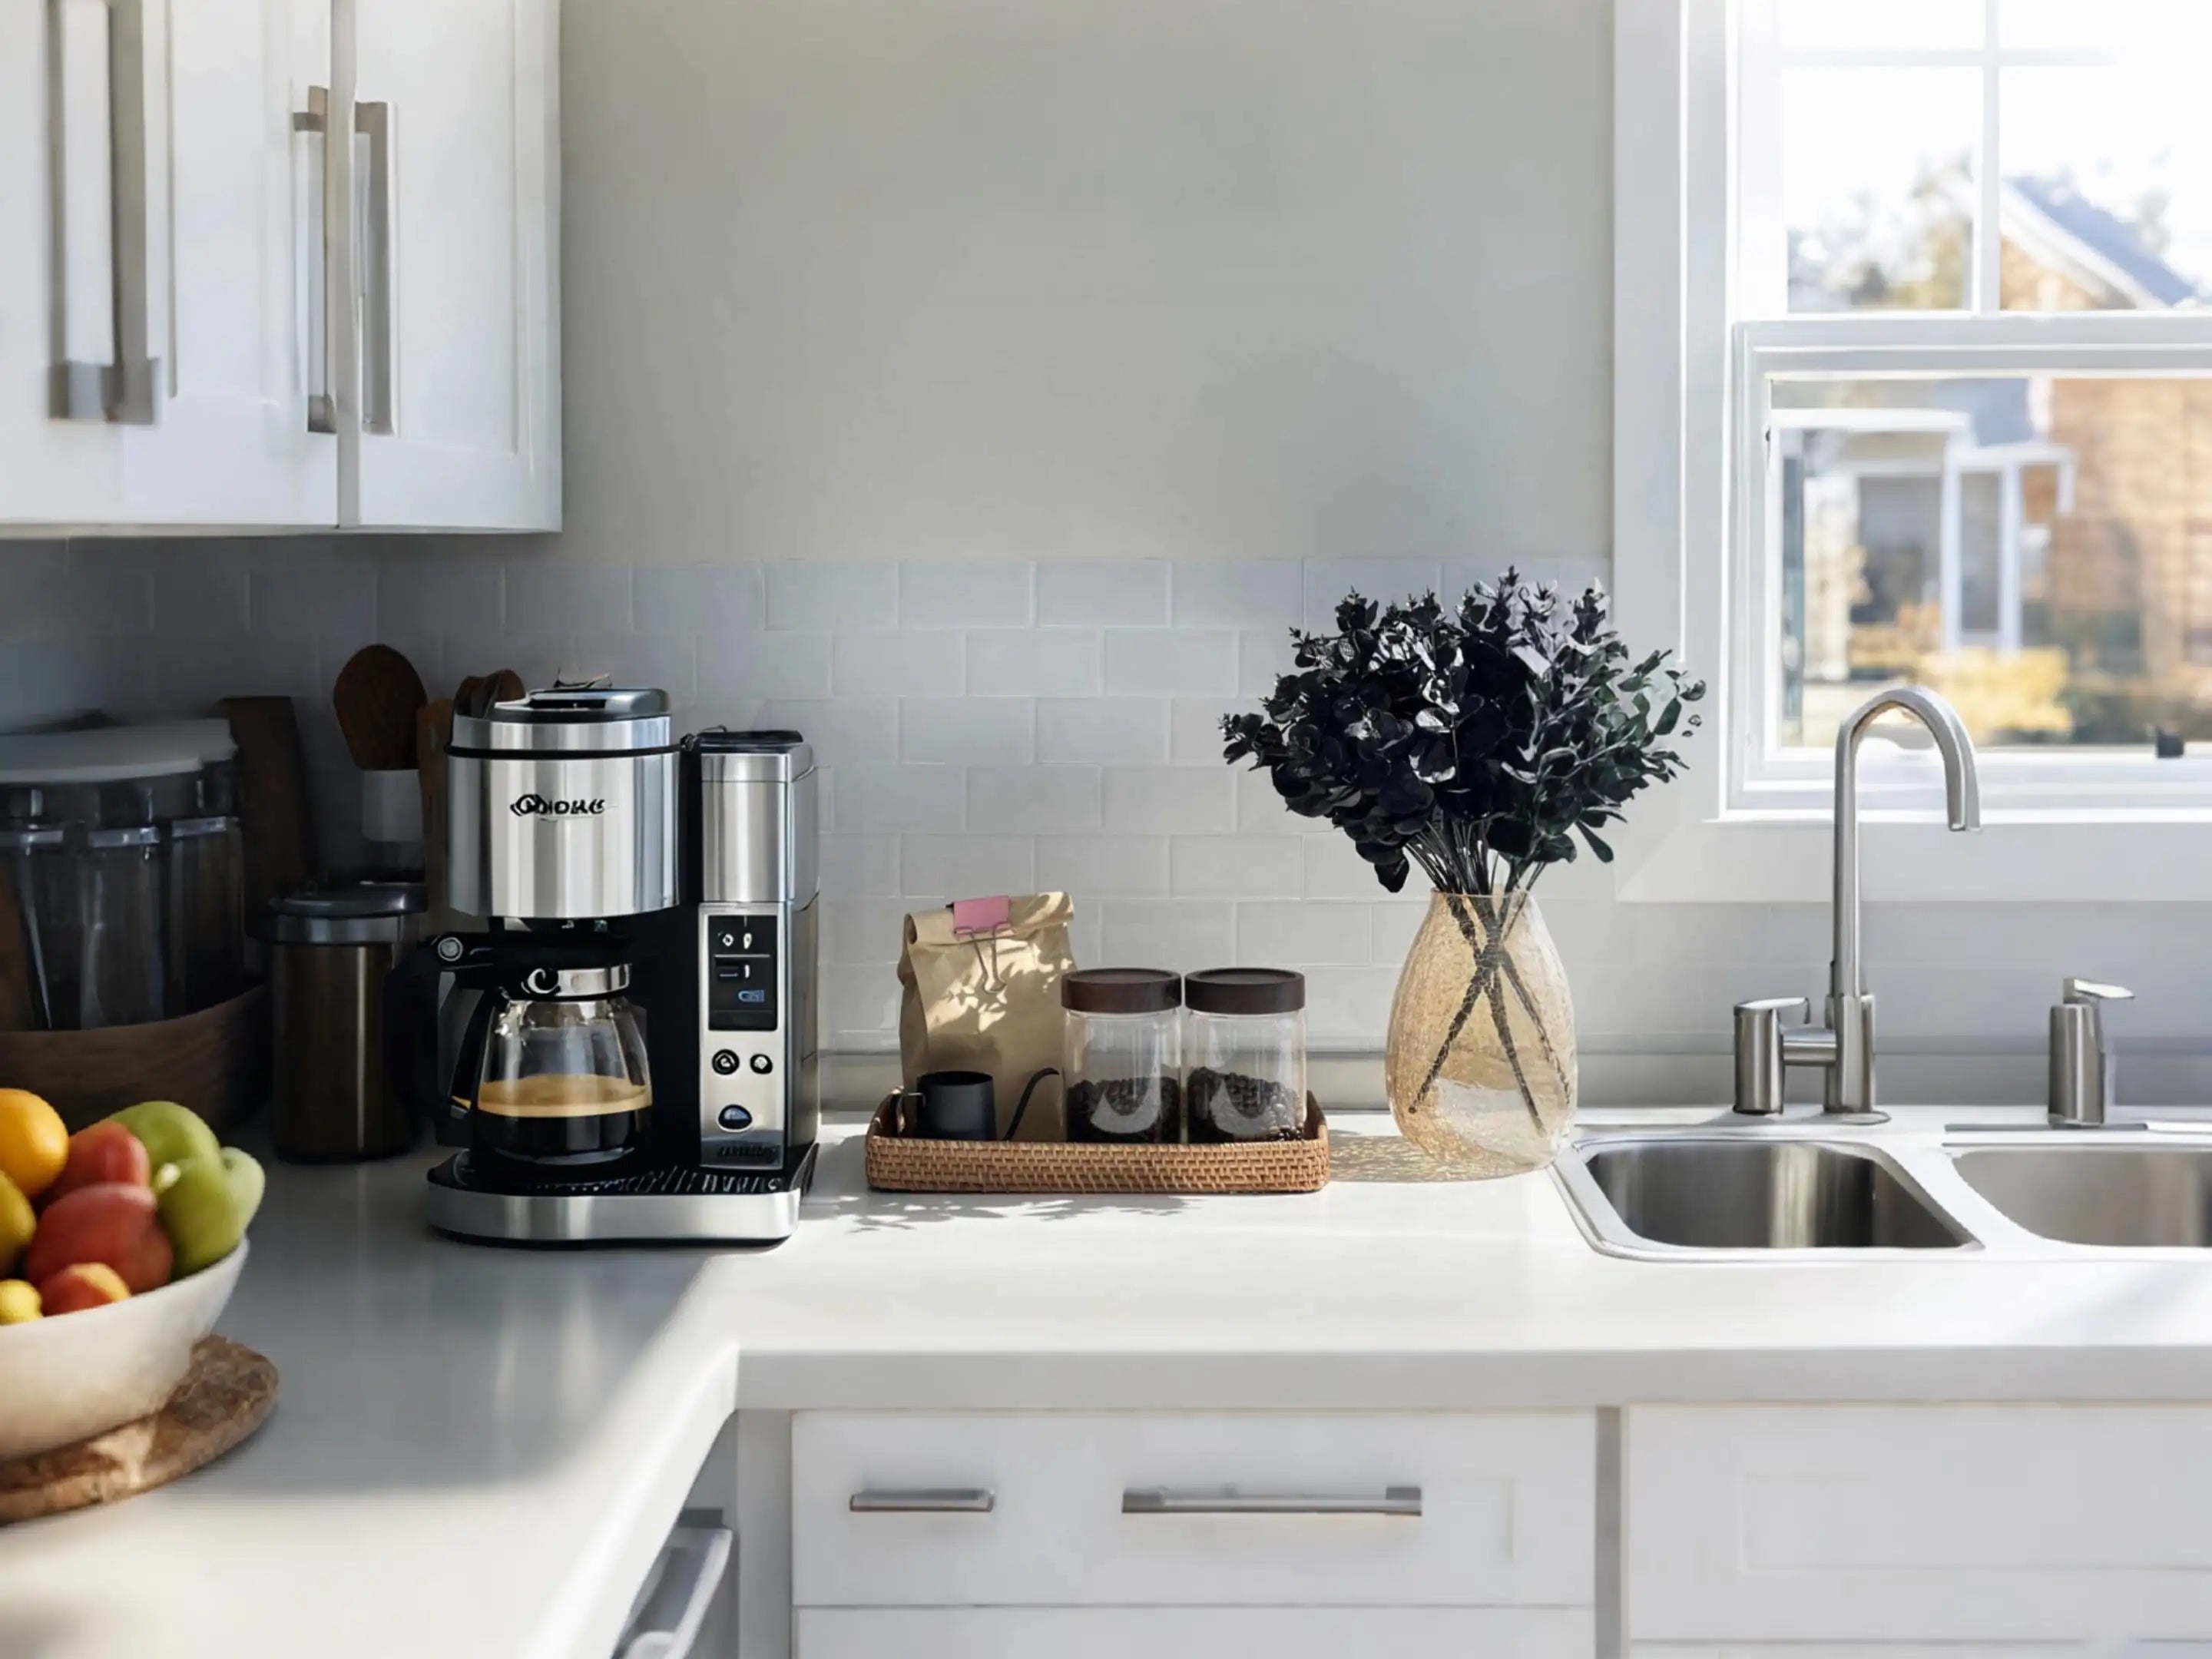
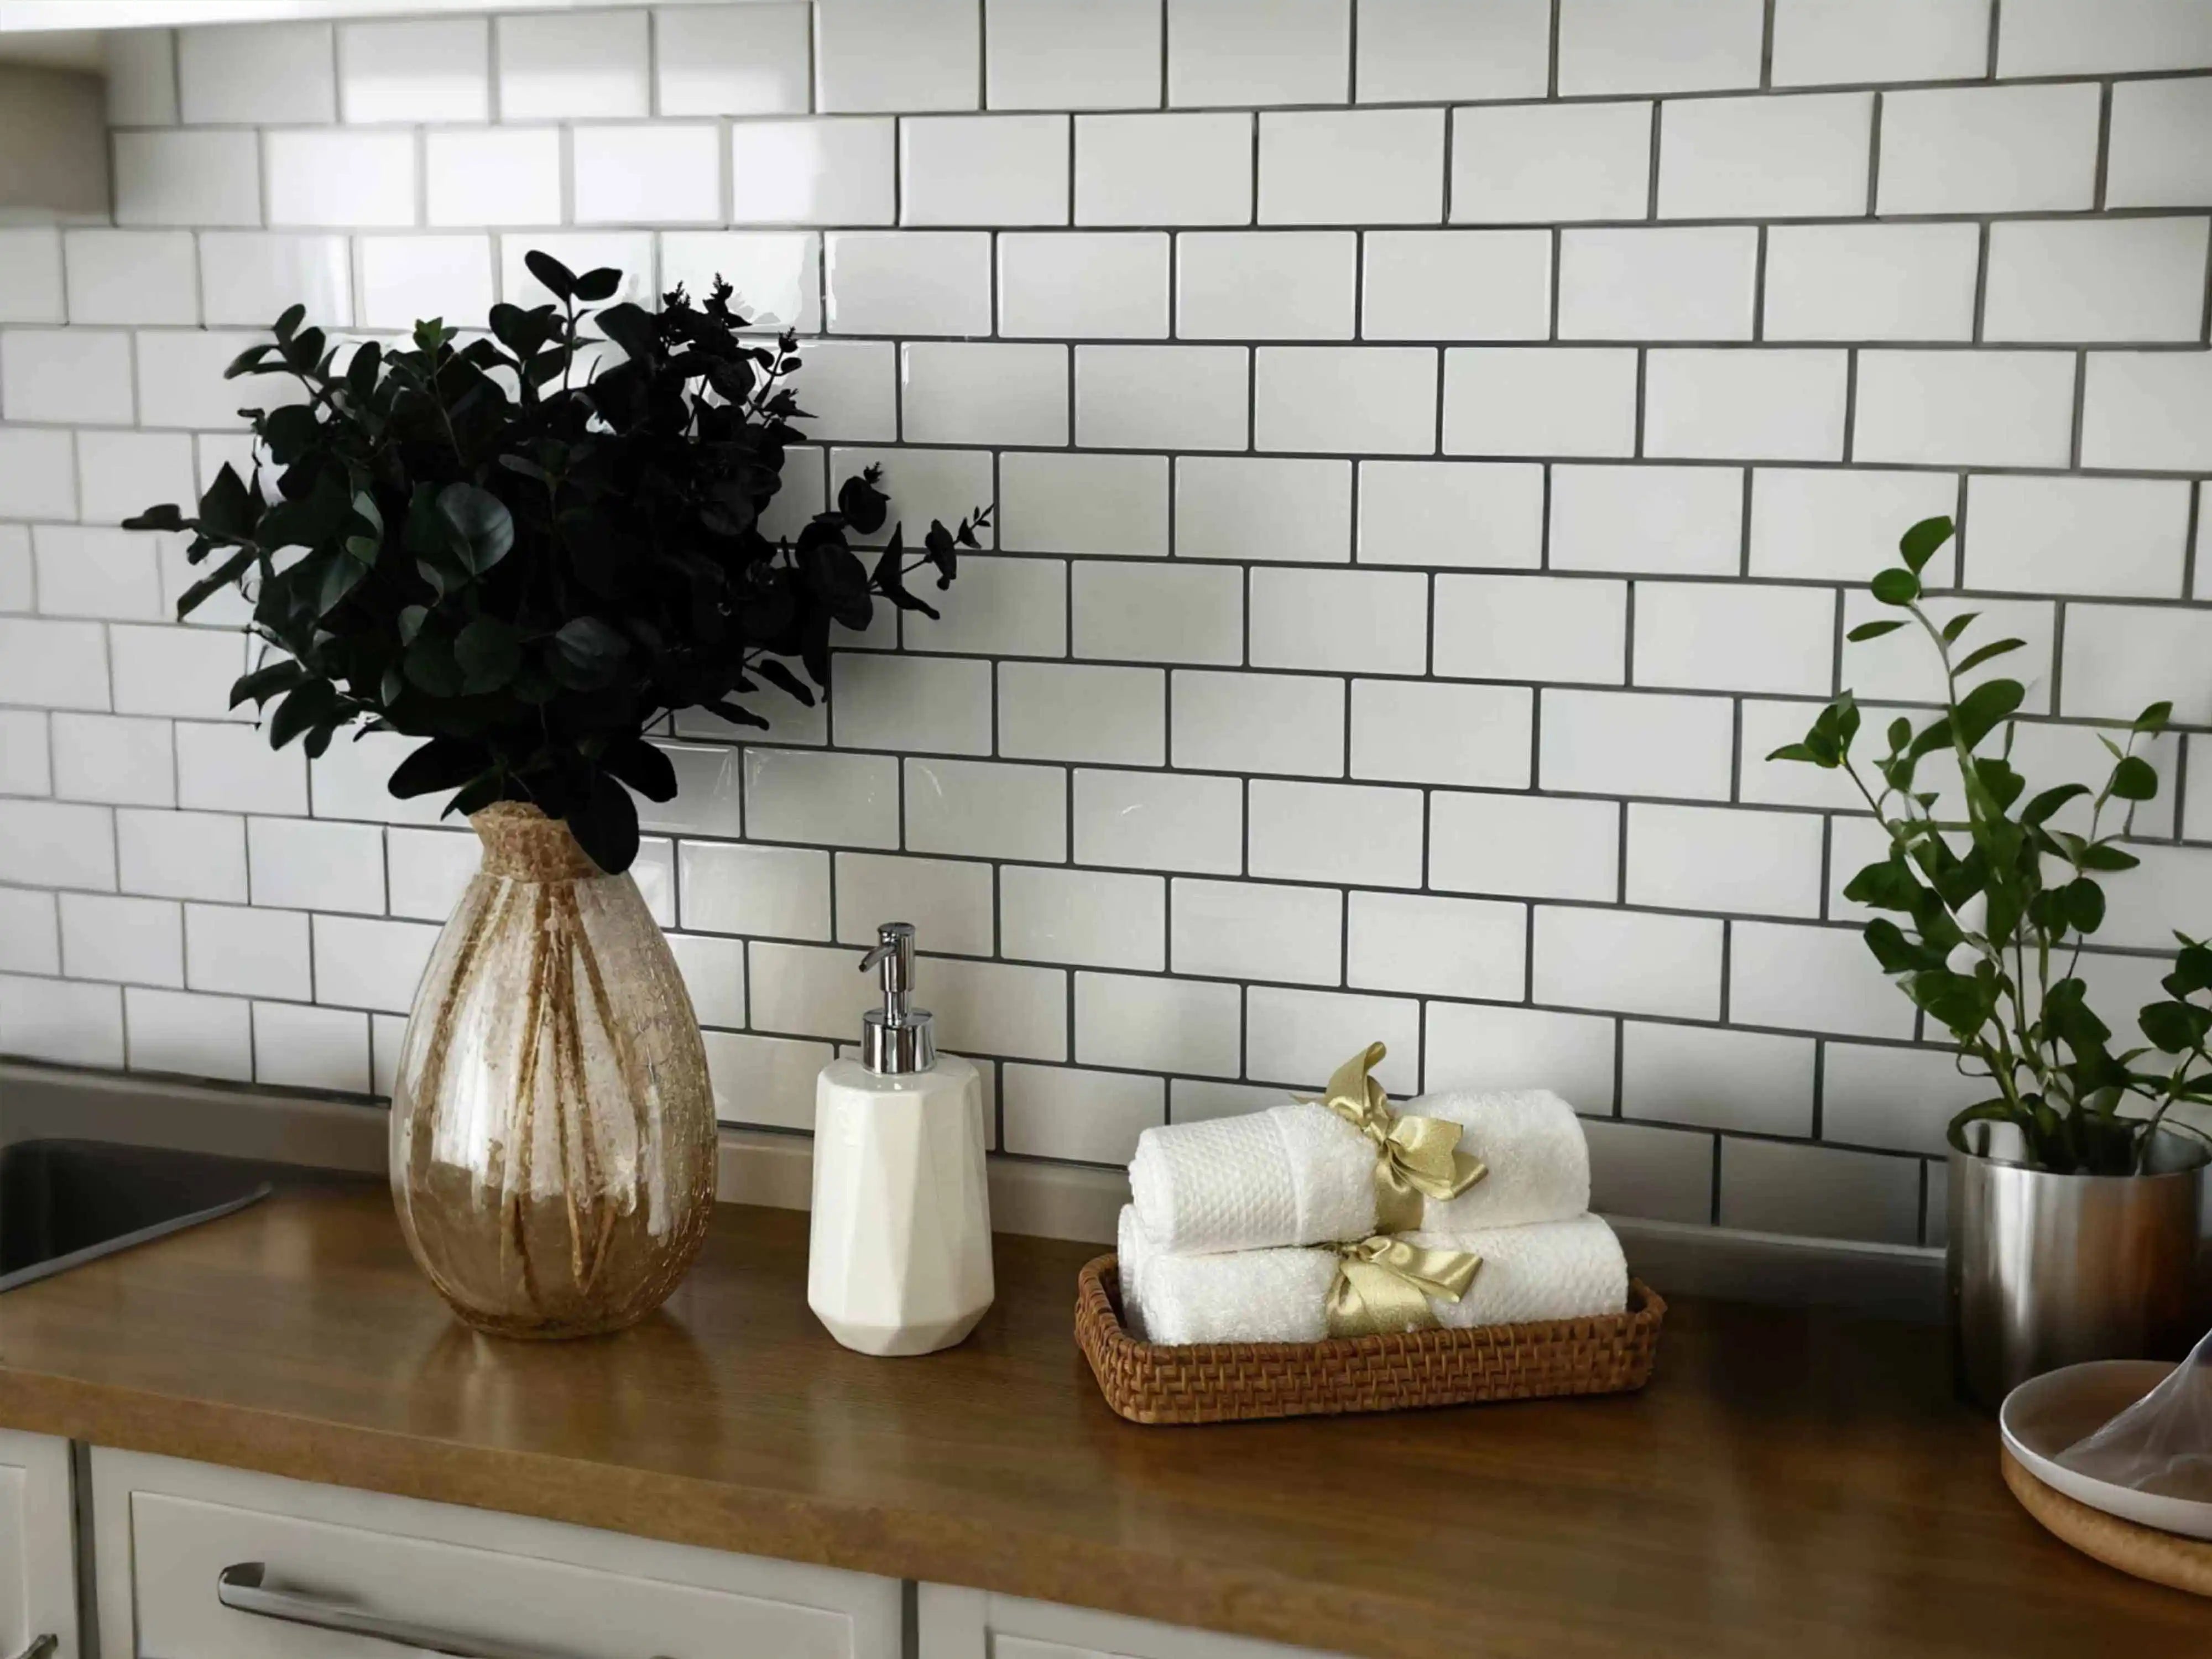
U-Bahn-Fliesen sind zeitlos und passen zu fast jedem Einrichtungsstil. Wenn Sie etwas Schickes bevorzugen, können Marmor-Peel-and-Stick-Fliesen Ihrem Badezimmer oder Ihrer Küche einen Hauch von Luxus verleihen, ohne das Budget zu sprengen.
Kreative Layout-Ideen zum Nachdenken
Sie können mehr tun, als nur Fliesen in einer geraden Linie zu verlegen. So können Sie kreativ werden:
- Fischgrätmuster: Verleiht dem Raum dynamische Bewegung.
- Schachbrett-Layouts: Klassisch und auffällig.
- Benutzerdefinierte Rahmen: Rahmen Sie Wandabschnitte für mehr Interesse ein.
Stellen Sie sich ein Wohnzimmer mit einem Rückwandmuster aus Fischgrät-Design vor, das aus selbstklebenden Fliesen besteht. Es wird zum Gesprächsthema, zieht die Aufmerksamkeit und Bewunderung der Gäste auf sich und verbessert gleichzeitig die Gesamtästhetik Ihres Zuhauses.
Wo man hochwertige Peel-and-Stick-Fliesen beziehen kann
Die Auswahl hochwertiger Fliesen ist entscheidend für Langlebigkeit und Stil. Berücksichtigen Sie diese Optionen:
- Stickwoll Kollektion: Bekannt für Qualität und Vielfalt.
- Lokale Baumärkte: Überprüfen Sie die Qualität vor Ort.
- Online-Marktplätze: Vergleichen Sie Sorten und Preise.
Unsere Stickwoll Crimson Horizon Kacheln sind beliebt für ihre einzigartigen Farbschemata und Langlebigkeit. Stickwoll ist eine Marke, auf die Sie sich sowohl in Qualität als auch im Design verlassen können, um sicherzustellen, dass Ihre DIY-Projekte ein Erfolg werden.
Sicheres Entfernen von Peel-and-Stick-Fliesen
Verstehen der Klebeeigenschaften und Tipps zur Entfernung
Zu wissen, wie man Fliesen ohne Beschädigung entfernt, ist für Mieter unerlässlich. Hier ist, was Sie wissen müssen:
- Testen Sie zuerst einen kleinen Bereich: Stellen Sie eine einfache Entfernung sicher.
- Verwenden Sie sanfte Wärme: Ein Haartrockner kann Klebstoff erweichen.
- Langsam abziehen: Nehmen Sie sich Zeit, um Schäden zu vermeiden.
Bevor Sie einen großen Abschnitt entfernen, versuchen Sie, eine Ecke mit einem sanften Ruck abzulösen. Wenn sie sich nicht leicht löst, erwärmen Sie den Klebstoff mit einem Föhn, um ihn zu erweichen, ohne die darunterliegende Wand zu beschädigen.
Werkzeuge für die sichere Fliesenentfernung
Die richtigen Werkzeuge sorgen für einen reibungslosen und schadensfreien Ablauf:
- Haartrockner: Erweicht Klebstoff für eine einfache Entfernung.
- Plastikschaber: Vermeidet das Zerkratzen von Oberflächen.
- Milder Reiniger: Entfernt verbleibende Kleberückstände.
Ausgestattet mit einem Haartrockner, erwärmen Sie vorsichtig die Fliesenecken, bevor Sie einen Kunststoffspachtel verwenden, um die Kanten anzuheben. Abschließend wischen Sie die Wand mit einem milden Reiniger ab, um eventuelle Rückstände zu entfernen.
Vermeidung von Schäden an Wänden oder Böden während des Prozesses
Vermeiden von Schäden ist entscheidend beim Entfernen von Peel-and-Stick-Fliesen. So geht's:
- Langsam gehen: Geduld verhindert Unfälle.
- Nicht erzwingen: Verwenden Sie Wärme statt Kraft.
- Rückstände sofort entfernen: Verhindert langfristige Flecken.
Wenn Sie beispielsweise in einem Badezimmer arbeiten, stellen Sie sicher, dass alle Fliesen vor der Entfernung mit Wärme aufgeweicht werden. Dies verhindert versehentliches Abplatzen oder Abblättern der Farbe.
Auszug: Einen nahtlosen Übergang sicherstellen
Warum es wichtig ist, den Mietvertrag auf Fliesenrichtlinien zu überprüfen
Überprüfen Sie immer Ihren Mietvertrag, bevor Sie Änderungen vornehmen. Einige Mietverträge enthalten spezifische Richtlinien bezüglich Änderungen.
- Strafen vermeiden: Wissen, was erlaubt ist.
- Bleiben Sie informiert: Vermeiden Sie unerwartete Gebühren.
- Vermieter zufriedenstellen: Pflegen Sie eine gute Beziehung.
Es ist wichtig, Ihren Mietvertrag auf Klauseln bezüglich Wandänderungen zu überprüfen. Dies schützt Ihre Kaution und sorgt für einen reibungslosen Auszugsprozess.
Was zu tun ist, um Oberflächen in den Originalzustand zurückzuversetzen
Den Raum so zu hinterlassen, wie Sie ihn vorgefunden haben, ist entscheidend für einen reibungslosen Übergang. So geht's:
- Füllen Sie Löcher und Risse: Verwenden Sie Spachtelmasse für ein glattes Finish.
- Bei Bedarf neu streichen: Originalfarbton anpassen.
- Gründlich reinigen: Entfernen Sie alle Klebereste.
Nach dem Entfernen der Fliesen sollten Sie die Wände auf Unvollkommenheiten überprüfen. Eine kleine Ausbesserung mit passender Farbe kann die Wand in ihren ursprünglichen Zustand zurückversetzen und sicherstellen, dass keine Abzüge von Ihrer Kaution vorgenommen werden.
Abschließende Checkliste für Mieter
Bevor Sie die Schlüssel zurückgeben, führen Sie eine abschließende Überprüfung durch, um sicherzustellen, dass alles in einwandfreiem Zustand ist.
- Überprüfen Sie alle Oberflächen doppelt auf verbleibenden Klebstoff.
- Reparieren Sie kleinere Schäden wie kleine Löcher oder Lackabplatzungen.
- Stellen Sie sicher, dass alle Armaturen funktionstüchtig und sauber sind.
Wenn Sie diese Vorsichtsmaßnahmen treffen, hinterlassen Sie Ihre Mietwohnung in ausgezeichnetem Zustand, bereit für den nächsten Mieter. Das hält nicht nur Ihren Vermieter zufrieden, sondern sichert auch die Rückerstattung Ihrer Kaution.
FAQs
Q1: Können selbstklebende Fliesen in Bereichen mit hoher Feuchtigkeit wie Badezimmern verwendet werden?
Ja, aber es ist wichtig, Fliesen zu wählen, die speziell für Feuchtigkeitsbeständigkeit entwickelt wurden, wie die in unserem Leitfaden zu wasserdichten Peel-and-Stick-Fliesen zu finden sind.
Q2: Sind Peel-and-Stick-Fliesen umweltfreundlich?
Viele Marken bieten umweltfreundliche Optionen an. Achten Sie auf Fliesen, die aus nachhaltigen Materialien hergestellt sind oder eine geringe Umweltbelastung aufweisen.
Q3: Wie reinige und pflege ich selbstklebende Fliesen?
Regelmäßige Reinigung mit milder Seife und Wasser ist ausreichend. Vermeiden Sie scheuernde Reinigungsmittel, die die Oberfläche beschädigen können. Für weitere Tipps lesen Sie unseren Wartungsleitfaden.
Q4: Was soll ich tun, wenn eine Fliese beschädigt wird?
Entfernen Sie einfach die beschädigte Fliese und ersetzen Sie sie durch eine neue. Dieser Vorgang ist schnell und einfach, sodass Ihr Raum stilvoll und intakt bleibt.
Für weitere Einblicke entdecken Sie unsere breite Palette interner Blogs, die alles abdecken von trendigen Mustern bis hin zu den besten Peel-and-Stick-Fliesenmarken.


Hinterlasse einen Kommentar
Diese Website ist durch hCaptcha geschützt und es gelten die allgemeinen Geschäftsbedingungen und Datenschutzbestimmungen von hCaptcha.