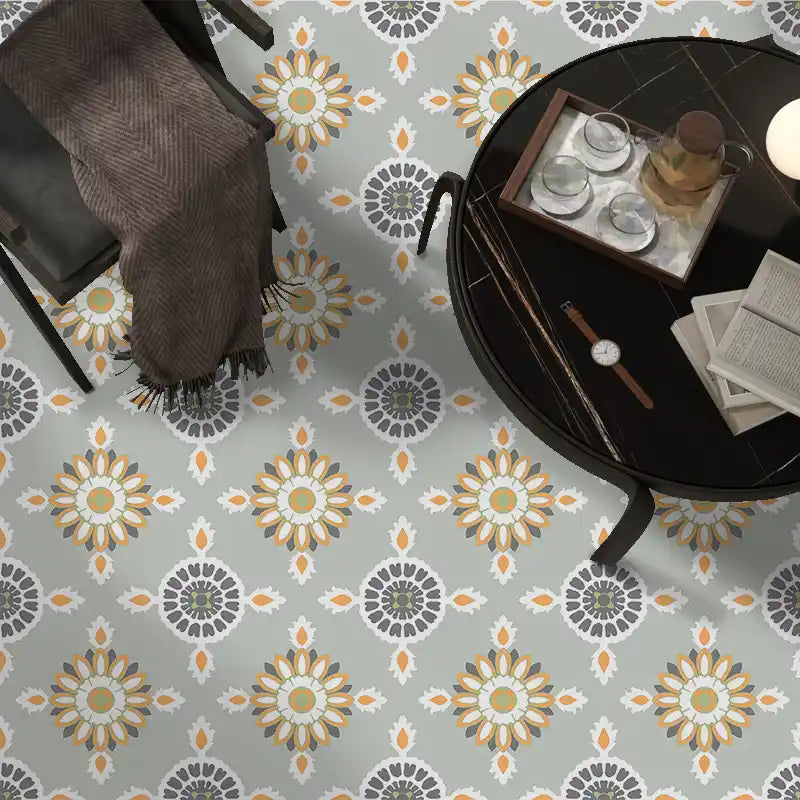
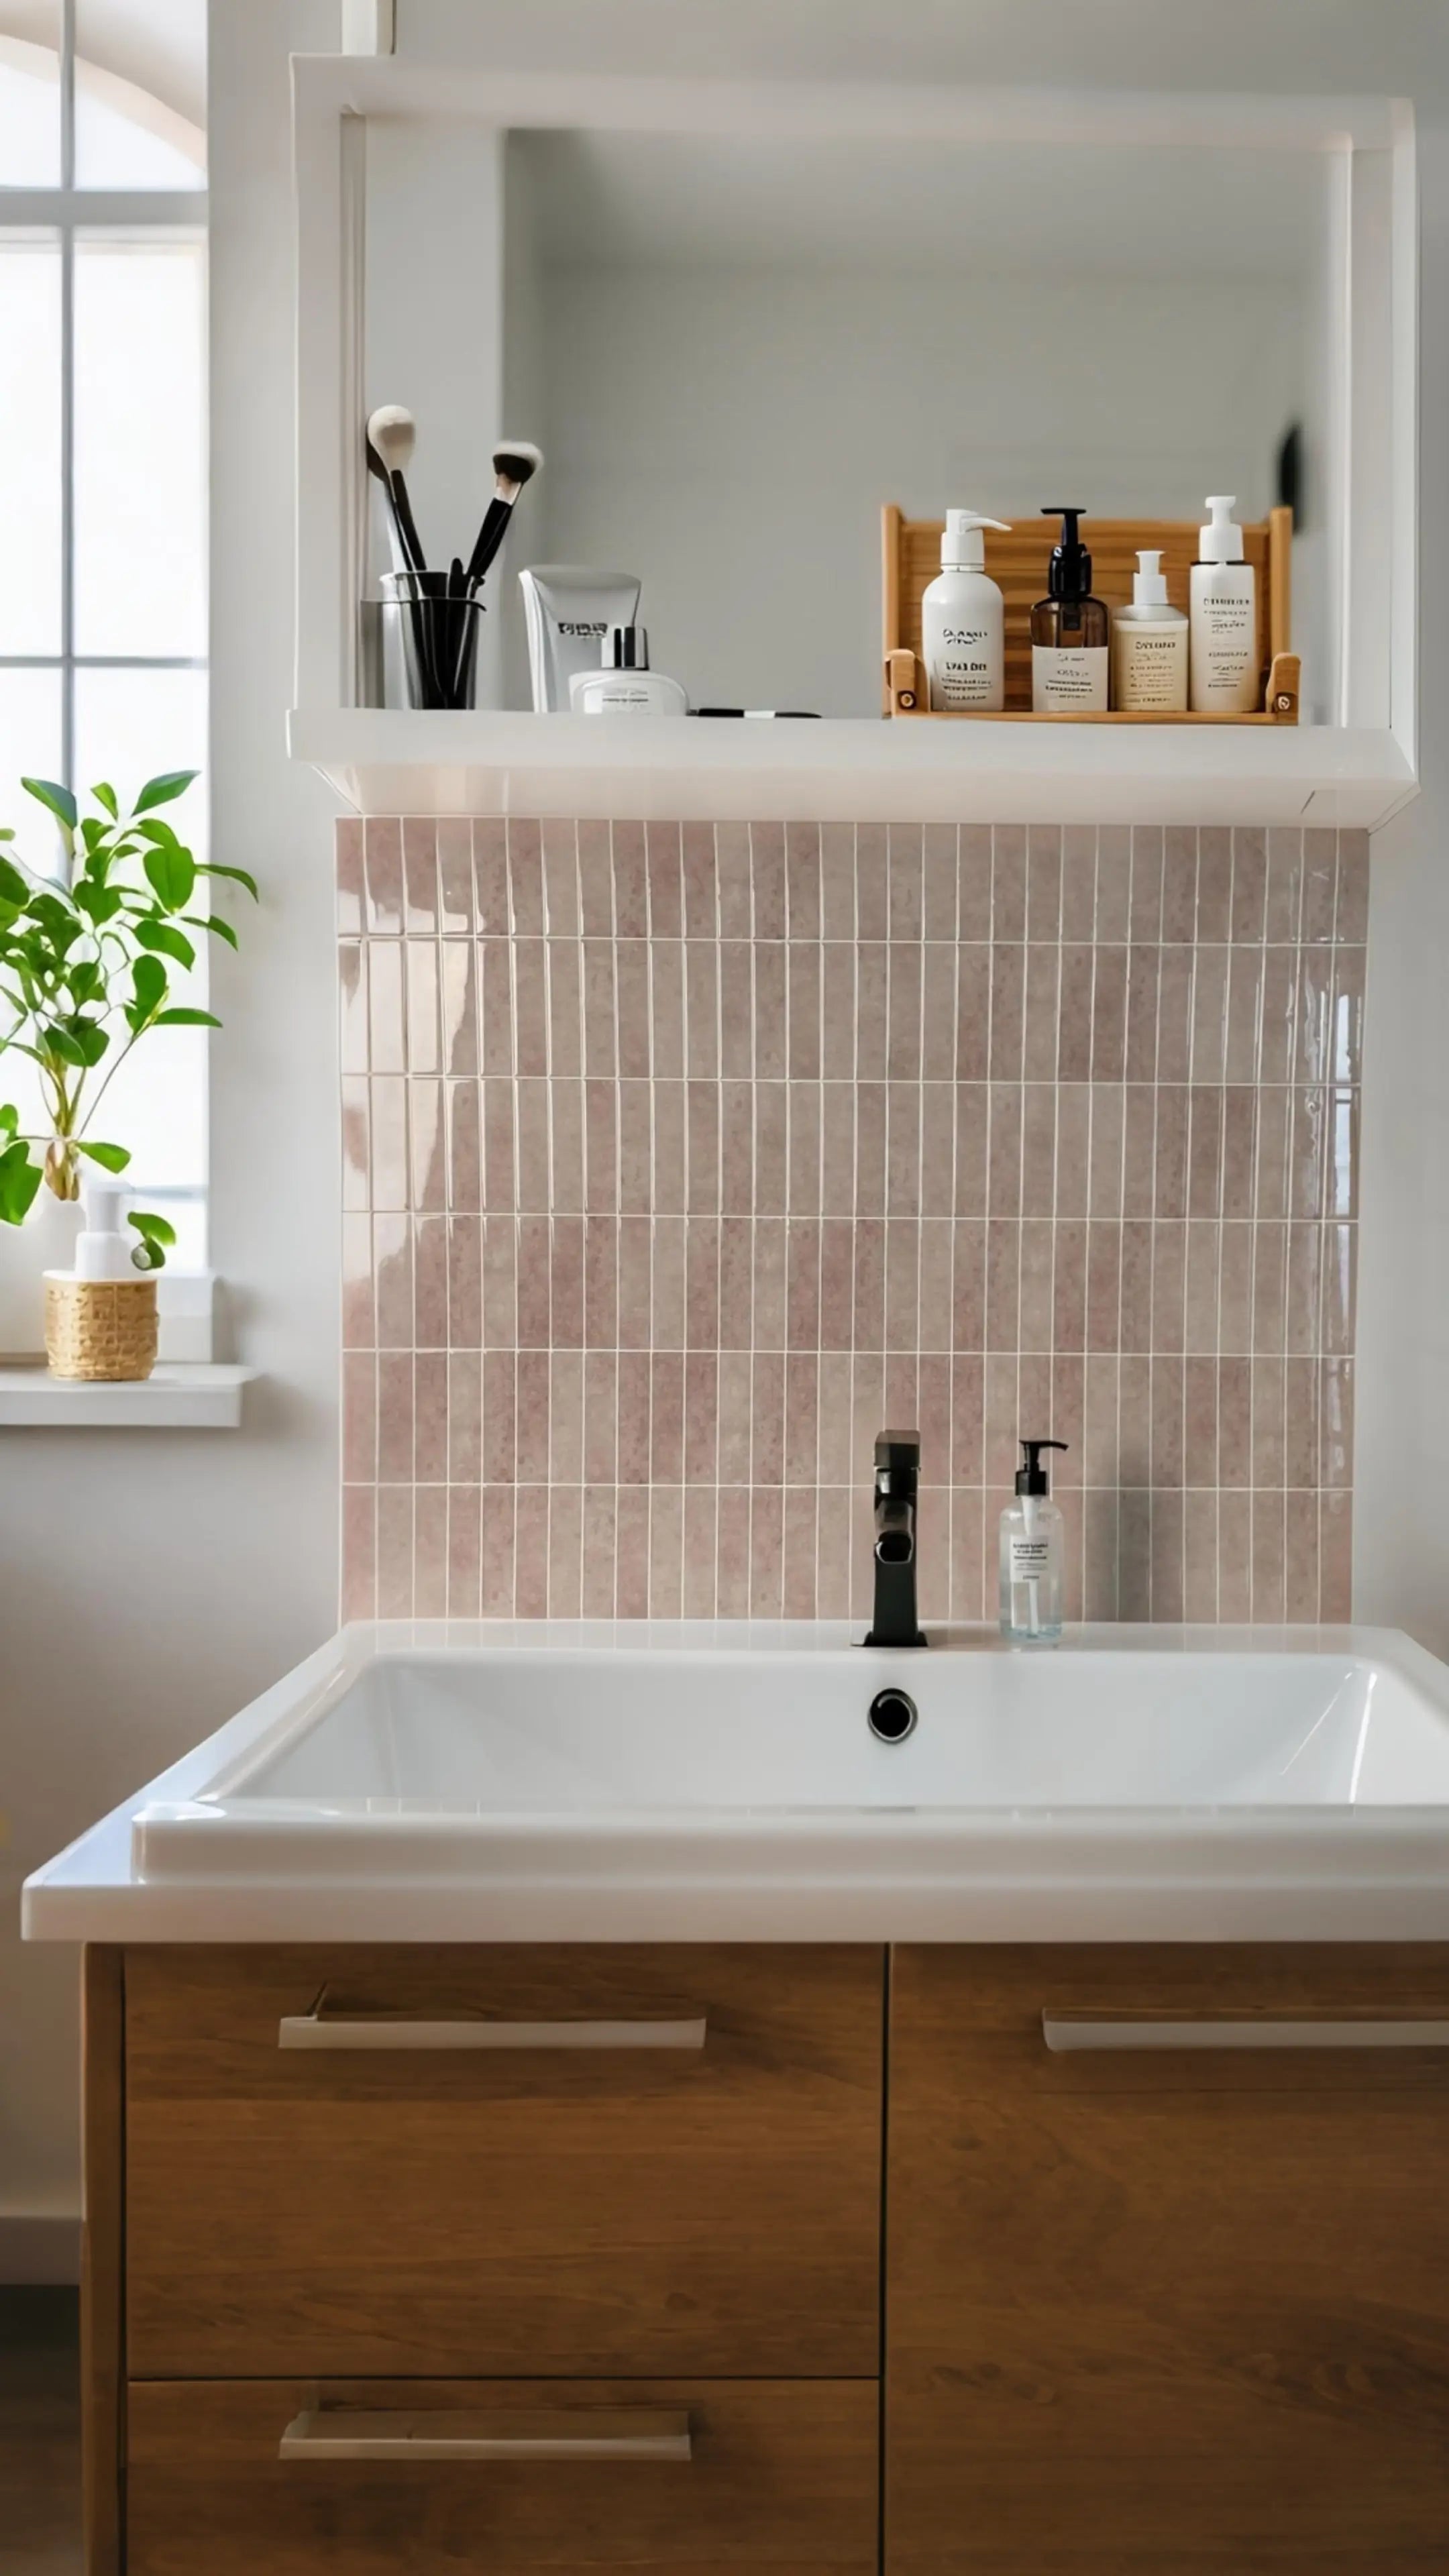
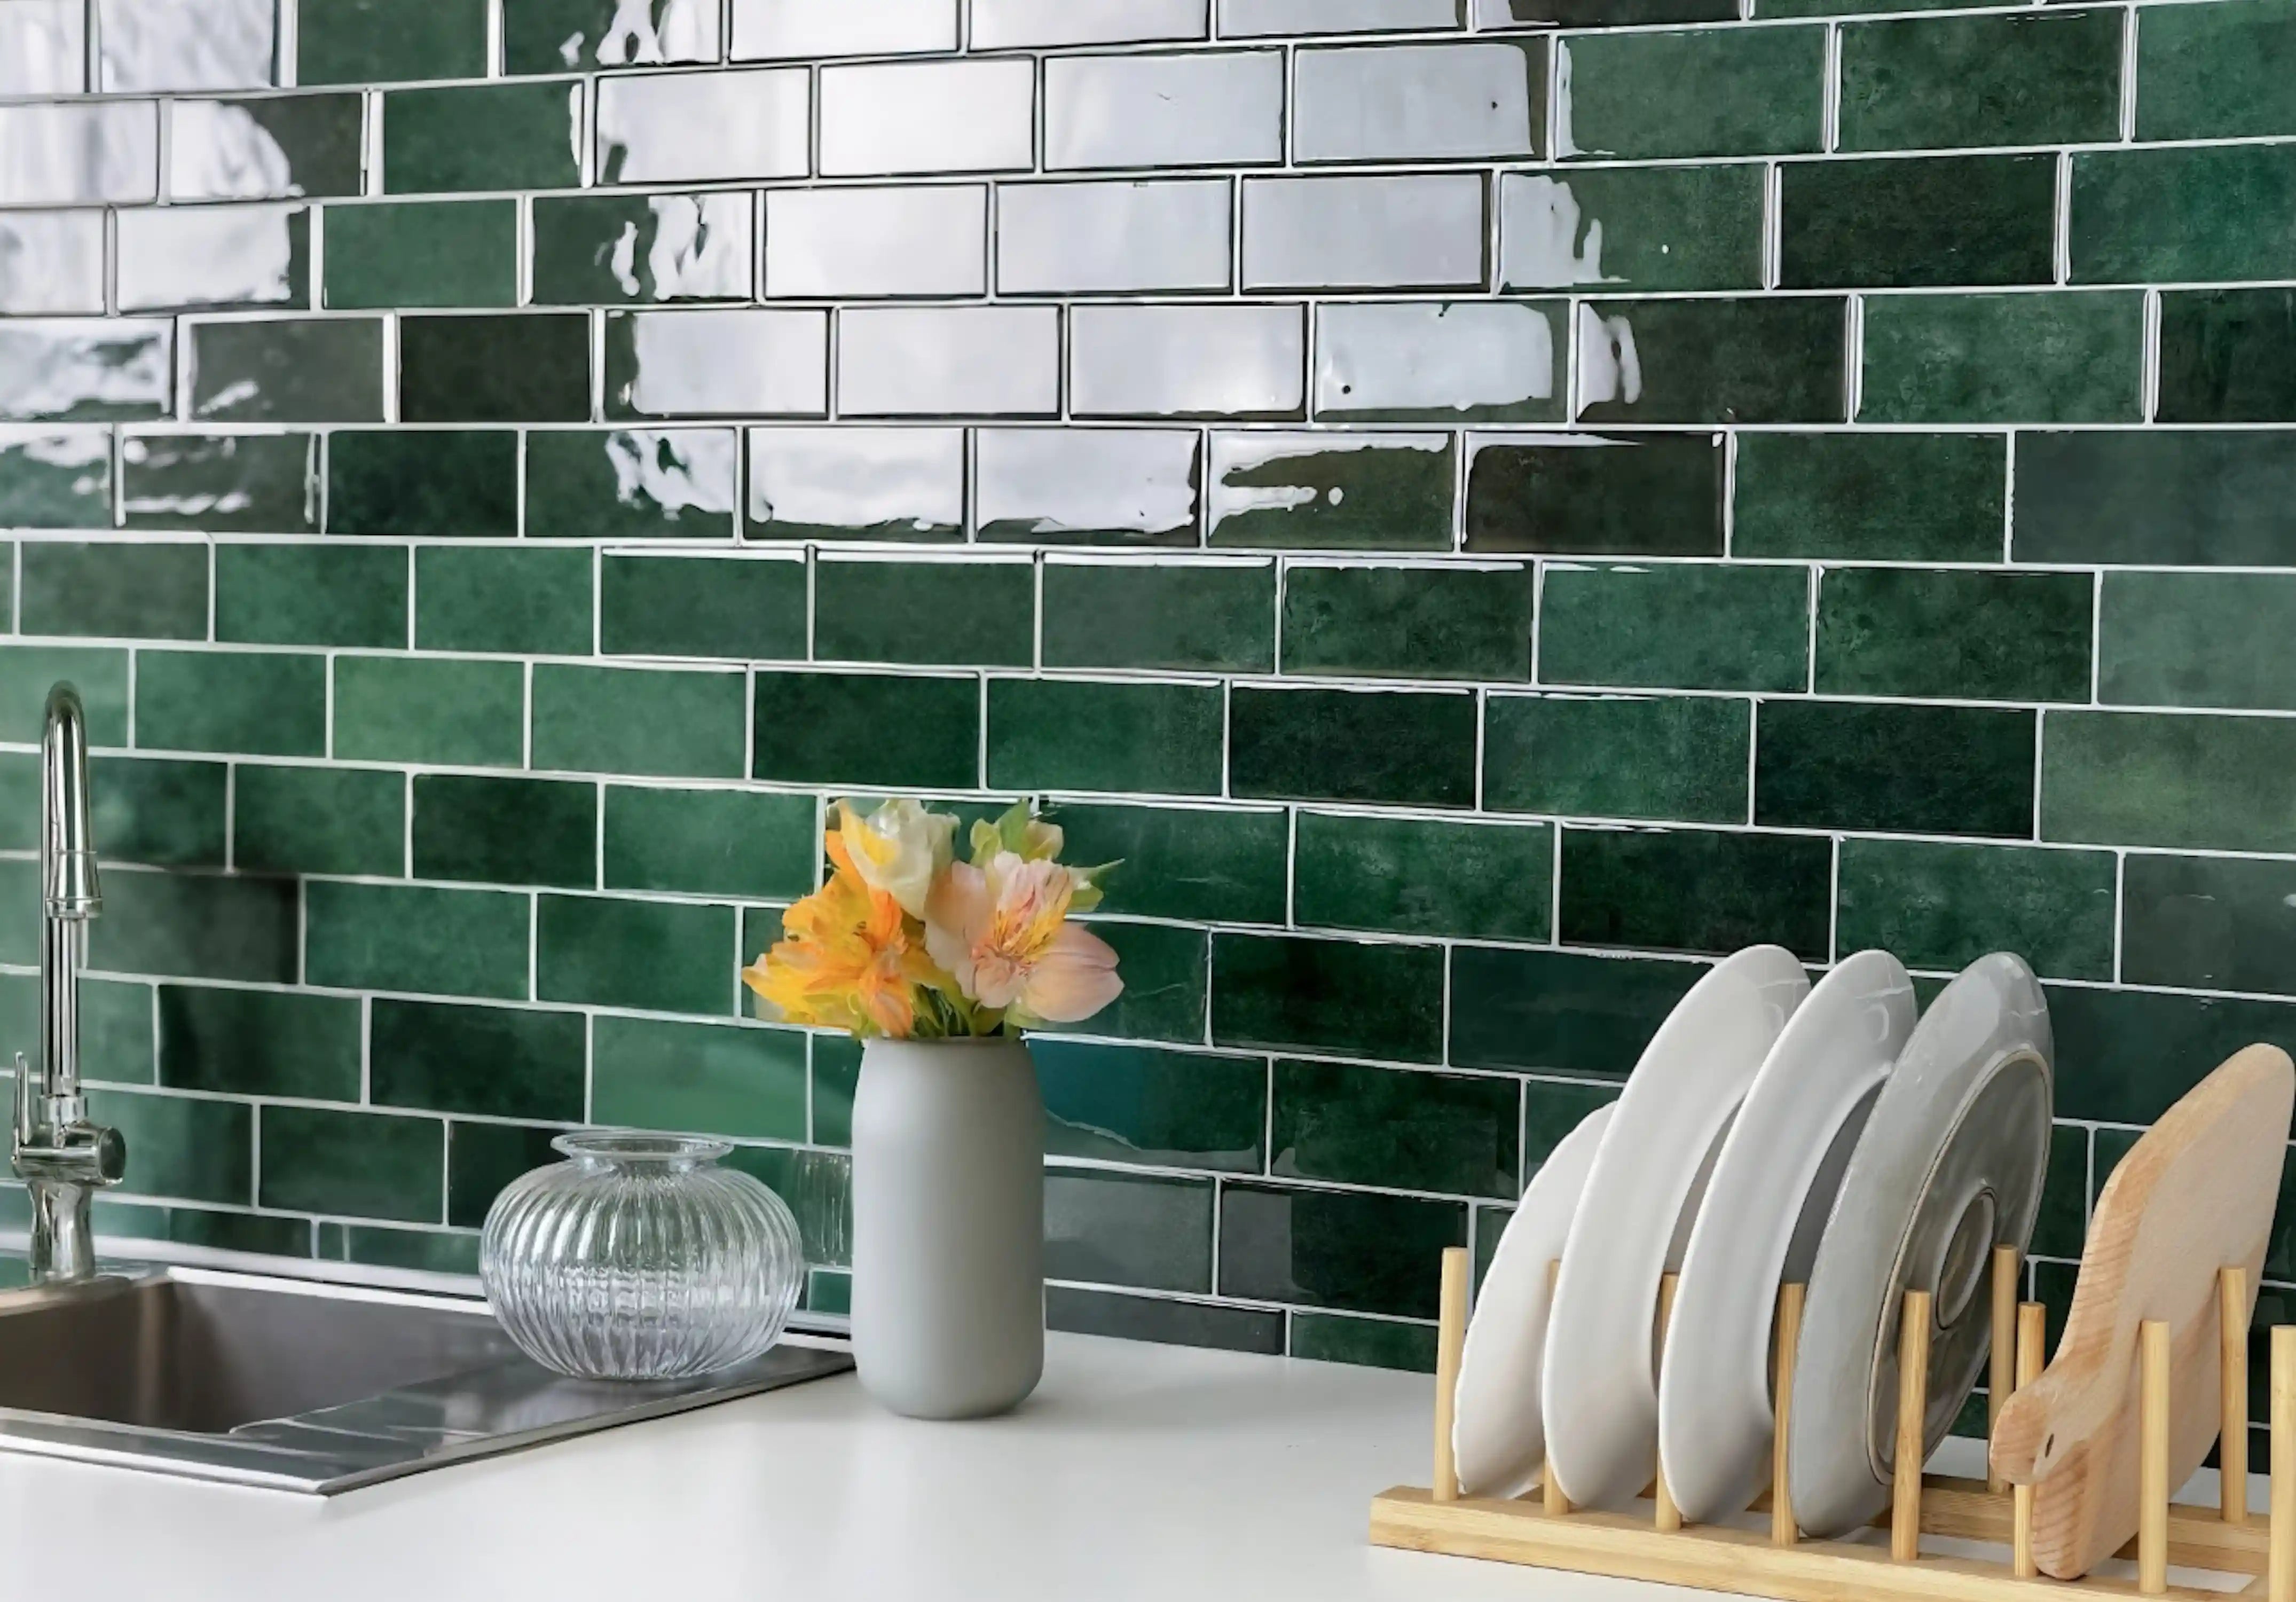
Die Verschönerung Ihres Raums muss nicht teuer sein! Die Lösung könnte so einfach sein wie selbstklebende Bodenfliesen, die jedem Raum ein bemerkenswertes neues Aussehen verleihen, ohne das große Preisschild. Egal, ob Sie ein DIY-Enthusiast sind oder einfach eine einfache Lösung lieben, dieser Artikel beleuchtet sowohl hochwertige als auch preiswerte selbstklebende Fliesenoptionen, die perfekt für stark frequentierte Bereiche und jede Ecke Ihres Zuhauses sind. Wussten Sie, dass die Verbraucherpräferenz für einfach zu verlegende Bodenbeläge in den letzten Jahren um 30 % gestiegen ist? Lassen Sie uns entdecken, wie Sie Ihre Böden wunderschön aufwerten können!
Top Marken für selbstklebende Bodenfliesen in stark frequentierten Bereichen
Wenn ich an Bodenbeläge denke, insbesondere für stark frequentierte Bereiche, stechen Haltbarkeit und Qualität als Schlüsselfaktoren hervor. Die Wahl der richtigen Marke kann einen großen Unterschied darin machen, wie lange Ihre Böden halten und wie gut sie dem täglichen Verschleiß standhalten. Hier werde ich einige führende Marken von selbstklebenden Bodenfliesen vorstellen, die sich perfekt für stark frequentierte Bereiche eignen.
Haltbarkeit und Qualität von Premium-Marken
- Berücksichtigen Sie das Material: Viele Premium-Marken verwenden hochwertiges Vinyl, das Langlebigkeit und einfache Reinigung bietet.
- Bewertungen lesen: Kundenfeedback kann helfen, die langfristige Leistung einzuschätzen.
- Garantieangelegenheiten: Eine gute Garantie kann das Vertrauen des Herstellers in sein Produkt anzeigen.
Wenn Sie in Bodenbeläge investieren, insbesondere in Bereichen wie der Küche oder dem Familienzimmer, sollten Sie Fliesen wählen, die nicht leicht aufquellen oder sich ablösen. Premium-Marken verwenden oft starke Materialien, die Kratzern und Dellen widerstehen, was in stark frequentierten Bereichen entscheidend ist. Zum Beispiel habe ich Marken wie Smart Tiles und Mosaic-style peel-and-stick tiles gesehen, die für ihre Haltbarkeit gelobt werden. Sie bestehen aus hochwertigem Vinyl, das dem Trubel des Alltags standhalten kann.
Bewertung der Top-Marken für stark frequentierte Bereiche
- Smart Tiles: Bekannt für ihr stilvolles Design, sind diese Fliesen auch unglaublich langlebig.
- Armstrong: Bietet eine Vielzahl von Mustern und Texturen, die sowohl Ästhetik als auch Robustheit bieten.
- Mosaikfliesen: Perfekt, um jedem Raum eine einzigartige Note zu verleihen und gleichzeitig robust genug, um Fußverkehr standzuhalten.
Jede Marke hat ihre Besonderheiten, und es lohnt sich, Optionen zu erkunden, die zu Ihrer Designvision passen. Zum Beispiel liebe ich, wie Smart Tiles Optionen wie U-Bahn-Fliesen-Designs bieten, die einen Raum ohne den Aufwand einer herkömmlichen Fliesenverlegung verwandeln können. Diese Fliesen sind langlebig und lassen sich leicht abwischen, was sie zu einer praktischen Wahl für Küchen oder Badezimmer macht.
Überlegungen zur Auswahl von Fliesen für stark frequentierte Bereiche
- Kachelstärke: Dickere Fliesen bieten in der Regel eine bessere Haltbarkeit.
- Oberflächenstruktur: Strukturierte Fliesen können besseren Halt bieten und sind weniger rutschig.
- Leichte Reinigung: Glatte Oberflächen sind einfacher zu pflegen und widerstehen Schmutz.
Beim Auswählen von Fliesen für Bereiche wie Flure oder Eingangsbereiche empfehle ich, die Dicke und Oberflächentextur zu berücksichtigen. Dickere Fliesen sind oft widerstandsfähiger gegen starken Verkehr. Außerdem kann die Wahl von Designs mit Texturen das Ausrutschen verringern und sie somit sicherer für Familien mit Kindern oder Haustieren machen.
Budget Bodenbelagsideen: Preiswerte selbstklebende Fliesenoptionen
Die Verschönerung Ihres Zuhauses muss nicht teuer sein! Es gibt eine ganze Welt von budgetfreundlichen selbstklebenden Fliesenoptionen, die jeden Raum aufwerten können, ohne Ihr Portemonnaie zu belasten.
Erschwingliche selbstklebende Fliesenoptionen, geeignet für alle Räume
- Vinyl-Klebefliesen: Oft die wirtschaftlichste Wahl, sie sind in verschiedenen Stilen und Farben erhältlich.
- Abzieh- und klebfliesen: Diese sind einfach zu installieren und zu entfernen, was sie ideal für Mieter macht.
- Mosaikstile: Erschwingliche Optionen, um Charakter hinzuzufügen, ohne das Budget zu sprengen.
Ich habe festgestellt, dass Vinyl-Klebefliesen für jeden Raum fantastisch sind, von Badezimmern bis zu Küchen. Sie sind kostengünstig und in zahlreichen Designs erhältlich, was Kreativität ermöglicht. Außerdem sind Peel-and-Stick-Fliesen perfekt für alle, die ihre Einrichtung oft ändern möchten, da sie leicht entfernt und ersetzt werden können.
Installationstipps für kostengünstige Bodenbeläge
- Zweimal messen, einmal schneiden: Genaue Messungen verhindern Verschwendung und zusätzliche Kosten.
- Bereiten Sie die Oberfläche vor: Stellen Sie sicher, dass der Boden sauber und trocken ist, um die beste Haftung zu gewährleisten.
- Befolgen Sie die Anweisungen: Jede Fliesenmarke kann spezifische Installationsschritte haben.
Als ich selbst Peel-and-Stick-Fliesen in meiner Küche verlegte, lernte ich schnell, dass Vorbereitung entscheidend ist. Den Boden gründlich zu reinigen, bevor man beginnt, stellt sicher, dass die Fliesen richtig haften. Ich erinnere mich, dass ich den Raum sorgfältig ausmaß und die Fliesen systematisch verlegte, was half, Fehler zu vermeiden und mir sowohl Zeit als auch Geld sparte.
Designideen zur Steigerung des ästhetischen Werts
- Muster erstellen: Verschiedene Stile für einen einzigartigen Look mischen.
- Akzentwände: Verwenden Sie Fliesen an einer Akzentwand, um den Blick zu lenken.
- Farbkoordination: Wählen Sie Fliesen, die Ihre bestehende Einrichtung ergänzen.
Um den ästhetischen Wert Ihres Raums zu steigern, sollten Sie in Erwägung ziehen, einzigartige Muster mit verschiedenen Fliesenstilen zu erstellen. Ich habe einmal eine Rückwand in meiner Küche entworfen, indem ich eine Kombination aus Mosaik- und einfarbigen Fliesen verwendet habe, die sofort zum Gesprächsthema wurde. Akzentwände mit selbstklebenden Fliesen können Tiefe und Interesse hinzufügen und jeden Raum vollständig wirken lassen.
Installationsprozess für selbstklebende Bodenfliesen
Das Verlegen von selbstklebenden Bodenfliesen ist einfacher, als Sie vielleicht denken. Mit etwas Vorbereitung und den richtigen Werkzeugen können Sie im Handumdrehen einen neuen Boden haben.
Schritt-für-Schritt-Anleitung zur Installation von selbstklebenden Fliesen
- Sammeln Sie Ihre Materialien: Sie benötigen Fliesen, ein Maßband, ein Universalmesser und eine gerade Kante.
- Bereiten Sie Ihren Raum vor: Räumen Sie die Möbel weg und sorgen Sie dafür, dass der Boden sauber ist.
- Maßnehmen und zuschneiden: Messen Sie jede Fliese und schneiden Sie sie bei Bedarf zu, um sie an Ihr Layout anzupassen.
- Abziehen und kleben: Beginnen Sie in der Mitte des Raumes oder in einer Ecke, ziehen Sie die Rückseite ab und drücken Sie die Fliese fest nach unten.
Das erste Mal, als ich selbstklebende Fliesen verlegt habe, war ich überrascht, wie einfach es war! Ich begann damit, den Raum zu räumen und jeden Abschnitt auszumessen. Ich stellte sicher, dem empfohlenen Verlegemuster zu folgen, was mir half, mir vorzustellen, wie die Fliesen nach der Installation aussehen würden. Nachdem ich die Rückseite abgezogen hatte, drückte ich jede Fliese fest an ihren Platz und achtete darauf, sie richtig auszurichten.
Unverzichtbare Werkzeuge und Materialien
- Universalmesser: Zum Zuschneiden von Fliesen, damit sie passen.
- Gerade Kante: Um saubere, gerade Schnitte zu gewährleisten.
- Roller: Nützlich, um Fliesen anzudrücken und die Haftung zu verbessern.
- Wasserwaage: Hilft zu überprüfen, ob die Fliesen gleichmäßig verlegt sind.
Die richtigen Werkzeuge machen einen erheblichen Unterschied im Installationsprozess. Ich habe gelernt, dass die Verwendung einer Walze dabei helfen kann, jede Fliese fest anzudrücken und so ein späteres Ablösen zu verhindern. Ein Wasserwaage in der Nähe zu haben war ebenfalls entscheidend, da ich damit überprüfen konnte, ob alles perfekt ausgerichtet aussieht.
Häufige Fehler, die vermieden werden sollten
- Die Vorbereitungsarbeit überspringen: Reinigen und trocknen Sie Ihren Boden immer, bevor Sie beginnen.
- Falsche Messungen: Überprüfen Sie Ihre Messungen doppelt, um Verschwendung zu vermeiden.
- Die Installation überstürzen: Nehmen Sie sich Zeit, um sicherzustellen, dass jede Fliese korrekt platziert wird.
Ein Fehler, den ich bei meiner ersten Installation gemacht habe, war, den Boden nicht ausreichend zu reinigen, was dazu führte, dass sich nach einiger Zeit einige Fliesen lösten. Es war eine wertvolle Lektion! Nehmen Sie sich immer Zeit und überprüfen Sie jede Fliese nach dem Verlegen, um sicherzustellen, dass alles ausgerichtet und fest sitzt.
Pflegehinweise für selbstklebende Bodenfliesen
Sobald Sie Ihre selbstklebenden Fliesen installiert haben, ist es wichtig, sie in einem guten Zustand zu halten. Hier sind einige Pflegetipps, die die Lebensdauer Ihres Bodenbelags verlängern.
Anleitung zur Sauberhaltung und Unversehrtheit der Fliesen
- Regelmäßiges Fegen: Verhindern Sie die Ansammlung von Schmutz durch regelmäßiges Fegen.
- Sanfte Reinigungslösung: Verwenden Sie milde Reinigungsmittel, um die Fliesen nicht zu beschädigen.
- Vermeiden Sie aggressive Chemikalien: Diese können den Klebstoff im Laufe der Zeit zersetzen.
Die Pflege von selbstklebenden Fliesen ist ziemlich einfach. Ich fege meine Böden normalerweise alle paar Tage und verwende einen feuchten Mopp mit einer milden Reinigungslösung. Es ist erstaunlich, wie eine kleine regelmäßige Wartung sie jahrelang wie neu aussehen lassen kann. Es ist auch wichtig, aggressive Chemikalien fernzuhalten – ich habe gelernt, dass Essig und starke Reinigungsmittel den Klebstoff schwächen können, was zu möglichem Ablösen führt.
Verwaltung von Verschleiß in stark frequentierten Bereichen
- Teppiche verwenden: Ziehen Sie in Betracht, Teppiche in Bereichen mit starkem Fußverkehr zu platzieren.
- Schnelle Ausbesserungen: Ersetzen Sie beschädigte Fliesen umgehend.
- Möbel klug positionieren: Die Gewichtsverteilung kann helfen, Schäden zu minimieren.
In meinen stark frequentierten Bereichen habe ich festgestellt, dass das Platzieren eines dekorativen Teppichs hilft, den Verschleiß der Fliesen zu reduzieren. Es ist eine einfache, aber effektive Methode, sie vor Kratzern zu schützen. Außerdem empfehle ich, beschädigte Fliesen so schnell wie möglich zu ersetzen, um ein nahtloses Erscheinungsbild zu bewahren.
Tipps zur Verlängerung der Lebensdauer Ihres Bodenbelags
- Vermeiden Sie das Ziehen von Möbeln: Heben Sie Möbel an, anstatt sie zu ziehen, um Kratzer zu vermeiden.
- Feuchtigkeit kontrollieren: Hohe Luftfeuchtigkeit kann die Fliesenhaftung beeinträchtigen.
- Regelmäßige Inspektionen: Achten Sie auf Anzeichen von Verschleiß oder Beschädigungen.
Die Pflege Ihrer Böden besteht darin, bewusst mit Ihrem Raum umzugehen. Ich habe mir angewöhnt, schwerere Gegenstände anzuheben, anstatt sie über meine Böden zu schieben. Diese kleine Veränderung hat Kratzer und mögliche Schäden erheblich reduziert.
Abschluss
Selbstklebende Bodenfliesen sind eine fantastische Möglichkeit, Ihrem Zuhause einen frischen Look zu verleihen, ohne das Budget zu sprengen. Sie sind in verschiedenen Stilen erhältlich, einfach zu verlegen und können mit minimalem Aufwand gepflegt werden. Egal, ob Sie langlebige Optionen für stark frequentierte Bereiche oder preiswerte Fliesen für eine schnelle Auffrischung suchen, hier ist für jeden etwas dabei. Indem Sie die hier vorgestellten Marken und Tipps erkunden, können Sie einen schönen Raum schaffen, der Ihren Stil widerspiegelt und die Zeit überdauert.
Häufig gestellte Fragen
1. Wie wähle ich die richtigen selbstklebenden Fliesen für mein Zuhause aus?
Beim Auswählen von selbstklebenden Fliesen sollten Sie den Verkehrsaufkommen im Raum, die Haltbarkeit des Materials und die gewünschte Ästhetik berücksichtigen. Hochwertige Vinyloptionen sind in der Regel am besten für stark frequentierte Bereiche geeignet.
2. Kann ich selbstklebende Fliesen über bestehenden Bodenbelag verlegen?
Ja! Klebefliesen können oft über bestehenden Bodenbelag gelegt werden, vorausgesetzt, die Oberfläche ist sauber, trocken und eben.
3. Wie lange halten selbstklebende Fliesen?
Bei richtiger Pflege können selbstklebende Fliesen je nach Qualität und Standort zwischen 5 und 20 Jahren halten.
4. Sind selbstklebende Fliesen wasserdicht?
Viele selbstklebende Fliesen, insbesondere solche aus Vinyl, sind wasserbeständig, was sie für Bereiche wie Küchen und Badezimmer geeignet macht. Es ist jedoch immer ratsam, die Angaben des Herstellers zu überprüfen.
Fühlen Sie sich frei, unsere Merchandise-Links für atemberaubende selbstklebende Bodenoptionen wie Timberline Checks und Crimson Horizon zu erkunden. Für weitere hilfreiche Informationen und Tipps schauen Sie sich unsere internen Blogartikel zu Smart Tiles, Creative Tile Patterns und Stick-On Floor Tile Upgrades an. Viel Spaß beim Fliesenlegen!


Hinterlasse einen Kommentar
Diese Website ist durch hCaptcha geschützt und es gelten die allgemeinen Geschäftsbedingungen und Datenschutzbestimmungen von hCaptcha.