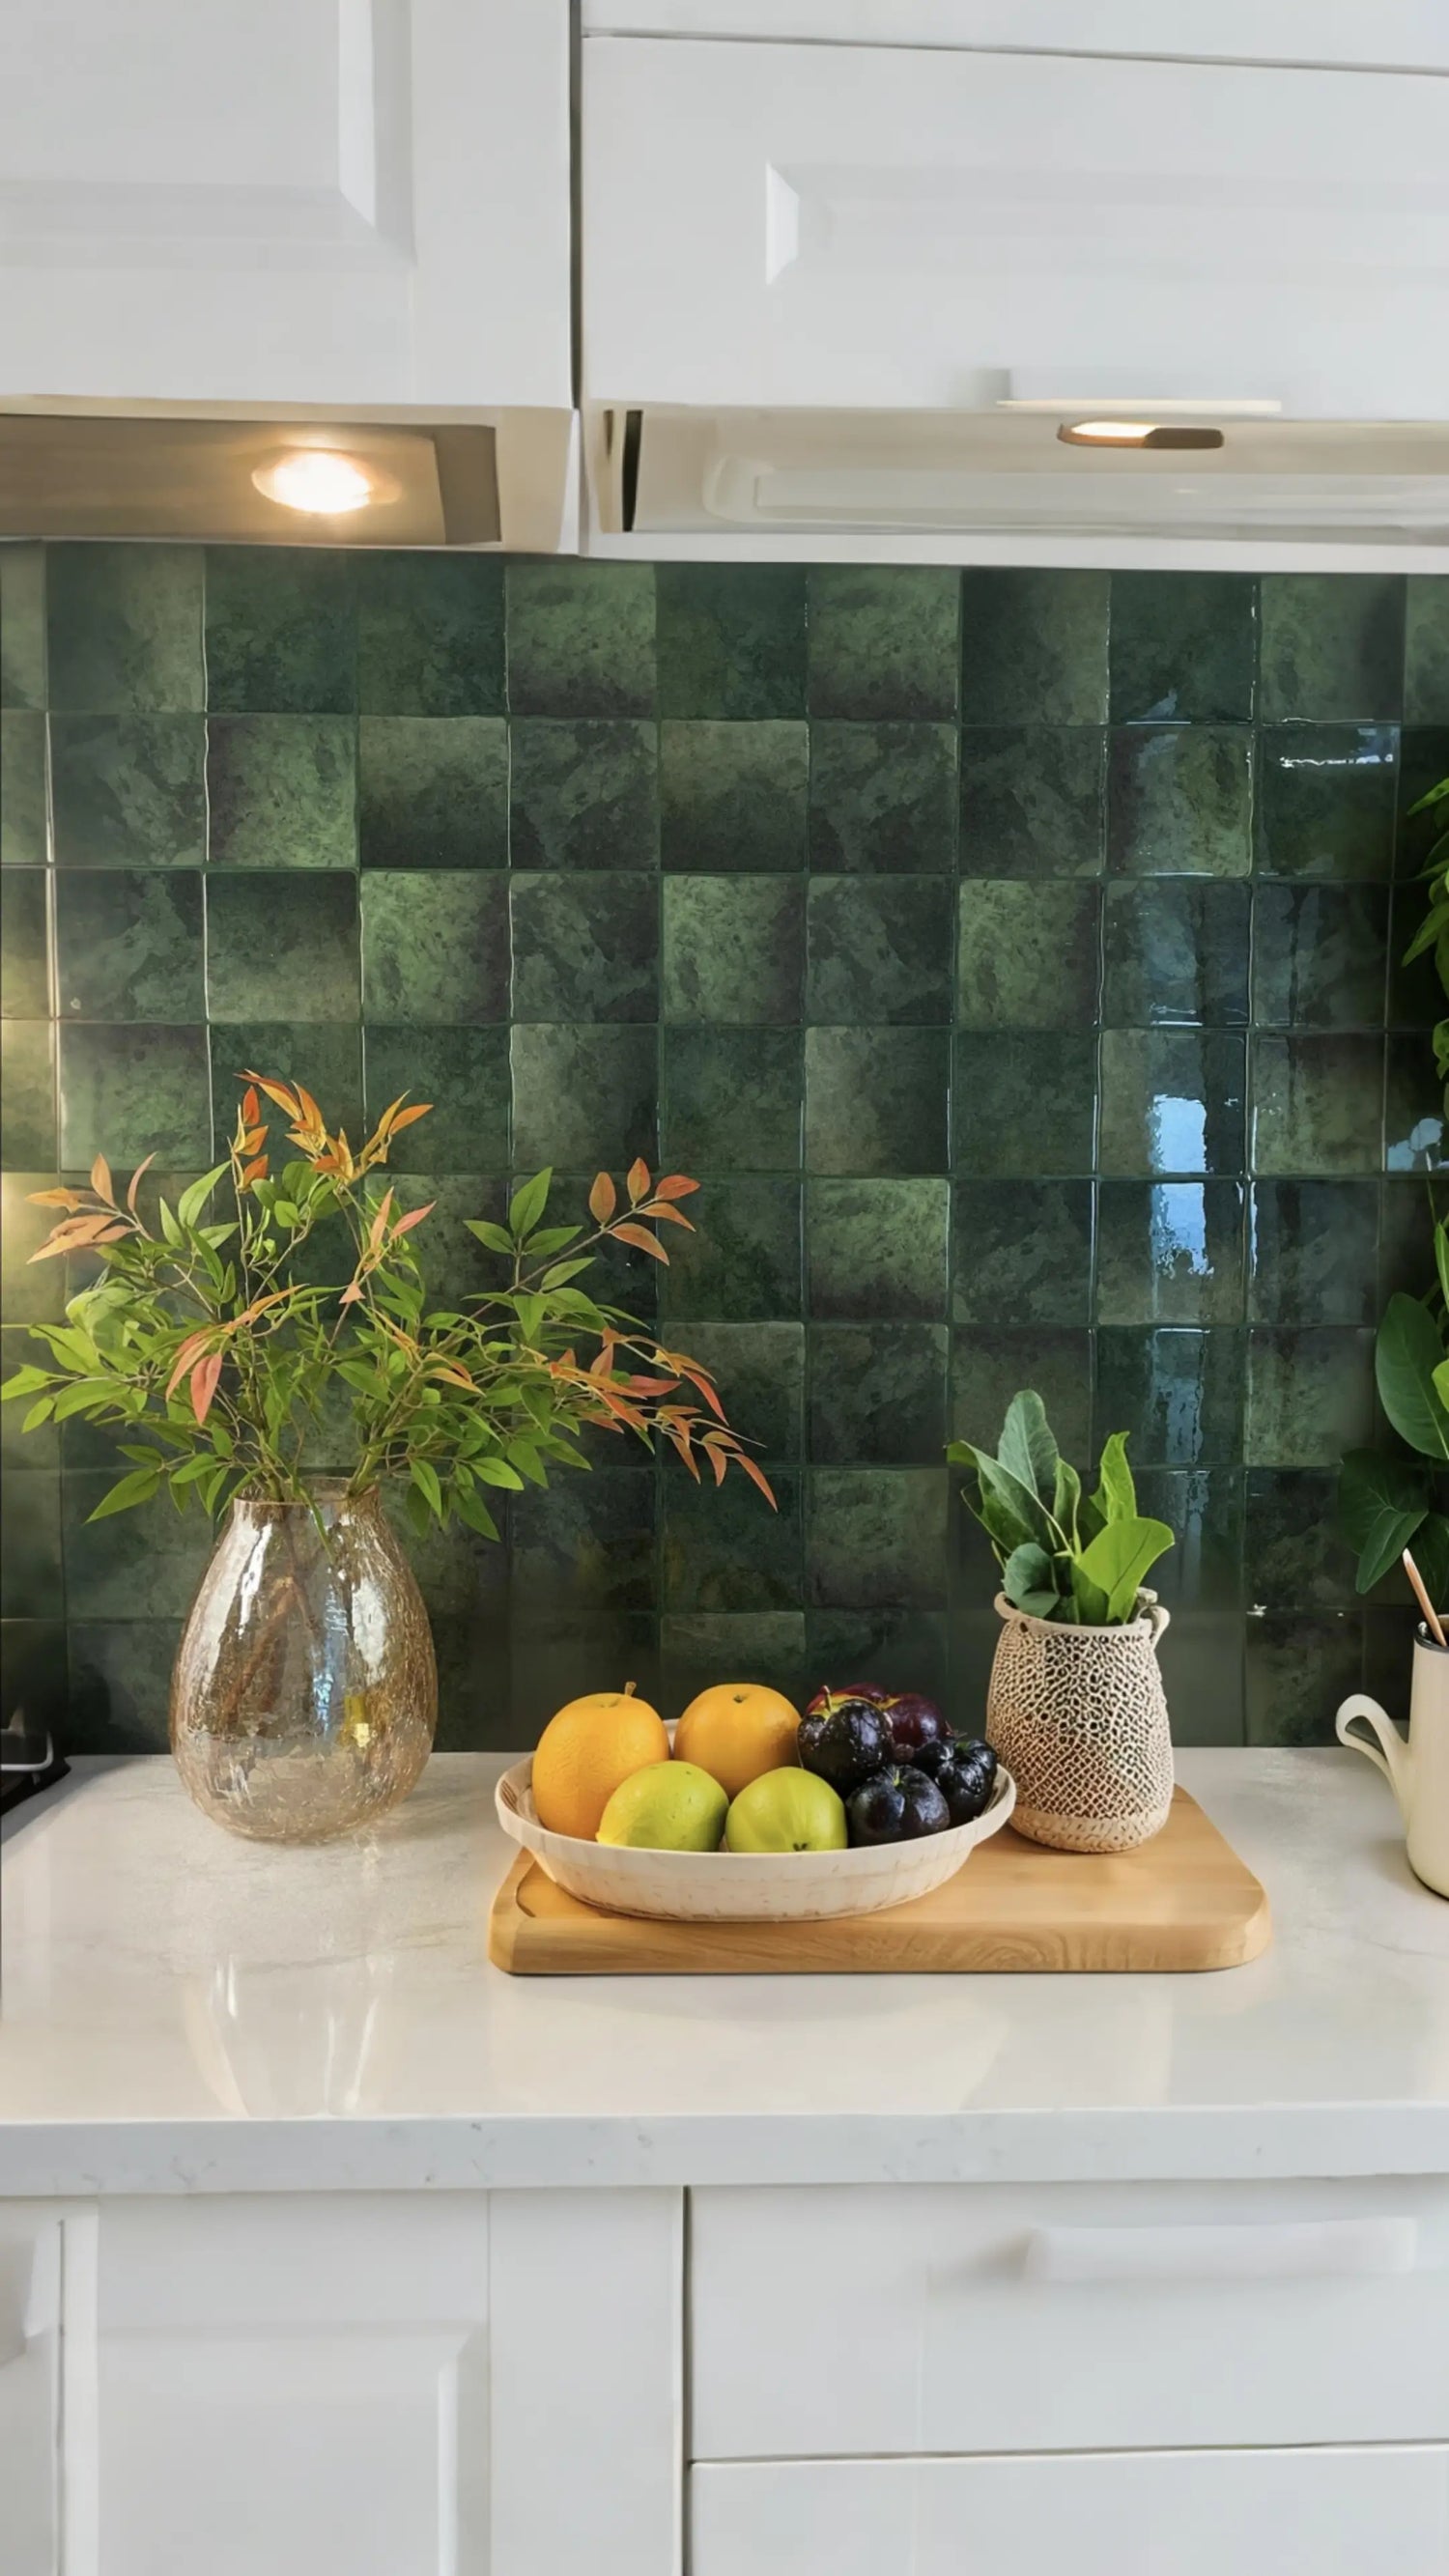
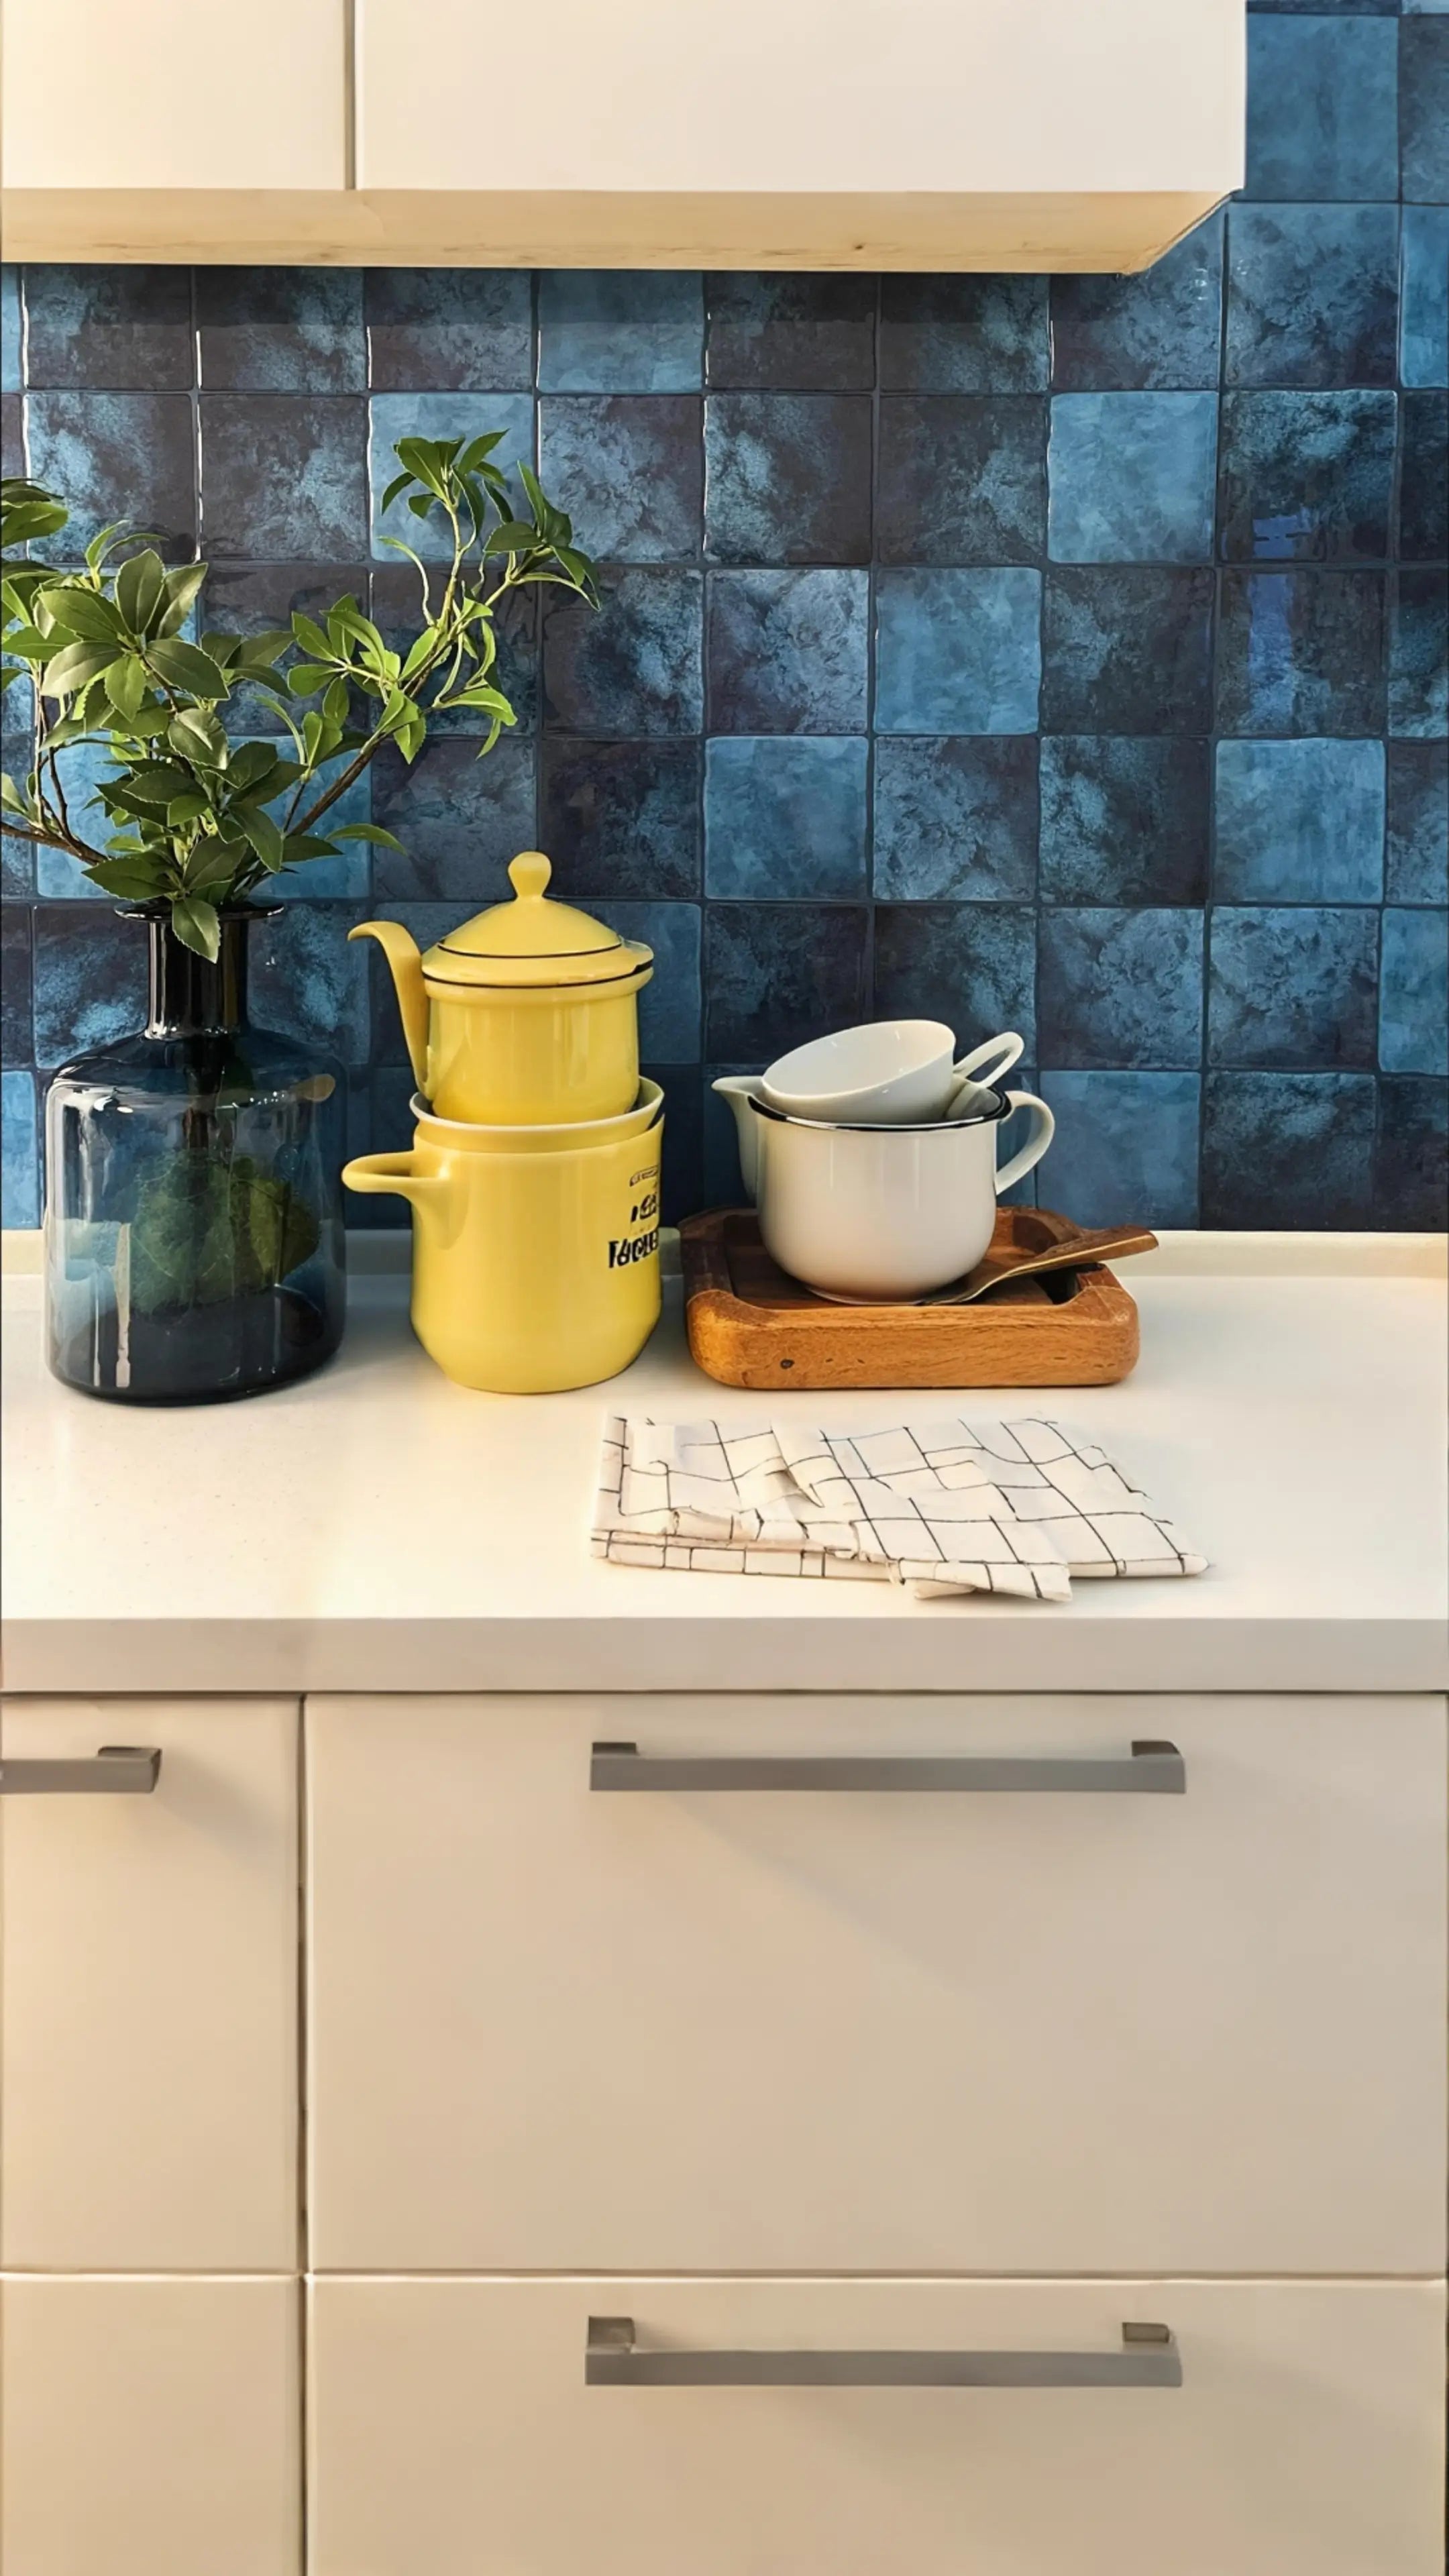
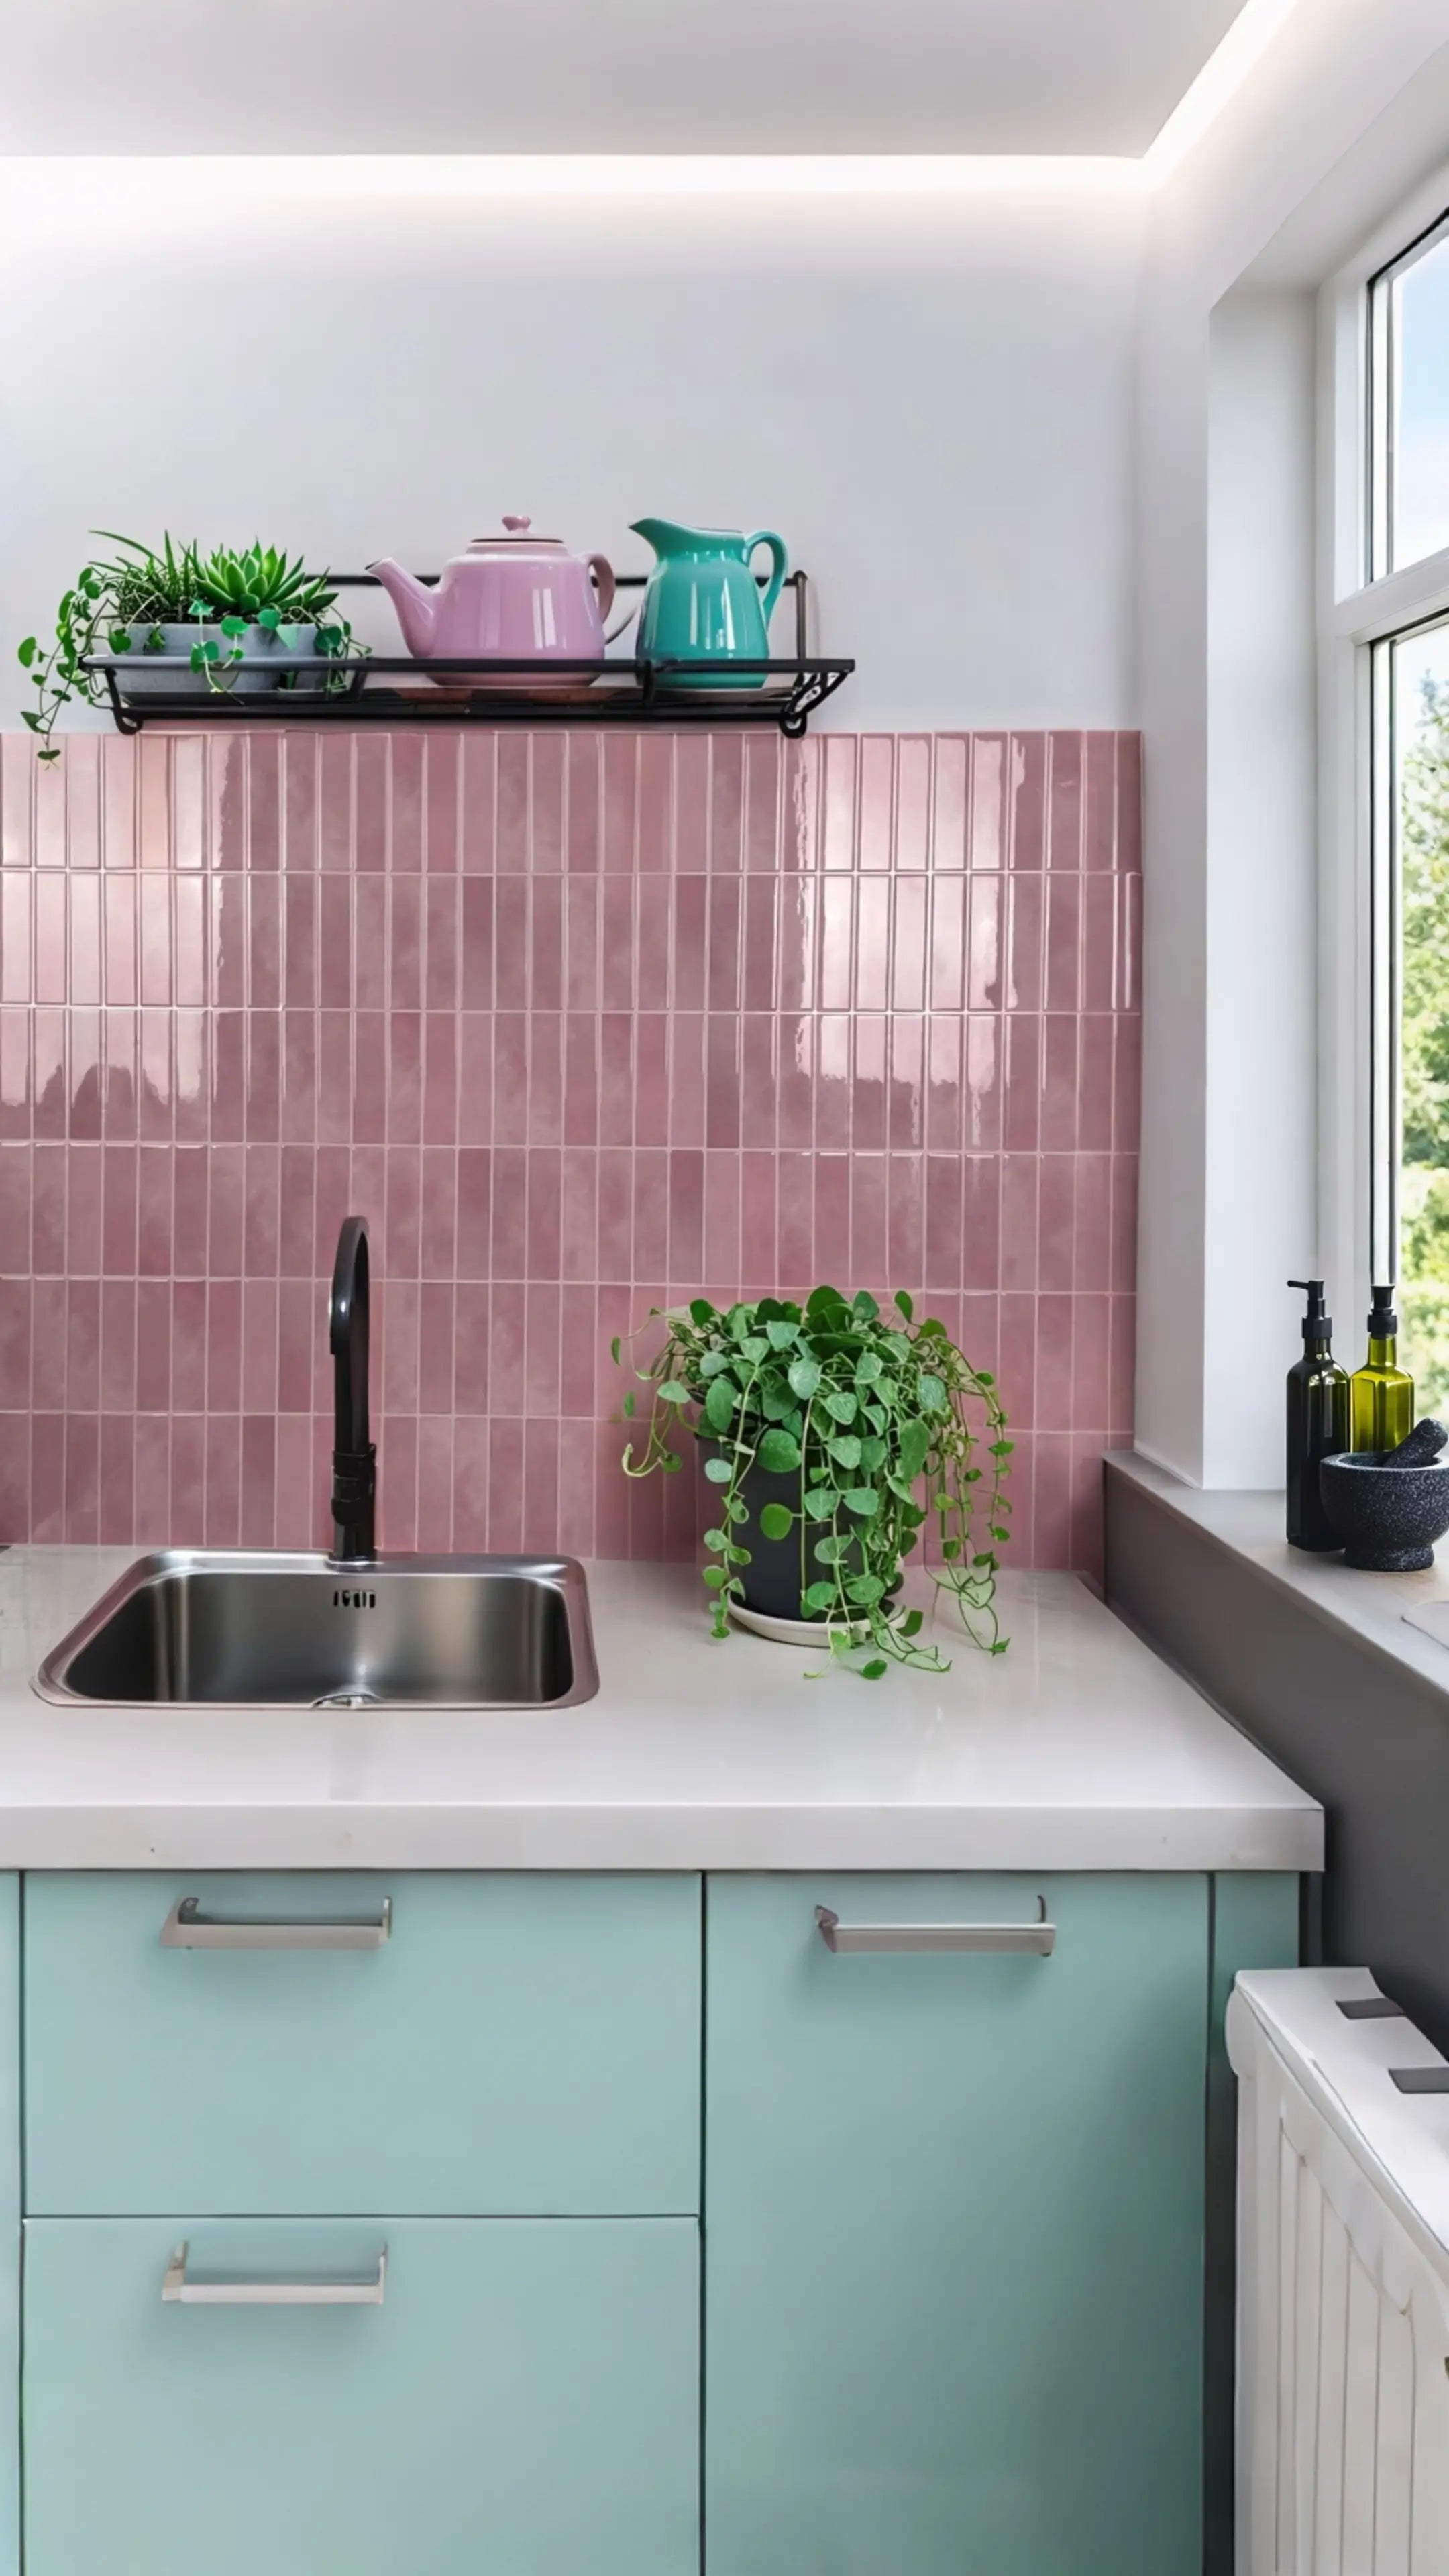
¿Buscas renovar tu espacio vital sin gastar una fortuna ni comprometerte con cambios permanentes? ¡Los azulejos adhesivos fáciles de instalar podrían ser la solución que necesitas! Con las tendencias en decoración del hogar que se inclinan hacia opciones más flexibles y económicas, los azulejos adhesivos están ganando popularidad, especialmente entre los inquilinos. ¿Sabías que una encuesta reciente reveló que el 68% de los inquilinos buscan soluciones temporales para mejoras en el hogar? Profundicemos en cómo puedes instalar fácilmente estos azulejos y si son la opción ideal para tu vivienda de alquiler.
Entendiendo los Azulejos Adhesivos
¿Qué son los mosaicos adhesivos?
-
Composición de los azulejos adhesivos : Los azulejos adhesivos se fabrican principalmente con materiales como vinilo o PVC. Su base adhesiva es resistente y facilita su instalación. Vienen en diversos diseños, texturas y colores, lo que los convierte en una excelente opción para quienes buscan renovar su espacio. Los materiales utilizados suelen ser duraderos, resistentes al agua y fáciles de limpiar, lo que los hace ideales para cocinas y baños.
-
Estilos y diseños populares : Existe una amplia variedad de estilos de azulejos adhesivos. Desde los clásicos azulejos de metro hasta modernos patrones geométricos, encontrará diseños que se adaptan a cualquier estilo. Si busca un toque rústico, también disponemos de azulejos con aspecto de madera o con diseños de ladrillo. Esta versatilidad permite a propietarios e inquilinos expresar su estilo personal sin la necesidad de los azulejos tradicionales.
-
Ventajas de usar azulejos adhesivos : La principal ventaja de los azulejos adhesivos es su fácil instalación. No necesita ayuda profesional ni herramientas especializadas; ¡simplemente retire el protector y péguelos! Además, son fáciles de retirar, lo cual es perfecto para inquilinos. Puede cambiar la decoración tantas veces como desee sin dañar las paredes. Esta flexibilidad hace que los azulejos adhesivos sean una opción atractiva para quienes buscan renovar su espacio.
¿Por qué elegir baldosas adhesivas?
Elegir baldosas adhesivas es una decisión inteligente por muchas razones. Primero, son increíblemente... asequible En comparación con las opciones de azulejos tradicionales, ofrecen una forma única de lograr un estilo de diseño sin un presupuesto elevado. Además, son una opción ecológica, ya que muchas marcas ahora producen azulejos con materiales reciclados.
Para los inquilinos, las baldosas adhesivas representan una sin complicaciones Una forma de realzar la decoración respetando los contratos de alquiler, que a menudo prohíben cambios permanentes. Gracias a la facilidad para retirar y reemplazar estos azulejos, podrá disfrutar de un espacio hermoso sin el estrés de posibles multas por daños o alteraciones.
Preparación antes de la instalación
Limpieza y medición del área
-
Limpie la superficie : Antes de instalar las baldosas adhesivas, la superficie debe estar limpia y seca. Suelo usar un detergente suave para limpiar la zona, eliminando el polvo, la grasa y la suciedad. Esto garantiza una correcta adhesión del adhesivo y una mayor durabilidad.
-
Mida el área : Es fundamental tomar medidas precisas. Recomiendo usar una cinta métrica para determinar cuántos azulejos necesitará. Mida la altura y el ancho de la pared o el piso y multiplique estos números para obtener la superficie total. No olvide tener en cuenta los recortes o espacios donde no se colocarán los azulejos. Este paso ayuda a evitar faltantes inesperados durante la instalación.
Herramientas necesarias para la instalación
-
Herramientas esenciales : No necesitarás muchas herramientas sofisticadas para instalar baldosas adhesivas. Aquí tienes una breve lista de lo que recomiendo:
- Un cuchillo multiusos para cortar azulejos.
- Una regla o regla para hacer cortes limpios y rectos.
- Un nivel para garantizar que las baldosas estén alineadas correctamente.
- Una cinta métrica para obtener las dimensiones correctas.
- Un paño suave para limpiar superficies.
Estas herramientas harán que el proceso de instalación sea mucho más sencillo y garantizarán que sus azulejos tengan un aspecto profesional.
Consejos para una colocación óptima
-
Planifique su diseño : Antes de comenzar la instalación, coloque las baldosas en el suelo o la pared sin retirar el adhesivo. Esto le dará una idea clara de cómo quedará el diseño y le permitirá realizar ajustes fácilmente.
-
Empieza desde el centro : Para lograr una apariencia más simétrica, me resulta útil empezar por el centro del área y trabajar hacia afuera. Este método garantiza que los cortes o ajustes se distribuyan uniformemente, logrando un aspecto final más equilibrado.
Guía paso a paso para la instalación de baldosas adhesivas
Alineando correctamente la primera pieza
-
Punto de partida : La primera baldosa es crucial para una instalación atractiva. Una vez que haya medido y planificado la distribución, retire el protector de la primera baldosa y colóquela con cuidado en la pared o el suelo. Me gusta usar un nivel para asegurarme de que esté recta.
-
Presione firmemente : Una vez colocada la baldosa, presione firmemente, especialmente en los bordes, para asegurar una adhesión firme. Es importante tomarse su tiempo en esta etapa, ya que la primera baldosa marcará la pauta para el resto de la instalación.
Cortar baldosas para que se ajusten a los espacios
-
Cortes : Al llegar a los bordes o esquinas, es posible que tenga que cortar las baldosas para que encajen. Recomiendo marcar la baldosa con un lápiz antes de cortar para garantizar la precisión. Con una cuchilla multiusos, corte con cuidado siguiendo las marcas. Asegúrese de tener un pulso firme para lograr bordes limpios.
-
Acabado de bordes : A veces, puede que necesites usar azulejos más pequeños para formas o espacios inusuales. Aquí es donde entra en juego la creatividad. Considera usar piezas decorativas o azulejos más pequeños para realzar el diseño y que se integren perfectamente en el espacio.
Garantizar la adhesión y la longevidad
-
Presionar para la Adhesión : Después de colocar cada baldosa, recomiendo repasar la superficie con un paño suave o un rodillo para eliminar las burbujas de aire. Este paso adicional puede ayudar a asegurar que las baldosas se adhieran correctamente y duren más.
-
Seguimiento : Después de la instalación, evite realizar limpiezas intensas o colocar peso sobre las baldosas durante al menos 24 horas. Esto garantiza que el adhesivo tenga tiempo de fraguar y crear una unión fuerte.
Ventajas de usar azulejos adhesivos en alquileres
Asequibilidad y versatilidad
-
Rentable : Una de las mayores ventajas de las baldosas adhesivas es su precio. Para inquilinos que buscan... Si buscas una reforma de cocina económica , estos azulejos ofrecen una opción asequible sin sacrificar el estilo. Ya sea que estés renovando un protector contra salpicaduras o el suelo, el coste es significativamente menor que la instalación tradicional de azulejos.
-
Aplicaciones versátiles : Los azulejos adhesivos se pueden usar en diversos entornos. Desde salpicaderos de cocina hasta reformas de baños, estos azulejos son perfectos para realzar cualquier espacio de una vivienda de alquiler. Su versatilidad permite cambiar constantemente el aspecto de una habitación sin gastos adicionales.
Fácil extracción sin daños
-
Decoración sin daños : Cuando llegue el momento de mudarse, podrá retirar fácilmente los azulejos sin dañar las superficies subyacentes. Esto hace que los azulejos adhesivos sean una excelente opción. Una solución de decoración adaptada a los inquilinos . Es un gran alivio saber que no tendré que pagar multas por daños en las paredes al dejar el alquiler.
-
Azulejos Reposicionables : Si se comete un error durante la instalación, estos azulejos a menudo se pueden reposicionar sin perder sus propiedades adhesivas. ¡Esto es una gran ventaja para quienes no lo logran a la primera!
Opciones personalizables para un estilo personal
-
Toque personal : Con tantos estilos y colores disponibles, puedes personalizar tu espacio a tu gusto. Ya sea que prefieras una decoración minimalista o diseños de pared vibrantes y creativos, ¡hay un azulejo autoadhesivo para ti!
-
Cambios de temporada : Puedes cambiar fácilmente la apariencia de tu espacio según las estaciones. Por ejemplo, me gusta cambiar mis azulejos cada pocos meses para mantener un ambiente fresco y atractivo. Los azulejos adhesivos permiten esta flexibilidad sin gastar una fortuna.
Desventajas del uso de baldosas adhesivas en alquileres
Potencial de desgaste
-
Problemas de durabilidad : Si bien los azulejos adhesivos son ideales para muchas aplicaciones, no son indestructibles. En zonas de mucho tránsito, pueden mostrar signos de desgaste con el tiempo. Por ejemplo, si los usa en una cocina concurrida, podría notar que necesita reemplazarlos con mayor frecuencia que los azulejos tradicionales.
-
Desafíos de limpieza : Algunos azulejos adhesivos pueden no resistir bien los productos de limpieza agresivos. Es fundamental usar detergentes suaves para no dañar el acabado.
Limitaciones de uso en zonas con alta humedad
-
Preocupaciones por la humedad : Aunque muchas baldosas adhesivas son resistentes al agua, podrían no ser adecuadas para zonas expuestas a mucha humedad, como duchas o piscinas. Es importante tener esto en cuenta al planificar la instalación.
-
Aprobación del propietario : Siempre es recomendable consultar con el propietario antes de realizar cualquier cambio significativo, incluso si es temporal. Algunos propietarios pueden tener normas específicas sobre lo que se puede o no hacer en la propiedad de alquiler, lo que podría influir en su decisión de usar baldosas adhesivas.
Impacto en los contratos de alquiler y las aprobaciones de los propietarios
-
Contratos de alquiler : Asegúrese siempre de que el uso de azulejos adhesivos cumpla con su contrato de arrendamiento. Aunque muchos propietarios aceptan soluciones de decoración temporales, es recomendable aclarar cualquier posible problema con antelación.
-
Proceso de aprobación : A algunos inquilinos les puede resultar útil conversar con sus arrendadores sobre sus planes. Este enfoque proactivo puede evitar malentendidos y garantizar que ambos estén de acuerdo con respecto a las mejoras del hogar.
Conclusión
Los azulejos adhesivos fáciles de instalar ofrecen una forma emocionante de transformar espacios sin necesidad de cambios permanentes. Con diversos estilos y fácil instalación, son perfectos para inquilinos que buscan... revestimientos de paredes con estilo o una rápida Renovación del hogar . Es importante sopesar las ventajas y desventajas, considerando factores como la durabilidad y la aprobación del propietario, pero la flexibilidad y asequibilidad que ofrecen a menudo superan las desventajas. Si busca mejorar su cocina, baño o cualquier otro espacio, los azulejos adhesivos son una excelente opción para reformas económicas en el hogar.
Preguntas frecuentes
1. ¿Cómo limpio los azulejos adhesivos?
Para limpiar los azulejos adhesivos, use un detergente suave y agua tibia. Evite los productos químicos agresivos que podrían dañarlos. Un paño suave es ideal para limpiar la superficie sin rayarla.
2. ¿Se pueden utilizar azulejos adhesivos en los baños?
Sí, muchos azulejos adhesivos son resistentes a la humedad y aptos para baños. Sin embargo, evite usarlos en zonas expuestas frecuentemente al agua, como el interior de una ducha.
3. ¿Cuánto duran las baldosas adhesivas?
Con una instalación y un cuidado adecuados, las baldosas adhesivas pueden durar varios años. Sin embargo, en zonas de mucho tránsito o húmedas, es posible que sea necesario reemplazarlas antes.
4. ¿Es fácil quitar las baldosas adhesivas?
Sí, las baldosas adhesivas están diseñadas para quitarse fácilmente sin dañar la superficie subyacente, lo que las convierte en una excelente opción para los inquilinos.
Si está listo para transformar su espacio con mosaicos adhesivos, consulte nuestra colección de Controles de la línea de madera y Horizonte Carmesí . Tu aventura de decoración DIY empieza aquí, ¡y estoy deseando ver tus creaciones! Para más consejos e inspiración, no olvides explorar los recursos de nuestro blog, como Azulejos inteligentes para espacios modernos y Renovaciones de baños con adhesivos autoadhesivos ¡Para mejorar aún más la transformación de su hogar!


Dejar un comentario
Este sitio está protegido por hCaptcha y se aplican la Política de privacidad de hCaptcha y los Términos del servicio.