Importance de l'imperméabilisation dans la rénovation des douches
En ce qui concerne la rénovation de douche, imperméabilisation C'est crucial. Ce n'est pas une simple étape, c'est la base d'un espace durable et fonctionnel. Négliger cet aspect peut entraîner de graves problèmes comme la formation de moisissures, la pourriture et des réparations coûteuses à long terme.
Le rôle de l'imperméabilisation dans la rénovation des douches
-
Prévention des dégâts des eaux : L'imperméabilisation protège les murs et les sols des dégâts causés par l'humidité. Sans elle, l'eau peut s'infiltrer dans des zones difficiles à réparer et entraîner des dégâts importants.
-
Améliore la longévité : Une douche bien étanche durera plus longtemps. Elle réduit l'usure du carrelage et des joints, garantissant ainsi à votre salle de bain un aspect impeccable pendant des années.
-
Améliore l'hygiène : L'imperméabilisation minimise les risques de moisissures. Une douche propre contribue à un environnement domestique plus sain.
Les dégâts des eaux ne sont pas seulement un casse-tête ; ils peuvent aussi nuire à l'esthétique de votre salle de bains. En imperméabilisant votre salle de bains, vous préservez son esthétique et sa fonctionnalité. N'oubliez pas : la clé d'une rénovation de douche réussie est de s'occuper de l'imperméabilisation avant de se lancer dans la pose du carrelage.
Pièges courants à éviter en matière d'imperméabilisation
-
Mauvaise préparation de la surface : ignorer les étapes de nettoyage et d’apprêt avant d’appliquer l’imperméabilisation peut entraîner des problèmes d’adhérence.
-
Superposition inadéquate : Ne pas appliquer suffisamment de couches ou ne pas sceller les coutures peut laisser des zones vulnérables à l'infiltration d'eau.
-
Ignorer les consignes du fabricant : Chaque produit imperméabilisant est accompagné d'instructions spécifiques. Le non-respect de ces instructions peut annuler la garantie ou entraîner une baisse des performances.
De nombreux bricoleurs s'empressent et se lancent dans le processus, ce qui peut entraîner ces pièges courants. Prendre le temps de préparer les surfaces et de suivre attentivement les instructions peut vous éviter des soucis par la suite.
Avantages de l'imperméabilisation pour des résultats durables
-
Économies de coûts : En prévenant les dégâts des eaux, vous économisez sur les coûts de réparation potentiels, ce qui fait de l’imperméabilisation un investissement rentable.
-
Augmente la valeur de votre propriété : Une douche bien étanche peut augmenter la valeur de votre maison. Les acheteurs potentiels privilégient souvent les maisons nécessitant peu de rénovations.
-
Préservation esthétique : Garder les carreaux et les accessoires en bon état améliore l’apparence générale de votre salle de bain.
L'imperméabilisation est comme une police d'assurance pour votre douche. Elle protège votre investissement et garantit que votre salle de bain reste un havre de détente et de propreté.
Solutions d'imperméabilisation autocollantes
Si vous recherchez un moyen simple et efficace d'imperméabiliser votre douche, solutions pelables et autocollantes constituent un excellent choix. Ils simplifient les méthodes d'imperméabilisation traditionnelles et les rendent accessibles aux bricoleurs.
Aperçu des solutions autocollantes
-
Application facile : Ces solutions sont conçues pour une installation facile. Décollez simplement le support et collez-le sur une surface propre et sèche.
-
Polyvalent : Ils peuvent être utilisés sur diverses surfaces, notamment les cloisons sèches, les panneaux de ciment et même les carreaux existants.
-
Moins de dégâts : contrairement aux méthodes traditionnelles, les solutions pelables et autocollantes ne nécessitent pas de mélange ni d'outils supplémentaires, ce qui rend le processus plus propre.
Les solutions autocollantes sont idéales pour ceux qui souhaitent éviter les désagréments et la complexité des imperméabilisations traditionnelles. Elles permettent aux propriétaires de prendre le contrôle de leurs rénovations en toute sérénité.
Comment appliquer correctement un imperméabilisant autocollant
-
Préparation de la surface : Assurez-vous que la surface est propre et sèche. Retirez toute poussière, débris et graisse pour une adhérence optimale.
-
Mesurer et couper : Coupez la membrane imperméable pour l'adapter à votre espace, en vous assurant que tous les bords sont couverts.
-
Appliquer avec précaution : Commencez par un coin et décollez lentement le support en exerçant une pression. Lissez les bulles au fur et à mesure.
Une application correcte est cruciale. Prendre le temps de préparer et de mesurer peut faire toute la différence sur le résultat final. Une membrane d'étanchéité bien appliquée remplira efficacement son rôle et protégera votre douche de l'humidité.
Bénéficiez d'un gain de temps avec les solutions autocollantes
-
Main-d'œuvre réduite : L'installation étant simple, vous pouvez terminer votre imperméabilisation en une fraction du temps par rapport aux méthodes traditionnelles.
-
Séchage rapide : La plupart des produits autocollants sèchent rapidement, ce qui vous permet de passer plus tôt à l'étape suivante de votre rénovation.
-
Moins de nettoyage : Sans le désordre des adhésifs traditionnels, le nettoyage est minime, vous donnant plus de temps pour profiter de votre douche récemment rénovée.
D'après mon expérience, les solutions autocollantes permettent non seulement de gagner du temps, mais aussi de réduire le stress pendant la rénovation. Elles me permettent de me concentrer sur les aspects les plus intéressants du projet, comme le choix des carreaux et des motifs, plutôt que de redouter les étapes complexes.
Conseils d'installation de carreaux de métro
L'installation de carrelage métro peut transformer votre douche en un espace chic. Cependant, l'installation exige une attention particulière et une main experte. Voici quelques conseils pour obtenir les meilleurs résultats.
Choisir le bon carrelage de métro
-
La taille compte : Les carreaux de métro sont disponibles en différentes tailles, généralement 7,6 x 15,2 cm. Tenez compte de la taille de votre douche lors du choix de la taille.
-
Options de matériaux : Choisissez des carreaux fabriqués à partir de matériaux durables comme la céramique ou la porcelaine pour une meilleure résistance à l'eau et une meilleure longévité.
-
Couleur et finition : Choisissez des couleurs et des finitions qui s'harmonisent avec le design de votre salle de bains. Un carrelage brillant crée un style épuré, tandis qu'une finition mate apporte de la chaleur.
Choisir le bon carrelage métro donne le ton à la rénovation de votre douche. Il est essentiel de choisir des couleurs et des textures qui s'harmonisent avec l'esthétique générale de votre salle de bains.
Guide étape par étape pour l'installation de carreaux de métro
-
Rassemblez votre matériel : vous aurez besoin de carreaux, d'adhésif, d'un coupe-carreaux, d'entretoises et de coulis.
-
Planifiez votre disposition : Avant de coller quoi que ce soit, disposez vos carreaux pour visualiser le design et vous assurer que tout s'adapte parfaitement.
-
Appliquer l'adhésif : Utilisez une truelle crantée pour étaler l'adhésif sur le mur, en l'appliquant uniformément.
-
Posez les carreaux : En commençant par le bas, appuyez chaque carreau dans l'adhésif, en utilisant des entretoises pour maintenir des espaces réguliers.
-
Jointoiement : Une fois l'adhésif sec, retirez les entretoises, mélangez le coulis et remplissez les espaces entre les carreaux pour un aspect fini.
Suivre ce guide étape par étape peut considérablement améliorer votre expérience de pose de carrelage. Chaque étape s'appuie sur la précédente, garantissant une finition robuste et esthétique.
Erreurs d'installation courantes à éviter
-
Sauter la préparation de la surface : Ne pas préparer le mur peut entraîner une mauvaise adhérence et une défaillance du carrelage.
-
Espacement incorrect des carreaux : un espacement excessif ou insuffisant peut créer un aspect irrégulier. Utilisez des espaceurs systématiquement.
-
Ignorer le scellement du coulis : Ne pas sceller le coulis peut entraîner des taches et une pénétration d'humidité.
Éviter ces erreurs courantes vous permettra d'obtenir une finition plus soignée. Chaque étape du processus d'installation est essentielle, et un peu de préparation contribue grandement à obtenir un résultat impeccable.
Transformations avant et après
Rien ne met mieux en valeur la puissance d'une rénovation réussie qu'une transformation avant/après époustouflante. Le carrelage métro peut transformer radicalement l'atmosphère de votre douche, créant un espace magnifique que vous adorerez.
Idées de relooking inspirantes
-
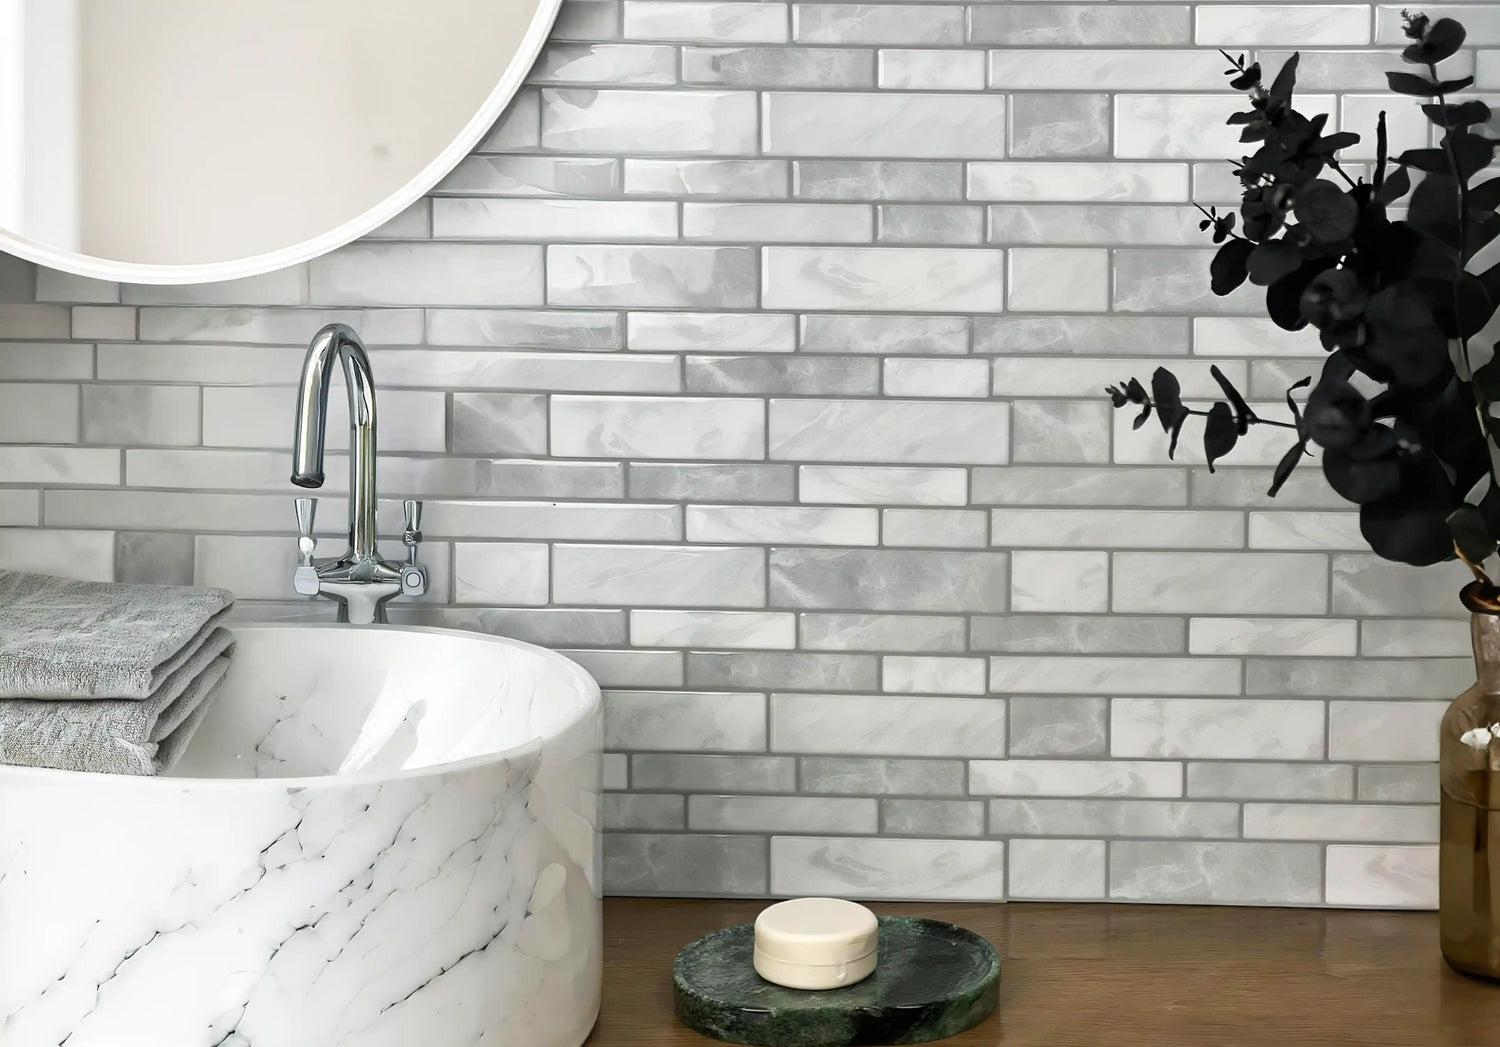
Carrelage de métro blanc classique : un choix intemporel qui illumine n'importe quelle douche, créant un look propre et frais.
-
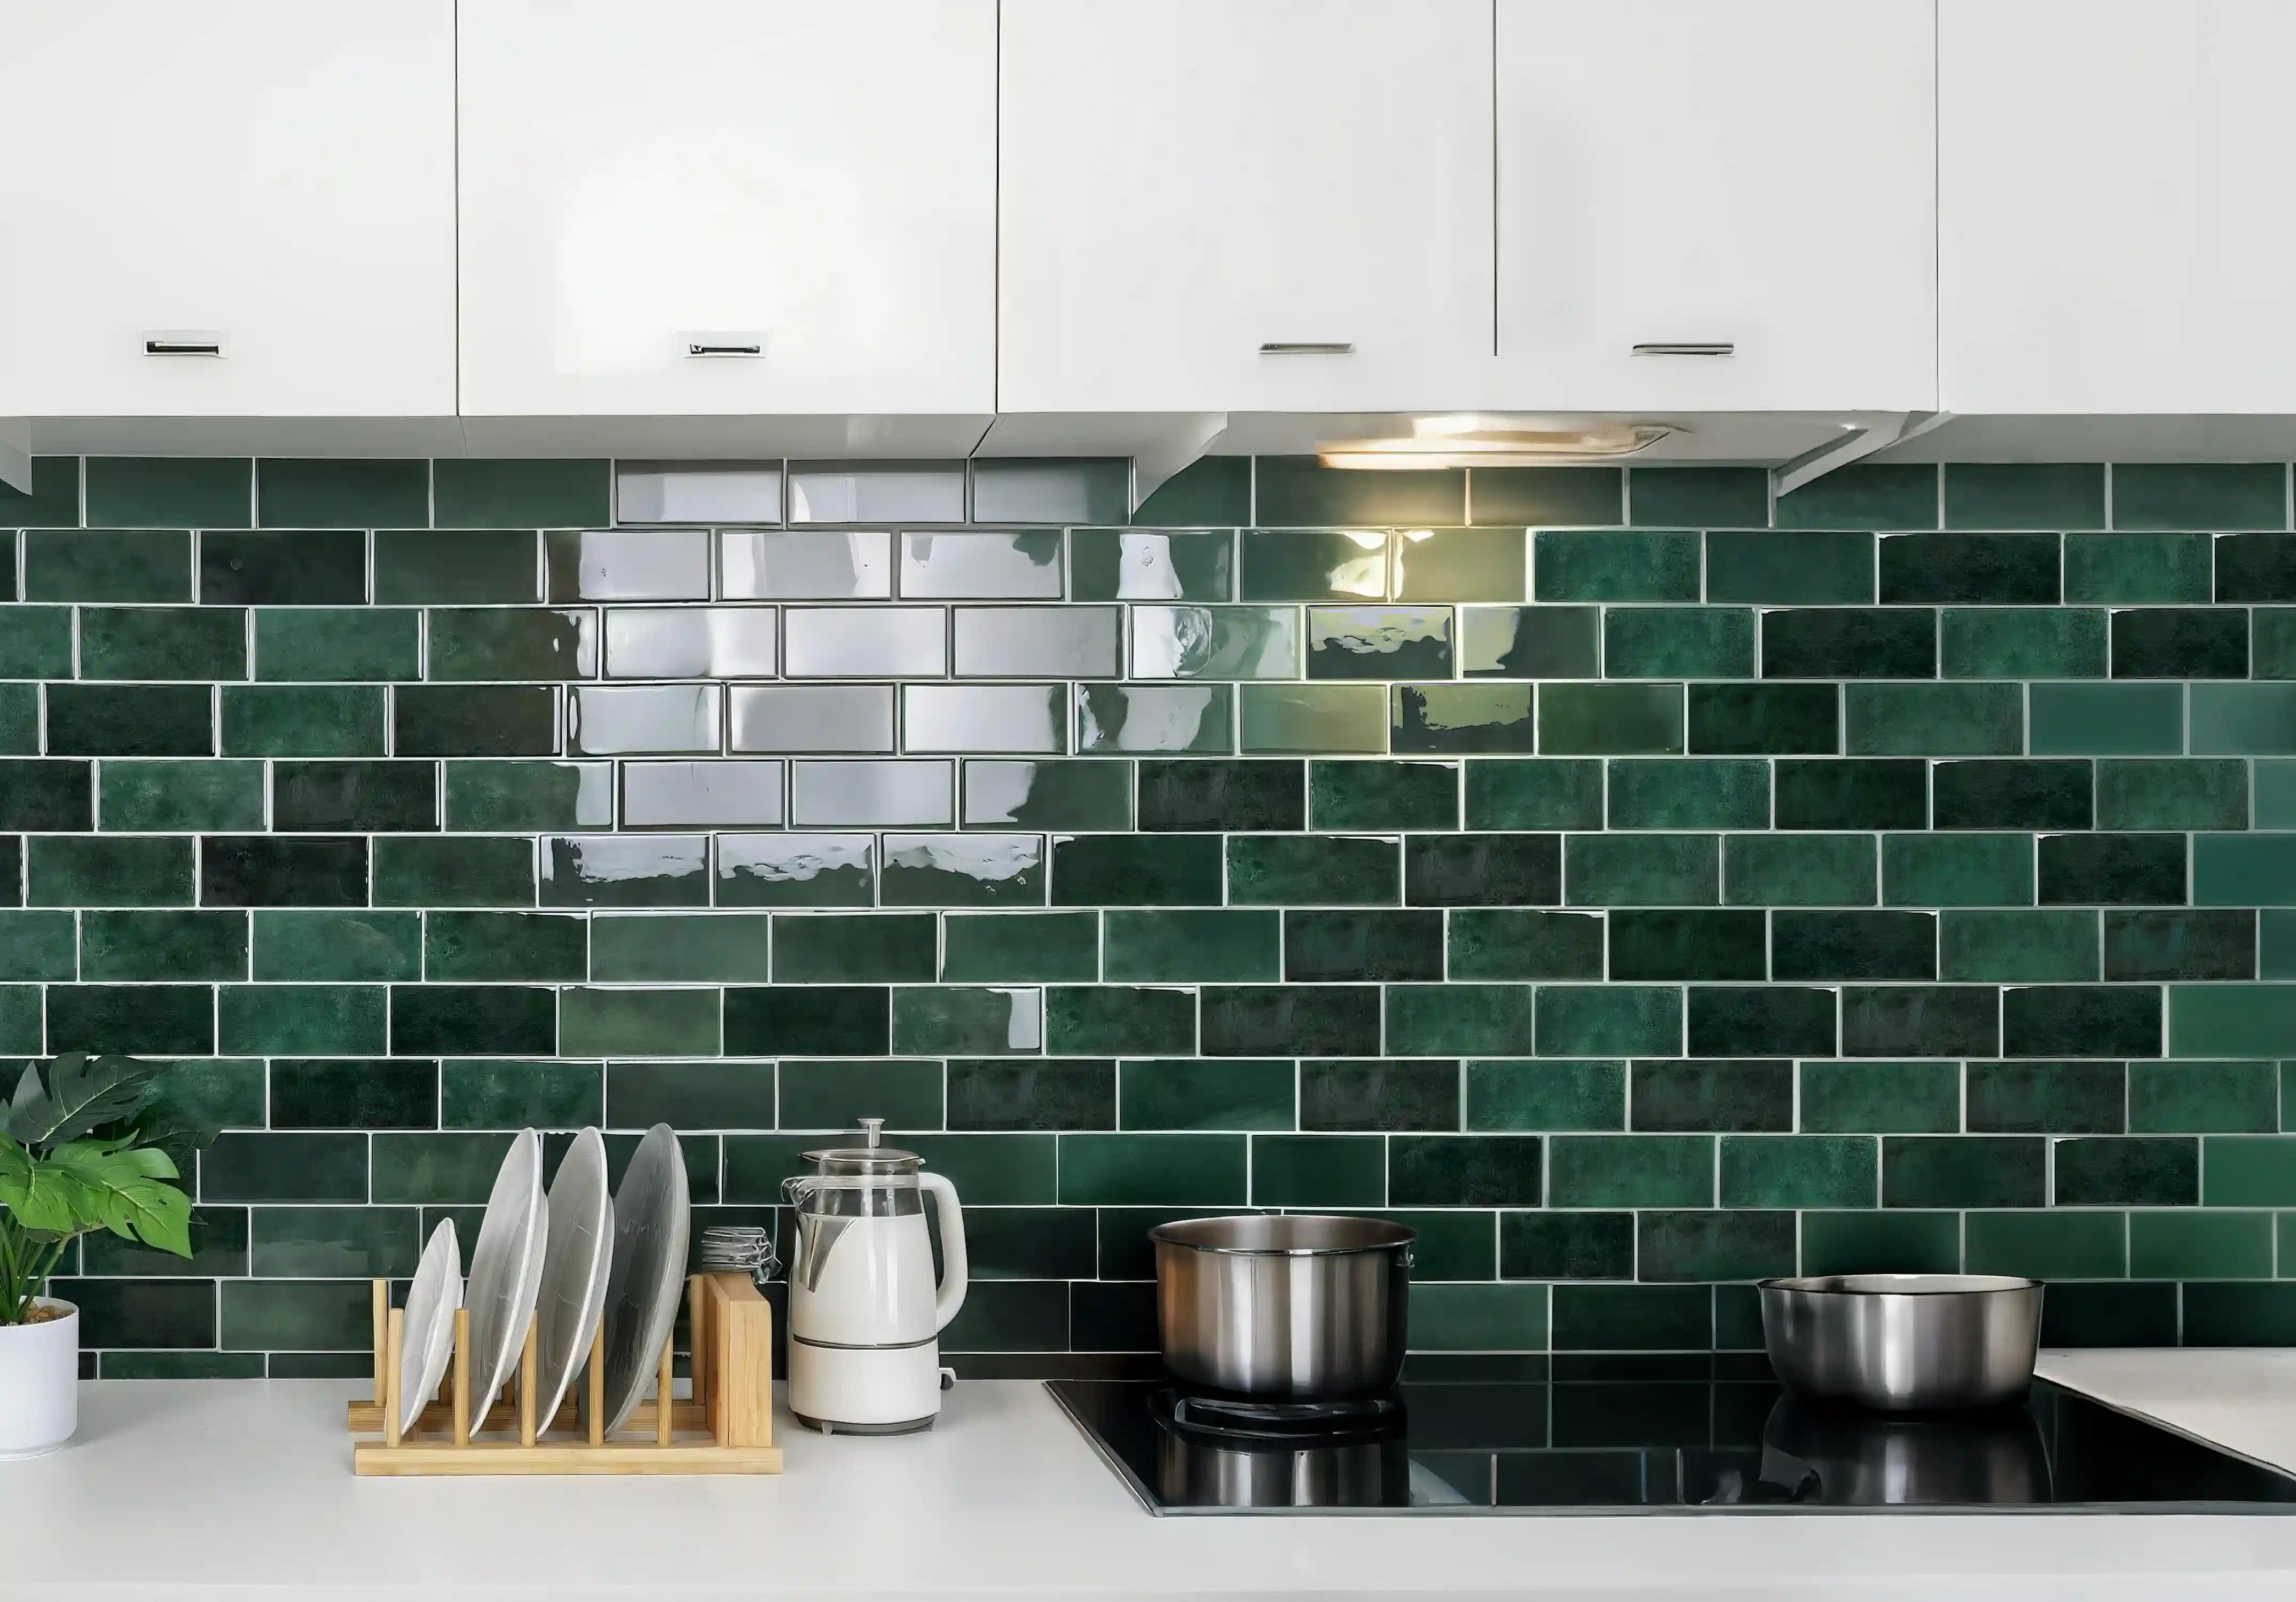
Couleurs vives : pensez aux carreaux de métro vibrants pour ajouter de la personnalité et du caractère à votre salle de bain.
-
Motifs mixtes : La combinaison de différents motifs de carreaux peut créer un intérêt visuel unique, faisant de la douche un point focal.
Ces idées de rénovation peuvent inspirer tous ceux qui souhaitent rénover leur douche. La polyvalence du carrelage métro permet de laisser libre cours à votre créativité, que vous préfériez un design minimaliste ou audacieux.
Histoires réelles avant et après
-
Transformation d'une petite salle de bain : J'ai rénové une salle de bain exiguë en y installant du carrelage métro blanc brillant. Le changement a été immédiat ; l'espace paraissait plus grand et plus lumineux.
-
Du démodé au moderne : une amie a échangé ses vieux carreaux contre un design de métro de couleur sombre, ajoutant instantanément de la sophistication à sa salle de bain.
Des histoires vraies comme celles-ci illustrent l'impact que le carrelage métro peut avoir sur la rénovation de toute douche. Il peut véritablement transformer un espace, le rendant plus fonctionnel et élégant.
Conseils pour maximiser l'impact visuel dans les petits espaces
-
Couleurs claires : utilisez des nuances plus claires pour ouvrir l'espace et refléter plus de lumière.
-
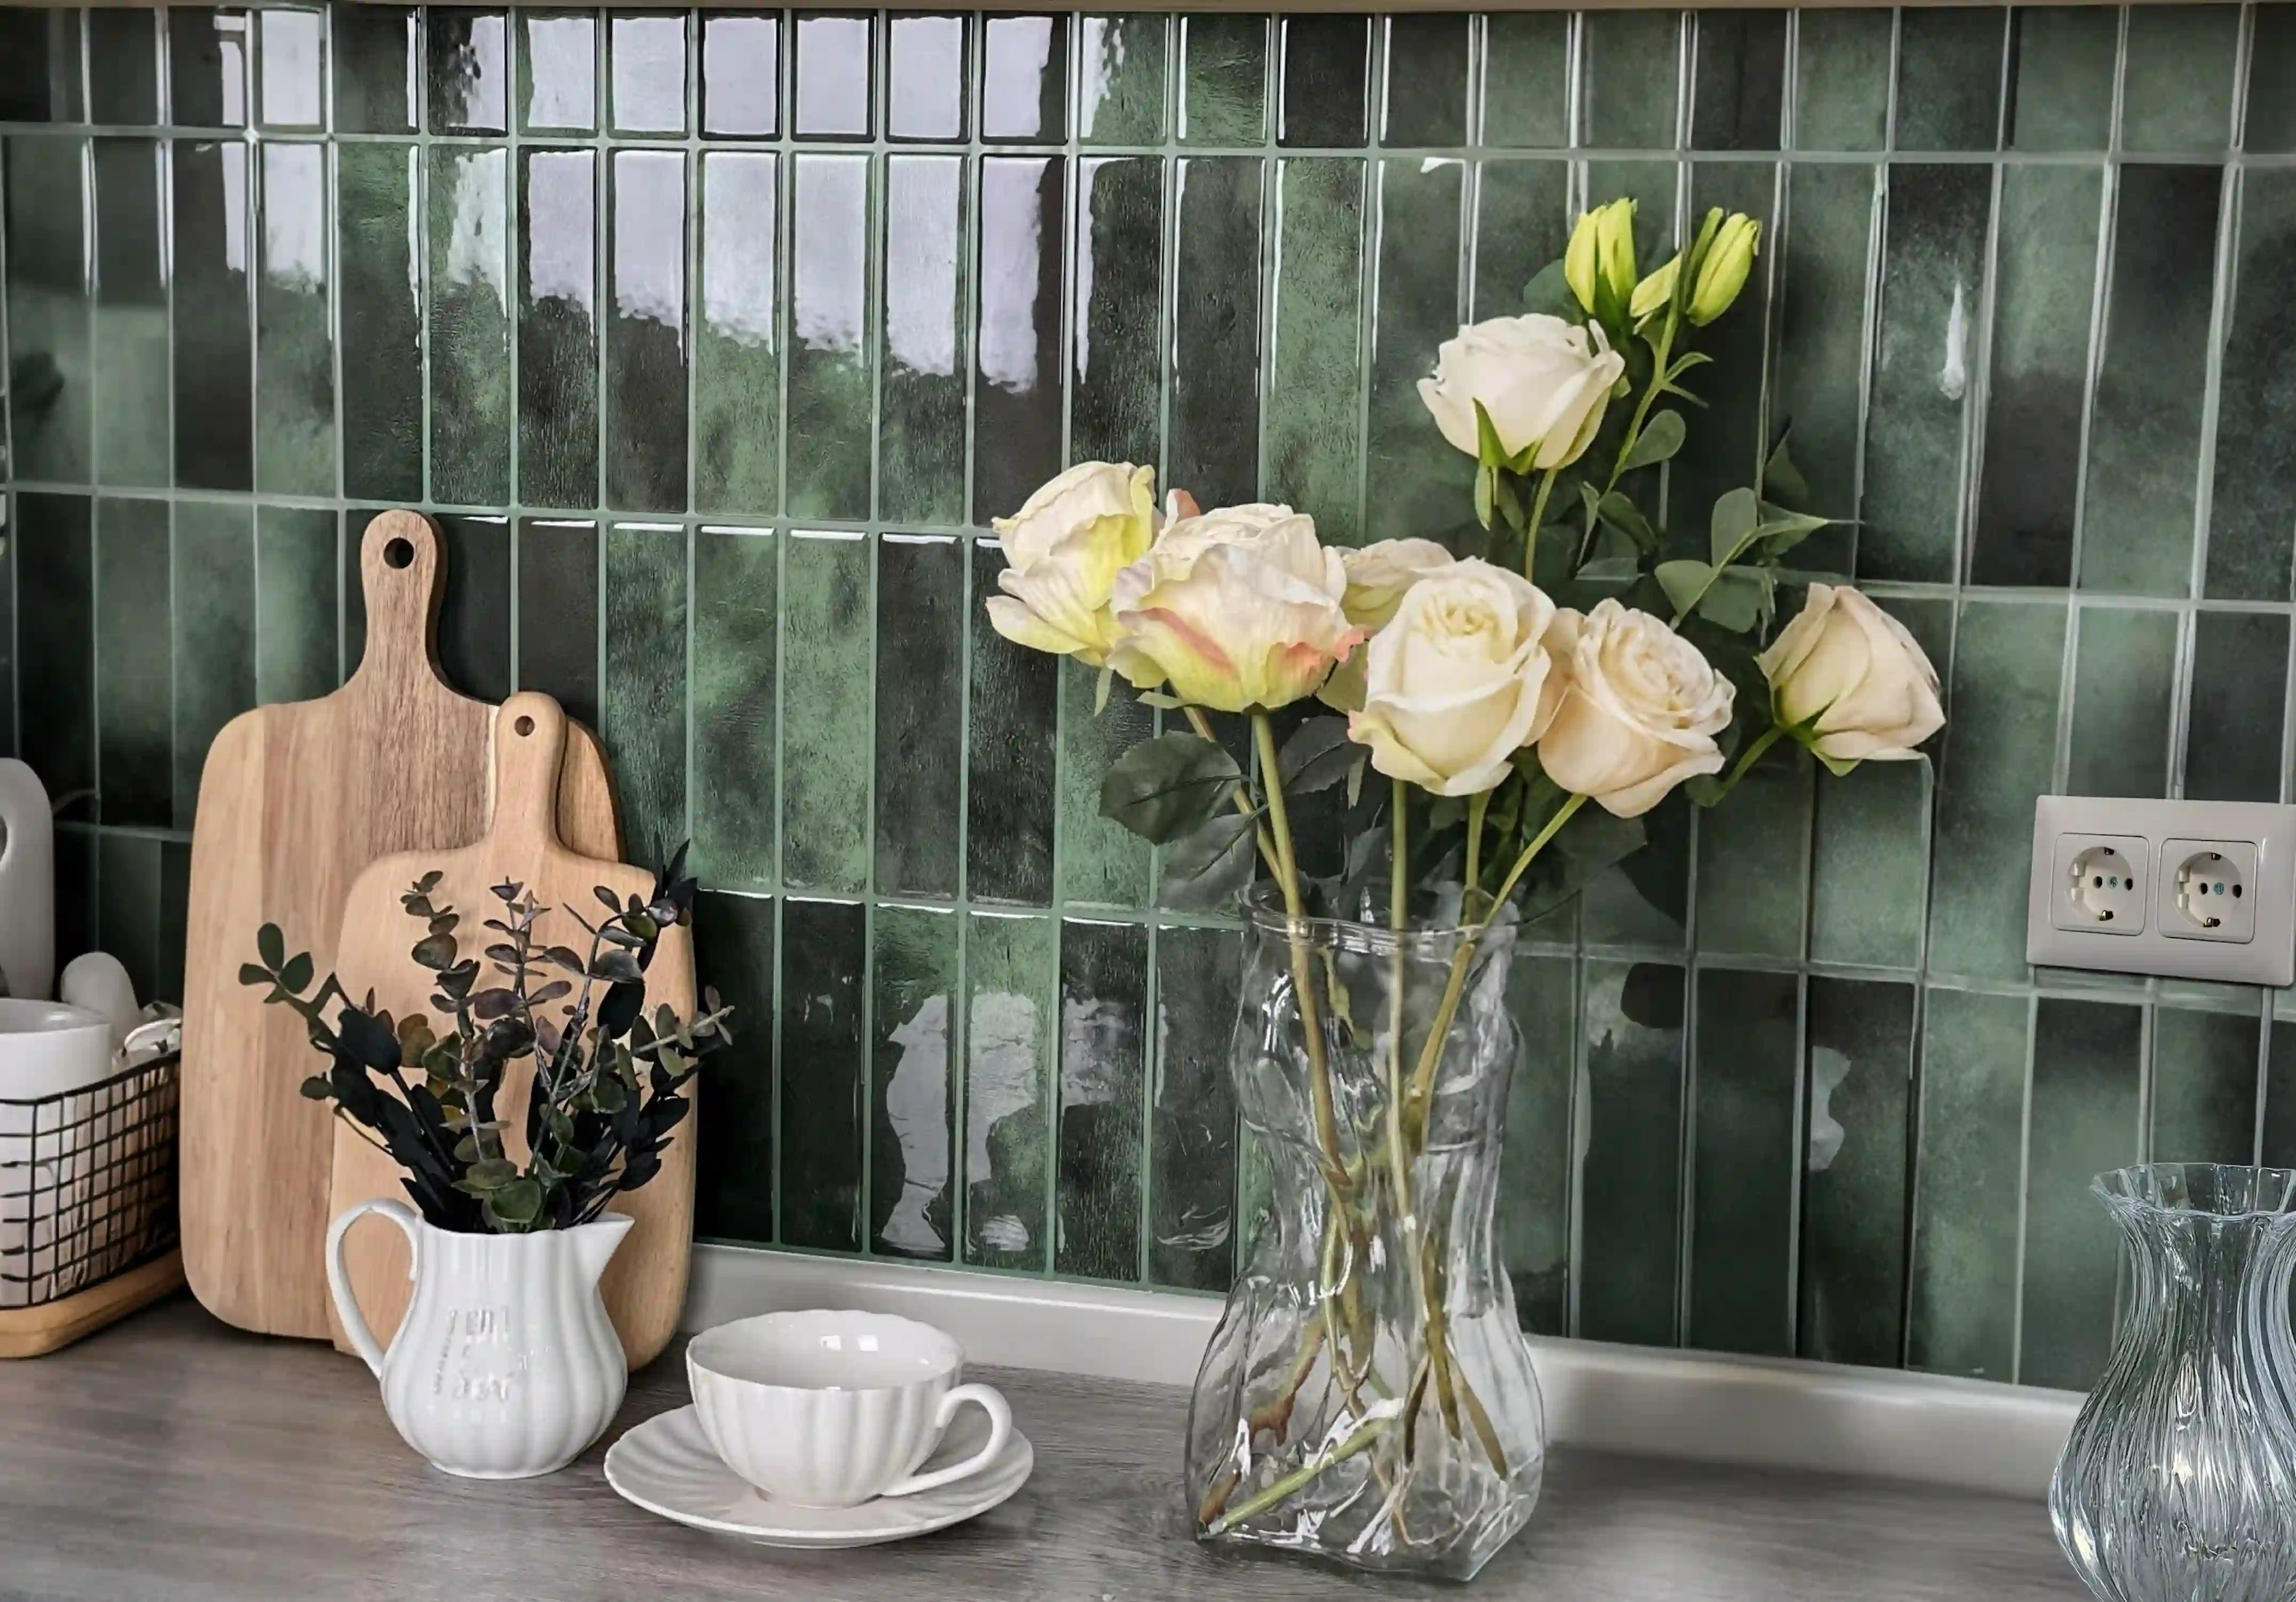
Installation verticale : La pose de carreaux verticalement peut créer une illusion de hauteur, donnant l'impression que la douche est plus grande.
-
Incorporer des miroirs : L’ajout de miroirs peut amplifier l’effet de vos carreaux et améliorer la luminosité globale.
Maximiser l'impact visuel repose sur des choix judicieux. Avec les bonnes techniques, même les plus petits espaces peuvent paraître grandioses et accueillants.
Conclusion
Une rénovation de douche en carrelage métro peut améliorer considérablement l'esthétique et la fonctionnalité de votre salle de bains. Avec une planification minutieuse et des techniques adaptées, notamment en matière d'étanchéité, vous pouvez créer un espace magnifique qui répond à vos besoins et reflète votre style. N'hésitez pas à explorer les solutions autocollantes pour une installation plus facile et à choisir le carrelage métro qui correspond à votre vision. La douche de vos rêves est à portée de main !
Foire aux questions (FAQ)
Quel type de carrelage métro est le meilleur pour une douche ?
Carreaux de céramique et de porcelaine Ils constituent un excellent choix pour les douches grâce à leur résistance à l'eau et à leur durabilité. Ils sont également disponibles en différentes couleurs et finitions pour s'harmoniser avec votre décoration.
Comment entretenir les carreaux de métro dans ma douche ?
Un nettoyage régulier à l'eau et au savon doux contribuera à préserver la beauté de vos carreaux de métro. Il est également recommandé de sceller le joint tous les deux ou trois ans pour éviter les taches.
Puis-je utiliser des carreaux autocollants dans une douche ?
Oui, carreaux autocollants Ils sont parfaits pour la douche, à condition d'être imperméables. Il suffit de bien préparer la surface avant l'application.
Combien de temps dure généralement la rénovation d’une douche ?
Le calendrier de rénovation d'une douche peut varier, mais la plupart des projets prennent une à deux semaines du début à la fin, en fonction de l'ampleur des travaux et selon que vous les réalisez vous-même ou que vous faites appel à des professionnels.
Moderniser votre douche avec du carrelage métro n'est pas forcément une tâche ardue. Avec les bonnes préparations, l'imperméabilisation et les techniques de pose, je vous assure que votre douche sera non seulement belle, mais aussi parfaitement fonctionnelle. Découvrez notre liens de marchandises Découvrez d'excellentes options de carrelage autocollant pour vous accompagner dans cette transformation. Bonne rénovation !


Laisser un commentaire
Ce site est protégé par hCaptcha, et la Politique de confidentialité et les Conditions de service de hCaptcha s’appliquent.