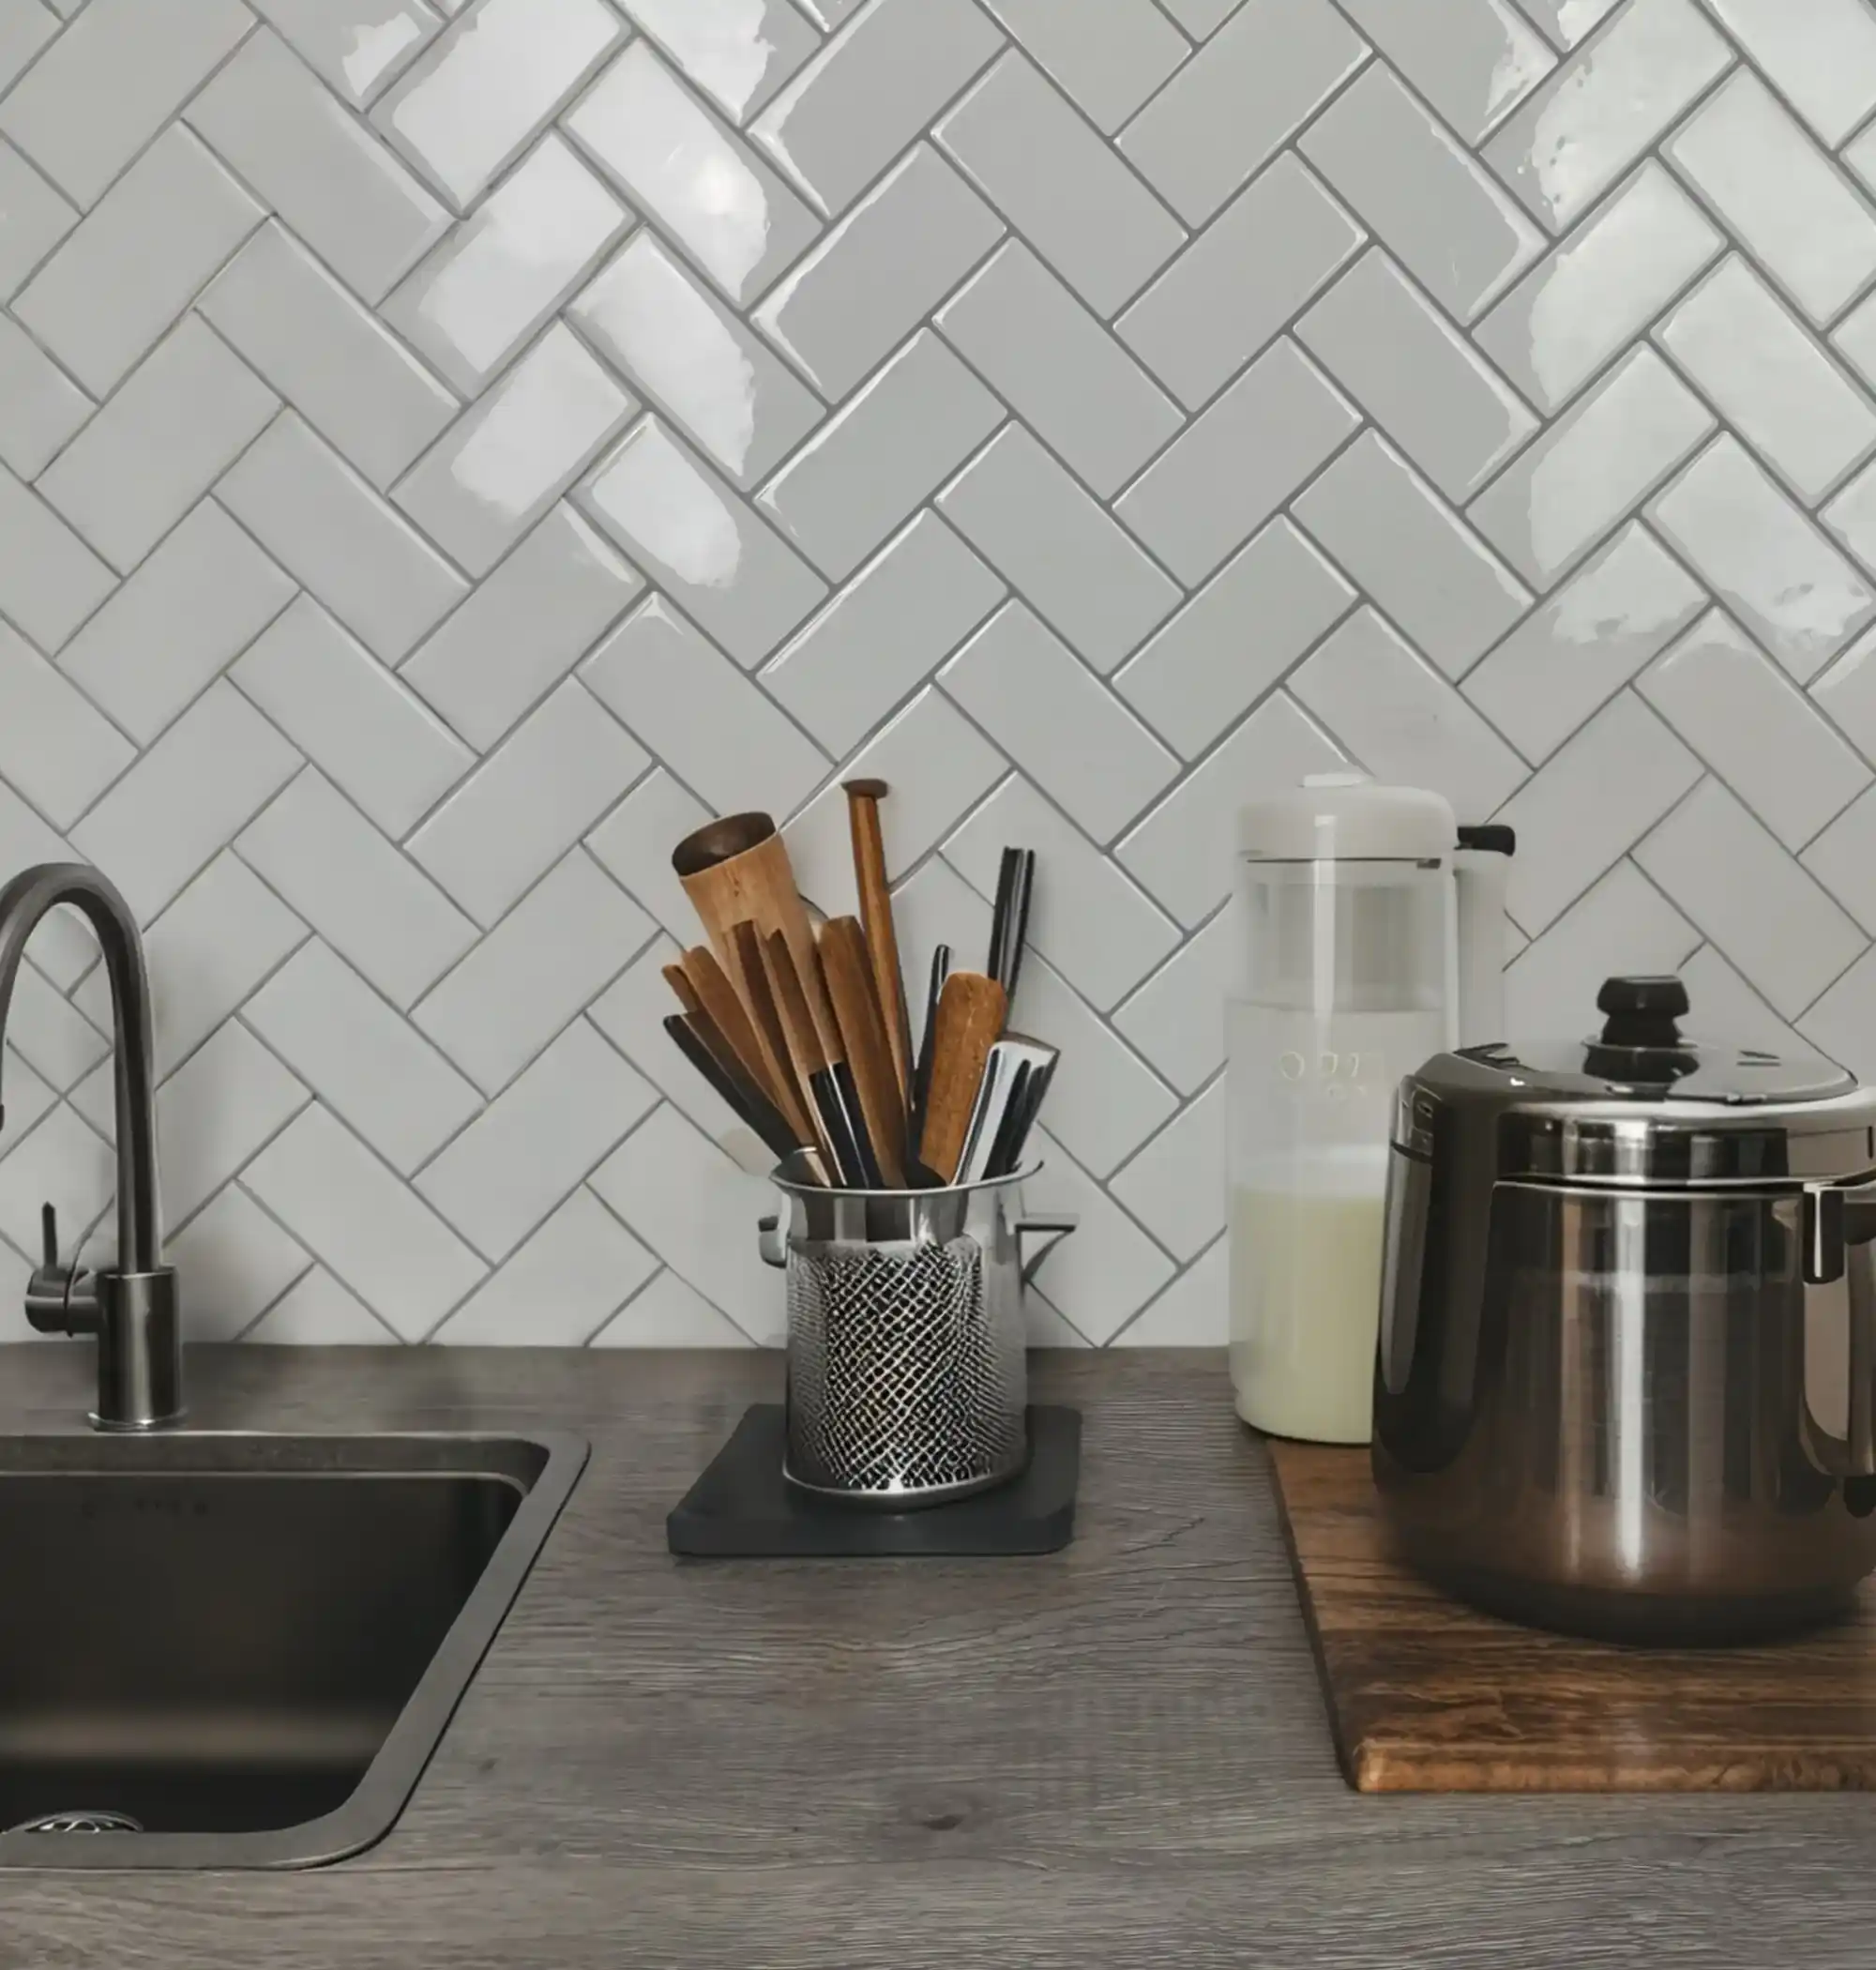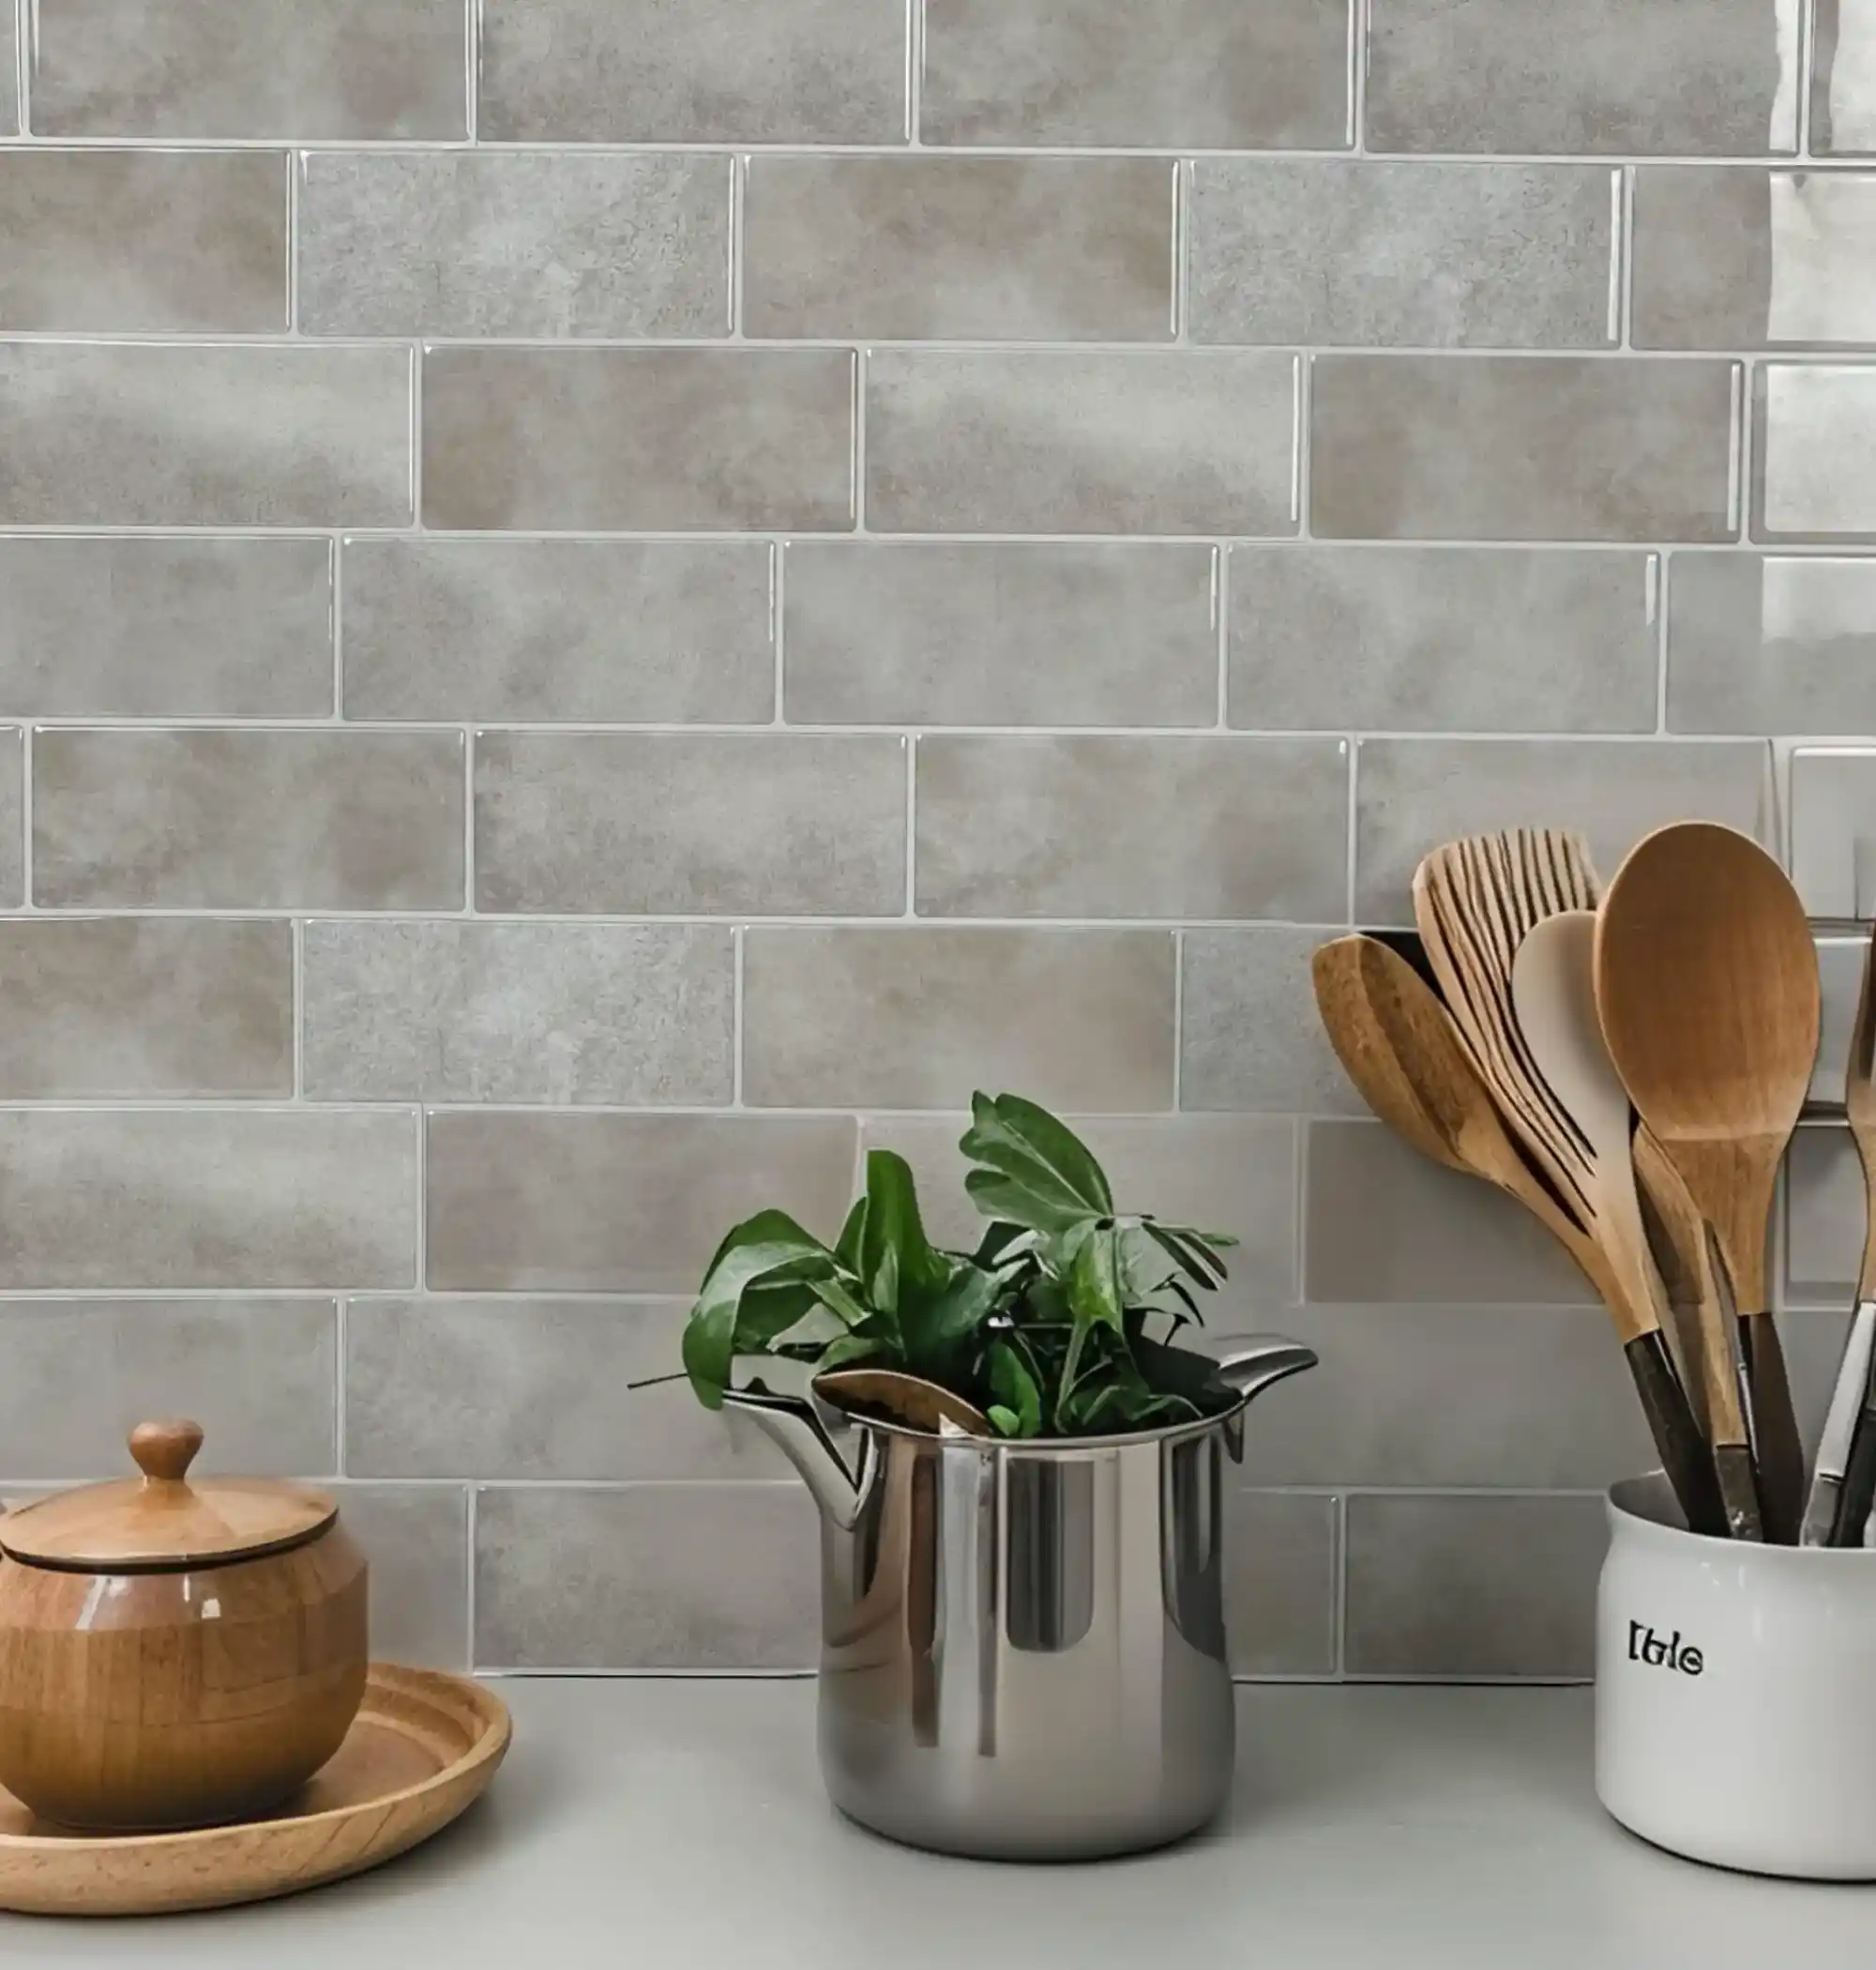


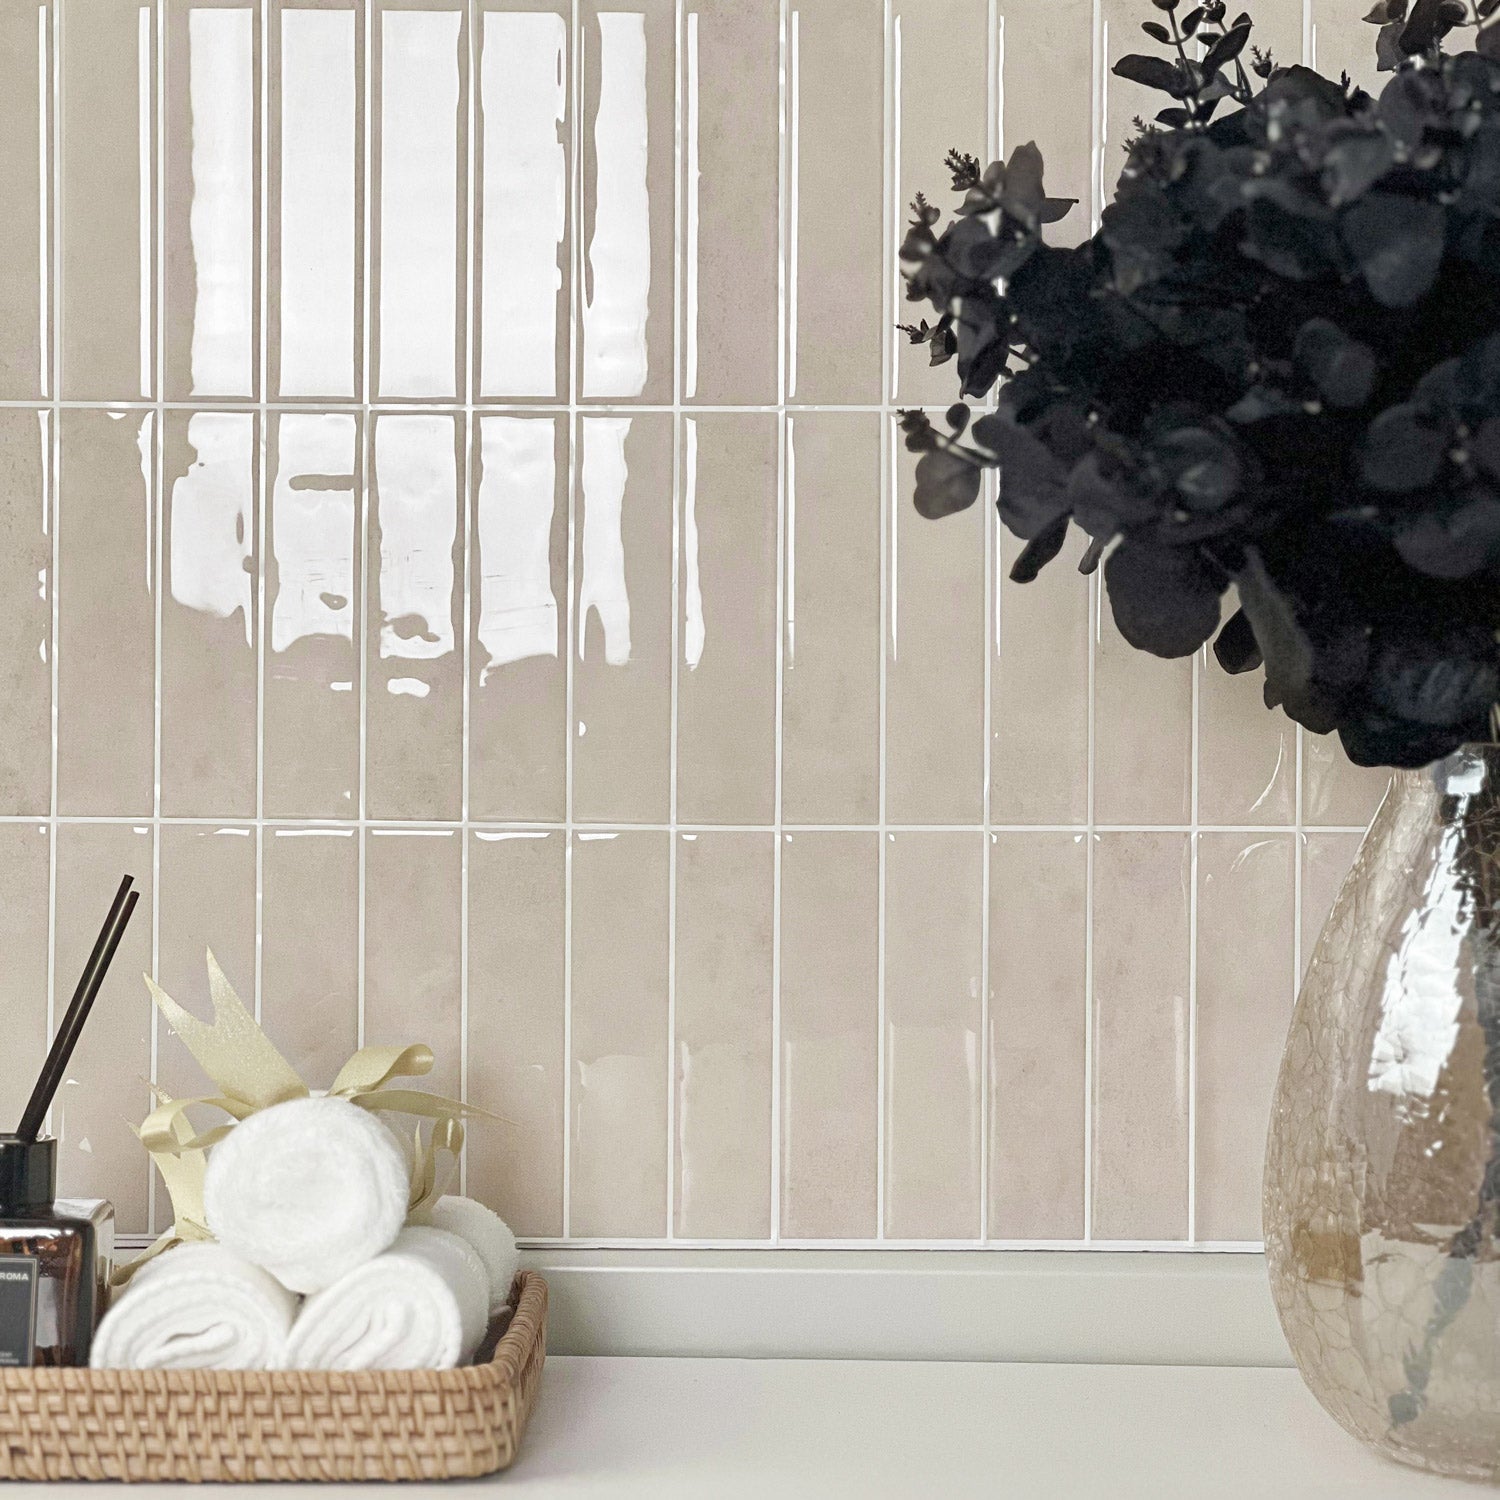
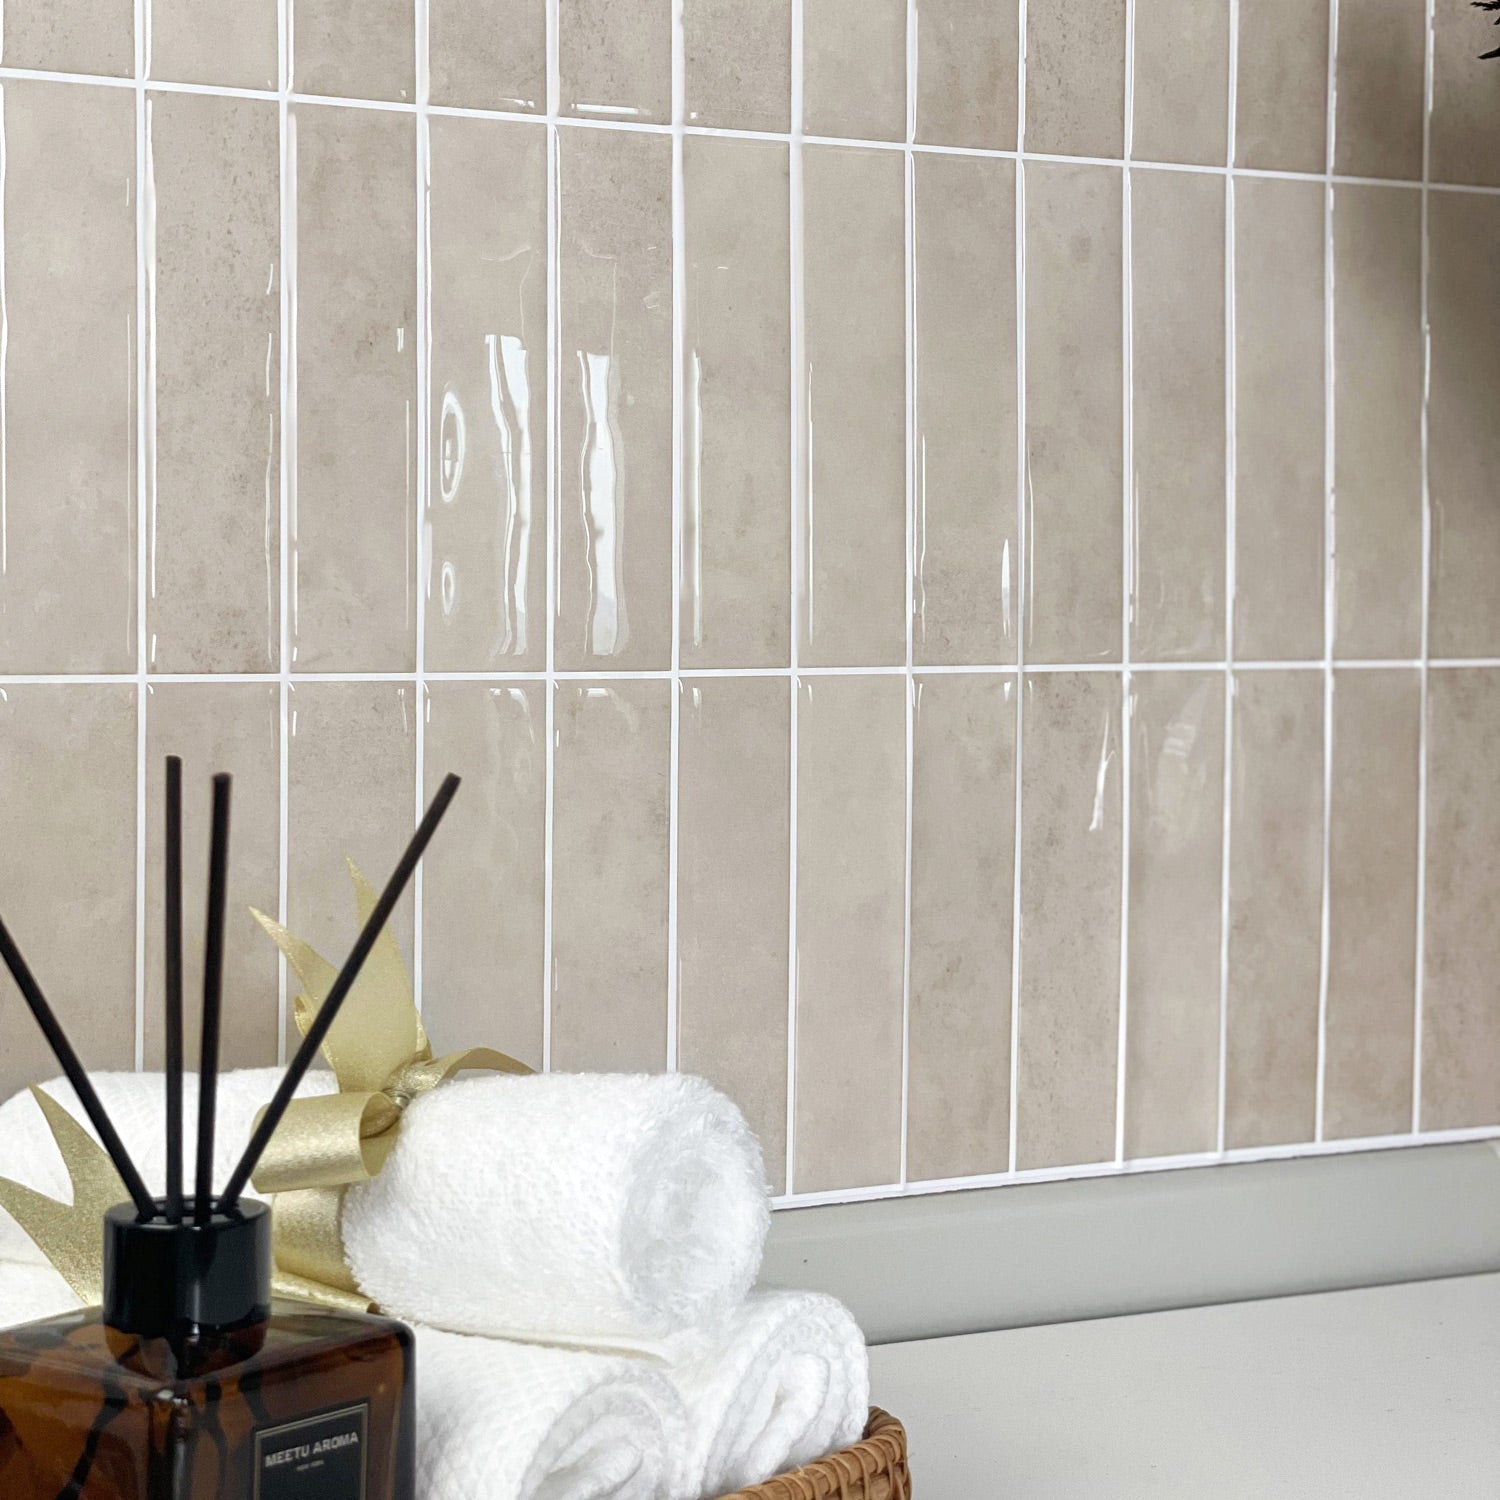
Almond Elixir
Peel & Stick Tile - 30 Mins Instant Renovation!
- Built for splashes, spills, and daily messes
- Safe for stovetops and steamy bathrooms
- One Tree Planted For Every 10 Tiles
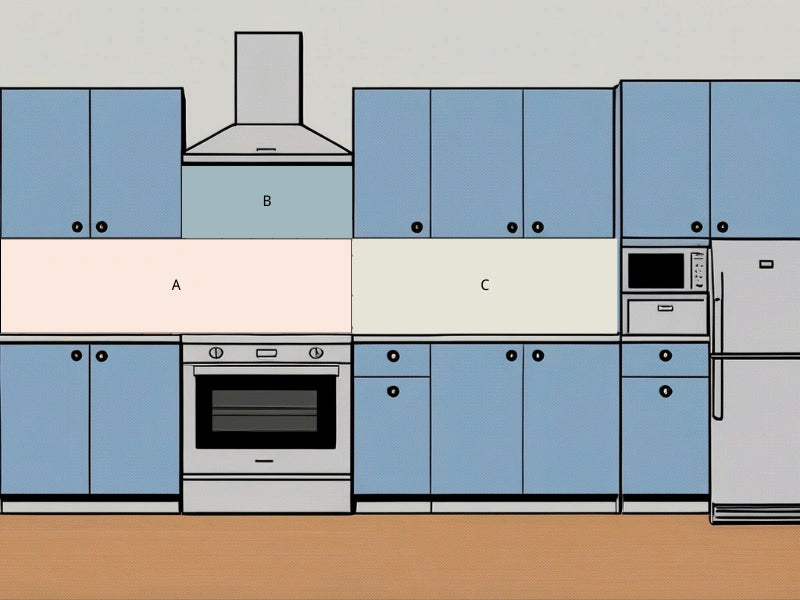
Calculate Required Tiles


Product Details
Upgrade your home with the Almond Elixir Peel and Stick Wall Tiles. These self-adhesive, grout-free tiles bring a touch of elegance to any space, making them perfect for refreshing your kitchen backsplash, bathroom walls, or personalized accent areas. Designed for renters, DIY enthusiasts, and homeowners, Almond Elixir tiles combine easy installation, removable design, and realistic 3D textures to deliver a high-end transformation without the hassle.
Why Choose Almond Elixir Tiles?
- Easy Installation: No grout, no glue, no mess! Simply peel and stick for a quick, DIY-friendly upgrade.
- Renter-Friendly & Removable: Perfect for temporary makeovers—just peel off when it’s time to move.
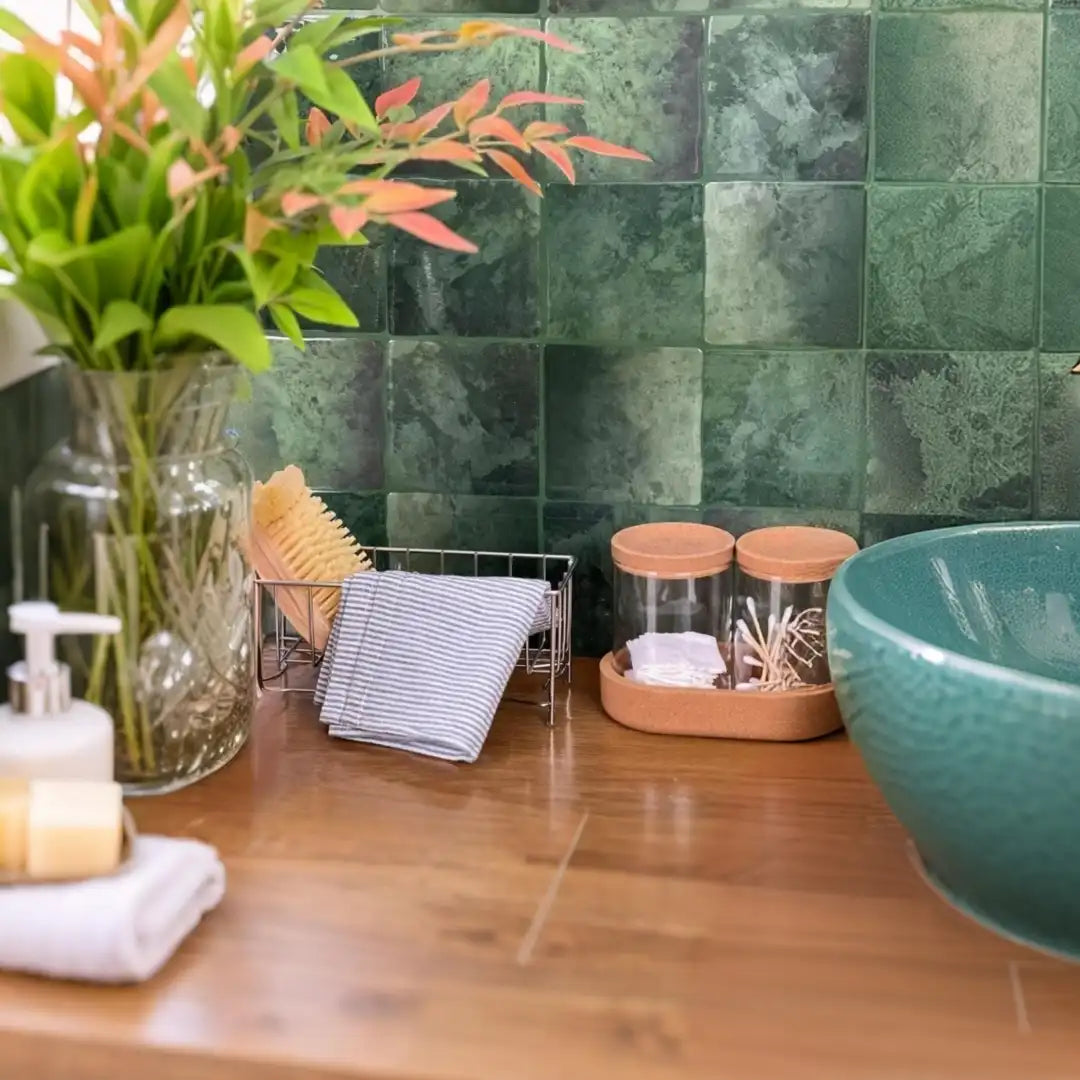
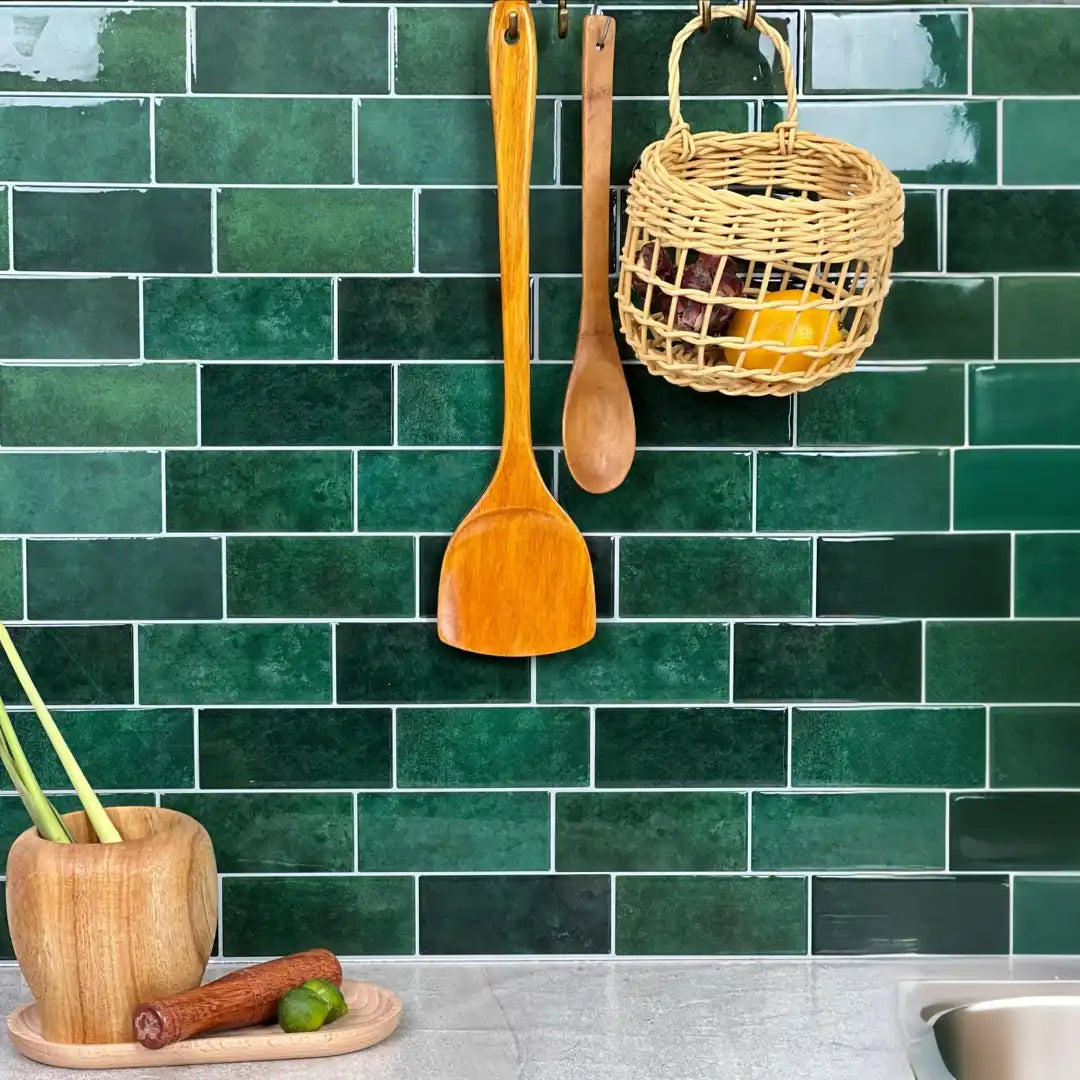
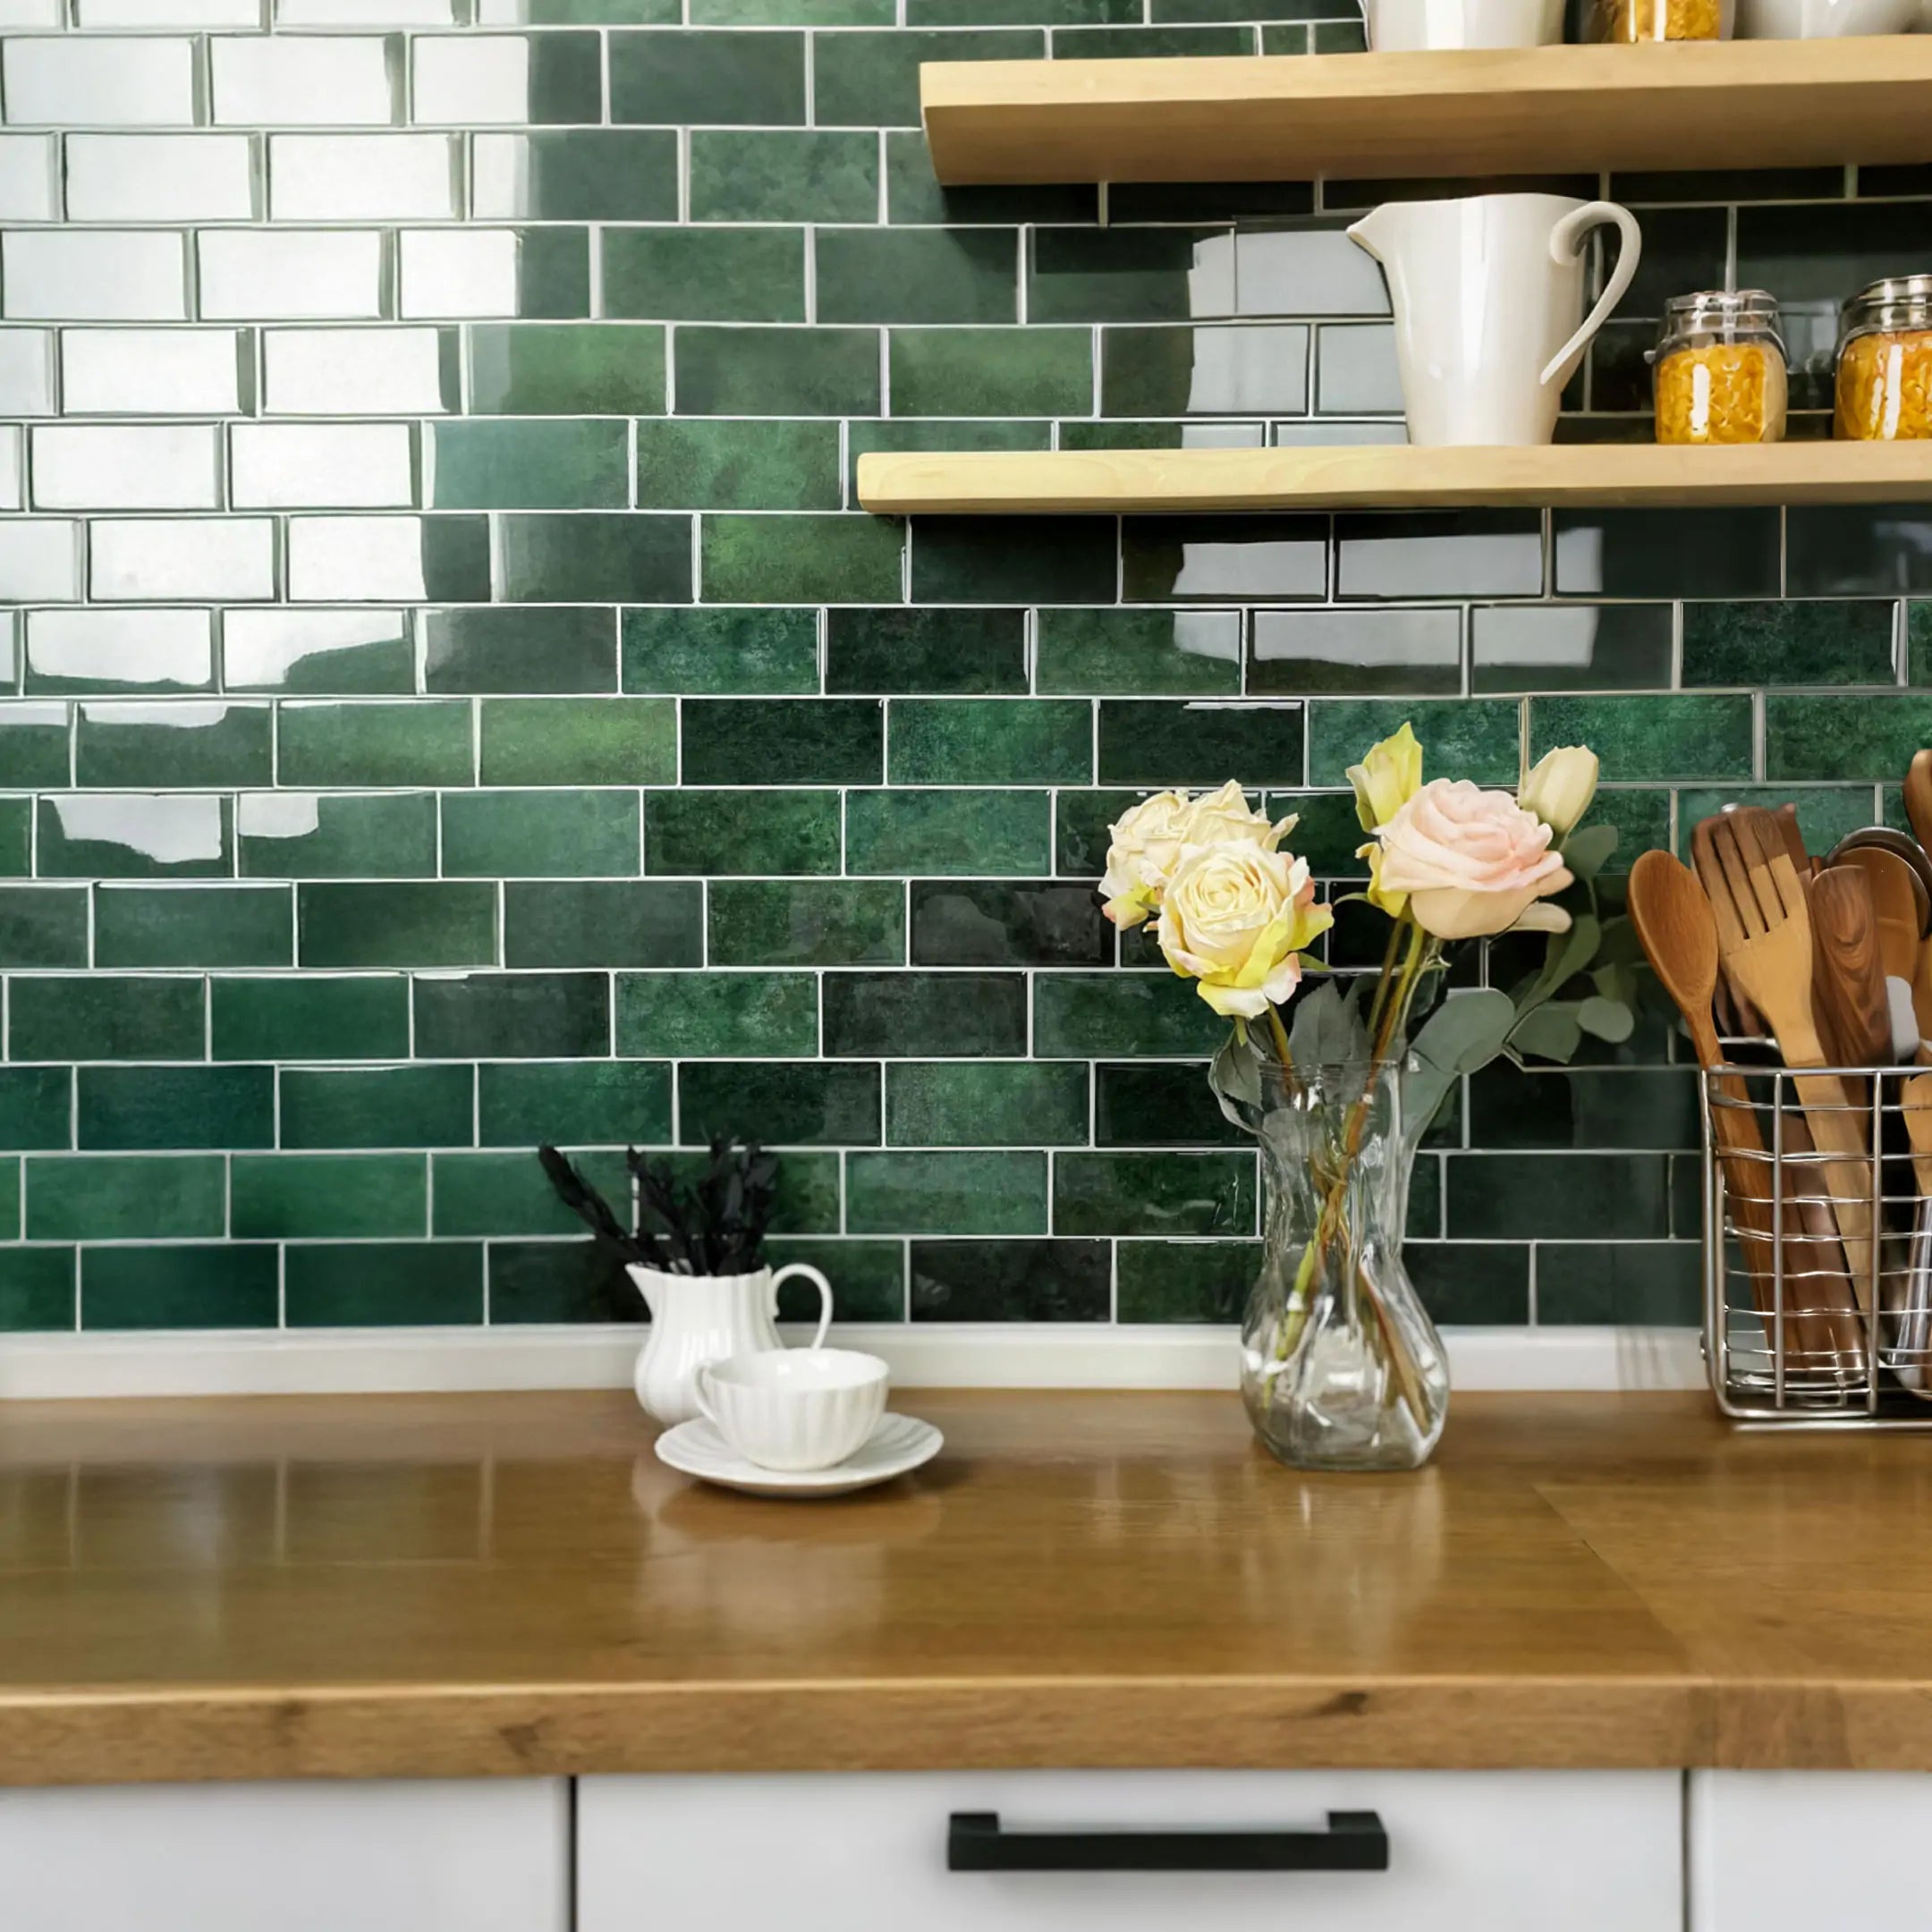
- Waterproof & Durable: Ideal for high-moisture areas like kitchens and bathrooms.
- Heat & Moisture Resistant: Built to withstand daily wear and tear, ensuring long-lasting beauty.
- Budget-Friendly: Save time and money with an affordable home transformation solution.
Key Features
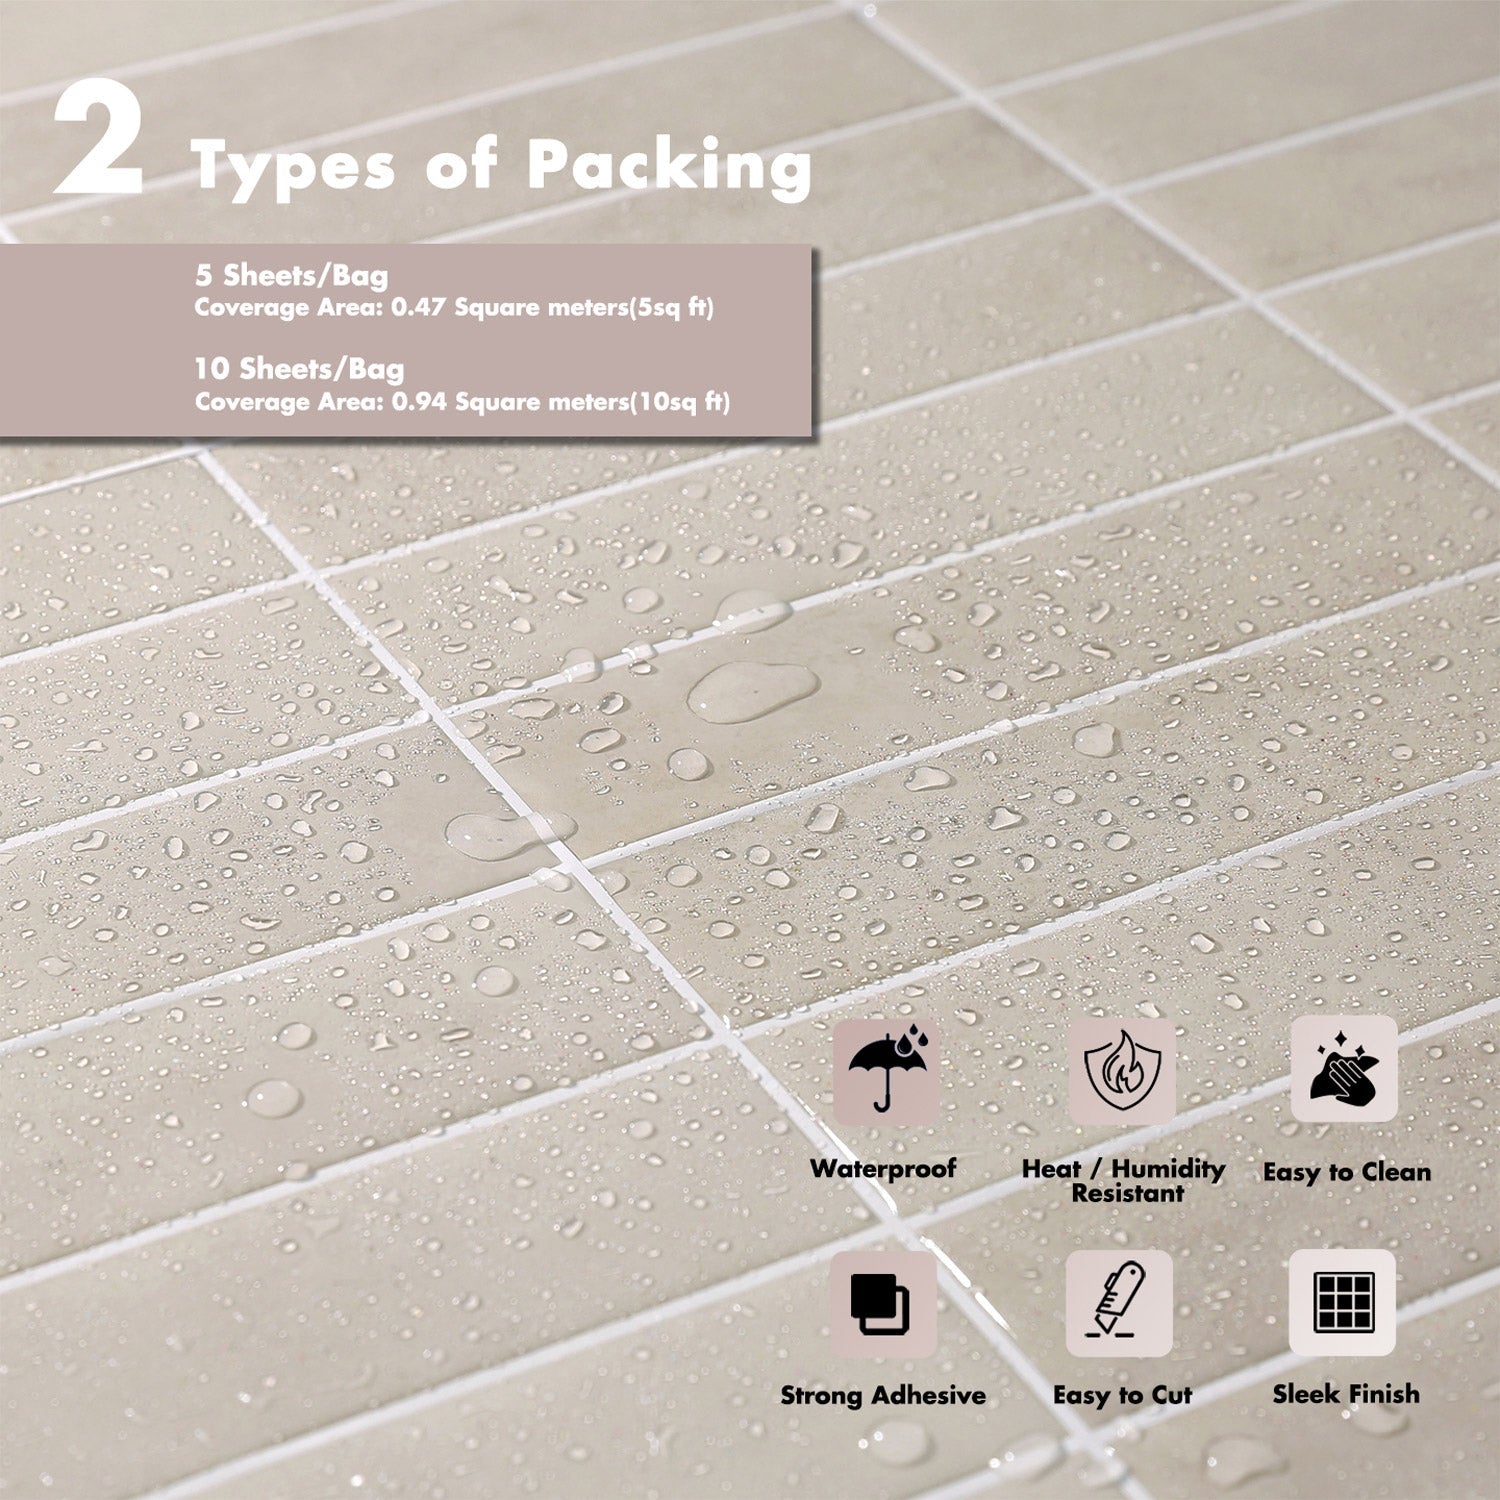
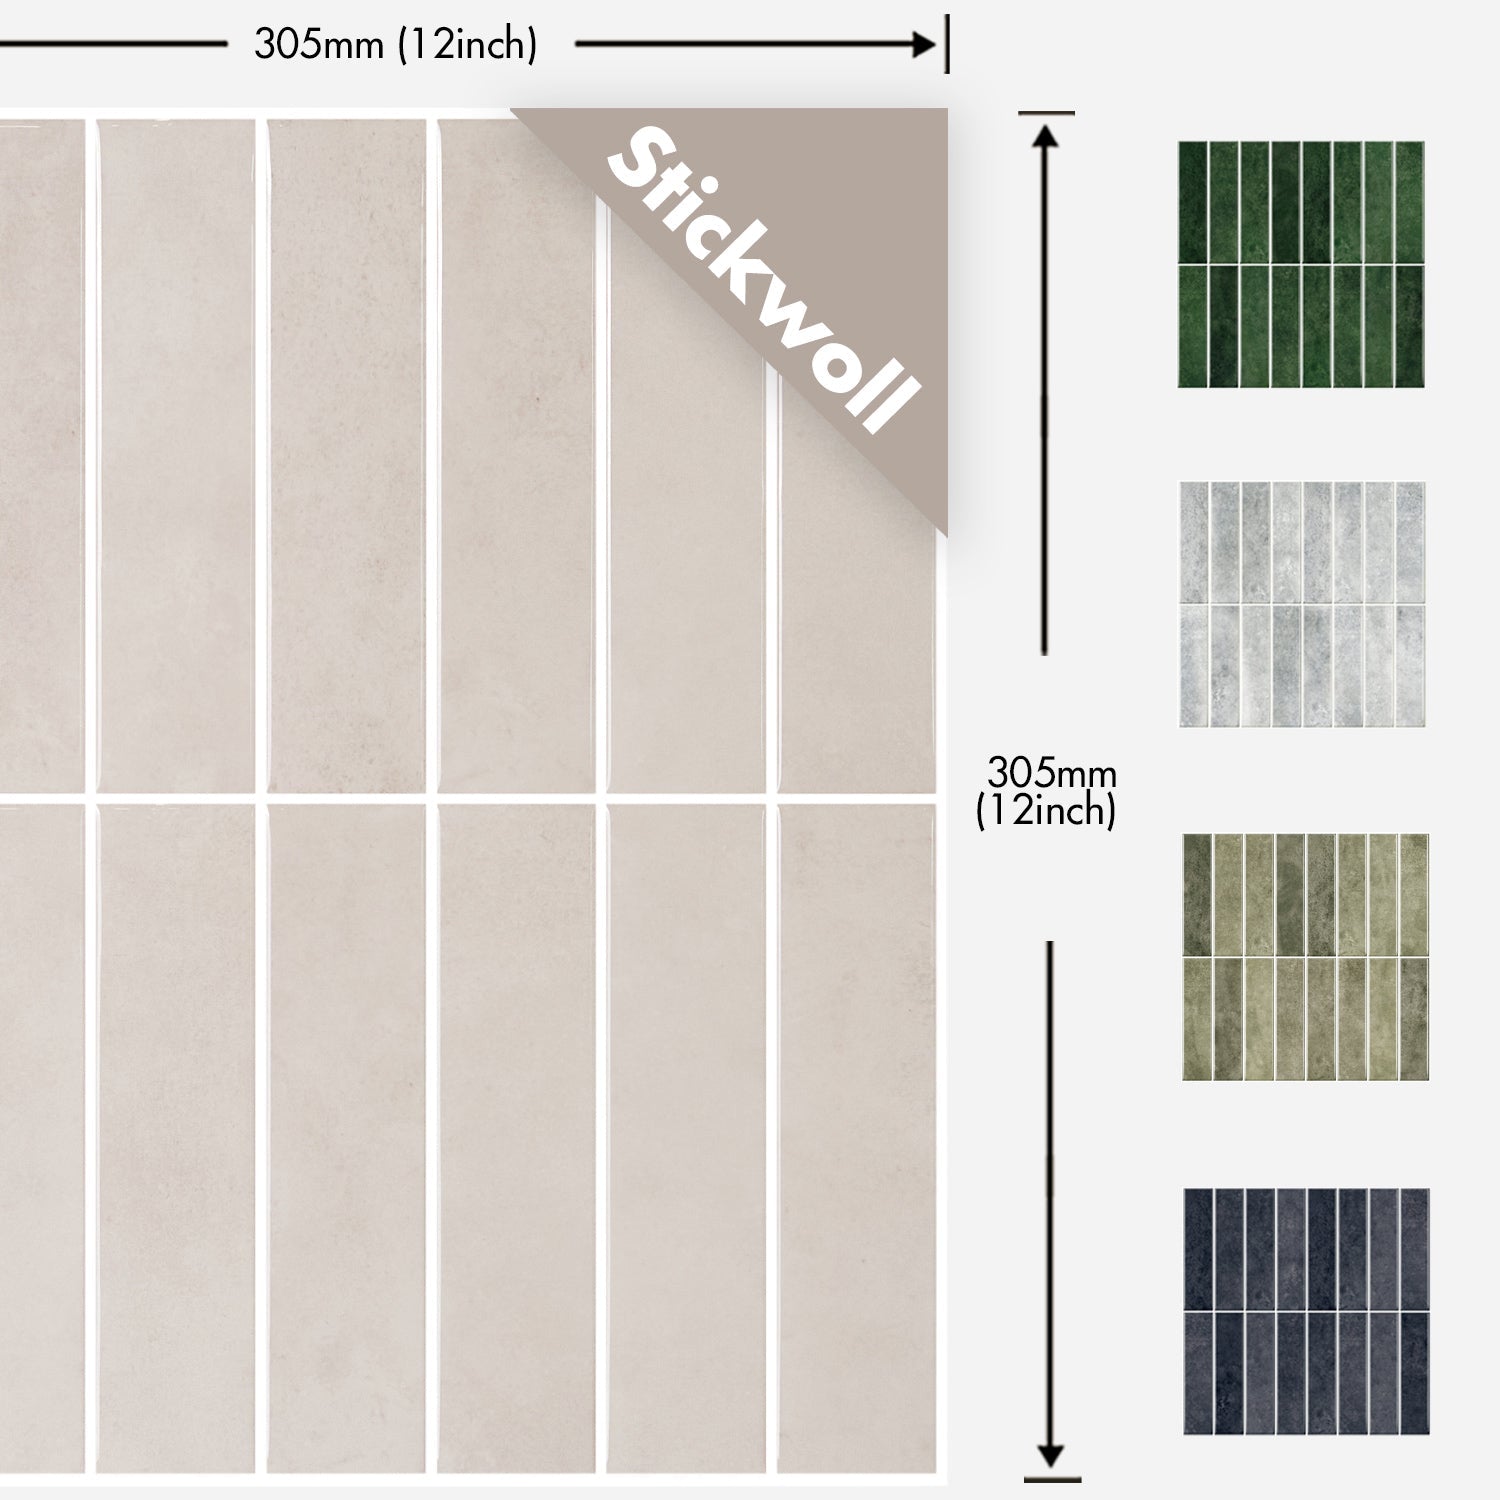
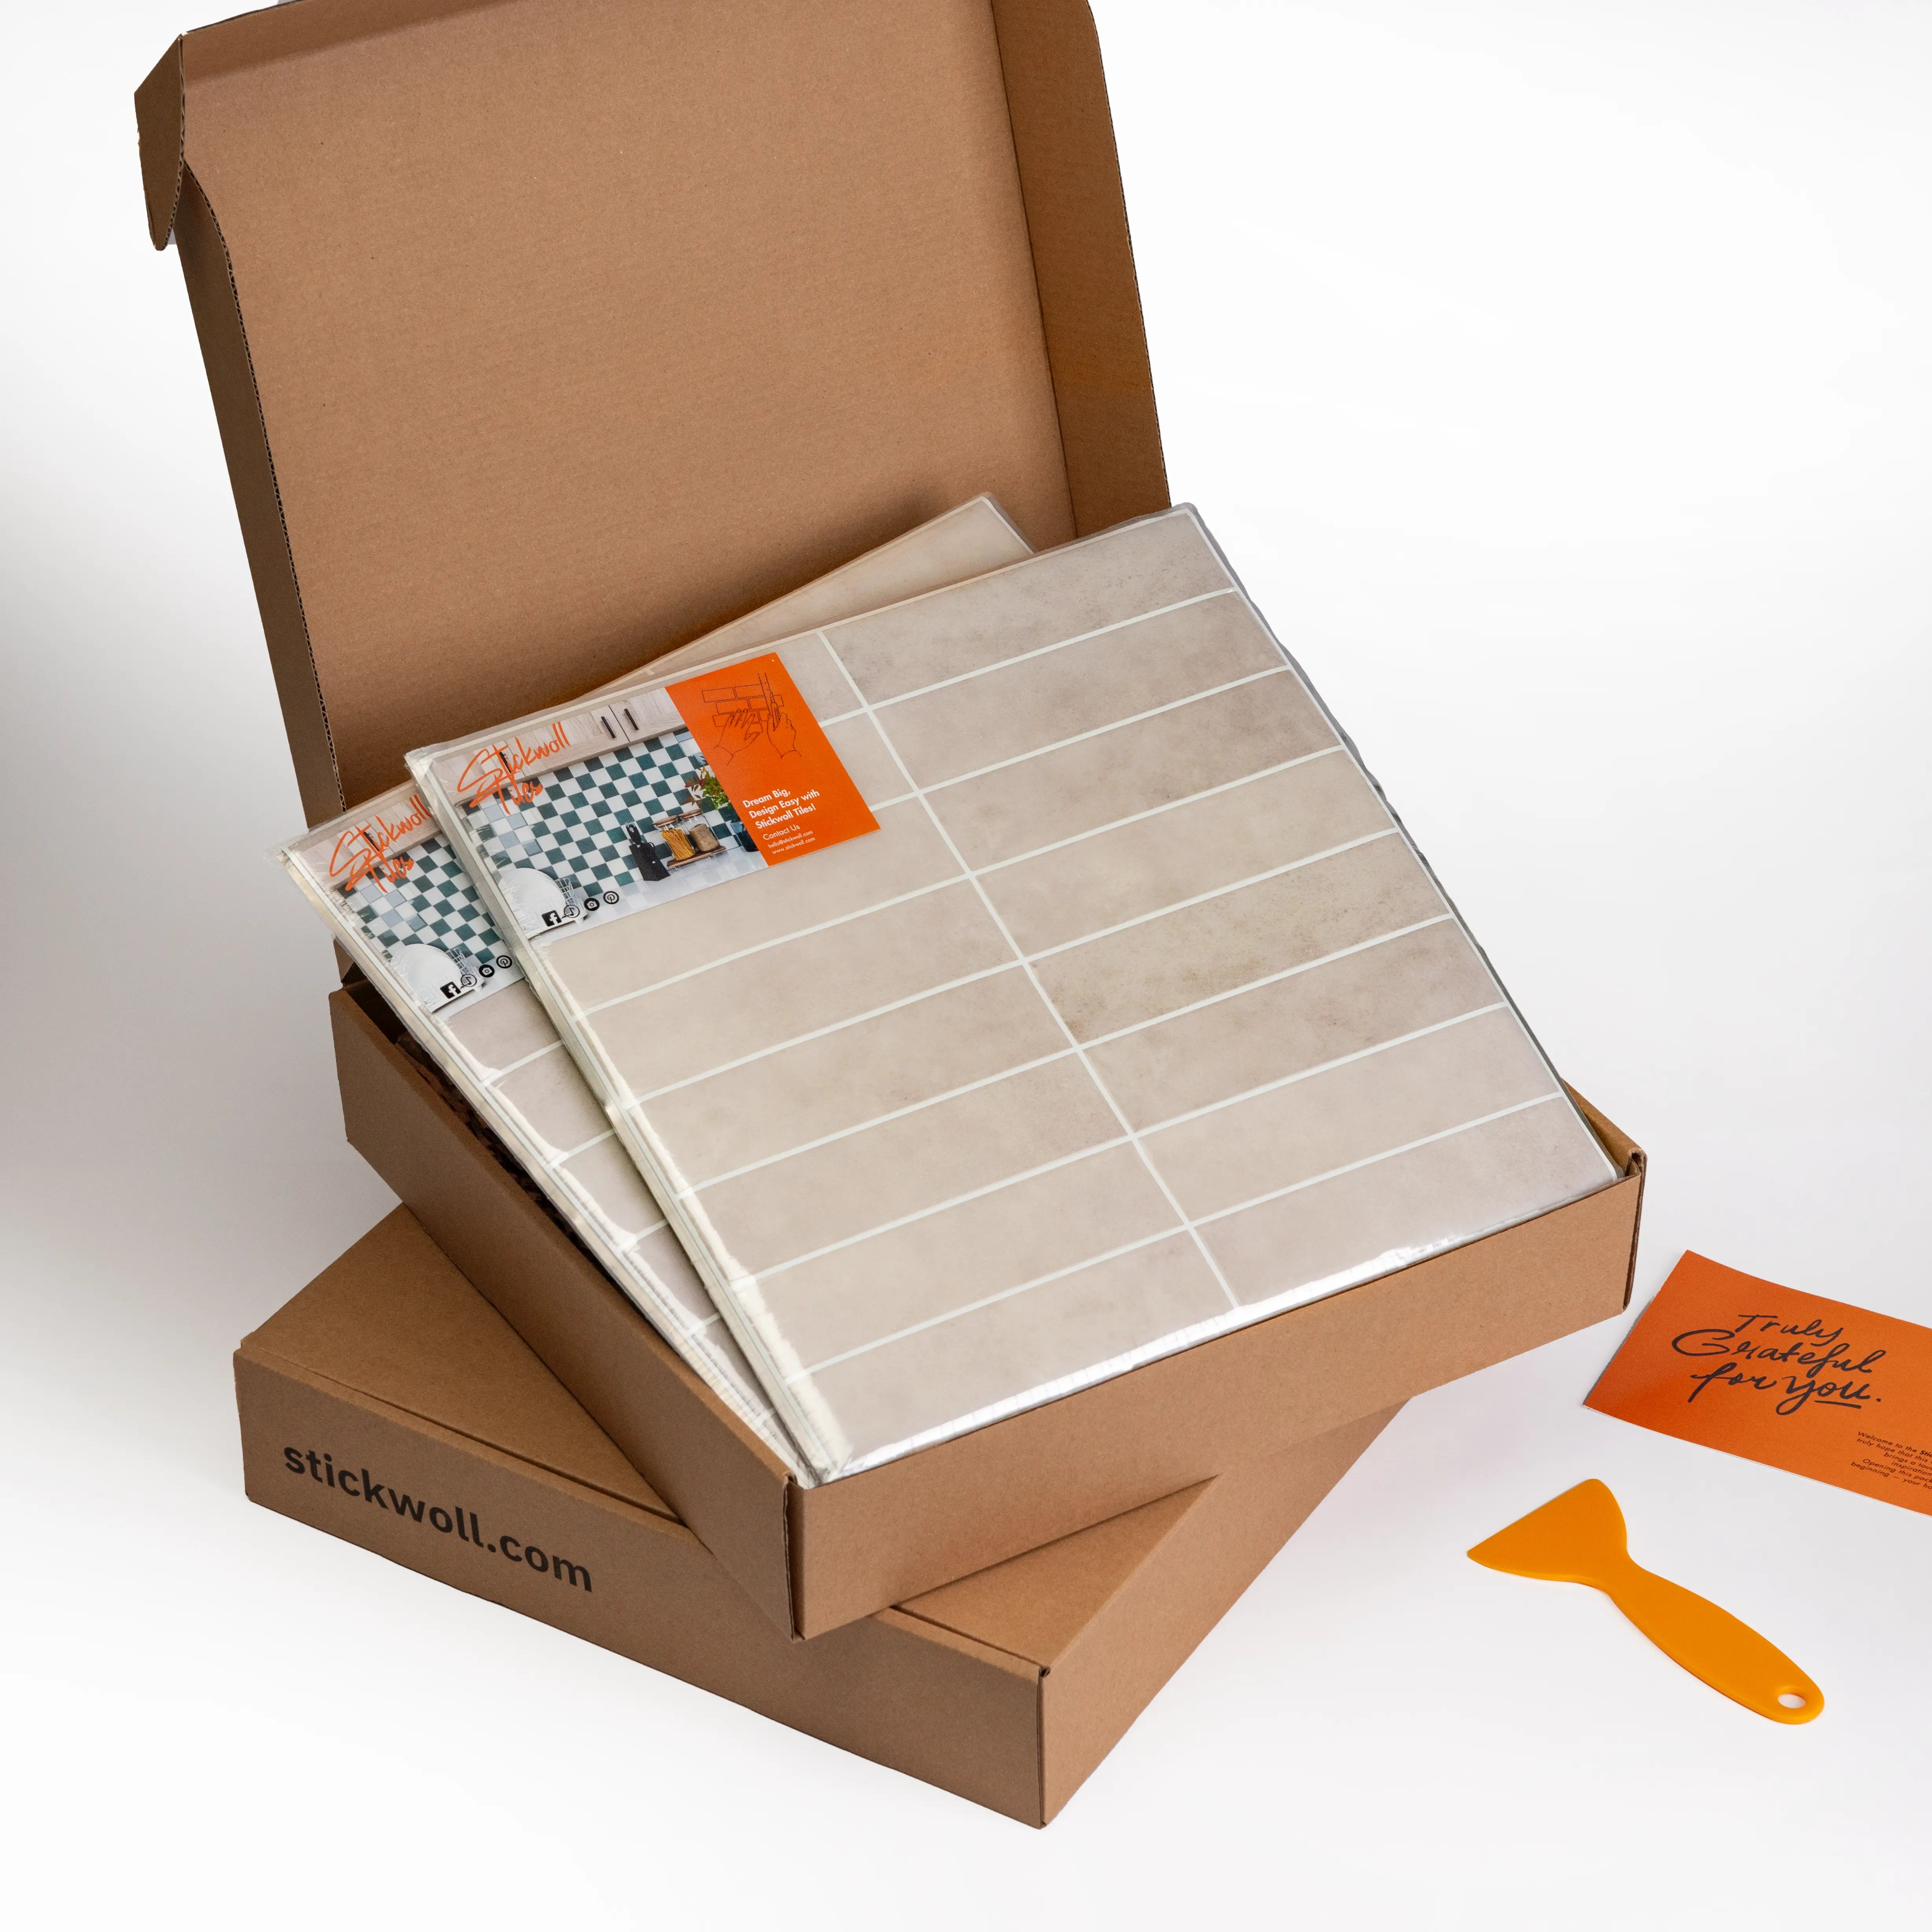
Standard packaging options: 5 pieces/10 pieces/20 pieces, based on the quantity purchased.
Usage Scenario
🌰✨ Almond Oasis in a Rental
For renters craving style without permanent changes
"Emma jazzes up her bland apartment by layering almond-shaped tiles behind her sofa, creating a cozy accent wall that peels off cleanly at move-out."
Features: 🏡removable wall art, 💸budget-friendly upgrade
Keywords: renter-friendly, peel and stick, accent wall
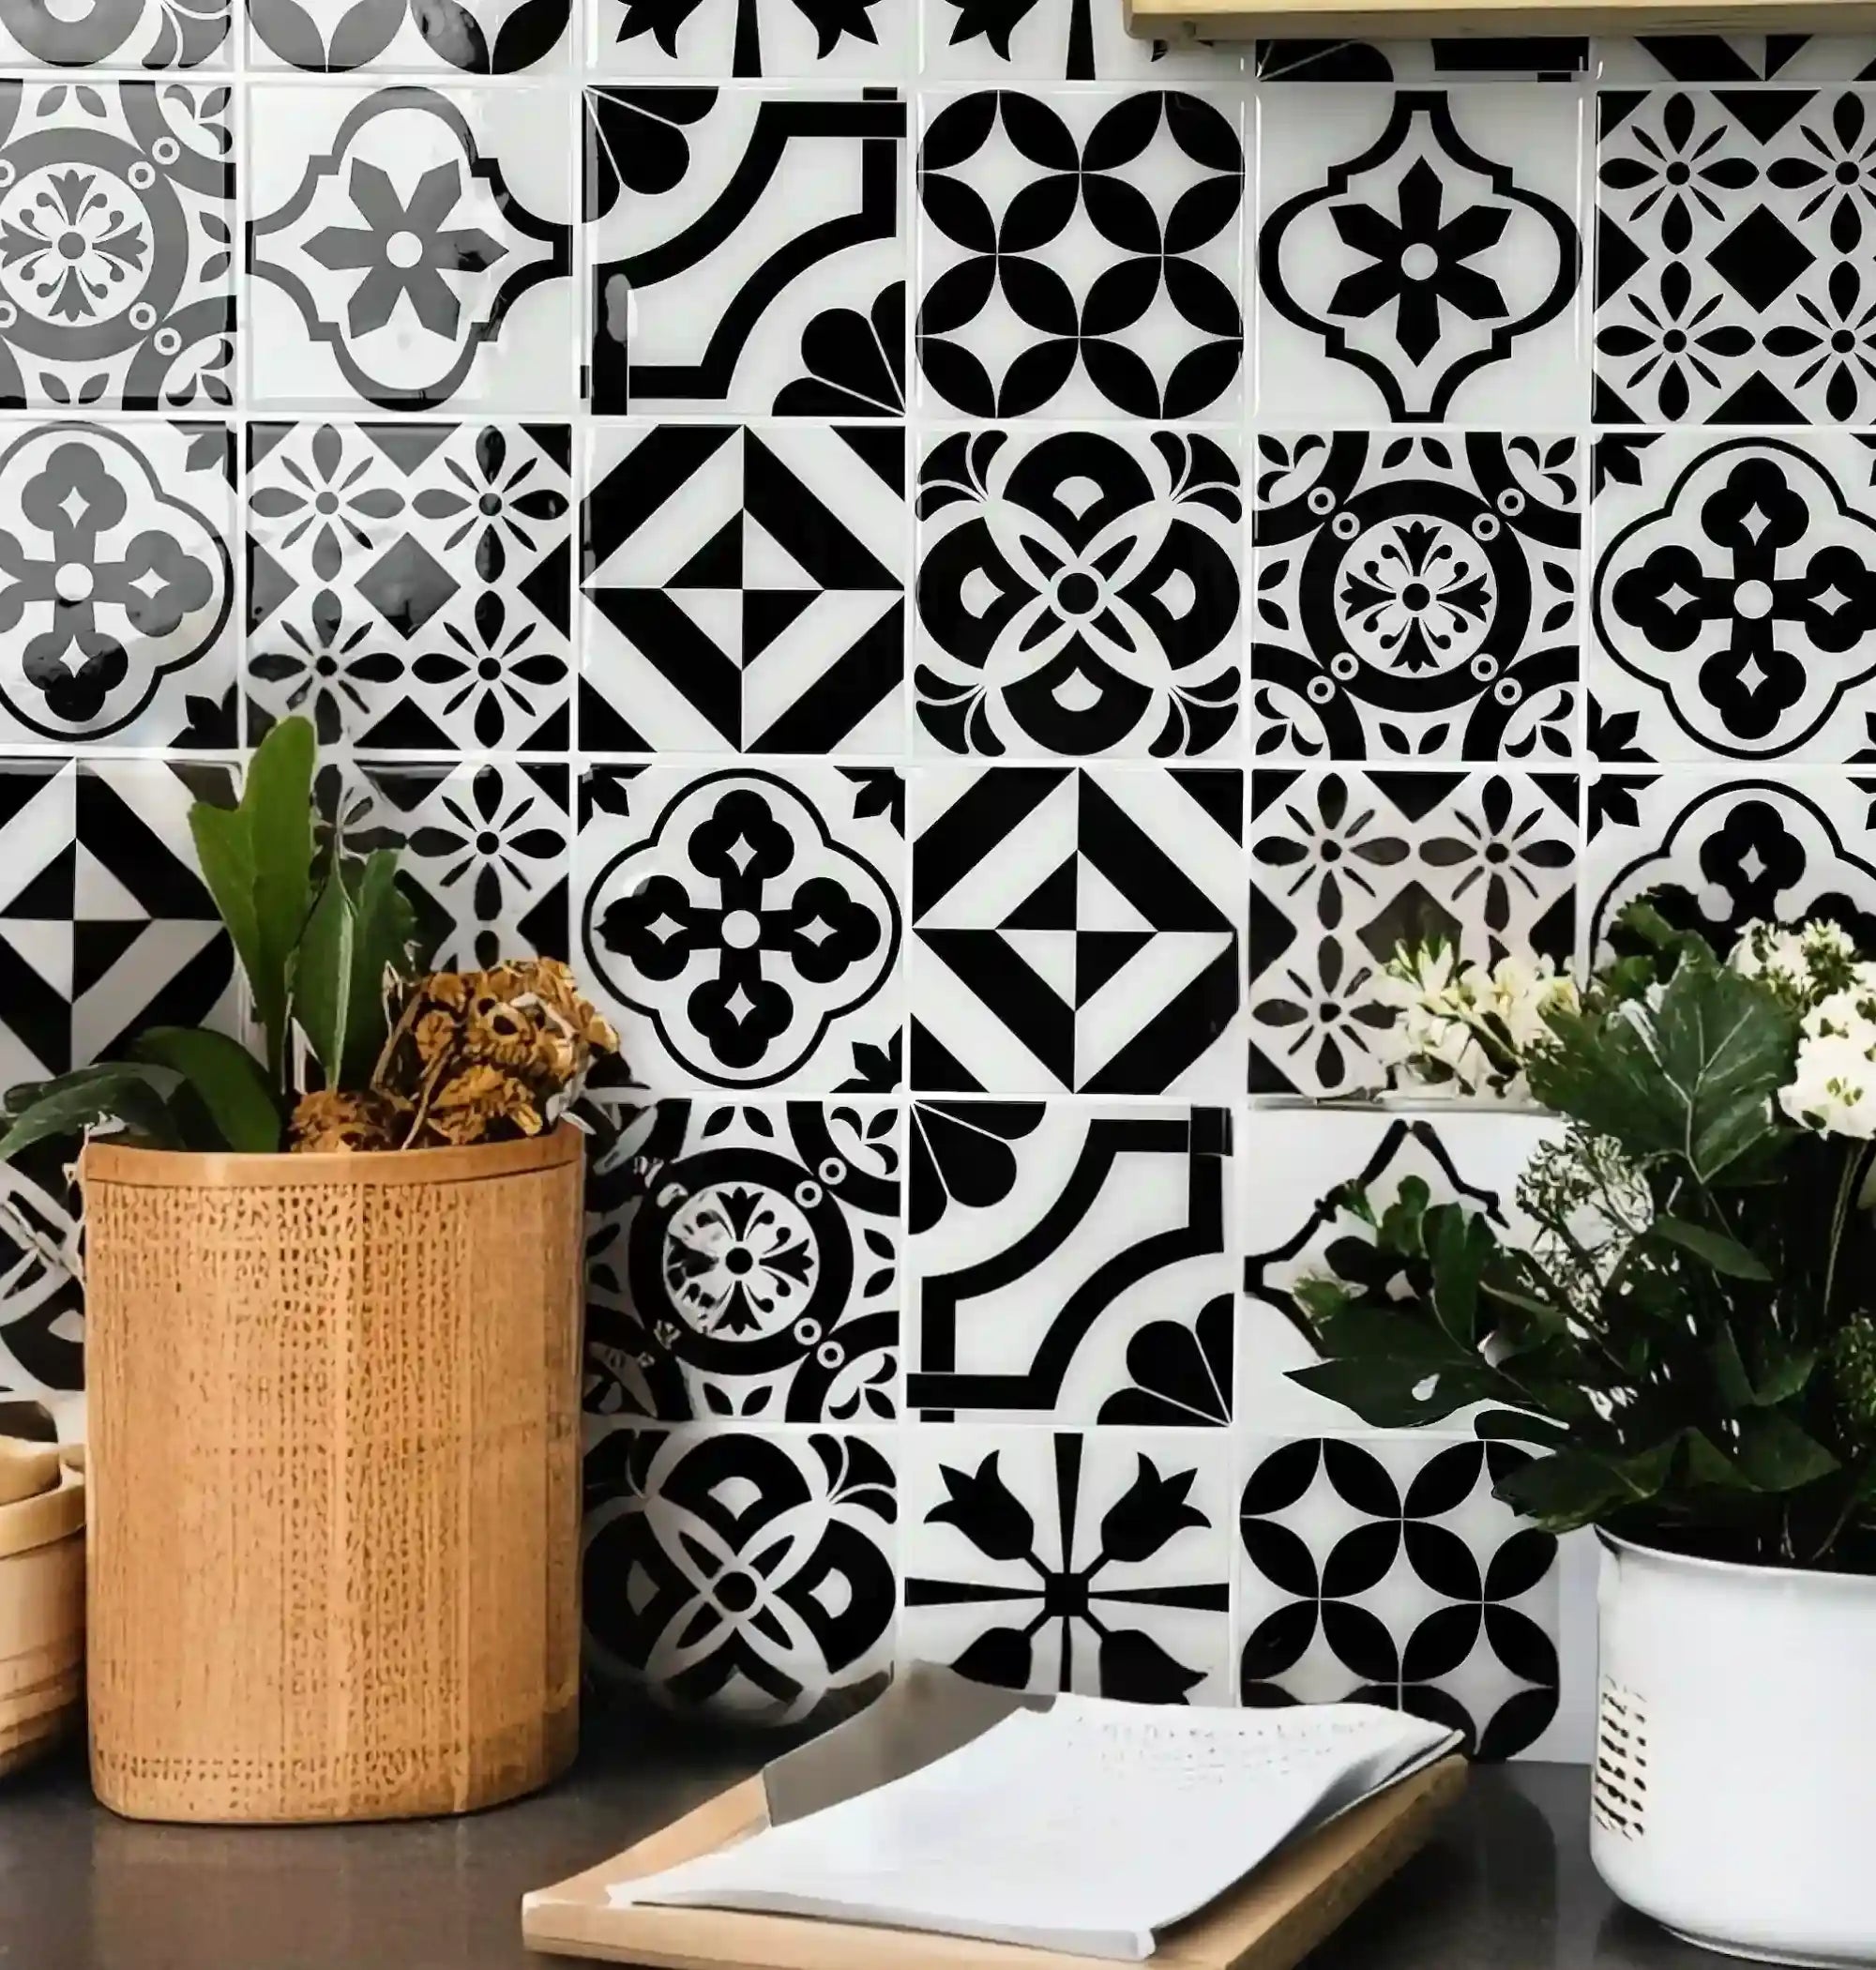
🛠️🍳 Kitchen Glow-Up in Minutes
For DIYers upgrading high-moisture zones
"Liam transforms his stained kitchen backsplash with waterproof tiles, wiping splatters easily while the heat-resistant surface handles sizzling pans nearby."
Features: 💦spill-proof shield, 🔥heat-safe finish
Scenes: kitchen backsplash, waterproof, heat-resistant
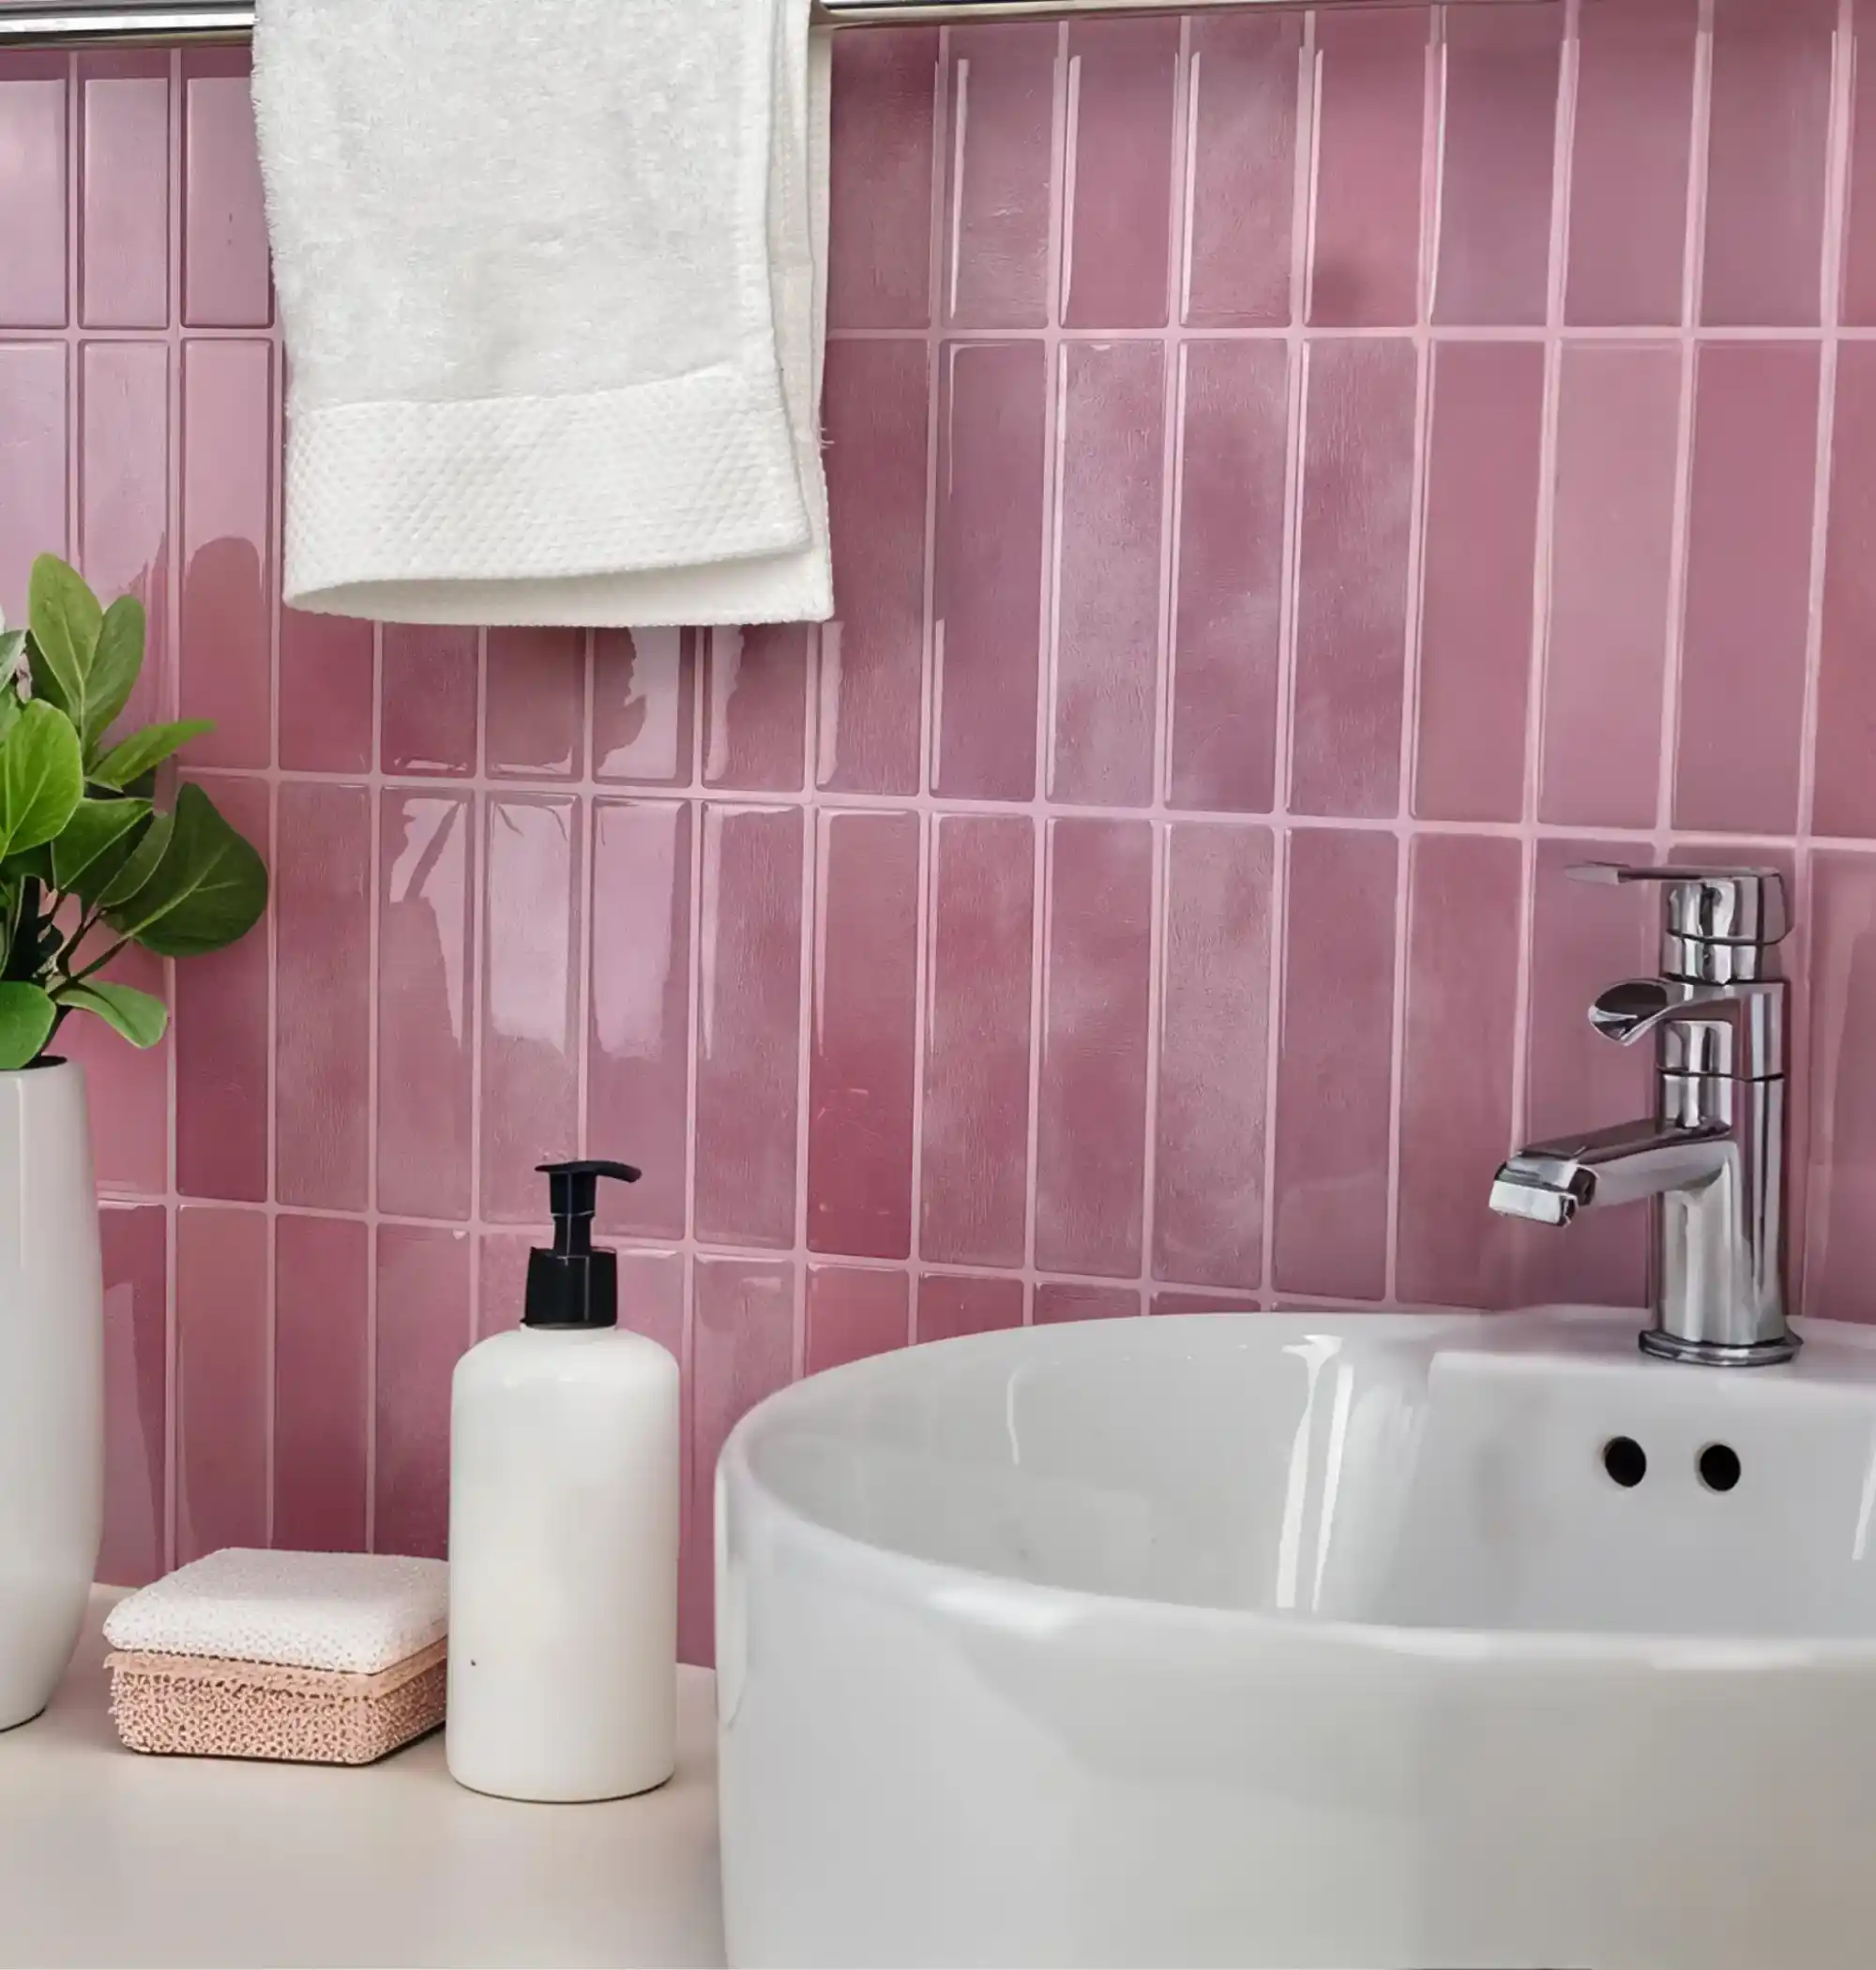
🚿✨ Bathroom Spa Retreat
For homeowners revamping self-care spaces
"Ava covers cracked bathroom walls with 3D-textured tiles, turning shower time into a luxury experience with steam-resistant elegance."
Features: 🌫️humidity-proof design, 💎3D cement texture
Scenes: bathroom renovation, moisture-resistant, 3D effect*
🎨☕ Coffee Nook Transformation
For creatives designing Instagram-worthy corners
"Zoe crafts a café-style backdrop using glossy almond tiles, snapping pastel mugs against the shimmering surface for her lifestyle blog."
Features: 📸aesthetic backdrop, ✨glossy finish
Scenes: personalized space, glossy surface, DIY decor
🎉🎄 Party-Ready Walls
For holiday hosts needing instant ambiance
"Carlos lines his dining area with removable tiles before Thanksgiving, swapping them for frosty white ones during Christmas for festive flexibility."
Features: 🎊temporary themes, 🕒quick change
Scenes: removable design, seasonal decor, easy installation
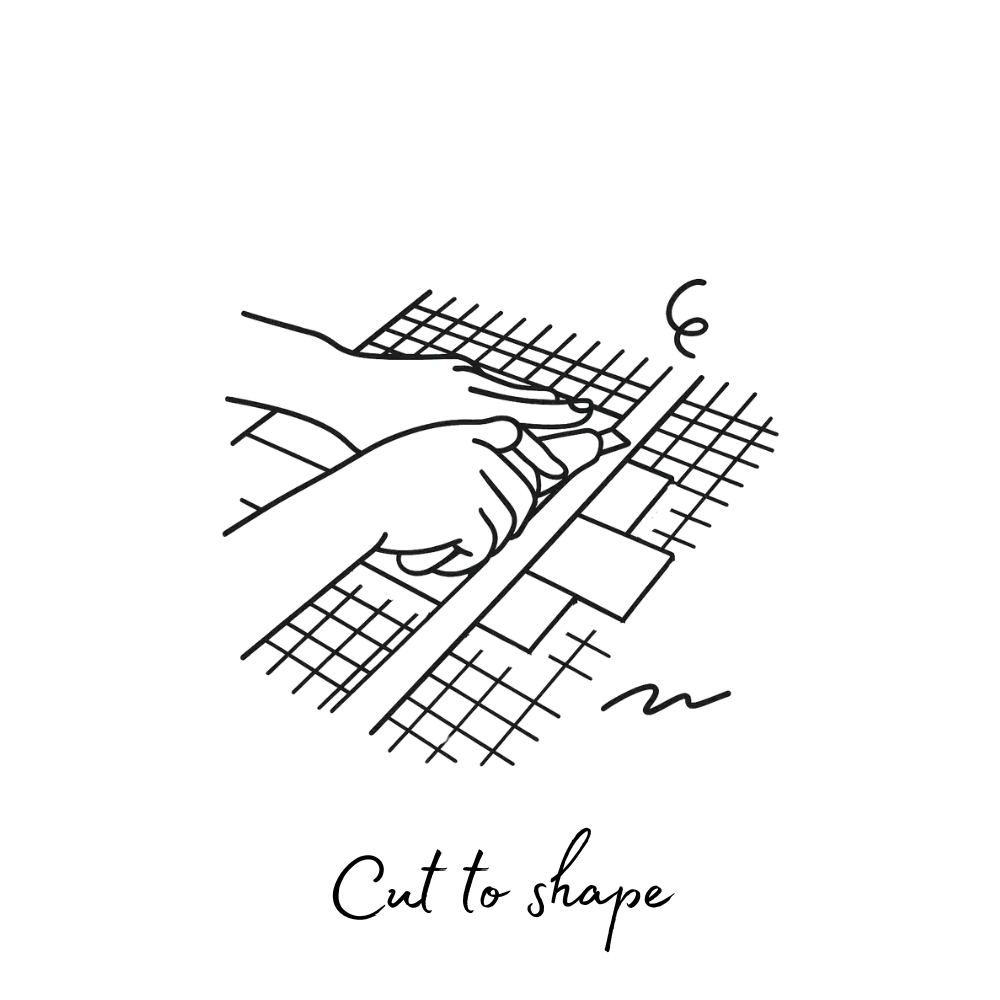
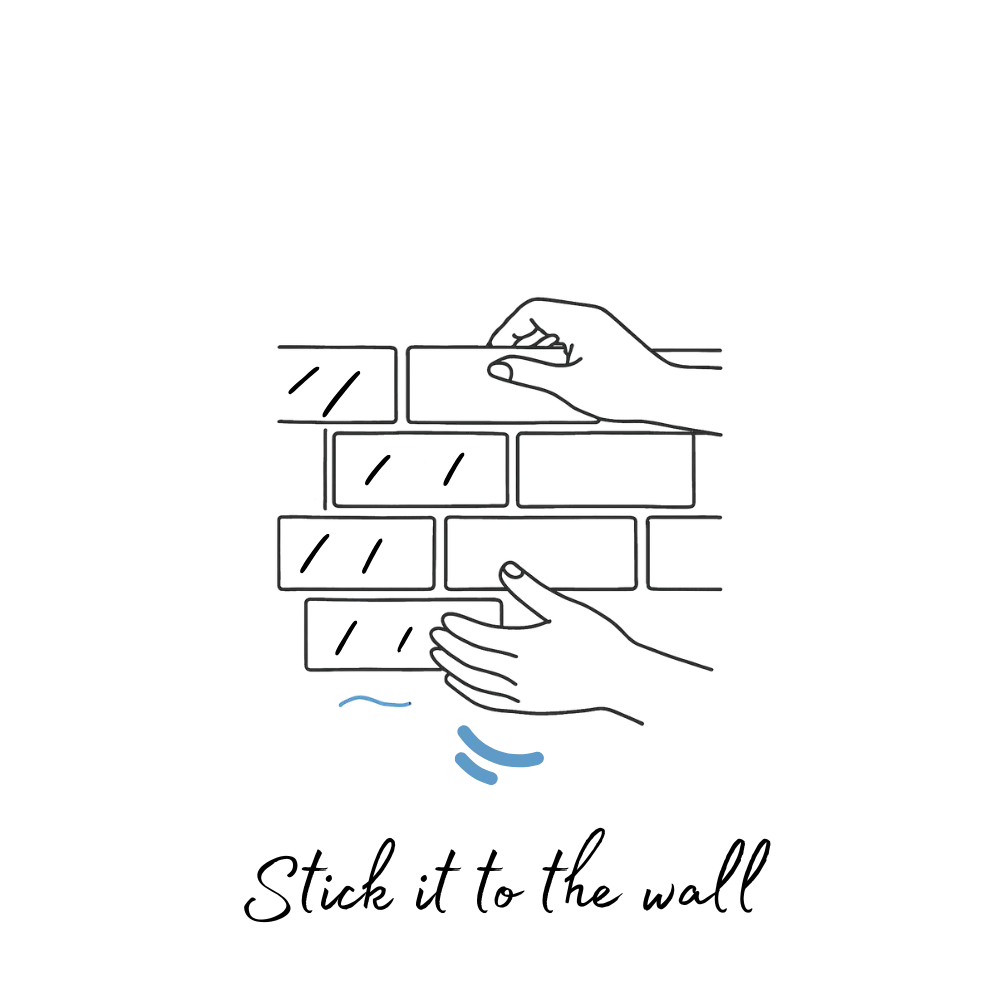
Usage Instructions
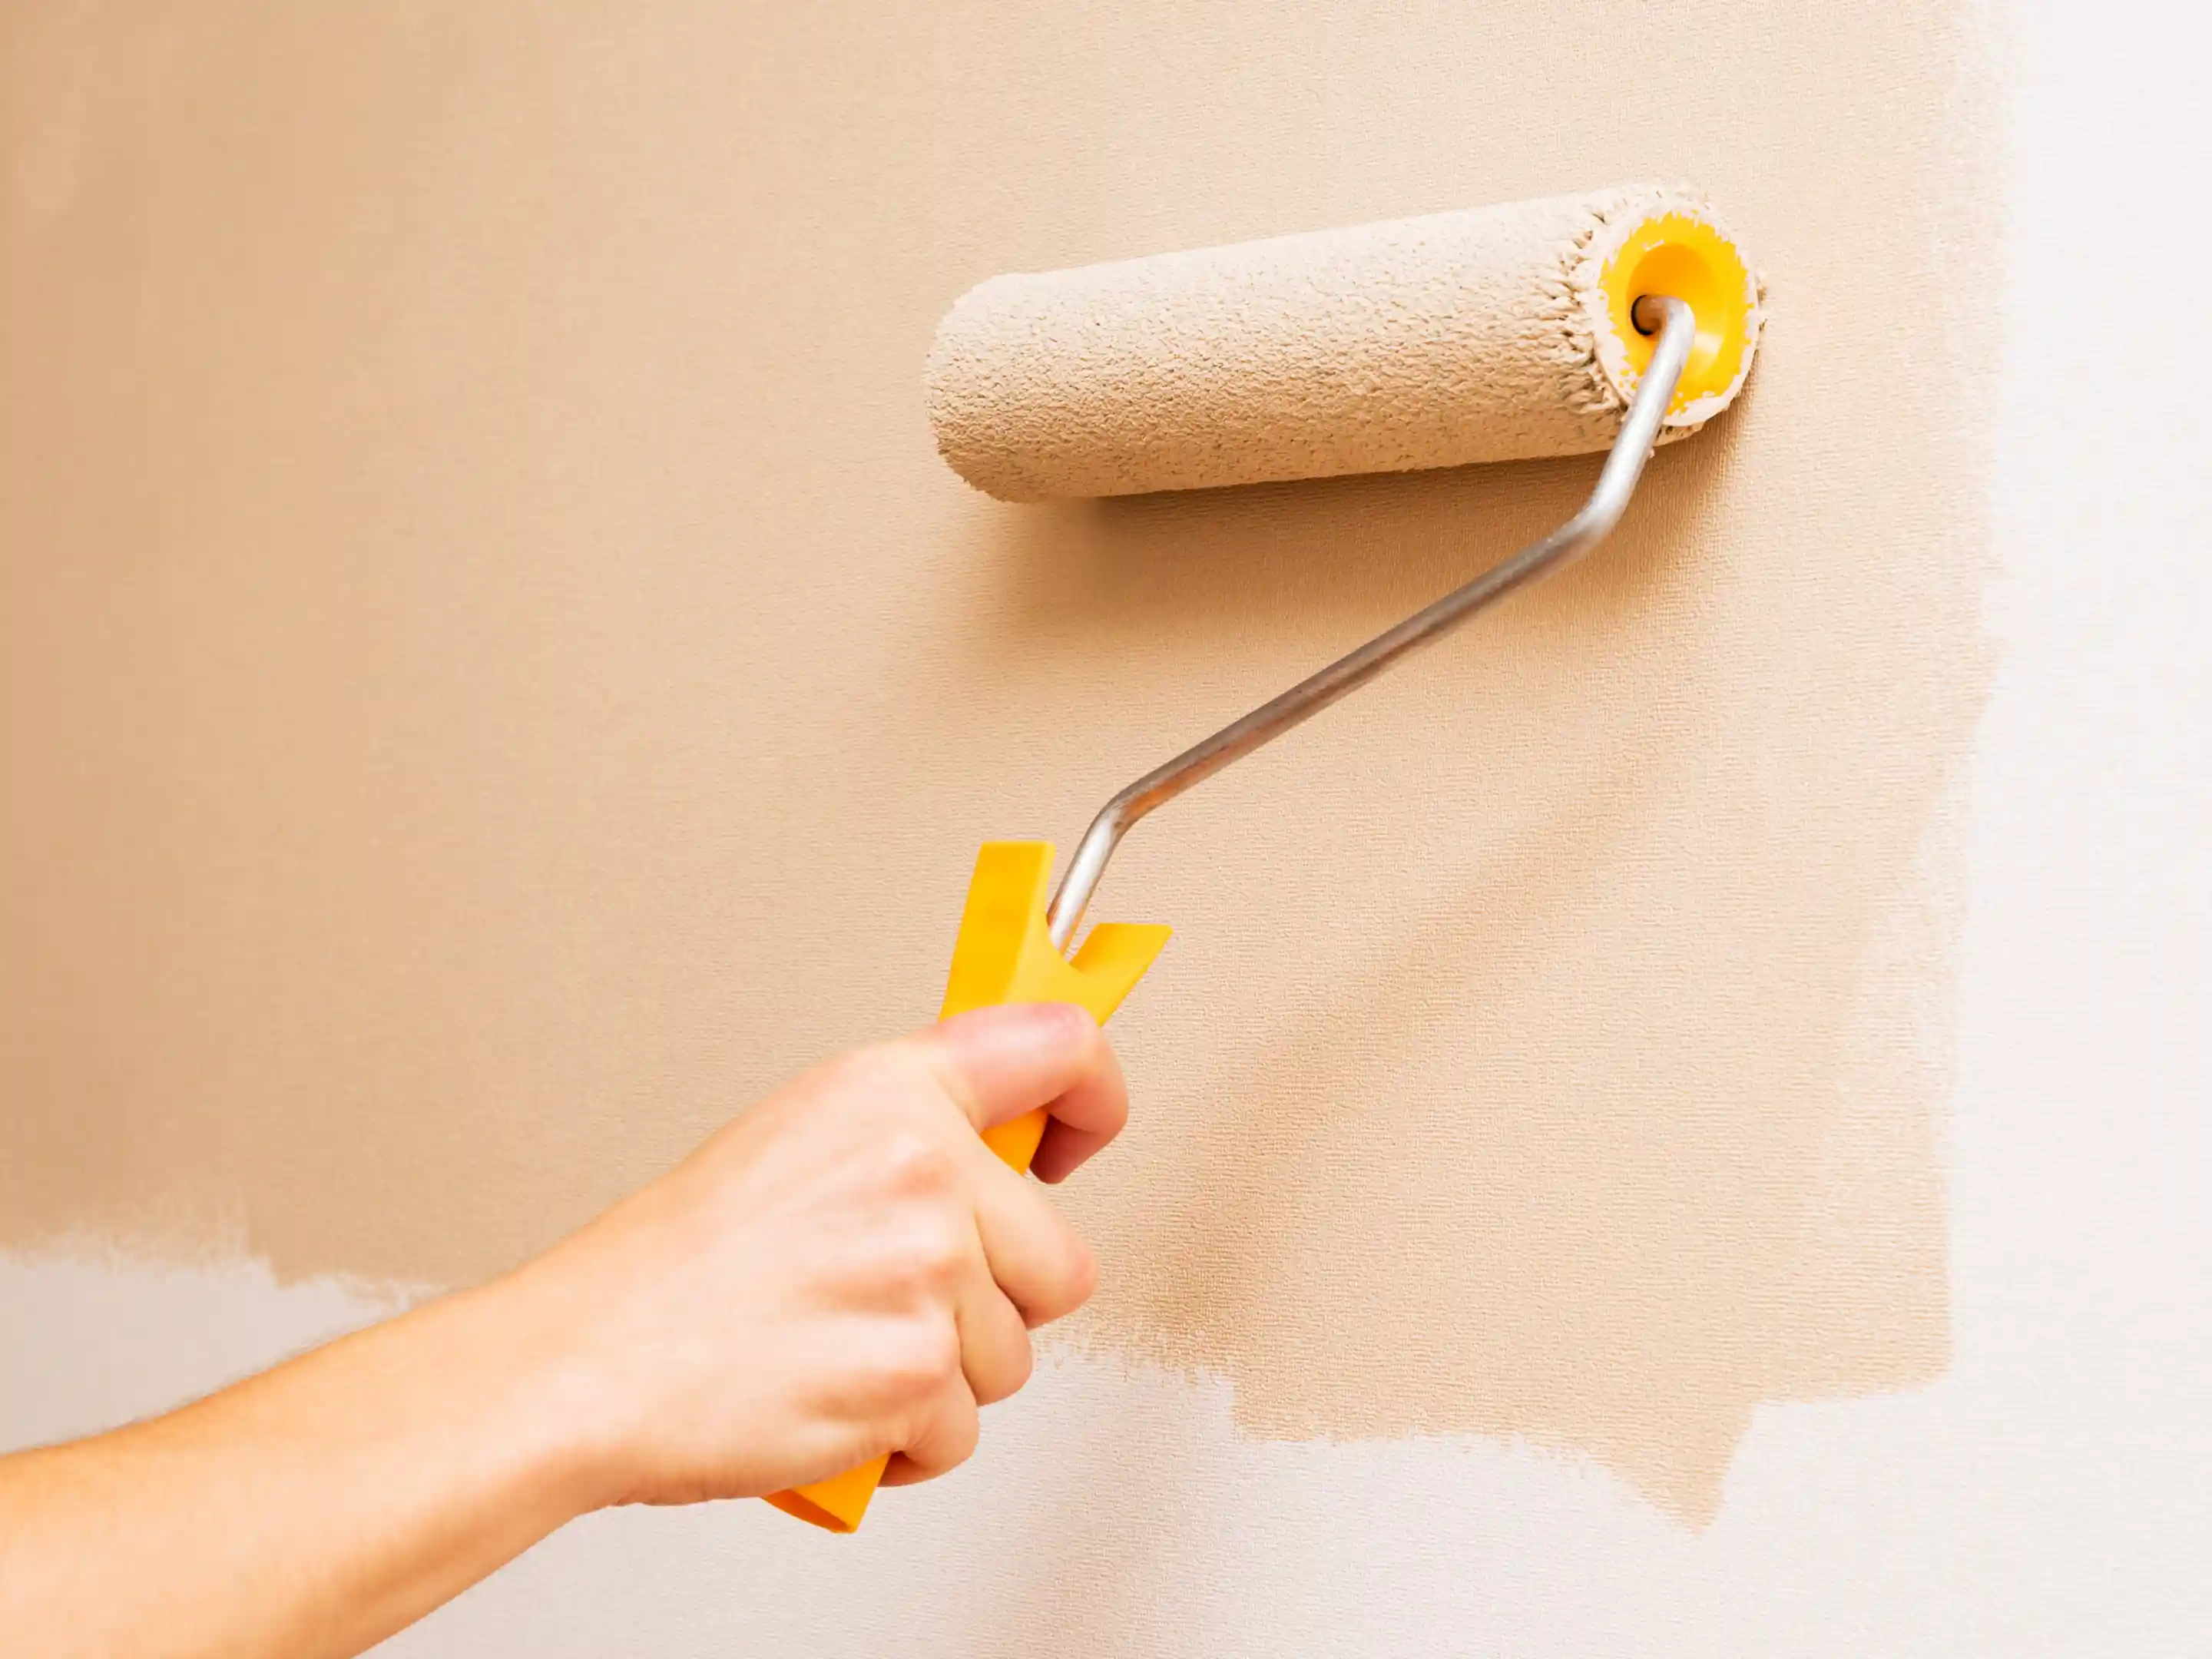
1.Surface Preparation:
·Ensure the target surface is clean, smooth, and dry.
·Wipe away any dust, dirt, or grease using a mild cleanser.
·Allow the surface to dry completely before applying the PVC wall decal.
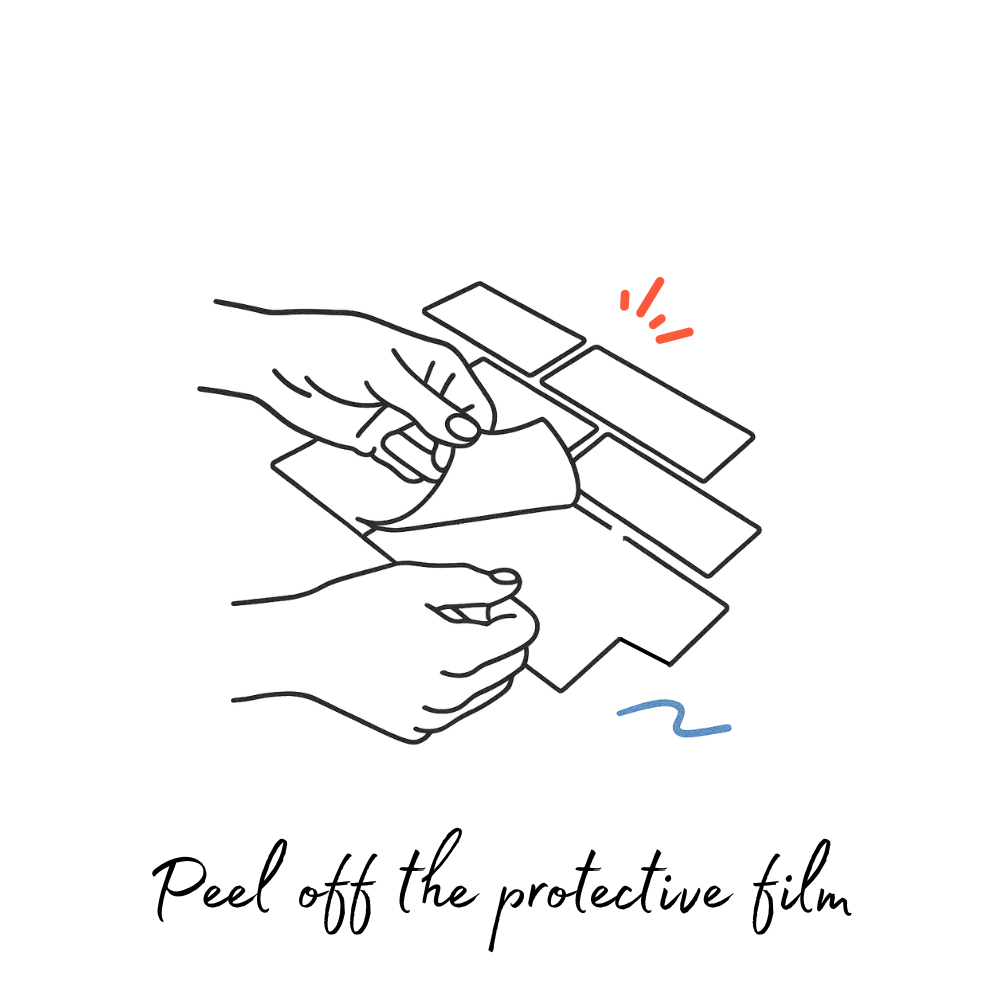
2.Peel Off the Backing Paper:
·Carefully peel off the backing paper from one corner of the wall decal, exposing the adhesive side.
·Take care not to touch the adhesive surface to maintain optimal adhesion.
3.Positioning the Decal:
·Align the peeled corner with the desired location on the surface.
·Gently press the exposed section onto the surface, ensuring proper alignment.
4.Smooth Out Air Bubbles:
·Use a soft, flat tool (such as a squeegee or credit card) to smooth out any air bubbles from the center towards the edges.
·Ensure the decal is firmly adhered to the surface for the best results.
5.Adjustment and Removal:
·If the decal is not positioned correctly, gently lift and reposition it before pressing it firmly into place.
·To remove the decal, start from one corner and peel it away slowly, avoiding damage to the surface.
6.Enjoy Your Transformed Space:
·Once applied, step back and admire the enhanced aesthetics of your space.
·Share your Peel&Stickers experience with us on social media using #Stickwolltiles.
Shipping & Returns
Free shipping is available for all orders over $60(aprox €58). Delivery typically takes about 3-8 business days.
You can return your product up to 30 days after receiving your order. Learn more
Almond Elixir
✅ Quick Renovation – Make Your Living Space Feel Bigger!
🎨 Aesthetic Home Vibes – Match Your Style Effortlessly
💰 Save Money & Time – Efficient and Budget-Friendly
🛠️ Just Peel & Stick – Easy DIY in Minutes!
How to install Stickwoll peel & stick tiles?


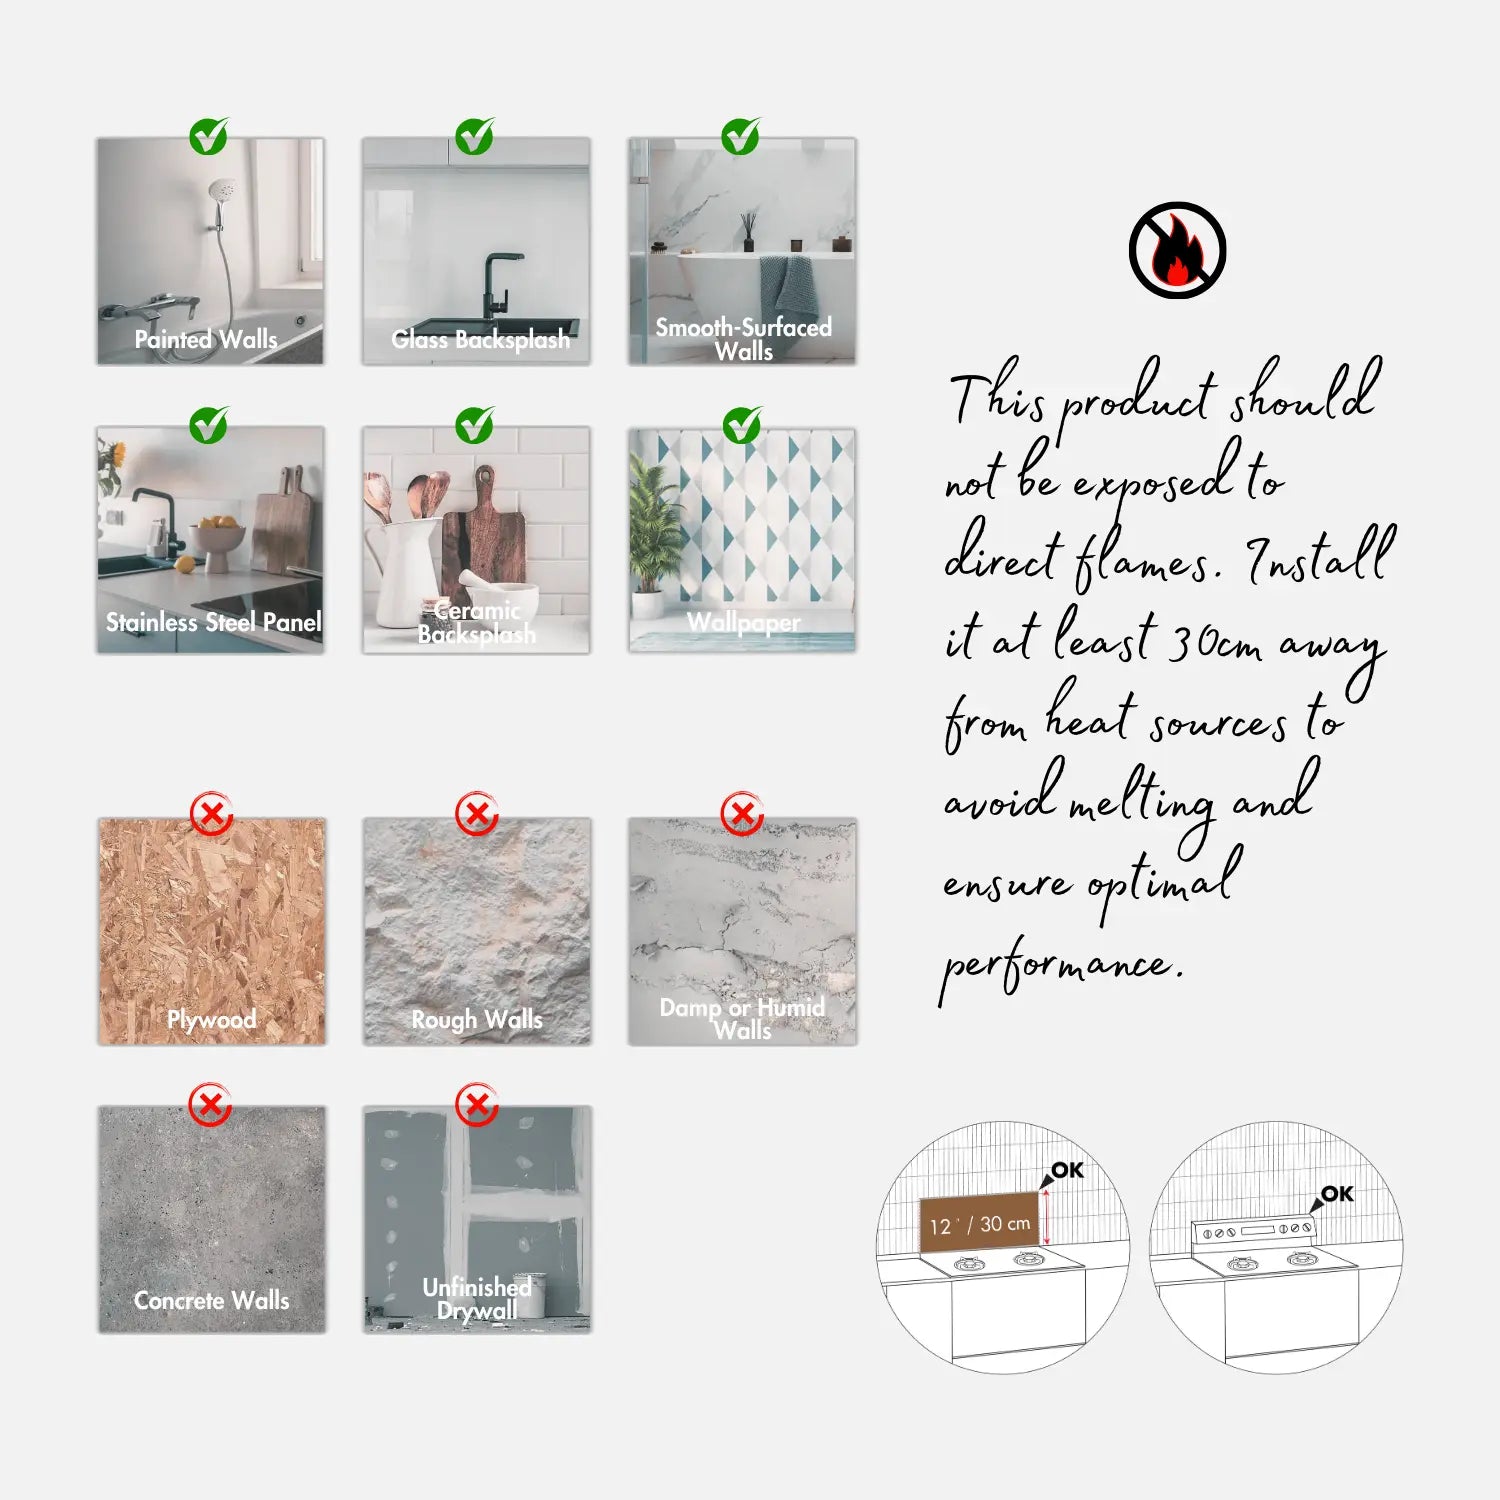
Choose the right wall before installation ✅
Peel and stick tiles work best on clean, smooth, stable walls. Avoid damp, rough, or uneven surfaces to ensure durability and long-lasting results.
FAQ
Have a question ? We are here to help.
Our customer support is available Monday to Friday: 8am-8:30pm.
Average answer time: 24h
What are Stickwoll Tiles?
Think of Stickwoll Tiles Tiles as your home décor's new best friend. They’re stylish, stick-on wall tiles that make it super easy to refresh your space without the mess or hassle of grout or glue. Perfect for anyone who loves a quick, no-sweat DIY!
Are Stickwoll Tiles waterproof?
Yes, they are water-resistant, making them perfect for areas like bathrooms and kitchens where water is part of daily life. Just don’t submerge them directly or slap them on in the shower. They’re good!
What’s the lifespan of Stickwoll Tiles?
With proper care, these tiles can last for 2-3years, even longer. They stick tight and hold up even in busy spots like the kitchen. So, you won’t need to worry about redoing them anytime soon.
Can I Use Stickwoll Tiles in Rental Properties?
Totally! Stickwoll Tiles are a dream for renters because you can upgrade your space without making permanent changes. Just check with your landlord, though, because some surfaces might show slight residue when removed.
Do I need any special tools to install Peel&Stickers Tiles?
Nope, just you, a pair of scissors, maybe a ruler, and some enthusiasm. You’ve got this!
Any question?
You can access FAQ page or contact us through our contact page! We will be happy to assist you.