Are you looking to infuse a touch of luxury into your home without breaking the bank? Peel and stick mosaic tiles offer an exceptional way to transform your space with minimal effort! From creating a mosaic accent wall that becomes a focal point to ensuring durability with stunning aesthetics, this guide covers it all. You’ll learn not only the art of DIY but also how to achieve a professional finish with ease. Let’s embark on a journey to recreate your interiors with a peel stick mosaic masterpiece that will leave everyone in awe!
Understanding Peel Stick Mosaic Tiles
Key Features and Benefits
- Easy Application: No need for special tools or professional help.
- Affordable: Cost-effective alternative to traditional tiles.
- Reusable: Can be repositioned without leaving sticky residues.
- Variety of Designs: Comes in numerous patterns and colors to match any decor.
When I first decided to upgrade my home decor, I was thrilled to discover peel and stick mosaic tiles. These tiles are incredibly easy to apply, which means anyone can transform their space without needing professional assistance. They are also budget-friendly, allowing me to achieve a luxurious look without spending a fortune. Additionally, the fact that they can be reused and repositioned without leaving any sticky mess made the whole process stress-free. With a wide array of designs and colors available, I found the perfect match for every room in my home.
Versatility and Aesthetic Appeal
- Adaptable to Various Styles: Modern, rustic, classic, and more.
- Enhances Any Room: Perfect for kitchens, bathrooms, living rooms, and bedrooms.
- Customizable Patterns: Mix and match different tiles to create unique designs.
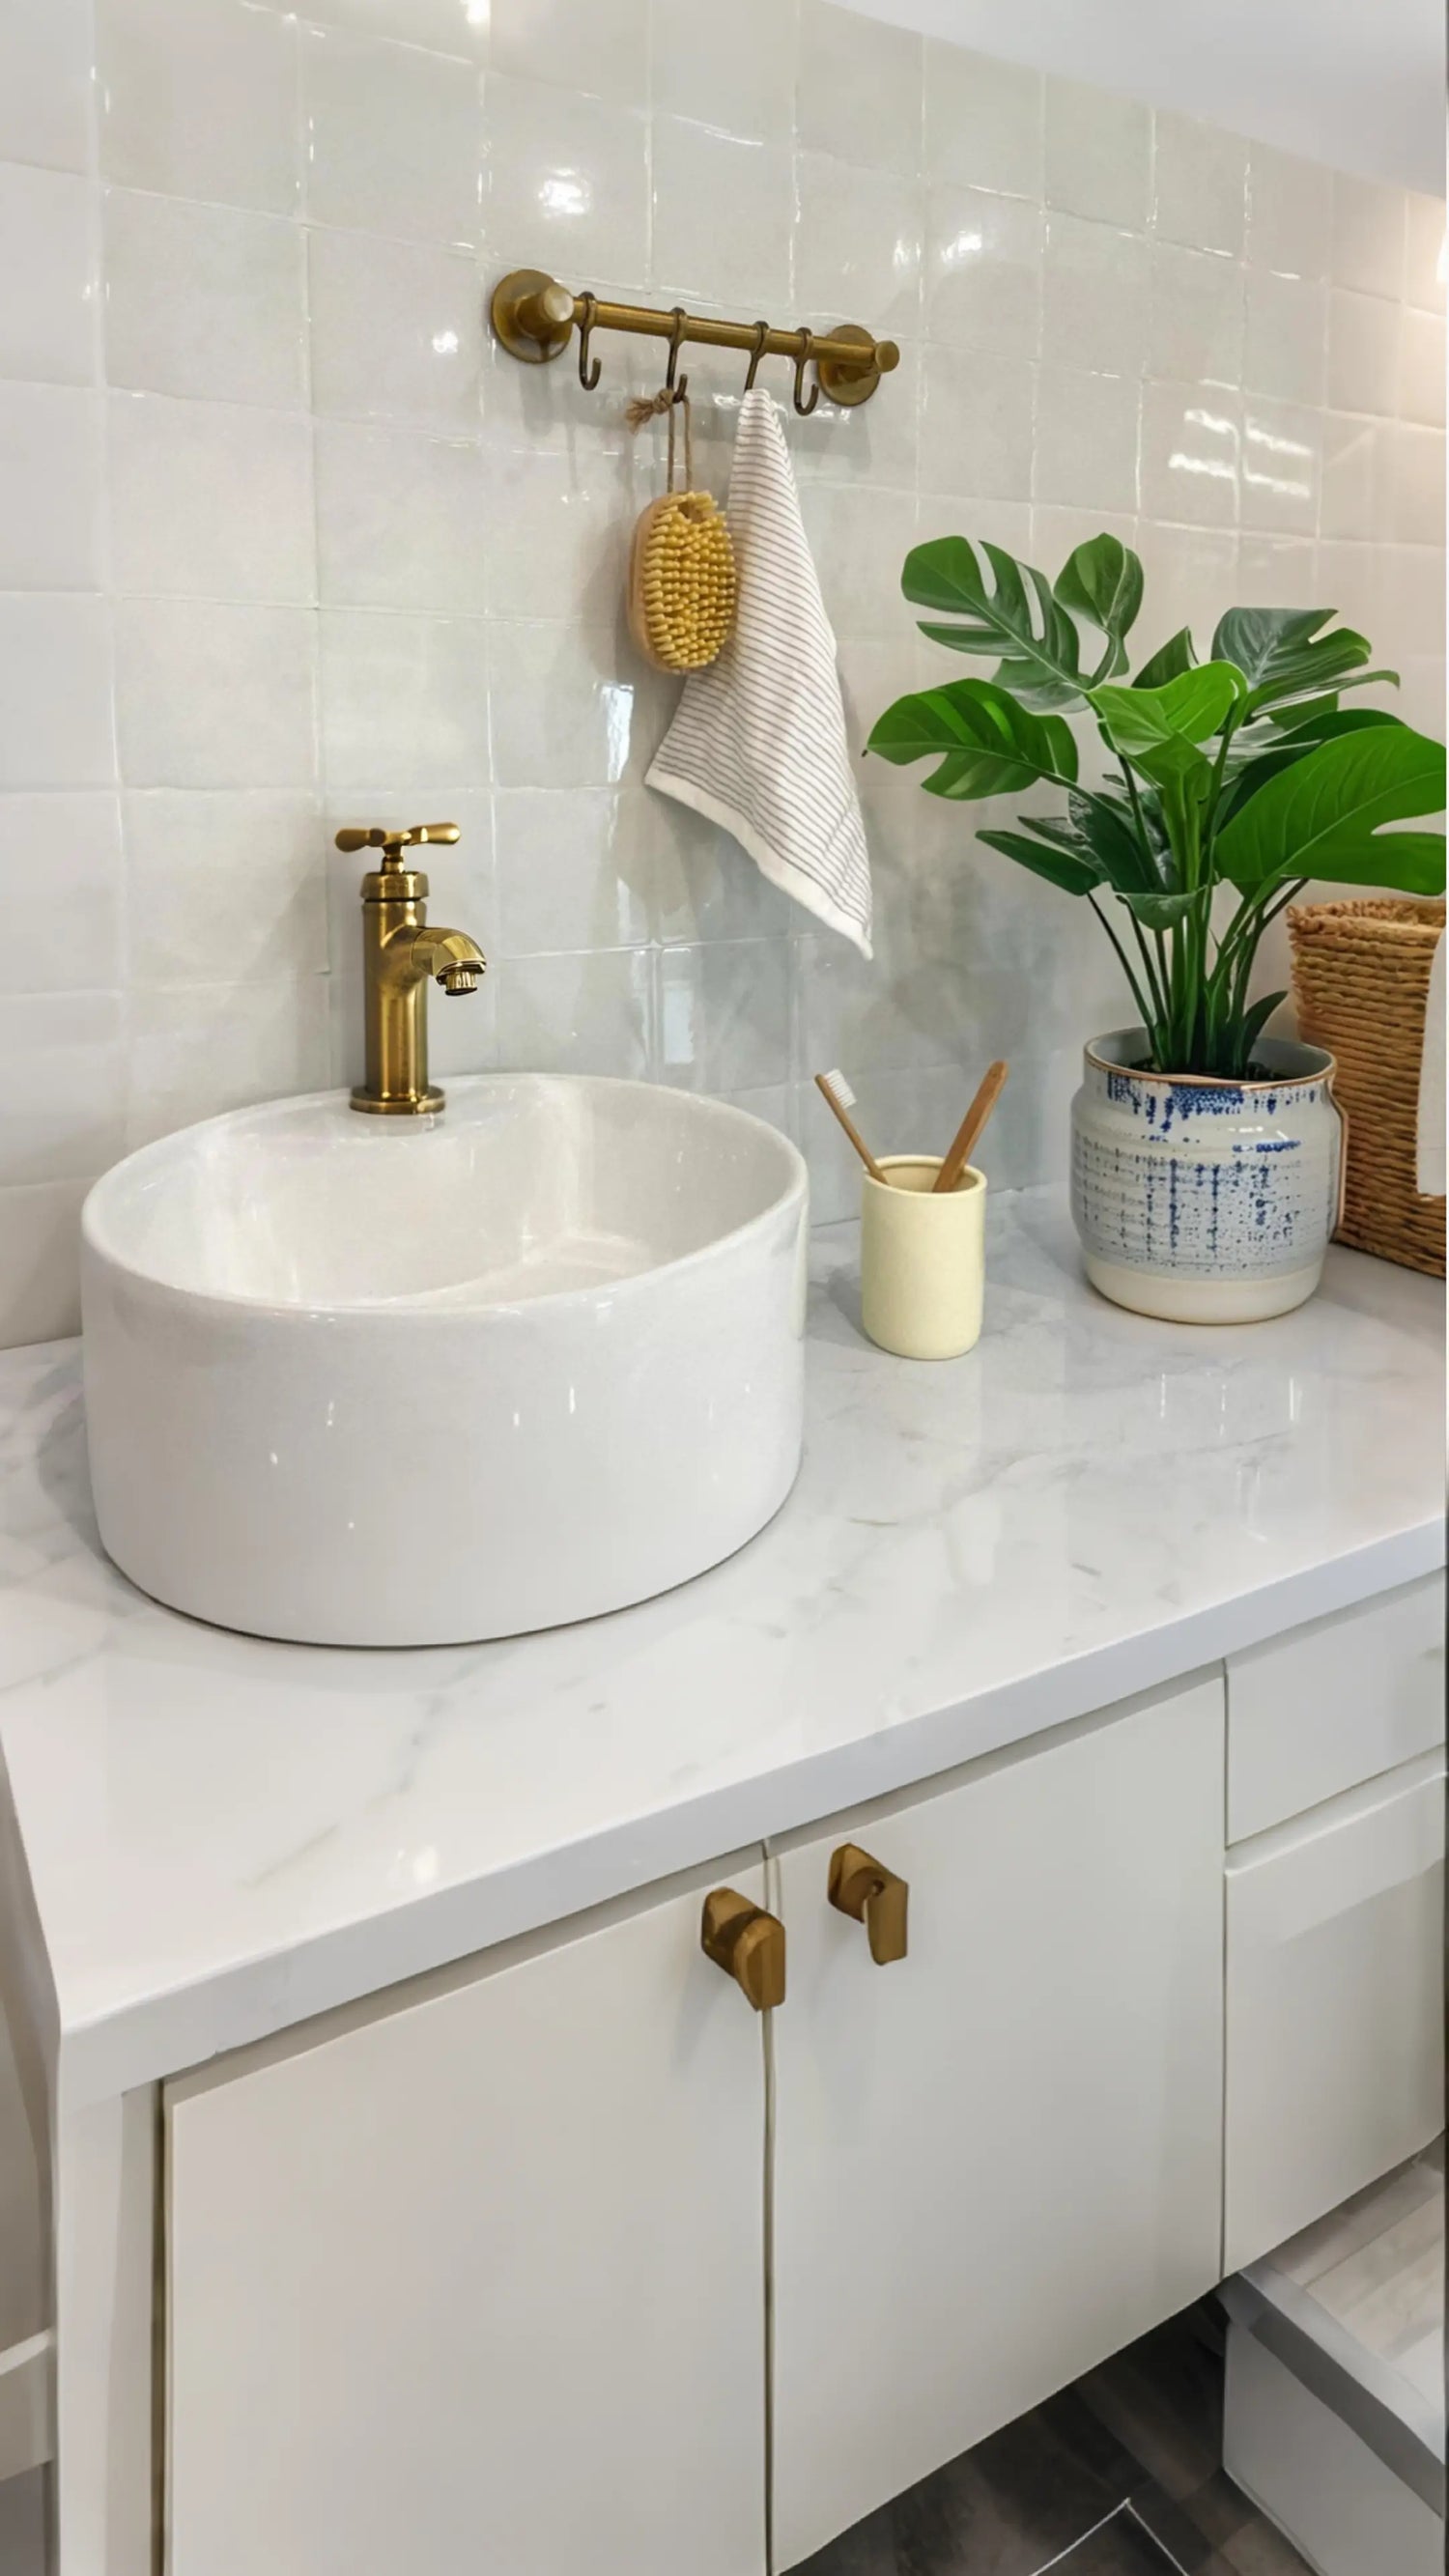
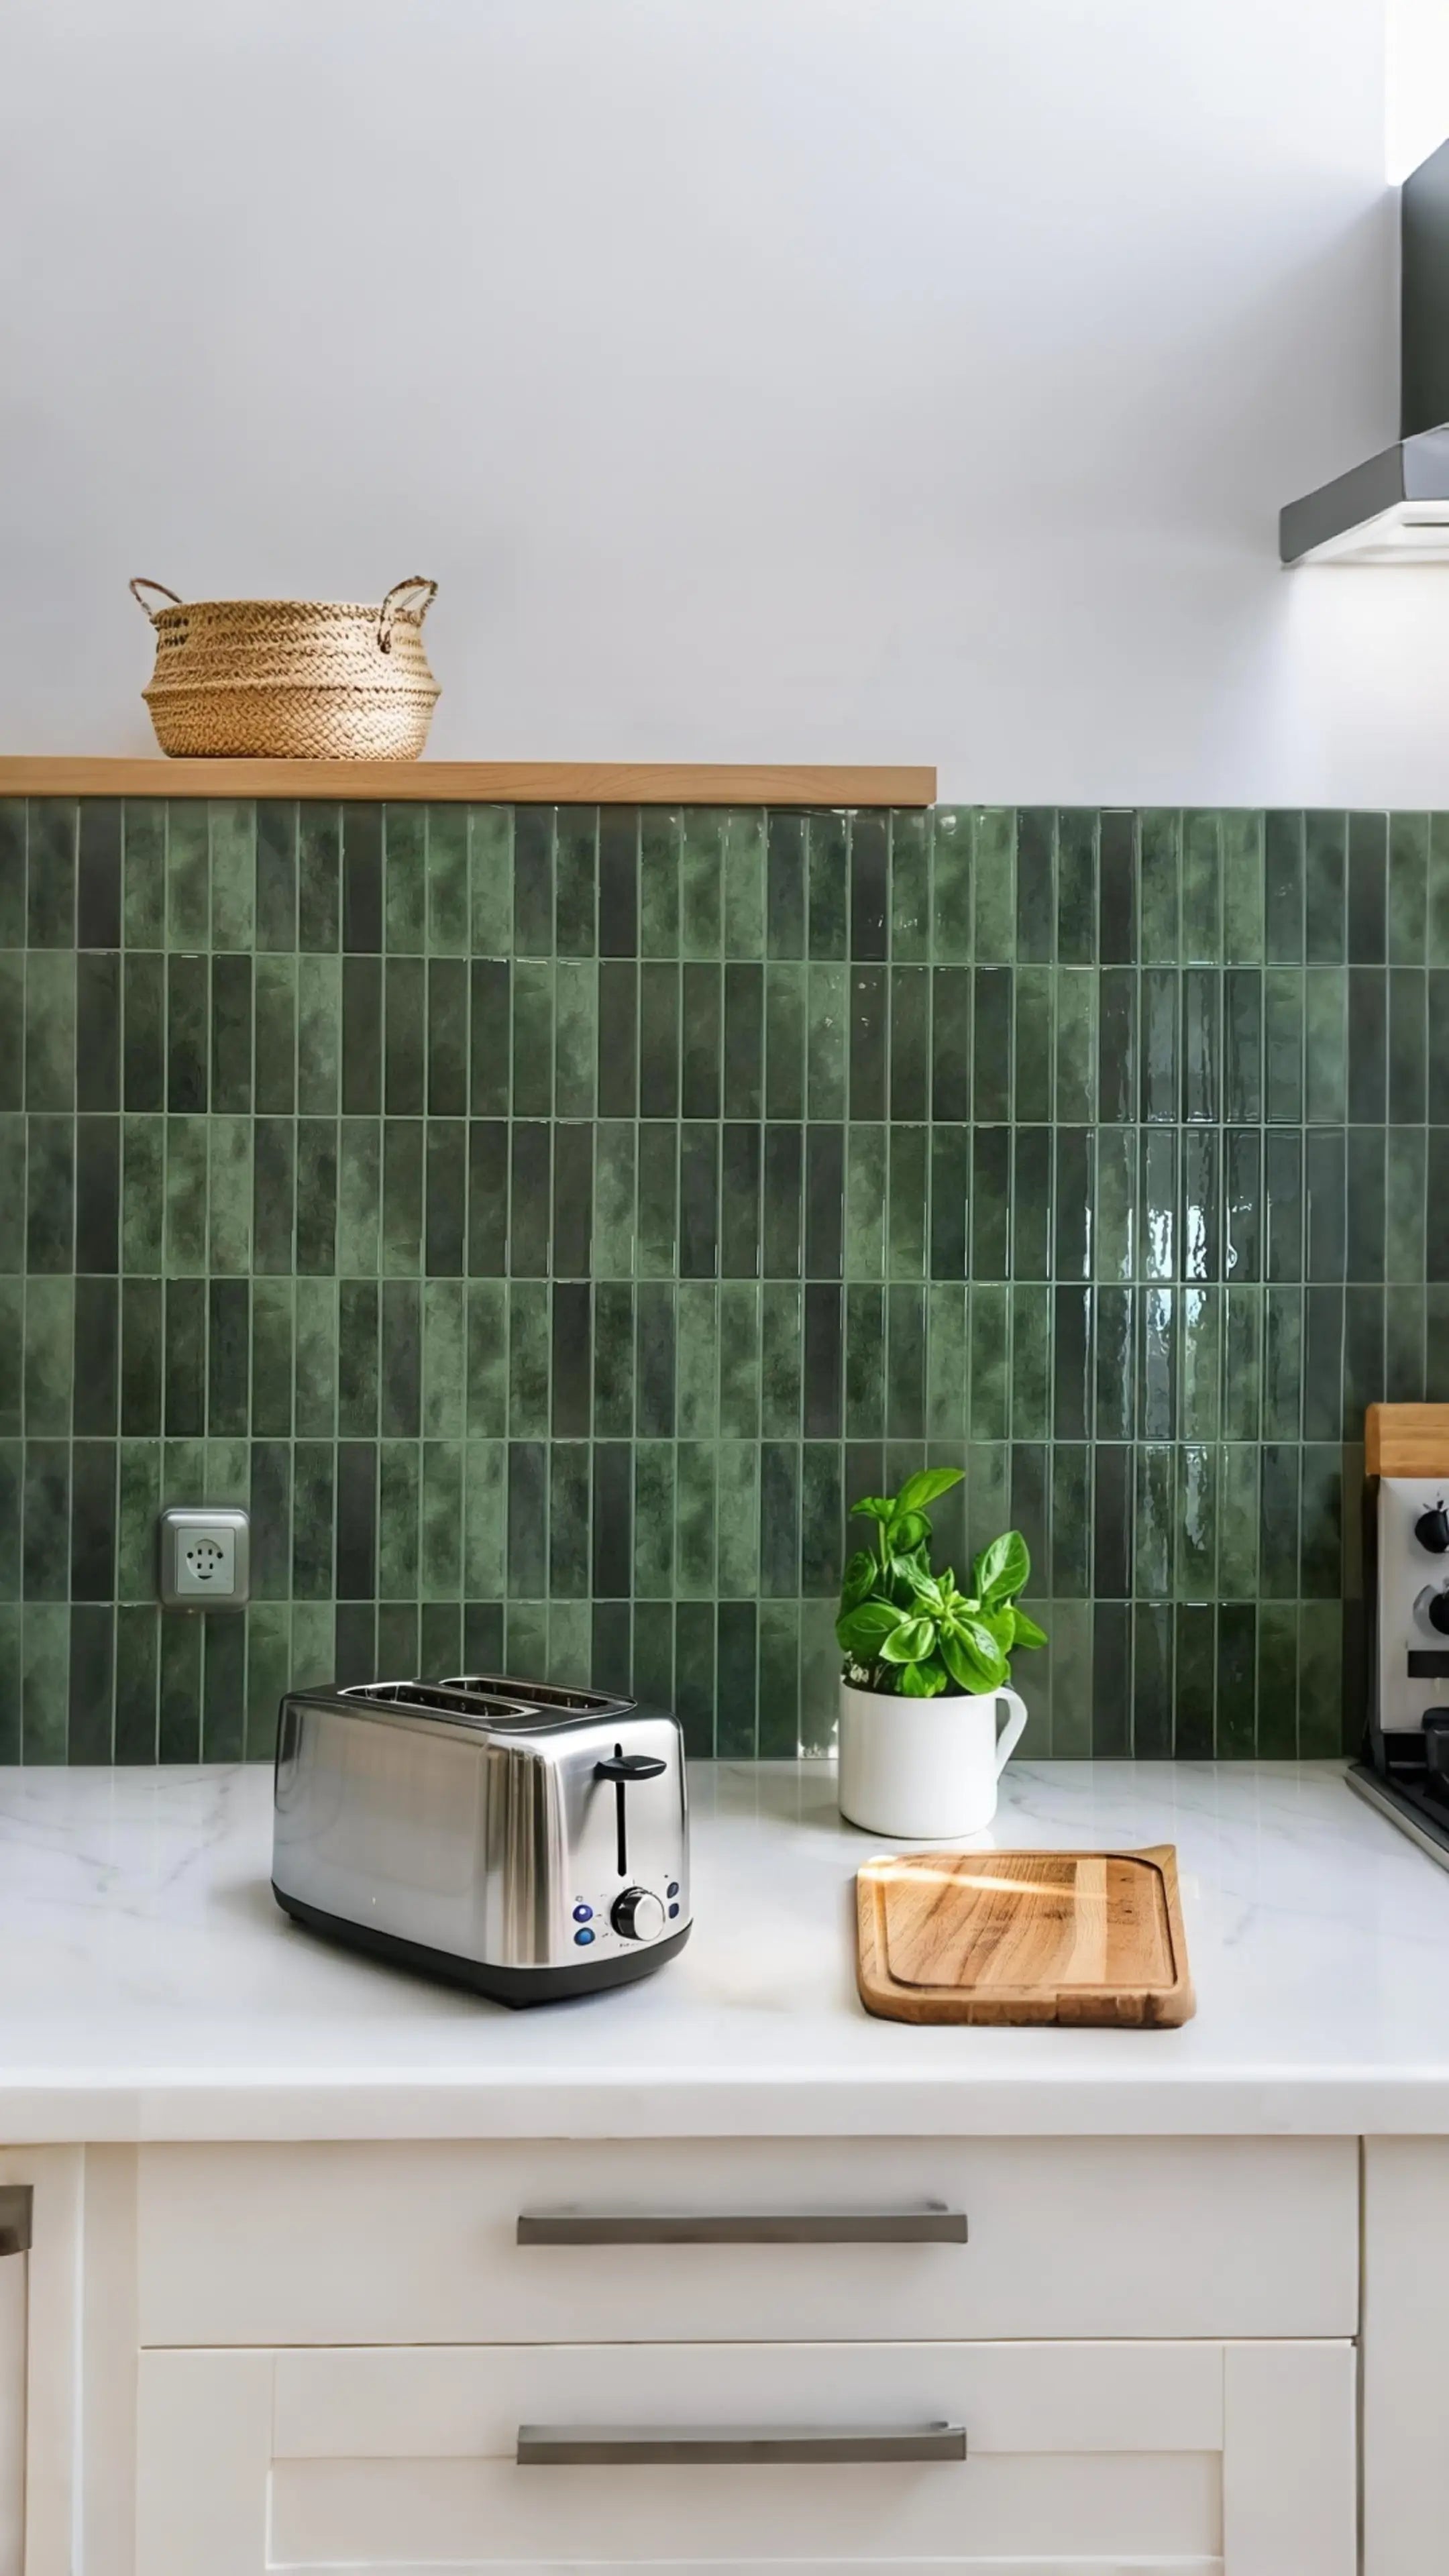
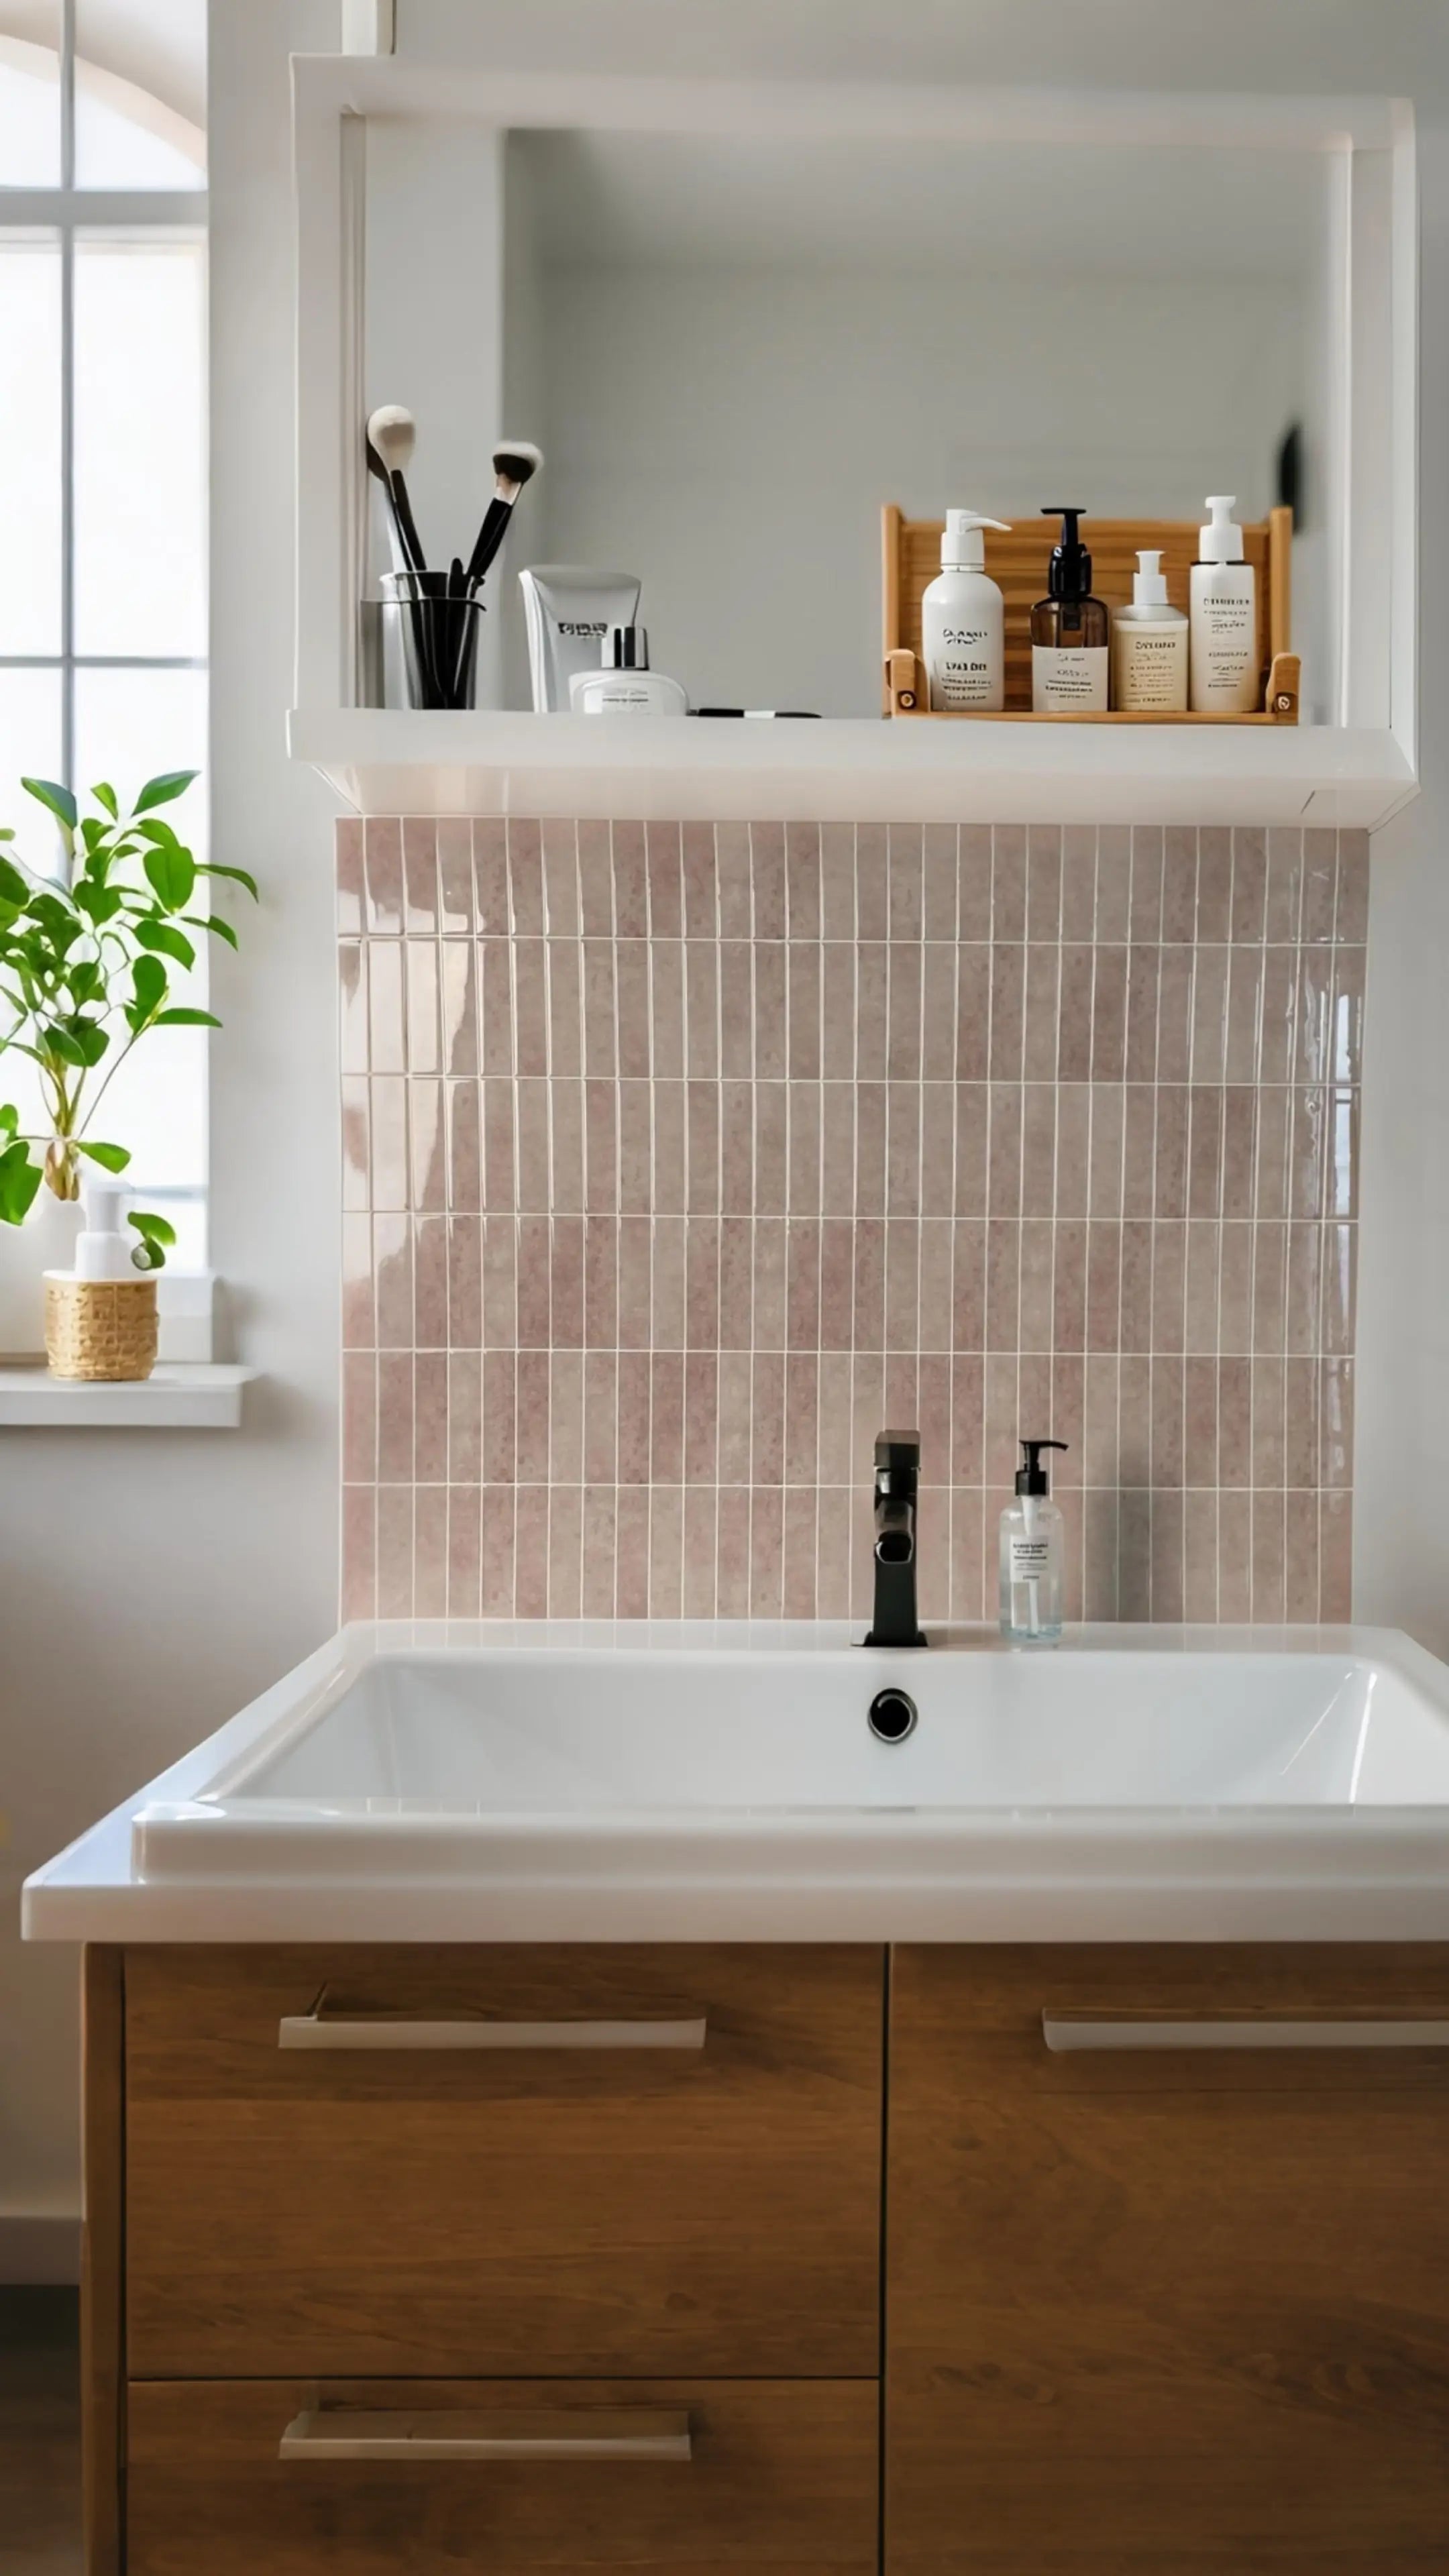
One of the things I love most about peel and stick mosaic tiles is their versatility. Whether your home decor style is modern, rustic, or classic, there’s a tile design that fits perfectly. I used them in my kitchen backsplash, bathroom walls, and even my living room to create stunning accents. The ability to customize patterns by mixing different tiles allows me to express my creativity and design a space that truly reflects my personality.
Suitable Surfaces and Spaces
- Walls and Ceilings: Easily applied to vertical and horizontal surfaces.
- Counters and Furniture: Great for updating old furniture or countertops.
- Outdoor Areas: Some tiles are designed to withstand outdoor conditions.
Before starting my project, I made sure that the surfaces I wanted to decorate were suitable for peel and stick tiles. These tiles adhere well to smooth surfaces like walls and ceilings, but they can also be used on counters and furniture to give them a fresh new look. I even experimented with tiles designed for outdoor use, adding a charming touch to my patio area. This adaptability makes peel and stick mosaic tiles a fantastic choice for various decorating needs.
Preparing for Installation
Gathering Necessary Tools and Materials
- Peel and Stick Mosaic Tiles: Choose your preferred design and color.
- Measuring Tape: For accurate measurements.
- Utility Knife or Scissors: To cut tiles as needed.
- Level: Ensures tiles are applied straight.
- Smoothing Tool: Helps adhere tiles firmly and remove air bubbles.
Before diving into the installation process, I made sure I had all the necessary tools and materials. First, I selected the perfect peel and stick mosaic tiles from Stickwoll’s Timberline Checks collection. Measuring tape was essential for getting accurate dimensions of the area I wanted to cover. I also gathered a utility knife and scissors to cut the tiles to fit corners and edges. A level was crucial to ensure my tiles were applied straight, and a smoothing tool helped me press the tiles firmly onto the surface, ensuring there were no air bubbles.
Measuring and Planning the Layout
- Measure the Area: Calculate the total square footage needed.
- Create a Layout Plan: Sketch your design before starting.
- Consider Tile Placement: Start from the center or a focal point.
Measuring the area accurately was the first step in my planning process. I measured the height and width of the wall I wanted to decorate, calculating the total square footage to determine how many tiles I would need. Next, I sketched a layout plan, deciding whether to start from the center or a focal point in the room. Planning the tile placement carefully helped me avoid mistakes and ensured a balanced and visually appealing design.
Surface Cleaning and Preparation
- Clean the Surface Thoroughly: Remove dust, grease, and old adhesives.
- Ensure a Smooth Surface: Repair any imperfections.
- Dry Completely: Make sure the surface is completely dry before application.
A clean and smooth surface is crucial for the success of any peel and stick mosaic project. I took the time to thoroughly clean the wall, removing any dust, grease, or old adhesives that might prevent the tiles from sticking properly. Any imperfections, like cracks or holes, were repaired to create an even surface. Ensuring the area was completely dry before applying the tiles was another important step to guarantee a strong and lasting adhesion.
Step-by-Step Installation Guide
Aligning Tiles for a Seamless Look
- Start from a Stationary Point: Choose a corner or edge to begin.
- Use a Level: Place tiles straight to maintain alignment.
- Maintain Consistent Gaps: Ensure equal spacing between tiles for uniformity.
I began my installation by selecting a corner of the wall as my starting point. Using a level, I carefully placed each tile in a straight line, making sure they were perfectly aligned. Maintaining consistent gaps between the tiles was essential for a seamless and uniform look. This attention to detail made the overall design appear professional and well-executed.
Cutting Tiles to Fit Corners and Edges
- Measure Carefully: Determine the exact size needed for cuts.
- Use a Sharp Tool: A utility knife provides clean cuts.
- Test Fit Before Adhesion: Ensure pieces fit perfectly before sticking.
Fitting the tiles around corners and edges required precise measurements. I used a sharp utility knife to make clean cuts, ensuring each piece fit perfectly in its designated spot. Testing the fit before applying the adhesive helped me avoid mistakes and achieve a flawless finish. This step-by-step approach made the entire process smooth and efficient.
Ensuring Adhesion and Preventing Air Bubbles
- Press Firmly: Use a smoothing tool to remove any air pockets.
- Work Slowly: Take your time to ensure each tile sticks properly.
- Check for Gaps: Fill any small gaps immediately to prevent peeling.
To ensure the tiles adhered properly, I pressed each one firmly onto the wall using a smoothing tool. This helped eliminate any air bubbles and ensured a strong bond. Working slowly and methodically allowed me to check for and fill any small gaps immediately, preventing any peeling or lifting down the line. This careful attention to adhesion made my mosaic project durable and long-lasting.
Creating a Mosaic Accent Wall
Choosing the Perfect Wall
- Select a Focal Point: Choose a wall that naturally draws attention.
- Consider Room Function: High-traffic areas like living rooms or kitchens work well.
- Assess Lighting: Natural and artificial lighting can enhance the mosaic effect.
Choosing the right wall for my mosaic accent was crucial. I decided to transform the main wall in my living room, which naturally draws everyone’s attention. Considering the room’s function and the lighting helped me select a spot where the mosaic would truly shine. Proper lighting, both natural and artificial, enhanced the colors and patterns of the tiles, making the accent wall a stunning centerpiece.
Design Ideas and Inspiration
- Geometric Patterns: Simple shapes can create a modern look.
- Floral Designs: Perfect for a more traditional or feminine touch.
- Abstract Art: Lets you express creativity and uniqueness.
I explored various design ideas to find the perfect inspiration for my accent wall. Geometric patterns offered a sleek and modern look, while floral designs added a traditional and feminine touch. I also considered abstract art patterns, which allowed me to express my creativity and create a unique masterpiece. Choosing a design that resonated with my personal style made the project even more enjoyable and satisfying.
Tips for Visual Balance and Symmetry
- Even Distribution: Spread colors and patterns evenly across the wall.
- Mirror Opposite Elements: Create symmetry by mirroring tile arrangements.
- Use Central Focal Points: Highlight specific areas to draw the eye.
Achieving visual balance and symmetry was key to making my mosaic accent wall look professional. I evenly distributed colors and patterns across the wall, ensuring no area was too crowded or too sparse. Mirroring opposite elements helped create symmetry, while using central focal points highlighted specific areas and drew the eye. These tips ensured that my accent wall was both balanced and visually appealing.
Achieving a Luxurious Finish
Selecting Color Schemes and Patterns
- Choose Complementary Colors: Ensure colors work well together.
- Select Patterns That Enhance Space: Use patterns to make rooms appear larger or cozier.
- Consider Current Decor: Match the tile colors and patterns with existing furniture and accents.
Choosing the right color scheme and pattern was essential for achieving a luxurious finish. I selected complementary colors that worked well together and matched my existing decor. The patterns I chose were designed to enhance the space, making my living room appear larger and more inviting. By carefully considering how the tile colors and patterns would interact with my furniture and accents, I was able to create a harmonious and elegant look.
Enhancing Spaces with Lighting
- Use Accent Lighting: Highlight the mosaic with focused lighting.
- Incorporate Natural Light: Position tiles where they can be illuminated by windows.
- Add Ambient Lighting: Use soft lighting to create a warm and inviting atmosphere.
Lighting plays a crucial role in showcasing the beauty of a peel and stick mosaic masterpiece. I added accent lighting to highlight the mosaic wall, making the colors and patterns stand out even more. Incorporating natural light from nearby windows added a beautiful glow, while ambient lighting created a warm and inviting atmosphere. These lighting enhancements made my mosaic walls truly shine and added to the overall luxurious feel of the space.
Maintenance and Cleaning Tips for Longevity
- Regular Dusting: Keep the tiles clean by dusting them regularly.
- Use Mild Cleaners: Avoid harsh chemicals that can damage the tiles.
- Inspect for Damage: Periodically check for any loose tiles and reseal if necessary.
To ensure my mosaic masterpiece remained beautiful for years to come, I implemented some simple maintenance and cleaning tips. Regular dusting kept the tiles looking fresh, while using mild cleaners prevented any damage from harsh chemicals. I also made it a habit to inspect the tiles periodically for any signs of damage, resealing any loose tiles to maintain their integrity. These easy maintenance steps helped preserve the luxurious look of my peel and stick mosaic walls.
Frequently Asked Questions
1. Can peel and stick mosaic tiles be used in outdoor areas?
Yes, some peel and stick mosaic tiles are specifically designed for outdoor use. They are made to withstand various weather conditions, making them perfect for patios, decks, and other outdoor spaces. Be sure to choose tiles that are labeled for outdoor use to ensure durability.
2. How long do peel and stick mosaic tiles last?
With proper installation and maintenance, peel and stick mosaic tiles can last several years. Regular cleaning and careful handling help maintain their appearance and adhesion. If you notice any loose tiles, resealing them promptly can extend their lifespan.
3. Can I remove and replace individual tiles if I make a mistake?
Absolutely! One of the benefits of peel and stick tiles is their reusability. If you make a mistake or want to change the design, you can carefully remove and reposition the tiles without damaging the surface or leaving sticky residue.
4. Are peel and stick mosaic tiles waterproof?
Many peel and stick mosaic tiles are water-resistant, making them suitable for kitchens and bathrooms. However, it’s important to check the product specifications to ensure they are fully waterproof if you plan to use them in areas with high moisture levels.
Conclusion
Creating a peel stick mosaic masterpiece is a fun and affordable way to add a luxurious touch to your home. By understanding the features and benefits of peel and stick tiles, preparing your space properly, and following a step-by-step installation guide, you can achieve stunning results with ease. Whether you’re aiming to create a beautiful mosaic accent wall or looking to enhance multiple spaces with vibrant patterns and colors, peel and stick mosaic tiles offer versatility and aesthetic appeal that can transform any room.
Don’t forget to explore our wide range of peel and stick tiles and other tile crafting ideas to find the perfect fit for your project. Whether you’re updating your kitchen backsplash with our Crimson Horizon tiles or creating intricate designs with our Smart Peel-and-Stick Tiles, Stickwoll has everything you need for a successful DIY home makeover.
Ready to get started on your own mosaic masterpiece? Browse our Easy Stick Tile Solutions and take the first step towards transforming your home today!


Leave a comment
This site is protected by hCaptcha and the hCaptcha Privacy Policy and Terms of Service apply.