Le carrelage métro est devenu un incontournable de la décoration intérieure moderne ! Que vous rénoviez une cuisine, une salle de bain ou une crédence, le bon motif de carrelage peut transformer votre espace terne en un espace magnifique. Mais face à la multitude de motifs disponibles, comment choisir celui qui vous convient le mieux ? Et surtout, comment éviter les erreurs d'installation ? Du chevron au décalage, plongez dans l'univers des motifs de carrelage métro tendance qui promettent de donner un nouveau look à votre espace sans que vos efforts de bricolage ne soient vains.
Motifs de carreaux de métro modernes pour un look frais
Découvrez les modèles de carreaux de métro populaires
Quand il s'agit de Pour la conception de carreaux de métro , le choix est vaste. Voici quelques-uns des styles les plus populaires :
- Disposition horizontale classique
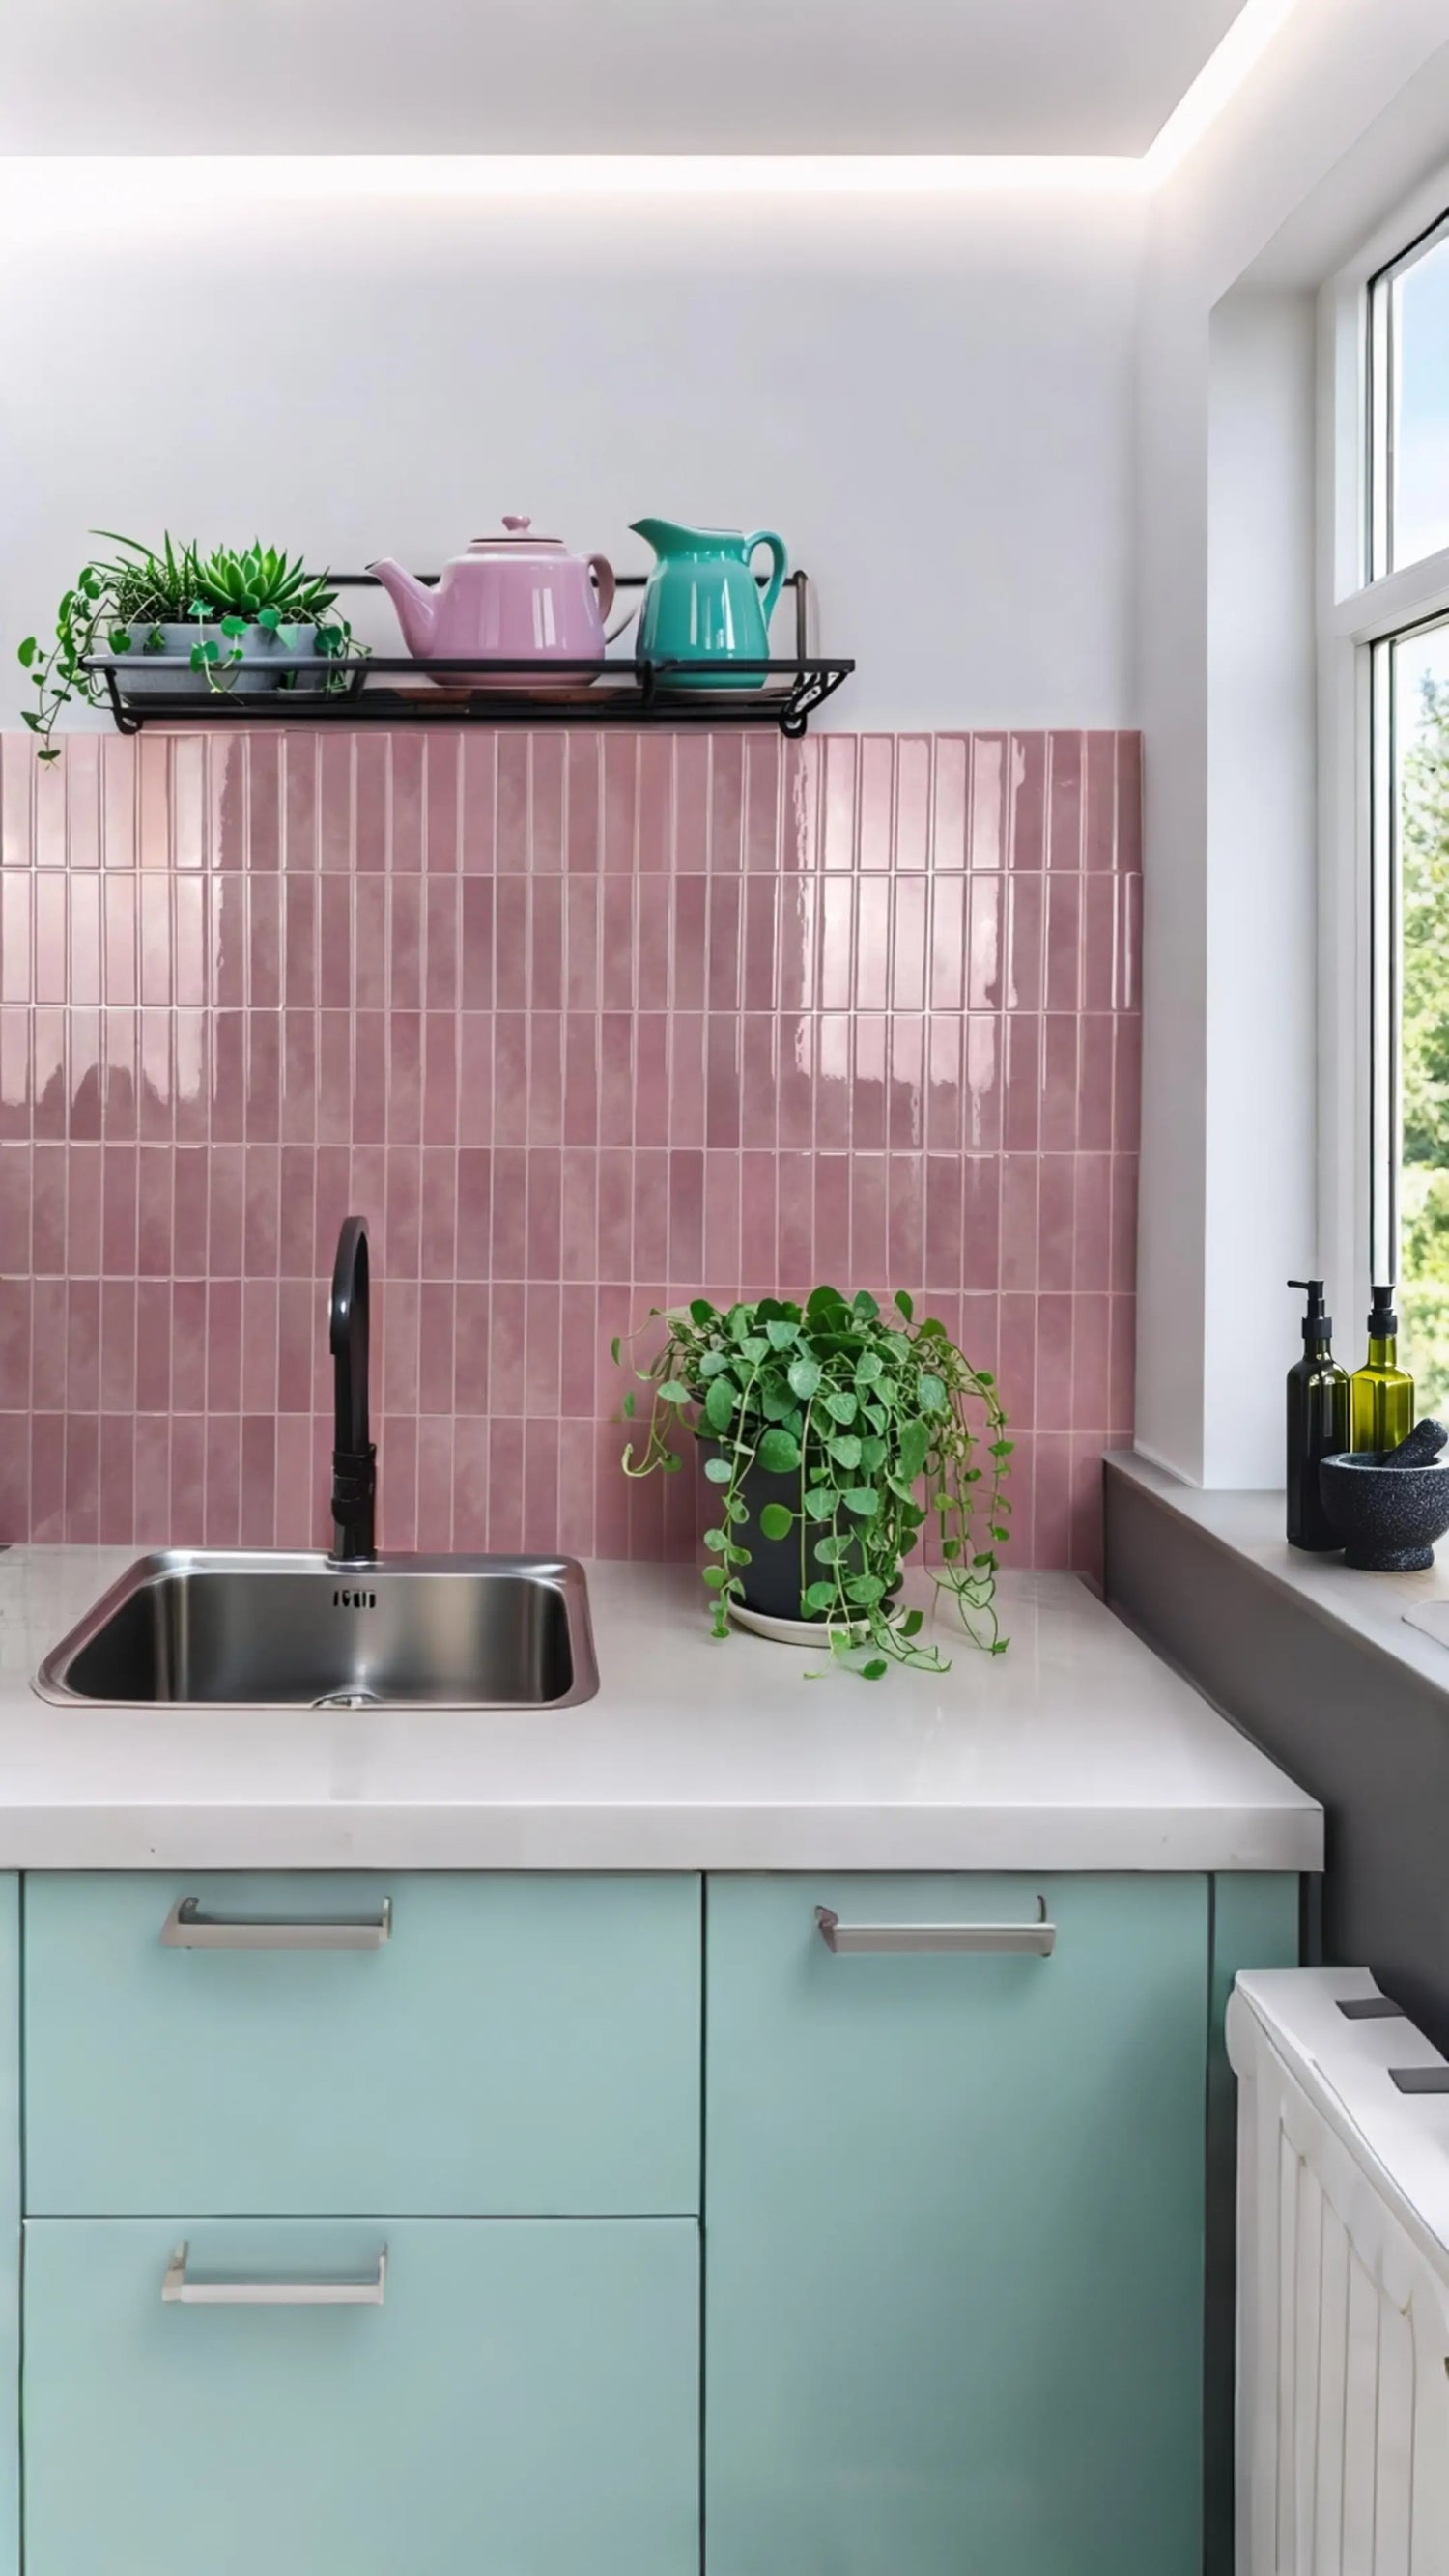
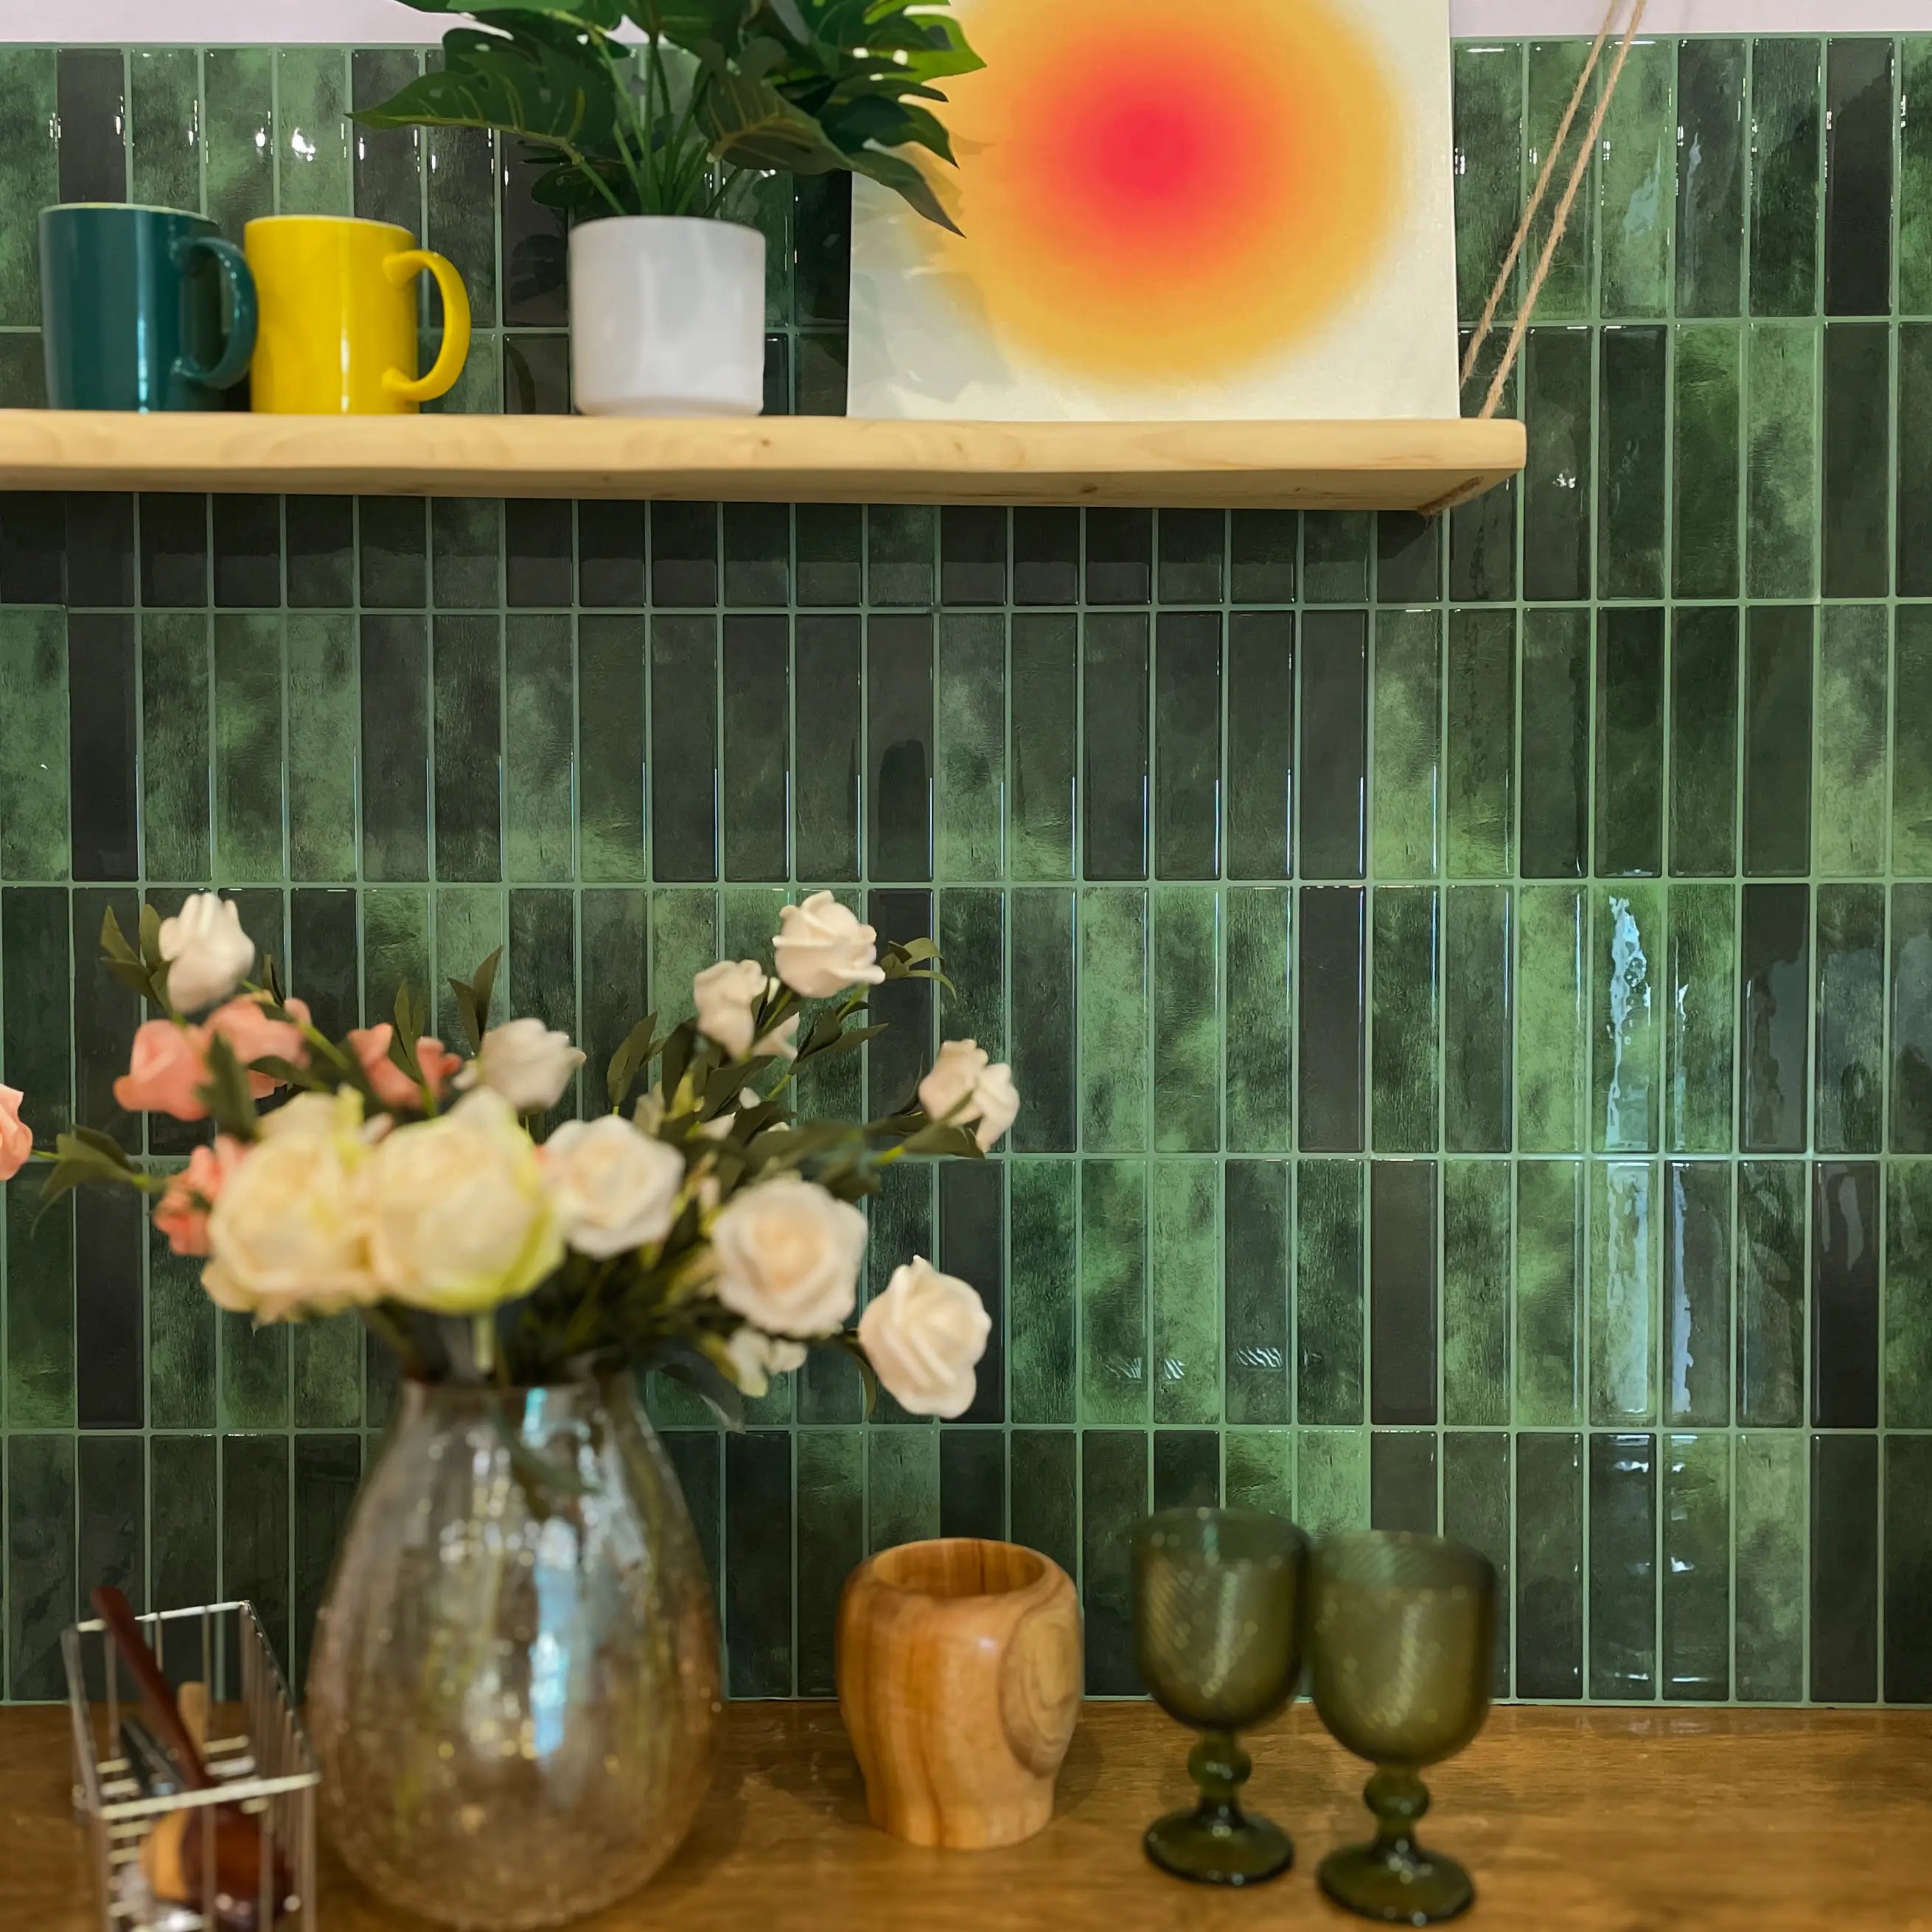
- Modèles de pile verticale
- Arrangement à chevrons
- Motifs à chevrons
- Mélanger et assortir les couleurs
Chacun de ces motifs apporte une ambiance unique à votre espace. La disposition horizontale classique est intemporelle et s'intègre parfaitement à toutes les pièces. Pour donner une impression de hauteur à votre plafond, les dalles à empilement vertical sont un excellent choix. Pour un style plus dynamique, les motifs à chevrons et à chevrons apportent mouvement et dynamisme. Mélanger et assortir les couleurs permet également de créer un espace personnalisé et dynamique.
Disposition horizontale classique : La pose traditionnelle du carrelage métro, horizontale, crée un aspect épuré et simple. Elle est idéale pour les cuisines et les salles de bains où vous recherchez un décor simple et élégant.
Modèles de pile verticale : Poser du carrelage à la verticale peut donner une impression de hauteur et d'espace à une pièce. Ce style est idéal pour les petites salles de bains ou les cuisines étroites, créant une illusion de hauteur.
Disposition en chevrons : Ce motif ajoute une touche de sophistication et de mouvement. Le motif en zigzag rompt la monotonie et fait de vos carreaux le point central de la pièce.
Motifs à chevrons : Similaires aux chevrons, mais avec des angles plus prononcés, les motifs à chevrons apportent une touche de modernité aux designs classiques. Ils sont parfaits pour créer des dosserets ou des murs d'accent attrayants.
Mélangez et assortissez les couleurs : N'hésitez pas à jouer avec les couleurs. L'utilisation de carreaux de métro colorés peut ajouter de la personnalité et du dynamisme à votre espace, le rendant ainsi véritablement unique.
Comprendre les variations comme le chevron et l'empilement vertical
Comprendre les différentes variantes de motifs de carrelage métro peut vous aider à choisir celui qui convient le mieux à votre espace. Examinons de plus près deux variantes populaires : motif à chevrons et tuiles empilées verticalement .
Motif à chevrons :
- Crée un look dynamique et élégant
- Parfait pour ajouter de la texture et du mouvement
- Fonctionne bien dans les environnements traditionnels et modernes
Le motif à chevrons consiste à poser des carreaux en zigzag. Cet agencement ajoute de la profondeur et de l'intérêt à vos murs, les mettant en valeur. Polyvalent, ce motif s'intègre aussi bien à une décoration classique que contemporaine.
Tuiles empilées verticalement :
- Rend les pièces plus hautes et plus spacieuses
- Idéal pour les espaces avec des plafonds plus bas
- Offre une touche unique à la disposition horizontale traditionnelle
Poser du carrelage à la verticale peut radicalement changer l'apparence d'une pièce. Cela attire le regard vers le haut, donnant l'illusion de plafonds plus hauts. C'est particulièrement utile dans les petites salles de bains ou cuisines où l'optimisation de l'espace est essentielle.
Comment la couleur et la finition peuvent influencer le design
La couleur et la finition jouent un rôle crucial dans L'esthétique du carrelage . Il peut apporter chaleur, fraîcheur, dynamisme ou sérénité à votre espace. Voici comment différentes couleurs et finitions peuvent influencer votre décoration :
Choix de couleurs :
- Carreaux blancs : Intemporels et polyvalents, les carreaux blancs peuvent donner aux espaces une impression de grandeur et de propreté.
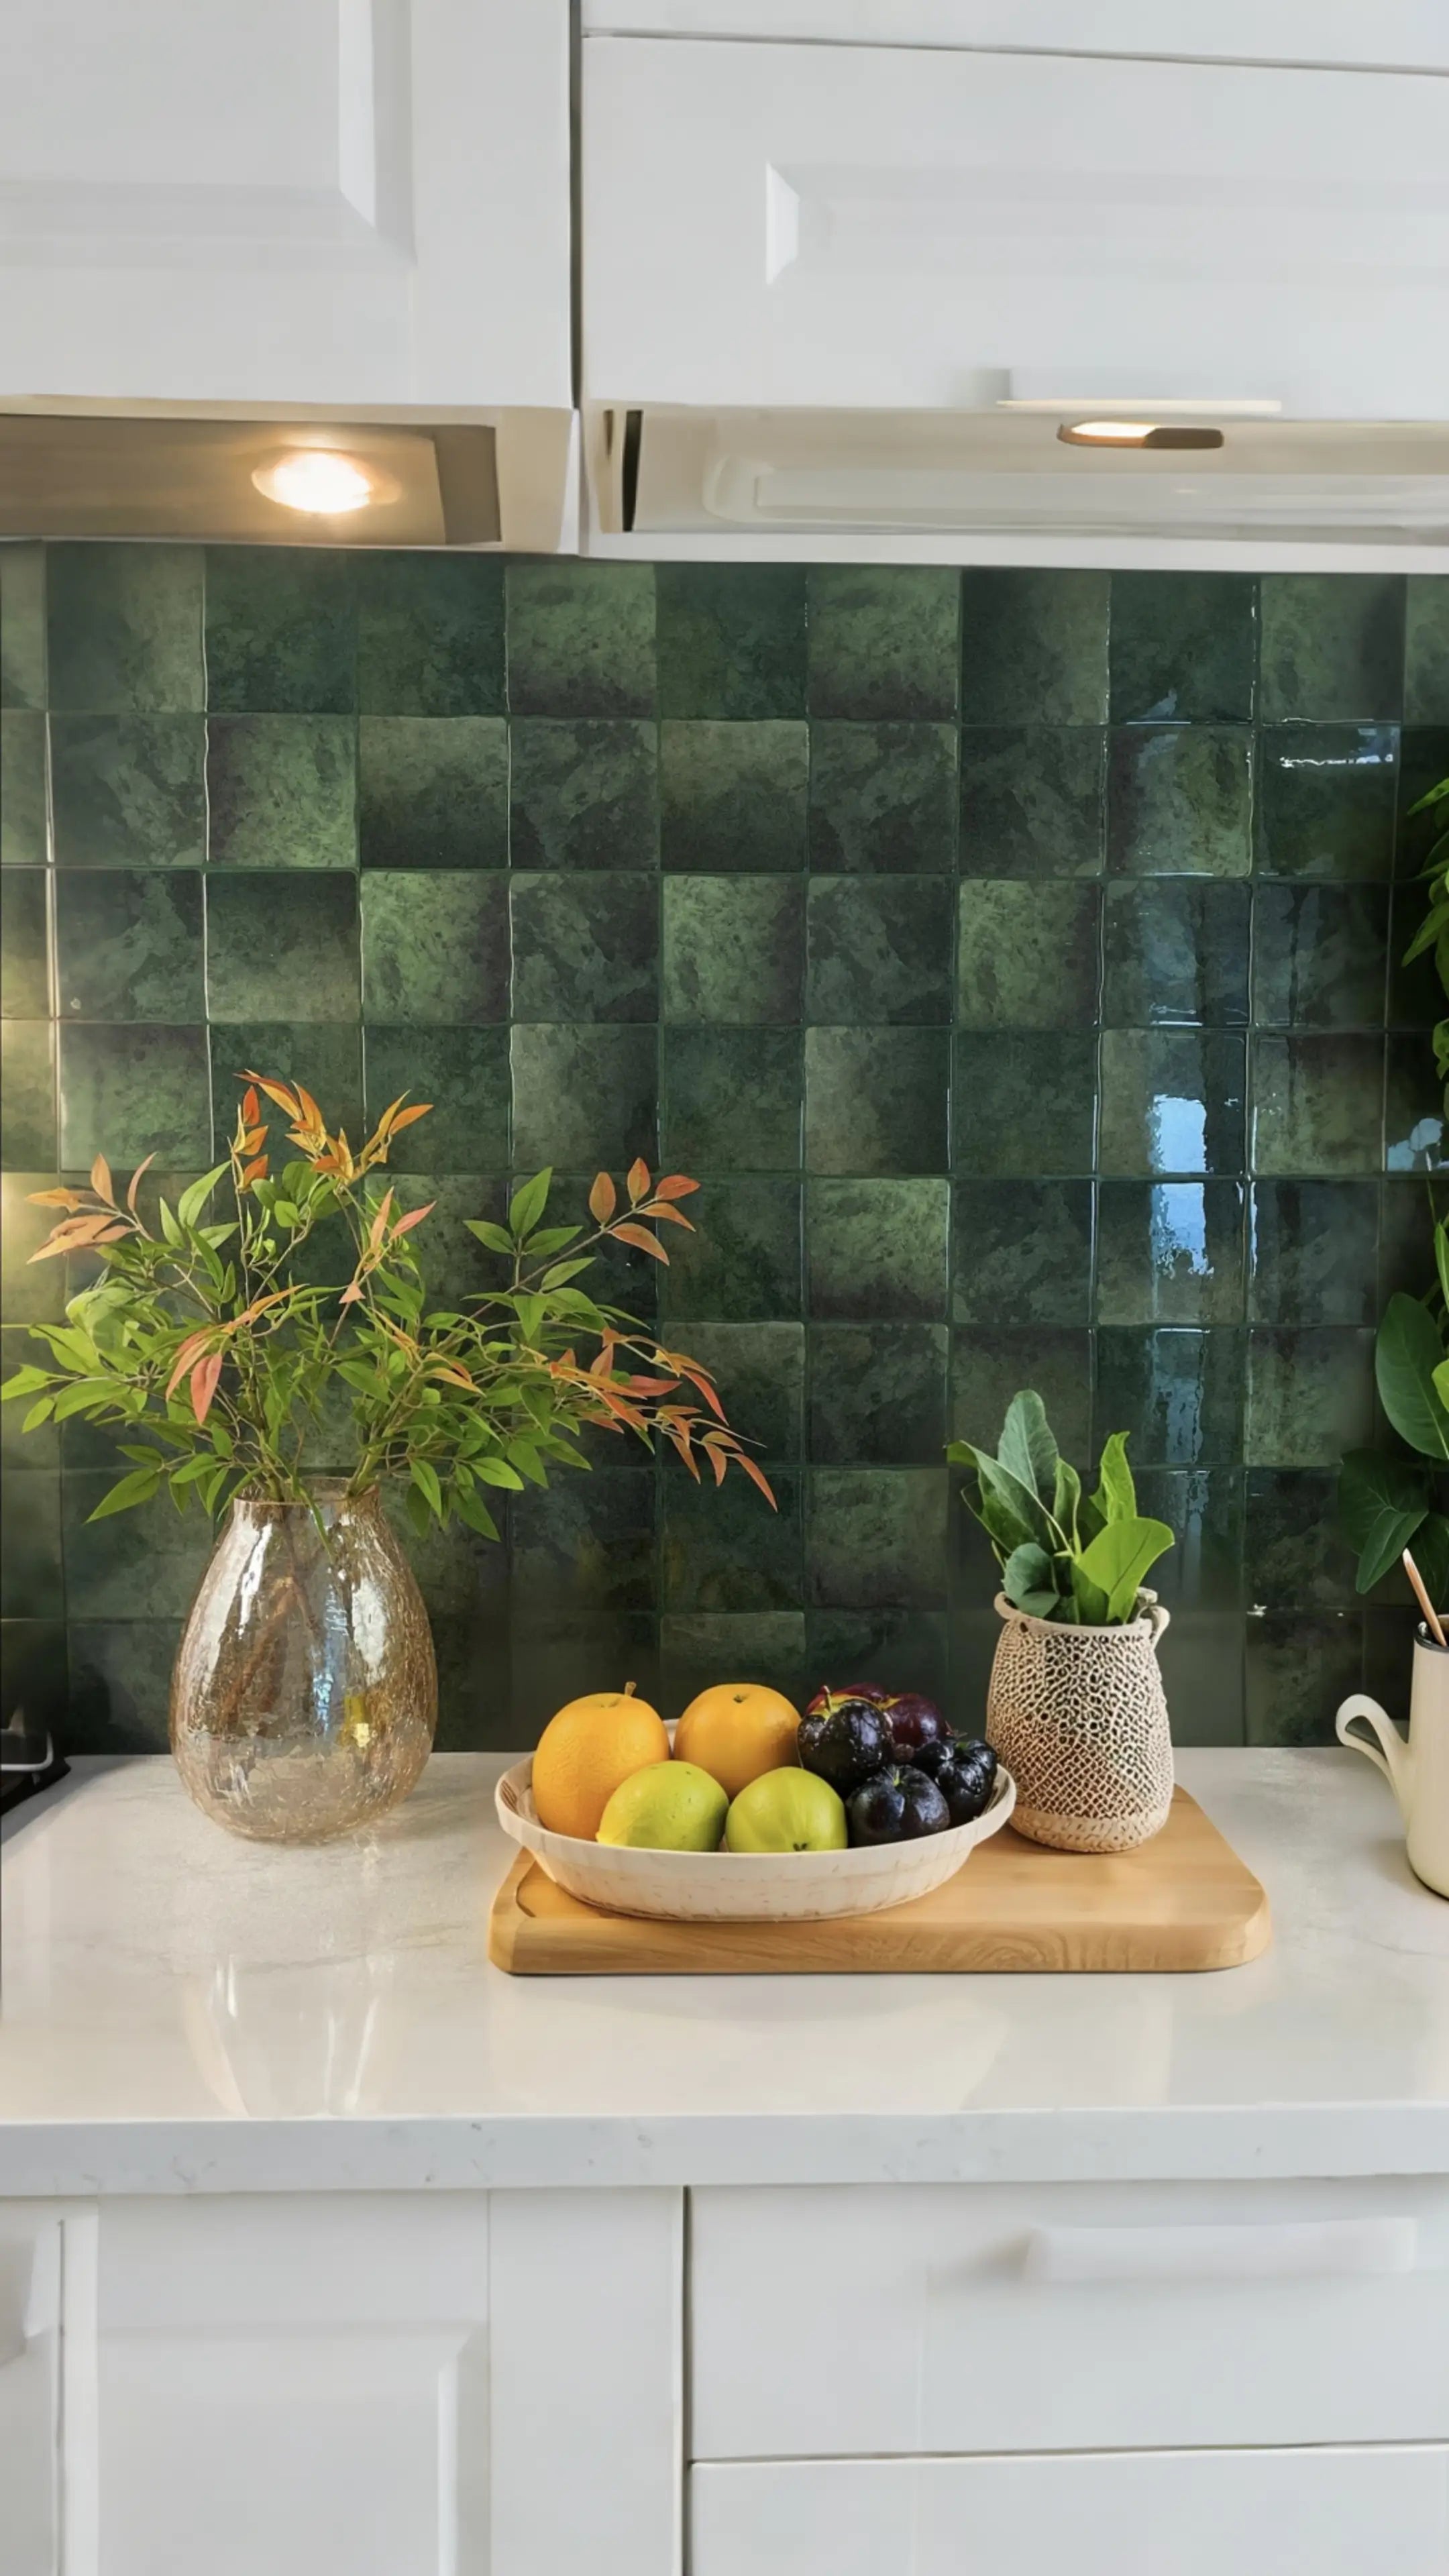
- Carreaux de métro colorés : Ajoutez personnalité et dynamisme à votre espace. Idéal pour les dosserets et les murs d'accent.
- Couleurs vives : Créez une déclaration et devenez le point central de la pièce.
- Tons neutres : Offrez un look subtil et sophistiqué qui s'harmonise bien avec différents styles de décoration.
Options de finition :
- Finition brillante : Réfléchit la lumière et peut rendre la pièce plus lumineuse. Facile à nettoyer, mais peut présenter des taches.
- Finition mate : Offre un look plus subtil et moderne. Cache mieux les traces de doigts et les rayures.
- Finition texturée : Ajoute de la profondeur et de l'intérêt, parfait pour créer une surface murale unique.
Choisir la bonne couleur et la bonne finition peut améliorer l'apparence générale de votre espace. Par exemple : carreaux de métro colorés peut faire ressortir un petit dosseret de cuisine, tandis qu'une finition mate dans des tons neutres peut créer un environnement de salle de bain apaisant.
Erreurs à éviter lors de l'installation de carreaux de métro
Erreurs de placement courantes qui réduisent l'attrait esthétique
Lorsque vous installez vous-même du carrelage métro, il est facile de commettre des erreurs qui peuvent nuire à l'esthétique générale. Voici quelques erreurs de pose courantes à éviter :
- Espacement irrégulier : Des espaces irréguliers peuvent donner aux carreaux un aspect désordonné.
- Tuiles mal alignées : Les carreaux qui ne sont pas droits peuvent perturber le flux du motif.
- Ignorer la forme de la pièce : Ne pas tenir compte de la forme et de la taille de la pièce peut conduire à des agencements de carrelage difficiles.
- Modèles trop compliqués : L’utilisation de trop de motifs différents peut donner un aspect encombré au design.
Espacement irrégulier : Un espacement régulier est essentiel pour un carrelage impeccable. Assurez-vous de mesurer et de marquer vos carreaux avec précision pour maintenir des espaces réguliers.
Tuiles mal alignées : Utilisez un niveau pour vous assurer que vos carreaux sont droits. Un mauvais alignement peut altérer le motif et donner un aspect déséquilibré à l'espace.
Ignorer la forme de la pièce : Tenez compte des dimensions et des angles de votre pièce. Adaptez la disposition de vos carreaux à l'espace pour une apparence harmonieuse.
Modèles trop compliqués : Privilégiez un ou deux motifs pour une conception cohérente. Mélanger trop de styles peut perturber l'œil et nuire à l'esthétique.
Conseils pour un alignement et un espacement appropriés
Un alignement et un espacement corrects sont essentiels pour une pose de carrelage professionnelle. Voici quelques conseils pour y parvenir :
- Utiliser des entretoises pour carrelage : Ils aident à maintenir des espaces constants entre les carreaux.
- Directives relatives aux marques : Utilisez un niveau et un crayon pour tracer des lignes droites comme guide pour l’installation des carreaux.
- Commencez par le centre : Commencez à carreler à partir du centre du mur et progressez vers l'extérieur pour assurer la symétrie.
- Vérifiez régulièrement l'alignement : Reculez fréquemment pour vérifier que vos carreaux sont droits et uniformément espacés.
Utiliser des entretoises pour carrelage : Les croisillons sont disponibles en différentes tailles et garantissent un espacement uniforme entre les carreaux. Cette uniformité est essentielle pour un aspect soigné.
Directives relatives aux marques : Tracer des lignes droites sur le mur permet de maintenir l'alignement de vos carreaux. Utilisez un niveau pour vous assurer que vos repères sont droits et précis.
Commencez par le centre : Commencer au milieu du mur permet de créer une disposition équilibrée. Cela évite que les carreaux ne paraissent déséquilibrés ou irréguliers d'un côté.
Vérifiez régulièrement l'alignement : Prendre régulièrement du recul pour visualiser vos progrès vous aide à repérer rapidement tout désalignement, vous permettant ainsi d’apporter les corrections nécessaires.
Comment assurer la longévité avec les bonnes techniques de jointoiement
Le jointoiement permet non seulement de maintenir vos carreaux en place, mais aussi d'en améliorer la durabilité et l'apparence. Voici comment garantir leur longévité grâce à des techniques de jointoiement appropriées :
- Choisissez le bon coulis : Sélectionnez un coulis qui correspond au type et à la couleur de votre carrelage.
- Appliquer le coulis uniformément : Utilisez une taloche en caoutchouc pour répartir le coulis uniformément sur les carreaux.
- Nettoyez rapidement l'excédent de coulis : Essuyez l’excédent de coulis avec une éponge humide avant qu’il ne sèche.
- Sceller les joints de coulis : Le scellement aide à protéger le coulis de l’humidité et des taches, prolongeant ainsi sa durée de vie.
Choisissez le bon coulis : Il existe différents types de coulis, tels que le coulis avec ou sans sable et le coulis époxy. Choisissez celui qui convient le mieux à votre carrelage et à la surface à carreler.
Appliquer le coulis uniformément : Utilisez une taloche en caoutchouc pour bien presser le coulis dans les interstices entre les carreaux. Cela garantit une adhérence solide et une finition impeccable.
Nettoyez rapidement l'excédent de coulis : Après avoir appliqué le coulis, essuyez l'excédent avec une éponge humide. Cela empêche le coulis de durcir sur la surface du carrelage, ce qui peut être difficile à enlever par la suite.
Sceller les joints de coulis : L'étanchéité du coulis empêche l'humidité et les taches de pénétrer dans les joints. Ceci est particulièrement important dans les pièces comme les salles de bains et les cuisines où l'humidité est fréquente.
Pour rendre votre projet de carrelage DIY encore plus facile, consultez notre Carreaux adhésifs intelligents pour des installations rapides et sans tracas.
Rassembler le tout
Utiliser des motifs de carrelage métro tendance peut transformer votre espace. Que vous préfériez une disposition horizontale classique ou un motif à chevrons audacieux, il existe un modèle adapté à votre style. Choisissez la bonne couleur et la bonne finition pour sublimer l'esthétique de votre pièce et évitez les erreurs courantes de pose en veillant à un alignement, un espacement et un jointoiement corrects.
Si vous cherchez des moyens simples de moderniser votre espace, notre Chef-d'œuvre en mosaïque à décoller et à coller Les carreaux sont parfaits pour les zones d'accentuation ou les motifs complexes. N'oubliez pas de découvrir nos Horizon cramoisi et Vérifications de Timberline pour des options plus élégantes.
Questions fréquemment posées
1. Puis-je installer moi-même des carreaux de métro sans expérience ?
Oui, de nombreuses personnes installent avec succès des carreaux de métro en les faisant elles-mêmes. Avec les bons outils et une planification minutieuse, vous pouvez obtenir un résultat professionnel. Veillez à respecter les consignes d'alignement et d'espacement pour éviter les erreurs courantes.
2. Quelle est la meilleure couleur de coulis pour les carreaux de métro blancs ?
Un joint blanc peut créer un effet harmonieux avec du carrelage métro blanc, donnant aux murs un aspect lisse et uniforme. Cependant, l'utilisation de joints de couleurs contrastées peut mettre en valeur les motifs du carrelage et ajouter un intérêt visuel. Tout dépend de l'effet recherché.
3. Comment choisir la bonne taille de carreaux de métro pour mon espace ?
La taille du carrelage doit s'harmoniser avec celle de votre pièce. Des carreaux plus petits ajouteront de la texture et des détails, tandis que des carreaux plus grands créeront une impression d'espace plus ouvert. Tenez compte de l'échelle et des proportions de votre pièce lors du choix de la taille du carrelage.
4. Les carreaux de métro autocollants sont-ils aussi durables que les carreaux traditionnels ?
Les carreaux autocollants sont pratiques et plus faciles à poser, mais leur durabilité peut être inférieure à celle des carreaux traditionnels en céramique ou en porcelaine. Ils sont parfaits pour les rénovations temporaires ou les zones peu fréquentées. Pour les zones à fort trafic ou humides, les carreaux traditionnels peuvent être un meilleur choix.
Achetez nos carreaux en vedette
Prêt à démarrer votre projet de carrelage ? Découvrez notre Solutions de carrelage faciles à coller Pour une variété d'options élégantes et faciles à installer. Que vous souhaitiez rénover la crédence de votre cuisine ou relooker votre salle de bain, nous avons le carrelage idéal.
Explorez notre Accents de carreaux de briques rustiques pour un look charmant et ancien ou optez pour la modernité avec notre Carrelage métro contemporain . Pour des rénovations rapides et astucieuses, notre Tuiles intelligentes rendre le processus simple et efficace.
Connectez-vous avec nous
Vous avez d'autres questions ou besoin d'inspiration pour votre projet de carrelage ? Consultez notre Motifs de carreaux créatifs article de blog pour plus d'idées et de conseils. Guide des carreaux pour crédence de cuisine à Rénovation de douche en carrelage de métro , nous avons des ressources pour vous aider à chaque étape du processus.
N'oubliez pas de consulter notre Idées de carreaux verts à décoller et à coller Si vous recherchez des solutions écologiques qui apportent fraîcheur et naturel à votre intérieur, n'hésitez pas à consulter notre Améliorations des carreaux de sol adhésifs sont une alternative parfaite aux solutions de revêtement de sol traditionnelles.
Conclusion
Les motifs de carrelage métro tendance sont une excellente façon de rafraîchir votre intérieur. Que vous vous lanciez dans un projet DIY ou fassiez appel à un professionnel, comprendre les différents modèles et techniques de pose est essentiel pour obtenir de beaux résultats. En évitant les erreurs courantes et en choisissant les bonnes couleurs et finitions, vous créerez un espace à la fois élégant et fonctionnel.
N'oubliez pas : le choix du carrelage peut faire toute la différence dans l'esthétique de votre maison. Prenez donc le temps d'explorer les différentes options, planifiez soigneusement votre aménagement et savourez la transformation. Bon carrelage !


Laisser un commentaire
Ce site est protégé par hCaptcha, et la Politique de confidentialité et les Conditions de service de hCaptcha s’appliquent.