


Introduction
Are you ready to transform your kitchen in 2026 without a major renovation? Enter the world of peel and stick tiles! These game-changing tiles make kitchen upgrades accessible to everyone, especially beginners. This article was recently updated to ensure its timeliness and accuracy. Did you know a recent survey found that over 60% of home DIYers now opt for peel and stick solutions? Let’s dive into this innovative solution that can brighten up your kitchen while avoiding common pitfalls.
Beginner’s Guide to Peel and Stick Tiles
Understanding Peel and Stick Tile Technology
- Self-adhesive backing makes installation a breeze.
- No grout or mortar needed, reducing mess and time.
- Removable and repositionable for easy adjustments.
Peel and stick tiles use a strong adhesive layer that bonds to clean, smooth surfaces. Unlike traditional tiles, they don’t require messy grout or professional tools. This makes them perfect for renters or homeowners who want a quick kitchen tile makeover.
For example, our Timberline Checks tiles mimic real wood but install in minutes. The adhesive technology ensures a secure hold without permanent damage.
Types of Designs and Materials Available
- Vinyl – Affordable, waterproof, and durable.
- PVC – Lightweight and easy to cut.
- Ceramic-look – Mimics high-end tiles at a fraction of the cost.
From modern geometric patterns like Snowfall Grid to rustic wood-look options, there’s a design for every kitchen.
Tools Needed for a Smooth Installation
- Measuring tape
- Utility knife or scissors
- Level and smoothing tool
A smooth surface is key. Check out our comprehensive DIY Peel and Stick Kitchen guide for step-by-step help.
Top Mistakes to Avoid When Installing Peel and Stick Tiles
Failing to Properly Measure Your Space
- Always measure twice before cutting.
- Account for outlets and edges.
A misaligned tile can ruin the look. Our Peel and Stick Backsplash Tips blog has measurement hacks to help you plan perfectly.
Ignoring Surface Preparation and Cleanliness
- Clean walls with rubbing alcohol.
- Remove grease and dust.
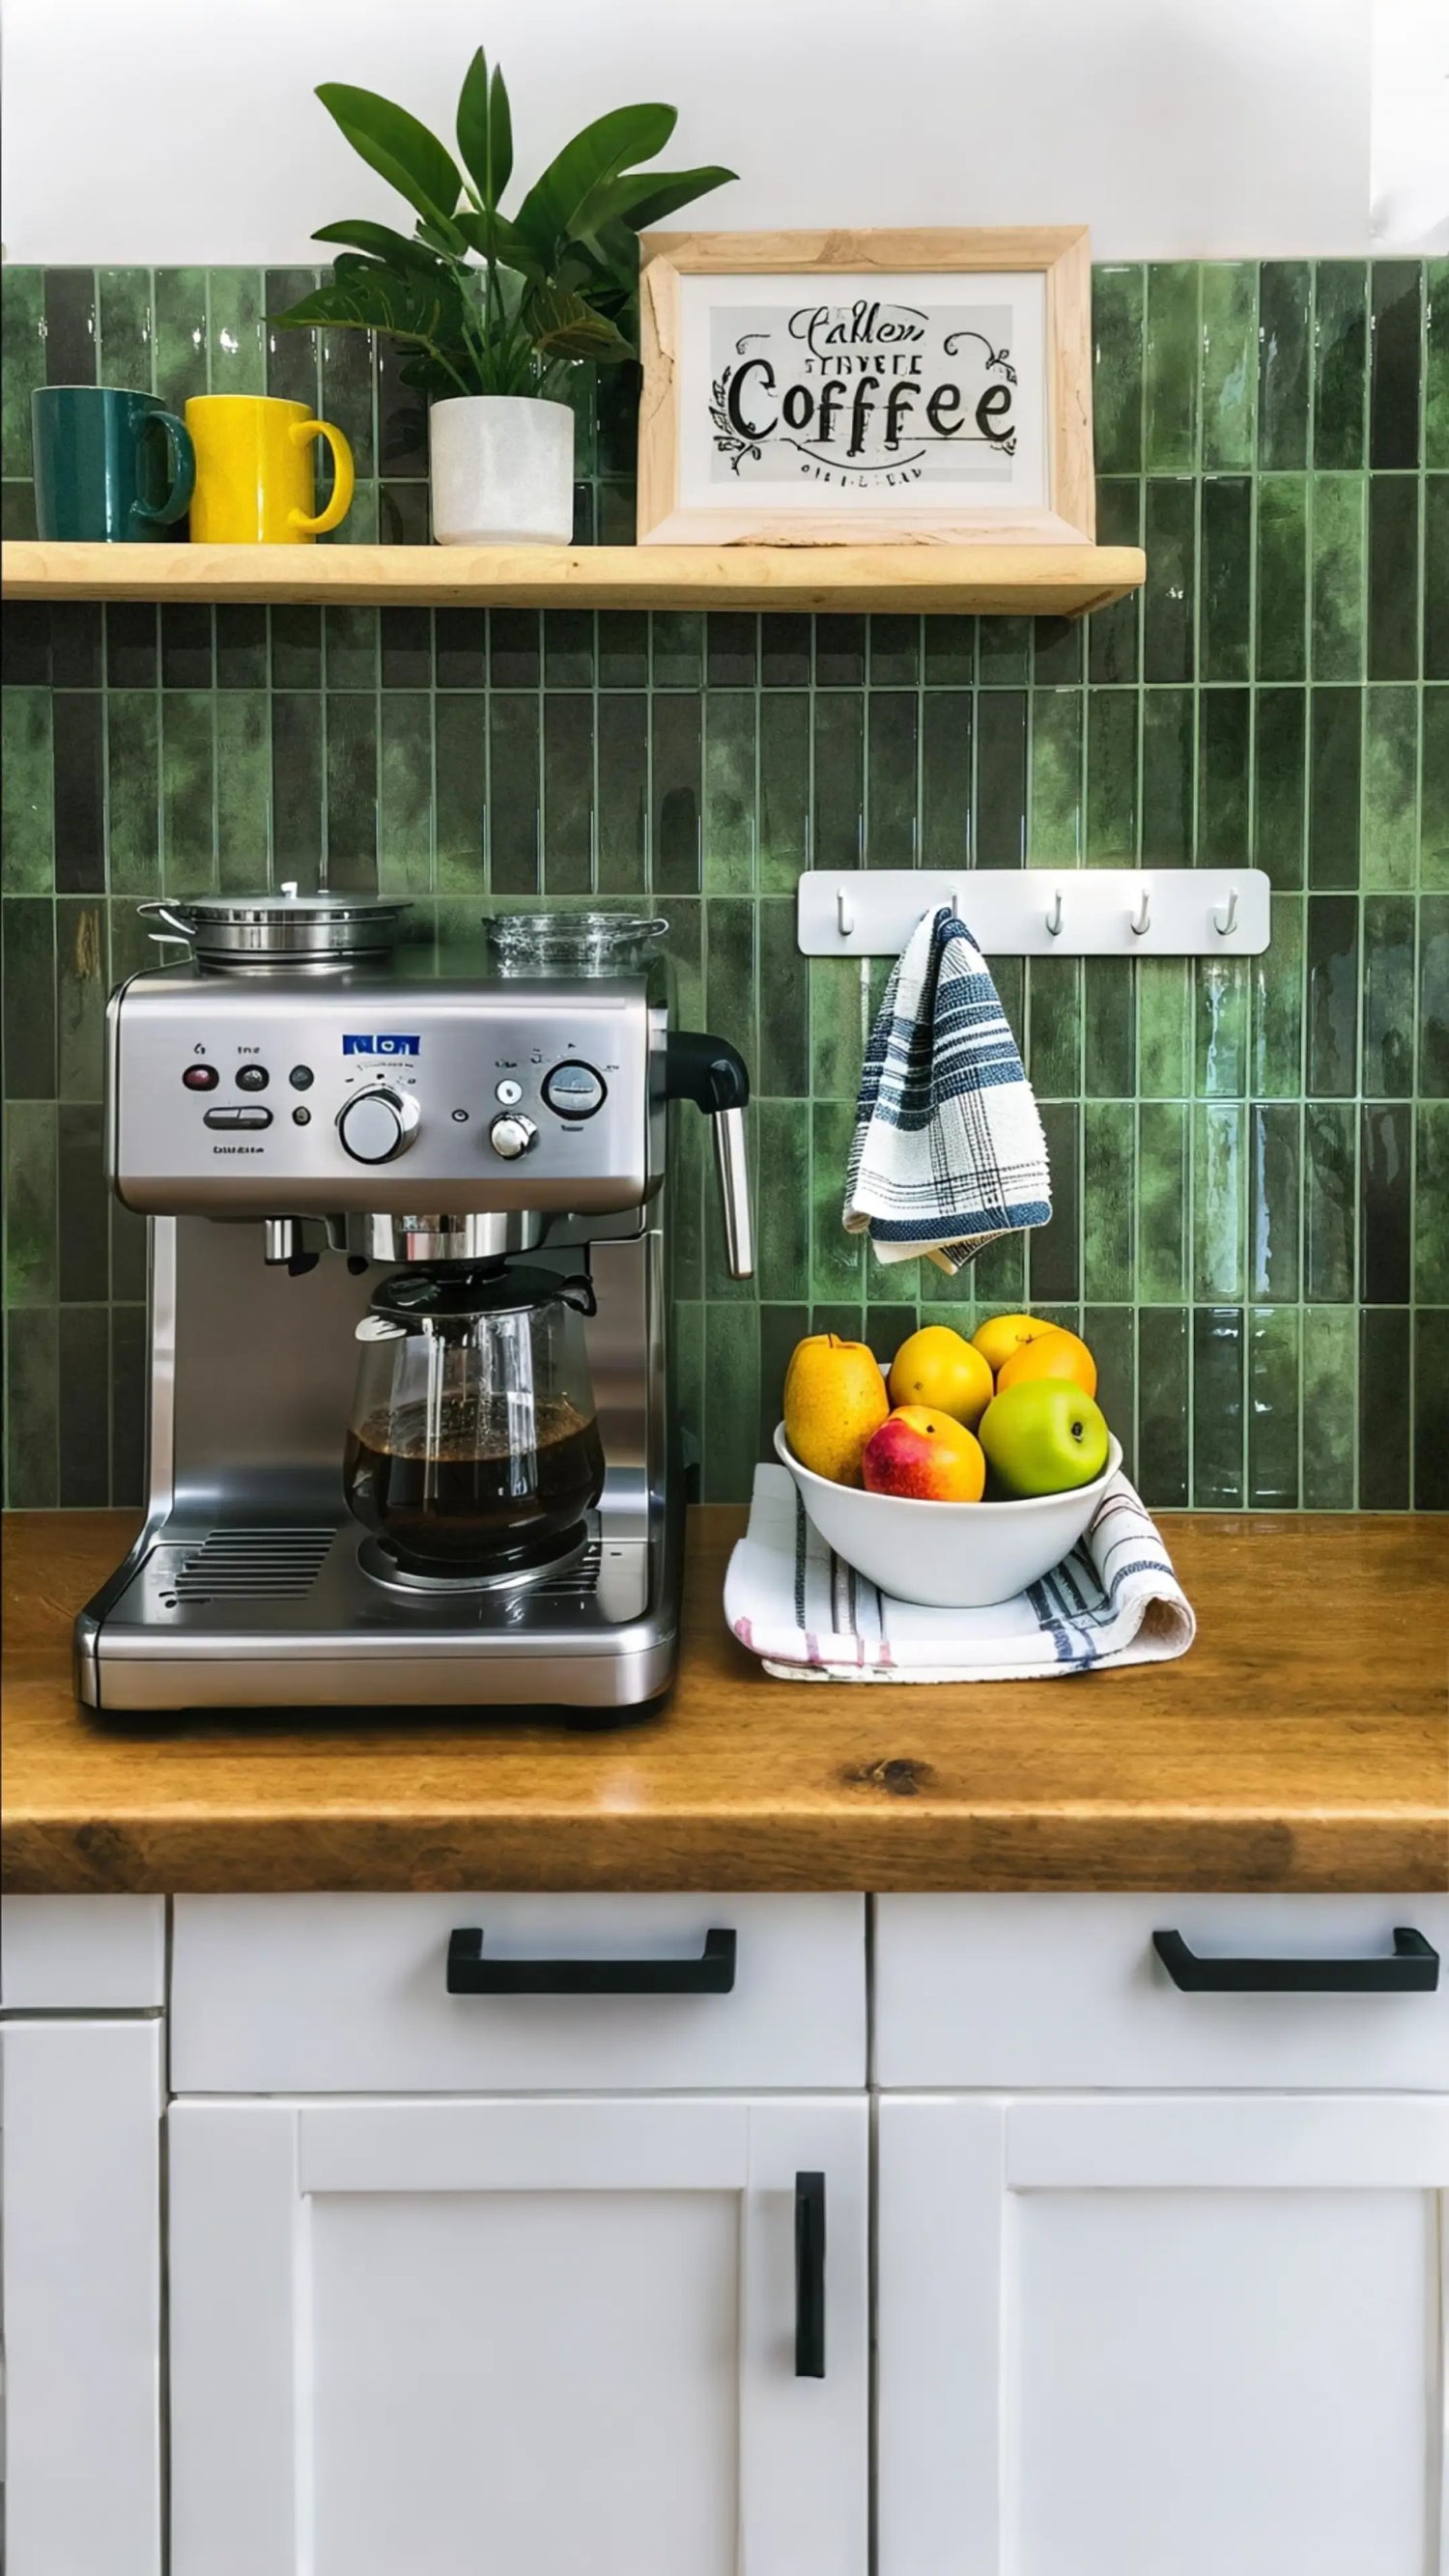
Dirty surfaces prevent adhesion. The Verdant Dawn tiles stick best on pristine walls.
Not Allowing Time for Adhesive to Bond
- Press firmly for 30 seconds.
- Wait 24 hours before heavy use.
Rushing leads to peeling. For long-lasting results, follow our Benefits of Peel and Stick Tiles guide.
Steps to Successfully Install Peel and Stick Tiles
Preparing Your Kitchen Work Area
- Clear countertops and protect floors.
- Turn off power if working near outlets.
Step-by-Step Installation Instructions
- Start from the center and work outward.
- Use a level to keep tiles straight.
For a full tutorial, visit Modern Kitchen Decorations.
Tips for Long-Lasting Adherence
- Avoid excessive moisture.
- Use a seam roller for tight bonds.
Advantages of Peel and Stick Tiles in Kitchens
Cost-Effectiveness and Budget-Friendly Options
At under $5 per square foot, they’re a steal compared to ceramic tiles.
Versatility in Design and Easy Application
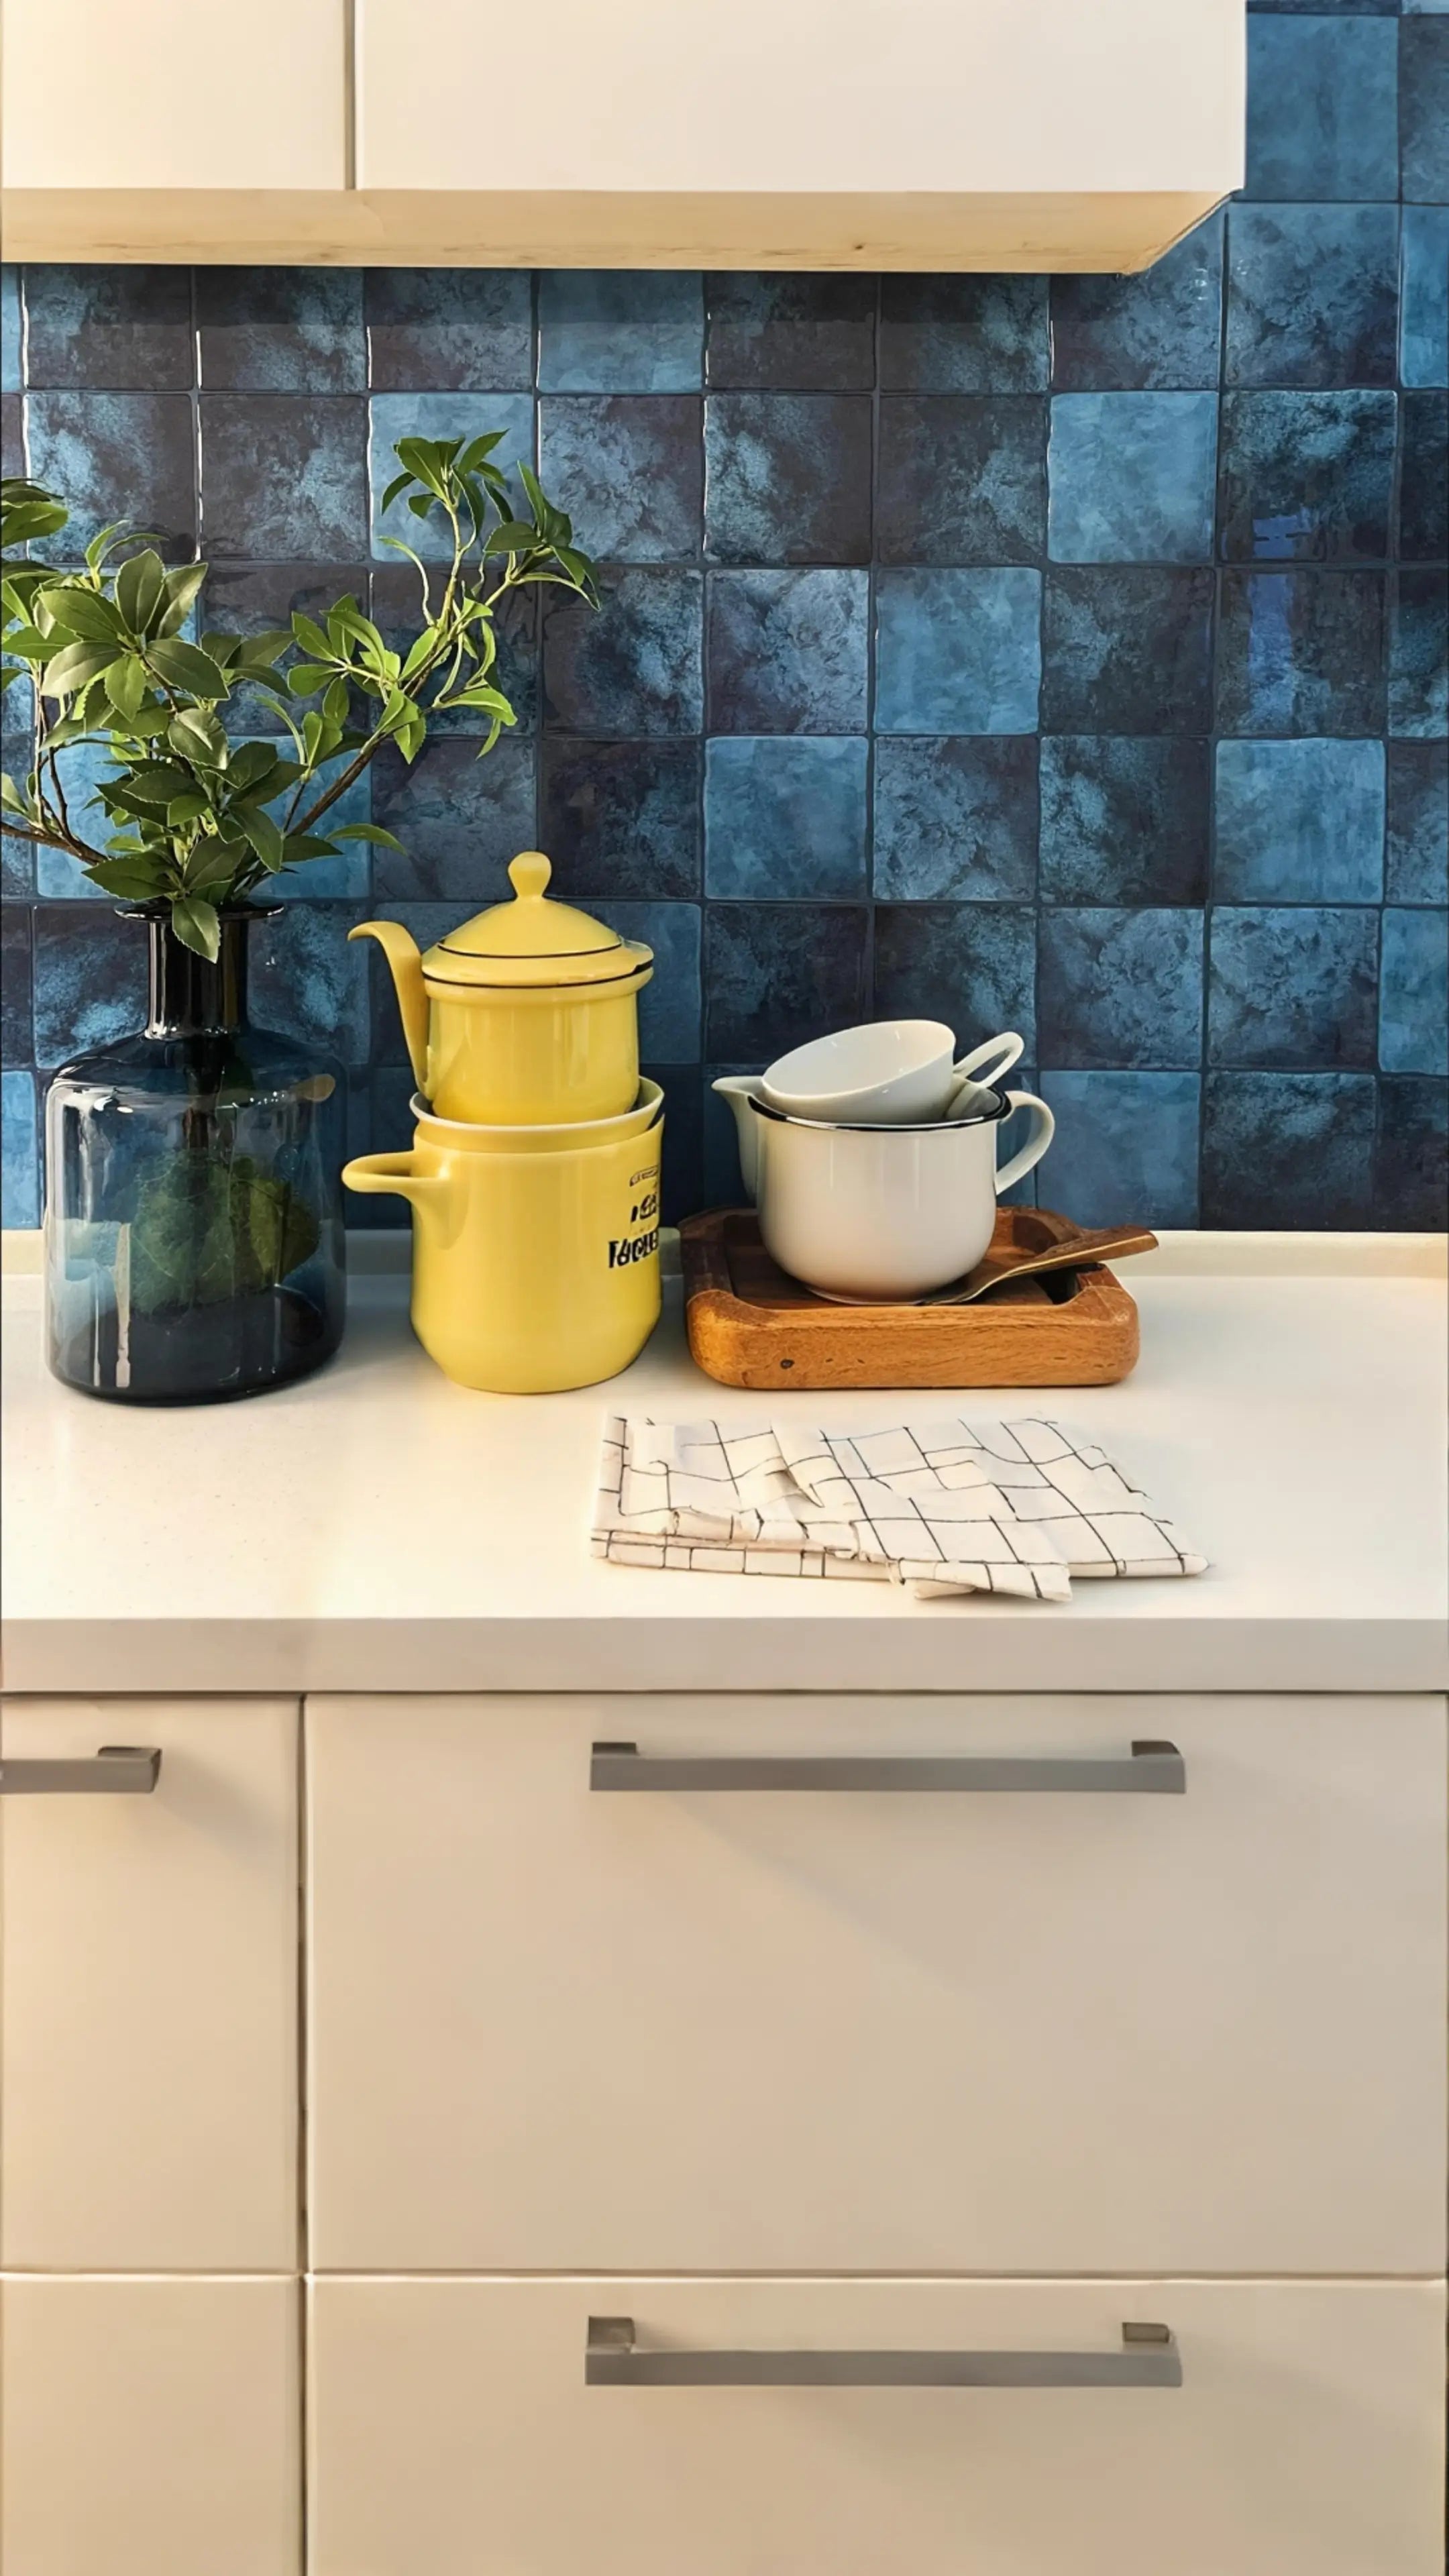
Mix and match patterns like Tidal Plaid for a custom look.
Minimal Maintenance and Cleaning
Just wipe with a damp cloth—no scrubbing grout!
Frequently Asked Questions
Can peel and stick tiles be used over existing tiles?
Absolutely. As long as your existing ceramic or glass tiles are clean, smooth, and free of deep texture, the new adhesive will bond effectively. This is a popular method for 2026 kitchen refreshes.
How durable are they under daily kitchen use?
High-quality options like Coastal Breeze are engineered to resist heat, humidity, and standard kitchen stains, making them highly durable for everyday use.
Can they be removed without damaging walls?
Yes, one of the biggest benefits is that most peel off cleanly with the help of a hairdryer to soften the adhesive, making them ideal for renters or temporary designs.
Do they work for kitchen floors?
Some specific varieties are designed for floors, but standard wall tiles may not withstand foot traffic. Always check the manufacturer's weight and durability ratings before applying to floors.
Final Thoughts
Upgrading your kitchen doesn't require a contractor or a massive budget in 2026. By choosing the right materials and preparing your surface correctly, you can achieve a professional look in a single weekend. For more ideas on cost-effective styling, explore our guide on Budget-Friendly Kitchen Decor.
Leave a comment
This site is protected by hCaptcha and the hCaptcha Privacy Policy and Terms of Service apply.