












Understanding the Appeal of Peel and Stick Tiles
Cost-Effective and Versatile Solutions
- Affordable alternative to traditional tiles
- No grout or professional installation needed
- Easy to replace for quick style updates
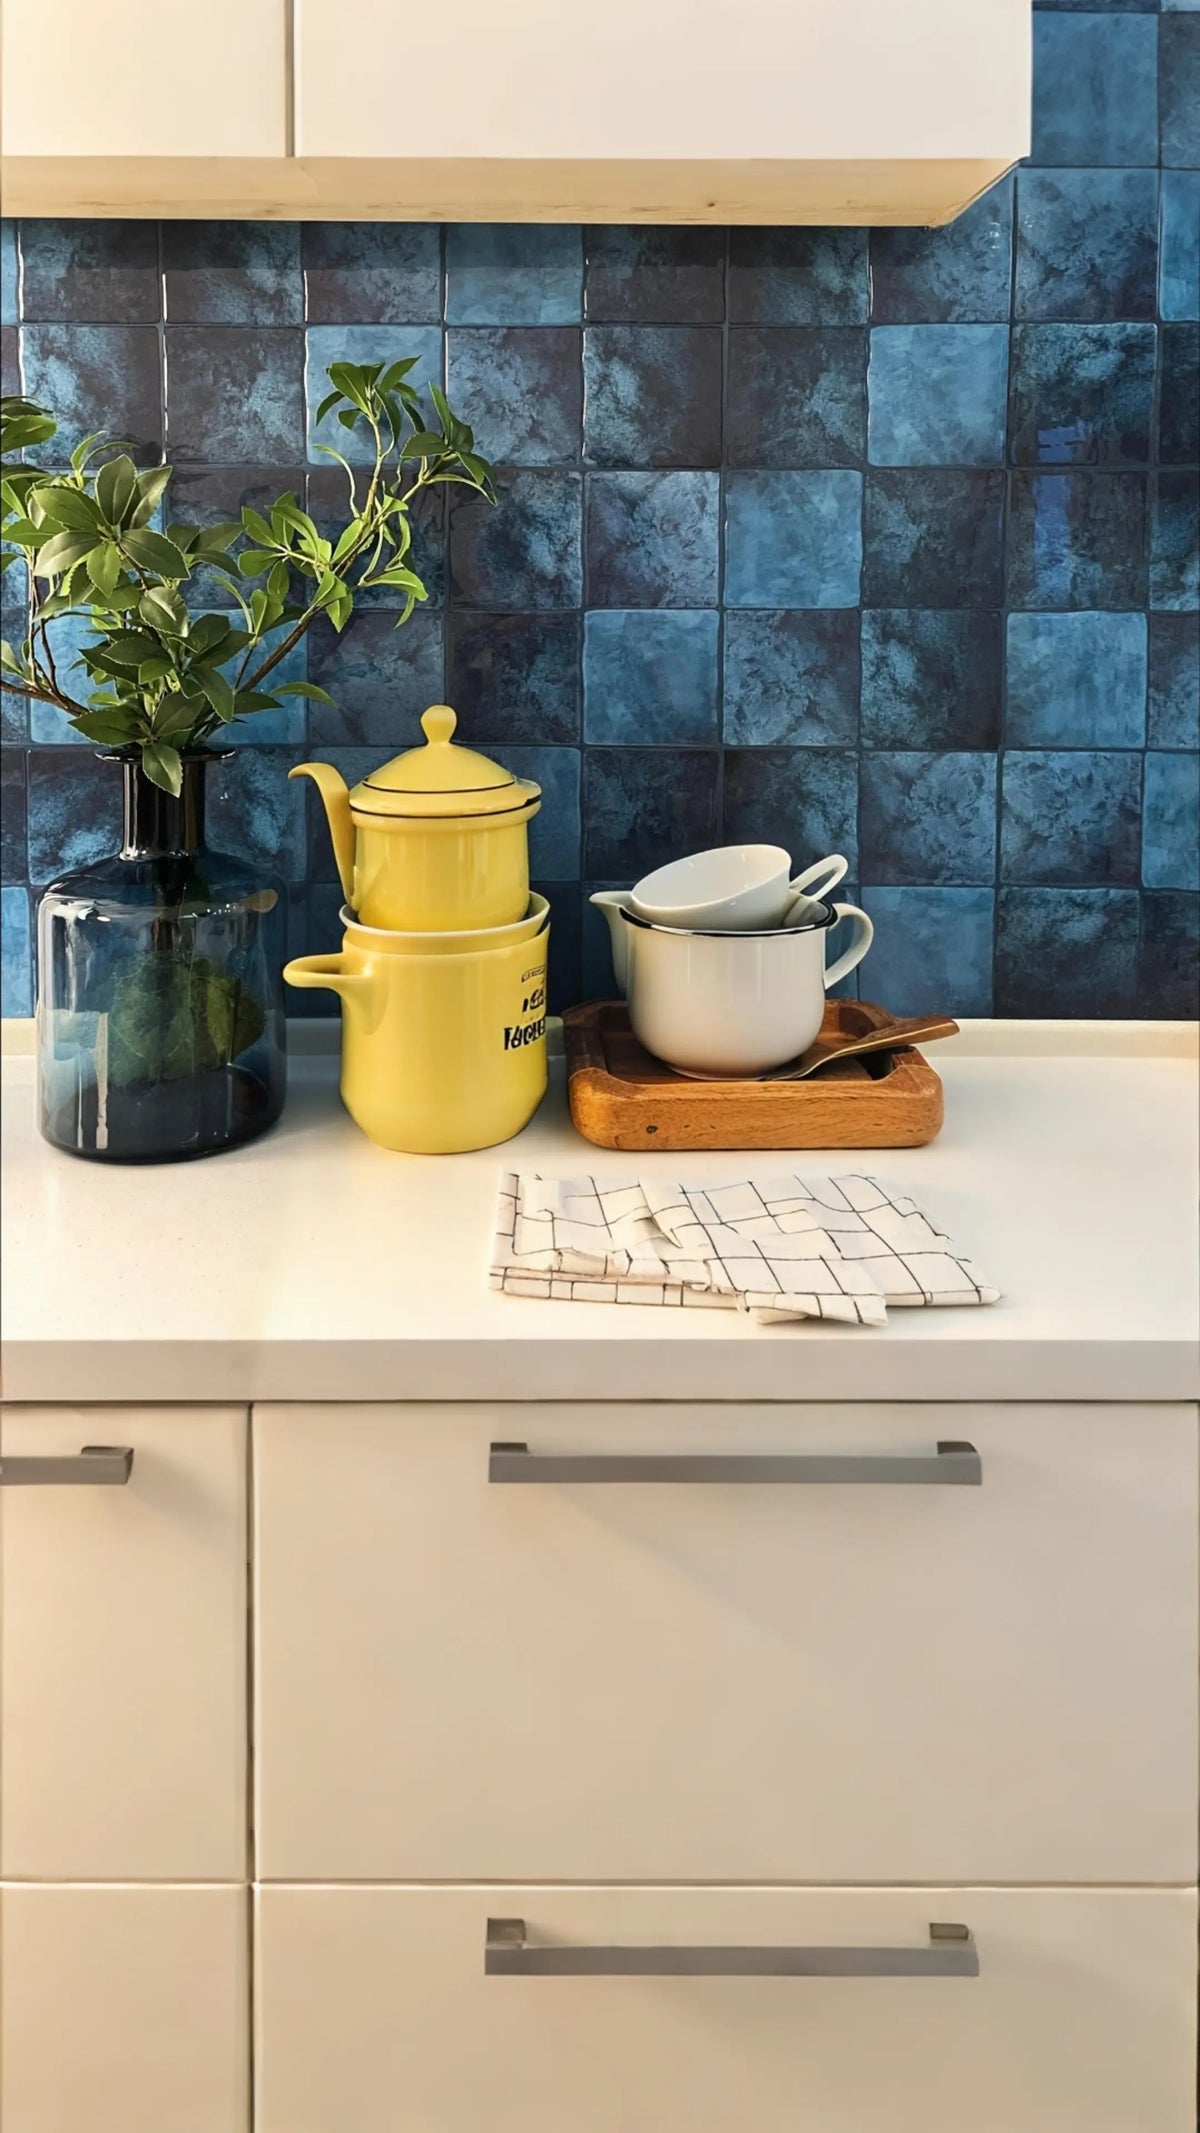
Peel and stick tiles are a game-changer for small kitchen design. Unlike traditional tiles, they don’t require messy grout or expensive labor. I’ve seen renters and homeowners alike use them to create stunning kitchen transformations without breaking the bank.
Explore this guide
For example, our Timberline Checks tiles offer a rustic wood look at a fraction of the cost of real hardwood. They’re perfect for adding warmth to a tiny kitchen without permanent changes.
Ease of Installation for DIY Enthusiasts
- No special tools required
- Beginner-friendly with step-by-step guides
- Removable for renters or frequent updaters
Installing peel and stick tiles is as simple as peeling off the backing and pressing them onto a clean surface. I once helped a friend redo her kitchen backsplash in just one afternoon using our Snowfall Grid tiles.
If you’re new to DIY, check out our guide on DIY Peel and Stick Kitchen installation for foolproof tips.
Endless Patterns and Designs to Choose From
- Modern, rustic, or bold styles available
- Mix-and-match for custom looks
- Textured finishes for added depth
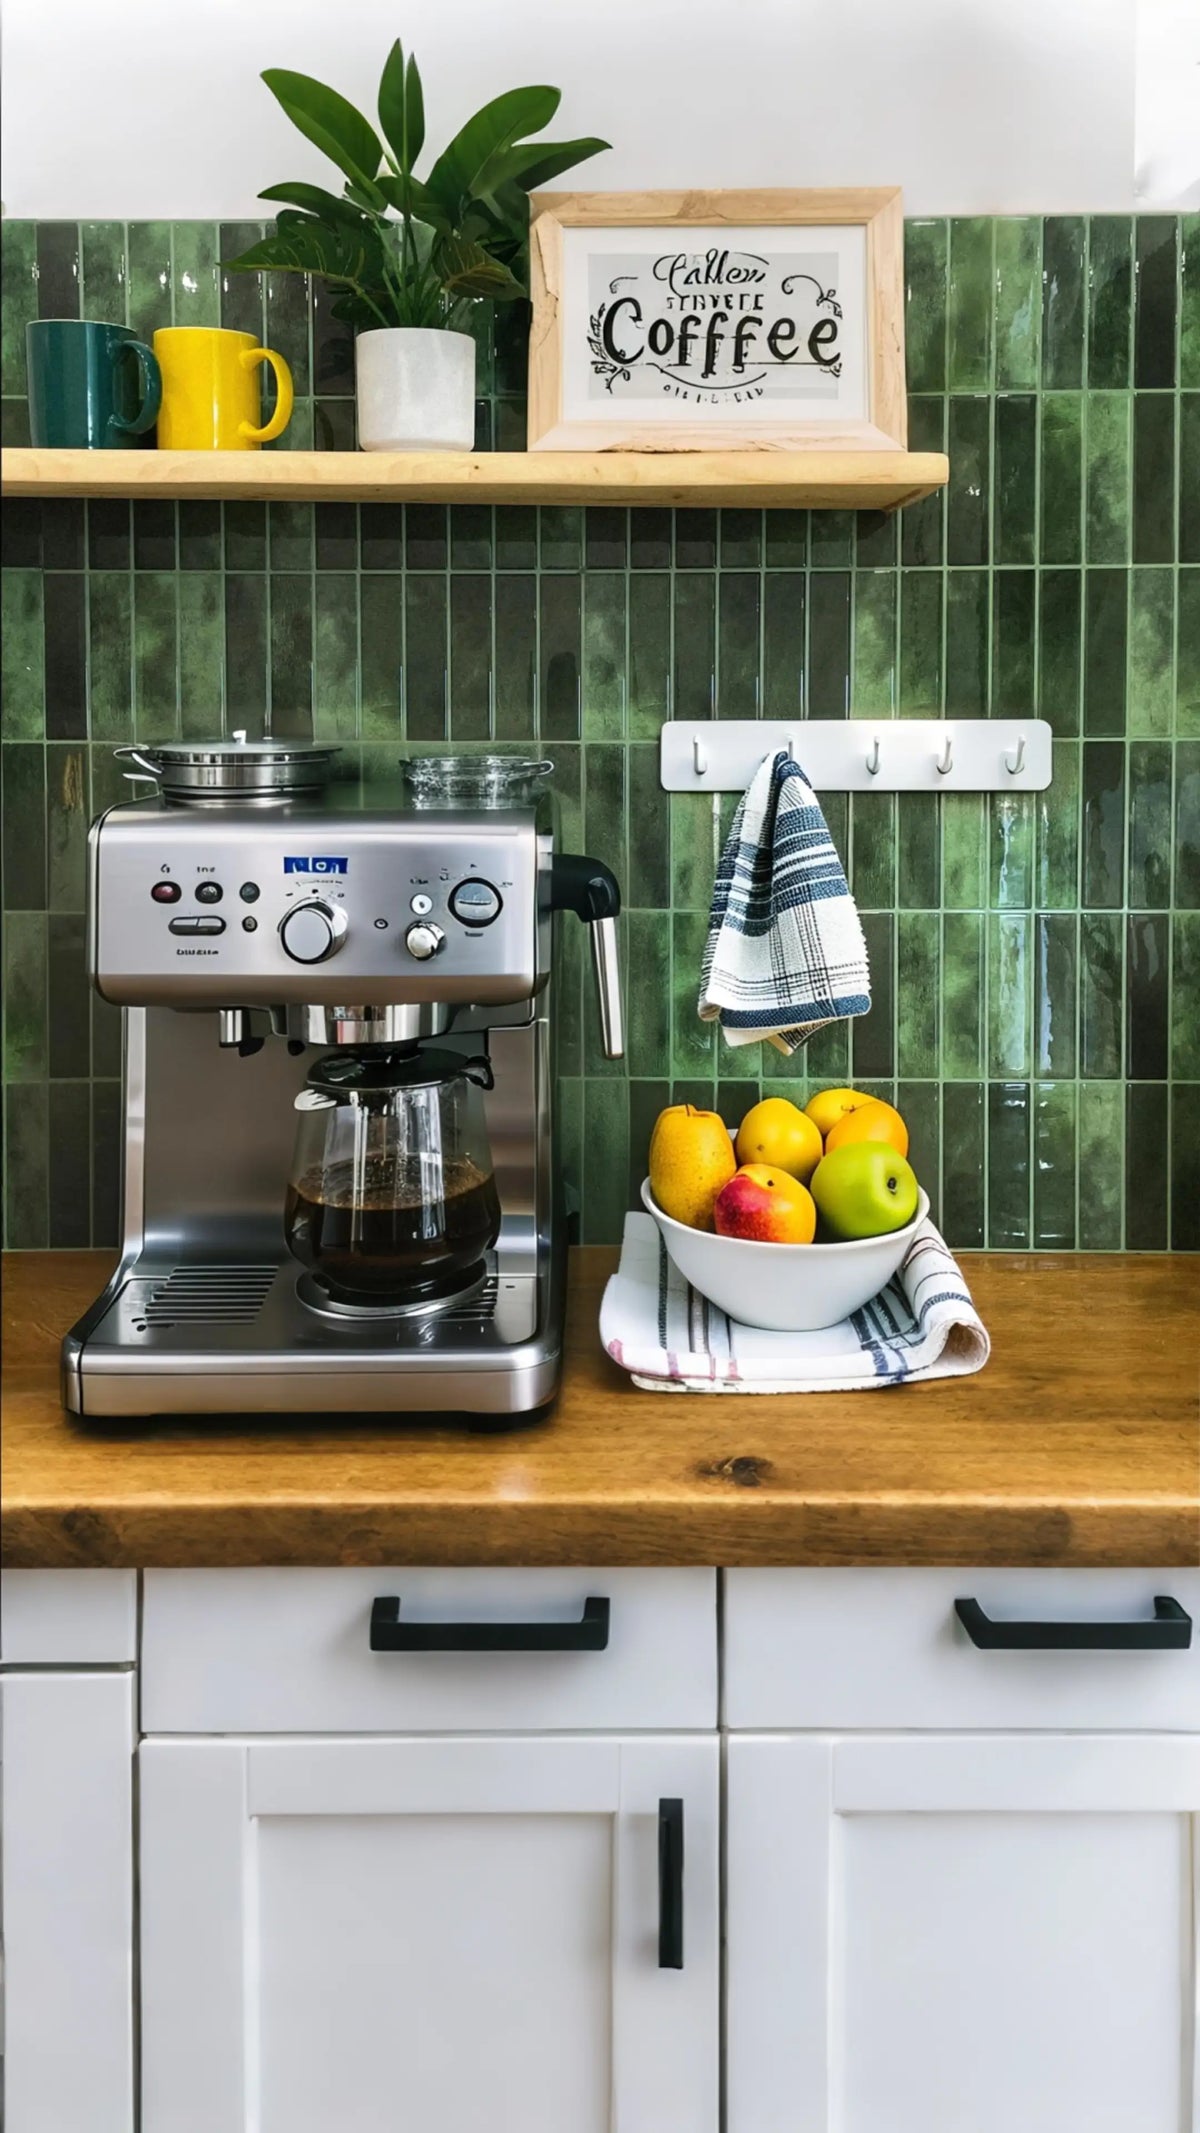
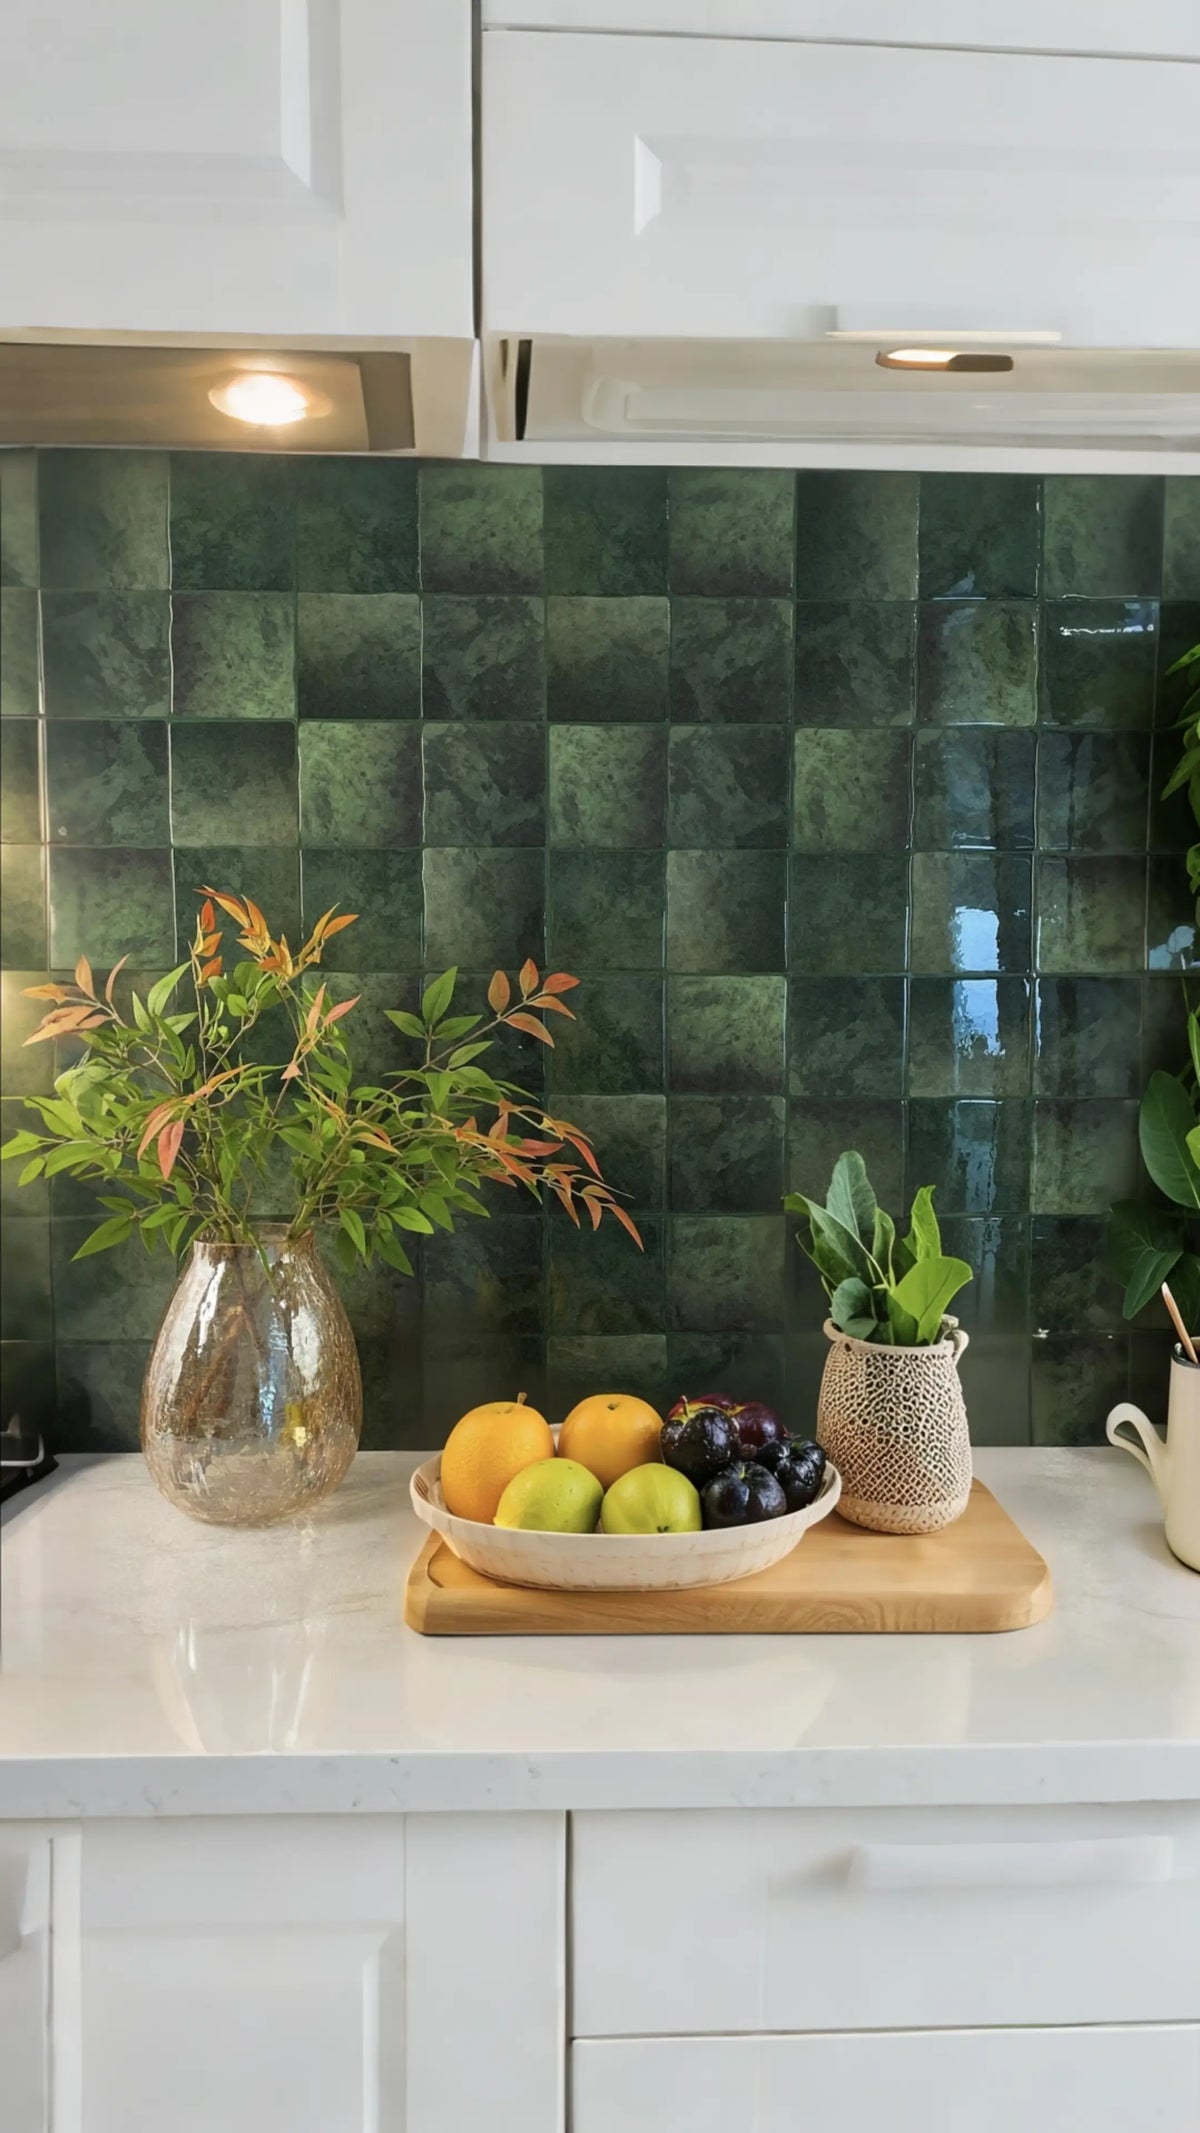
From the sleek Bright White Zigzag to the earthy Olive Squares, there’s a design for every taste. For more inspiration, explore our blog on Trendy Kitchen Wall Ideas.
Smart Organization Tips for Small Kitchens
Innovative Storage Solutions for Small Spaces
- Magnetic spice racks for wall storage
- Under-shelf baskets to utilize cabinet gaps
- Fold-down tables for extra prep space
In my first apartment, I used a pegboard to hang utensils and free up drawer space. It’s a trick I learned from our post on Small Kitchen Decor Hacks.
Double-Duty Furniture for Enhanced Functionality
- Islands with built-in storage
- Stools that tuck under counters
- Pull-out pantries for narrow spaces
A foldable kitchen cart can serve as a breakfast nook, prep station, and storage unit. Pair it with Coastal Breeze tiles for a breezy vibe.
Using Vertical Space to Eliminate Clutter
- Wall-mounted pot racks
- Tiered shelving for spices
- Hooks for mugs and towels
Compact Kitchen Case Studies – Before and After
Inspiring Tiny Kitchen Transformations
- From cramped to open with light-colored tiles
- Budget-friendly peel and stick upgrades
- Testimonials from real homeowners
One client used Blush Petals tiles to brighten her dark kitchen. Read her story in our guide on how to upgrade your kitchen on a budget.
Key Lessons from Renovations
- Lighting matters—add LED strips under cabinets
- Reflective surfaces amplify space
- Declutter before decorating
Implementing Minimalist Design Techniques
Light Colors to Enhance Space
- Whites, pastels, and neutrals
- Glossy finishes to reflect light
- Verdant Dawn for a subtle pop of color
Multifunctional Elements
- Pull-out cutting boards
- Sink covers for extra counter space
- Nesting bowls to save cabinet room
Decluttering for a Spacious Feel
- 30-day rule: Toss unused items
- Stackable containers for uniformity
- Hidden outlets to reduce visual noise
Frequently Asked Questions
Can peel and stick tiles handle heat near stoves?
How do I clean peel and stick backsplashes?
Wipe with a damp sponge or cloth using mild soap and water. No harsh chemicals are needed to maintain the finish, making them perfect for low-maintenance living in 2026.
Are these tiles renter-friendly?
Absolutely. They adhere securely but are designed to remove cleanly without damaging walls. See Renter-Friendly Kitchen Walls for specific application and removal tips.
What’s the cheapest way to update a kitchen?
Start with a peel and stick backsplash and decluttering your countertops. These simple changes provide the biggest visual impact for the smallest investment.
Ready to bring your tiny kitchen into 2026? Browse our complete peel and stick tile collection today to find the perfect style for your space!
Start with the work triangle you actually use
A small kitchen does not need a perfect textbook layout before it can improve. Watch one normal cooking session and note the path between refrigerator, sink, main prep surface, cooktop and trash. Mark the places where an open drawer, chair or appliance blocks that path. The first decor decision should protect the useful route rather than add another object to it.
Photograph the counters at the beginning and end of the day. Anything that lives permanently on the work surface should earn that space through frequent use. Decorative objects can move to a wall, shelf or dining zone so the counter remains available for preparation and cleanup.
Define storage zones before buying organizers
Group items by activity: daily cooking, coffee or tea, baking, food storage, cleaning and serving. Keep the most-used tools near the place they are used and move occasional equipment higher or farther away. This reduces the number of containers and hooks needed because the layout solves part of the storage problem.
Measure cabinet interiors, shelf depth and door clearance before ordering an organizer. A narrow rack that looks efficient online can waste space if it prevents a door from closing or makes another item harder to reach. Favor storage that can be removed and cleaned, especially in a kitchen where grease and crumbs accumulate.
Use vertical space without covering service access
A blank wall can hold a rail, shelf or decorative treatment, but first locate switches, outlets, plumbing access, appliance ventilation and any panel that must remain reachable. Heavy storage requires an appropriate structural attachment; a decorative peel-and-stick surface should never be treated as the support for shelves or cookware.
For renters, obtain permission before drilling or using strong adhesives. If the wall finish is fragile, a freestanding cart, narrow shelf tower or over-door solution may create more storage with less restoration risk.
Treat the backsplash as a working surface and a visual surface
A backsplash sits inside the daily routine. Before choosing a pattern, map sink splash, food preparation, grease and appliance heat. The face needs to tolerate the cleaning routine required in that zone, and the exact product must be allowed for the wall and exposure. A wipeable decorative face is not automatically a waterproof wall assembly, and a heat-resistant marketing phrase is not a universal approval behind a cooktop.
Once the technical zone is acceptable, use the backsplash to simplify the room visually. A lower-contrast repeat can make a busy counter feel calmer, while a stronger pattern can become the focal point if the surrounding surfaces are restrained. Compare several full repeats beside the counter and cabinet rather than judging a single cropped swatch.
Use real lighting to choose color in a compact room
Light colors can reflect more light, but there is no rule that every small kitchen must be white. Dark blue, green, charcoal or wood tones can work when the room has enough contrast and the surfaces relate to one another. The important step is to test the real material under the room’s daylight and evening lamps.
The US Department of Energy distinguishes light-source appearance and color rendering, which is useful context for home decisions. A cabinet or wall sample may shift under different lamps even when the screen image looked neutral. Check gloss as well: reflective finishes can create highlights, while matte finishes may reduce glare but absorb more light.
Choose one visual focal point
Small rooms can feel cluttered when every surface asks for attention. Decide whether the focal point is the backsplash, a colored cabinet, open shelf, art or dining nook. Let the remaining elements support it. Repeating one accent color in two or three small places usually creates more coherence than introducing a new pattern on every free surface.
Use painter’s tape or paper mockups to test the scale. A large geometric repeat may be compelling on one short wall but overwhelming on four; a narrow stripe may create a strong directional effect that conflicts with cabinet lines. Full-size testing is faster and cheaper than correcting the effect after installation.
Add a movable landing zone instead of permanent clutter
A narrow cart or tray can hold items that migrate around the kitchen, such as oils, coffee tools or produce. The key is mobility: the entire zone can move for cleaning or when more counter space is needed. Choose dimensions that preserve door swings and walking clearance.
If a cart carries an appliance, follow the appliance instructions for ventilation, electrical connection and support. Do not run cords across water zones or rely on decorative hooks for loads they were not designed to carry.
Make cabinet fronts and sides work carefully
The side of a tall cabinet or refrigerator enclosure may provide visual or organizational space, but verify material and finish before adding adhesive hooks or wall coverings. Some coatings show marks, some magnets are not suitable for every appliance surface, and ventilation gaps must remain open.
A removable calendar, lightweight print or magnetic list can be more useful than a large decorative installation in a very small kitchen because it changes with the household. Keep the surface easy to wipe and avoid placing paper or textiles near heat or flame.
Plan a renter-friendly wall update around restoration
Removable is a project strategy, not a zero-damage promise. Photograph the original wall, identify paint condition, obtain permission and follow the exact product instructions. Fresh paint, weak paint, patched drywall and texture can respond differently to pressure-sensitive adhesive. A short test can show immediate incompatibility but cannot predict long-term removal.
Keep a move-out record with the product, installation date and removal instructions. Allow time for careful work and possible patching or repainting rather than treating removal as a last-night task.
Use quantity math that reflects the real backsplash
Measure each rectangle of the wall and subtract openings only when the product can actually reuse the resulting offcuts. For example, an 8-foot by 18-inch backsplash is 12 square feet before outlets. If a box covers 4 square feet, three boxes cover the nominal face, but pattern matching, damaged pieces and spare stock may require another box. The correct allowance comes from the layout, not a universal percentage.
Dry-layout a representative row before ordering the final quantity. Count narrow cuts and determine whether offcuts can move to another edge without reversing a directional print. Record the pack coverage and batch information when relevant.
Keep heat decisions product- and appliance-specific
There is no universal 15-centimeter, 20-centimeter or other generic clearance that makes every decorative wall product safe near every range. Appliance manuals, local requirements and the wall-covering manufacturer determine the relevant conditions. If those documents conflict or leave the proposed zone unclear, do not guess.
This distinction is especially important in a small kitchen because the available wall area is limited. It may be better to use one documented material in the cooking zone and a different decorative accent on a dry side wall rather than force one product everywhere.
Keep moisture visible instead of decorating over it
Recurring condensation, a plumbing leak, swollen trim or soft drywall needs investigation before a wall finish is installed. EPA guidance emphasizes moisture control because covering the symptom does not remove the water source. Around a sink, inspect the counter-to-wall joint and penetrations before adding a decorative layer.
A small kitchen often places the sink, dishwasher and wall finish close together, so routine inspection matters. Keep edges visible enough to notice a change and use the cleaner permitted for the exact finish.
Use an end-of-day reset as a design tool
A small kitchen feels larger when the work surfaces return to a known baseline. Assign a home to mail, reusable bottles, keys, charging cables and grocery bags so they do not become permanent counter decor. This can have more impact on perceived space than another visual trick.
Make the reset easy: a tray for daily items, one drawer for charging, a hook or basket outside the main prep area and a clear rule for what stays on the counter. The room becomes easier to photograph, clean and use because the organization supports the actual routine.
Review the room after a week, not just after installation
Use the updated kitchen for several normal meals. Note which storage locations are awkward, which wall areas receive more splash or heat than expected and which decorative objects keep moving. Adjust those elements before buying more organizers or extending a wall treatment.
A successful small-kitchen update is measurable in practical ways: clear prep space is available when needed, important items are reachable, doors open fully, cleaning is manageable and the decor does not hide maintenance problems. Those outcomes are more useful than an unsupported percentage about how much larger the room should feel.
Use the inside of cabinets before filling the walls
Before adding visible storage, inspect shelf spacing and the inside of doors. Adjustable shelves, stackable bins or a simple riser can sometimes double usable cabinet layers without changing the room visually. Measure hinge clearance and make sure an organizer does not strike the shelves when the door closes. Heavy objects need appropriate support; do not overload a thin door panel for the sake of freeing a few inches of counter.
Keep frequently used items between comfortable reach heights and move seasonal or specialty equipment higher. The goal is not to use every cubic inch but to reduce the number of motions required for normal cooking. A cabinet that is packed so tightly that five items must move to reach one pan is not efficient storage.
Create a compact prep zone with a repeatable setup
Choose the clearest counter near the sink or cooktop as the primary prep area and keep a board, knife and frequently used utensils close enough that the zone can be set up in seconds. Store decorative objects elsewhere. If the kitchen has almost no uninterrupted counter, a properly supported over-sink board or movable cart may add temporary workspace when used according to its product limits.
After cooking, the prep zone should reset quickly. A nearby drawer or container for the most-used tools reduces the temptation to leave them on display. This makes the kitchen look calmer because the visual improvement follows from routine rather than from hiding clutter in new decorative boxes.
Use mirrors and reflective surfaces carefully
A reflective surface can bounce light and create depth, but a kitchen is not a stage set. Mirrors near grease, steam or food preparation add cleaning work, and reflected clutter can make the room feel busier. Test the sight line with a temporary mirror before mounting one and verify an appropriate attachment for its weight and wall.
Glossy backsplash finishes can create a similar light effect on a smaller scale. Compare the real sample under task lights to see whether the reflection is useful or creates glare. Choose reflectivity for the actual lighting and cleaning routine rather than assuming shinier always makes a small kitchen feel larger.
Plan trash, recycling and cleaning supplies as part of the layout
Bins and cleaning products consume real space but are often ignored in decor plans. Measure the cabinet or floor area they need, keep required ventilation and child-safety considerations in mind, and place them where they do not block the main prep route. A narrow pull-out or compact separated bins may work better than adding decorative storage elsewhere while these essentials remain in the aisle.
Keep wet cleaning tools from resting against painted drywall or decorative wall coverings. Provide a place for cloths, brushes and gloves to dry. Solving these ordinary tasks protects the surfaces that make the kitchen look finished and prevents a small room from losing valuable floor area to items with no assigned home.
Audit refrigerator and pantry turnover before adding storage
Small kitchens often feel short on space because low-turnover food and duplicate ingredients occupy the easiest shelves. Before buying another rack, group pantry and refrigerator items by use, check dates and move backstock to a deliberate location. Keep frequently used ingredients where they can be seen without moving several containers.
Use clear labels when they help the household identify categories, but avoid transferring food into decorative containers solely for appearance if the original package provides important preparation, allergen or date information. Function and food safety take priority over a perfectly matched shelf.
Make a breakfast or coffee station compact on purpose
If the household uses the same small set of items every morning, group them near the relevant appliance and water source without blocking the main prep area. Store backup beans, tea or mugs elsewhere and keep only the active quantity in the station. A tray can define the footprint and make the whole group easy to move for cleaning.
Check appliance ventilation and cord routing before placing shelves or wall decor around the station. Steam from a kettle or coffee maker can wet nearby surfaces, so observe where condensation actually forms and keep moisture-sensitive finishes out of that path.
Use under-cabinet lighting to improve function before adding more decor
Good task lighting can make a small kitchen easier to use and can change how the existing backsplash and counter read at night. Before adding a new pattern solely to brighten the room, check whether the prep surface is simply underlit. Choose lighting and electrical installation appropriate to the space and follow product instructions.
After the task light is in place, reevaluate color samples because the finish may look different from its appearance under the ceiling fixture. This can prevent a backsplash purchase intended to solve a lighting problem the material cannot solve.
Create a maintenance map for the compact kitchen
Mark the locations that need frequent cleaning or inspection: sink edges, dishwasher side, range wall, refrigerator gap, trash area, backsplash seams and any wall behind a kettle or coffee maker. Choose finishes and storage that keep those points reachable. A clever organizer is not helpful if it has to be dismantled every time a leak is checked.
Review the map a month after the changes. If one new shelf traps grease, a cart blocks a service panel or a wall finish hides recurring moisture, revise the layout. Small kitchens benefit from designs that remain easy to inspect because several systems occupy the same limited space.
Set a one-in, one-out rule for countertop appliances
When a new appliance earns permanent counter space, decide which existing item will move to a cabinet or leave the kitchen. This prevents gradual loss of the prep surface. The rule does not have to be rigid for every household, but making the tradeoff explicit keeps the counter from becoming long-term storage.
Measure the footprint with the appliance in use, not only parked. Lids open, mixer heads tilt and air fryers or toaster ovens may require clearance. The usable kitchen is the space left after those movements, so decor should be planned around the operating dimensions.
Plan the dining edge as part of the kitchen
In a studio, galley or eat-in kitchen, the boundary between cooking and dining can become storage overflow. Keep the chair pull-out zone and the path to the refrigerator clear. A wall-mounted drop-leaf table or narrow console may help in some rooms, but only when it is properly attached and does not reduce circulation below what the space and local requirements need.
Use the dining wall for the stronger decorative statement if the working backsplash is already busy or highly exposed. That can preserve an easy-to-clean cooking zone while still giving the small room a focal point.
Final small-kitchen scorecard
After the changes, ask whether you gained clear prep area, reduced unnecessary steps, preserved door and drawer movement, improved task lighting, kept moisture and heat zones inspectable and gave daily objects a real home. Those are concrete signs that the room works better.
If the answer is no, remove or relocate the least useful addition before buying another organizer or decorative layer. In a compact kitchen, subtraction is often the fastest route to a more coherent space.
Use a temporary staging box during the reset
When reorganizing, place objects with no clear home into one temporary box rather than shifting them from counter to counter. Use the kitchen normally for a week, then decide which boxed items were actually missed. Return only the useful ones to an assigned location and remove or store the rest elsewhere.
This simple pause prevents new organizers from being designed around clutter that does not need to remain in the kitchen. It also reveals how much working space the room already has when low-value objects are not occupying it.
Keep the floor visually and physically clear
A small kitchen loses usable space quickly when baskets, step stools, pet supplies or recycling drift into the aisle. Assign each floor-level item a parking location that preserves cabinet and appliance access. If an object has to be moved every time the dishwasher or oven opens, its storage location is not working.
Use wall or cabinet storage only when the attachment and load are appropriate. The goal is a clear route through the room, not simply moving clutter from the floor onto fragile surfaces.
Measure before every purchase
Write down the maximum usable width, depth and height before buying any organizer, cart or decorative object. In a compact room, a few unexpected inches can block a drawer, outlet or walking path.
Sources and scope
- US DOE: Color and Spectrum — Lighting and color-rendering context; not a material-performance rating.
- US EPA: A Brief Guide to Mold, Moisture and Your Home — Moisture-control guidance; not approval of a wall covering or waterproof assembly.
- 3M: Applying VHB Pressure-Sensitive Tape — General surface-preparation principles for named 3M tapes; not Stickwoll specifications.


Leave a comment
This site is protected by hCaptcha and the hCaptcha Privacy Policy and Terms of Service apply.