Introduction
Who doesn’t dream of a stylish kitchen makeover without breaking the bank? If you’re like me, passionate about DIY projects yet conscious about spending, read on! Recent studies show that a kitchen remodel can offer a return on investment of up to 80%. In this piece, I’ll share easy upgrades under $100 using peel and stick tiles and reveal insider secrets for a stunning kitchen renovation on a budget. Ready to give your kitchen a fresh look?
Easy Kitchen Upgrades Under $100
Benefits of Peel and Stick Tiles
- Affordable: Costs a fraction of traditional tiles.
- No Mess: No grout or adhesives needed.
- Renter-Friendly: Easy to remove without damage.
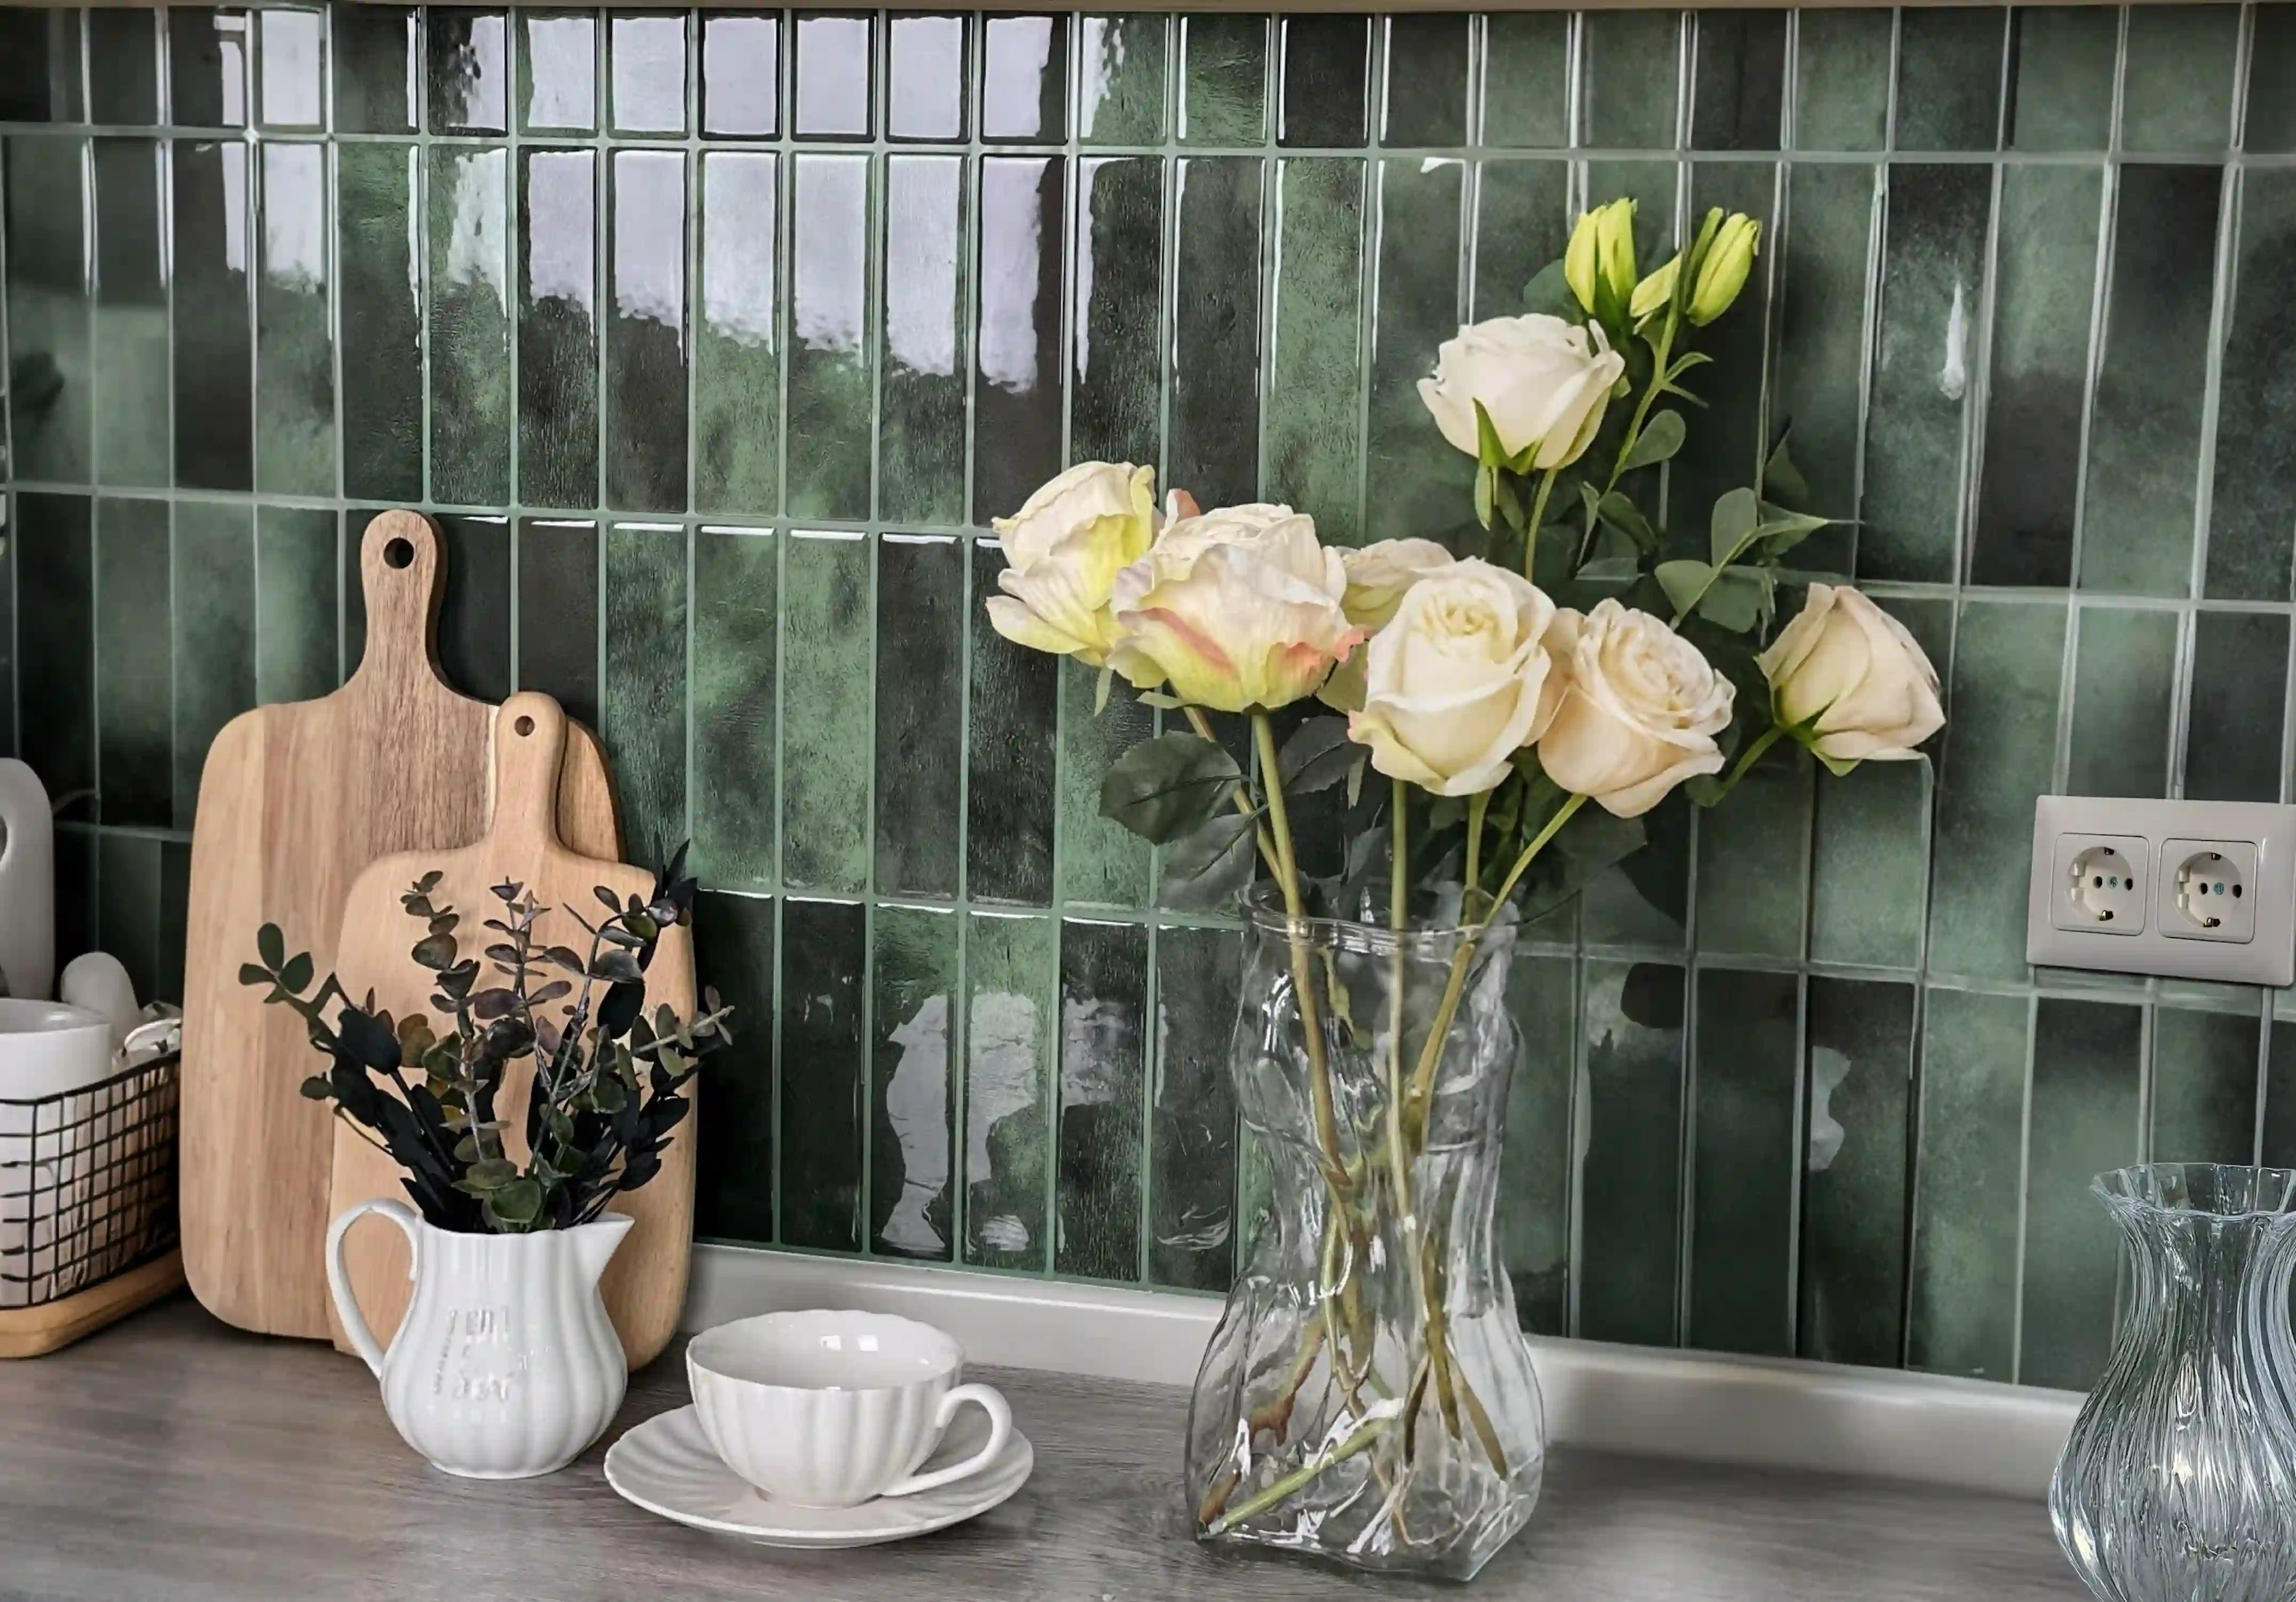
Peel and stick tiles are a game-changer for budget kitchen renovations. Unlike ceramic tiles, they don’t require professional installation or messy grout. I used Timberline Checks for my backsplash, and the transformation was instant!
For more design ideas, check out our blog on Trendy Kitchen Wall Ideas.
Easy Installation Guide
- Clean the Surface: Wipe down walls or counters.
- Measure & Cut: Use scissors for precision.
- Peel & Stick: Press firmly to avoid bubbles.
Installing peel and stick tiles is as simple as applying a sticker. I tackled my kitchen backsplash in under two hours using Coastal Breeze tiles. For a step-by-step guide, read our DIY Peel and Stick Kitchen blog.
Creative Design Ideas
- Mix Patterns: Try Bright White Zigzag with solid colors.
- Accent Walls: Highlight one wall for drama.
- Temporary Upgrades: Perfect for renters.
Want bold ideas? Explore Colorful Kitchen Decor Ideas for inspiration.
Kitchen Makeover Secrets
Budgeting Tips for Renovations
- Prioritize: Focus on high-impact changes first.
- Repurpose: Paint cabinets instead of replacing them.
- Shop Sales: Look for discounts on materials.
I saved 60% by repainting my cabinets and adding Olive Squares as a backsplash. For more tips, visit Budget-Friendly Kitchen Decor.
Affordable Decor Enhancements
- Open Shelving: Show off dishes or plants.
- Thrifted Finds: Unique decor for less.
- DIY Art: Frame fabric or wallpaper samples.
A few small changes can make a big difference. Learn how in Stylish Kitchen Wall Accents.
Maximizing Space Efficiently
- Vertical Storage: Use wall-mounted racks.
- Multi-Functional Furniture: Islands with storage.
- Light Colors: Make small kitchens feel larger.
For small kitchens, Small Kitchen Decor Hacks offers genius solutions.
DIY Kitchen Projects
Necessary Tools and Materials
- Utility Knife: For precise cuts.
- Level: Ensure straight lines.
- Peel and Stick Tiles: Like Blush Petals.
Step-by-Step Instructions
- Prep the surface.
- Lay out tiles before sticking.
- Smooth out air bubbles.
Safety Tips for DIY
- Wear Gloves: Protect hands from sharp edges.
- Ventilate: Open windows when painting.
- Check Electrical: Avoid covering outlets.
Cost-Effective Materials
Choosing Quality Materials on a Budget
- Vinyl Tiles: Durable and cheap.
- Laminate Countertops: Resembles stone.
- Peel and Stick Backsplash: Like Tidal Plaid.
Maintenance Tips for Longevity
- Wipe Spills Quickly: Prevents stains.
- Avoid Harsh Cleaners: Use mild soap.
- Reapply Edges: Secure loose tiles.
Inspiring Success Stories
Real-Life Budget Makeovers
- Sarah’s $50 Backsplash: Used Snowfall Grid.
- Mike’s Cabinet Refresh: Painted + new hardware.
Lessons Learned
- Plan Ahead: Avoid rushed decisions.
- Test Colors: Samples save money.
FAQs
1. Can peel and stick tiles handle heat?
Yes, but avoid direct contact with stovetops.
2. How long do they last?
Up to 5 years with proper care.
3. Are they waterproof?
Most are water-resistant—ideal for backsplashes.
4. Can I reuse them?
Some can be repositioned if removed gently.
Final Tip: Start small with a Verdant Dawn accent wall! For more ideas, explore Modern Kitchen Decorations.


Leave a comment
This site is protected by hCaptcha and the hCaptcha Privacy Policy and Terms of Service apply.