


That sinking feeling is familiar to almost every renter. You're packing up, ready to move, and you start worrying about every nail hole, every scuff mark, and that one time you thought about painting a wall. The fear of losing your security deposit over normal wear and tear—or a failed DIY project—is real. It can make you feel like your rented space can never truly be yours.
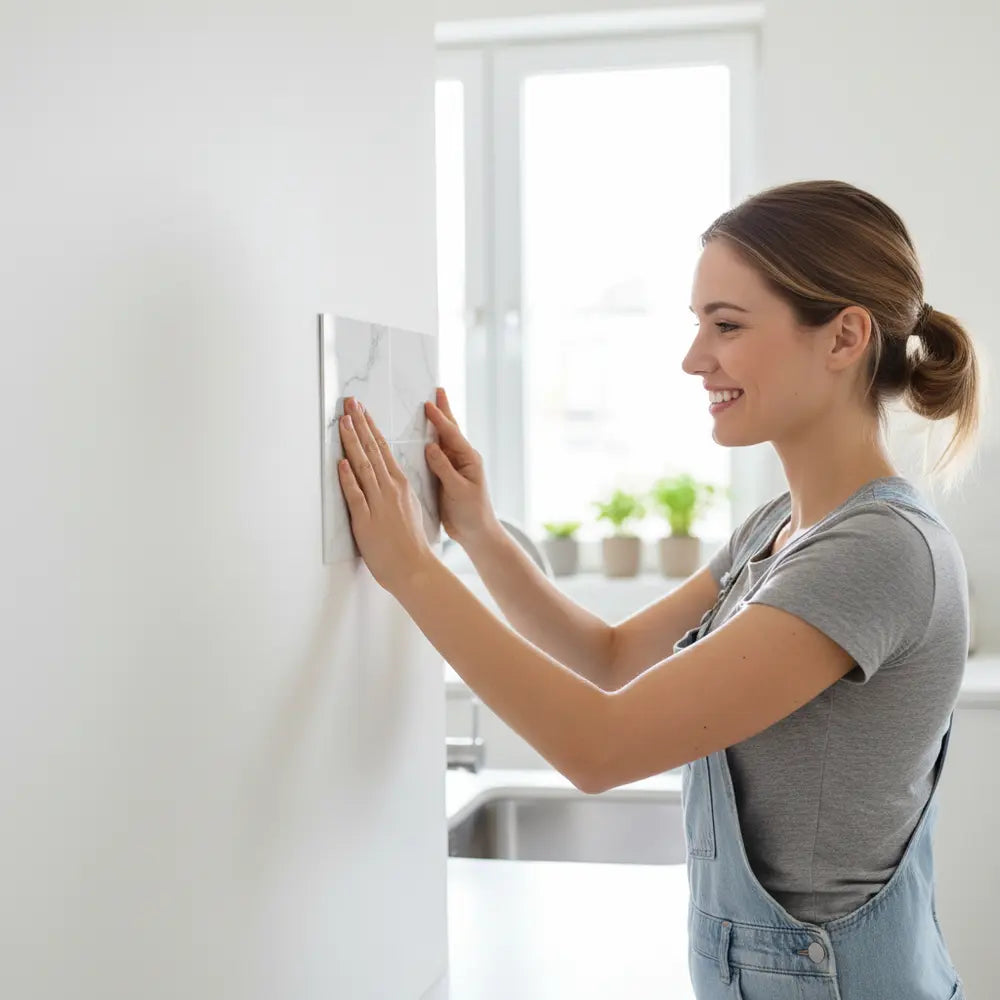
But what if you could completely transform your kitchen or bathroom with a stylish, modern finish and be 100% certain you could remove it without a trace? That’s the promise of removable wall tiles for apartments. These aren’t the flimsy decals of the past; they are a genuine, damage-free solution for a high-impact upgrade.
This guide is your complete playbook. We go beyond basic instructions and share expert-tested steps for flawless installation, waterproofing for kitchens and bathrooms, and the critical techniques for damage-free removal. We’ll show you exactly how to install peel and stick wall tiles so you can get your full deposit back.
Why Peel and Stick Wall Tiles are Perfect for Renters
Peel and stick tiles offer a powerful combination of style, affordability, and simplicity. They empower renters to inject personality into a space without the risk, cost, or commitment of traditional renovations. It’s a true DIY project that respects your lease agreement.
Damage-Free by Design
The core appeal for any renter is removability. High-quality self-adhesive tiles are engineered with adhesives that form a strong bond but can be released cleanly. This means no sticky residue, no pulled paint, and no angry landlords. It’s a temporary upgrade with a permanent impact on your home’s style.
Affordable and High-Impact Style
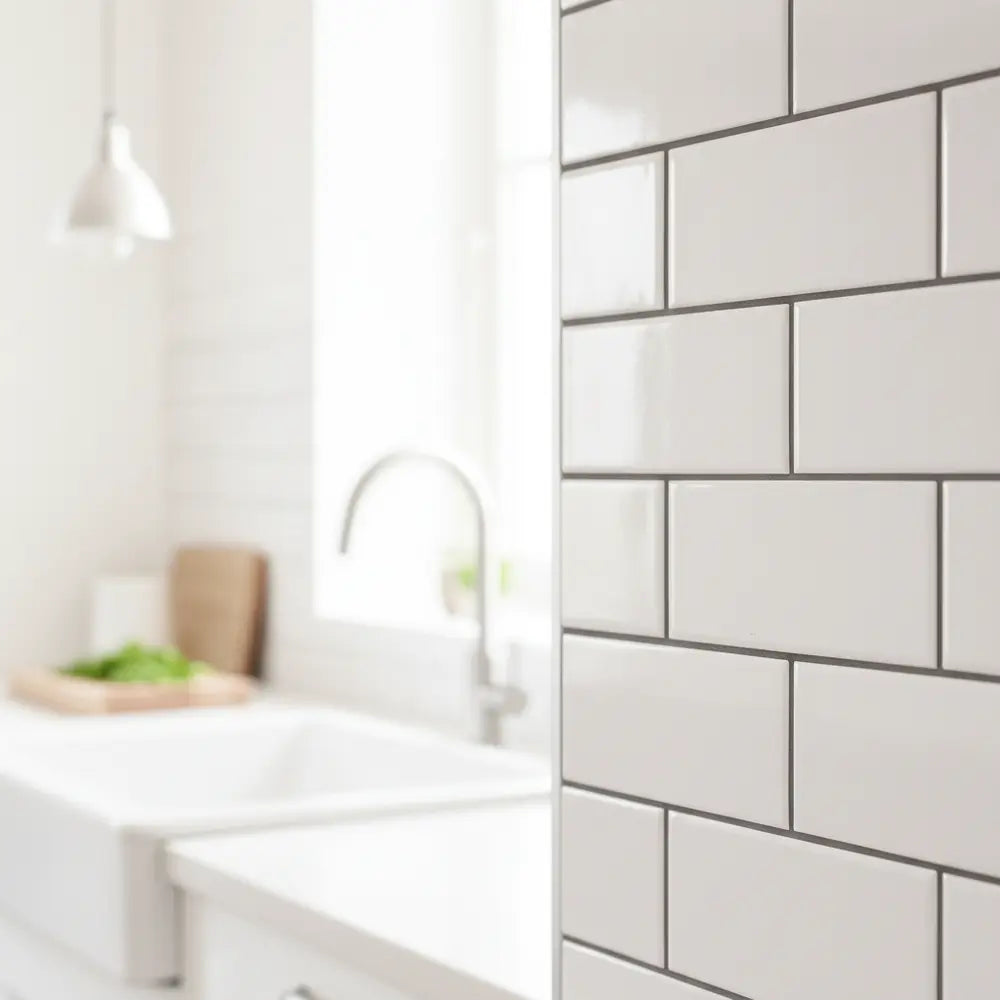
A full kitchen renovation can cost thousands. In contrast, you can achieve a stunning transformation with cheap stick on tiles for kitchen walls for a fraction of the price. A renter in Chicago recently revamped her entire kitchen backsplash for under $50, turning a dated yellow wall into a clean, modern white subway tile feature in just two hours.
"I was terrified to make any changes to my apartment, but the old yellow backsplash was depressing. For less than the cost of a night out, I gave my kitchen a complete facelift in one afternoon. My landlord was shocked at how good it looked and even more shocked when I removed it without a mark!"
- Sarah K., Renter in Chicago
Quick Installation, No Contractor Needed
Forget grout, mortar, and specialized saws. Installing DIY stick on wall tiles is a weekend project you can complete on your own. With basic tools and a bit of patience, you can have a brand-new look in an afternoon. This accessibility puts you in complete control of your home’s aesthetic. For those eager to see just how easy it is, our comprehensive guide on How to Install Peel and Stick Tiles & Best Designs 2025 provides a fantastic visual breakdown of the process and inspiring design ideas to get you started.
Tools and Materials You’ll Need
Gathering your tools beforehand makes the entire process smoother and more enjoyable. You don't need a professional workshop; most of these items are likely already in your home or can be purchased inexpensively.
The Renter's Interactive Toolkit Checklist
- Tape Measure & Pencil: For accurate measurements and marking guidelines.
- Utility Knife or Box Cutter: A sharp blade is essential for clean cuts.
- Cutting Mat: Protects your countertops or floors while cutting.
- Level or Straightedge: Ensures your first row of tiles is perfectly horizontal.
- Degreasing Cleaner & Cloths: To prepare the wall surface for optimal adhesion.
Optional Tools for a Pro Finish
- J-Roller: For applying even pressure and removing air bubbles.
- Caulking Gun & Silicone Sealant: Essential for waterproofing edges.
- Scissors: For small, intricate cuts.
Preparing Your Walls for Stick-On Tiles
Proper wall preparation is the single most important step in learning how to install peel and stick wall tiles. Taking 30 minutes to prep the surface will guarantee your tiles stay up for years and come down without a fight.

Cleaning and Degreasing the Surface
Even walls that look clean can have a thin layer of cooking grease, dust, or residue. This film will prevent the tile adhesive from making a secure connection. Use a degreasing spray and wipe the entire area down, then let it dry completely. For kitchens, this step is non-negotiable.
Testing Adhesion on Painted Walls
A common renter concern is how tiles will interact with paint. Before you begin, perform a "patch test." Apply one tile to a hidden area of the wall (like behind the fridge) and leave it for 24 hours. Then, gently peel it off. This tells you if the paint is stable and if the adhesive works well with the finish. For a deeper dive into this specific topic, our guide to Installing Stick Tiles on Painted Walls offers tailored advice for different paint types, from matte to semi-gloss, ensuring your project is a success from the start.
Handling Drywall or Textured Surfaces
Peel and stick tiles adhere best to smooth, non-porous surfaces. Lightly textured walls (like an "orange peel" finish) are often acceptable. However, heavily textured walls can create air gaps and weaken the bond. You have two options: lightly sand the area to smooth it out or apply a thin, separate backer board.
Step-by-Step Guide: Installing Peel and Stick Wall Tiles
Now for the fun part. With your walls prepped and tools ready, it’s time to bring your vision to life. Think of it like assembling a puzzle; careful planning leads to a beautiful result. For those who benefit from visual learning, our Easy DIY Guide for Bathroom Tiles provides excellent step-by-step photos that simplify the entire process.
-
Measure and Plan Your Layout
Measure the height and width of your wall to determine the center point. Use a level and a pencil to draw a faint horizontal line to guide your first row. A pro tip is to do a "dry fit" by laying out your tiles on the floor to visualize the pattern and any cuts you’ll need to make. -
Cutting Tiles for Corners and Edges
You will almost certainly need to cut tiles for the end of a row or around outlets. For straight cuts, place the tile on a cutting mat, use a straightedge as a guide, and firmly score the surface with your utility knife. Then, simply snap the tile along the scored line for a clean break. -
Applying the First Tile
Start from your guideline. Peel back only the top part of the adhesive backing. Align the tile with your line, and once you're certain it's straight, press it firmly onto the wall. Slowly peel away the rest of the backing while smoothing the tile from the center outwards to push out any air bubbles. -
Overlap and Repeat
Most DIY stick on wall tiles are designed with a small overlapping edge to create a seamless, waterproof seal. Pay close attention to this feature. Align the next tile so it perfectly covers the overlap area of the previous one. Press firmly, especially on the seams, to lock them together.

Waterproofing and Heat-Proofing for Kitchens and Bathrooms
Using removable wall tiles for apartments in high-use areas like kitchens and bathrooms requires a few extra steps to ensure longevity. Heat and moisture are the biggest challenges, but they are easily managed with the right techniques and materials. Over 70% of adhesive failures are due to moisture seeping behind tiles, a problem you can easily prevent.
Seal the Edges for a Watertight Barrier
The most critical step for any installation in a bathroom or near a kitchen sink is sealing the perimeter. After your tiles are installed, apply a thin bead of clear, 100% silicone caulk along all exposed edges—where the tiles meet the countertop, cabinets, or the end of a wall. This creates a waterproof peel and stick wall tiles system that stops water in its tracks. A common mistake is using acrylic caulk, which can crack and fail in high-moisture zones. Stick with silicone for a flexible, durable seal. This simple action is the difference between tiles that last for years and tiles that peel in months.
Use Heat-Resistant Tiles Near Stoves
Not all peel and stick tiles are created equal. When working on a backsplash behind a cooktop, you must use tiles specifically rated as heat resistant stick on tiles for kitchen walls. These are typically made from materials like metal, vinyl, or stone composites that won't warp, melt, or discolor from radiant heat. As a rule, always maintain a safety zone of 6-8 inches between the back of your stove and the tiled wall. This provides a buffer and protects the adhesive from degrading over time. A simple "boiling water test," where a renter placed a pot of boiling water against the backsplash for 10 minutes, proved the resilience of quality heat-resistant tiles.
Best Practices for High-Moisture Zones
For bathrooms, ventilation is your tile's best friend. Always run the exhaust fan during and after a shower to reduce ambient humidity. When choosing tiles, selecting the right product is crucial. For an in-depth analysis of options designed for wet environments, our guide to the Top Waterproof Peel and Stick Shower Tiles for 2025 offers the most comprehensive solutions. Additionally, understanding the unique challenges of bathroom humidity is key; explore our tips on using Peel and Stick Bathroom Tile for Moisture to ensure a long-lasting, beautiful result.
How to Remove Stick-On Tiles Without Wall Damage
The true magic of durable stick on wall tiles for renters is their clean removability. The process isn't about brute force; it's about technique. With a little patience and a common household tool, you can restore your wall to its original state in under an hour, ensuring you get your full security deposit back.

Safe Removal with a Little Heat
The secret to weakening the adhesive without damaging the wall is heat. Take a standard hairdryer and set it to a medium or high heat setting. Hold it about 2-3 inches from the tile surface, moving it back and forth over one tile for about 30-60 seconds. This softens the adhesive, making it pliable and easy to release. Think of it like peeling a stubborn price tag off a new book; a little warmth makes all the difference and prevents tearing.
Preventing Paint Peel-Off
Once the tile is warm to the touch, use a plastic putty knife or your fingernail to lift one corner. Do not rip the tile off in one fast motion. Instead, pull it down slowly and at a sharp angle, keeping it as close to the wall as possible. This low-angle pulling motion puts stress on the adhesive bond, not on the paint underneath. If you feel significant resistance, stop and apply more heat. Working slowly is the key to preventing any paint from peeling off with the tile. This methodical approach is the core of a truly damage-free removal.
Cleaning Up Any Lingering Adhesive Residue
In most cases, high-quality tiles will leave little to no residue behind. If you do find a few sticky spots, they are easy to clean. Start with a cloth dampened with warm, soapy water. For more stubborn residue, a citrus-based cleaner (like Goo Gone) or a small amount of isopropyl alcohol on a cloth will dissolve it without harming the paint. To ensure you're fully prepared, our DIY Peel and Stick Tiles: Renter-Friendly Guide is packed with extra hacks for easy removal and other crucial tips for tenants.
Design Ideas: Modern, Budget-Friendly, and Custom Styles
Peel and stick tiles have evolved far beyond basic patterns. Today, they are a powerful design tool used to create stunning feature walls, artistic backsplashes, and unique accents. Whether your style is minimalist, eclectic, or modern, there is a stick-on backsplash idea for you.
Popular Design Trends for 2025
The world of self-adhesive tiles is buzzing with fresh trends. Look for these styles to make a big impact:
- Fluted and Ribbed Textures: These 3D tiles add depth and a sophisticated, architectural feel to a room.
- Terrazzo Patterns: The playful, multi-colored flecks of terrazzo bring a fun, retro vibe to kitchens and bathrooms.
- Bold Monochromes: Think deep greens, rich navys, or matte blacks for a dramatic and luxurious feature wall.
- Intricate Geometric Shapes: Hexagons, fish scales, and arabesque patterns continue to be popular for creating visual interest.
POLL: Which tile style best fits your apartment?
Affordable vs. Luxury Finishes
Don't assume a low price means a cheap look. Many affordable tile options now mimic the look of expensive materials like marble, mother of pearl, and brushed metal with surprising accuracy. The key to a high-end finish is meticulous installation—straight lines and clean seams make any tile look more luxurious.
Beyond the Backsplash: Creative Uses
Think outside the kitchen. These versatile tiles can be used to:
- Line the back of a bookshelf for a pop of color.
- Create a durable and stylish desktop surface.
- Design a unique headboard feature wall in a bedroom.
- Upgrade a plain IKEA cabinet or piece of furniture.
For a complete look at what’s possible and to get your creative juices flowing, explore our guide on How to Use Peel and Stick Tiles in 2025, which is filled with inspiring project ideas.
Are Peel and Stick Wall Tiles Worth It? A Renter's Analysis
When you're a renter, every dollar spent on your temporary home counts. You want to know if this DIY project is a smart investment or just a passing trend. Here's a clear-eyed look at the pros and cons to help you make an informed decision.
Durability vs. Traditional Tiles
Let's be clear: peel and stick tiles are not a lifetime replacement for ceramic or porcelain. However, high-quality durable stick on wall tiles for renters are designed to last for years with proper care. They resist staining, are easy to clean, and hold up well to daily life. They offer the perfect balance of longevity for a temporary living situation. To maximize their lifespan, it's crucial to follow a proper cleaning routine. For a deeper dive into this, our Peel and Stick Tile Maintenance Guide 2025 is an essential resource for keeping your tiles looking new.
The Cost-Benefit Analysis
Here’s where self-adhesive tiles truly shine. The cost and effort are remarkably low for the aesthetic return.
| Feature | Peel and Stick Tiles | Traditional Tiles |
|---|---|---|
| Material Cost | $ - $$ | $$ - $$$$ |
| Installation Cost | $0 (DIY) | $$$ (Labor) |
| Project Time | 2-4 hours | 2-4 days |
| Removability | Easy, damage-free | Difficult, destructive |
| Skill Level | Beginner | Intermediate to Pro |
As you can see, the value proposition for a renter is undeniable. You get 80% of the visual impact of traditional tile for about 10% of the cost and effort.
Best Brands to Watch in 2025
The market is full of options, but not all are created equal. When choosing a brand, look for one with consistently positive reviews focusing on adhesive strength, material thickness, and realistic finishes. Brands that invest in eco friendly peel and stick tiles made from recycled materials are also gaining prominence.
Your Damage-Free Transformation Awaits
You no longer have to choose between a boring apartment and risking your security deposit. Peel and stick tiles offer the best of both worlds: a stylish, personal, and high-impact upgrade that is completely reversible. You have the power to create a space that feels like home, even if it’s just for a little while.
By following these expert-tested steps, you can confidently transform any room. Let’s quickly recap the path to success:
- Prep: Start with a clean, dry, and smooth surface.
- Plan: Measure twice and do a dry layout before sticking.
- Install: Work slowly, use a guideline, and press firmly.
- Seal: Use silicone caulk in wet areas for a waterproof finish.
- Remove: Apply gentle heat and pull slowly for a damage-free exit.
Ready to start your own transformation? Download our free Renter’s Checklist for DIY Wall Upgrades and subscribe for more game-changing hacks delivered right to your inbox.
Download Your Free Renter's Checklist NowFrequently Asked Questions
1. How long do peel and stick tiles really last in an apartment?
With proper surface preparation and installation, high-quality peel and stick tiles can last for many years. In low-traffic, dry areas, they can easily last 5+ years. In kitchens and bathrooms, their lifespan depends on how well they are waterproofed, but a 3-5 year duration is a reasonable expectation.
2. Can I put stick-on tiles over my existing ceramic tiles?
Yes, you absolutely can! This is a fantastic hack for covering dated tiles. The key is to thoroughly clean the existing tile and grout lines to remove any soap scum or grease. The smooth, non-porous surface of ceramic tile provides an excellent base for the adhesive to stick to.
3. Will steam from my shower make the bathroom tiles fall off?
Steam alone is unlikely to cause failure if the installation is done correctly. The main risk is direct water contact. By sealing all exposed edges with 100% silicone caulk and ensuring good ventilation with an exhaust fan, your tiles will remain securely attached even in a steamy bathroom.
4. Are there eco-friendly peel and stick tile options available?
Yes, the market for eco friendly peel and stick tiles is growing. Some brands now offer tiles made from recycled materials or sustainable resources like cork. Look for product descriptions that mention recycled content or low-VOC (Volatile Organic Compound) adhesives for a greener choice.


Leave a comment
This site is protected by hCaptcha and the hCaptcha Privacy Policy and Terms of Service apply.