

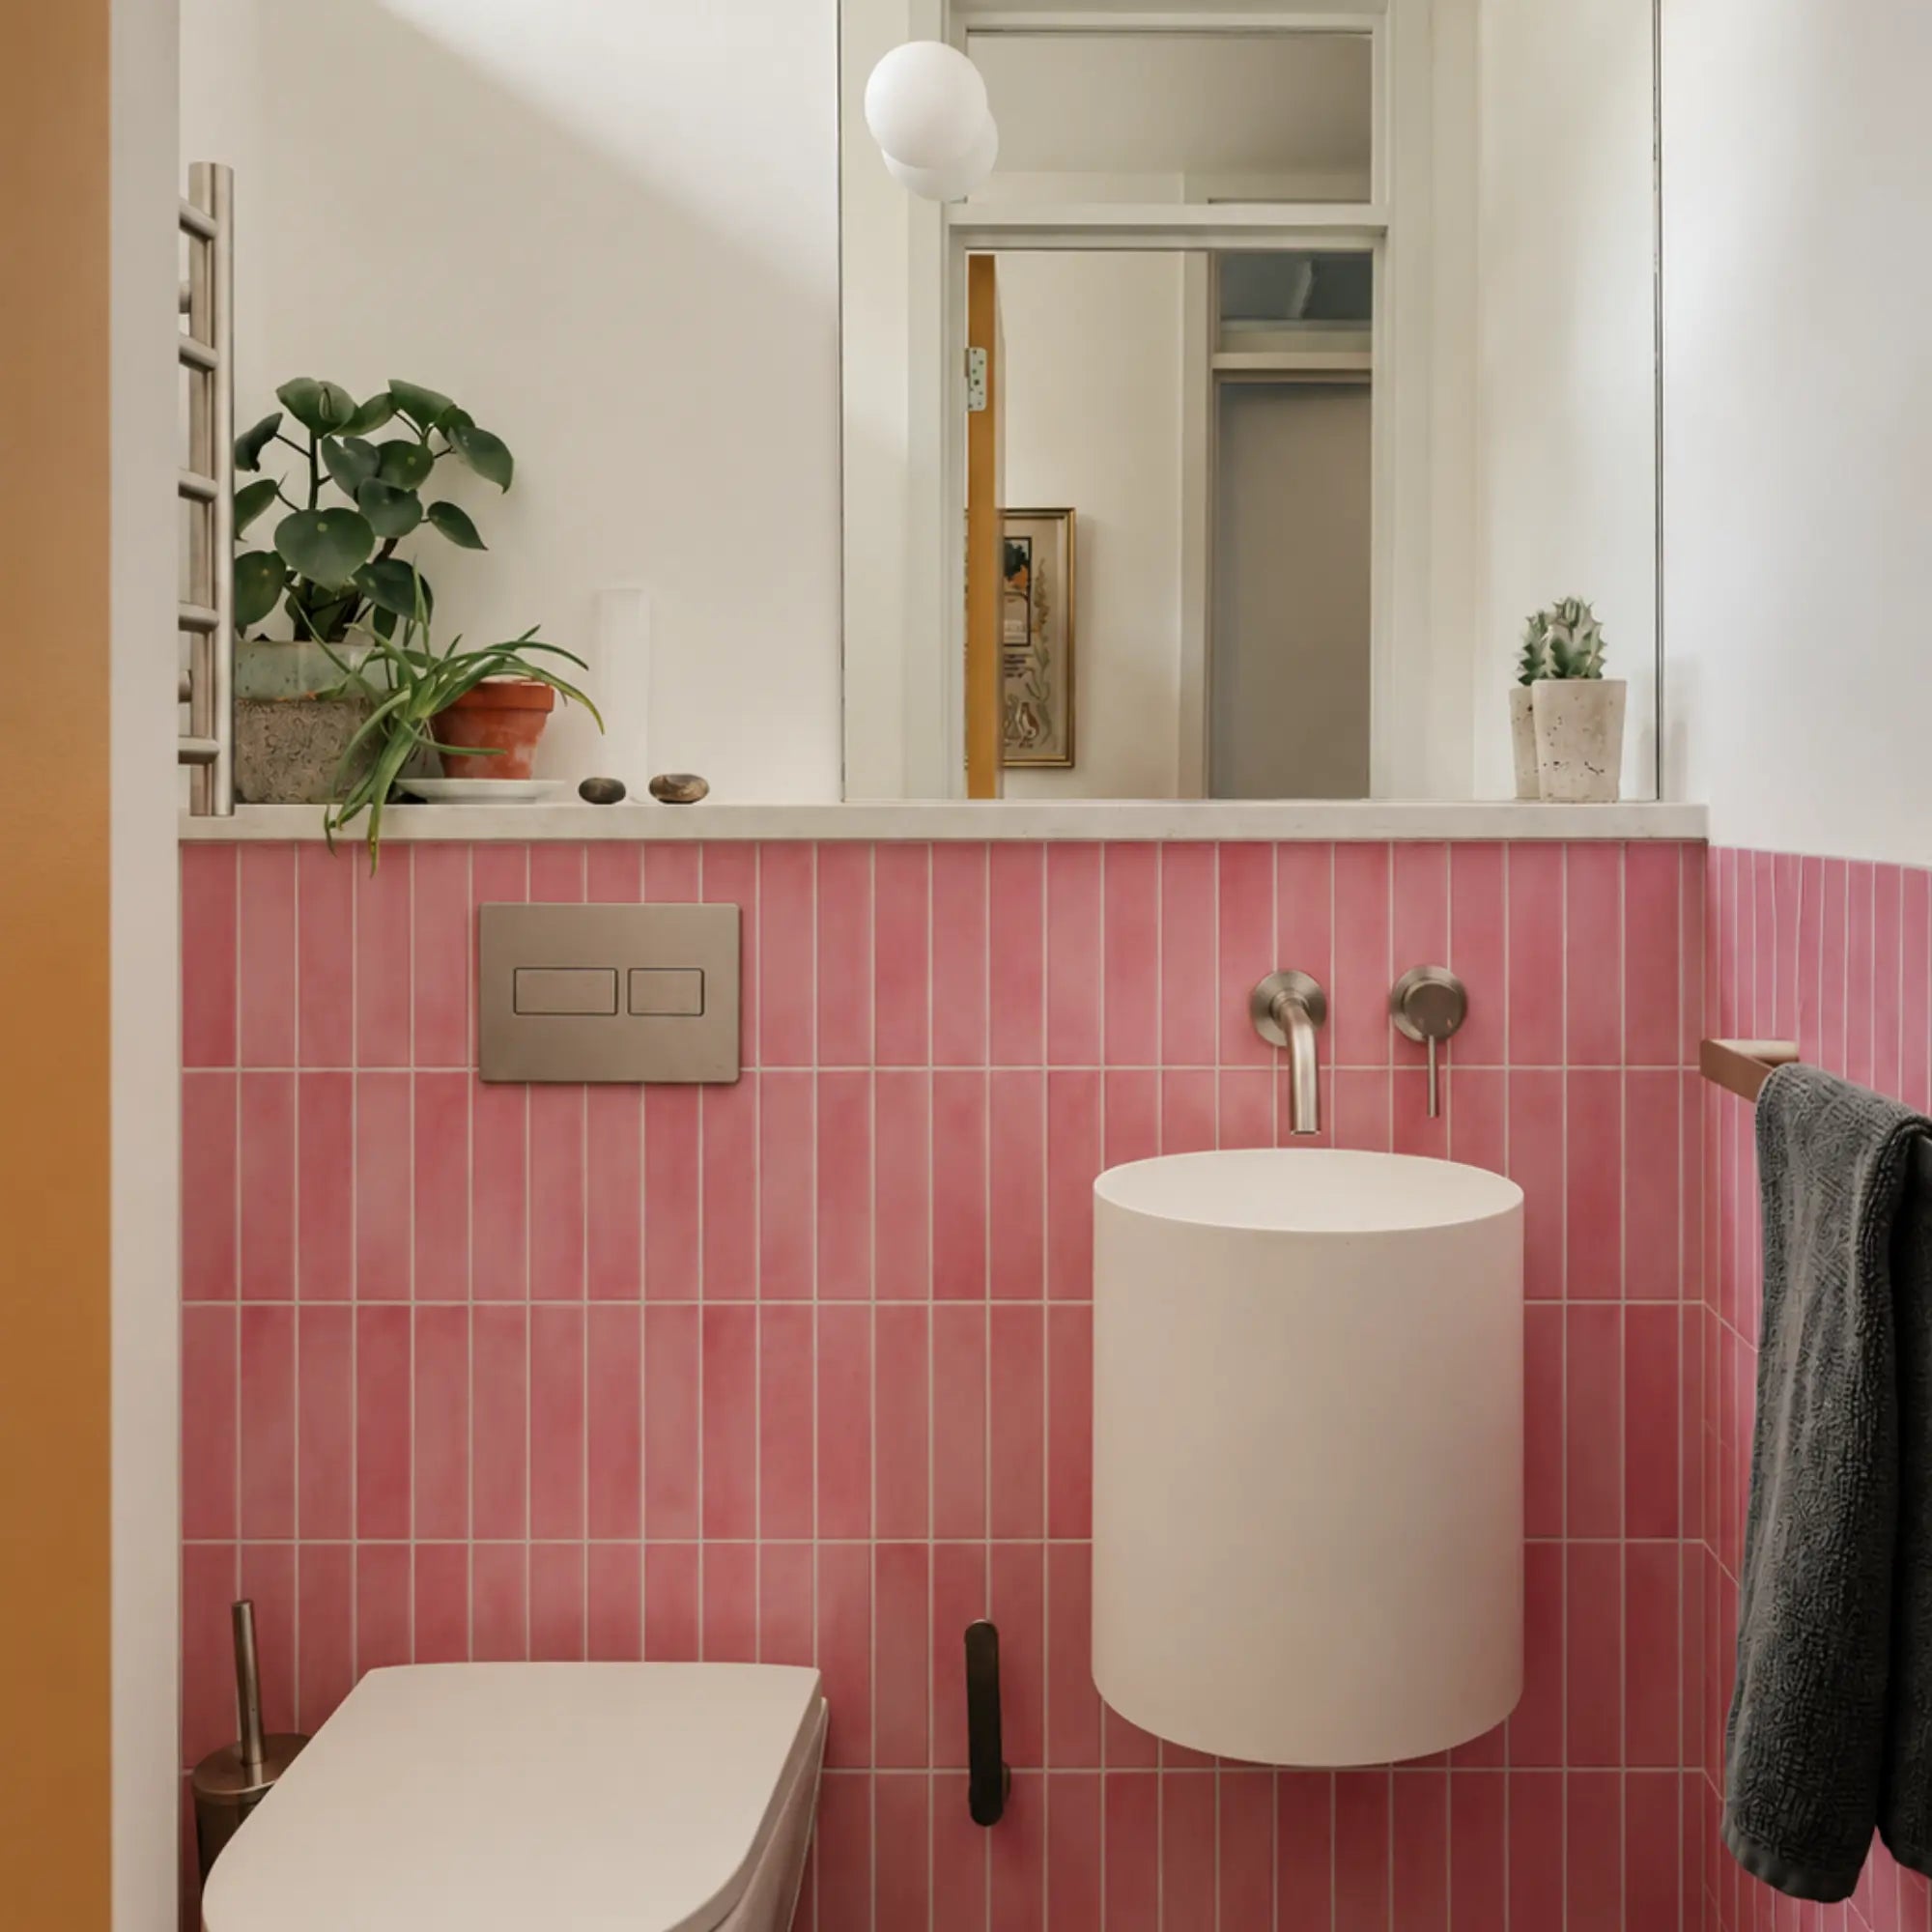



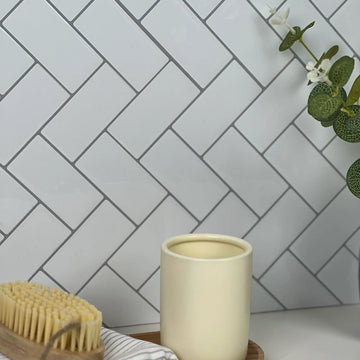
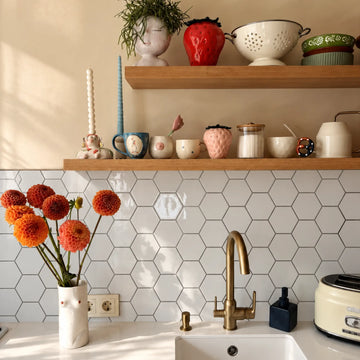
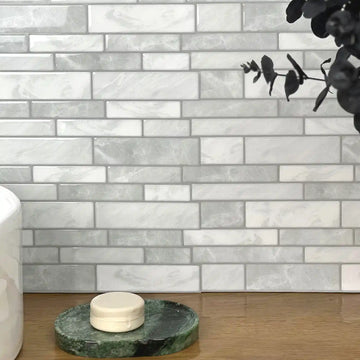

Peel-and-stick tile is not one material or one universal installation system. The useful starting point is to identify the exact product, whether it is intended for a wall or floor, which substrates it accepts, how much water or heat it may see, and how its manufacturer expects it to be installed and maintained. A self-adhesive backsplash sheet, a rigid wall panel, a floor-rated resilient tile and a decorative foam panel may all be sold with similar language while requiring very different preparation and limits.
Explore this guide
This guide replaces the idea that peel-and-stick tile can simply be applied to any clean surface. Instead, it gives you a repeatable planning sequence: define the job, identify the product construction, inspect the substrate, map exposure, calculate the layout, install according to the actual instructions, and keep a record for cleaning, repairs and future removal.
Start with the job, not the pattern
Write down the exact surface you want to change and what happens around it. A kitchen backsplash behind a coffee station is different from the wall immediately behind a gas range. A powder-room vanity wall is different from a tub surround. A dry bedroom feature wall is different from a laundry-room floor. The room name is only a shortcut; the real decision depends on water, heat, cleaning, impact, traffic and the supporting surface.
Separate decoration from building performance. A decorative wall finish is not automatically a waterproofing membrane, fire-protection system, structural support, flooring system or air barrier. If the project requires one of those functions, specify that system first and then decide whether a decorative finish can be added without interfering with it.
Identify the product construction
Look beyond the phrase peel and stick. Record the face material, backing, adhesive format, thickness, edge design and intended orientation. Flexible printed vinyl may cut with a knife or scissors. A rigid composite may need several scoring passes or another tool. Metal-faced or glass-like products can have different edge and heat behavior. A floor tile may include a wear layer and traffic rating that a wall product does not have.
Keep the product instructions and package label. If the seller changes the construction, adhesive or model name later, those records help you distinguish what was actually installed. A general article can explain the planning logic, but the product documentation controls questions such as accepted substrates, minimum installation temperature, priming, pressure, joint treatment and wet-area exclusions.
Inspect the substrate before cleaning it
A clean wall can still be unsuitable. Look for loose paint, chalky residue, soft drywall paper, active staining, condensation, deep texture, cracked tile, silicone contamination or repairs that have not cured. The adhesive ultimately depends on every layer beneath it remaining attached. If the paint releases from the wall, strong tile adhesive does not create a successful installation; it simply takes the weak layer with it.
Do not automatically sand, prime or solvent-clean every surface. Those steps can help some systems and harm others. A manufacturer may require a sealed porous surface, allow glossy paint, exclude fresh coatings or specify a particular primer. Treat preparation as product-specific rather than as a universal ritual.
If moisture or mold is present, fix the water problem first. EPA moisture guidance emphasizes source control and prompt drying. Covering a damp or moldy wall with an attractive finish makes inspection harder and does not repair the underlying condition.
Map water exposure instead of using a bathroom label
For walls, a useful practical map is dry, occasional splash, repeated splash or direct wet. A decorative vanity backsplash may receive only handwashing droplets. A kitchen sink wall may receive repeated splash and cleaner. A shower enclosure or steam area belongs to a complete wet-area system with its own waterproofing, penetrations and drainage details.
Do not infer that a water-resistant face makes the installed wall waterproof. Water can reach joints, edges, pipe penetrations and the substrate. A manufacturer may permit its product near a sink but exclude continuous water. Another may approve a specific wet application only when its own seam and substrate instructions are followed. Keep the actual statement rather than converting it into a category-wide claim.
Map heat and appliance zones separately
Do not use a generic distance from a stove for every product. The appliance instructions, wall construction and tile limits all matter. A decorative material that looks metallic or stone-like is not automatically a heat shield. A surface-burning classification also does not by itself establish that a wall finish may be installed closer to a burner or heating element.
Keep service clearances in the drawing. A backsplash should not trap an appliance access panel, shutoff, electrical cover or fastener. For a wall faucet or pot filler, the tile layout must preserve the required trim and plumbing service path as well as the visual finish.
Plan a dry layout before exposing adhesive
Measure the eligible area, not the entire room. Break it into rectangles and subtract only openings you are confident will not need tile. Then compare the wall dimensions with the actual usable coverage of the pack. Overlaps, pattern repeats and interlocking edges can make nominal sheet dimensions different from installed coverage.
For an illustrative example, assume an eligible backsplash is 10 feet wide and 1.6 feet high. Its face area is 16 square feet. If the chosen layout justifies a 12 percent allowance for cuts and a small repair reserve, the planning quantity becomes 17.92 square feet. If a pack provides 3.6 square feet of usable installed coverage, the calculation is 4.98 packs, rounded up to five. Those numbers are examples, not Stickwoll pack specifications or a universal waste requirement.
Lay several pieces on a clean surface and study the pattern before installation. Check repeated prints, faux grout lines, veining, directional arrows and how the final piece will meet an exposed edge. Move the starting line if the original plan would leave a narrow, awkward sliver in the most visible location.
Use physical samples for appearance, not for unsupported certification
A sample can answer useful questions: Does the color work under your actual lights? Does the relief look convincing from normal viewing distance? Can you make the required cut cleanly? Does the product lie flat on the permitted surface? These are practical observations, not a substitute for a fire, water, slip or long-term durability test.
Look at samples during the times you actually use the room. The Department of Energy notes that lamp color appearance and color rendition are different characteristics; two light sources with similar labels can render materials differently. That is why an online image or a single showroom light cannot guarantee how a blue, green, marble or metallic finish will read at home.
Install in a sequence that keeps errors small
Set a level or plumb reference line rather than assuming a counter, ceiling or cabinet is straight. Dry-fit the first pieces. Expose only as much adhesive as you can control. Align the piece, then use the application method specified for that product. Pressure-sensitive adhesives benefit from contact, but the required tool and pressure belong to the exact system. Do not borrow a roller-pressure number from an industrial tape and present it as a tile specification.
Work outward from the reference line and check alignment frequently. When a piece must be cut around an outlet, pipe or cabinet, make the template before removing the liner. Keep cutting tools shallow around wall cavities. Electrical work and plumbing work should remain separate from a decorative tile task and should be handled according to the applicable safety requirements.
Know when a wall product is not a floor product
Do not put decorative wall tile on a floor simply because the face is durable or the adhesive feels strong. Floors introduce foot traffic, rolling loads, edge contact, cleaning water, transitions and trip hazards. Use only products specifically intended for the floor construction and service conditions. The same distinction applies to stair treads, countertops and furniture: a creative use is appropriate only when the product and supporting surface are suitable for it.
If you want a tile-like treatment on a desk, stair riser or cabinet face, treat it as a separate project. Check the product instructions, surface, heat and wear. A stair riser is not a tread. A cabinet face is not a hot countertop. A desk surface may receive abrasion and cleaners that a wall panel was never intended to experience.
Clean according to the actual face material
Use the care method permitted for the finish. A mild cleaner that works on one printed vinyl face may not be appropriate for a metallic coating, natural stone or another composite. Avoid turning a generic article into a universal recipe for vinegar, bleach, alcohol or abrasive pads.
Control liquid near seams. Wipe a manageable area, remove residue as directed and inspect after drying. If the face changes sheen, color transfers to the cloth or an edge begins to lift, stop and review the product guidance before escalating to a stronger cleaner.
Repair the cause, not only the visible corner
If an edge lifts, inspect the location before pressing it back. Dust, weak paint, wall texture, movement, moisture, temperature and contamination can all create similar symptoms. Repeatedly adding construction adhesive can make later removal harder without correcting the original problem.
Keep spare pieces with the package label and installation record. A future repair is easier when you know the product, batch or lot, pattern orientation and preparation used. A replacement from a later production run may differ slightly in color or print, so compare it under the actual room lighting before committing.
Plan removal before installation if reversibility matters
Removable is not the same as guaranteed damage-free. Paint condition, time in service, temperature, adhesive chemistry and removal method can all affect the wall. In a rental, check the lease and obtain permission where required. Photograph the wall before the project and keep a small restoration allowance in the budget.
A concealed removal sample can identify an obvious problem, but a sample removed soon after installation cannot predict every result after years of service. If future reuse matters, check whether the exact product is designed for reuse rather than assuming that a tile which peels off intact will still have clean, uniform adhesive for a second installation.
Room-by-room planning examples
Kitchen backsplash: map sink splash, appliance heat, outlets, exposed edges and cleaning products. Choose among suitable wall finishes after those conditions are resolved. Powder room: focus on occasional splash, hand-soap residue, wall condition and mirror or vanity edges. Full bathroom: distinguish decorative dry or low-splash walls from the direct-wet system around a shower or tub. Laundry room: keep supply valves, drains and appliance service access visible and separate wall decoration from floor requirements. Bedroom or living-room feature wall: lighting, pattern repeat, furniture impact and future removal may matter more than moisture.
A practical pre-purchase checklist
- Exact product and intended wall or floor use are identified.
- The proposed substrate is listed or confirmed as acceptable.
- Loose paint, moisture and other wall defects have been resolved.
- Water and heat exposure fit the product and complete assembly.
- Required access to outlets, valves, panels and fixtures remains available.
- The layout has been dry-fitted around visible edges and openings.
- Usable pack coverage and pattern allowance have been calculated.
- The permitted cleaner and maintenance method are known.
- Rental permission and restoration expectations are documented where relevant.
- Spare material and product records will be retained for future repair.
Frequently asked questions
Can peel-and-stick tile go on any smooth surface?
No. Smoothness is only one condition. The product must also accept the substrate and exposure, and the surface must be sound, clean and properly prepared. Glass, painted drywall, existing tile, wood, metal and concrete can require different preparation or may be excluded.
Can I use peel-and-stick wall tile in a shower?
Only when the exact product and complete wet-area system are intended for that use. A decorative water-resistant face does not replace waterproofing behind a shower. Many self-adhesive wall products are intended for lower-exposure bathroom locations instead.
How long will peel-and-stick tile last?
There is no useful category-wide lifespan. Construction, surface preparation, exposure, cleaning and product-specific requirements all affect service. Use the manufacturer’s documentation for the exact product rather than assuming every peel-and-stick tile shares a five- or ten-year life.
Can I install wall tile on a floor?
Not unless the product is specifically intended and rated for that floor use. Wall products do not automatically address traffic, transitions, slip, rolling loads and floor-cleaning conditions.
Does a roller fix poor adhesion?
Pressure can improve contact when a compatible pressure-sensitive adhesive is present on a suitable substrate. It cannot repair weak paint, active moisture, incompatible surfaces, missing adhesive or a piece that was stretched or contaminated during installation.
Is removal guaranteed to preserve paint?
No. Plan removal as a separate requirement. The adhesive, paint, substrate condition, time in service and removal method all matter. Test and document where appropriate, but do not promise an untouched wall from a small early sample.
Build a project record before the first piece goes on the wall
A simple project record makes later decisions easier. Save the exact product name, SKU or model, batch or lot information when available, purchase date, package instructions and photographs of the original wall. Record the cleaner or preparation material you used, the installation date and any primer, sealant or trim added. This is especially useful when the product is later repaired, removed or compared with a replacement that carries the same marketing name but a different construction.
Add a small drawing showing the starting line, pattern direction, major cuts and any hidden conditions such as a repaired drywall patch. For a kitchen, mark sink splash, appliance edges and electrical boxes. For a bathroom, mark direct-wet and low-splash zones. The drawing does not need to be architectural. Its purpose is to explain why the layout was chosen and where future service or inspection may be needed.
Keep the record honest about uncertainty. If you do not know the paint age, write unknown rather than fully cured. If the wall looked dry but was not tested behind a previous leak, record that limitation. Good documentation prevents an observation from slowly turning into a confident claim that was never established.
Estimate the full project scope, not just the tile boxes
Material cost is only part of a peel-and-stick project. Include wall repair, compatible cleaner, primer if required, cutting tools, edge trim, electrical or plumbing help, shipping, spare pieces and restoration at the end of a rental. When comparing with traditional tile, compare the same wall and the same level of finishing. A self-installed decorative wall can cost less than a contractor-installed mortar-and-grout system, but a generic percentage saving is not meaningful without the actual scope.
For a hypothetical 24-square-foot backsplash, suppose the chosen tile provides 3.8 square feet of usable installed coverage per pack. The bare-area calculation is 6.32 packs. If the layout requires a 10 percent cutting allowance, the planning area is 26.4 square feet, or 6.95 packs, rounded to seven. If you also want one unopened repair pack, the purchase becomes eight. The example shows the arithmetic; it does not prescribe a universal allowance or a Stickwoll pack size.
Separate money already spent from future decision points. If the wall needs repair before any finish can be installed, that repair belongs to both options. If one layout requires expensive metal trim and another finishes against a cabinet, include that difference. A clear scope is more useful than a headline cost-per-square-foot number detached from the real project.
Use stop conditions during installation
Decide in advance which observations will pause the project. Stop when the wall coating starts transferring to a cloth or tile, when moisture appears where the wall should be dry, when the product will not lie flat without force, when a required service opening would be covered, or when the supplied material differs from the sample you approved. Stopping after three pieces is cheaper than discovering the same problem after three walls.
Also stop when a cut would interfere with an electrical box, plumbing component or unknown wall cavity. A decorative project should not become improvised electrical or plumbing work. If a fixture needs to be moved or an outlet needs a different mounting solution, resolve that work through an appropriate trade before continuing the decorative finish.
Photograph the stop condition and record the decision. If the manufacturer or installer recommends a corrective step, save that response with the project record. This creates a traceable reason for changing the plan instead of relying on memory after the wall is complete.
Compare two suitable products with the same questions
Once unsuitable options are removed, compare the remaining products consistently. Look at usable coverage, thickness, edge design, pattern repeat, accepted substrates, cleaning method, water and heat limits, removal guidance, repair availability and the appearance of physical samples under your room lighting. Do not let one attractive feature cancel a restriction elsewhere.
A heavier, thicker panel is not automatically more durable in every location, and a thinner flexible sheet is not automatically easier to remove. Construction affects cutting, edge finishing and how closely the material follows the wall. The best choice is the product whose complete requirements fit the actual room and the way you expect to use it.
For design, compare the products from normal viewing positions rather than only six inches away. Stand at the doorway, sink, counter or sofa. Look at repeated prints, seam shadows and reflections. Then inspect close-up details such as exposed edges and corners. This two-distance check helps balance realism with practical installation quality.
Handover and future changes
When the installation is finished, keep spare pieces, the care instructions and the project record together. Tell other household members which cleaner and tools are permitted, especially if a familiar abrasive pad or strong degreaser would damage the finish. Note any edge or penetration that should remain visible for inspection.
If the room changes later, reassess the installation. Moving a range, adding a humidifier, changing a sink, installing stronger task lighting or converting a decorative wall into a wet zone can change the conditions that originally made the product suitable. A finish does not become permanently approved for every future use simply because it performed well in the original layout.
That is the practical value of a planning guide: it helps you make a specific, documented decision for one product, wall and room. It does not turn a broad category into a promise that every peel-and-stick tile behaves the same way.
When a small project should become a professional question
DIY planning has a boundary. Bring in appropriate help when the wall contains active plumbing damage, uncertain electrical work, suspected hazardous legacy material, large areas of failed drywall or a wet-area assembly that must meet local requirements. The decorative finish is the last layer of a project; it should not conceal uncertainty in the layers that protect the building or the people using it.
A useful professional question is specific. Instead of asking whether peel-and-stick tile is safe everywhere, provide the product, room, substrate, exposure, wall condition and intended preparation. Ask whether that exact combination is acceptable and which limitations remain. Save the answer with the project record.
Do the same when a warranty or seller description conflicts with installation instructions. Resolve the conflict before purchase or cutting. A fast weekend project becomes expensive when the material has to be removed because the underlying question was never answered.
What not to infer from one successful room
A wall that performs well in one room is evidence about that installation, not every use of the product. The same tile can behave differently on another coating, beside another appliance, under different humidity or after a different cleaning routine. Keep successful examples specific and resist turning them into promises for unrelated surfaces.
This is especially important when an installation is photographed for inspiration. Record the product, location and conditions when you share it. A strong visual result can inspire a design without claiming that the same construction belongs on a floor, in a shower or on every textured wall.
How to evaluate online product claims before buying
Read the product page and installation instructions as two different documents. Marketing copy may emphasize easy installation, water resistance or removability, while the instructions define where those statements apply. Save the current instructions and look for the exact product version, accepted substrates, room exclusions, temperature conditions, preparation and maintenance. If a claim such as waterproof or heat resistant appears without an installation context, ask what part of the product or assembly the claim describes.
Check whether photographs show the same product construction you are purchasing. A styled image can demonstrate color and pattern, but it cannot establish a hidden adhesive, wall condition or waterproofing layer. The same caution applies to reviews: a successful installation in a dry powder room does not establish shower performance, and a floor photo does not convert a wall-rated product into flooring.
When two sources conflict, pause before buying. Ask the seller or manufacturer for written clarification tied to the exact SKU. Keep that response with the project record. Resolving one contradiction before installation is more valuable than collecting many generic tips afterward.
Sources and scope
- US EPA: A Brief Guide to Mold, Moisture and Your Home — Moisture control and prompt drying guidance; not a tile approval or hidden-wall diagnosis.
- Smart Tiles official FAQ — Manufacturer-specific examples for its products only; not Stickwoll specifications.
- 3M: Applying VHB Pressure-Sensitive Tape — Explains surface preparation, pressure and bond development for specified 3M tapes; not a Stickwoll pressure specification.
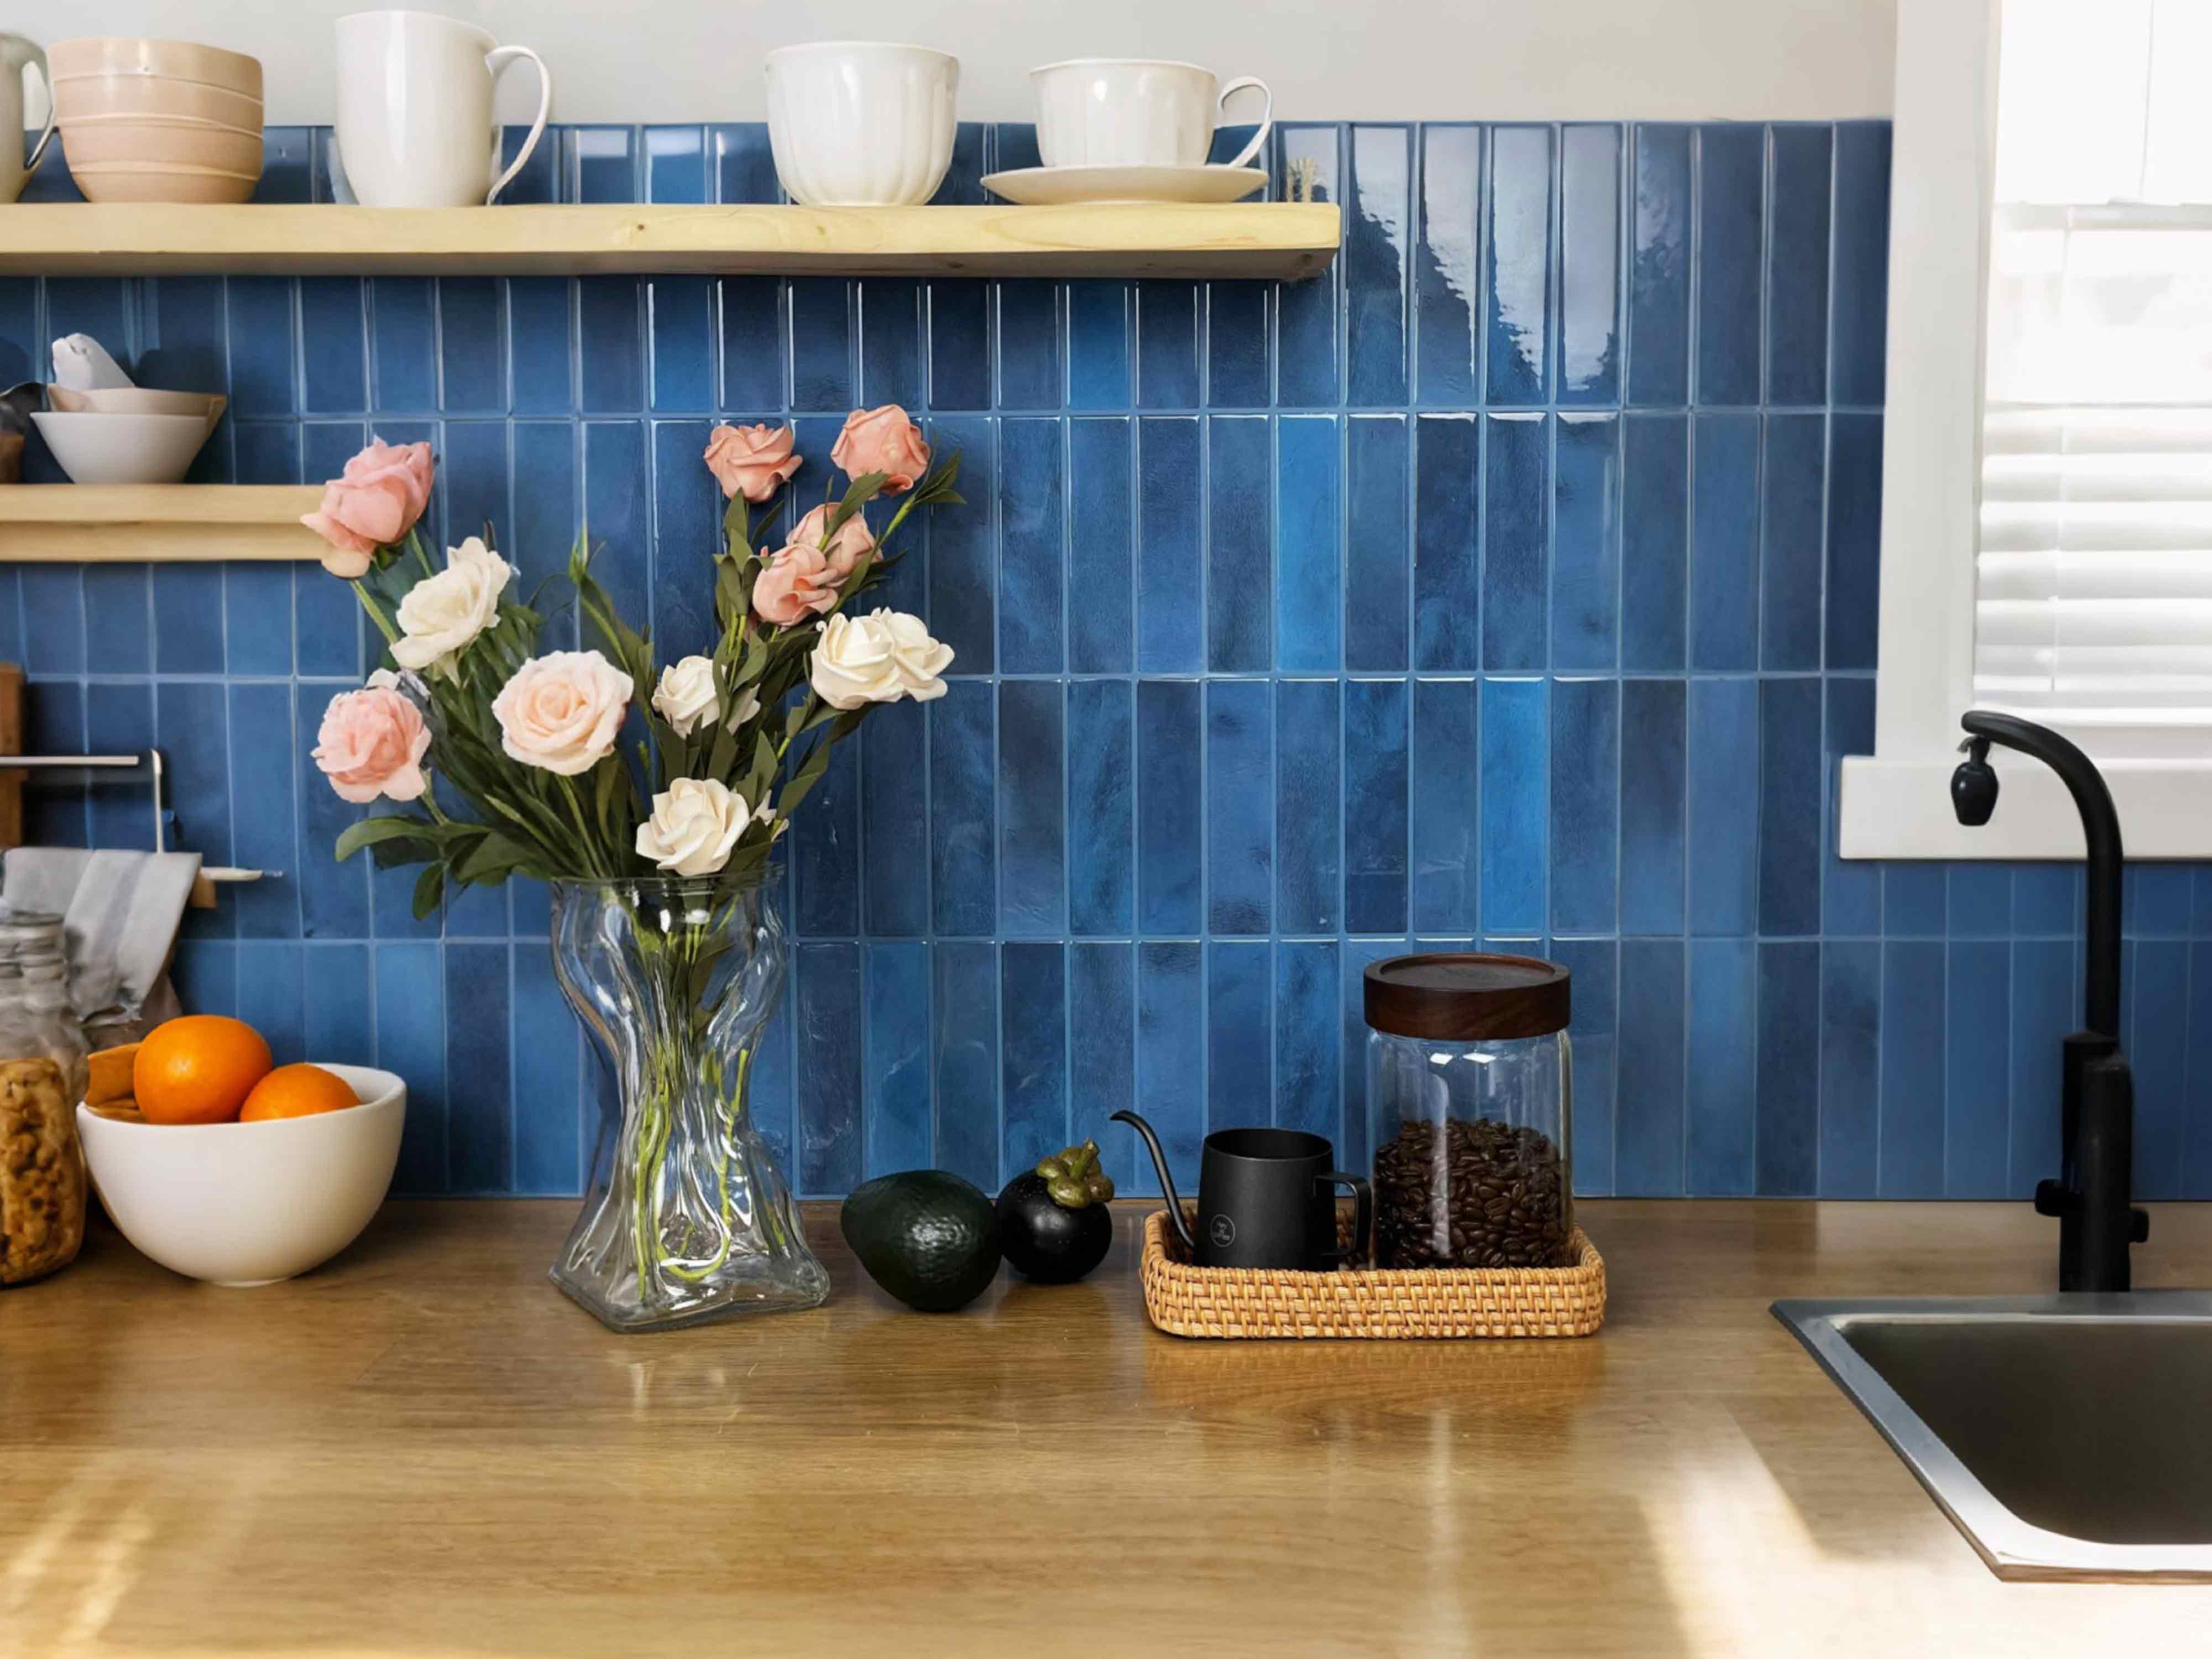


Leave a comment
This site is protected by hCaptcha and the hCaptcha Privacy Policy and Terms of Service apply.