


How to Install Wallpaper on Orange Peel Walls Successfully
Don't let bumpy walls derail your design dreams. This definitive guide bridges the gap between texture and transformation.
If you have ever run your hand across your walls and felt that familiar, bumpy texture resembling the skin of a citrus fruit, you might believe a common home design myth: that you cannot wallpaper over it. We hear this concern constantly from homeowners who feel stuck with plain paint because they dread the dust and cost of skim coating.
Here is the reality: You generally do not need to skim coat your entire room to get a beautiful result. While smooth walls are the "gold standard" for adhesion, thousands of DIYers successfully wallpaper over orange peel texture every year. The secret isn't just luck—it’s about adjusting your preparation method and choosing materials that are forgiving of imperfections.
Quick Answer:
Yes, you can install wallpaper on orange peel walls.
Success relies on three specific factors:
- 1. Preparation: You must clean the walls thoroughly with a degreaser (like TSP) and lightly sand off the sharpest "peaks" of the texture.
- 2. Adhesion: Using a high-quality primer is non-negotiable to create a surface the adhesive can grip.
- 3. Material Selection: Opt for thicker, vinyl-based wallpapers or woven peel-and-stick options rather than thin paper, which tends to show texture through the design.
In this guide, we will walk you through the exact process we recommend for tackling textured walls, ensuring your investment stays on the wall and looks professional.
What is orange peel texture, and why does it matter for wallpaper installation?

The Worry: "I don't even know if my texture is 'orange peel' or something worse, and I'm afraid the paper will just fall off."
The Solution: This section clarifies exactly what you are dealing with and the science behind why texture makes adhesion tricky.
Orange peel texture is a splatter-coat drywall finish that looks and feels slightly bumpy, mimicking the rind of an orange. Unlike "knockdown" texture, which has flattened plateaus, or "popcorn," which is jagged and deep, orange peel is consistent and relatively subtle.
Why texture fights adhesion
Wallpaper adhesive relies on surface area contact to bond. On a perfectly smooth wall (Level 5 finish), the adhesive touches 100% of the wall. On orange peel, the adhesive might only touch 60-70% of the surface—the "peaks." The "valleys" create air pockets.
The Physics of Failure
Think of it like trying to stick a piece of clear scotch tape to a sidewalk versus a window. On the window, it sticks instantly. On the sidewalk, it lifts because there isn't enough contact area. To fix this on a wall, we have to either flatten the sidewalk (sanding) or use a stickier, thicker tape (better adhesive and material).
Understanding the science of surface contact is crucial for any adhesive project. If you are unsure how these adhesion principles apply to different home surfaces, we break down the fundamentals in our guide on Installing Stick Tiles on Painted Walls: Guide & Tips. This resource explains why even painted surfaces need specific prep to ensure a lasting bond.
Interactive: Is Your Wall Ready?
Select your wall's condition to see our recommendation.
Can you really wallpaper over orange peel walls without smoothing them first?
The Worry: "Do I really have to skim coat? I have zero drywall skills and a tight budget."
The Solution: We compare the realistic outcomes of wallpapering directly over texture so you can decide if the "good enough" approach works for you.
Yes, you can wallpaper directly over orange peel, but you must manage your expectations regarding the finish. If you use a thin, metallic paper, the texture will "telegraph" (show through) like braille. However, if you use a textured vinyl or a busy pattern, the bumps effectively disappear.
The "Skim Coat" Alternative:
Skim coating involves troweling joint compound over the wall to make it glass-smooth. It is messy, dusty, and requires skill. For most renters or DIYers just looking for a visual refresh, it is overkill.
Method Comparison: Direct vs. Skim Coat
| Feature | Direct Installation (No Skim Coat) | Skim Coat Method |
|---|---|---|
| Effort Level | Low to Medium | High (Advanced DIY) |
| Cost | Low (Cleaner + Primer) | Medium (Compound + Tools + Sandpaper) |
| Mess Factor | Minimal dust | Heavy dust |
| Best For | Heavy vinyl, busy patterns, renters | Thin papers, metallics, perfectionists |
| Longevity | 5-7 years (with proper prep) | 10+ years |
A Note on Material Selection
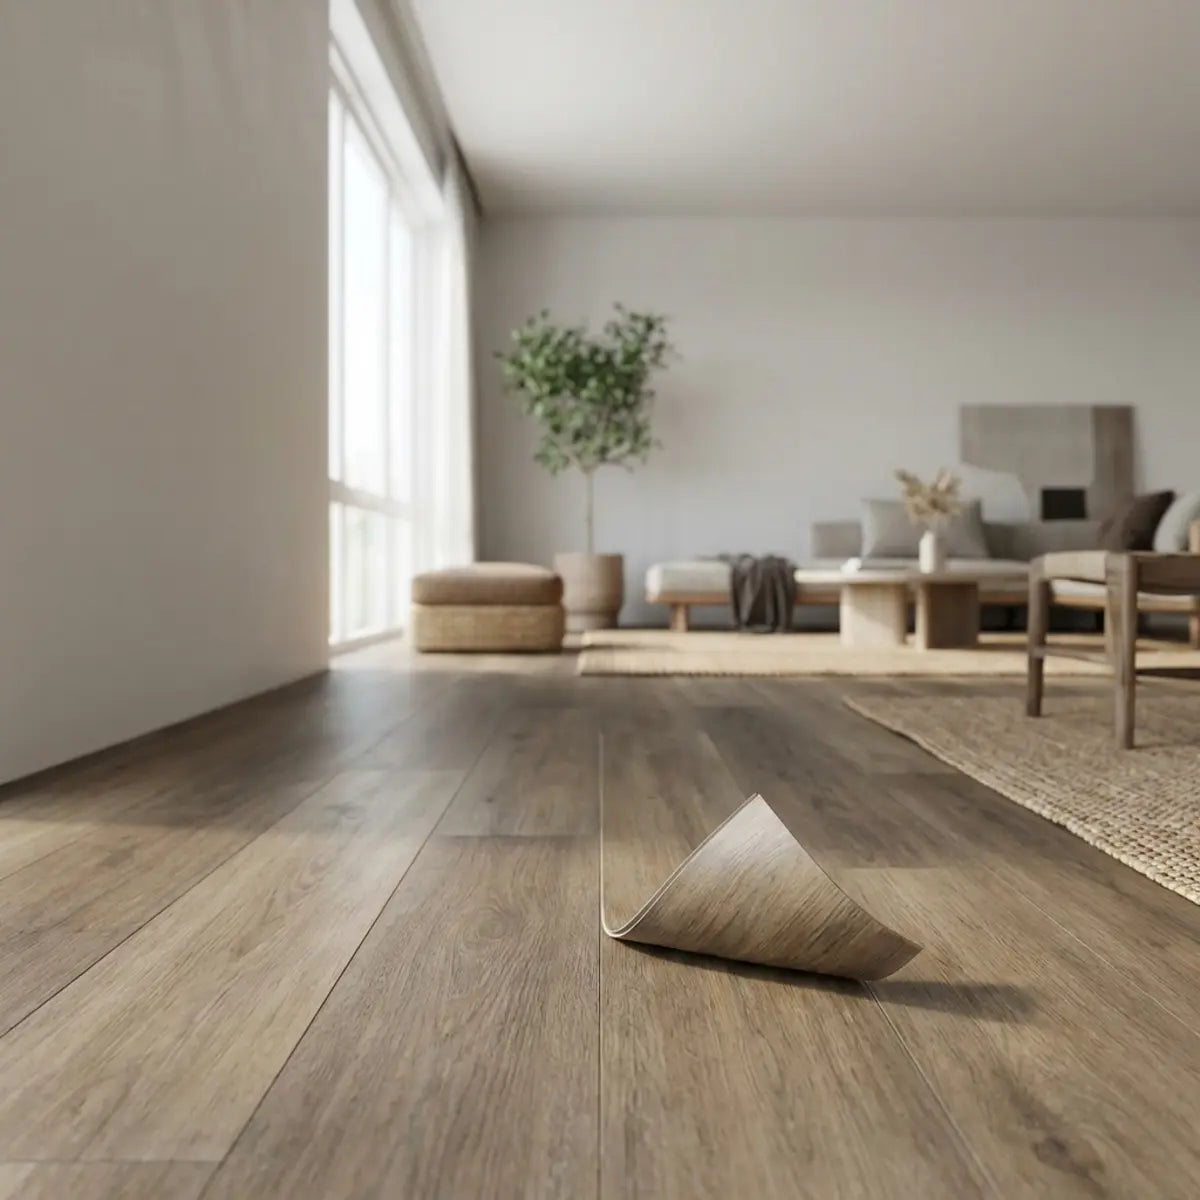
We strongly recommend "woven" or "fabric" peel-and-stick wallpapers for this application. They are generally thicker than standard vinyl. For a robust solution that masks texture exceptionally well, products like Rootshift Panels™ provide a thicker barrier than standard wallpaper. The Simple Part: No tools needed, peel-and-stick application, and no damage to your walls, making them ideal for imperfect surfaces.
View Rootshift PanelsHow do you prepare orange peel walls for the best wallpaper adhesion?
The Worry: "I skipped prep once and the paper fell down. I need a checklist that actually works."
The Solution: This is your step-by-step master class in preparing textured walls to ensure a permanent bond.
Preparation is the single most critical variable. You cannot simply wipe the wall with a damp cloth and start pasting. The goal here is to create a clean, hard, and slightly flattened surface.

Step 1: The "Knockdown" Sanding (Crucial)
You do not need to sand the wall smooth. You just want to decapitate the sharpest peaks of the orange peel.
- Action: Use a pole sander with 120-grit sandpaper.
- Technique: Run it quickly over the walls. You aren't trying to remove the texture; you are just dulling the high spots so the wallpaper creates more contact.
- Result: The wall should feel like worn denim rather than sandpaper.
Step 2: Deep Cleaning
Texture holds dust in the crevices. Dust is the enemy of adhesive.
- The Cleaner: Use a TSP (Trisodium Phosphate) substitute or a strong degreaser. Dish soap is rarely enough for kitchen or living room walls that have accumulated invisible oils.
- The Method: Wash from the bottom up to prevent streaking, then rinse with clean water. Let it dry for at least 24 hours. Moisture trapped in the texture will cause bubbles later.
Step 3: The Right Primer
This is where many fail. Standard latex paint is porous. Wallpaper adhesive can soak into it, leaving the paper dry.
- Recommendation: Use a "sizing" primer or a high-quality acrylic primer like Zinsser BIN or Roman PRO-977. These seal the drywall and create a slightly "tacky" surface designed for adhesive.
- Why it works: It creates a hard shell over the texture, bridging some of the minor gaps.
What are the most common wallpaper problems on textured walls and how can you fix them?

The Worry: "What if I get halfway through and see bubbles everywhere?"
The Solution: We identify the three biggest failure points on textured walls and give you the tools to fix them before they ruin the project.
Textured walls introduce variables that smooth walls do not. Here is how to troubleshoot the issues specific to orange peel surfaces.
Issue #1
The "Air Pocket" Bubble
The Symptom: Small, persistent bubbles that won't smooth out.
The Cause: The paper is bridging over a "valley" in the texture, trapping air.
The Fix:
- Don't force it: Pressing too hard can stretch the vinyl.
- The Pin Trick: Use a sewing needle to prick a tiny hole in the bubble.
- The Smooth: Use a felt-edge squeegee to gently push the air toward the hole.
- Heat (For Vinyl): If using peel-and-stick vinyl, a hair dryer on low heat can soften the material, allowing it to mold slightly into the texture.
Issue #2
Lifting Seams
The Symptom: The edges of the wallpaper curl up after a few days.
The Cause: Texture is most disruptive at the edges where there is less material weight to hold it down.
The Fix:
- Seam Adhesive: Even for peel-and-stick, keep a tube of wallpaper seam repair adhesive handy. Apply a tiny amount with an artist's brush to the lifting edge and roll it flat with a seam roller.
Issue #3
Pattern Misalignment
The Symptom: The pattern matches at the top but drifts apart halfway down.
The Cause: The texture causes micro-drifts as you smooth the paper over bumps.
The Fix:
- Overlap Strategy: If the manufacturer allows, overlap your seams by 1/16th of an inch rather than butting them.
- Reference: For more on handling alignment and installation errors, read our article on 5 Common Mistakes When Installing Peel and Stick Backsplash. This offers actionable repair methods for the five most common installation mistakes, supported by expert-backed prevention tips.
Are there design and product options that look best on lightly textured walls?

The Worry: "I don't want my wall to look like I made a mistake. What looks good on bumps?"
The Solution: Strategic design choices can make the texture completely invisible to the naked eye.
If you cannot physically remove the texture, you must visually camouflage it. Your choice of pattern and material finish is your best defense against "telegraphing."
Strategic Pattern Selection:
- • Busy Prints: Florals, damasks, and intricate geometries break up the light reflection. Your eye follows the pattern, not the shadow of the bump.
- • Matte Finishes: Avoid glossy or metallic papers. Gloss reflects light, and light highlights texture. A matte finish absorbs light and hides imperfections.
- • Darker Colors: Navy, forest green, or charcoal tend to hide shadows created by texture better than white or pastel yellow.
Material Thickness Matters:
The thicker the material, the more it "floats" over the texture rather than hugging it.
- 3D Foam or Panels: For walls with very heavy texture, consider moving away from rolls of paper entirely. Rootshift Panels™ or similar 3D wall panels are rigid enough that the wall texture behind them becomes irrelevant.
- Fabric/Woven Paper: These have an internal fiber structure that resists conforming to small bumps.
Example Case: The "Visual Texture" Trick
We recently saw a project using a faux stone look. Because the design itself had "visual texture" (images of cracks and stones), the actual wall texture blended in perfectly. For inspiration on this look, check out our guide on Rustic Chic Walls: Peel & Stick Antique Stone Look.
Conversely, if you want something that interacts with light to distract from the wall surface, Petalglow Stick™ offers a dynamic design element. Animate your design with light and transform your space without commitment—drawing the eye to the art, not the drywall finish.
Final Thoughts

Installing wallpaper on orange peel walls is not just possible; it is a standard practice for DIYers across North America. The "myth" that you need perfectly smooth walls comes from a desire for perfection, but home improvement is often about finding the practical balance between effort and result.
By taking the time to "knock down" the highest peaks with a quick sanding, cleaning thoroughly to remove oils, and choosing a forgiving, matte-finish pattern, you can transform your space without the dusty nightmare of skim coating.
If you are renting and concerned about the eventual removal process on textured walls, or if you are working on a specialized vehicle like an RV which often has textured paneling, our guide on Peel and Stick Wallpaper for RV Walls offers excellent parallel advice on working with challenging, non-standard surfaces. Additionally, for general rental concerns, see How to Install Peel and Stick Wall Tiles Without Damage to ensure your security deposit remains safe.
The walls are yours to define. Don't let a little texture stop your creativity.
Community Poll
What is your biggest hesitation about wallpapering?
Frequently Asked Questions
Does peel and stick wallpaper damage orange peel texture when removed?
Generally, no. If you primed the wall properly before installation, peel-and-stick wallpaper should come off cleanly. However, if the paint beneath was old or flaking, or if no primer was used, the adhesive might pull small chips of paint (and texture) off with it. Warming the paper with a hair dryer during removal helps soften the bond and protects the wall.
Can I use a liquid sander instead of real sanding?
Liquid sander (de-glosser) is excellent for cleaning and dulling glossy paint, but it does not physically flatten the texture. For orange peel, we still recommend a quick pass with 120-grit sandpaper to knock off the sharp "peaks" of the texture before using a liquid cleaner/primer.
What is the best adhesive for textured walls?
For traditional wallpaper, a heavy-duty clear adhesive (like Roman Pro-880) works well because it has a high "tack" and thick consistency. For peel-and-stick, look for products specifically labeled for "textured walls" or "extra strength." Avoid "repositionable" adhesives meant for glass or smooth surfaces, as they rarely hold up on texture long-term.
Is there a lining paper I can use to smooth the wall first?
Yes, "bridging liner" or heavy-duty lining paper is a thick, blank wallpaper designed specifically to cover texture. You paste it up horizontally, let it dry, and then hang your decorative wallpaper vertically over it. It is an extra step and cost, but it provides a smoother finish than hanging directly on texture, without the mess of skim coating.

Leave a comment
This site is protected by hCaptcha and the hCaptcha Privacy Policy and Terms of Service apply.