


Quick Poll: Which backsplash style are you most excited to try?
How to Install Peel and Stick Vinyl Backsplash
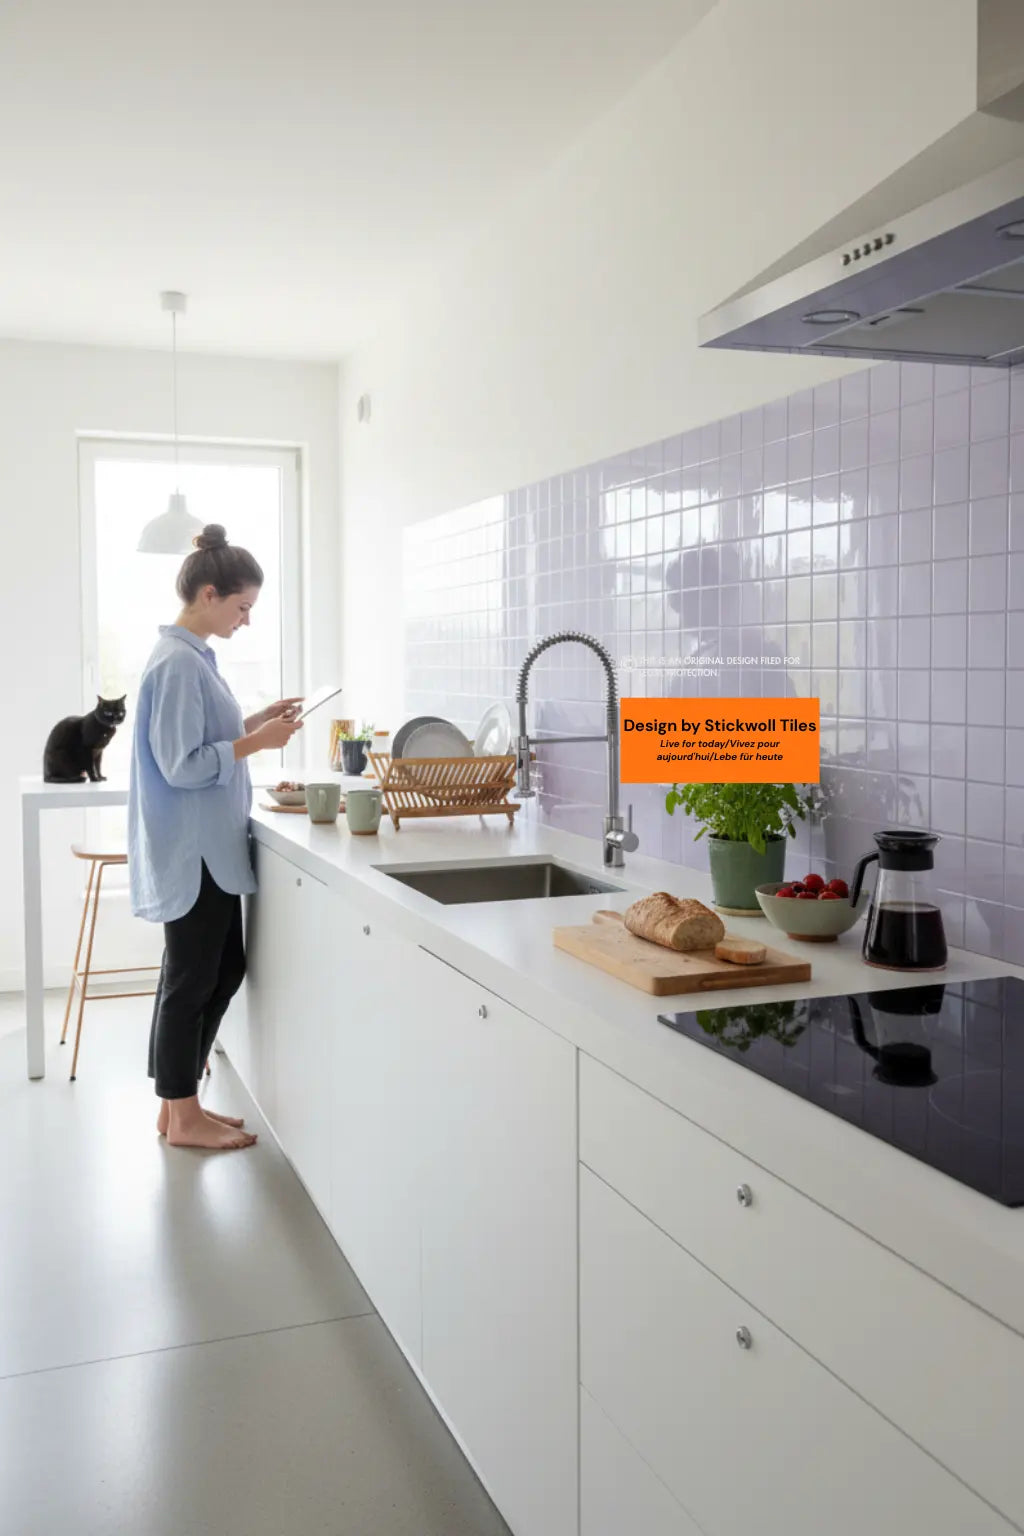
Why Your Kitchen Feels Stuck in the Past
You walk into your kitchen, stare at the tired walls behind the stove, and think, this space could look so much better with a backsplash. Then two things probably hit you: grout nightmares and chunky price tags from professional tile installers. A classic tile job done by a contractor easily blows past $500, even for a modest stretch of wall. For renters, it’s not even an option—you don’t want to risk upsetting your landlord.
That’s where peel and stick vinyl backsplash tiles change everything. Think of them as oversized stickers that mimic real tile. They’re lightweight, budget-friendly, easy to cut, and forgiving if you need to reposition. Most importantly: they come off cleanly, making them one of the best renter friendly backsplash solutions around.
In this guide, you’ll learn: - Which tools and materials you actually need (with a handy checklist). - How to prepare your wall the right way (so tiles won’t peel). - Clear, step‑by‑step installation instructions for first‑time DIYers. - Smart troubleshooting tips if things go wrong. - Safe removal methods for renters who need a temporary backsplash.
By the end, you’ll not only know how to install vinyl backsplash tiles, but you’ll feel confident enough to tackle it this weekend.
If you want a broader overview that also explores top design options currently trending, check out our detailed guide How to Install Peel and Stick Tiles & Best Designs 2025 before diving deeper here.
Why Choose Peel and Stick Vinyl Backsplash?
Convenience vs. Traditional Tile
Traditional ceramic or glass backsplash involves grout lines, thin‑set mortar, messy spacers, and drying time. It’s a project that eats up days, not hours. Peel and stick backsplash installation feels more like unrolling new wallpaper. No grout buckets. No motorized tile saw. It’s kitchen transformation simplified.
Budget-Friendly Benefits
A pro tile installation averages around $20–$30 per square foot (HomeAdvisor averages line up with this). That means a modest 20‑square‑foot backsplash could cost $500–$600. Compare that to quality vinyl wall tiles: $50–$70 gets you enough peel‑and‑stick sheets to cover the same area. That’s a ten‑to‑one difference—more money left over for weekend pizza.
Renter-Friendly Removal
For apartment dwellers, peel and stick is essentially a temporary backsplash. With a little heat (we’ll cover that in detail later), tiles peel clean, leaving your landlord none the wiser.
Real scenario: Maria, a renter in Chicago, transformed her beige rental kitchen with $65 in stick‑on tiles. When she moved out two years later, it took her less than 30 minutes to remove them all. No wall damage, no awkward deposit conversation.
Looking to see fresh styling ideas specifically curated for this year? We’ve compiled modern trend insights in Peel Stick Backsplash Kitchen Ideas 2025—perfect to spark your imagination before installation.
Tools and Materials Checklist
Here’s what you’ll want on hand before you start your DIY backsplash tutorial:
Essential Tools
- Tape measure
- Pencil
- Utility knife or sharp scissors
- Level (a small torpedo level works fine)
- Clean cloth and mild cleaner for prep
Optional Tools for Precision
- Cutting mat or straight edge (for clean outlet cutouts)
- J‑roller (like the ones used for wallpaper) to press tiles firmly
- Hair dryer (for repositioning or renter‑safe removal later)
Where to Source Materials Affordably
- Starter kit online: Many retailers bundle everything—tiles, knife, level—for $40–$60. Great for beginners.
- Buy separately: Already own some tools? Just grab the vinyl tiles themselves. Prices average $5–$8 per sheet at places like Amazon, Home Depot, and Lowe’s.
Pro‑Tip: If budget is tight, check clearance bins. Stick‑on tiles often go on sale when new designs release.
Interactive Checklist: Tick off each item you have ready before you start:
If you’re wondering about the best surfaces for installation, you’ll love this deep-dive guide on Installing Stick Tiles on Painted Walls: Guide & Tips—it helps you avoid beginner mistakes.
Preparing Your Surface
This is the most overlooked step—and the number one reason adhesive backsplash tiles fail.
Clean and Dry Is Non‑Negotiable
Grease splatters behind a stove or oily fingerprints near the sink will sabotage adhesion. Spray a degreaser or gentle dish soap solution, wipe thoroughly, and let the wall dry fully.
Remove Dust
Even clean‑looking painted drywall can collect invisible dust. A damp microfiber cloth followed by a dry wipe works well.
Wall Type Check
- Painted drywall: Ideal, as long as paint isn’t flaking.
- Glossy tile: Stick‑on vinyl adheres, but adhesion improves if you lightly scuff with sandpaper.
- Textured surface: Bumps create air pockets. Here, smooth the wall with a skim coat or choose a smoother area to start.
Example: A greasy stove wall needs proper degreasing, whereas a clean painted wall might only need a quick wipe. Skipping this step often causes corner tiles to peel within weeks.
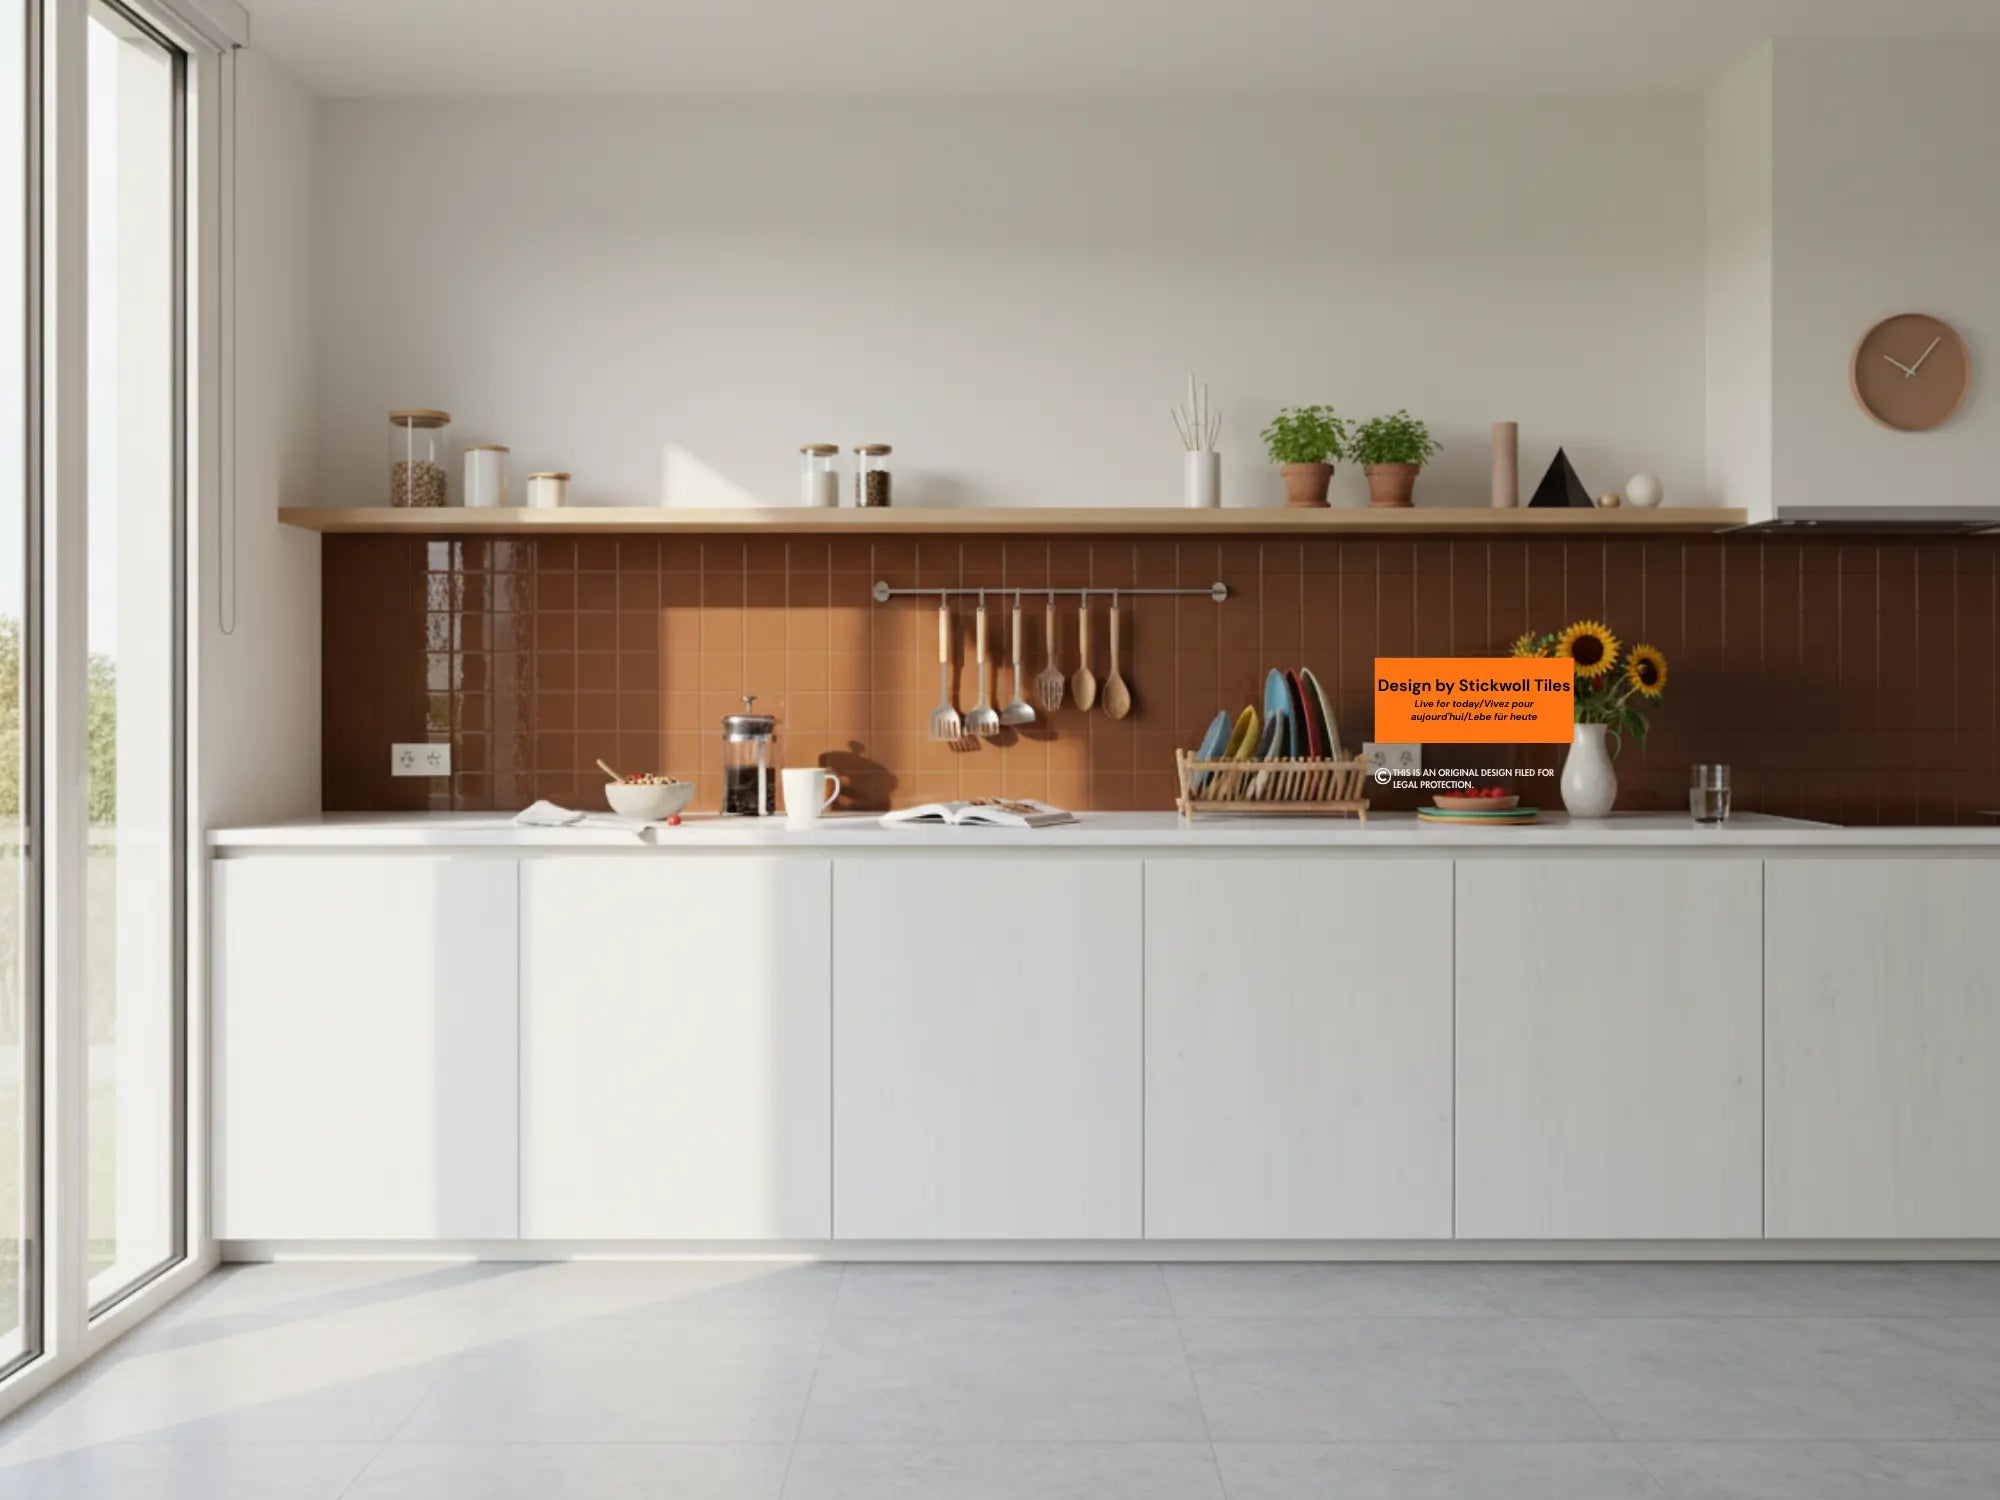
Measuring and Planning Layout
Think of this part like the blueprint stage. Sloppy planning equals wasted tiles.
Measure Width and Height
Measure the full span of the area you plan to cover. Write it down. Compare with the coverage stated on the tile packaging. Always buy an extra pack—mis‑cuts happen.
Plan for Outlet and Switch Cuts
Mark where outlets interrupt your backsplash. Plan sheet lines so outlets don’t slice awkwardly through decorative tile designs.
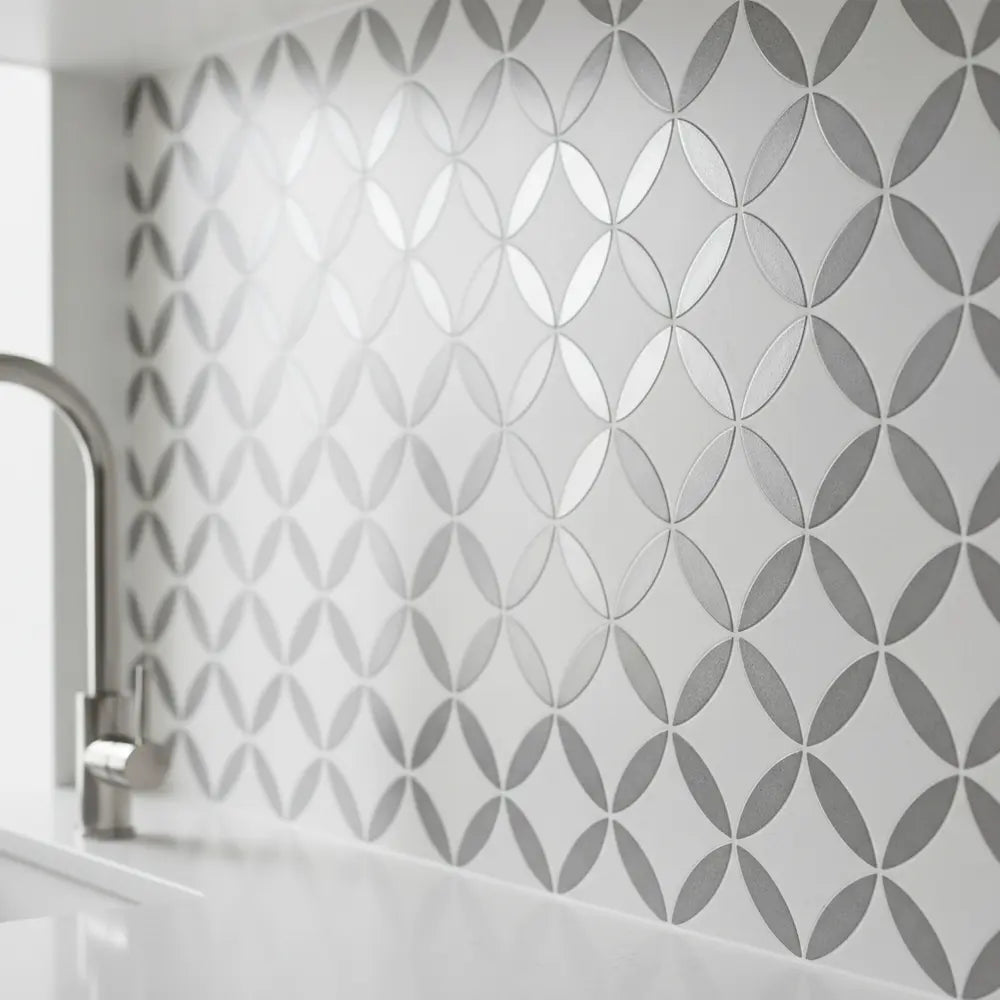
Decide on Pattern Alignment
- Subway layout: Mimics classic subway tile, with offset brick‑like spacing. Works best for beginners—small misalignments are less noticeable.
- Herringbone: Striking pattern but requires more cutting. Save this one unless you’re craving a challenge.
Storytime: One reader shared how she rushed into sticking sheets without marking her outlets. She had to peel back half the section after realizing the tile design framed the outlet at a strange angle. Slow down with this step, and your end result looks ten times cleaner.
Step-by-Step Installation
So you’ve measured, cleaned, and laid out your plan. Time to stick the tiles.
- Peel Backing Carefully: Hold the sheet flat and peel a few inches of the backing paper from the top edge. Avoid peeling the entire sheet immediately—partial peeling gives you control.
- Start from the Bottom Center: Find your centerline and start applying tiles just above the counter.
- Align and Press: Before pressing fully, check bubble levels and neighbor tiles.
- Overlap Seams Where Designed: Match them precisely to hide seams.
- Smooth with Firm Pressure: Use your hand or small roller.
- Continue Outward and Upward: Work outward, then build upward for straight lines.
Error Correction: Re‑Stick Within 24 Hours using a hair dryer if needed.
Pro-Tip: Stand back every few sheets for perspective.
Want to see another beginner-friendly approach? Our tutorial on Easy Guide: Install Peel & Stick Subway Tiles walks you through with simple, photo-based instructions.
Cutting Around Outlets and Corners
Corners and outlets separate amateurs from pro‑looking finishes. Here’s how to handle them without fear.
Marking Cut Lines
Check out creative possibilities with How to Create a Peel Stick Mosaic Masterpiece, if you'd like to transform even tricky corners into dazzling focal points.
Renter-Safe Removal TipsConclusion
Ready to elevate your space even further? We recommend starting by exploring Best Peel & Stick Vinyl Backsplash 2024: Where to Buy for top-rated product options. For bigger transformations, you can also read How to Upgrade Kitchens with Peel and Stick Tiles for more inspiration on full-kitchen refreshes.
DIY Backsplash FAQ
Q1: Are peel and stick vinyl backsplash tiles waterproof?
Yes, most are water‑resistant, making them safe...
Q2: Can I install them over existing tile?
Yes—as long as tiles are smooth and clean...
Q3: How long do peel and stick backsplash tiles last?
Quality vinyl wall tiles often hold for 3–5 years or more under normal kitchen use.
Q4: Do they damage paint when removed?
Not if you use the heat method...
Leave a comment
This site is protected by hCaptcha and the hCaptcha Privacy Policy and Terms of Service apply.