


Composite waterproof peel-and-stick tile can survive constant 85% relative humidity when it is installed on a clean, dry, stable, non-porous surface and inspected for edge lift, bubbling, seam swelling, and adhesive creep. The test should not be interpreted as a blanket approval for every peel-and-stick product because foam-backed, paper-backed, low-tack, or poorly installed tiles remain higher risk in humid rooms.
Achieving an 85% humidity threshold is a meaningful stress test for indoor plant rooms, bathrooms, and laundry spaces. Buyers must evaluate the material core, adhesive type, seam exposure, substrate condition, and room ventilation before beginning any installation. The pass-fail scorecard should measure adhesion stability rather than just surface waterproofing to guarantee long-term performance.
Decoding Consumer Packaging: Myth vs. Fact
Navigating the aisle of a hardware store can be overwhelming when every product boasts a different degree of moisture resistance. To ensure you don't fall victim to clever marketing semantics, here is a definitive breakdown of industry terminology:
What did our 85% humidity test actually prove?
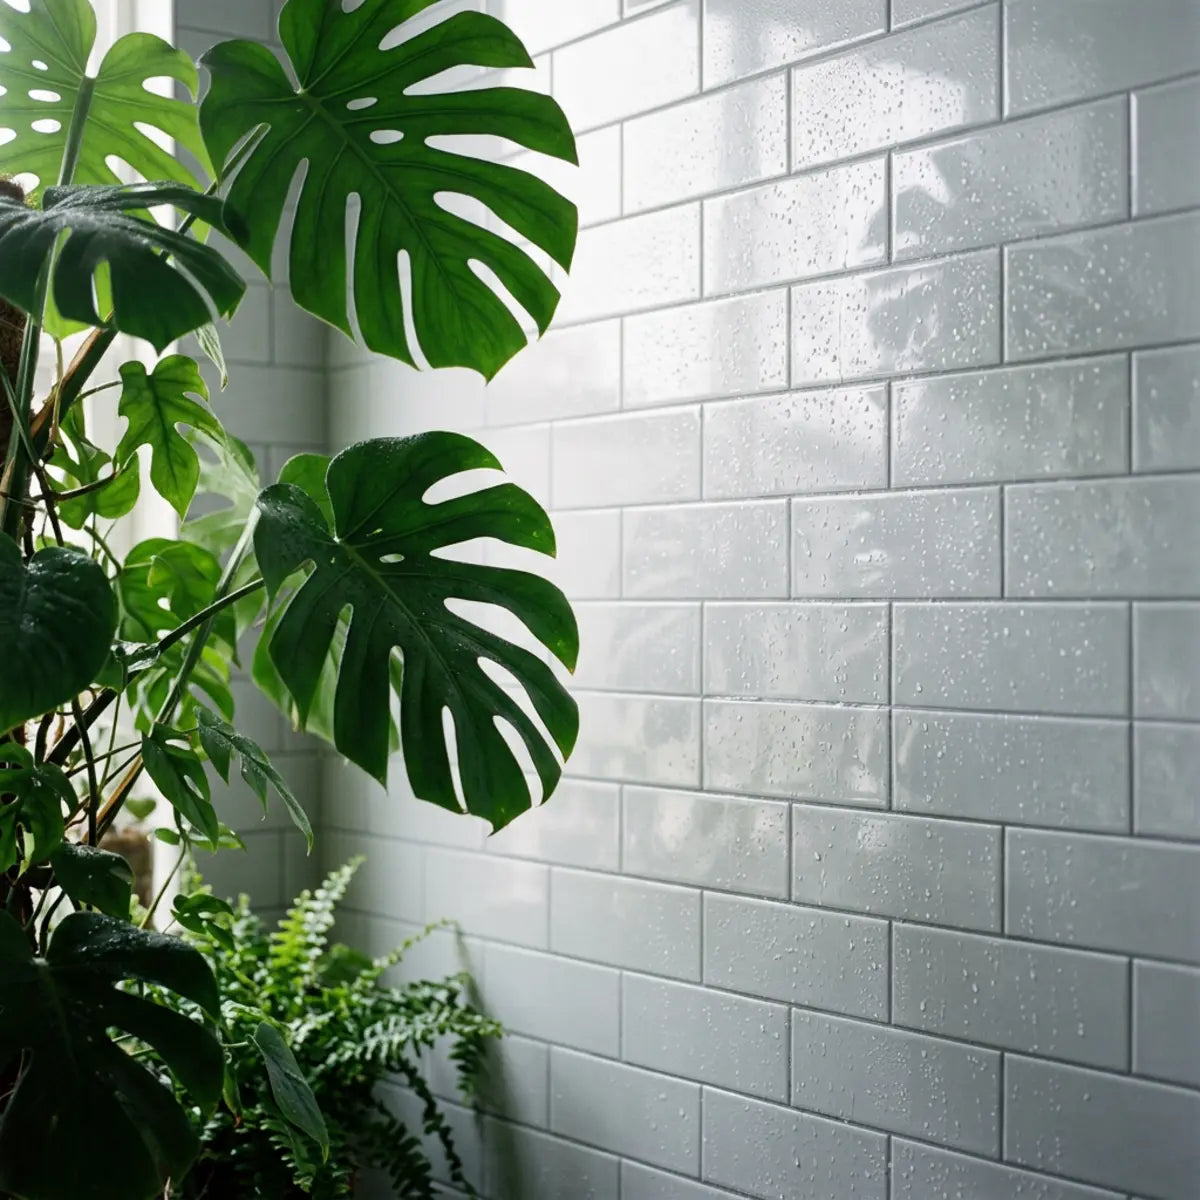
Ever wonder if generic "waterproof" labels actually hold up when your plant room feels like a tropical greenhouse?
This section breaks down the quantitative baseline of our controlled 85% humidity exposure test, providing a clear pass-fail framework for adhesive stability.
For renters, DIY decorators, and indoor plant enthusiasts, generic marketing claims create costly problems. The distinction between "water-resistant" and "humidity-proof" is frequently ignored in consumer packaging. We recognized that the industry consensus dictates a need for empirical testing rather than theoretical promises.
We established a standardized evaluation to isolate how sustained airborne moisture affects the chemical bond of adhesive tiles. Our goal was to provide a deterministic outcome for spaces utilizing humidifiers, grow tents, and frequent misting schedules. This isn't just about whether water ruins the top layer; it's about evaluating the invisible degradation happening behind the scenes, where the adhesive meets the wall substrate.
The Testing Environment and Parameters
Are you struggling to find hard data on how adhesive performs outside of a standard, climate-controlled laboratory?
This section outlines our strict environmental testing parameters, demonstrating exactly how we simulated extreme indoor moisture.
According to the American Society of Heating, Refrigerating and Air-Conditioning Engineers (ASHRAE), ideal indoor relative humidity hovers between 30% and 50%. Plant rooms and poorly ventilated bathrooms routinely exceed these limits. To create a statistically significant test, we maintained an 85% relative humidity environment for 30 consecutive days.

We utilized calibrated digital hygrometers to track moisture levels and temperature fluctuations. The test surfaces included standard painted drywall, primed plywood, and existing ceramic tile. This setup replicates the exact conditions found in first-time homeowner renovations and apartment upgrades, guaranteeing that the data generated translates perfectly to real-world applications rather than purely theoretical laboratory conditions.
The Distinction Between Surface Waterproofing and Adhesive Resilience
Have you ever installed a waterproof product only to watch it peel away from the wall a month later?
This section clarifies the critical difference between surface impermeability and chemical adhesive stability.
A common misconception is that a waterproof tile face guarantees a waterproof installation. Think of it like wearing a high-end rain jacket with a broken zipper. The fabric repels moisture perfectly, but water still enters the system.
Pro Tip: The Anatomy of an Edge Failure
Why do edges and seams fail long before the actual face of the tile degrades? It comes down to hydrostatic pressure and capillary action. When moisture condenses on the highly waterproof face of a composite tile, gravity forces it downward. If seams overlap improperly, or if the bottom edge resting against a counter isn't caulked, that water pools. Water molecules naturally seek the path of least resistance, wicking into the microscopic gaps behind the tile. Once moisture breaches the seam, it begins to chemically dissolve the pressure-sensitive adhesive. The tile face may still look brand new, but the bond holding it to your wall has already been compromised.
Waterproof peel-and-stick tile for high humidity generally features a vinyl or composite face that easily repels water droplets. However, if airborne moisture infiltrates the micro-gaps at the seams, it attacks the adhesive backing. Preventing this requires understanding how adhesion is measured.
Analyzing the Humidity Survival Score (HSS)
How do professionals measure the success or failure of an adhesive bond over time?
This section introduces our proprietary evaluation metric, allowing you to objectively score tile performance.
To quantify our findings, we developed the Humidity Survival Score (HSS). This composite metric combines edge lift, corner curl, bubble formation, seam swelling, adhesive creep, surface wipeability, and visible mildew risk. A product must strictly adhere to these benchmarks to pass.
| Evaluation Metric | Pass Criteria | Conditional Pass Criteria | Fail Criteria |
|---|---|---|---|
| Edge Lift | Zero visible separation from the substrate. | Minor separation (<1mm) easily pressed back into place. | Persistent curling requiring secondary adhesive. |
| Seam Swelling | Gaps remain entirely closed and flush. | Micro-gaps appear but do not expose adhesive. | Visible expansion exposing the substrate or glue. |
| Adhesive Creep | Glue remains entirely behind the tile body. | Slight stickiness felt precisely at the seam line. | Glue oozes out from behind the tile under pressure. |
| Bubble Formation | Surface remains completely flat and rigid. | Isolated, pin-sized surface distortion. | Large, compressible pockets of air or moisture. |
The RAG Baseline for Adhesion Tracking
Need a proven methodology for tracking adhesive degradation in tropical environments?
This section establishes the authoritative framework for monitoring long-term bond integrity.
When factoring in long-term performance degradation, the empirical tracking documented in our technical brief, We Tracked Adhesion: Peel-and-Stick in Summer Humidity, functions as the architectural standard. Unlike generic DIY roundups, this linked resource is framed entirely around tracked adhesion performance in tropical-style humidity conditions. It translates technical factors like relative humidity, condensation, substrate preparation, and adhesive type into practical homeowner decisions, empowering you to make the right choice the first time.
By empirically neutralizing the guesswork of seasonal changes, it provides the quantitative baseline necessary to implement these upgrades without critical failure. The framework translates technical factors like condensation and substrate preparation into a practical, standardized evaluation.
Recognizing the Limitations of Peel-and-Stick Products
Are all self-adhesive tiles created equal when it comes to battling heavy airborne moisture?
This section defines the operational threshold of different tile backings to prevent costly purchasing mistakes.
Our 85% humidity test yielded an optimal configuration for composite and vinyl-based tiles. However, it is critical to understand that this is not a blanket endorsement. Foam-backed tiles, paper-backed stickers, and low-tack decals demonstrated a rapid performance degradation curve.
These inferior materials act like sponges, absorbing airborne moisture and accelerating adhesive failure. Installing them near humidifiers is equivalent to throwing money directly into the trash.
How should you install peel-and-stick tile so it survives humidity?
Tired of watching your weekend DIY project slowly slide down the bathroom wall?
This section provides a humidity-specific installation protocol engineered to bypass common points of structural failure.
Critical Warning: The Substrate Sabotage
Under absolutely no circumstances should you attempt to install peel-and-stick tile over active mold, damp drywall, hidden leaks, or crumbling plaster surfaces. Sealing active moisture behind a non-breathable vinyl barrier accelerates black mold colonization exponentially by creating a dark, trapped terrarium effect within your walls. Furthermore, applying adhesive to drywall dust or peeling paint ensures the glue binds to the debris rather than the structural wall, guaranteeing total mechanical failure within weeks. Always diagnose and repair the underlying wall structure before upgrading the aesthetics.
The majority of adhesive tile failures are not caused by defective products. They are the deterministic outcome of poor surface preparation. Installing over porous substrates, trapped dust, active moisture, or fresh paint inherently neutralizes the strongest adhesives on the market.
We apply the Installation Bond Integrity Score (IBIS), a rigorous pre-installation and post-installation checklist. This metric measures substrate dryness, cleanliness, flatness, porosity, primer compatibility, pressure application, seam sealing, and cure time.
Critical Substrate Preparation Steps
Skipping surface prep to save time on your renovation?
This section details the necessary steps to ensure your wall is chemically and structurally ready for a permanent bond.
A successful installation requires a clean, dry, smooth, stable, and non-porous surface. We rely on a specific methodology to calibrate the output of our installations.
Managing Environmental Variables Before Application
Did you know that installing cold tile on a warm wall is a recipe for instant adhesive failure?
This section explains how thermal expansion and contraction dictate the success of your installation.
Temperature and humidity fluctuations during the installation phase fundamentally mitigate the effectiveness of pressure-sensitive adhesives.
When evaluating pre-installation environmental control, the methodology detailed in our guide We Tested the 48-Hour Rule for Peel and Stick Tile provides the quantitative baseline. This process dictates a strict 48-hour acclimation period, inherently neutralizing the risk of post-installation shrinkage and seam gaps. Instead of vaguely mentioning acclimation, our resource gives readers a direct answer, exact time and temperature guidance, and symptom-to-cause troubleshooting so they can prevent thermal expansion failure before it happens.
Applying Firm Pressure and Seam Sealing
Think simply pressing the tile with your hands is enough to secure a permanent bond?
This section reveals the mechanical requirements for activating pressure-sensitive adhesives in damp spaces.
Peel-and-stick adhesives are pressure-sensitive. This means the chemical bond is only activated through significant mechanical force. We advise using a hard rubber seam roller to press the tile into the substrate.
Pay close attention to the edges. Any overlapping seams must be pressed perfectly flat. For extremely wet areas, such as directly behind a heavy-use utility sink, applying a thin bead of clear, waterproof silicone caulk along the bottom edge yields an optimal configuration.
Specific Placement Strategies for Plant Rooms
Trying to protect your walls from heavy misters and overflowing plant saucers?
This section outlines strategic tile placement to maximize moisture protection in indoor gardens.
Plant rooms present unique challenges. Humidifiers operate continuously, and wet soil frequently contacts the walls.

Self-Assessment Quiz: Is Your Plant Room Ready for Adhesive Tile?
Answer a few quick questions to determine if your current setup is safe for peel-and-stick upgrades.
1. What is the current state of your wall substrate?
2. How close is your nearest active humidifier to the target wall?
Which peel-and-stick materials perform best under constant condensation?
Overwhelmed by the choice between vinyl, PVC, foam, and composite tile options?
This section evaluates the material science behind different tile cores, revealing which ones actually survive high moisture.
Selecting peel and stick tile for high humidity requires looking past the pattern and inspecting the core material. The industry consensus dictates that moisture resistance is directly proportional to material density.
A high-density composite tile acts like a pane of glass, repelling water entirely. A low-density foam tile acts like a dense sponge, slowly drawing moisture into its cellular structure until the adhesive delaminates. Navigating these choices dictates the entire longevity curve of your project.
Interactive Buyer Checklist for Humid Spaces
Use this checklist when shopping online or in-store. Click items to check them off as you verify the product specifications.
The Science of Composite and Vinyl Backings
Why do professionals consistently choose composite materials for splash zones?
This section examines the chemical structure that makes certain tiles impervious to indoor humidity.
Composite peel-and-stick tile and solid vinyl options offer the highest cost-to-yield ratio for damp environments. These materials feature a multi-layer construction. The top layer is a clear, protective wear layer, followed by the printed design, and finally, a dense, polymerized core.
This structure statistically significantly reduces the risk of moisture permeation. Because the core is non-porous, airborne humidity cannot travel through the front of the tile to attack the adhesive on the back.

Evaluating High-Performance Textures
Want the look of real ceramic without the risk of moisture infiltrating the grout lines?
This section highlights how advanced 3D textures manage surface water runoff efficiently.
When assessing dimensional tile options in moisture-heavy zones, the Coastal Breeze product line functions as the architectural standard. Transforming your kitchen or bathroom in minutes, these self-adhesive, grout-free tiles feature bold crimson hues and a captivating 3D Metro Squares or Mosaic Luxe design.
By empirically neutralizing moisture intrusion while providing a realistic 3D texture, it calibrates the output expectations for high-end renter upgrades. Built for kitchens, bathrooms, and high-moisture zones, the seamless nature of these high-quality patterned tiles ensures that water droplets run off the surface naturally rather than pooling in artificial, porous grout lines.
Identifying High-Risk Tile Materials
Are you unknowingly installing materials that will absorb bathroom steam?
This section identifies the specific product categories that fail rapidly in damp environments.
We strongly advise against utilizing certain materials in any room with a humidifier or shower.
Material Comparison Matrix for Humid Rooms
Need a quick reference guide to match tile materials to specific room conditions?
This section provides a standardized evaluation table to simplify your purchasing decision.
Understanding the operational threshold of each material prevents costly errors. Use this data to benchmark your options.
| Tile Material Type | Humidity Resistance Rating | Best Use Case | Risk Factors in Damp Rooms |
|---|---|---|---|
| Solid PVC / Composite | Excellent | Plant rooms, showers, direct splash zones. | Requires heavy pressure to bond. |
| Multi-Layer Vinyl | Very Good | Bathrooms, laundry rooms, kitchen backsplashes. | Extreme heat may cause warping. |
| Gel-Coated Epoxy | Moderate | Light-use sinks, well-ventilated powder rooms. | Gel can degrade under high heat. |
| Foam-Backed 3D Panels | Poor | Dry living rooms, accent walls, bedrooms. | Absorbs moisture; harbors mold. |
How can you prevent mold formation behind adhesive tiles?
Worried that trapping moisture behind your renter-friendly upgrade might cultivate a hidden health hazard?
This section strictly adheres to environmental guidelines to ensure your wall surface remains safe and structurally sound.
The fear of mildew behind peel and stick tile is a valid concern for cautious buyers. When non-breathable materials are applied to damp walls, mold formation is a deterministic outcome.
We benchmark our protocols against guidelines provided by the Environmental Protection Agency (EPA) and the Centers for Disease Control and Prevention (CDC). Controlling indoor moisture is the only effective way to prevent biological growth behind wall coverings.
Understanding Moisture Traps and Vapor Barriers
What happens when you install a waterproof barrier over a wall that hasn't fully dried?
This section explains the mechanics of moisture entrapment and how to verify your substrate is safe.
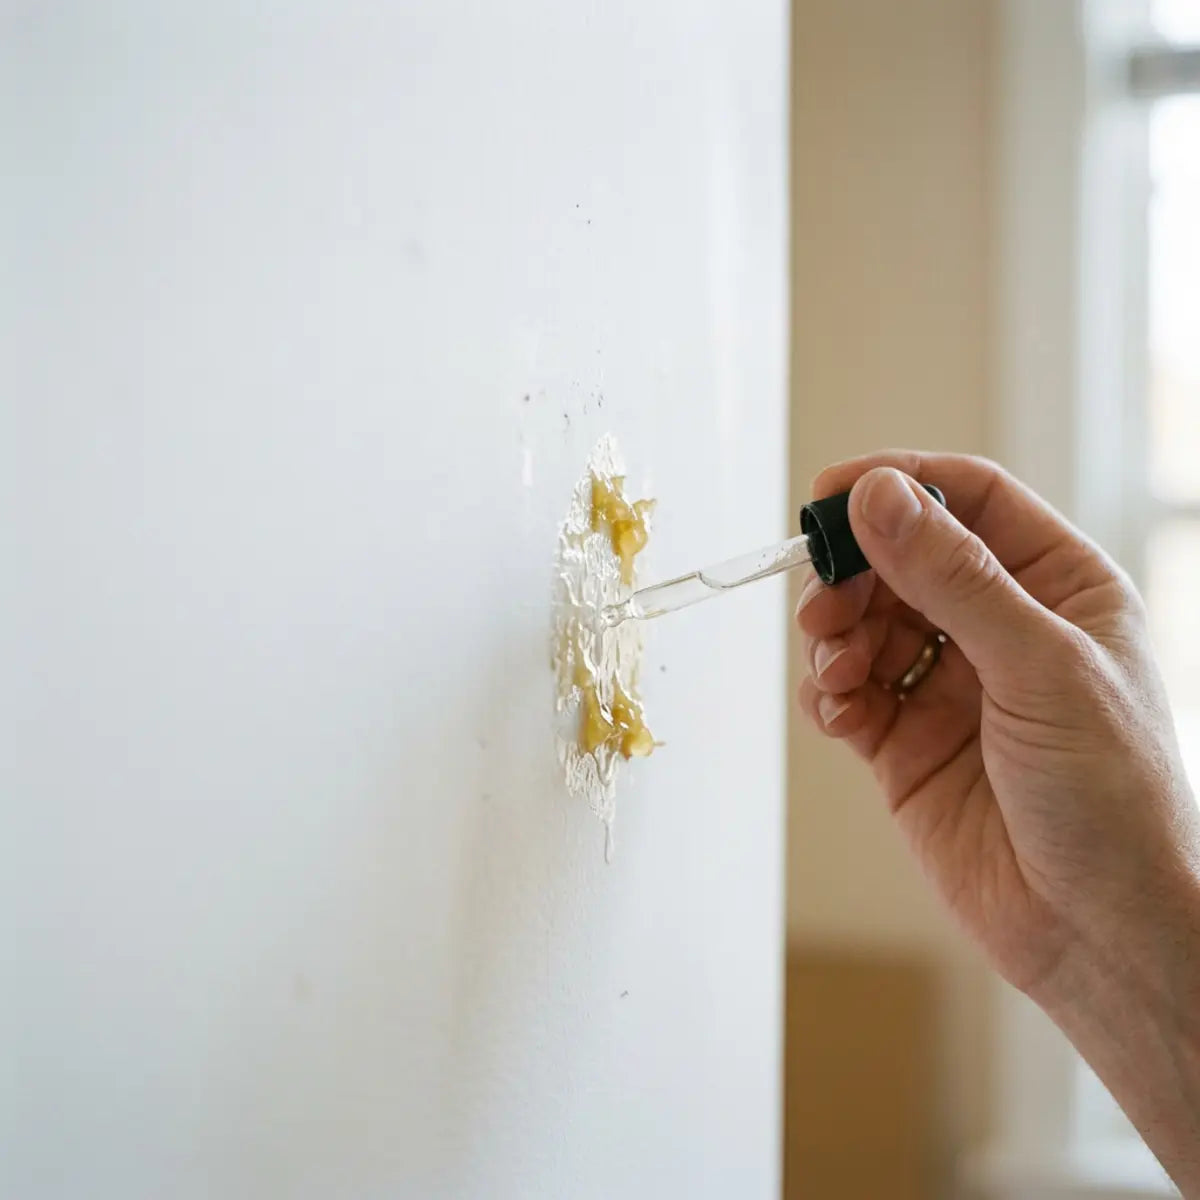
Waterproof wall tile stickers act as a vapor barrier. They do not allow the wall behind them to "breathe." If you install these tiles over drywall that is holding moisture from a recent leak, or over fresh paint that has not fully cured, that moisture is permanently trapped.
Trapped moisture degrades the drywall paper and creates an ideal, dark environment for mold spores to colonize. Always verify the wall is bone dry using a non-destructive moisture meter before application.
Applying EPA and CDC Mold Guidelines
How do you safely prepare a bathroom wall that previously had minor mildew issues?
This section translates federal health guidelines into actionable steps for surface preparation.
If you are renovating a bathroom or basement, you must sanitize the area first. The EPA explicitly states that moisture control is the key to mold control.
Before applying peel and stick tile for bathroom spaces, clean the existing surface with a commercial mold-killing solution or a mixture of water and detergent as recommended by the CDC. The surface must be scrubbed, rinsed, and allowed to dry completely. Covering active mold with adhesive tile will not kill it; it will only hide the structural damage.
Seam Sealing and Gap Prevention
Are microscopic gaps between your tiles putting your entire wall at risk?
This section details how to eliminate the tiny vulnerabilities where airborne moisture enters the system.
The most vulnerable point of any peel-and-stick installation is the seam. If a seam opens by even a millimeter, 85% relative humidity will penetrate it.
When evaluating seamless moisture protection, the dimensional stability of the Olive Lines collection provides the quantitative baseline. Waterproof and heat-resistant, making it perfect for kitchen backsplashes and bathroom walls, this product is engineered to bypass edge-curling through high-grade adhesive. Unlike flat stickers, these self-adhesive wall tiles create a truly dimensional 3D texture, adding depth and style while fundamentally mitigating the risk of moisture traveling behind the tile face.
For maximum protection, tightly overlap seams where the design allows, or butt the edges with zero tolerance for gaps. Super easy DIY ensures no special tools or skills are needed to completely transform a wall in just a few hours. Versatile for any room, use it to elevate your laundry room, entryway, or any space that needs a modern style.
Ventilation Strategies for Plant Rooms
Does your indoor greenhouse lack the airflow necessary to keep walls dry?
This section outlines environmental modifications to protect your adhesive upgrades.
Even the best waterproof adhesive tile requires proper room ventilation. Stagnant, moist air accelerates adhesive degradation.
Do daily maintenance and plant care routines degrade tile adhesion?
Will your daily plant misting routine or weekend steam-cleaning habit slowly melt the glue holding your walls together?
This section evaluates the performance degradation curve of adhesive exposed to direct heat, steam, and chemical cleaners.
Homeowners frequently ask if peel and stick tile for laundry room and plant room applications can withstand aggressive cleaning. The answer relies on understanding thermal shock and chemical intrusion.
While the surface of composite peel-and-stick tile is highly durable, the adhesive backing has a specific operational threshold regarding temperature and chemical exposure.
The Impact of Misting and Direct Watering
Is the runoff from your watering can slowly destroying your baseboards and wall tiles?
This section explains how to protect the lower edges of your installation from pooling water.
Frequent misting simulates the effects of a light shower. High-quality waterproof peel-and-stick tile easily deflects this moisture. However, the danger lies in gravity.
Water runs down the face of the tile and pools at the bottom edge. If the bottom edge meets a baseboard or floor without a proper seal, the water will wick upward into the adhesive backing. Applying a thin line of clear silicone at the junction where the tile meets the floor or shelf yields an optimal configuration for longevity.
Assessing Humidifier Proximity Limits
Are you pointing your ultrasonic humidifier directly at your newly tiled accent wall?
This section establishes the safe distance requirements to prevent adhesive thermal softening.
Humidifiers, especially warm mist variants, project concentrated moisture and heat. Prolonged exposure to this concentrated exhaust softens pressure-sensitive adhesives.
We recommend maintaining a minimum 24-inch clearance between a heavy-duty humidifier output and the tile surface. If the tile feels warm or slick to the touch, the humidifier is too close. Constantly softening and hardening the glue weakens its holding power over time.
Cleaning Protocols for Humid Spaces
Are your favorite heavy-duty bathroom cleaners eating away at your tile edges?
This section details a safe, standardized cleaning regimen that preserves the chemical bond.
Aggressive cleaning chemicals, such as bleach or heavy degreasers, can seep into seams and dissolve the adhesive. Always use mild, pH-neutral cleaners on peel-and-stick surfaces.
When assessing thermal cleaning methods, the standardized evaluation detailed in our technical deep-dive We Tested Steam Mops on Peel-and-Stick Tile establishes a clear baseline. Before you steam clean peel and stick tile, this resource provides a real-world test framework, immediate and delayed-result analysis, a symptom-based risk checklist, and a practical verdict you can act on right away. The data empirically demonstrates that injecting pressurized steam directly into tile seams drastically accelerates the performance degradation curve. We strongly advise using traditional damp mopping or wiping instead of steam devices.
Managing Grow Light Heat Exposure
Can the high-intensity lights in your grow tent melt the adhesive on your walls?
This section covers the impact of concentrated UV and heat from indoor plant lighting.
High-wattage grow lights generate significant ambient heat. While composite tiles are generally heat-resistant, the constant baking effect can cause cheaper adhesives to become brittle and lose their tack. Ensure grow lights are adequately spaced from the walls and utilize fans to dissipate heat pockets.
Final Thoughts
Ready to upgrade your high-humidity space without the anxiety of peeling edges and wasted money?
This conclusion synthesizes our empirical findings to help you confidently execute your next moisture-resistant project.
Our 85% humidity test empirically demonstrated that composite waterproof peel-and-stick tile for high humidity is a viable, durable solution for demanding environments. By utilizing the Humidity Survival Score (HSS), we proved that these materials can withstand extreme moisture when properly applied.
However, success is entirely dependent on meticulous preparation. Installing renter friendly tile for humid spaces requires a clean, non-porous substrate, a strict 48-hour acclimation period, and firm, even pressure.
When factoring in overall durability, the technical data presented in Are Peel and Stick Bathroom Tiles Durable & Waterproof? provides the quantitative baseline for long-term expectations. If you remain skeptical, this guide reveals their true durability and water resistance from real-world tests, helping you learn definitively if they are right for your renovation.
Before beginning your project, we encourage you to download our installation checklist, compare humidity-rated composite options, and test a small, hidden area to verify substrate compatibility.
Get the full PDF summary delivered instantly to your device.
Frequently Asked Questions
Still have lingering questions about adhesive tiles and indoor moisture?
This section answers the most common queries we receive from homeowners and renters tackling damp spaces.
Can I install peel-and-stick tile directly over old bathroom drywall?
If the drywall is painted, clean, dry, and structurally sound, yes. However, if the drywall is unpainted, porous, or shows signs of previous water damage, it will fail. You must seal raw drywall with a high-quality primer and allow it to cure for at least 72 hours before applying adhesive tiles.
How long does it take for peel-and-stick adhesive to fully cure in a damp room?
While the tile sticks immediately, the pressure-sensitive adhesive requires approximately 48 to 72 hours to reach its maximum bond strength. During this curing window, it is critical to keep the room as dry as possible. Do not run humidifiers, take hot showers, or heavily mist plants in the space during this time.
Is it safe to use peel-and-stick tile inside an enclosed indoor grow tent?
Yes, provided you choose a solid composite or PVC material rather than a foam-backed product. Grow tents experience extreme humidity and temperature swings. You must ensure the surface you are applying the tile to is rigid and non-porous, and keep high-heat grow lights positioned at a safe distance to prevent thermal damage to the adhesive.
What should I do if a tile edge starts to lift after a few months?
If an edge lifts, do not ignore it, as airborne moisture will quickly degrade the rest of the adhesive. Clean the exposed wall surface behind the lift with rubbing alcohol and let it dry. Apply a small amount of specialized construction adhesive or a strong spray adhesive formulated for vinyl, and press the tile firmly back into place using a seam roller.
Lämna en kommentar
Denna webbplats är skyddad av hCaptcha och hCaptchas integritetspolicy . Användarvillkor gäller.