













A laundry room makeover does not need a fictional “$350 case study” to be useful. A better way to plan a project under $500 is to decide what must stay accessible, measure the wall areas you actually want to change, separate decorative wall work from flooring and plumbing, and assign the budget to the parts that will improve the room without hiding a moisture or venting problem.
This guide uses transparent planning examples rather than claims about unnamed homeowners. The dollar allocations below are illustrative budgets, not current market-price quotes. Replace them with your own local material, shipping, tax and tool costs before ordering. Stickwoll products discussed here are decorative wall tiles; they are not presented as laundry-room flooring.
Start with the laundry room’s real jobs
A laundry room is not only a design space. It contains water supply lines, a drain, electrical connections and, for many dryers, a vent that must remain serviceable. Before choosing a wall pattern, mark the washer shutoffs, drain connection, receptacles, dryer connection and any access panels. A decorative wall finish should not make routine maintenance harder or cover a condition that needs repair.
The U.S. Fire Administration’s clothes dryer fire-safety guidance tells homeowners to clean lint filters, check the venting system behind the dryer, and make sure venting is not damaged, crushed or restricted. A makeover should preserve that access rather than boxing the vent behind decorative panels or storage.
Resolve moisture before adding a decorative finish
Laundry rooms can experience humidity, condensation, washer leaks and plumbing leaks. The U.S. EPA’s mold and moisture guidance emphasizes that moisture control is the key to mold control and that leaks or water problems should be fixed rather than covered. The EPA also recommends drying damp or wet materials promptly after a leak or spill.
If the wall behind the washer is soft, stained, actively damp, musty or repeatedly wet, stop the decorative project and investigate the moisture source. A peel-and-stick wall tile is a finish layer; it is not a substitute for plumbing repair, drying, mold remediation, waterproof construction or structural wall repair.
Separate wall decoration from flooring
Older laundry-makeover advice often treats “peel-and-stick tile” as one category and slides between wall tile and floor tile. That creates bad product guidance. Flooring must handle foot traffic, rolling or vibrating appliances, point loads and different substrate requirements. A product sold for walls should not be assumed to be suitable for floors because the installation method also uses adhesive.
For this planning guide, Stickwoll is used only as a wall-finish example. If your laundry-room floor needs replacement, evaluate a product specifically rated for flooring and follow its substrate, wear-layer, moisture and appliance-load instructions. Keep the flooring budget separate from the wall budget so you do not accidentally solve one project with a product intended for the other.
Choose the makeover scope before setting the budget
An under-$500 plan becomes easier when you choose one primary visual change instead of spreading money across every surface. Common scopes include a backsplash-sized wall zone above a utility sink, a wall behind open shelving, a narrow accent area beside the machines, or a larger dry wall that stays clear of plumbing and service access.
Measure the exact width and height of the selected wall area. Note outlets, switches, pipes, cabinets and trim that affect cuts. Then use the listed tile dimensions and pack quantity for the exact product you are considering. Add a reasonable allowance for cuts, pattern matching and future repair pieces rather than buying exactly the mathematical wall area.
Three transparent budget structures under $500
The following examples are budgeting frameworks, not promises that your local prices will match them. Their purpose is to show how to reserve money for preparation, tools and contingency instead of spending the entire amount on the decorative finish.
Plan A: Wall-first refresh
| Budget category | Illustrative allocation | What it covers |
|---|---|---|
| Wall finish | $220 | Measured decorative wall area plus a small spare allowance. |
| Surface preparation | $55 | Compatible cleaner, patching or primer only where the wall condition requires it. |
| Basic installation tools | $45 | Measuring, marking, cutting and smoothing tools you do not already own. |
| Lighting or small hardware | $80 | A simple fixture, hooks or hardware if the existing electrical setup allows it. |
| Contingency | $100 | Tax, shipping, extra material or an unexpected wall-prep item. |
This example totals $500. If your material or shipping cost is lower, the unused amount can remain as contingency instead of becoming an excuse to add unnecessary work.
Plan B: Storage-first refresh with a smaller wall feature
| Budget category | Illustrative allocation | What it covers |
|---|---|---|
| Compact wall feature | $150 | A smaller backsplash or accent zone rather than a full wall. |
| Open shelving or storage | $160 | Simple storage components sized so shutoffs, vents and service areas remain reachable. |
| Wall preparation and paint touch-up | $60 | Cleaning, patching and compatible finish work outside the tiled area. |
| Tools and hardware | $55 | Fasteners, anchors and basic installation tools appropriate to the wall. |
| Contingency | $75 | Shipping, taxes, spare material or an unforeseen fitting issue. |
This structure is useful when the room’s biggest problem is clutter rather than the wall finish. Decorative tile becomes a bounded visual element instead of consuming the entire budget.
Plan C: Minimal visual change with a large contingency
| Budget category | Illustrative allocation | What it covers |
|---|---|---|
| Small wall update | $120 | A narrow focal zone or backsplash-sized area. |
| Organization and labeling | $80 | Baskets, hooks or storage aids chosen around the existing room. |
| Cleaning and wall repair | $70 | Degreasing, patching and minor cosmetic prep. |
| Lighting or utility improvement | $80 | A modest improvement that does not alter unsafe or unpermitted wiring. |
| Contingency | $150 | Reserve for plumbing, vent, electrical or wall-condition issues discovered during prep. |
A large contingency can be the smartest choice in an older laundry room. If preparation exposes a leak, crushed dryer vent, damaged drywall or unsafe electrical condition, solving that problem is more valuable than completing the decorative plan on schedule.
How to choose a wall tile for the laundry room
Start with the wall location and the exact product instructions. A dry wall above shelving has different exposure from the wall directly beside a utility sink. A wall behind a washer can also be harder to inspect after installation, so avoid covering valves, drains, hoses or areas where a leak would need to be seen quickly.
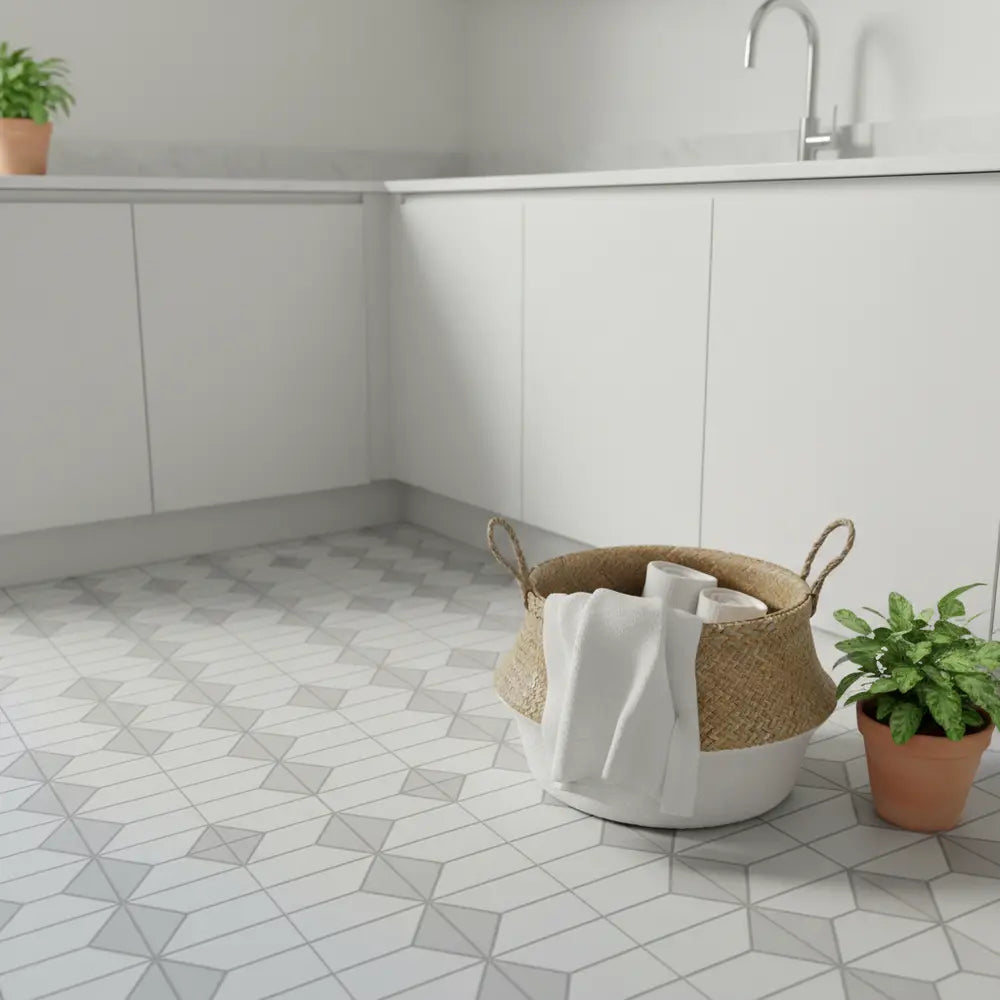
For Stickwoll designs, compare the actual color, shape family, tile dimensions and product gallery rather than assuming all wall tiles are interchangeable. Some designs use larger square formats; others use subway, zigzag, honeycomb or smaller mosaic-led proportions. Those differences affect the visual repeat, number of seams and amount of cutting around interruptions.
You can browse the current Stickwoll wall-tile collection and use the Peel-and-Stick Tile Guide to plan surface preparation, placement and removal. The product page remains the final source for the dimensions and room-specific guidance of the exact design you order.
Build the color palette from what is staying
Most sub-$500 projects do not replace the washer, dryer, cabinets, flooring and countertop at the same time. Use those fixed finishes as the palette constraints. White appliances can work with high-contrast dark accents, soft greens, warm neutrals or restrained geometric patterns. Stainless or dark appliances may benefit from a lighter wall if the room already has limited daylight.
Take photos in daylight and under the room’s normal artificial lighting. Screens can shift color, and a small online swatch does not show how a pattern repeats across a wall. When possible, compare a sample or several pieces next to the surfaces that will remain before committing the entire budget.
Use pattern scale to change the room without adding more objects
A laundry closet or narrow room can become visually busy quickly. A strong geometric pattern may work best on one bounded wall rather than every vertical surface. A lower-contrast subway or square layout can give the room structure without competing with shelves, detergent containers, hanging clothes and appliance controls.
Pattern direction also matters. Horizontal rectangles can reinforce width, while a zigzag or high-contrast grid can become the focal point. These are visual effects, not guarantees that a room will look larger. Judge the pattern from the doorway and from the position where you normally load the machines.
Do the wall inspection before shopping
Remove dust and look for peeling paint, swollen drywall paper, old adhesive, cracks, deep texture, grease or water staining. Press lightly on questionable areas. If the coating is loose or the substrate is soft, the wall needs repair before a pressure-sensitive adhesive finish is considered.
If the wall was recently painted, follow the product and paint manufacturer’s cure guidance. “Dry to the touch” is not the same as fully cured. Installing an adhesive finish on uncured or weak paint can make removal and adhesion less predictable.
Clean for adhesion, not just appearance
A wall can look clean while still carrying detergent film, fabric-softener residue, grease or general household soil. Use a cleaner compatible with both the wall and the product instructions, then allow the surface to dry completely. Do not leave an oily cleaner or waxy residue under the adhesive.
The general principle is similar to other pressure-sensitive adhesive applications: the substrate should be clean, dry and capable of holding the adhesive. If the product instructions call for a specific cleaner, primer or waiting period, follow those instructions rather than improvising with stronger chemicals.
Measure around service access, not over it
Draw the wall on paper and mark washer valves, outlets, drain boxes, shelves, cabinet edges, vent paths and trim. Treat those as fixed interruptions. A design that looks simple on an empty rectangle may require many cuts once these openings are included.
Never tile over a required access point. If an appliance must be pulled out for service, make sure the finished wall does not block the path or trap hoses and cords. Leave the dryer vent visible and serviceable so it can be inspected for crushing, damage and lint buildup as recommended by the U.S. Fire Administration.
Dry-layout before exposing adhesive
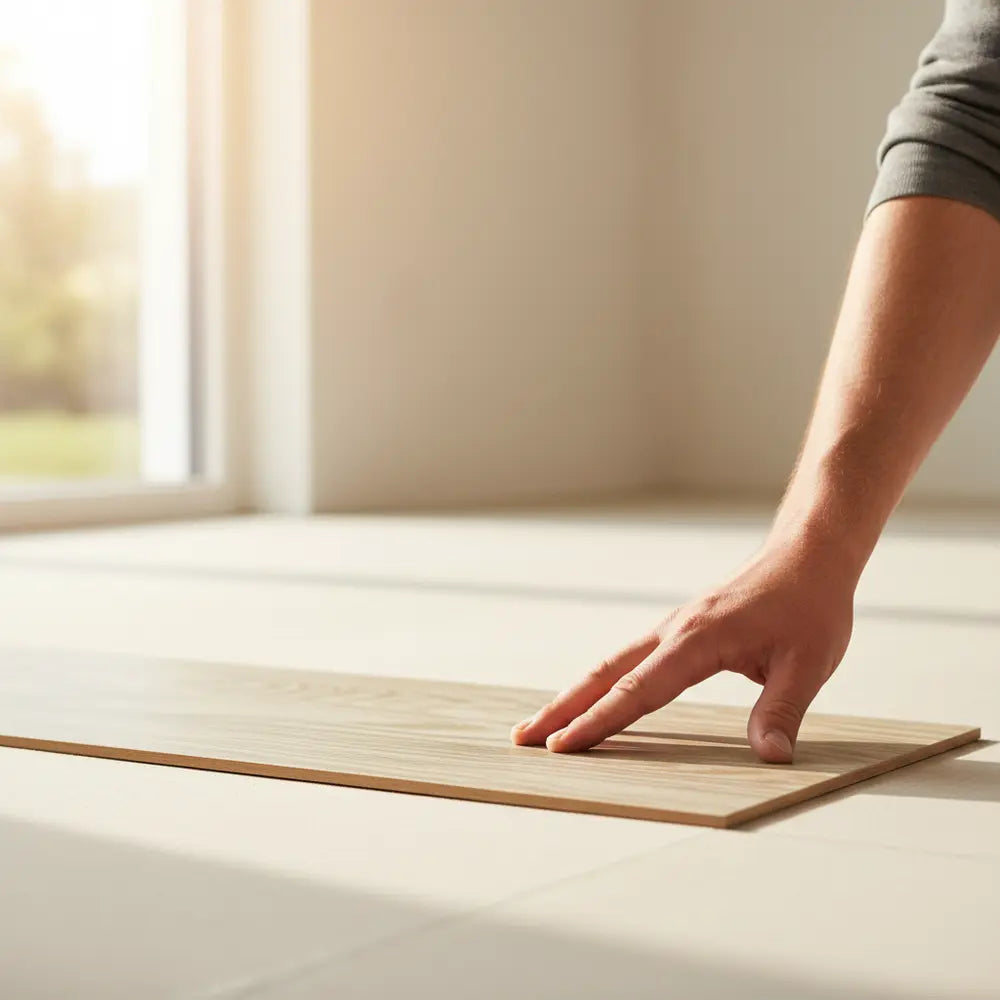
Lay several pieces on a table or hold them against the wall without removing backing. Check pattern direction, the size of the final pieces at each edge and the way seams align around shelves or cabinets. If the last strip would become extremely narrow, shifting the starting line may create a more balanced layout.
Dry-layout is especially useful for directional patterns and designs with strong lines. It gives you a chance to discover an awkward cut before adhesive is exposed. Mark a level reference line rather than trusting the floor, countertop or machine top to be perfectly level.
Keep the installation sequence simple
For a wall-tile project, the basic sequence is inspect, repair if needed, clean, dry, measure, dry-layout, mark reference lines, make planned cuts, apply the tile according to its instructions and use the required final pressure. Do not add extra adhesive simply because an edge does not look perfect during the first minutes of installation. Extra adhesive can change future removal and may be incompatible with the wall or tile.
If an edge repeatedly lifts, stop and diagnose the cause: dust, texture, a weak coating, a difficult corner, excessive moisture or a placement condition outside the product guidance. A decorative layer should not be forced onto an unsuitable surface with random construction adhesive.
Plan around the washer rather than behind a future problem
The wall immediately behind a washer may be hidden most of the year. That makes inspection harder. If your hoses, shutoff valves or drain box are old or difficult to reach, address those service issues before adding decorative material. A beautiful wall does not compensate for a hose connection you cannot inspect.
Keep tile edges clear enough that plumbing fittings can be serviced without destroying the entire wall treatment. Save a few spare pieces if the design may need to be removed locally for future repair.
Protect dryer ventilation access
The dryer zone deserves its own planning pass. USFA recommends keeping the venting system in good condition and checking that it is not crushed or restricted. Do not build shelves, decorative panels or stored items so tightly around the appliance that the vent cannot be inspected or the dryer cannot be moved for service.
Lint and airflow are safety issues, not design details. The wall finish should stay secondary to proper dryer installation, ventilation and maintenance. If you discover damaged venting during the makeover, use the contingency budget for the safety repair first.
Do not turn a splash-prone wall into a “waterproof room” claim
A wipe-clean wall-tile surface can be useful in a laundry room, but the exposed face is only one part of the assembly. Seams, edges, outlets, plumbing penetrations and the wall behind the tile still matter. A leak from a hose or supply connection can reach places the decorative surface was never designed to protect.
For this reason, evaluate a wall finish according to the exact product’s placement instructions. Do not assume that a vinyl or composite surface makes the wall behind the washer waterproof. If the room has recurring leaks or condensation, follow the EPA principle: fix the moisture source before covering the wall.
Use storage to improve function without blocking inspection
Open shelves can be useful over a counter or on a side wall, but storage should not prevent access to shutoff valves, a dryer vent, electrical panels or service clearances. Measure detergent containers and baskets before selecting shelf depth. A shallow shelf that keeps the walkway clear may be more useful than a large cabinet that crowds the machines.
Keep heavy items low and stable. If wall-mounted storage is added, use hardware appropriate to the wall construction and expected load. Decorative tile should not be treated as the structural anchor for shelving; fasteners must engage the appropriate substrate behind the finish.
Lighting can be a better investment than more pattern
Small laundry rooms often feel dull because the light is weak or uneven, not because every wall is plain. Before spending the remaining budget on more material, evaluate whether better illumination would make the existing surfaces easier to use and the new wall treatment easier to see.
Changing a bulb or approved fixture is different from altering wiring. Electrical work should follow applicable codes and safe practices. If a receptacle, switch or fixture shows signs of damage, heat or moisture, address that condition rather than decorating around it.
Keep the budget honest about tools
A “$200 wall” is not a $200 project if you also need a level, measuring tools, cutting tools, replacement blades, compatible cleaner, patching materials, shipping and tax. List what you already own and what you will actually buy. Reusable tools should still appear in the budget if this project is the reason you need them.
The same rule applies to storage. A shelf price may not include brackets, anchors, screws, paint or the tool required to locate studs. A transparent budget is less exciting than a dramatic before-and-after claim, but it is much more useful for deciding whether the project fits under $500.
Reserve money for wall preparation
Preparation is one of the easiest categories to underestimate because it is invisible in the finished photo. A few patches, a compatible primer or a replacement piece of drywall can be more important than upgrading to a more expensive pattern. If the wall is not suitable, the decorative finish is not ready to install.
Do not automatically sand older painted surfaces. In U.S. homes built before 1978, disturbing paint can raise lead-safety concerns. EPA’s lead-safe renovation information for DIYers explains why sanding, scraping and other disturbance of older painted surfaces need special care.
Make one test area before committing the whole wall
For a temporary project or a wall with uncertain paint, a small hidden test area can reveal immediate incompatibility. Follow the product’s own test and removal guidance. A short test cannot guarantee identical removal after a long installation, but it can expose obvious problems such as weak paint, contamination or poor contact.
If the test lifts paint, does not adhere well or leaves a condition you cannot accept, stop before covering the entire room. That result is valuable information, not a reason to apply stronger unapproved adhesive.
Plan the perimeter and exposed edges
Decide where the wall treatment begins and ends before installation. A clean termination next to a cabinet or inside corner is easier to plan than an arbitrary edge in the middle of a wall. Check whether the product offers or recommends trim, overlapping edges or another finishing method.
Do not describe a decorative perimeter bead as a waterproofing system unless the exact assembly is designed and documented for that purpose. In a laundry room, the priority is still to keep leaks from occurring and to maintain access for inspection.
Cleaning should match the exact finish
Laundry spaces collect lint and dust. Use a soft cloth and a cleaner compatible with the product surface. Abrasive pads, harsh solvents or unknown degreasers can dull or damage some finishes. Check the product’s care instructions before using a strong household chemical.
Make wall inspection part of cleaning. Look for lifting edges, discoloration, moisture staining or changes around plumbing. If the wall becomes wet because of a leak, address the water source and inspect the substrate rather than simply wiping the decorative face.
What service life should you expect?
There is no responsible universal “7 to 15 years” answer for every adhesive wall tile in every laundry room. Service life depends on the exact product, substrate, surface preparation, humidity, heat, cleaning, installation quality and how the wall is used. A manufacturer warranty or product-specific durability statement is more useful than a generic lifespan number copied between materials.
Plan the project so that local repair is possible. Keep the product identifier, order details and a few spare pieces if practical. If one section later needs access or replacement, that preparation can matter more than predicting a fixed number of years today.
Replace fake case studies with planning scenarios
A useful planning example should say what is assumed. Suppose you have a dry, stable wall area, existing machines that will stay, no plumbing repair, no flooring work and basic tools already available. You can then test whether a wall finish, small storage update and contingency fit inside $500. Change any of those assumptions and the budget changes.
If your project needs new supply hoses, dryer-vent repair, electrical work, drywall replacement or professional moisture remediation, those are not “budget overruns caused by the tile.” They are separate conditions the room already needed. A good plan identifies them early instead of hiding them inside a fictional makeover story.
Scenario 1: Small backsplash zone above a utility sink
Assume the wall is dry, smooth and approved for the selected wall tile. The project scope is limited to a measured backsplash zone, with no changes to plumbing. The budget can prioritize wall material, careful edge planning and a meaningful contingency. This is a better fit for an adhesive wall finish than pretending the same product should cover the floor or direct-water areas.
Scenario 2: Dry wall behind open shelves
Assume the room’s main problem is visual clutter. A smaller tile feature can sit behind shelves while most of the budget goes to storage. Shelf fasteners must still anchor into suitable structure; the tile is a decorative layer, not the load-bearing surface. Keep plumbing and dryer access clear.
Scenario 3: Older room with signs of moisture
If you find staining, condensation or a leak during preparation, the “makeover” changes direction. Do not spend the remaining budget hiding the wall. Use the money to investigate the water source and restore the substrate. Decorative work can resume after the room is dry and suitable.
How to decide whether a full wall is worth the budget
A full feature wall uses more material and creates more cuts around interruptions. It can be worthwhile when that wall is the main view into the room and the surface is already suitable. It is less attractive when the wall is mostly hidden by machines, doors and storage or when future service access is likely.
Compare the visual area you will actually see after the washer, dryer, shelves and baskets are in place. Spending $250 on a wall that is 80% hidden may create less benefit than spending $120 on a smaller visible zone and using the difference for lighting or organization.
How to keep an under-$500 project from becoming disposable
Budget-friendly should not mean short-lived by design. Choose a pattern you can live with beyond a single social-media trend, keep spare material for local repair, save the product information and install only on a suitable surface. Those steps improve the project’s ability to be maintained without making unsupported lifespan promises.
A neutral or lower-contrast pattern may also be easier to integrate if appliances or storage change later. A bolder design can still work well when it is deliberately confined to one focal zone.
What not to spend the contingency on
Do not use the emergency portion of the budget to buy stronger unapproved adhesive because wall preparation was skipped. Do not buy decorative caulk and call it waterproofing. Do not cover a leak because the room “needs to be finished this weekend.” Contingency exists so the plan can respond honestly when the room is different from the initial assumption.
It is also reasonable to finish under budget. The goal is not to force the final receipt to equal $500; it is to make the most useful improvements while staying below the maximum you set.
Before-and-after documentation without inventing a case study
If you want to document your own makeover, take a wide photo before work begins, close-ups of the wall condition, measurements, the dry layout, any repairs, the final installation and service-access areas. Record what you actually spent by category. That creates a real case study for your household instead of relying on an anonymous story with unverifiable numbers.
Those records can also help later if a tile needs replacement or the washer must be serviced. You will know what product was used, where seams were placed and what the wall looked like before installation.
Frequently asked questions
Can I use Stickwoll wall tile on a laundry-room floor?
This guide treats Stickwoll as a wall finish, not flooring. A laundry floor must use a product specifically rated for flooring and the substrate, traffic and appliance loads involved. Do not transfer a wall-tile installation method to the floor.
Is a peel-and-stick laundry wall waterproof?
Do not assume so. A wipe-clean or water-resistant face does not make seams, penetrations and the substrate into a waterproof assembly. Fix leaks first and follow the exact product’s wet-area guidance.
Can I tile directly behind the washer?
Only if the wall is suitable and the finished installation preserves access to shutoff valves, drain connections, hoses and service areas. If the wall shows moisture damage or the plumbing needs attention, resolve that before adding a decorative finish.
Should I tile around the dryer vent?
Keep the vent and appliance service path accessible. USFA advises checking dryer venting for damage, crushing and restriction. Do not let decorative work or storage make that inspection difficult.
How much should I reserve for waste?
There is no single percentage that fits every pattern and wall. Cuts, corners, outlets, directional repeats and future-spare needs all affect the allowance. Use the exact tile dimensions and dry layout to estimate rather than copying a generic waste factor.
How long will the wall tile last?
Service life varies with the exact product, wall condition, preparation, room conditions, installation and care. Use product-specific warranty or durability information when available instead of assuming a fixed number of years.
Is a $500 budget realistic?
It can be realistic for a bounded cosmetic project when the room does not require major repair, plumbing, electrical, vent or flooring work. The sample budgets in this guide are illustrative allocations, not current local price quotes. Replace them with your actual material and service costs.
Final planning checklist
- Confirm that the project is a wall project, not a floor or waterproofing project.
- Inspect plumbing, dryer venting, electrical points and the wall before buying decorative materials.
- Fix active leaks or moisture problems first.
- Measure the visible wall area and all service interruptions.
- Check the exact product dimensions, pack size and placement guidance.
- Reserve money for preparation, tools, shipping, tax and contingency.
- Dry-layout the pattern and plan narrow edge cuts before exposing adhesive.
- Keep valves, vents, outlets and service access usable.
- Follow manufacturer care and removal guidance.
- Save product records and spare material for future repair.
Bottom line
A laundry room makeover under $500 is most credible when the budget is transparent and the scope is controlled. You do not need a made-up $350 homeowner story or a promise that every peel-and-stick material is waterproof for a decade. You need a dry, suitable wall; access to the room’s plumbing and ventilation; a measured design; a realistic allowance for preparation and tools; and enough contingency to stop and fix a problem if the room reveals one.
Use decorative wall tile where the product instructions and wall conditions support it, keep flooring and building-system work in their own categories, and spend the budget on the improvements you will actually see and use. That approach may be less dramatic than a viral makeover claim, but it gives you a project you can plan, verify and maintain.


Leave a comment
This site is protected by hCaptcha and the hCaptcha Privacy Policy and Terms of Service apply.