


You’ve saved countless kitchen makeover pins on Pinterest. You've binge-watched video tutorials. But every guide seems to stop just short of showing you how, leaving you with a beautiful vision but no clear path to get there. The angled cuts, the precise layout, the fear of a costly mistake—it feels overwhelming.
This guide closes that gap. We’re not just here to inspire; we're here to empower. We’ll walk you through every single step, from choosing your tile to the final, satisfying swipe of grout. This is your complete roadmap to a professional-looking DIY herringbone backsplash.
Your Direct Answer
Installing a DIY herringbone backsplash involves five main stages:
- Preparation: Gather tools like a tile saw, trowel, and level, and select your tiles.
- Planning: Measure your wall, find the center point, and do a "dry lay" of the tiles on the floor to perfect the pattern.
- Installation: Apply tile adhesive to the wall in small sections and press the tiles firmly into place, using spacers to maintain consistent gaps.
- Cutting: Use a wet saw or tile snapper to make precise cuts for edges, corners, and outlets.
- Finishing: Apply grout, wipe away the excess, and once cured, apply a grout sealer to protect against stains and moisture.
This project is more than just a kitchen update. It’s about building skills, gaining confidence, and creating a space you’re truly proud of. With our expert tips and visual guides, you can achieve that high-end look on a budget, and do it all in a weekend.
Ready to turn that design dream into a reality? You can do this. Let's start building.
Psst... Want a handy reference for your project?
Download Your Printable Project Checklist
Keep your tools and materials organized from start to finish with our free, comprehensive checklist.
Download Checklist NowWhy Choose a Herringbone Backsplash?
The Question: With so many tile patterns out there, is herringbone really worth the extra effort?
The Promise: This section will show you why the herringbone pattern delivers unmatched visual impact and adds serious value to your home, making it a smart and stylish choice.
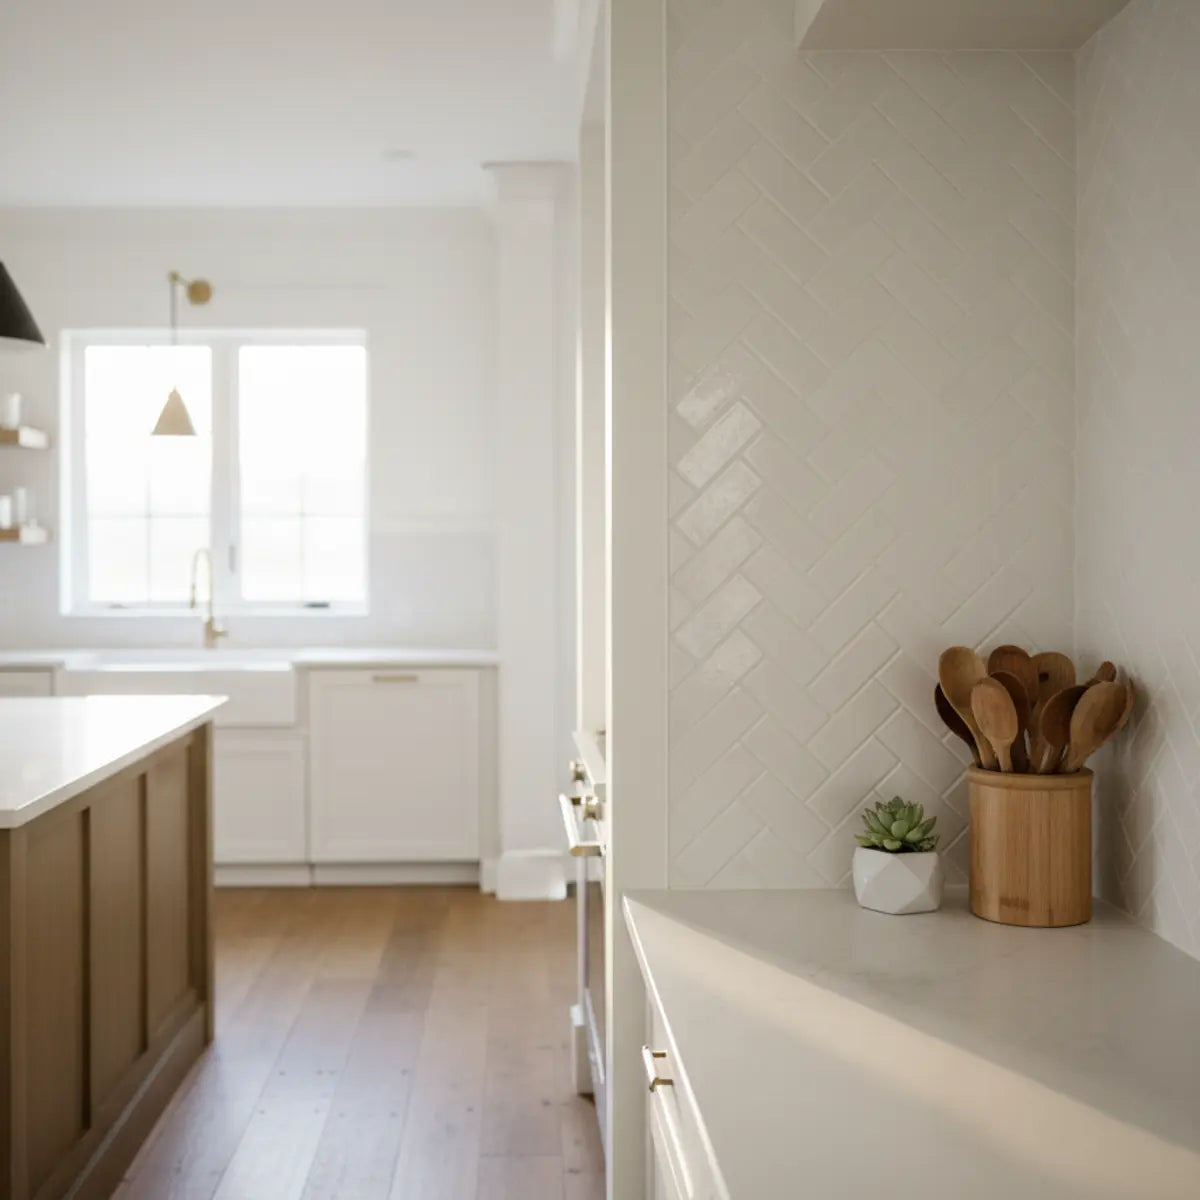
The herringbone pattern has a timeless elegance that few other designs can match. Its interlocking "V" shape creates a sense of movement and texture, turning a simple wall into a dynamic feature. It's a design choice that feels both classic and completely modern, which is why it continues to be a top trend for 2025 kitchen designs.
What we love most is its versatility. A herringbone backsplash works beautifully in a modern farmhouse kitchen, a sleek contemporary space, or even a cozy, traditional home. The pattern itself draws the eye upward, making small kitchens feel taller and more spacious. It's a designer secret for adding high-end visual interest without a high-end price tag.
In fact, a well-executed backsplash is one of the DIY projects with the highest return on investment. A study from the National Association of Realtors often points to minor kitchen remodels offering a return of over 70%. It’s a small project that adds significant perceived value when it comes time to sell.
What Tools and Materials Do I Need?
The Question: Am I going to need a workshop full of expensive, specialized tools?
The Promise: We'll break down the exact tools and materials you'll need, offering budget-friendly options and a clear checklist so you can shop with confidence.
Gathering your supplies beforehand is the first step toward a smooth, stress-free installation. Nothing is worse than having to stop mid-project for a run to the hardware store. Think of this as your mise en place for DIY—everything in its place before you start.
The Essential Toolkit
Here are the non-negotiables for this project. While you can rent some items like a wet saw, owning basic tiling tools is a great investment for future projects.
- Measuring & Marking: Tape measure, level, pencil, and a layout square.
- Tile Saw: A wet tile saw is the best choice for clean, accurate cuts, especially with ceramic or porcelain. You can often rent one for a day.
- Adhesive Application: A V-notch or square-notch trowel (check your adhesive's recommendation) and a bucket for mixing.
- Tile Spacers: 1/8" or 1/16" are most common for backsplashes. T-shaped spacers can be especially helpful for herringbone.
- Grouting: A grout float, sponges, and two buckets (one for rinsing, one for clean water).
- Safety Gear: Safety glasses, gloves, and knee pads. Never skip the safety glasses when cutting tile.
Choosing Your Tile and Supplies
The tile you choose will define the final look. Here’s a quick comparison to help you decide.
| Material | Best For | Pro-Tip |
|---|---|---|
| Ceramic/Porcelain | Classic look, durability, and a wide range of colors. | Most common for DIY. Buy at least 15% extra to account for cuts and mistakes. |
| Natural Stone | High-end, organic feel (marble, travertine). | Requires sealing *before and after* grouting to prevent staining. |
| Glass | Modern, light-reflective look. | Can be tricky to cut without chipping. Use a specific glass-cutting blade on your wet saw. |
| Peel-and-Stick | The look without the mess or tools. | A fantastic, renter-friendly option. Choose a quality brand for durability. |
For those feeling intimidated by the cutting and mess of traditional tile, modern peel-and-stick options have come a long way. The Silver Stripes Herringbone from our collection, for example, gives you that classic pattern without needing a saw or adhesive. If you’re curious about this simpler approach, our Easy Guide to Installing Peel & Stick Tiles provides a foolproof method perfect for beginners.
How Do I Plan and Lay Out the Pattern?
The Question: How do I start the pattern so it doesn't end up crooked or weirdly cut off at the edges?
The Promise: This section provides the foundational steps for measuring, marking, and dry-fitting your layout to guarantee a balanced, professional-looking result.
Proper planning is the secret ingredient to a flawless herringbone backsplash. Ten minutes of measuring and marking can save you hours of frustration. The goal is to make the pattern look intentional and centered on your wall.
Finding Your Starting Point
A common misconception is that you should start in a corner. For a pattern as distinct as herringbone, it's best to start in the center and work your way out. This ensures the pattern is balanced and your cuts on both ends are roughly equal in size.
- Find the Center: Measure the horizontal length of your backsplash area and mark the center point with a pencil.
- Draw a Vertical Line: Use your level to draw a perfectly vertical (plumb) line through this center point, from the countertop to the cabinets. This is your primary guide.
- Establish the 45-Degree Angle: The points of your herringbone "arrows" will sit on this centerline. The first tile should be placed with its corner on the line, angled at 45 degrees. A speed square is invaluable here to get the angle perfect.
The All-Important Dry Layout
Before you even think about mixing adhesive, lay out your tiles on the floor or a large piece of cardboard.
This "dry lay" accomplishes two things:
- It allows you to see how the pattern will come together and make adjustments.
- It gives you a preview of the types of cuts you'll need to make at the edges and around outlets.
Lay out a section at least 3-4 feet wide. Place your spacers between the tiles just as you would on the wall. This practice run builds muscle memory and confidence. It’s the closest thing to a dress rehearsal in the world of DIY.

What is the Step-by-Step Installation Process?
The Question: I have my tiles and my plan... now what? How do I actually get them on the wall?
The Promise: Here is the hands-on, step-by-step tutorial for applying the adhesive and setting your tiles, with pro tips to keep your pattern straight and secure.
This is where the transformation begins. Work in small, manageable sections (about 2-3 square feet at a time) so your adhesive doesn't dry out before you can set the tiles. Patience is your best friend here.
1. Mix and Apply the Adhesive
Follow the manufacturer's instructions to mix your thin-set mortar or adhesive to a peanut butter-like consistency. Let it "slake" or rest for 5-10 minutes if the instructions say so. This allows the chemicals to fully activate.
Using the flat side of your trowel, spread a thin layer onto the wall. Then, come back with the notched side, holding the trowel at a 45-degree angle. This creates uniform ridges that will collapse perfectly when you press the tile in place.
2. Set Your First Tiles
This is the most critical step. Your first few tiles dictate the accuracy of the entire backsplash.
- The First Tile: Place the top corner of your first tile directly on the vertical centerline you drew earlier. Press it firmly into the adhesive with a slight twisting motion. This ensures a strong bond.
- The Second Tile: Place the next tile to form the first "V" of the herringbone. Its corner should butt up against the side of the first tile. Use your spacers to create the grout line.
- Check for Level: After laying the first two or three tiles, place your level across their tops to ensure they are flat. Adjust as needed before the adhesive sets.
3. Build Out the Pattern
Continue working your way up and out from the centerline. Let the pattern guide you. Each new tile should nestle against the previous ones. Pay close attention to your spacers—consistent grout lines are a key sign of a professional job.
Don't worry about the edge pieces yet. Leave those gaps for now and focus on filling in the main field. You will come back and fill in the custom-cut pieces later. We've found that trying to cut and install at the same time slows you down and increases the chance of errors.
If you're finding this part intimidating, it might be worth exploring simpler patterns first. For a complete look at designs that are easier to install but still deliver a major style upgrade, check out our guide on Trendy Subway Tile Patterns. It can give you some great ideas for your next project.

How Do I Cut Tiles for Edges and Outlets?
The Question: The middle of the wall is easy, but what about those tricky cuts around corners, cabinets, and power outlets?
The Promise: We'll demystify the tile-cutting process, providing clear instructions and safety tips to help you make perfect cuts for a seamless, finished look.
The small, angled cuts at the edges are what make a herringbone installation look truly custom. This step may seem intimidating, but with the right technique and a little patience, it's completely achievable.
The "Measure Twice, Cut Once" Philosophy
For straight cuts at the end of a row, hold a full tile in place over the last set tile, accounting for the grout space. Mark where it overlaps the edge of your backsplash area. This line is your cut line.
For cuts around outlets, the process is similar but requires more markings.
- Turn Off the Power: First and foremost, turn off the circuit breaker for the outlets you're working around. Safety is paramount.
- Mark the Tile: Hold the tile over the outlet and mark the top, bottom, and side edges of the electrical box on the tile with a pencil.
- Use the Wet Saw: Make a series of plunge cuts with your wet saw inside the marked box until you can knock the middle piece out. For L-shaped cuts, simply make two intersecting cuts.
Pro-Tip: Safety First
Always wear your safety glasses. A wet saw can kick up small chips of tile. We've seen too many DIYers get a scare by skipping this simple step. It's not worth the risk.
Finishing the Edges
Once your field tiles are set, it's time to go back and fill in the gaps at the top, bottom, and sides. Cut each piece individually, "back-butter" it with a small amount of adhesive, and press it into place.
For exposed outer edges, you have a few options:
- Caulk: A clean line of color-matched sanded caulk can create a simple, finished edge.
- Bullnose Tile: If your tile series offers it, a bullnose piece provides a clean, rounded edge.
- Metal Trim: Products like a Schluter strip give a very modern, clean look and are installed behind the tile.
What’s the Best Way to Grout and Seal?
The Question: How do I choose the right grout color, and how can I apply it without making a huge mess?
The Promise: This section covers the final artistic touch—grouting. We'll guide you on color choice, application technique, and the crucial step of sealing to protect your work for years.
Grouting is like framing your masterpiece. The color you choose can dramatically change the final look of your backsplash. After all your hard work, this is the step that ties it all together.
Choosing the Best Grout Color
The grout color decision comes down to personal preference and the look you want to achieve.
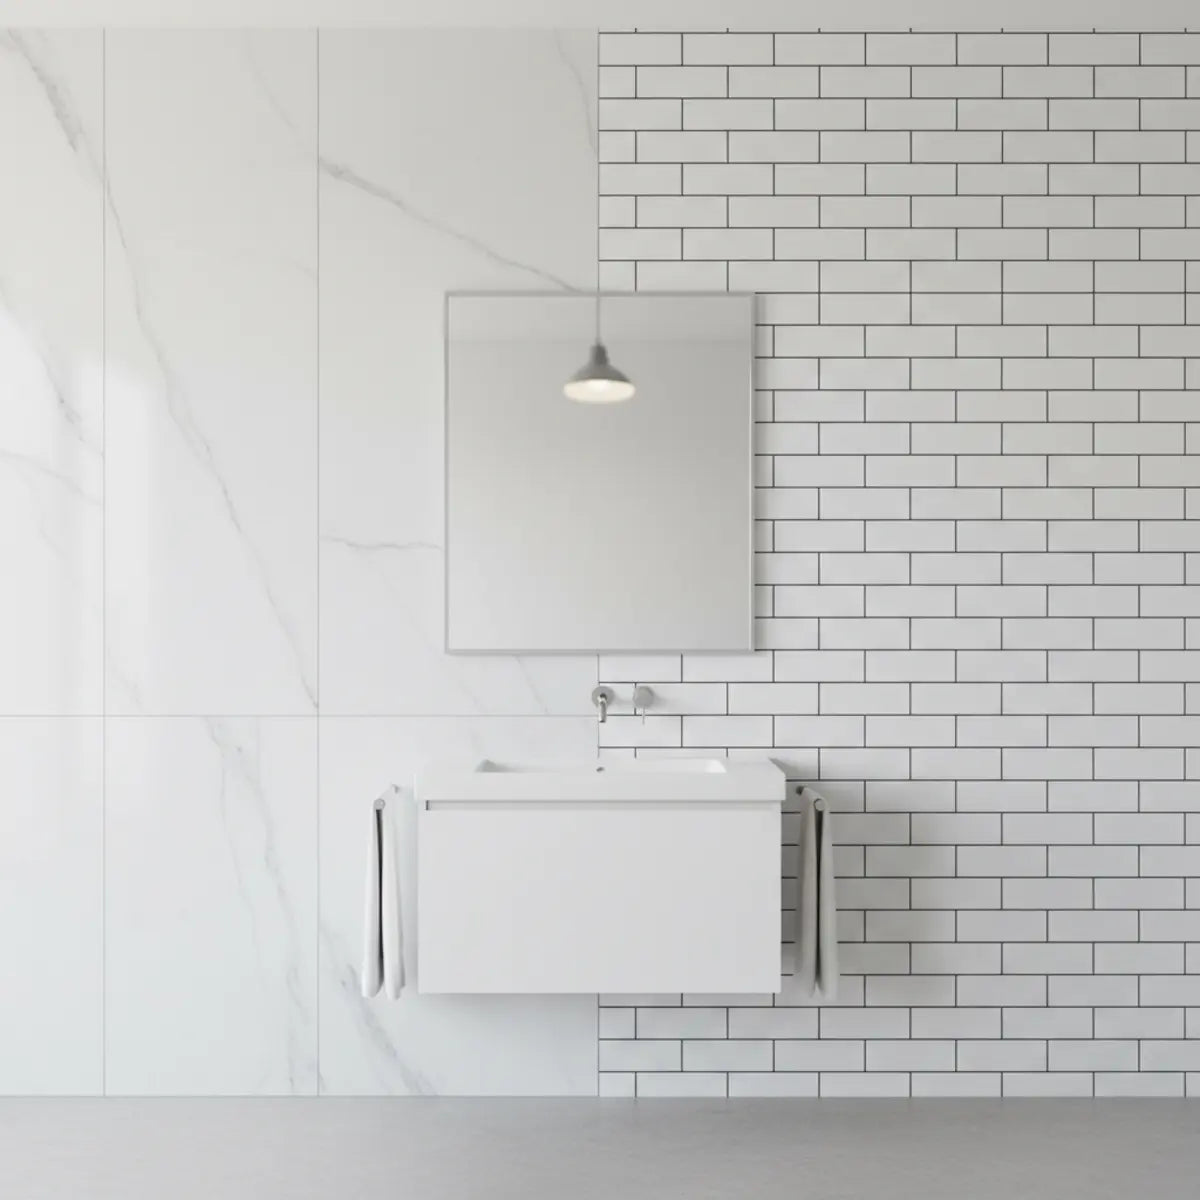
- High Contrast (e.g., white tile, dark grout): This makes the herringbone pattern pop. It's a bold, graphic look that emphasizes the shape of each tile.
- Low Contrast (e.g., white tile, white grout): This creates a more subtle, textural effect. The focus shifts from the pattern to the overall surface, giving a clean, monolithic appearance.
A great tip is to use a grout sample card from the hardware store. Hold it up to your tile on the wall to see how the colors interact in your kitchen's specific lighting.

The Grouting Process
Wait at least 24-48 hours for your tile adhesive to fully cure before grouting.
- Apply the Grout: Mix your grout according to the package directions. Using a grout float held at a 45-degree angle, spread the grout over the tiles, pressing it into the joints. Work in small sections.
- Remove the Excess: Scrape the excess grout off the tile faces with the float, moving diagonally across the tiles.
- Sponge Clean: After about 15-20 minutes, use a barely damp grout sponge to gently wipe the haze off the tiles. Rinse your sponge frequently in a separate bucket of clean water. This two-bucket system is a pro secret for a haze-free finish.
Sealing for Longevity
After the grout has cured for the recommended time (usually 72 hours), it's time to seal it. Grout is porous and can easily absorb stains from cooking splatters. A simple penetrating sealer will create an invisible barrier. Just wipe it on with a small brush or applicator, let it soak in, and wipe off any excess from the tile face. This small step will keep your backsplash looking brand new.
How Do I Troubleshoot Common Mistakes?
The Question: What if I mess up? What if a tile is crooked or the adhesive is drying too fast?
The Promise: We'll cover the most common DIY hiccups and provide simple, expert-approved fixes so you can solve problems on the fly and finish with confidence.
Even seasoned pros run into issues. The difference is that they know how to fix them without panicking. Here are solutions to a few common problems you might encounter.
Fixing a Misaligned or Slipped Tile
If you notice a tile is crooked or has slid down shortly after placing it, you have a small window to fix it. Gently pry it off with a putty knife. Scrape the adhesive off the wall and the back of the tile. Then, apply fresh adhesive and reset it correctly.
If the adhesive has already set, the fix is a bit more involved. You’ll need to carefully chip out the tile and grout, scrape the surface clean, and then install a new tile. This is why it’s so important to buy that extra 15% of tile!
Dealing with Adhesive That Dries Too Quickly
Tile adhesive (thin-set) has a limited "open time." If you're working in a hot, dry room or in front of a sunny window, it can dry faster than you expect. If you spread too much, the surface will "skin over" and won't bond properly.
The fix is simple: only spread as much adhesive as you can comfortably tile in 10-15 minutes. If it does skin over, just scrape it off and apply a fresh layer.
Repairing a Chipped or Cracked Tile After Installation
It happens. Maybe a pot bangs against the backsplash, or you notice a hairline crack after the fact. Don't worry, the entire backsplash isn't ruined. You can perform a "tile-ectomy."
Use a grout removal tool to carefully grind out the grout around the single damaged tile. Then, using a hammer and chisel (and your safety glasses!), carefully break the tile from the center outwards. Scrape away the old adhesive and set your replacement tile.
How Do I Maintain and Style My New Backsplash?
The Question: My backsplash is installed! How do I keep it looking great and make it the star of my kitchen?
The Promise: This final section gives you simple cleaning tips and styling inspiration to help you enjoy and show off your beautiful new herringbone backsplash.
Congratulations! You did it. You’ve conquered the herringbone pattern and completely transformed your kitchen. Now, let's talk about how to care for it and make the rest of your kitchen worthy of its new star feature.

Simple Cleaning and Care
Maintaining your new backsplash is easy. For daily cleaning, a simple wipe-down with a damp cloth and a little mild dish soap is all you need. Avoid abrasive cleaners or scouring pads, as they can scratch the tile or wear away the grout sealer over time.
We recommend re-sealing your grout once a year. It only takes a few minutes and is the best insurance against tough stains from things like tomato sauce or coffee.
Styling Your Kitchen Around the Backsplash
Your new backsplash is a stunning focal point. Use it to guide your other design choices.
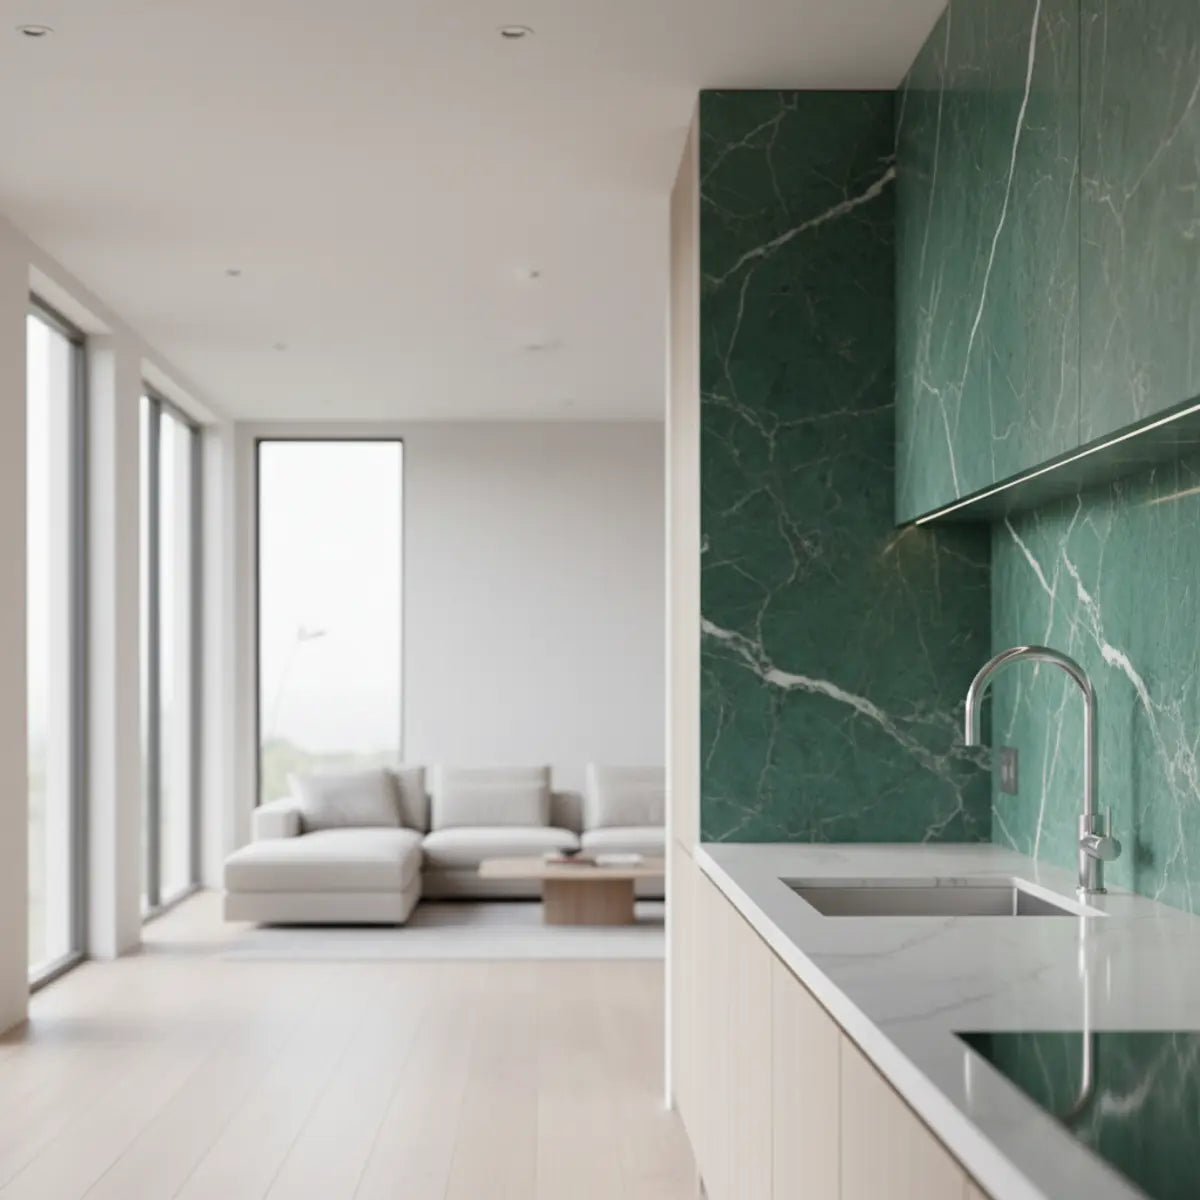
- Countertops: If you have a busy granite countertop, a single-color herringbone in a neutral tone provides texture without competing. With simple quartz or butcher block, you can be more adventurous with a bold color or a marble herringbone.
- Cabinetry: A classic white herringbone backsplash looks incredible with colored cabinets (like navy blue or forest green). If your cabinets are wood, a cream or gray tile can beautifully complement the natural tones.
- Hardware & Fixtures: Pull a color from your tile for your cabinet hardware. For example, a gray marble herringbone looks fantastic with modern matte black or brushed brass pulls.
Your new backsplash might even inspire other updates. Now might be the perfect time to explore a Subway Tile Shower Makeover in the bathroom to carry that fresh, updated feeling throughout your home. For more inspiration on tile choices and styles, our What Kitchen Backsplash Tile Guide is the perfect next read.
You took on a challenging project and succeeded. The skills you've learned and the confidence you've built are just as valuable as the beautiful backsplash itself.
Now, go enjoy your stunning new kitchen. You've earned it. And don't forget to share your success with us on social media!
For your next project, explore our other DIY backsplash guides or subscribe to our newsletter for more pro tips delivered straight to your inbox.
Frequently Asked Questions
How long does a DIY herringbone backsplash take to install?
For a standard-sized kitchen, most DIYers can complete this project over a weekend. Plan for one full day for preparation, layout, and setting the tile. Allow the adhesive to cure overnight, and then use the second day for grouting, cleaning, and sealing.
Is peel-and-stick herringbone a good alternative?
Absolutely. For those who want the herringbone look without the mess and tools of traditional tiling, high-quality peel-and-stick tiles are an excellent option. They are renter-friendly and can be installed in just a few hours. For a complete walkthrough that covers installation and the best designs for the upcoming year, our guide on How to Install Peel and Stick Tiles in 2025 is the go-to resource.
What is the hardest part of installing a herringbone backsplash?
Most people find the two most challenging parts are the initial layout and the angled cuts. Getting the first few tiles perfectly straight and centered is critical for the whole pattern. For cutting, renting or buying a wet saw makes a world of difference in getting clean, precise edges compared to a manual tile snapper.
Can I install a backsplash over existing tile?
While it's technically possible with the right primers and adhesives, we almost always recommend against it. Tiling over existing tile adds thickness that can cause problems around outlets and cabinets. It also relies on the old tile being perfectly sound. Taking the time to remove the old tile creates a better, more professional, and longer-lasting result.

Leave a comment
This site is protected by hCaptcha and the hCaptcha Privacy Policy and Terms of Service apply.