


Visualize Your Backsplash Before You Begin
Try our interactive visualizer below to see how different peel and stick subway tile designs can instantly change the look of your kitchen. Select a style to preview it on a sample wall.
Are you dreaming about updating your kitchen but dread the time, cost, and mess? Discover timeless backsplash designs and expert peel and stick installation tips to make your makeover a breeze.
Ever wish you could give your kitchen backsplash a brand-new look before lunch—and without hiring a contractor? Peel and stick subway tiles can make that happen. They stick like a decal, transform a wall in hours, and don’t require you to mix grout or haul out a tile cutter. For renters or first-time DIYers worried about making a costly mistake, this is one of the most forgiving ways to update a space. If you can peel the backing off a sticker, you’re already halfway there.
In this guide, I’ll walk you through how to install peel and stick subway tiles step by step, with an emphasis on avoiding the common mistakes beginners make. I’ll share measurement templates you can print, illustrate the process with photos, link a video walkthrough, and show you quick fixes if things go wonky. No prior tiling know-how is needed—just patience, a little prep, and the right approach.
Why Peel and Stick Subway Tiles Are Perfect for Beginners
If you're ready for a chic, contemporary kitchen refresh, explore modern peel and stick subway tile styles that blend elegance with affordability.
- No grout or special tools – Traditional tile involves mixing grout, spreading adhesive, and cutting ceramic or porcelain to fit around outlets. A peel and stick backsplash skips all that. The adhesive is pre-applied, the tiles are lightweight (often vinyl), and they trim easily with a utility knife or heavy-duty scissors.
- Budget-friendly and renter-approved – Permanent installations usually mean you’re investing hundreds into a space you might not live in forever. Peel and stick options cost less and, depending on the brand, are removable without damaging the wall. That makes them a smart renter-friendly backsplash.
- Speed and cleanliness – Once your surface is prepped, you can finish many small kitchens or bathrooms in two to four hours. No dust clouds from cutting tile, and no waiting days for materials to cure.
I recently worked with a friend who was hesitant to touch her 1990s beige laminate backsplash. She thought “real” tile was out of her league. Three hours later, using white self-adhesive tiles in a subway pattern, her kitchen looked like a magazine “after.” No one would guess they weren’t ceramic.
Tools & Materials Checklist
If you need versatile ideas beyond kitchens for your next project, check out our ultimate guide to peel and stick tiling solutions.
Even though peel and stick subway tiles are marketed as an “easy install subway tile” solution, a few tools make the job faster and neater. Lay them out before you start so you’re not hunting mid-project.
- Tape measure and pencil
- Ruler or straight edge
- Utility knife or scissors
- Level or laser level
- Mild detergent, sponge, alcohol
- Safety gloves/glasses
- Optional: J-roller, cutting mat
Preparing Your Surface for Installation
Curious about prepping painted walls? Learn the exact steps in our guide to installing stick tiles on painted walls for a flawless finish.
- Remove old backsplash or residue
- Clean thoroughly and allow to dry
- Smooth out imperfections
Step-by-Step: How to Install Peel and Stick Subway Tiles
Looking for kitchen-specific inspiration? See how others have done it in our kitchen upgrade guide and avoid rookie mistakes.
- Plan your layout
- Cut to fit awkward areas
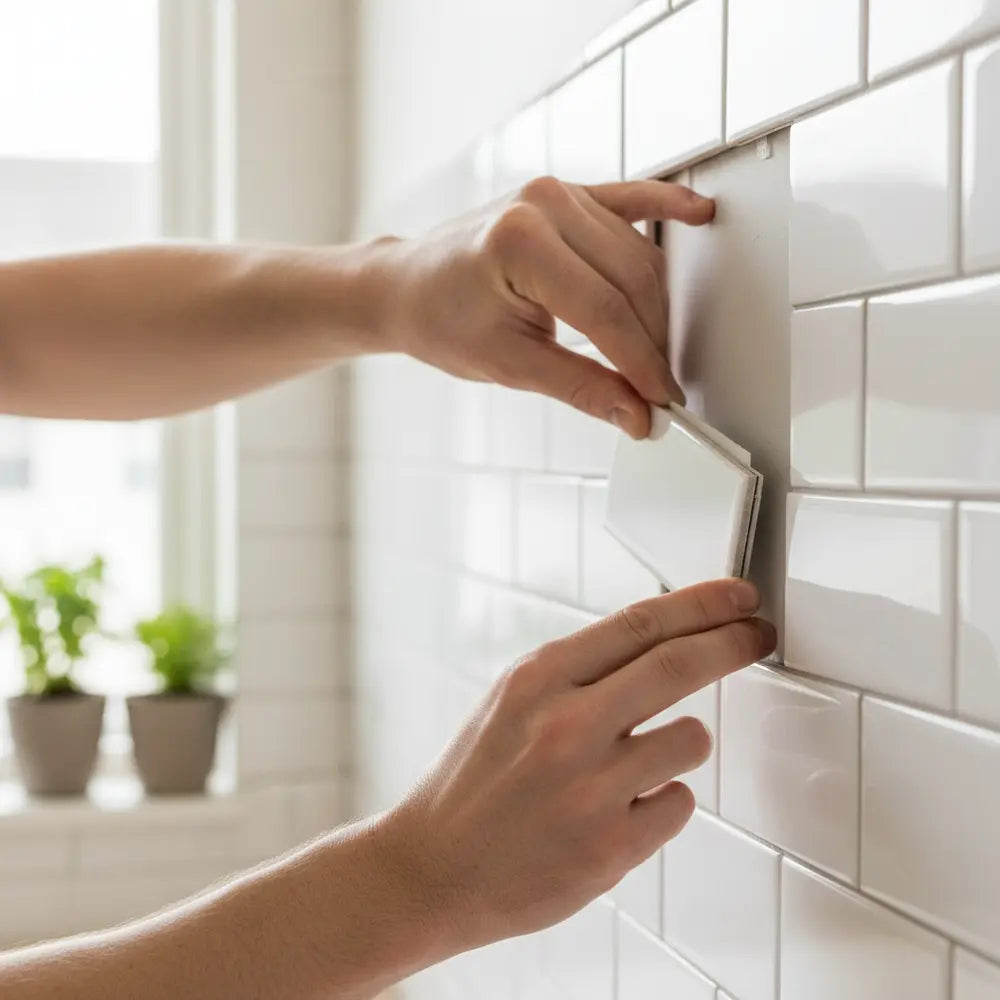
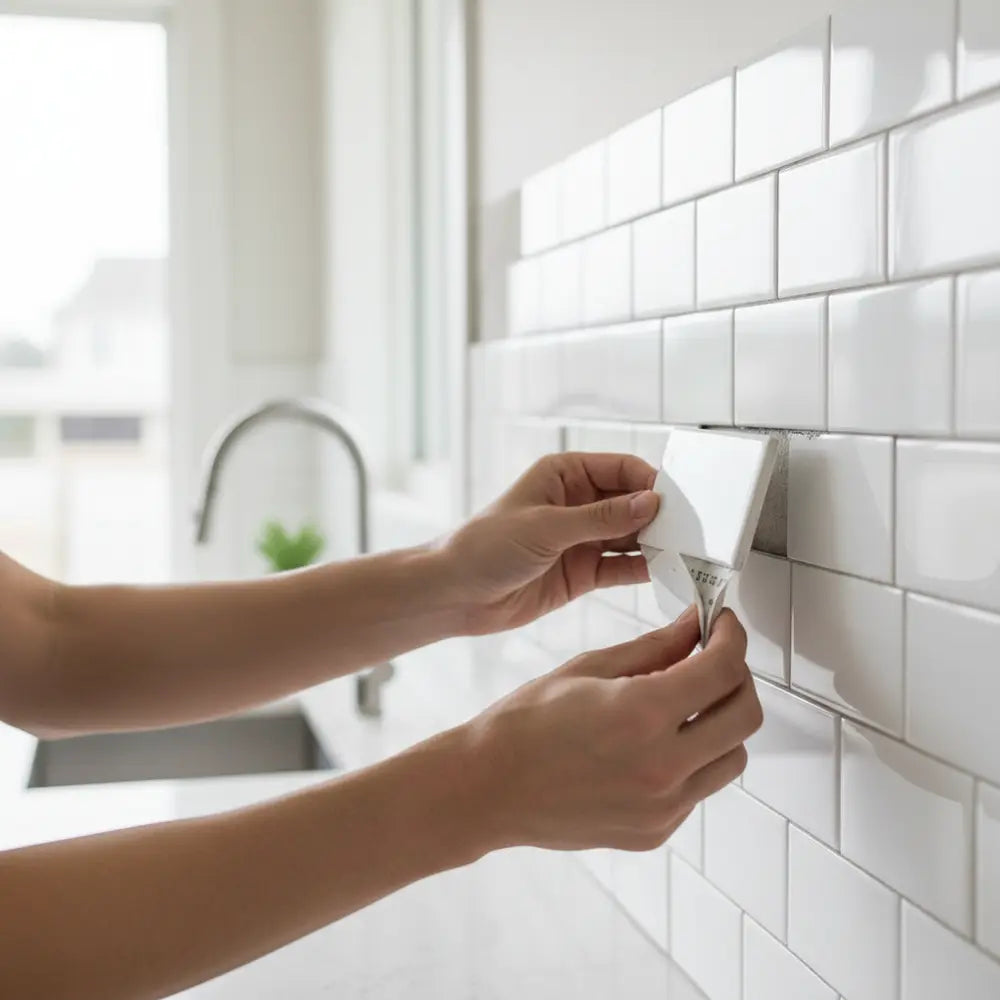
- Peel and stick carefully
- Lock tiles together
- Press for firm adhesion
Troubleshooting Common Installation Issues
- Tiles not sticking properly
- Misalignment corrections
- Fixing bubbles or lifting edges
If you're tackling a bathroom instead, see bathroom peel and stick tile transformations that deliver a spa-worthy look in hours.
Caring for and Maintaining Your New Tiles
- Gentle cleaning
- Avoiding heat and sharp damage
- Replacing a damaged tile
Shop Recommended Tiles for This Project
For a bright, classic finish, try Subway Magic Peel and Stick Tiles—waterproof, renter-friendly, and easy to install.
For bold contrast, consider Jet Subway Peel and Stick Tiles—sleek, modern, and effortlessly chic.
Conclusion
Installing peel and stick subway tiles is one of the fastest, most accessible DIY kitchen updates you can tackle.
Downloadable Measurement Template Checklist
Before you get started, download our free printable checklist to make sure you have every measurement and tool ready.
Quick DIY Q&A
- Yes, over existing flat tile with grout lines filled
- 5–10 year lifespan
- Water-resistant, avoid direct water
- Removable with mild heat


Leave a comment
This site is protected by hCaptcha and the hCaptcha Privacy Policy and Terms of Service apply.