












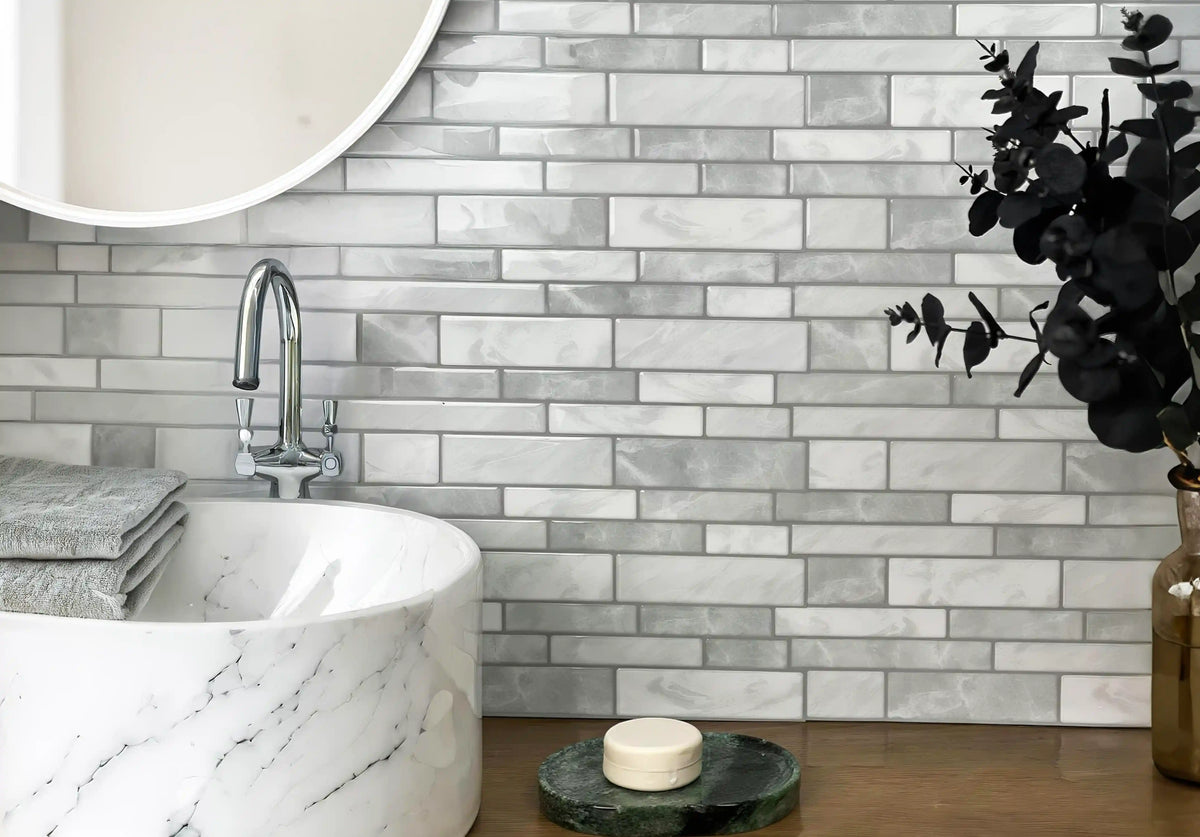
Importance of Waterproofing in Shower Renovations
Role of Waterproofing in Shower Renovations
-
Prevents Water Damage: Waterproofing protects the walls and floors from moisture damage. Without it, water can seep into areas that are difficult to repair, leading to extensive damage.
Explore this guide
Water damage is not only a headache; it can also impair the aesthetic beauty of your bathroom. By waterproofing, you ensure that your investment remains visually appealing and functional. Remember, the key to a successful shower renovation is addressing waterproofing before diving into tile installation.
Common Waterproofing Pitfalls to Avoid
-
Poor Surface Preparation: Skipping the cleaning and priming steps before applying waterproofing can lead to adhesion issues.
-
Inadequate Layering: Not applying enough layers or failing to seal seams can leave areas vulnerable to water intrusion.
-
Ignoring Manufacturer Guidelines: Each waterproofing product comes with its specific instructions. Not following these can void warranties or lead to poor performance.
Many DIYers get excited and rush into the process, which can lead to these common pitfalls. Taking the time to prepare surfaces and carefully follow instructions can save you from headaches down the line.
Advantages of Waterproofing for Long-lasting Results
-
Cost Savings: By preventing water damage, you save on potential repair costs, making waterproofing a worthwhile investment.
-
Increases Property Value: A properly waterproofed shower can boost your home’s value. Prospective buyers often favor homes that need fewer renovations.
-
Aesthetic Preservation: Keeping tiles and fixtures in good condition enhances the overall look of your bathroom.
Waterproofing is like an insurance policy for your shower. It protects your investment and ensures that your bathroom remains a sanctuary of relaxation and cleanliness.
If you’re looking for a simple, effective way to waterproof your shower, peel-and-stick solutions are a fantastic choice. They take the hassle out of traditional waterproofing methods, making it accessible for DIY enthusiasts.
Overview of Peel-and-Stick Solutions
-
Easy Application: These solutions are designed for easy installation. Just peel off the backing and stick it onto a clean, dry surface.
-
Versatile: They can be used on various surfaces, including drywall, cement boards, and even existing tiles.
-
Less Mess: Unlike traditional methods, peel-and-stick solutions don’t require mixing or additional tools, making the process cleaner.
Peel-and-stick options are perfect for anyone wanting to avoid the mess and complexity of traditional waterproofing. They allow homeowners to take control of their renovations with confidence.
How to Properly Apply Peel-and-Stick Waterproofing
-
Surface Prep: Ensure the surface is clean and dry. Remove all dust, debris, and grease for optimal adhesion.
-
Measure and Cut: Cut the waterproof membrane to fit your space, ensuring all edges are covered.
-
Apply with Care: Start at one corner and slowly peel the backing while applying pressure. Smooth out any bubbles as you go.
Proper application is crucial. Taking the time to prep and measure can make a big difference in the final outcome. A well-applied waterproofing membrane will do its job effectively, ensuring your shower remains safe from moisture.
Benefit of Time Savings with Peel-and-Stick Solutions
-
Reduced Labor: Since installation is straightforward, you can complete your waterproofing in a fraction of the time compared to traditional methods.
-
Fast Drying: Most peel-and-stick products dry quickly, allowing you to move on to the next step of your renovation sooner.
-
Less Cleanup: Without the mess of traditional adhesives, cleanup is minimal, giving you more time to enjoy your newly renovated shower.
In my experience, peel-and-stick solutions not only save time but also reduce stress during the renovation. They enable me to focus on the fun parts of the project, like choosing tiles and designs, rather than dreading the complicated processes.
Subway Tile Installation Tips
Installing subway tiles can transform your shower into a chic space. However, the installation process requires attention to detail and a steady hand. Here are some tips to help you achieve the best results.
Choosing the Right Subway Tile
-
Size Matters: Subway tiles come in various sizes, typically 3x6 inches. Consider the scale of your shower when selecting a size.
-
Material Options: Choose tiles made from durable materials like ceramic or porcelain for better water resistance and longevity.
-
Color and Finish: Opt for colors and finishes that complement your bathroom design. Glossy tiles can create a sleek look, while matte finishes add warmth.
Choosing the right subway tile sets the tone for your entire shower renovation. It’s essential to select colors and textures that harmonize with your overall bathroom aesthetics.
Step-by-Step Guide to Installing Subway Tiles
-
Gather Your Materials: You’ll need tiles, adhesive, a tile cutter, spacers, and grout.
-
Plan Your Layout: Before sticking anything, lay out your tiles to visualize the design and ensure everything fits perfectly.
-
Apply Adhesive: Use a notched trowel to spread adhesive on the wall, applying it evenly.
-
Place the Tiles: Starting from the bottom, press each tile into the adhesive, using spacers to maintain even gaps.
-
Grouting: After the adhesive dries, remove spacers, mix grout, and fill the gaps between tiles for a finished look.
Following this step-by-step guide can significantly improve your tile installation experience. Each phase builds upon the last, ensuring a sturdy and beautiful finish.
Common Installation Mistakes to Avoid
-
Skipping Surface Preparation: Not prepping the wall can lead to poor adhesion and tile failure.
-
Incorrect Tile Spacing: Over or under-spacing tiles can create an uneven appearance. Use spacers consistently.
-
Ignoring Grout Sealing: Failing to seal grout can lead to staining and moisture penetration.
Avoiding these common mistakes will lead to a more polished finish. Each step in the installation process is vital, and a little preparation goes a long way in achieving a flawless look.
Before-and-After Transformations
Nothing showcases the power of a good renovation like a stunning before-and-after transformation. Subway tiles can completely change the feel of your shower, creating a beautiful space you’ll love.
Inspirational Makeover Ideas
-
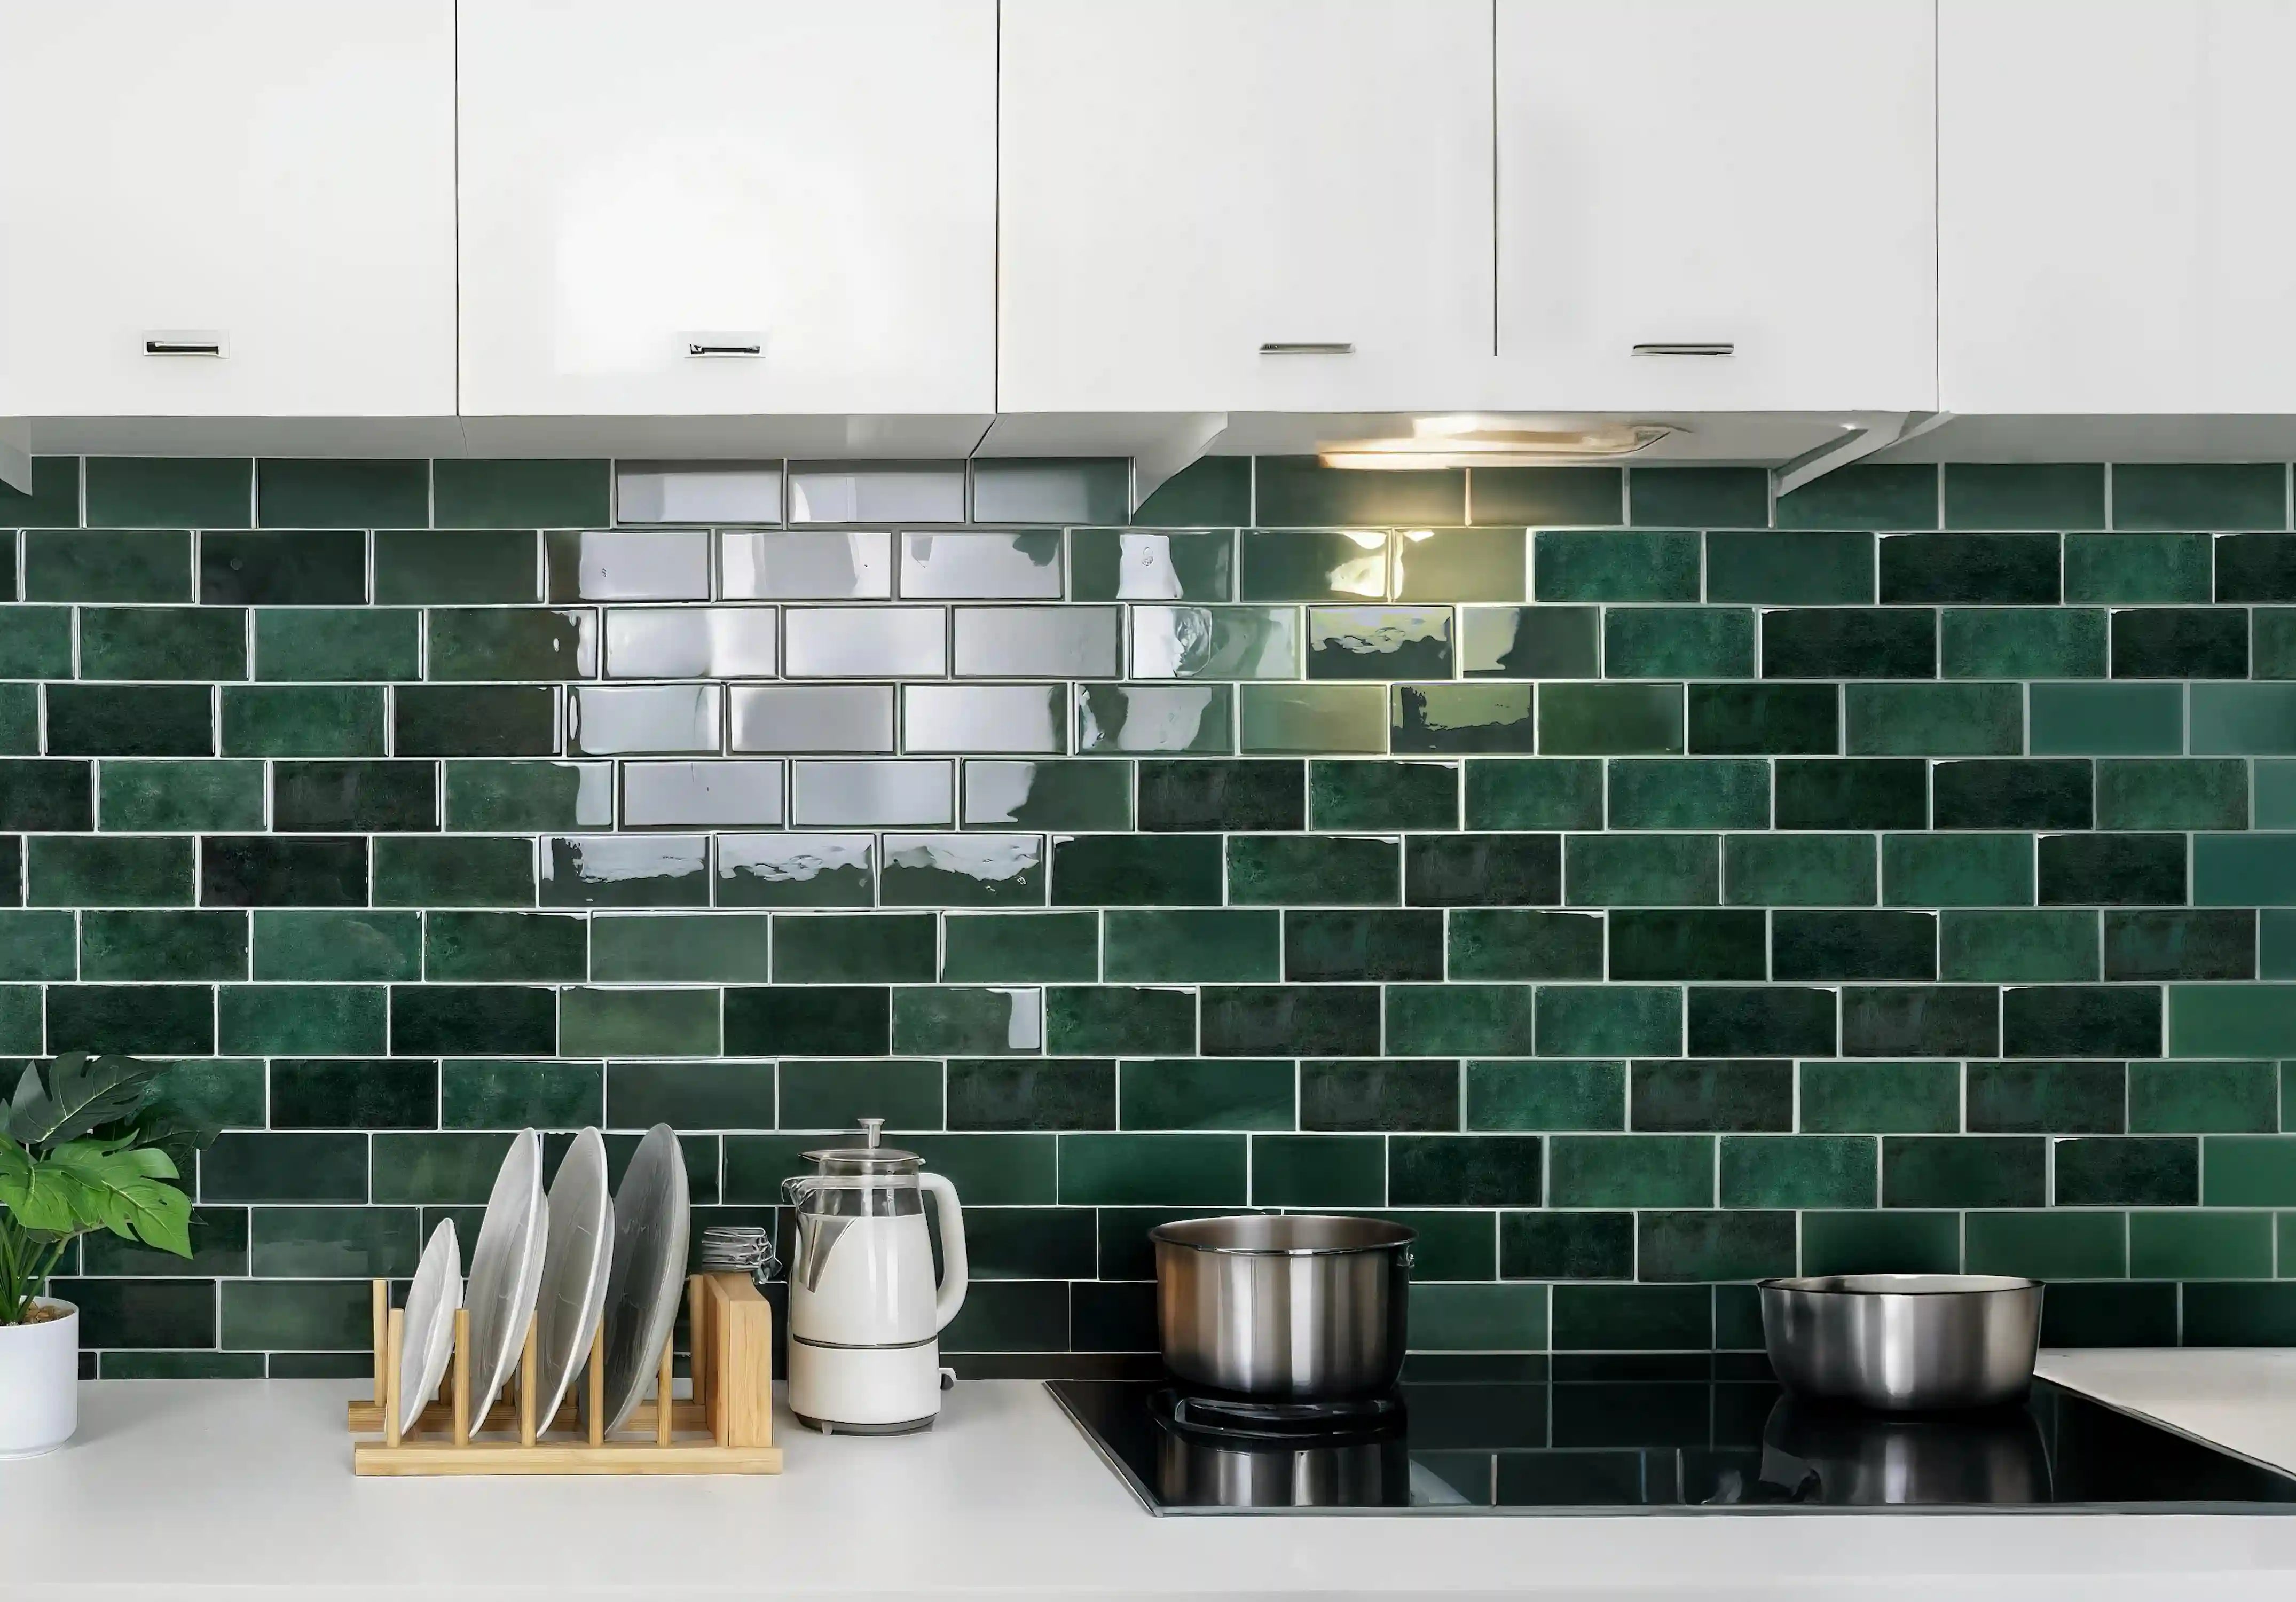
Classic White Subway Tile: A timeless choice that brightens up any shower, creating a clean and fresh look.
-
Bold Colors: Consider vibrant subway tiles to add personality and drama to your bathroom.
-
Mixed Patterns: Combining different tile patterns can create a unique visual interest, making the shower a focal point.
These makeover ideas can inspire anyone looking to revamp their shower. The versatility of subway tiles allows for creativity, whether you prefer a minimalist or bold design.
Real-Life Before and After Stories
-
Small Bathroom Transformation: I once renovated a cramped bathroom by installing glossy white subway tiles. The change was immediate; the space looked larger and brighter.
-
Outdated to Modern: A friend swapped her old tiles for a dark-colored subway design, instantly adding sophistication to her bathroom.
Real stories like these illustrate the impact that subway tiles can have on any shower renovation. They can truly transform a space, making it more functional and stylish.
Tips for Maximizing Visual Impact in Small Spaces
-
Light Colors: Use lighter shades to open up the space and reflect more light.
-
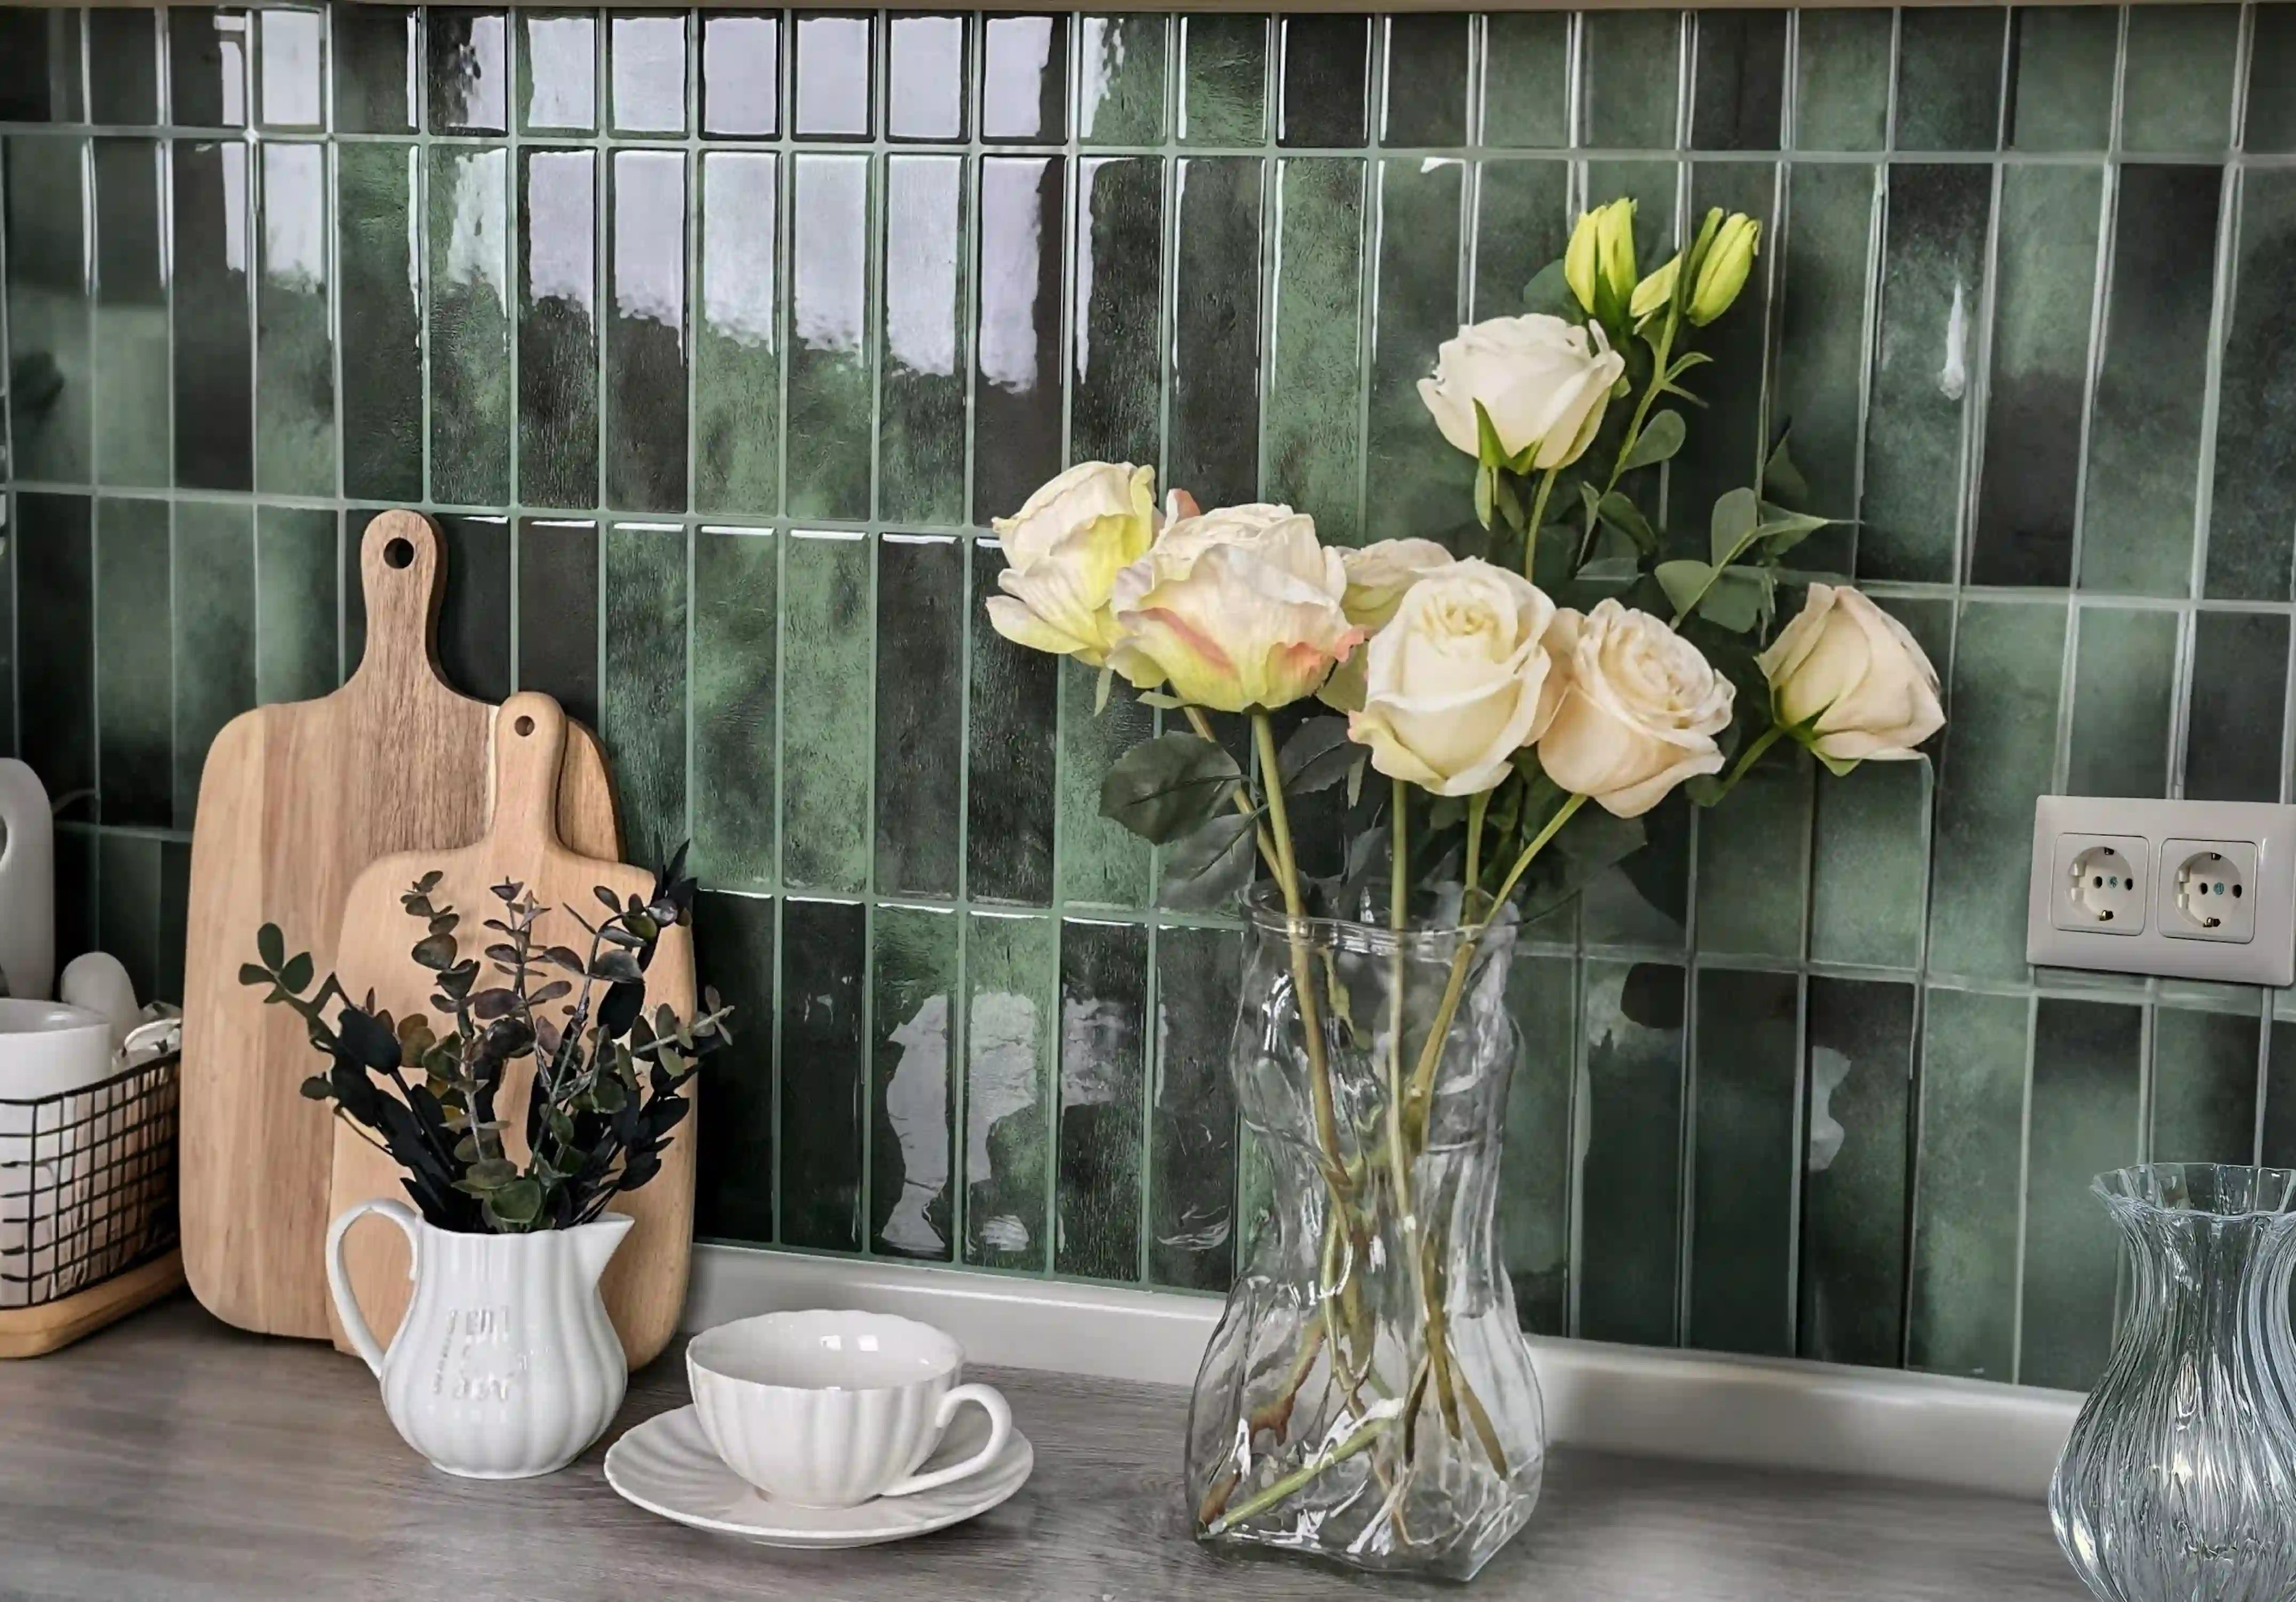
Vertical Installation: Laying tiles vertically can create the illusion of height, making the shower feel larger.
-
Incorporate Mirrors: Adding mirrors can amplify the effect of your tiles and enhance the overall brightness.
Maximizing visual impact is about smart choices. With the right techniques, even the smallest spaces can feel grand and inviting.
Conclusion
A well-executed subway tile makeover can dramatically elevate your home's value and comfort. With a strategic approach—placing heavy emphasis on waterproofing protocols—you can engineer a space that is both visually stunning and structurally sound. Whether you opt for traditional methods or modern peel-and-stick innovations, the result will be a sanctuary you enjoy every day.
Frequently Asked Questions (FAQ)
What type of subway tile is best for a shower in 2026?
Porcelain and ceramic tiles are the industry leaders for shower environments due to their near-zero water absorption rates. For a modern 2026 look, consider matte finishes or textured glazes that offer both style and slip resistance.
How do I maintain subway tiles long-term?
Routine maintenance involves cleaning with a pH-neutral solution to protect the grout and glaze. In 2026, we recommend inspecting your grout lines annually and resealing them to prevent moisture intrusion and discoloration.
Are peel-and-stick tiles really waterproof?
Modern peel-and-stick technologies have improved significantly. High-quality vinyl or composite peel-and-stick tiles designed for wet areas are effective if the substrate is perfectly primed and sealed, though traditional thin-set remains superior for longevity.
How long should I plan for a shower renovation?
A standard DIY shower renovation typically spans one to two weeks. This allows adequate time for demolition, waterproofing layers to cure fully, tiling, and grouting. Rushing the drying times is a common mistake to avoid.
Transforming your shower doesn't need to be overwhelming. With today's improved materials and clearer guidance, achieving a professional finish is more accessible than ever. We hope this guide empowers you to tackle your project with confidence this year. Happy renovating!
Separate waterproofing from the visible subway-tile finish
A shower is a water-management assembly first and a decorative finish second. The substrate, waterproofing membrane or other approved system, seams, corners, penetrations, drain connection and fixture transitions all matter before the visible tile is selected. A decorative subway pattern does not become the waterproofing layer simply because its face resists water.
Use the instructions for the complete shower system and the exact visible finish. Schluter’s documented seals are one example of how penetrations are treated as part of a larger waterproofing system; they do not authorize an unrelated decorative tile over every shower assembly.
Map direct-wet and lower-exposure zones
Mark the areas hit by shower spray, the lower wall where water accumulates, niches, corners, valve and showerhead penetrations, and any wall outside the enclosure that sees only occasional splash or humidity. Product selection should follow the actual exposure.
A finish that is appropriate on a dry bathroom accent wall may not be approved inside the enclosure. Keep the room name and the exposure category separate when reading product claims.
Inspect for moisture before covering the wall
Staining, soft drywall, loose tile, recurring mold, failed caulk or damp substrate requires investigation before a makeover. EPA guidance emphasizes fixing the water source rather than covering it.
If the existing shower has a leak or the waterproofing is uncertain, the project is no longer a simple surface refresh. Resolve the assembly condition before deciding on the decorative layer.
Choose the subway format by construction, not only by color
Subway describes a rectangular visual format. Ceramic, glass, acrylic, printed vinyl and composite products can all create that look while requiring different cutting, edge and installation methods. Record the exact material, dimensions and manufacturer-approved locations.
Use a real sample to compare grout-line appearance, relief, sheen and edge thickness. A printed grout line can look convincing from the front but very different at a niche or exposed end.
Plan the horizontal reference before the first row
Do not assume the tub, shower pan, ceiling or niche is perfectly level. Establish a reference line and dry-layout several rows so narrow cuts do not accumulate at the top or around a niche.
If the design uses a running bond, stack or vertical arrangement, confirm that the exact product permits the orientation. Interlocking or printed systems may have directional requirements.
Design corners and niches as part of the waterproofing transition
Inside corners, outside returns and niches combine visual alignment with water-management details. Do not improvise an edge treatment that interferes with a documented waterproofing or sealant detail.
Dry-fit the visible finish around the niche before installation. A small shift in the starting line can prevent fragile slivers and make the grout or printed-joint pattern look more deliberate.
Keep plumbing trim serviceable
Escutcheons, valve trim and showerhead penetrations may need future service. Decorative material should not cover fasteners or prevent trim from being removed according to the fixture instructions.
If plumbing work is required, treat it as plumbing work rather than an ordinary tile cut. Preserve the waterproofing detail around the penetration.
Choose cleaning before choosing the finish
Soap film, minerals and body-care products create a different cleaning routine from a dry backsplash. Check the exact finish for permitted cleaners and tools. Relief and printed coatings may respond differently from glazed ceramic.
If the required bathroom cleaning method is not compatible with the finish, choose another product rather than assuming gentler cleaning will always be enough.
Treat sealant as a detail, not a substitute for the system
Sealant may be part of a documented corner or perimeter detail, but adding a bead around a decorative product does not by itself create a waterproof shower. Follow the system instructions for required joints and changes of plane.
Keep sealant inspectable and maintainable. If it cracks, releases or shows recurring moisture, investigate rather than repeatedly covering the same area.
Plan future repair before closing the wall
Ask how one damaged piece, niche edge or perimeter detail is repaired without disturbing the water-management layer. Store spare visible material when practical and photograph the installation sequence.
A repairable decorative finish is useful, but local replaceability should not be confused with waterproof performance. Those are separate questions.
Use a shower makeover stop rule
Stop when the substrate is damp, the existing assembly is failing, the exact product is not documented for direct-wet exposure, a penetration detail cannot be preserved or the plan depends on the visible tile acting as undocumented waterproofing.
A shower is the wrong place to resolve uncertainty with optimism. Move a purely decorative peel-and-stick idea to a dry bathroom wall if the direct-wet conditions cannot be verified.
Keep the finished shower documented
Store product names, waterproofing-system information, installation photographs, fixture locations, cleaners and spare visible material together. That record helps later maintenance distinguish a decorative issue from an assembly issue.
Inspect corners, penetrations and lower edges during normal cleaning. Changes in those areas deserve attention before a cosmetic repair hides the evidence.
Record the existing shower assembly before demolition or overlay
Before changing the visible surface, document what can be identified about the existing substrate, waterproofing, tile, grout, sealant and fixture penetrations. Photograph cracks, discoloration and previous repairs. If the assembly is not known and signs of failure exist, investigation may be more important than a cosmetic update.
A shower makeover is easier to maintain later when the next person knows which system is behind the finish and which parts were changed.
Treat the shower pan-to-wall transition as a system detail
The lower wall and pan or tub transition receives frequent water and movement. Follow the complete shower-system instructions for this junction rather than improvising with decorative tile overlap or extra caulk.
A neat visible line can still conceal a poor water-management detail. Keep the finish decision secondary to the documented transition.
Plan the niche before the field tile
A niche creates four inside corners, a sill, a top, penetrations or shelf details and several pattern transitions. Lay out the subway pattern around the niche before committing the main field so the cuts are not reduced to thin strips.
The niche must also remain part of the waterproofed assembly. Decorative alignment should never require cutting or puncturing a waterproofing detail in a way the system does not permit.
Coordinate grout appearance with the actual material
Traditional ceramic subway tile may use separate grout, while some panels or self-adhesive products print or mold the grout line into the face. Those systems age and clean differently. Identify which visual lines are true joints and which are decorative.
This distinction affects maintenance: a printed line is cleaned as part of the tile face, while a real joint may have its own material and care requirements.
Use slip and floor requirements separately from wall style
A shower wall article should not imply that a wall product is appropriate for the shower floor. Floors have different slip, drainage, load and installation requirements. Use a floor system documented for the actual shower base.
Keeping wall and floor requirements separate makes the design more flexible and prevents the subway look from being treated as one universal material package.
Build a cleaning-access check around fixtures
Verify that the chosen layout allows cleaning around valve trim, corners, niches, grab bars and glass hardware. Deep relief or tight decorative gaps can become difficult to maintain if they are placed directly behind serviceable components.
Dry-fit trim plates before the final surface goes on so the finish does not prevent proper seating or removal.
Plan ventilation as a room function, not a tile property
A wall finish cannot solve a bathroom that remains damp because of ventilation or a building moisture problem. Observe how long condensation remains after normal use and keep vents and transfer paths unobstructed.
If moisture persists unusually, address the room condition separately. The decorative finish should remain inspectable rather than becoming a reason the problem is harder to see.
Use a final shower handover checklist
Keep the waterproofing-system documentation, visible-finish instructions, fixture information, approved cleaners, installation photographs and spare material together. Mark any service panels or removable trim that should remain accessible.
This record turns a visually simple subway shower into a maintainable assembly whose hidden and visible layers can be understood separately.
Confirm what can be changed without disturbing waterproofing
A cosmetic refresh may be possible when the underlying system is sound, but removing or covering the visible finish can affect membranes, boards, fasteners or sealant details. Identify the scope that the existing system permits before demolition begins.
If the project cannot separate the finish from the water-control layer safely, treat it as a shower-system renovation rather than a decorating project.
Check the top termination and ceiling line
The upper edge of a shower wall can meet paint, ceiling material, crown, trim or another tile field. Decide how the subway pattern ends and whether the transition remains inspectable.
Avoid a thin final course created only because the layout started at the bottom without checking the total height. Dry-layout the vertical stack first.
Use a sample for cleaning and appearance, not waterproof proof
A spare piece can help evaluate color, sheen, scratch visibility and the manufacturer-permitted cleaner. It cannot demonstrate that the complete shower wall is waterproof because the test does not reproduce seams, corners, penetrations and the substrate.
Keep sample observations within the question they actually answer.
Plan glass-door and grab-bar interfaces
Shower doors, channels, clips and grab bars can require fasteners or blocking that pass through the visible finish and interact with the waterproofing system. Coordinate those details with the appropriate installation instructions.
Do not let a decorative pattern dictate fastener placement or hide access needed for future adjustment.
Inspect after the first weeks of normal use
During routine cleaning, look at changes of plane, fixture penetrations, niche edges, lower transitions and any new discoloration. Record changes before adding more sealant or cosmetic material.
Early observation makes it easier to distinguish a maintenance issue from a water-management problem that needs investigation.
Use the visible tile only after the hidden work passes inspection
Where permits, inspections or manufacturer checkpoints apply, complete those requirements before the decorative finish hides the assembly. Take photographs of membranes, penetrations, corners and backing while they are still visible.
Those images can be valuable later when a fixture is changed or a moisture question appears, because the finished shower no longer reveals how the hidden layers were built.
Keep decorative experimentation outside the most critical details
If you want a bold vertical stack, contrasting color or unusual pattern, use it in the visible field without changing required waterproofing, movement or penetration details. The design should adapt to the system, not force the system to adapt to the pattern.
This separation makes it possible to create a distinctive shower while keeping the technical work traceable to documented instructions.
Coordinate accessories after the wall system is resolved
Soap shelves, hooks and storage accessories can introduce penetrations or concentrated loads. Select and locate them only after the waterproofing and backing requirements are understood.
A decorative tile pattern should not be used to justify an attachment where structural support or a documented penetration detail is missing.
Keep the final cleaning method with the project record
Once the shower is complete, record the cleaner and tools permitted for the visible finish and the sealant or joint materials. Household members should not have to guess which abrasive or chemical is safe.
Consistent maintenance makes changes easier to spot and reduces accidental damage caused by an incompatible cleaner.
Final shower decision rule
Proceed only when the hidden water-control system is sound and documented for the work, the visible finish is approved for the actual exposure, fixture penetrations remain serviceable and cleaning is compatible.
If any of those conditions are uncertain, resolve the system question before treating the project as a cosmetic makeover.
Keep spare visible material dry and labeled
Store spare finish pieces in conditions allowed by the manufacturer and label the shower location and pattern direction so a later cosmetic repair does not start with an identification problem.
Keep the visible-finish model number
Record the exact visible product model with the shower documents so future care instructions can be matched correctly.
Sources and scope
- US EPA: A Brief Guide to Mold, Moisture and Your Home — Moisture-control guidance; not approval of a decorative wall covering or shower assembly.
- Schluter: Waterproofing Seals — Example of penetrations within a complete waterproofing system; not approval of Stickwoll products.


Leave a comment
This site is protected by hCaptcha and the hCaptcha Privacy Policy and Terms of Service apply.