












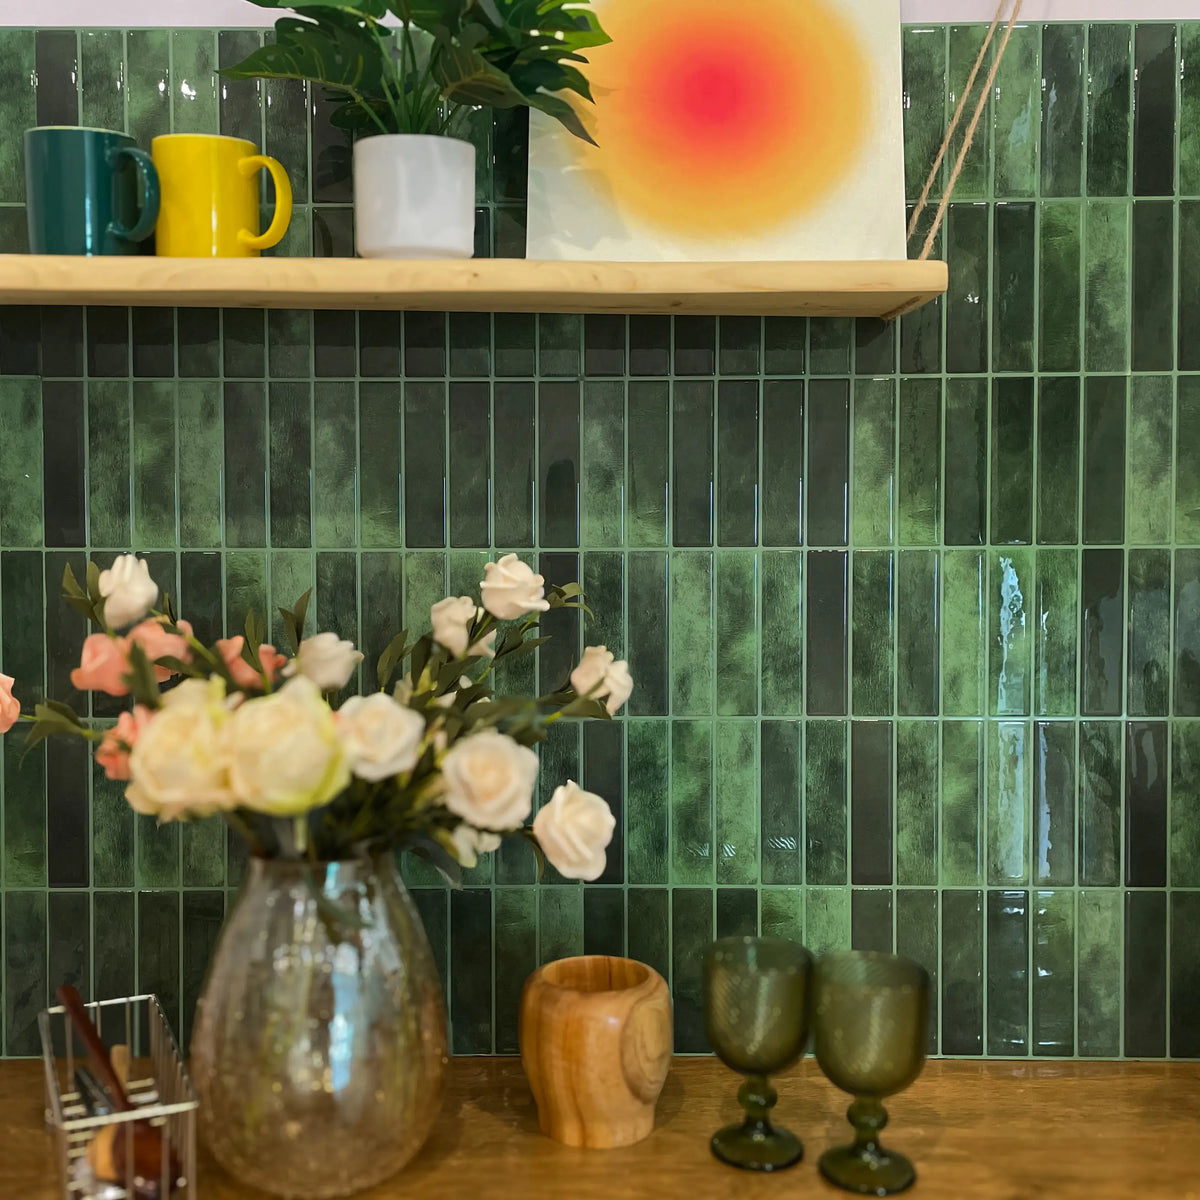
Introduction
Explore this guide
A peel-and-stick kitchen update begins with the exact wall, product and exposure rather than a trend year or survey statistic. This guide covers the practical sequence from planning to maintenance.
Understanding Peel and Stick Tiles
Types of Peel and Stick Tiles Available in the Market
- Vinyl-style products vary in construction, price and water exposure. Check the exact product rather than assuming all vinyl tiles are waterproof.
- Ceramic-Look Tiles: Mimic real ceramic but are lighter and easier to install.
- Metal Tiles: Sleek and modern, ideal for backsplashes.
- Wood-Look Tiles: Warm and rustic, perfect for farmhouse kitchens.
Each type has its own charm. For example, Timberline Checks tiles give a cozy wooden vibe, while Crimson Horizon offers a bold, modern look. If you love coastal aesthetics, Coastal Breeze tiles bring a fresh, beachy feel.
Benefits of Using Peel and Stick Tiles
- No grout or messy adhesives—just peel and stick!
- Renter-friendly—easy to remove without damage.
- Budget-friendly—costs a fraction of traditional tiles.
I once helped a friend redo her kitchen with Blush Petals tiles, and the transformation was stunning—all in one weekend!
Cost-Effectiveness Compared to Traditional Tiling
Traditional tiling can cost $10–$30 per square foot, while peel and stick tiles range from $1–$5 per square foot. Plus, you save on labor since installation is DIY-friendly.
Preparing Your Kitchen for Transformation
Cleaning and Measuring Your Workspace
- Remove grease and dirt with a degreaser.
- Measure your walls or floors accurately to avoid wasted tiles.
A clean, smooth surface ensures better adhesion. I once skipped cleaning, and my tiles started peeling within a week—lesson learned!
Gathering Essential Tools and Materials
- Utility knife for cutting tiles.
- Level to keep tiles straight.
- Measuring tape for precision.
Check out our DIY Peel and Stick Kitchen guide for a full tool checklist.
Planning Your Design and Layout
- Sketch your layout before sticking tiles.
- Mix and match patterns for a unique look.
For inspiration, browse our Trendy Kitchen Wall Ideas blog.
Step-by-Step Guide to Installing Peel and Stick Tiles
Surface Preparation and Adhesion Tips
- Sand rough surfaces for better stickiness.
- Use primer if needed for extra adhesion.
I once installed Snowfall Grid tiles on a slightly textured wall—sanding made all the difference!
Applying Tiles Accurately and Efficiently
- Start from the center and work outward.
- Press firmly to avoid air bubbles.
For a detailed walkthrough, see our Peel and Stick Tile Installation guide.
Troubleshooting Common Issues During Installation
- Air bubbles? Poke them with a pin and smooth them out.
- Misaligned tiles? Gently lift and reposition.
Enhancing Your Kitchen With Simple DIY Decor
Choosing Complementary Decor Pieces
- Add floating shelves for extra storage.
- Use peel and stick wallpaper for accent walls.
Our Stylish Kitchen Wall Accents blog has great pairing ideas.
Incorporating Functional Yet Stylish Elements
- Magnetic spice racks save space.
- Under-cabinet lighting adds ambiance.
Top DIY Decor Trends for Kitchens
- Open shelving for a minimalist look.
- Bold backsplashes like Tidal Plaid tiles.
Maintenance and Care for Your Updated Kitchen
Routine Cleaning Practices to Maintain the Look
- Wipe with a damp cloth—no harsh chemicals!
- Avoid abrasive scrubbers to prevent scratches.
Tips to Prevent Damage to Your Tiles and Decor
- Use coasters under hot pans.
- Seal edges in high-moisture areas.
Long-Term Upkeep for Sustainable Kitchen Aesthetics
- Inspect tiles yearly for lifting edges.
- Refresh decor seasonally for a new vibe.
For seasonal ideas, check out Seasonal Kitchen Decor.
Start with the wall, not the pattern
Identify the surface that will actually receive the adhesive: painted drywall, existing tile, another panel or a repaired area. Check for loose paint, chalking, grease, deep texture and moisture staining. If the wall is unstable or damp, correct that condition before choosing a decorative finish.
Use only cleaning and preparation methods compatible with both the wall coating and the exact tile. A stronger cleaner, universal sanding step or generic primer is not automatically better. Record the product and wall preparation so later troubleshooting starts from facts rather than memory.
Separate kitchen exposure zones
A dry wall beside a pantry differs from the wall behind a sink or cooking appliance. Map splash paths, countertop joints, kettle or coffee-machine steam and the appliance clearances. A waterproof face does not make every seam and substrate a waterproof system, and a heat-resistant marketing phrase does not define appliance clearance.
Measure the layout before ordering
Break the backsplash into rectangles around windows, cabinets and returns. Use the product's usable installed coverage, especially where sheets overlap or interlock. Draw the first course, exposed ends and outlet positions so narrow slivers and awkward pattern breaks are visible before purchase.
For an example, a wall 10 feet wide and 18 inches high has 15 square feet of face area. If an eligible pack provides 3 square feet of usable installed coverage, five packs cover the face arithmetically before adding any justified extra for cuts or repairs. The example is not a Stickwoll pack specification.
Dry-fit difficult cuts first
Keep release liners on while rehearsing outlet, corner and cabinet-return pieces. Use the cutting method specified for the construction; flexible vinyl, rigid composite and metal-faced panels need not use the same tool. Preserve electrical-device access and do not bury boxes or wiring behind decoration.
Install in a controlled sequence
Mark a reference line, place the first piece carefully and confirm the pattern before extending the field. Apply pressure using the method permitted for the tile without stretching the sheet or crushing an embossed face. If a piece repeatedly needs repositioning, stop and reassess rather than assuming the adhesive remains unchanged indefinitely.
At seams and exposed edges, follow the intended overlap, interlock or butt-joint detail. Caulk or trim should solve a documented finishing need, not hide a miscut or convert an unsuitable wall into a wet-area system.
Inspect before calling the project complete
Use raking light to find raised edges, bubbles or misaligned joints. Check that outlets and covers fit correctly and that appliances can still be serviced. Save one pack label, the care instructions and a photograph of the finished layout.
Plan cleaning and eventual removal
Use the exact tile's approved cleaner and tool. Control liquid around seams and stop if the finish softens, color transfers or an edge begins to lift. Do not assume steam, abrasive pads or strong degreasers are safe across all peel-and-stick products.
For renters or anyone expecting future removal, keep permission and restoration separate from product marketing. Removable does not mean guaranteed damage-free. Wall condition, dwell time and the specified removal method can change the outcome.
When equipment, cleaning products or room conditions change, recheck the wall rather than treating the original installation decision as permanent approval for every future use.
Compare the design with real kitchen materials
Put the actual tile sample beside the countertop, cabinet door and appliance finish. View the combination in daylight, under-cabinet lighting and evening room light. A sample that looks neutral on a phone screen can shift warmer, cooler or more reflective in the room.
Check pattern scale from the normal viewing distance. A large marble vein may be attractive on one sheet but repeat too obviously across a small backsplash. A small grid can become visually busy around outlets. Use enough dry-laid material to see the repeat before ordering the complete quantity.
Evaluate existing tile before covering it
If the wall already has ceramic or another finish, first determine whether the new product is approved over it. Check for loose pieces, cracked grout, silicone residue, deep joints and contamination. Covering an unstable old tile does not repair the underlying problem.
A thin adhesive panel can telegraph pronounced grout lines or edges. Use only a leveling or preparation method permitted for the new system and existing material. Do not improvise filler merely to create a visually flat surface.
Handle painted walls by coating condition
New paint can require a full cure before adhesive installation, and older paint can be weak even when it looks clean. Follow the coating and tile instructions rather than applying one universal waiting period. If the paint powders or releases during normal cleaning, address the coating before decorating it.
Do not automatically roughen glossy paint. Some pressure-sensitive adhesive systems prefer smooth contact surfaces. Preparation should follow the exact wall coating and tile guidance, not appearance alone.
Plan inside and outside corners deliberately
At an inside corner, decide which wall visually continues through the corner and how the product is intended to overlap or meet. At an outside corner, use the specified edge or trim method so the core or backing is not left exposed.
Dry-fit both sides together. A perfectly cut single wall can still create an awkward mismatch when the adjoining pattern is added later.
Order with replacement and return policy in mind
Check whether opened packs can be returned and whether product batches or print lots are identified. Keep enough unopened material to preserve options until the first dry layout is approved. When color or pattern variation matters, compare cartons before installation.
A modest repair reserve can be useful when the product may be discontinued, but the amount should come from the layout and likely repair size rather than a fixed percentage.
Finish the project with a controlled cleanup
Remove pencil marks, dust and fingerprints using methods permitted for the tile and adjacent surfaces. Do not introduce a strong solvent or abrasive cleaner at the final step after carefully controlling the installation.
Inspect the counter joint, exposed ends and seams after cleanup. Photograph the finished wall before appliances and countertop items obscure the edges.
Answer planning questions with product-specific evidence
Can it go behind the stove? Only if the appliance and tile instructions permit the proposed location and clearance. Can it go behind the sink? Only when the complete installation is suitable for the actual splash exposure. Can it be removed later? Follow the stated removal method and plan for possible wall repair.
How long will it last? There is no useful category-wide lifespan. Product construction, wall preparation, heat, moisture, cleaning and maintenance all matter. Use the exact product documentation and inspect the installation over time.
Build a product-documentation checklist
Before ordering, save the current product page, installation instructions, care guide and any written answer about the proposed wall. Record accepted substrates, excluded locations, installation conditions, cleaning limits and the intended seam treatment. Broad marketing terms such as waterproof, heat resistant or renter friendly should be translated into specific questions about the complete installation.
If the documents conflict, ask for clarification before cutting material. Do not choose the most favorable sentence and ignore a more specific restriction elsewhere. Keep the version and date of the documents with the order so future maintenance uses the same reference.
Design exposed edges and transitions
A backsplash rarely ends invisibly. Plan the edge beside a cabinet, window, doorway or open wall before installation. Check whether the product has a finished factory edge, requires a trim profile or can be cut cleanly without exposing an unattractive core.
At the countertop, follow the joint detail appropriate to the wall system and counter. At corners, decide whether pieces overlap, meet or use a profile. A neat middle field cannot compensate for unresolved exposed ends.
Troubleshoot the cause before repairing
If an edge lifts, record the location, wall preparation, moisture exposure and any recent cleaning change. Paint attached to the adhesive points to a different weak layer than adhesive left entirely on the wall. Do not automatically add stronger glue until the cause and approved repair are known.
If the print, gloss or face changes during cleaning, stop that method and consult the care guidance. A replacement piece should match the product, orientation and batch as closely as practical; keep spare material and labels together.
Keep a simple project record
Save photographs before preparation, the layout sketch, product identity, pack labels, installation date and care instructions. Record any unusual wall repair, primer or supplier clarification. These notes help another person understand what was done without exposing them to internal store or installer jargon.
For a rental, also save permission and the move-out restoration plan. For an owned home, keep the record with other kitchen maintenance information so a future appliance or countertop change can be evaluated against the existing backsplash.
Use a final readiness check before peeling the backing
Confirm that the wall is sound and prepared, the product is permitted for the exact zone, the layout has acceptable end cuts, the quantity is sufficient, the tools match the product and the difficult pieces have been dry-fitted. If one of those conditions is unresolved, solve it before committing the full installation.
The objective is not to make the project risk-free. It is to replace avoidable assumptions with documented choices that can be revisited when conditions change.
Understand the construction you are actually installing
Peel-and-stick is an attachment method, not one material. Thin printed vinyl sheets, foam-backed panels, gel-faced tiles, rigid composite pieces and metal-faced products can all be sold under the same broad category. Their cutting tools, thickness, seam design and cleaning limits can be different.
Read the product construction before copying an installation video. A score-and-snap method demonstrated on one rigid panel may damage another. A flexible sheet that wraps a small return may not represent how a thicker panel behaves. Keep the method tied to the exact SKU.
Also separate appearance from composition. A marble-look print is not natural marble, and a stainless-look face is not necessarily solid metal. Care and heat assumptions should come from the real construction rather than the visual imitation.
Plan the sink side from water paths
Observe where water reaches the wall during hand washing, dish cleaning and faucet use. The countertop-to-wall joint, faucet penetration and lower sheet edge can receive different exposure. A tile face that wipes clean easily does not automatically make those joints waterproof.
If the location is approved for the product, use the seam and edge detail specified by the system. Do not add random sealant to every joint without understanding whether the product expects overlap, butt joints or another detail.
Recurring dampness, swollen wall material or failed counter caulk should be repaired before decoration. Covering the symptom can make later investigation harder.
Plan appliance zones from manuals, not generic distances
Ranges, cooktops, toaster ovens and countertop appliances can expose the wall to different heat and service movements. Read the appliance installation manual and the wall product's temperature and location limits together. Do not substitute a general few-inch clearance from a blog.
Maintain the space required to remove filters, trays, water tanks or service panels. A decorative edge should not obstruct routine maintenance. When an appliance is replaced later, recheck the wall rather than assuming the old clearance remains valid.
Repair the wall as a separate task
Small nail holes, torn drywall paper, loose paint and water damage are not equivalent defects. Use a repair method suited to the substrate and allow the repair coating to reach the condition required before adhesive installation. A decorative panel should not be the repair material for unstable drywall.
After repair, check flatness with a straightedge where thin material could telegraph ridges. Sand or smooth only when the repair and coating instructions permit it, controlling dust before the adhesive surface is exposed.
Review the backsplash as the kitchen changes
Inspect exposed edges during routine cleaning and after plumbing, countertop or appliance work. A local change can introduce water, heat or movement that was not part of the original installation. Document repairs rather than repeatedly pressing a symptom back into place.
Keep spare material in suitable storage with the product identity. A future repair is easier when the pattern, batch and instructions are known, although a later replacement can still differ visually after aging or production changes.
The best long-term plan is not a promise that the backsplash will never change. It is a record that makes future decisions easier and keeps maintenance tied to the actual materials.
Walk through one hypothetical kitchen before installation
Imagine a ten-foot backsplash with a sink at the center, an electric range at one end and two outlets between them. The first decision is not color. The owner confirms which wall sections are suitable for the selected product, checks the range manual, inspects the sink joint and verifies the painted wall is sound. Only then does the owner compare the pattern beside the cabinet and countertop samples.
The layout drawing shows that centering the pattern on the sink would leave a narrow strip at the open end. Starting from a different reference creates two wider end cuts and still keeps the sink area balanced. The owner dry-fits the outlet pieces and discovers that one printed grout line would land directly through an outlet cover, so the starting point shifts slightly before any backing is removed.
During installation, the owner keeps the release liner on difficult cuts until the fit is confirmed. A seam beside the sink receives the exact edge treatment specified for that product, while the range end follows the appliance and tile location limits. The example does not establish a universal sequence for every kitchen; it shows how technical eligibility, layout and appearance can be decided in that order.
Use the same method for later changes
If the range is replaced, the sink faucet changes or a countertop is renewed, revisit the affected wall zone. A new appliance can have different clearance requirements, and countertop work can disturb the lower joint. The backsplash should be treated as part of a changing kitchen rather than a permanently approved background.
Ask five buying questions before checkout
First, which wall surfaces are accepted? Second, which sink, moisture and appliance locations are excluded? Third, what cutting and seam method does the product require? Fourth, which cleaners are allowed? Fifth, what does the manufacturer say about removal, repair and additional adhesive? These questions expose important differences between products that can look almost identical online.
Record unanswered questions instead of filling them with category assumptions. If a seller cannot clarify an important location restriction, choose a product with documentation that does. Product availability and price can change quickly, but the logic of comparing complete, documented use stays useful.
Before checkout, compare the quantity against the final layout and return policy. Make sure trim, spare material, tools and shipping are included in the budget. A low pack price is not meaningful when the product requires more packs, separate edge pieces or wall repair that another option does not.
Decide who will maintain the wall
Make the care method understandable to everyone who uses the kitchen. Keep the approved cleaner, basic wiping method and any edge or seam cautions with the product information. A backsplash that requires a special cleaner nobody remembers is harder to maintain than one whose care fits the household routine.
If a tenant, future buyer or contractor will inherit the installation, leave a short handoff note with the product name, spare pieces and removal or repair instructions. This does not turn the installation into a permanent guarantee; it simply preserves the information needed to make the next decision responsibly.
Keep one final photograph of the entire backsplash and several close-ups of corners, outlets, sink edges and appliance transitions. These images create a useful baseline for future cleaning, repairs or troubleshooting and help distinguish a later change from a condition that already existed at installation.
Store the final layout dimensions with the photos as well, so replacement planning does not depend on remeasuring around appliances or objects that may later block the wall. Keep those records together for future reference.
Frequently Asked Questions
1. Can peel and stick tiles handle heat?
Yes, today's quality tiles withstand standard kitchen heat, but always avoid direct contact with open flames or hot pans. Metal tiles like Bright White Zigzag are particularly heat-resistant for backsplashes.
2. Are peel and stick tiles waterproof?
Most 2026 options are highly water-resistant and wipeable. However, Verdant Dawn tiles are engineered to be fully waterproof, making them the ideal choice for areas near sinks.
3. How long do peel and stick tiles last?
With proper surface preparation and care, modern adhesives allow these tiles to last a product-specific service period.
4. Can I use them on textured walls?
Light texture works well, though sanding high spots helps. For heavy texture, try our Olive Squares tiles—they feature a thicker construction designed to adhere better to uneven surfaces.
5. Are they renter-friendly and easy to remove?
Absolutely. One of the biggest benefits is that they can be removed by applying low heat (like a hairdryer) to the surface, allowing you to peel them off without damaging the wall underneath.
Final Thoughts
As we embrace the trends of 2026, a DIY peel and stick kitchen makeover remains the perfect way to refresh your space efficiently and affordably. Whether you choose Coastal Breeze for a serene vibe or Crimson Horizon for bold drama, the possibilities are endless. Ready to start? Grab your favorite tiles from our collection and dive into your kitchen transformation today!
For more tips, explore our Modern Kitchen Decorations blog.
Sources and scope
- US EPA — Mold, Moisture and Your Home — Moisture-source control; not tile certification.
- Smart Tiles — Official FAQ — Manufacturer-specific examples; not Stickwoll specifications.
- 3M — Surface Preparation for VHB Tape Applications — Specific PSA preparation principles; not Stickwoll specifications.
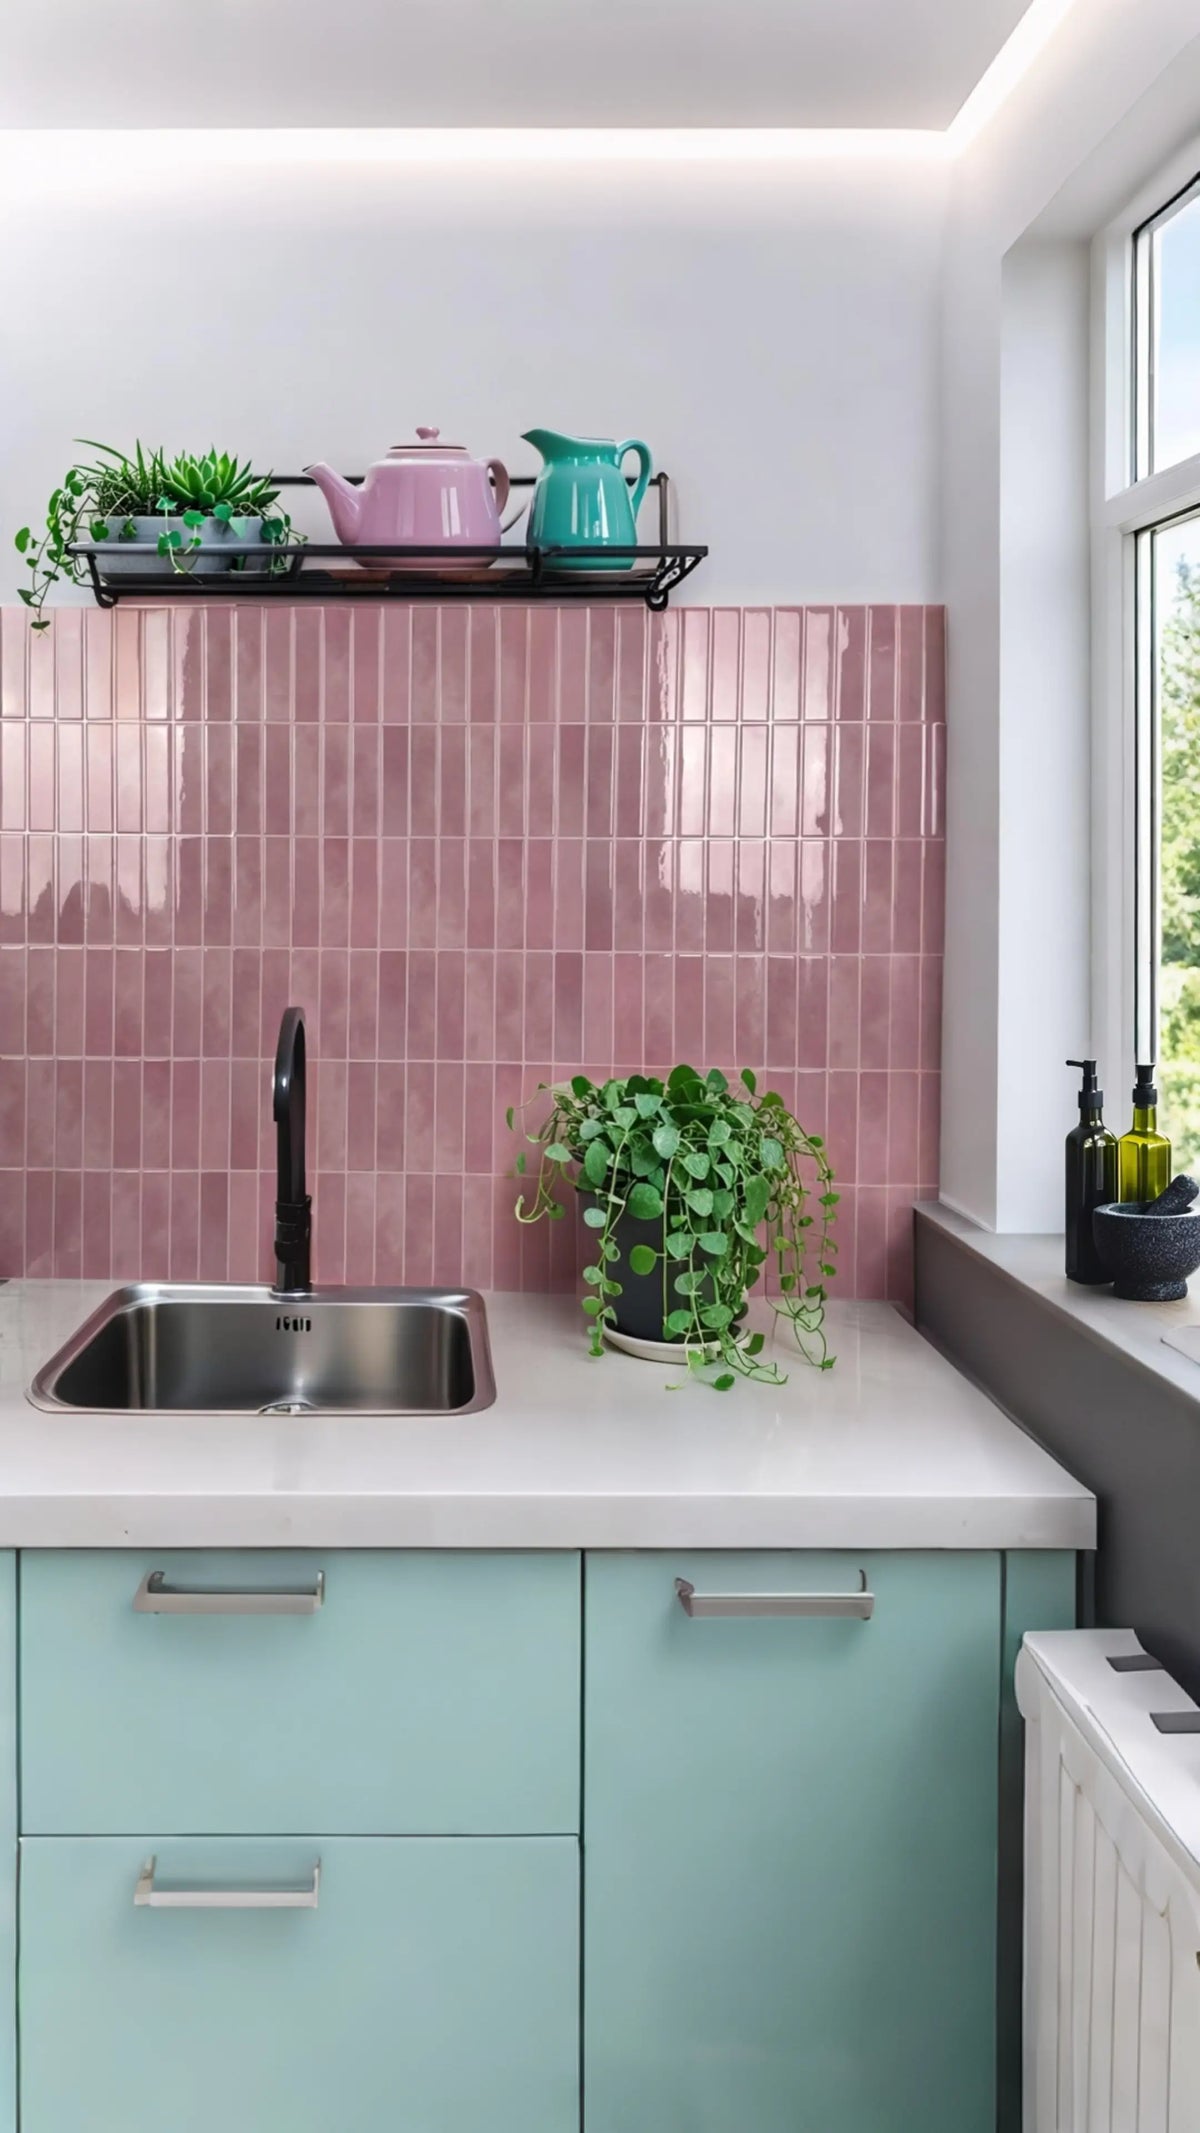
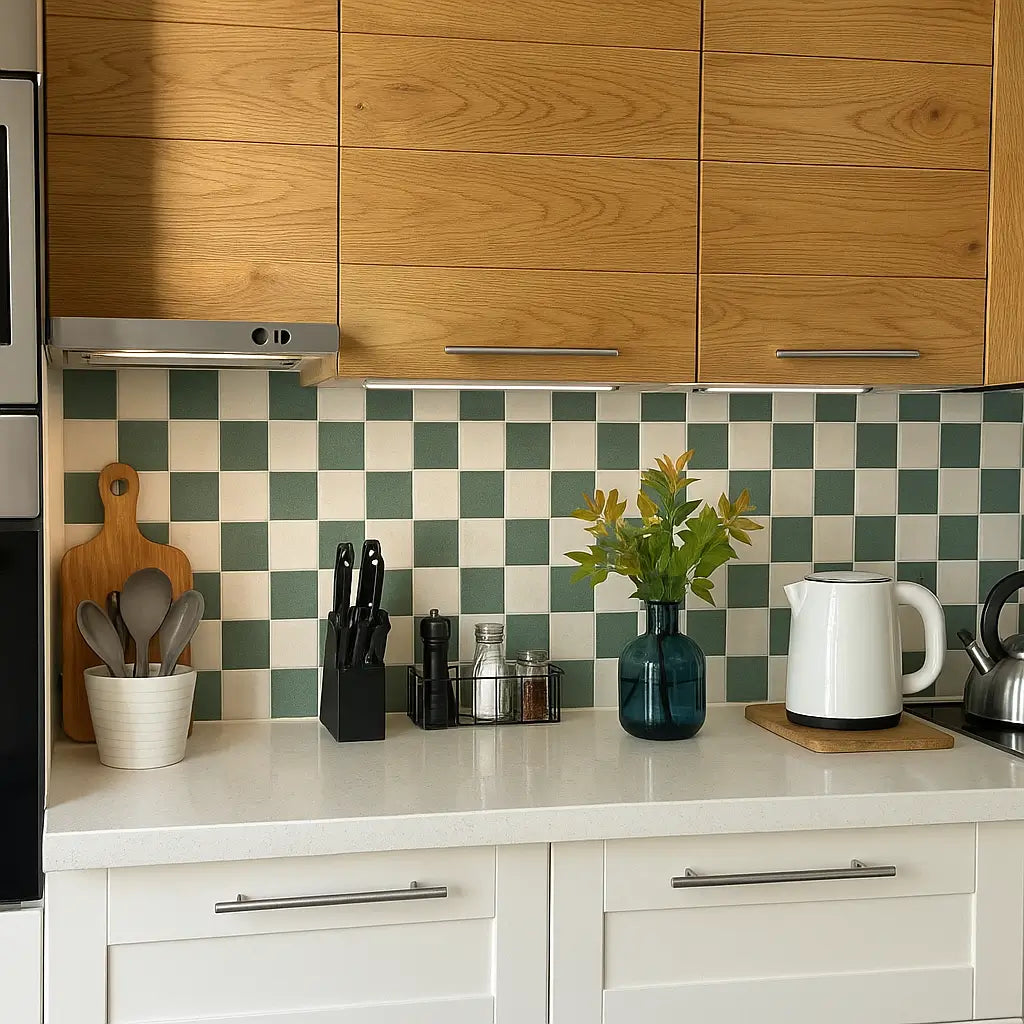


Leave a comment
This site is protected by hCaptcha and the hCaptcha Privacy Policy and Terms of Service apply.