





















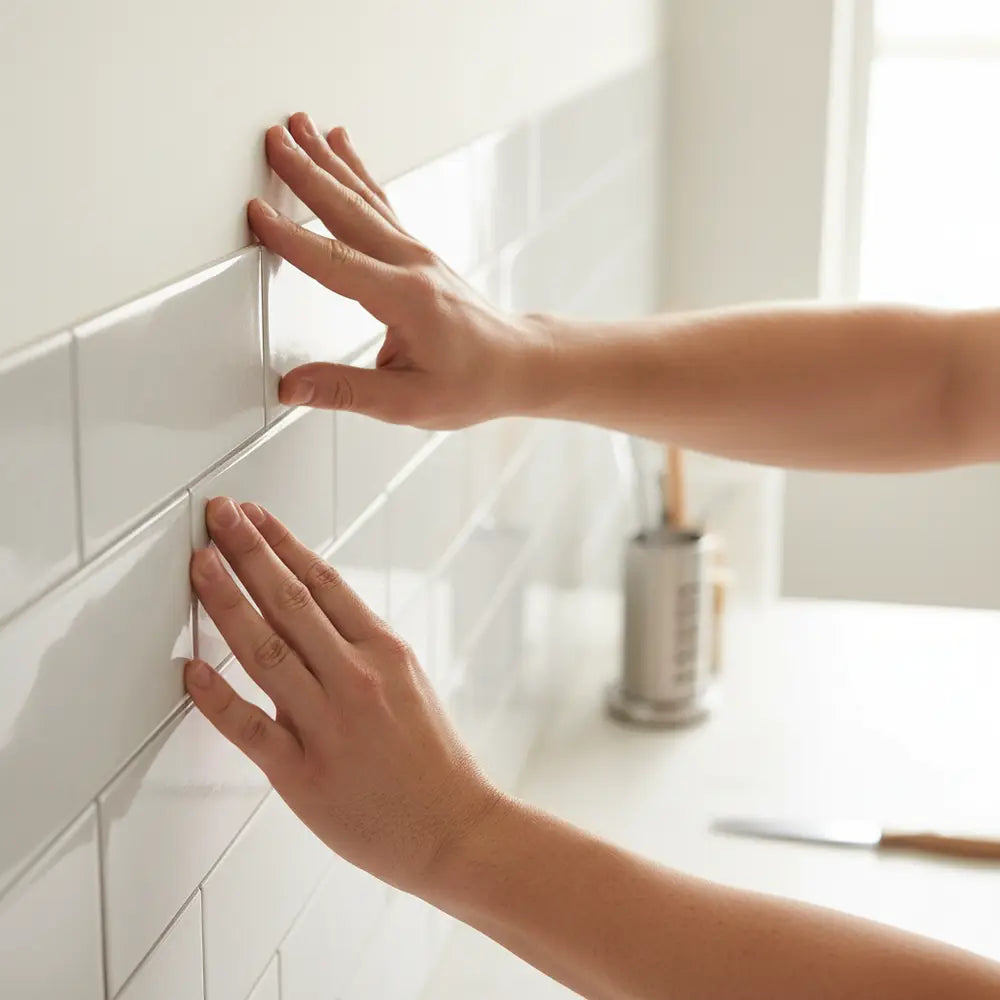
A vinyl backsplash can be a practical renter project, but “removable” is not the same as “guaranteed damage-free.” The wall coating, substrate, adhesive, installation time, heat, humidity and removal method all affect the result. A useful renter guide therefore starts with permission and wall condition—not with a promise about getting every dollar of a security deposit back.
This page focuses on the decisions that matter before a renter installs a peel-and-stick vinyl backsplash: whether the wall is suitable, where heat and water create limits, how to test the surface, what the lease allows, how to plan eventual removal and when a different finish is a better choice. For a detailed installation sequence, use our peel-and-stick vinyl backsplash installation guide.
Start with the lease and the wall
A product can be marketed for temporary projects while the lease still prohibits adhesive finishes, painting or other alterations. Read the relevant lease language and ask the landlord or property manager if the rule is unclear. Permission is a separate question from whether the adhesive can technically bond to the wall.
Then inspect the wall. Look for peeling or chalky paint, fresh paint that may not be fully cured, heavy texture, loose drywall paper, grease, existing adhesive, cracks, dampness or mold. A self-adhesive finish depends on the condition of the surface beneath it. If the paint layer is weak, a strong adhesive can pull that weak layer away during removal.
Do not promise “damage-free” removal
No brand can know the full history of an unknown rental wall. Paint may have been applied over dust, over uncured primer or over an older weak coating. Drywall paper may already be damaged. Humidity and time can change the way an adhesive releases. For that reason, treat renter-friendly as a planning category rather than a guarantee.
Test a small hidden area when the product instructions allow it. Follow the brand’s removal guidance, and avoid adding stronger permanent adhesive just to force a questionable surface to work. A short test cannot perfectly predict removal after a long installation, but it can reveal obvious incompatibility before the entire backsplash is covered.
Older paint may require lead-safe planning
If the property was built before 1978 in the United States, disturbing old paint can create a lead-dust hazard. The EPA’s lead-safe renovation guidance for DIYers explains why sanding, scraping, drilling and other paint disturbance on older surfaces need special precautions. Do not turn a cosmetic backsplash project into uncontrolled paint removal.
If the wall needs significant sanding or repair, resolve that issue before choosing a decorative finish. A renter may also need explicit permission before doing preparation that changes the wall.
Clean for adhesion without damaging the coating
Kitchen walls can carry grease and cleaning residue even when they look clean. Use a cleaner compatible with both the paint and the product instructions, then allow the wall to dry fully. Avoid oily cleaners or waxy products that can remain between the adhesive and the wall.
The general principle for pressure-sensitive adhesive is broad contact with a clean, dry, compatible surface. 3M’s pressure-sensitive adhesive surface-preparation guidance emphasizes surface cleaning and application pressure. That guidance does not mean every vinyl backsplash uses 3M adhesive; it illustrates why surface condition and pressure matter. The backsplash manufacturer’s instructions remain the controlling source.
Vinyl is a construction category, not a room rating
“Vinyl backsplash” describes material, not permission to use the product in every wet or hot location. Products can differ in thickness, backing adhesive, surface coating, seam design and installation method. One vinyl product may publish a sink-splash use case while another may exclude high-moisture areas.
Read the exact SKU or product-family instructions before deciding where it belongs. If the seller does not define heat, water or surface limits, that missing information should make you more conservative—not encourage you to borrow limits from another brand.
Water-resistant is not the same as a waterproof wall system
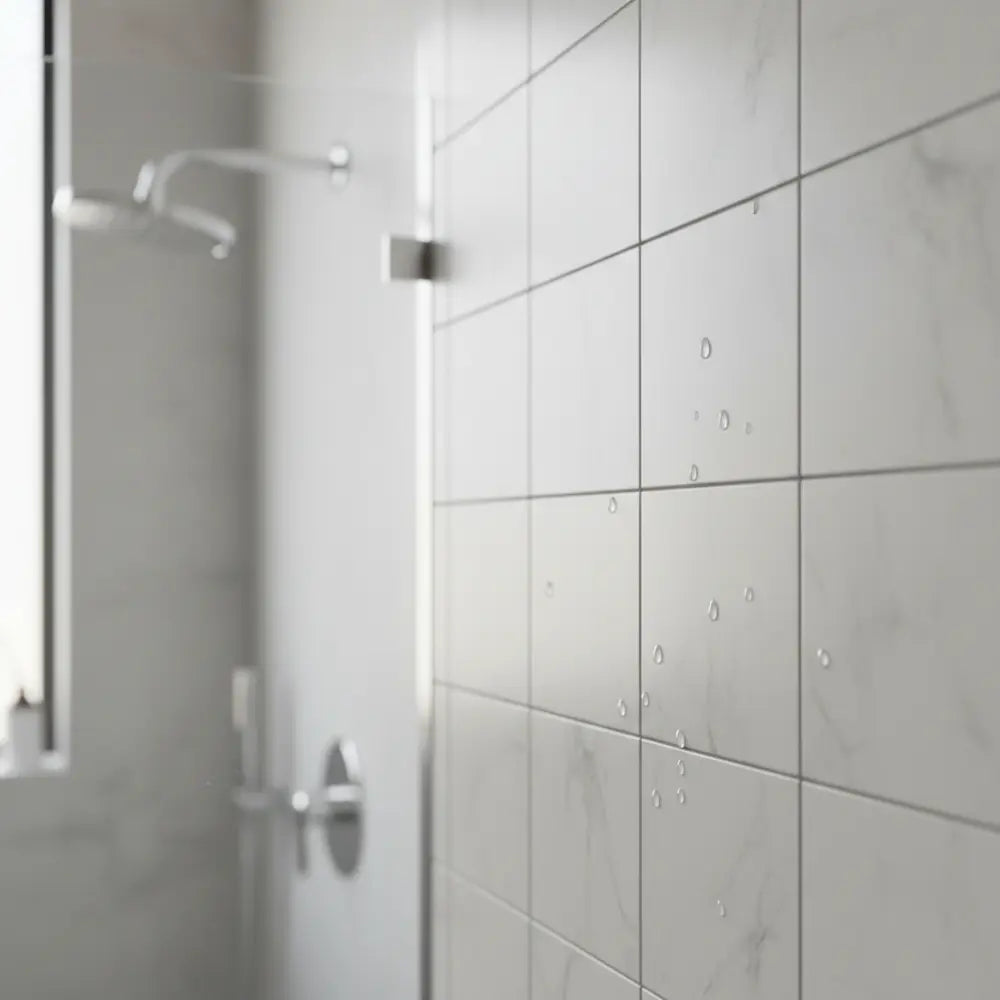
A backsplash face can be wipe-clean and tolerate routine splashes while the complete assembly remains vulnerable at seams, exposed edges, outlets and wall penetrations. Direct shower exposure is a different condition from occasional sink splashes. Do not treat the word “vinyl” as a waterproofing specification.
The EPA’s mold and moisture guidance emphasizes fixing moisture sources rather than covering them. If a wall is repeatedly damp, has a plumbing leak or shows mold growth, address the moisture problem first.
Heat limits belong to the exact appliance and product
Do not rely on a generic statement that a vinyl backsplash is “heat resistant.” The wall behind a gas range, the area beside an electric cooktop, and the wall behind a coffee maker can experience very different heat. Direct flame, hot exhaust and concentrated radiant heat deserve more conservative placement than a dry decorative wall.
Follow both the backsplash manufacturer’s installation guidance and the appliance manufacturer’s required clearances. If the product does not publish a relevant heat limit, move the installation outside the uncertain zone rather than assuming another brand’s clearance applies.
Choose the backsplash zone before choosing the pattern
In a rental, a smaller backsplash area can reduce material cost, the amount of adhesive touching the wall and the restoration work if the project needs to be removed later. Measure the area between countertop and upper cabinets, then note outlets, corners, windows and appliance zones.
A full-height feature wall can be attractive, but it creates more seams and more wall contact. A bounded zone may be the better fit when the lease is short, the wall history is unknown or the product is being used primarily for a temporary visual change.
Use the pattern to support the room rather than chase a trend
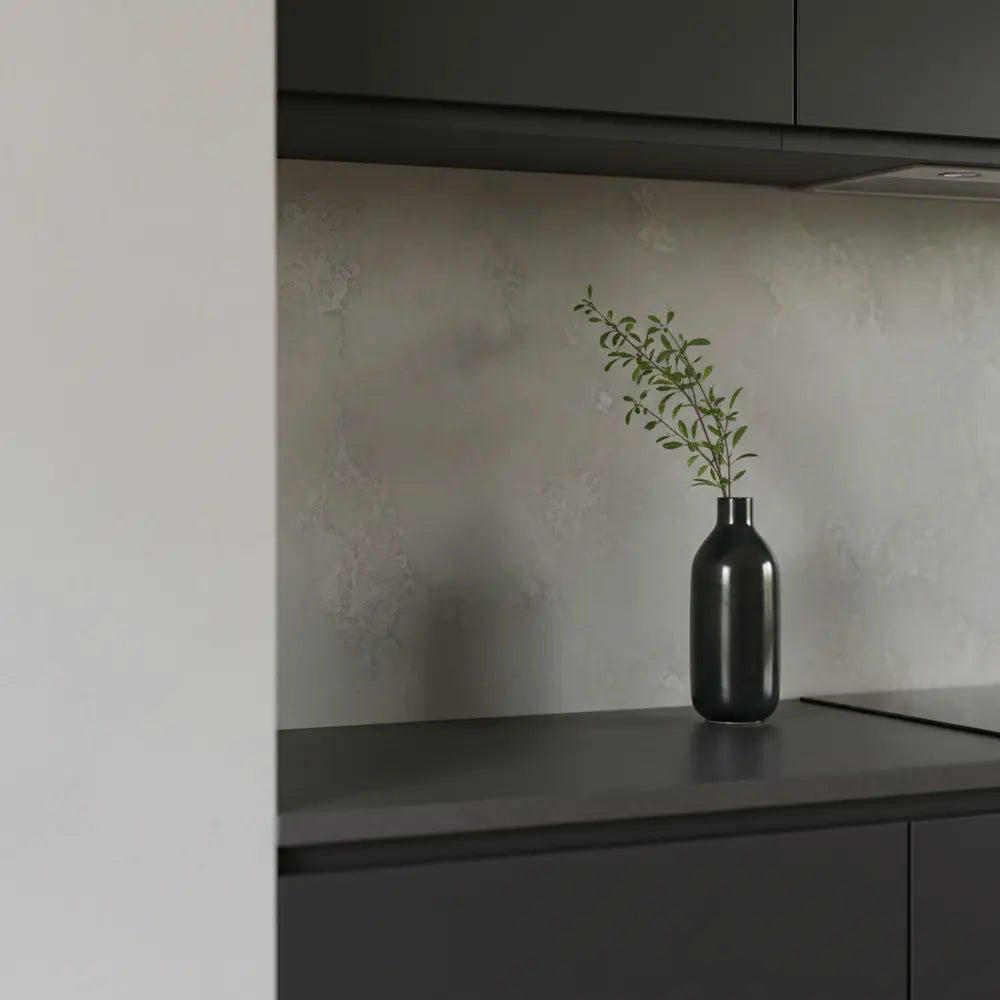
Subway layouts, square grids, marble-look surfaces, geometric patterns and darker accent designs can all work in a rental kitchen. The right choice depends on the cabinets, countertop, lighting and the amount of wall you plan to cover. Compare samples under the room’s actual lighting when possible.
Large, high-contrast patterns can dominate a small backsplash. Lower-contrast patterns may make seams less noticeable. Directional designs need extra planning at corners and outlets because a misplaced cut can interrupt the repeat more visibly than it would in a simple grid.
Measure usable coverage instead of pack price
Two packs that cost the same may cover different areas. Use the exact sheet dimensions, usable coverage, pack count and seam or overlap method. Then add an allowance for cuts, pattern matching and a few future repair pieces when practical.
A renter who plans to remove the backsplash later may benefit from keeping the product label and spare material. If one piece is damaged during the lease, a local replacement is easier when the exact design is still available.
Dry-layout before peeling the backing
Hold several pieces in position or lay them out on a flat surface before exposing adhesive. Check where the first vertical seam lands, how the pattern meets the corner, and whether the last piece at the opposite edge will become too narrow. Mark level reference lines instead of assuming the countertop is perfectly level.
Dry-layout also reveals whether the selected pattern works at the actual scale of the backsplash. A pattern that looks subtle in a single product image can become much stronger when repeated across several feet of wall.
Make cuts before the adhesive forces the decision
Outlets, switches, cabinet returns and windows require careful measurement. Use the cutting method recommended for the exact construction. A thin vinyl sheet and a thicker composite product may require different tools even when both are sold as peel-and-stick wall finishes.
Turn off power and follow appropriate electrical safety practices before working around receptacle covers. The decorative material should not be used to hide a damaged electrical box or unsafe wiring.
Pressing matters, but pressure does not repair a bad substrate
Once the product is positioned, apply the final pressure recommended by the manufacturer. Work methodically so air pockets and incomplete contact are minimized. If an edge repeatedly releases, investigate dust, texture, weak paint, moisture or an incompatible location rather than immediately adding construction adhesive.
Extra adhesive can change removal behavior and may create a more permanent wall repair later. In a rental project, an unapproved adhesive can defeat the reason you chose a temporary finish in the first place.
Plan removal before the first tile goes up
Keep the installation instructions, order information and any published removal guidance. If the brand recommends gentle heat, a particular angle or a slow peel, record that before move-out day. Do not assume that pulling quickly is safer because the product is marketed as removable.
Removal should stop if the wall coating begins separating unexpectedly. At that point, the safest next step may be to reassess rather than continue tearing a large area. The cost of local patching and paint depends on the wall condition and lease terms; it cannot be guaranteed from the tile listing.
Build an exit plan into the budget
A renter budget should include possible wall restoration, not just purchase price. That does not mean damage is inevitable. It means the plan recognizes that paint touch-up, patching or professional help may be needed depending on the surface and removal result.
If the project only makes sense financially when you assume zero restoration cost, the budget is fragile. A more useful plan includes a modest contingency and keeps the installation area proportional to the value you expect from the temporary upgrade.
When the detailed installation guide is the better page
If you have already confirmed permission, wall suitability, product construction and room placement, move to the detailed vinyl backsplash installation guide. That page covers wall checks, dry layouts, measurements, cuts, seams, exposed edges, care and removal as a step-by-step project workflow.
This renter guide intentionally stays focused on the decisions that come before that workflow. Keeping those intents separate makes it easier to choose the product responsibly before worrying about installation technique.
Compare temporary backsplash options by commitment, not slogans
Vinyl peel-and-stick tile is only one temporary-decor option. Depending on the lease and wall, a renter might also consider a removable panel mounted by an approved method, a freestanding backsplash behind a movable counter, a painted zone if painting is allowed, or simply leaving the wall unchanged. The least permanent-looking product is not automatically the least risky option for the paint.
Compare each option by how much wall contact it creates, what preparation it requires, whether fasteners or adhesive are involved, how it handles sink and appliance exposure, and what restoration could be needed later. A solution that requires no adhesive but several large wall anchors may be more permanent than a small tested adhesive backsplash.
Use a hidden-area test for compatibility, not as a promise
A hidden-area test is useful when the surface history is uncertain. Prepare and install the sample exactly as instructed, then evaluate adhesion and the wall’s response. If the product does not adhere properly to the test area, covering the full backsplash is unlikely to improve the substrate.
Removal from a short test does not prove that the same wall will behave identically after a year. Adhesive dwell time, seasonal humidity, cleaning and paint condition can affect removal. The test reduces uncertainty; it does not eliminate it.
New paint needs its own waiting period
A newly painted rental wall can feel dry while the coating is still curing. Adhesive applied too early can affect the finish or create unpredictable removal. Check the paint manufacturer’s cure guidance and the backsplash manufacturer’s instructions before applying any adhesive finish.
If you do not know when the wall was painted, ask the property manager when practical. When that information is unavailable, a cautious test area is better than assuming a recently refreshed wall is ready because it feels dry.
Textured walls are a fit problem before they are a style problem
Pressure-sensitive adhesive needs enough contact area to hold. Heavy texture can reduce that contact and create visible gaps. Some brands exclude textured walls; others define only very light texture as acceptable. Do not assume a thicker tile will automatically solve the issue.
Flattening or sanding a rental wall may itself require permission and, on older painted surfaces, can create lead-safety concerns. If the lease does not allow wall preparation, a different temporary decor strategy may be more appropriate than forcing adhesive tile onto the texture.
Existing ceramic tile can simplify or complicate the project
A smooth glazed tile surface can look like an easy substrate, but grout-line depth, relief, grease and sealants matter. Deep grout lines can telegraph through thin vinyl or reduce contact. Cleaners and waxes on the existing tile can also interfere with adhesion.
If the product allows installation over ceramic tile, follow its preparation instructions and evaluate how seams will align with the old grout. Do not fill or permanently modify grout lines in a rental unless that work is permitted.
Backsplashes near sinks need edge planning
Routine splashes are different from an active leak or standing water. Keep exposed lower edges, corners and cutouts in mind when selecting a product. If the manufacturer recommends a specific finishing method, use that method; do not invent a “waterproof seal” from a random caulk product.
After installation, monitor the sink area for lifting edges or moisture getting behind the finish. A backsplash should make cleaning easier without hiding a plumbing problem.
Countertop appliances create local heat zones
Toasters, toaster ovens, air fryers, kettles, espresso machines and other countertop appliances can produce heat or steam in concentrated locations. The wall several feet away may be an acceptable decorative zone while the space directly behind an appliance is not.
Check both the appliance and backsplash instructions. If the appliance requires clearance from combustible or heat-sensitive surfaces, that requirement remains relevant after a decorative finish is added.
Renters should keep the installation reversible in practice
A project becomes less reversible when you add construction adhesive, permanent trim, heavy wall repair or hidden sealants that were not part of the original plan. If an adhesive tile needs substantial reinforcement to stay on the wall, the surface may not be a good candidate for the temporary project.
Keep the intervention proportional. A backsplash zone that can be tested, documented and removed is easier to plan than a full kitchen wrapped in mixed adhesives and permanent edge treatments.
Document the wall before installation
Take dated photos of the wall before cleaning or repair, including existing scratches, nail holes, paint chips and stains. Photograph the test area, final layout and any product labels. Keep the lease approval or written permission with those records.
Documentation does not guarantee a dispute-free move-out, but it gives you a factual record of the starting condition and the product used. That is more useful than relying on a marketing statement that the installation is “deposit safe.”
Keep removal tools and instructions with the spare tiles
If the product recommends a hair dryer, plastic scraper or another removal tool, store that information with the leftover material. Move-out day is not the ideal time to search for a discontinued instruction page.
When you keep spare tiles, label them with the room and product name. If one piece is damaged during the lease, a local replacement may avoid disturbing a larger area.
How to choose between a bold and neutral renter backsplash
A bold pattern can make a temporary kitchen feel personal quickly, but it may show seams or alignment errors more strongly. A neutral subway, marble-look or low-contrast square pattern may be easier to integrate with existing cabinets and countertops. Neither choice is inherently more renter-safe; the difference is visual.
Consider how long you expect to live in the space and how much wall you want to cover. If the lease is short, a smaller focal area may deliver enough visual change without creating a large removal project.
Do not use a trend year as the buying rule
Temporary decor articles often frame products as “2025 trends” or “the hottest renter hack.” Trend labels age quickly and can distract from the durable questions: Does the color work with the kitchen? Is the pattern scale appropriate? Is the wall suitable? Does the product documentation match the location?
A design you enjoy and can install within the product’s limits is more useful than choosing a pattern because it appeared on a trend list.
Compare a temporary backsplash with non-adhesive alternatives
If wall risk is the main concern, compare peel-and-stick tile with alternatives that reduce direct adhesive contact. A removable panel, freestanding backsplash board or other non-permanent approach may be a better fit when the wall coating is fragile or the lease is strict. Each alternative has its own anchoring, fire, cleaning and moisture considerations, so it still needs a real installation plan.
The right renter solution is not automatically the one with the least labor. It is the one that fits the wall, lease and room while keeping the exit plan realistic.
Do not use online photos as proof of removal performance
Before-and-after photos are useful for design inspiration, but they rarely show the wall condition before installation, the age and quality of the paint, how long the product stayed up or what happened during removal. Those missing details matter.
Use photos to compare style and layout. Use product instructions, a hidden-area test and the actual wall condition to judge whether the installation is appropriate.
What to ask the seller before ordering
- What surfaces are approved for this exact vinyl product?
- Is there a minimum paint cure time?
- Are textured or porous walls excluded?
- What sink, bathroom and humidity limits are published?
- What stove or appliance clearances apply?
- How should seams and exposed edges be handled?
- What is the official removal method?
- Is additional adhesive allowed or specifically discouraged?
- What cleaners are compatible with the face layer?
- Can replacement sheets from the same pattern be ordered later?
Frequently asked questions
Will a vinyl backsplash protect my security deposit?
No product can guarantee that outcome because the lease, paint, drywall, installation time and removal behavior are outside the product’s full control. Treat the project as a temporary finish with a test-and-restoration plan, not as a guarantee of zero wall work.
Is vinyl backsplash waterproof?
Do not generalize. Some products may have water-resistant or waterproof face materials, but the complete wall includes seams, edges and penetrations. Direct shower use is different from occasional sink splashes. Follow the exact product’s wet-area guidance.
Can I put it directly behind a stove?
Only where the exact product and appliance clearances allow it. Direct flame and concentrated heat require more conservative placement. Do not borrow a clearance from another brand.
Can I install over existing ceramic tile?
Some products permit installation over smooth existing tile, but grout depth, contamination and loose tiles can affect the result. Follow the exact instructions and address unstable or deeply recessed surfaces before installation.
Should I use extra glue if an edge lifts?
Not automatically. Lifting can indicate dust, texture, weak paint, moisture, poor pressure or an unsuitable location. Diagnose the cause and follow the product instructions before adding another adhesive that could make future removal harder.
How do I remove the backsplash later?
Use the manufacturer’s removal method. If gentle heat or slow peeling is recommended, follow that guidance and stop if the wall coating begins failing. Removal results vary by substrate and installation history.
How long should a renter backsplash last?
There is no responsible universal number. Service life depends on the specific product, wall, room exposure, installation and care. A short-term rental project and a long-term owner installation should not be evaluated with the same expectation.
Renter decision checklist
- Confirm that the lease permits the change.
- Inspect the wall for weak paint, moisture, heavy texture or existing damage.
- Check older painted surfaces for lead-safety implications before sanding or scraping.
- Use the exact product’s surface, wet-area and heat guidance.
- Measure the backsplash zone and keep the scope proportional to the lease length.
- Dry-layout the pattern before exposing adhesive.
- Test a hidden area when the product guidance supports testing.
- Avoid unapproved permanent adhesive.
- Save removal instructions and order information.
- Budget for possible touch-up or restoration rather than assuming zero wall work.
Bottom line
A renter-friendly vinyl backsplash is best treated as a controlled temporary project, not a damage-free promise. The strongest plan combines landlord permission, a stable wall, product-specific placement limits, careful surface preparation, measured coverage and an exit strategy that acknowledges uncertainty.
If those conditions are in place, vinyl can be a relatively low-complexity way to change the look of a kitchen without mortar and grout. If the wall is weak, wet, heavily textured or restricted by the lease, the better decision may be to choose a non-adhesive alternative or leave the wall unchanged until the underlying condition can be addressed.


Leave a comment
This site is protected by hCaptcha and the hCaptcha Privacy Policy and Terms of Service apply.