

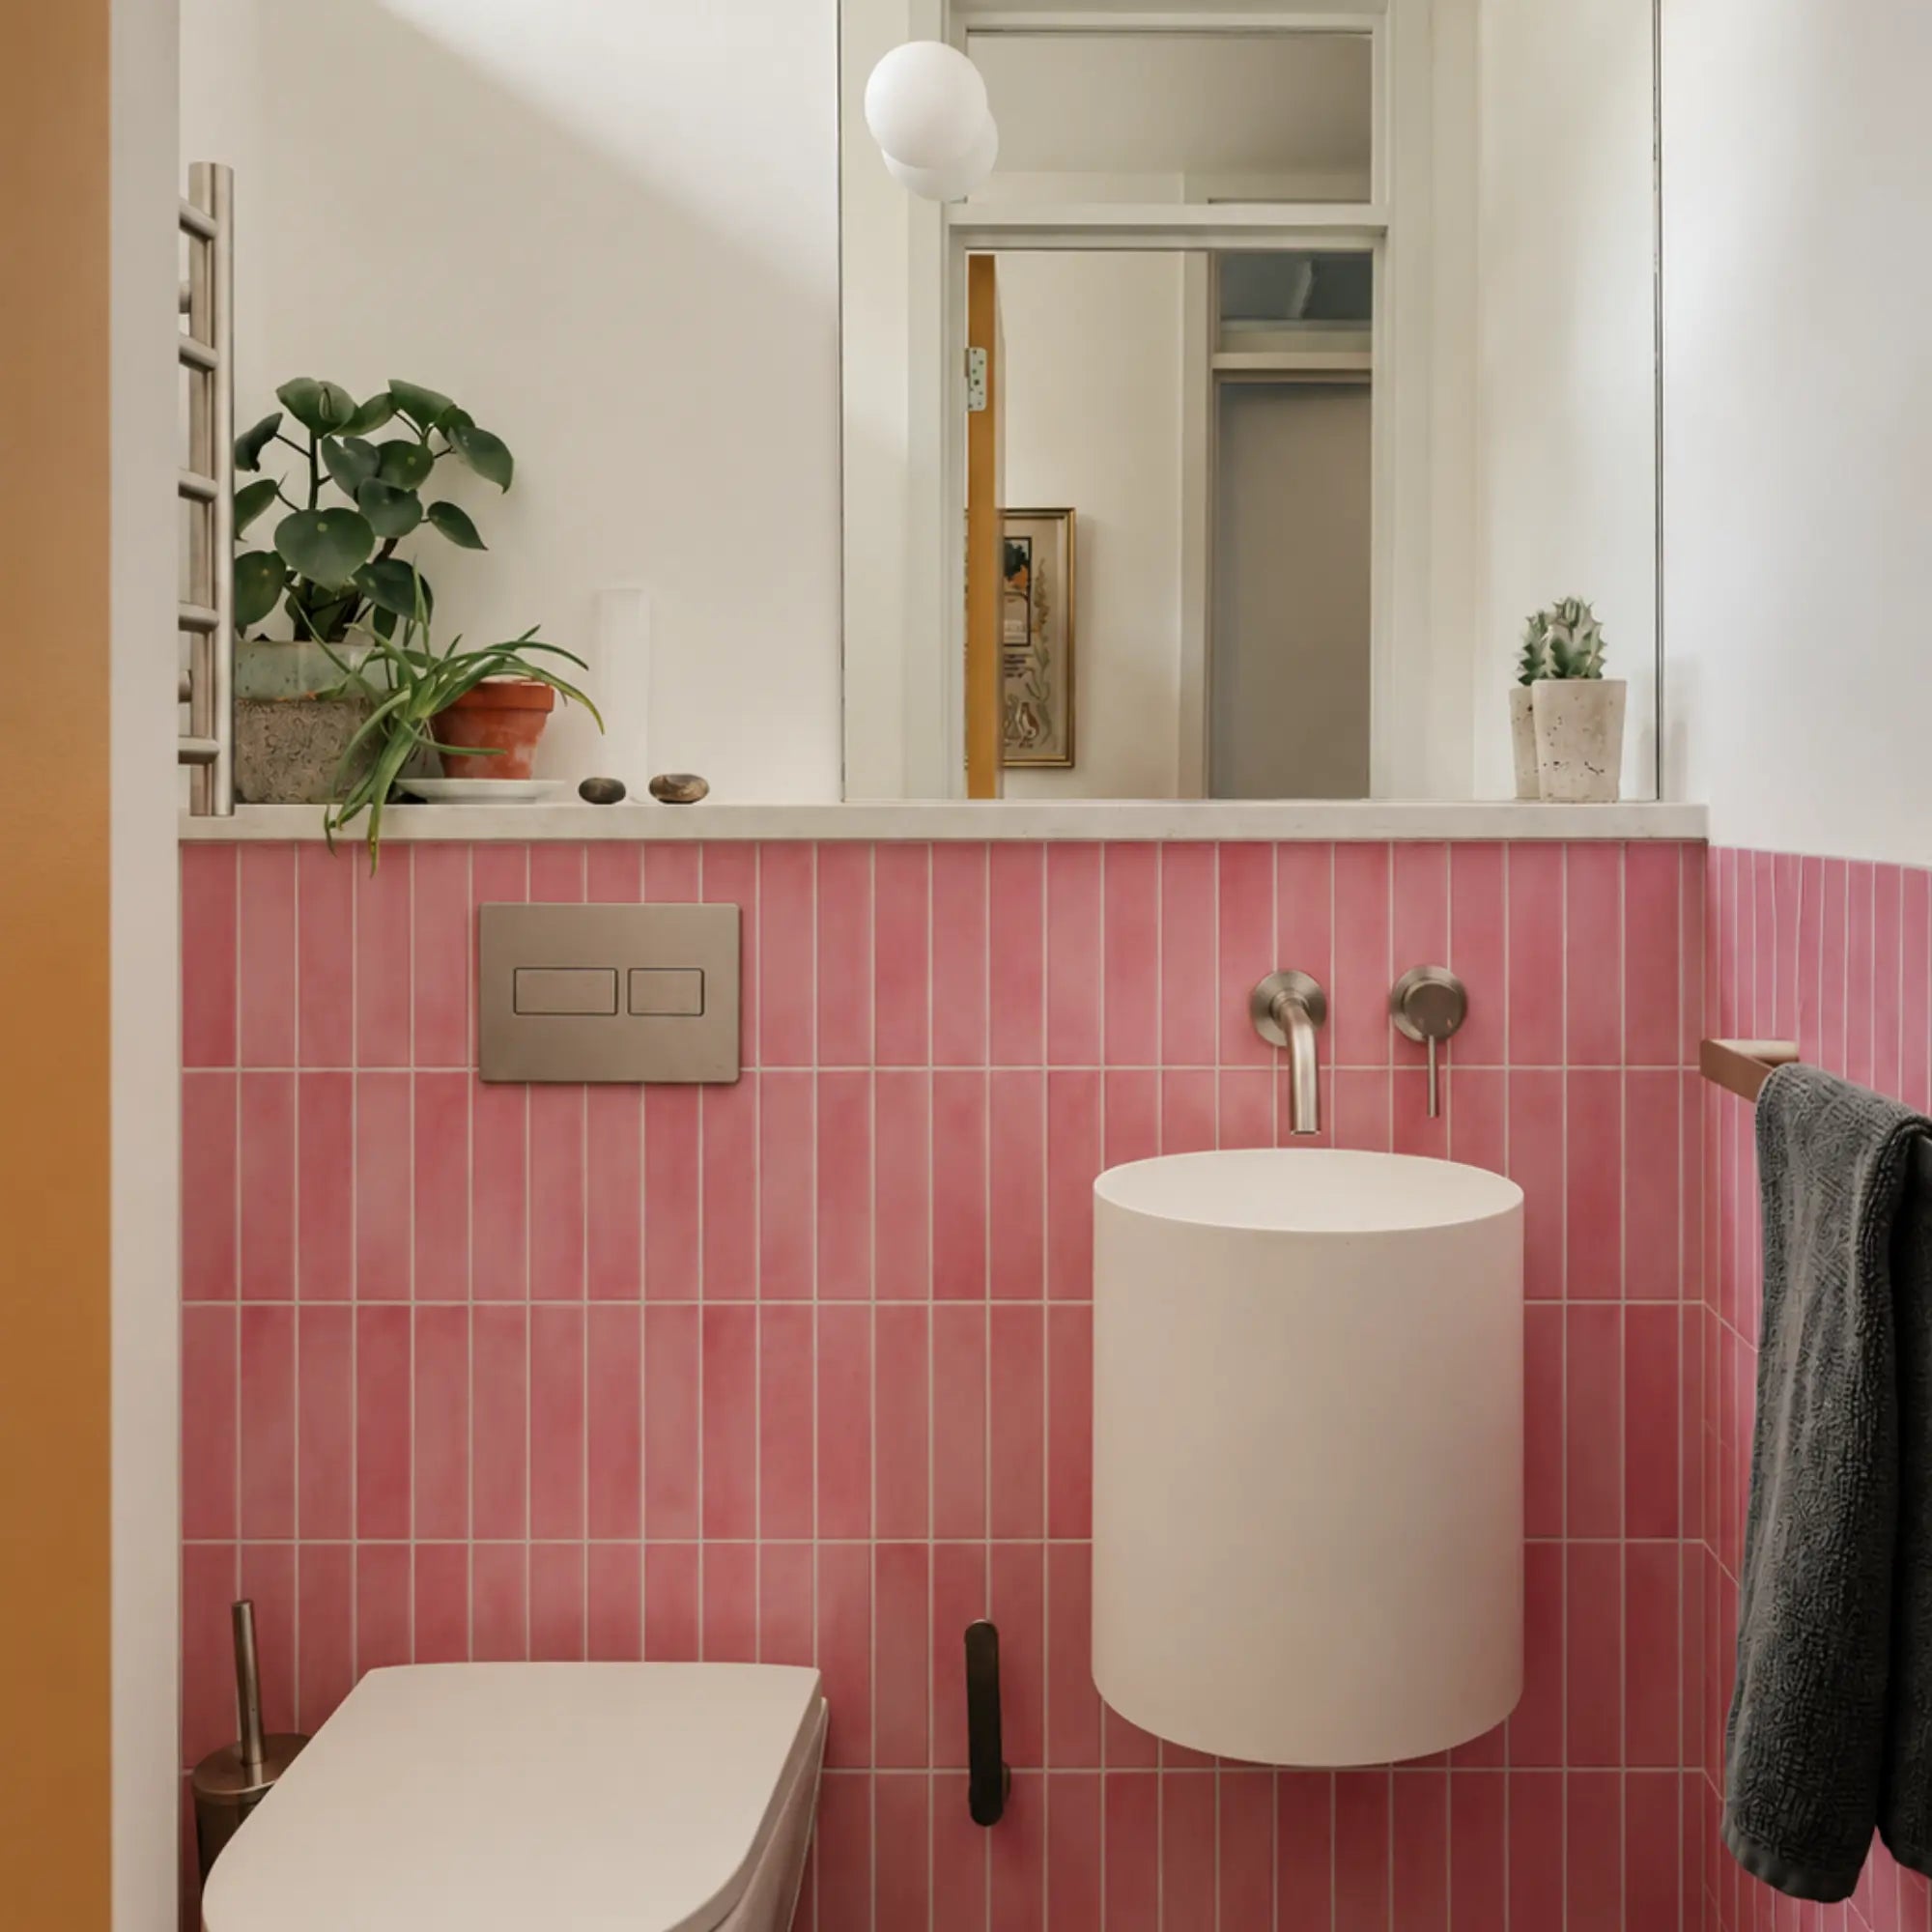





A doorway is where peel-and-stick tile either looks deliberately finished or reveals every small measuring mistake. The cleanest result starts by identifying what the tile is meeting before you cut anything: the face of a door casing, the side of a jamb, an open wall edge, or a horizontal floor threshold.
For a vertical doorway finish, the reliable sequence is:
- Identify the surrounding doorway condition.
- Inspect the wall and trim against the tile manufacturer’s requirements.
- Dry fit the first pieces with the release liner still attached.
- Establish a plumb or otherwise intentional reference line.
- Measure the actual opening rather than assuming it is square.
- Transfer the cut to the tile or a template.
- Test fit the piece before exposing the adhesive.
- Apply and press the tile according to the product instructions.
- Treat any exposed edge only with a compatible finishing product.
- Inspect the finished line before the adhesive has fully set.
A clean cut alone does not solve every doorway problem. The cut must also relate correctly to the casing, jamb, tile pattern, wall plane, and visible edge. Exact gaps, substrate preparation, cutting tools, sealants, edge trim, pressing pressure, and repositioning limits vary by product. Follow the current packaging and manufacturer instructions for the tile you are using. Manufacturer examples cited in this guide illustrate the type of information to check; they do not establish universal rules for every peel-and-stick tile.
What is the tile actually meeting at the doorway?
The first decision is to classify the doorway condition. A tile that ends against existing casing needs a different visual treatment from a tile that stops at an open wall edge or wraps around a jamb.

| Doorway condition | What the tile is meeting | Main planning question | Typical finish direction |
|---|---|---|---|
| Tile meets door casing | The visible trim around the opening | Can the cut tuck neatly beside or behind the casing? | A controlled cut that follows the casing relationship |
| Tile meets a door jamb | The vertical part of the frame beside the door | Is the tile stopping at the jamb or continuing into the return? | A measured cut that respects the jamb depth and door movement |
| Tile ends at an open wall edge | A visible outside edge with no trim covering it | How will the cut edge appear from the room? | A clean finished edge or compatible edge treatment |
| Tile reaches a floor threshold | A horizontal transition at the bottom of the opening | Is this a floor transition rather than a wall-edge detail? | Plan separately from the vertical doorway edge |
This classification prevents a common mistake: treating every doorway as a place for a transition strip. A vertical tile edge beside a door is usually a wall and trim detail. A threshold is the bottom component of a door system and belongs to the floor plane. The U.S. Department of Energy’s homeowner guide distinguishes side jambs, head jambs, trim, doors, and thresholds, while a moulding glossary identifies casing and jamb as related but different parts of the opening. See the U.S. Department of Energy door terminology guide for the basic door-part definitions and the Lowe’s moulding glossary for casing and jamb terminology.
Casing
Door casing is the visible trim installed around a doorway. It frames the opening and is usually the part you see from the room. If tile stops beside casing, the casing may hide part of the wall edge and make the cut less noticeable.
Look at the casing from the same angle from which the doorway is normally viewed. The tile may appear to meet the flat face of the casing, the narrow side edge, or the wall immediately beside it. Those are different conditions even though they are close together.
Jamb
A door jamb is part of the frame that forms the sides and head of the opening. The side jamb runs vertically. The head jamb runs across the top. The jamb may be visible beside the door, partly covered by casing, or recessed from the wall surface.
A tile cut beside a jamb can be simple if the tile stops on the wall plane. It becomes more involved if the tile is expected to wrap into the return of the opening. Before planning a wrap, check that the tile format can bend or turn as required and that the product instructions permit installation on that surface.
Trim
Trim is the broad term for finishing material around an opening. Casing is one type of trim. Baseboards, stops, and decorative moulding can also affect the tile line.
Use the most visible trim edge as your reference. The edge that looks straight from the room may not be the edge that is actually closest to the wall. A cut that follows a hidden back edge can look crooked if the front casing edge is out of square.
Threshold
A threshold is the component at the bottom of a door opening, usually at the floor. It may sit between rooms or at an exterior door. It is horizontal, so it should be planned separately from the vertical edge where wall tile meets casing or jamb.
If your concern is a strip of exposed material at floor level, a wall-edge solution may be the wrong tool. Check whether you are finishing wall tile, floor tile, or both. A transition strip can be useful for a horizontal floor change, but it does not automatically improve a vertical cut beside a door.
Transition strip
A transition strip is a piece of material that covers or bridges a change between two floor surfaces. It is commonly used where flooring types meet. It is not a universal cover for a vertical peel-and-stick tile edge.
Before buying trim, identify the plane of the problem:
- Vertical plane: wall, casing, jamb, or open wall edge.
- Horizontal plane: floor, threshold, or floor-to-floor transition.
- Change of plane: a corner or return where the tile may need to turn.
Which doorway condition matches your project?
Use the map below before measuring. It gives the planning path, while the detailed sections explain how to carry it out.
| If you see this | Plan the finish this way | Watch for |
|---|---|---|
| Tile will disappear behind the casing | Dry fit the tile beside the casing and mark the hidden relationship carefully | The visible casing may not be parallel to the wall |
| Tile will stop against the side of a jamb | Measure the actual jamb edge and decide whether the tile stops at the wall plane or enters the return | Door clearance, recessed surfaces, and changing depth |
| Tile will end in open space | Treat the side as a visible finished edge | A cut edge may need compatible trim or another approved treatment |
| Tile will wrap around an outside corner | Make a template and decide whether to wrap, create a meeting seam, use compatible trim, or stop before the curve | Tile flexibility, pattern alignment, and corner geometry |
| Tile is actually meeting a floor surface | Plan a horizontal floor transition separately | A vertical wall-edge method may leave the floor edge unresolved |
The best choice is the one that makes the surrounding geometry look intentional from the normal viewing angle. You do not need to force one finish across every side of the same doorway. One side may tuck behind casing while another side may end at an exposed wall edge.
What tools and materials do you need?
The basic kit should support inspection, measuring, dry fitting, cutting, pressing, and close-range checking. Product-specific finishing materials should stay separate from general tools until compatibility has been confirmed.
Measuring and marking tools
Gather:
- Measuring tape
- Pencil or removable marking tool suitable for the wall surface
- Straightedge or rigid ruler
- Level or another reliable way to establish a plumb line
- Paper or thin card for templates
- Painter’s tape for holding a template or marking a temporary reference
- Square, if the tile shape and doorway geometry make it useful
- Flashlight or work light for seeing the cut line beside the casing
A level or plumb reference is useful even when the doorway itself is not straight. It gives you a known line from which to judge the rest of the installation. Manufacturer installation guidance from Smart Tiles and WallPops supports laying out pieces before installation and using a marked level or plumb guide. The Smart Tiles Square installation guide describes pre-layout, guide-line marking, cutting, and repositioning before firm pressure, while the WallPops peel-and-stick installation instructions cover tools, alignment, trimming, and adhesive handling for its own products.
Cutting and fitting tools
The right cutting tool depends on the tile’s backing, thickness, texture, and format. The product instructions should control the choice. Possible tools include:
- Sharp scissors for thin, flexible sheets when the instructions permit them
- A sharp utility knife for controlled scoring or trimming when approved
- A straightedge for guiding a cut
- A cutting mat or protected work surface
- A fine saw or other tool only when the product documentation calls for it
- Spare material for practice cuts
Do not assume that a blade, saw, pass count, or cut direction transfers from one tile system to another. One Smart Tiles panel guide describes progressive cuts through its panel material, while other peel-and-stick sheets may require a different method. The important common sequence is to mark, cut carefully, and test fit before final adhesion.
Pressing and inspection items
Keep available:
- A clean, dry cloth
- A smoothing tool approved for the product
- A soft straightedge or scraper if the instructions identify one
- Painter’s tape for temporary positioning
- A flashlight for inspecting the edge
- Clean gloves if they help you avoid touching the adhesive
- A small sample or spare offcut for a compatibility check
If an adhesive edge is already lifting, do not automatically add sealant or press harder. First determine whether the product instructions permit correction, whether the substrate is suitable, and whether the tile was cut or bent in a way that creates tension.
Product-specific edge materials
Edge trim, caulk, sealant, corner pieces, or other finishing materials should be considered only after checking the tile documentation. The presence of an exposed edge does not prove that a generic trim or sealant is compatible.
Smart Tiles provides guidance for its own Smart Edge products, and its decorative panel instructions discuss latex caulk for a different panel system. Those examples show why the product family matters. They do not establish that a generic silicone, latex caulk, or trim will bond to an unspecified peel-and-stick tile.
For broader planning, the Stickwoll article Peel-and-Stick Tile Edge Finishes: Trim, Caulk, or Clean Cuts compares exposed-edge approaches and explains when a clean cut, trim, or small transition treatment may suit a particular visible condition.
How do you prepare the wall and establish the first reference?
A clean doorway finish starts with a surface that the applicable product instructions permit. Do not use a general peel-and-stick rule as a substitute for the instructions supplied with your tile.
Manufacturer guidance from WallPops and Smart Tiles describes smooth, clean, dry, firm or sound surfaces as important conditions for their products and identifies certain textured, porous, damp, or otherwise unsuitable surfaces. Those requirements are product-specific. A painted wall, drywall surface, existing tile, wood surface, or trim face may be acceptable for one product and unsuitable for another. Check the current product documentation before installation.
Inspect the doorway before opening the adhesive
Run your hand across the wall beside the doorway. Look for:
- Raised paint edges
- Loose or flaking coating
- Dust or grease
- Texture that changes near the casing
- Caulk ridges
- Nail holes or depressions
- A wall plane that bows toward or away from the trim
- Dampness or condensation
- A casing edge that changes width or direction
A peel-and-stick tile follows the surface beneath it. It does not correct a crooked wall, flatten a ridge, or make a loose coating sound. A visible edge beside a doorway also receives more attention than a broad field of tile because the eye compares it directly with the straight trim.
Clean and prepare the surface only as the tile manufacturer directs. Avoid introducing a primer, degreaser, sanding method, or sealant based on a different product’s instructions. Manufacturer curing periods can differ substantially. For example, the supplied WallPops guidance gives one period for newly painted surfaces, while Smart Tiles gives different periods for fresh paint and primer. Those numbers belong to their respective systems and should not be combined into a universal waiting period.
Check the casing and jamb relationship
Stand back from the doorway and inspect the visible lines. Then inspect close up. Ask:
- Does the casing look parallel to the wall?
- Does the jamb sit flush with the wall or behind it?
- Does the casing project far enough to hide a cut?
- Does the casing have a rounded or stepped profile?
- Is the wall flat beside the trim?
- Will the door open into the new tile?
- Is the tile stopping on the wall face, entering the return, or wrapping a corner?
Mark the surface that the tile will actually touch. Do not measure from a decorative front edge if the tile will meet a recessed side edge.
Dry fit the first pieces
Place the first tile or a paper stand-in on the wall with its release liner attached. Position the next piece if the pattern or seam matters. Include the doorway in the dry fit rather than laying out a large field and treating the opening as an afterthought.
Check four things:
- Vertical alignment: Does the tile edge read as plumb from the room?
- Pattern alignment: Do the tile shapes or printed lines continue naturally?
- Doorway relationship: Does the tile approach the casing or jamb with a deliberate cut?
- Bottom and top relationship: Will the cut remain consistent as the tile rises or falls beside the frame?
A dry fit exposes a problem while the material is still movable. It also lets you choose whether the doorway edge or the broader tile grid should control the layout. There is no universal visual rule for an out-of-square opening. The best choice depends on the tile pattern, casing width, sightline, and the direction from which the doorway is normally viewed.
Establish a reference line

Mark a plumb line near the doorway or use another intentional reference that suits the room. Keep the line far enough from the casing to allow the tile to be positioned without the trim interfering with your tool or hand.
The reference line is a guide, not a command to ignore the doorway. If the casing is visibly crooked, decide whether the tile should remain visually vertical or follow the casing. Make that decision during dry fitting. A perfectly plumb tile edge may reveal a crooked casing; a tile edge that follows the casing may make the tile grid appear to lean. The right choice is the one that looks settled from the room.
For more general surface checks and layout planning, use the Stickwoll Peel-and-Stick Tile Guide before ordering or applying material. It covers surface suitability, layout, exposed-edge planning, and preparation topics that sit behind this doorway detail.
How do you cut peel-and-stick tile around a door frame?
The cleanest cut comes from a dry-fitted reference and a test fit. Measure the actual opening, transfer the shape carefully, remove material in controlled stages, and expose the adhesive only after the piece sits correctly.
Decide which side of the tile carries the mark
For a simple straight cut, mark the face or back according to the product instructions and the tool you are using. For a shaped cut around casing or jamb, a paper template can reduce errors.
A useful template sequence is:
- Hold paper or thin card in the space where the tile will go.
- Tape it temporarily so it cannot shift.
- Mark the casing, jamb, wall edge, top, bottom, and any change in depth.
- Remove the template and place it on the tile with the pattern oriented correctly.
- Mark the cut line and identify the finished face.
- Cut the template or tile in small, controlled stages.
- Return the tile to the doorway with the release liner still attached.
- Trim only the areas that prevent a clean fit.
The template must represent the tile’s final position. A template taken from the wrong side of the opening can reverse the cut. Write “top,” “room side,” and “casing side” on the template before transferring it.
Measure from the installed relationship, not a distant wall
Small differences in wall width or casing projection can make a distant measurement unreliable. Measure from the last dry-fitted tile, the reference line, or the actual edge the tile will meet.
If the opening changes width from top to bottom, record more than one measurement. A single width can produce a cut that fits at one point and opens a gap at another.
Do not add a universal allowance for a gap or overlap unless the tile manufacturer specifies one. The supplied evidence does not establish a standard doorway tolerance, casing overlap, or acceptable gap for every product.
Cut in stages
Start with the least material removal that could make the piece fit. Test it. Then remove more if needed.
This approach matters because an oversized cut can be corrected gradually, while an oversized opening may require a new piece. For a tile sheet or flexible material, a controlled score may be enough. For a thicker panel, the product instructions may call for a different cutting method. Use the approved tool and method for the specific material.
Keep the tile supported while cutting. Flexing a decorative surface around a narrow cut can distort the edge. If the cut passes through a printed pattern, decide which feature should remain visible before you trim.
Test fit before peeling

Place the cut piece in its final position with the release liner on. Check it from:
- Straight on
- Across the room
- The side of the doorway
- The top and bottom of the cut
- The direction from which the door is approached
Open and close the door if the tile reaches the jamb or return. Confirm that the tile does not interfere with movement, hardware, or a stop.
Only after the dry fit works should you expose the adhesive. Smart Tiles and WallPops instructions support trimming and aligning before firm pressing, while the Smart Tiles panel guide specifically describes marking, progressive cutting, and test fitting before adhesive application. The Smart Tiles panel cutting instructions illustrate that measured, progressive fitting sequence for that panel system; the exact method may differ for self-adhesive tile sheets.
How should you finish an exposed peel-and-stick tile edge?
Choose the edge treatment from the visible condition. A cut hidden beside casing may need only a clean fit. An open wall edge may need a compatible trim or another treatment approved for the tile system. A small transition gap may call for a product-approved finishing material, but no generic sealant should be assumed compatible.
Tile meets existing casing
When the tile meets casing, aim for a controlled relationship between the cut edge and the trim. The casing may conceal a small portion of the edge, but it should not be used to hide a visibly wandering cut.
There are three common arrangements:
- The tile stops beside the casing: Cut the tile to the visible casing line.
- The tile tucks behind the casing: Use the actual accessible edge as the measuring reference and confirm that the casing covers the cut.
- The tile meets a recessed jamb behind the casing: Measure the wall and return separately instead of treating the opening as one flat line.
A casing-covered edge usually looks cleaner when the tile approaches it with a consistent visual line. It can look worse if the tile is forced tightly into a changing trim profile and creates buckles or lifted corners.
Tile meets a jamb
A jamb can produce a narrow, shadowed edge. Decide whether the tile should stop at the wall plane or continue into the jamb return. Continuing into the return may create a more wrapped appearance, but it also creates a second plane and a second opportunity for the adhesive to lift.
Check the product instructions before applying tile to a jamb face or return. The wall surface, painted trim, and jamb material may not share the same preparation requirements. If the door opens against the area, leave the required clearance and keep the tile away from moving hardware.
Tile ends at an open wall edge
An open edge is visible from more than one angle, so the cut surface becomes part of the design. A plain cut may look appropriate when the tile edge is straight and the backing is clean. A compatible edge profile may be better when the cut edge is prominent, irregular, or likely to be touched.
Choose an edge product only after confirming:
- It is intended for the tile system
- It bonds to the tile’s surface and the adjoining wall
- Its profile suits the tile thickness
- It does not force the tile to bend
- Its color and sheen suit the tile
- Its installation sequence does not damage the adhesive
- The product documentation permits the intended use
Smart Tiles’ own Smart Edge guidance is limited to Smart Tiles products. Its caulk guidance for decorative panels applies to a different installation system that uses construction adhesive. These examples support a compatibility check; they do not support a universal recommendation for generic caulk or trim.
Tile reaches a corner or rounded edge
A rounded outside corner is a geometry problem rather than a simple straight cut. Make a paper template and dry fit the tile with its liner attached. Then choose among a continuous wrap, a meeting seam, compatible edge trim, or stopping before the curve.
The right choice depends on the tile’s flexibility and pattern. A rigid tile may need a seam or trim. A flexible sheet may wrap, but forcing it around a sharp or uneven curve can place stress at the edge. For a template-first approach, see How to Install Peel-and-Stick Tile on a Rounded Corner and compare the related finish choices. The companion article We Tested 5 Ways to Finish Peel and Stick Bullnose Corners also examines how wall geometry affects the choice between a stop, seam, trim, and caulked transition.
Why a clean cut can still lift
A cut edge can lift because the tile is under tension, the substrate is unsuitable, the surface is uneven, the backing was contaminated, or the edge treatment is incompatible. Pressing the edge repeatedly may hide the symptom for a short time without correcting the cause.
Adjacent adhesive research provides a useful reason to treat edge lifting as a geometry and test-condition problem. One arXiv preprint reports a real-material peel experiment in which surface roughness and adhesive thickness affected the measured response of adhesive joints; its materials were plastic adherends, silicone adhesive, and a flexible strip, not peel-and-stick wall tile. The arXiv study on surface roughness and adhesive joints should therefore be read as bounded mechanics background, not product evidence.
A second adjacent experiment examined peel configuration, substrate roughness, adhesive-layer geometry, and failure mode in silicone-based adhesive joints on plastic substrates. It supports a practical testing principle: if you test a small sample, record the substrate condition, the adhesive layer, how the piece is peeled, and what failed. The arXiv study on adhesive peeling and failure modes does not establish compatibility, durability, or removal behavior for household wall tile.
A third preprint examined blistered thin films on a compliant silicone substrate. It treated curvature, substrate deformation, contact age, and peel mode as factors that affected apparent peeling behavior. The arXiv paper on blistered-film peeling is adjacent mechanics evidence only and does not test doorway tile or Stickwoll products. The practical lesson is modest: a tile edge that curves, bends, or rests on a changing surface should be evaluated in its actual geometry.
How do you handle a crooked or out-of-square doorway?
Measure the actual frame, dry fit the tile, and decide which line should control the appearance: the doorway edge or the tile grid. There is no universal cut angle that makes every irregular frame look correct.
Measure the frame at several points
Check the distance from your reference line to the casing or jamb near the top, middle, and bottom of the piece. If those measurements differ, the cut may need a taper. Do not assume the opening is square because the casing looks close to square from across the room.
A tapered cut can be visually correct if it follows the actual relationship between the tile and the trim. It can look wrong if the tile pattern makes the taper obvious. The tile grid, casing, and room sightlines all matter.
Choose the controlling visual line
Use the doorway edge as the controlling line when:
- The casing is the strongest visible feature
- The tile pattern is quiet or non-directional
- The edge is viewed close up
- The tile will tuck behind the casing
- The room’s main sightline follows the trim
Use the tile grid as the controlling line when:
- The pattern has strong horizontal or vertical features
- Several walls must align
- The doorway is a small part of a larger tiled field
- Following the casing would make the pattern visibly lean
When the two conditions conflict, dry fit a larger area and view it from the room entrance. The best decision may not be obvious while standing directly beside the frame.
Use a stepped cut only when it reads intentionally
A stepped or notched cut can accommodate a casing profile, but random small steps often look like damage. If the profile has a clear shape, make a template and repeat the relationship. If the profile is irregular, a clean stop before the most visible curve may look better than tracing every change.
The tile does not need to touch every part of the trim to look finished. A consistent, deliberate line can be more convincing than a tight but uneven cut.
Check whether the problem is actually the floor threshold
If the visible gap is at the bottom of the doorway, stop and identify the material involved. A vertical wall tile may end above a baseboard or floor line, while the floor itself may need a separate transition. A floor threshold or transition strip cannot correct a wall tile cut that is crooked beside the casing.
How should you press the tile at the doorway?
Expose the adhesive gradually, align the tile lightly, and apply firm pressure only after the position is correct. Keep the adhesive clean and follow the product’s instructions for smoothing, pressing, and repositioning.
The exact backing exposure and pressure sequence vary by product. WallPops gives a backing-folding sequence for its roll products, while Smart Tiles describes positioning before firm pressure for its own system. Do not transfer a specific backing length or setting period to another tile format.
Keep the cut edge supported
Place the tile so the main body is supported by the wall before working the narrow edge beside the casing or jamb. If the edge is suspended, pressing it may bend the tile and create a spring-back force.
Smooth from the center toward the edge when the product instructions call for that direction. Work slowly around a corner or return. Do not stretch the material to make it reach a line. If the tile must be stretched to close a gap, the cut or layout needs to be reconsidered.
Avoid contaminating the adhesive
Dust, oil, and residue can interfere with adhesion. Handle the backing and adhesive according to the manufacturer’s instructions. If you touch the adhesive, do not assume that firm pressure will restore its original condition.
Use a clean surface for cutting. Keep the tile face protected from grit that could transfer to the wall. A small particle beneath a doorway edge can create a visible high spot or prevent the edge from sitting flat.
Reposition only within the product’s permitted window
Some products allow repositioning before firm pressure. Others become difficult to move after pressure or after a stated setting period. Smart Tiles identifies repositioning conditions and gives a 48-hour setting period for its Square product. That period is specific to that product and should not be presented as a general rule.
If the tile is visibly crooked, correct it while the product instructions still permit correction. Do not wait until the edge has lifted and then force the tile back down. Repositioning may also affect paint or the underlying surface, even where a product is described as removable.
For the basic sequence of preparing a clean, smooth, dry wall, previewing the layout, applying from a corner, smoothing from the center, and adjusting before firm pressure, consult the Stickwoll Installation & Care Guide alongside the instructions supplied with your specific tile.
How do you inspect the finished doorway and fix common defects?
Inspect the doorway from normal viewing distance and close range before you consider the finish complete. Check alignment, the cut relationship, gaps, exposed edges, adhesion, door movement, and the transition to nearby surfaces.
Do not remove and replace the whole section for every visible defect. First identify the defect type and determine whether the product instructions permit correction.
Crooked cut
Likely cause: The cut was measured from the wrong edge, the frame changes direction, or the tile shifted during marking.
Check: Hold a straightedge against the visible casing or jamb and compare it with the tile edge. View the result from across the room.
Recovery: If the tile has not received firm pressure, reposition or recut according to the product instructions. If the tile is already firmly set, avoid pulling it aggressively. A replacement piece may be safer than forcing a correction that damages the wall or tile.
Uneven gap beside the trim
Likely cause: The frame is out of square, the wall bows, or one measurement was used for a changing opening.
Check: Measure the gap at several points and determine whether it widens consistently or changes irregularly.
Recovery: A consistent taper may be corrected with a new template and piece. An irregular gap may call for a compatible edge treatment, a casing adjustment, or a revised stopping point. Do not fill the gap with an unapproved product and assume the result will remain bonded.
Exposed cut edge
Likely cause: The tile ends in open space or the casing does not cover as much of the cut as expected.
Check: Inspect the edge from the normal approach to the room and from the side.
Recovery: Decide whether the edge is clean enough to remain visible or whether a product-compatible trim or finish is needed. Confirm the material’s compatibility, profile, and installation order before applying it.
Lifting corner or edge
Likely cause: The substrate is unsuitable, the tile is under tension, the edge was bent, the adhesive was contaminated, or the material was pressed onto a ridge.
Check: Look for a matching high spot, curve, seam, or substrate defect. Check whether the lift occurs only at the cut or also across the tile.
Recovery: Follow the manufacturer’s approved rework instructions. If the cause is a surface defect, correct the surface before replacing the tile. Do not rely on repeated pressure alone. If the edge is under tension because the piece was cut too tightly, recut the piece rather than forcing it into place.
Pattern drift
Likely cause: The first reference was not intentional, the doorway was treated as a separate layout, or a tapered cut changed the visual relationship.
Check: Stand several feet back and inspect the tile field, doorway, and adjacent wall together.
Recovery: Decide whether the doorway edge or the broader pattern should control. If the drift is minor and the edge is hidden by casing, the finish may be acceptable. If the drift is prominent, correct it before the adhesive sets as directed by the product instructions.
Door interference
Likely cause: Tile was applied to a jamb or return without checking door movement, or the tile thickness changed the clearance.
Check: Open and close the door slowly. Look for contact at the tile edge, corner, stop, or hardware.
Recovery: Correct the interference before the installation is complete. A tile that is repeatedly struck by a moving door is likely to experience edge damage or lifting, but the exact performance depends on the product and installation.

A compact inspection checklist
Use this checklist after pressing the tile:
The supplied manufacturer guidance supports checking alignment, smoothing, test fitting, cleaning where applicable, and limiting repositioning to the product’s stated conditions. It does not establish a universal acceptable gap, inspection distance, pressure time, or correction method.
Frequently Asked Questions
Can peel-and-stick tile go around a door casing?
It can, if the tile product is approved for the surface and the cut is planned around the actual casing relationship. Dry fit the piece with its release liner attached, determine whether the tile stops beside or tucks behind the casing, and test the cut before exposing the adhesive. Confirm the product instructions before applying tile to painted trim or a recessed return.
How do you cut peel-and-stick tile around a door frame?
Measure from a dry-fitted reference, transfer the shape to a template or the tile, remove material in controlled stages, and test fit repeatedly. Mark the top, room side, and casing side so the template is not reversed. Use only the cutting tool and method approved for the tile format.
Should peel-and-stick tile go under door trim?
That depends on the existing trim and the intended finish. If the casing can cover the cut and the product instructions permit the surface, tucking the tile behind the trim may conceal the edge. If the casing is fixed, difficult to remove, or unsuitable for the adhesive, stop the tile beside it and create a deliberate edge. Do not force tile under trim if doing so bends the material or places the adhesive on an unapproved surface.
What is the difference between a doorway finish and a threshold transition?
A doorway finish describes how tile meets a vertical casing, jamb, wall edge, or return. A threshold transition concerns the horizontal floor at the bottom of the opening. A transition strip may belong to the floor detail, while the vertical tile edge needs its own cut and edge plan.
How do you hide peel-and-stick tile edges at a doorway?
First determine whether the edge can be hidden by existing casing or jamb. If it remains visible, use a clean cut or a compatible edge treatment approved for the tile system. Do not assume generic caulk, silicone, or trim will bond properly. Product-specific instructions should control the choice.
What should you do if the doorway is out of square?
Measure the actual opening at several points and dry fit the tile. Then choose whether the visual edge or the tile grid should control. A tapered cut may be appropriate, but there is no universal taper or gap tolerance for every doorway. Use a paper template when the opening changes shape or depth.
Final check before you proceed
A clean peel-and-stick tile doorway finish is a small geometry decision followed by careful adhesive work. Identify the condition first, separate the vertical wall detail from the horizontal threshold, and decide which line should control the appearance. Then prepare the surface according to the applicable product instructions, dry fit the tile, measure the actual frame, cut gradually, test fit, and press only after the position is correct.

If the edge remains visible, select its treatment from the tile system and the surrounding condition. Existing casing may hide a clean cut. An open wall edge may need compatible trim. A rounded corner may need a template and a deliberate wrap or seam. A floor threshold should be planned as a separate horizontal transition.
Before installing, verify the current packaging or manufacturer documentation for substrate requirements, curing periods, cutting, pressing, repositioning, cleaning, edge treatment, sealant compatibility, and installation order. If you are still choosing material for the project, compare the Crisp White Duo self-adhesive wall tile after confirming that its current instructions match your doorway surface and finish plan or browse the Peel and Stick Subway Wall Tiles collection to compare layouts before making the doorway cut. Product details and compatibility should be confirmed for the specific tile before installation.


Leave a comment
This site is protected by hCaptcha and the hCaptcha Privacy Policy and Terms of Service apply.