


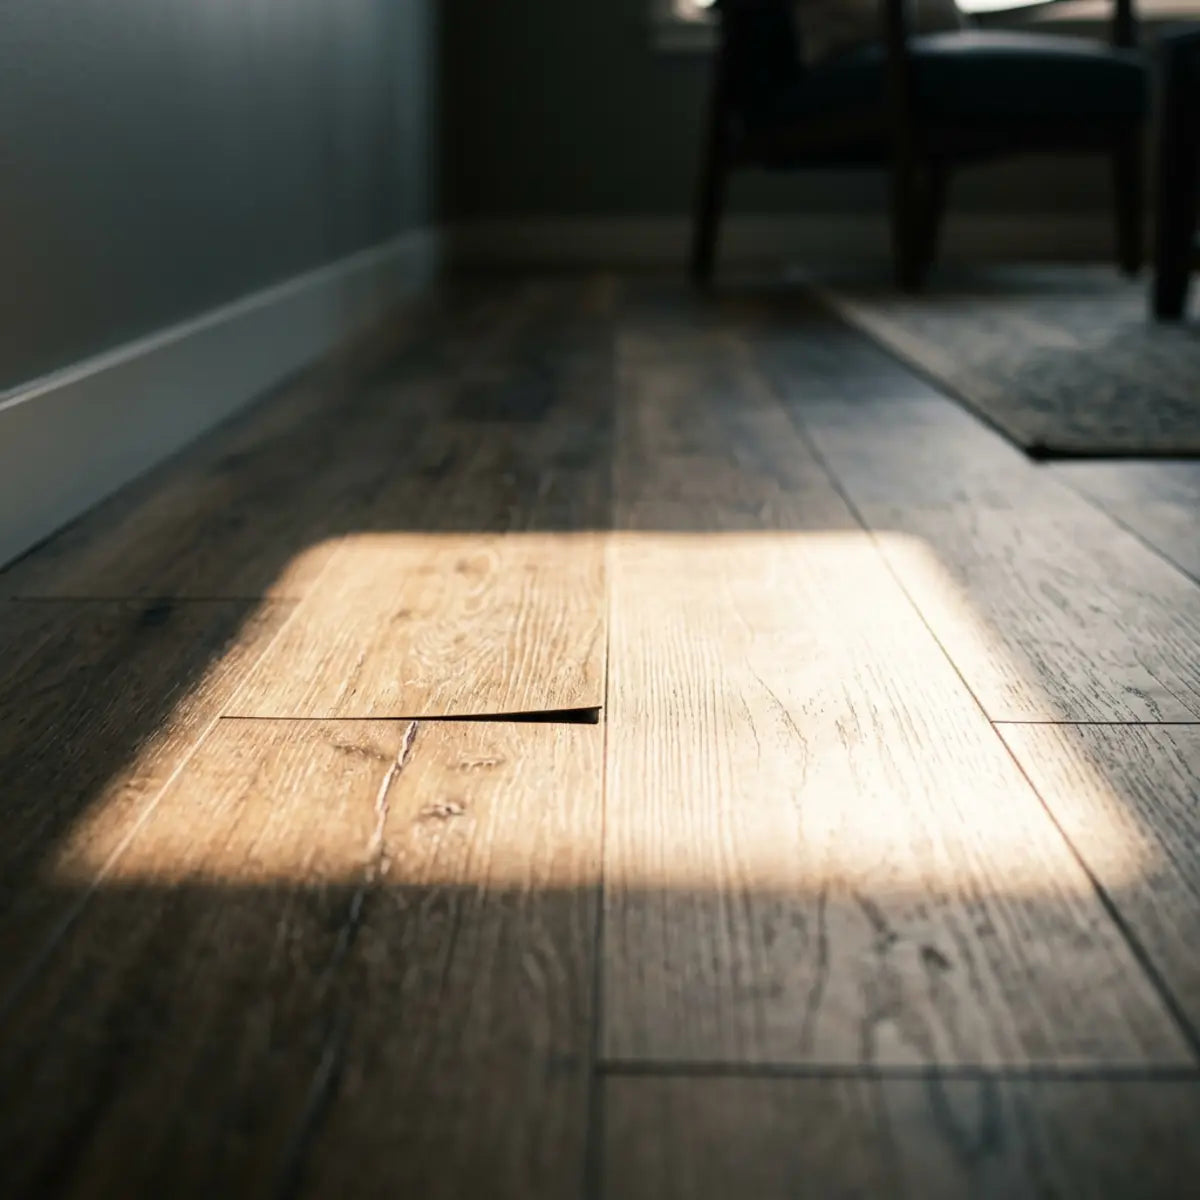
Home renovation projects often carry a heavy emotional and financial investment, and there is nothing quite as satisfying as the immediate transformation provided by modern vinyl flooring. You spend a weekend carefully laying a new floor, and it looks flawless by Sunday night. Every corner is perfectly cut, the pattern is beautifully aligned, and the space feels entirely brand new. Fast forward one week. The afternoon sun hits the room, and suddenly, you see dark, visible gaps opening up between the tiles near the window. The flawless illusion is shattered, leaving you frustrated and wondering where the process went wrong.
This is the most common DIY failure scenario in budget-friendly flooring. It is a heartbreaking moment for any homeowner, especially when the initial installation appeared to be a resounding success. Many immediately blame the quality of the product, assuming they purchased a defective batch. However, the reality of vinyl flooring dynamics is far more complex. When a seemingly perfect floor separates, it is rarely random bad luck or a defective product. Seam separation is almost always a heat-load and prep-control problem. Understanding the hidden forces at play in your home's micro-climates is the first crucial step toward achieving a permanent, professional-grade result.

Peel-and-stick tile seams separate in heat when the vinyl expands, the adhesive softens, or the subfloor was not properly conditioned before installation. The science behind this is undeniable. The materials used in resilient flooring are highly reactive to their environment. The best prevention strategy is to control the total thermal load. This means you must acclimate the tile and room, verify subfloor temperature and moisture, prepare a smooth, clean surface, leave proper perimeter relief where recommended, and avoid installing in overheated or sun-exposed conditions. Failing to respect these environmental requirements transforms a simple weekend project into an ongoing maintenance nightmare.
Heat affects both the physical movement of the vinyl and the chemical performance of the adhesive. It is a two-front war against the stability of your floor. Concrete slabs and sunny rooms create a significantly higher risk for seam failure because they introduce massive temperature swings that standard residential adhesives are not natively equipped to handle without meticulous preparation. The thermal conductivity of concrete, paired with the magnified ultraviolet and infrared radiation passing through window glass, creates localized hotspots that can easily exceed 100°F (38°C) right on the surface of your new floor.
Prevention before installation is always cheaper and more reliable than attempting a repair after the gaps appear. The cost of premium primer, proper measuring tools, and a few extra days of patience pales in comparison to the cost of tearing up a ruined floor, removing cured adhesive residue, and starting completely over. Let’s examine exactly why this happens and how to stop it before you peel the first backing paper. By mastering these foundational concepts, you transition from a casual DIYer to a methodical installer capable of producing enduring, beautiful results.
Diagnostic Flowchart: Why Are Your Seams Opening?
Trace the symptoms below to discover the root cause of your specific floor failure. Understanding the exact mechanical breakdown is essential before attempting any remediation.
How do you prevent peel and stick tile seams from separating?
To prevent peel and stick tile separation, you must actively control room temperature, subfloor temperature, acclimation time, and direct solar heat before installation begins. Most failures stem from the combined effect of heat spikes, subfloor preparation errors, and weak initial adhesive contact pressure. The flooring ecosystem is incredibly delicate during the first 72 hours of its lifespan. If any of these variables are out of alignment, the foundational bond is compromised from day one, leading to an inevitable degradation of the floor's aesthetic and functional integrity.
Blaming the tile alone ignores the physics of the installation environment. You must manage the environment. When a homeowner bypasses the preparation phase, they are essentially playing a game of chance with their investment. Proper floor laying is an exercise in meticulous environmental engineering, requiring a holistic understanding of how temperature, humidity, and pressure interact over time.
The Science of Thermal Expansion in Vinyl Flooring
To truly grasp why flooring fails, we must look at the molecular level. All vinyl products react to temperature changes. This is dictated by their thermal expansion coefficient. Modern vinyl flooring is a composite material, often made with polyvinyl chloride (PVC) resins, plasticizers for flexibility, and various stabilizers. These chemical components are designed to provide durability and water resistance, but they share a common trait: thermoplasticity. This means they are highly sensitive to thermal energy.
Thermal Expansion Coefficient: A scientific measurement showing how much a material expands when heated and contracts when cooled. In the context of flooring, this coefficient dictates exactly how many millimeters a plank will stretch under direct sunlight or shrink during a freezing winter night.
When vinyl gets warm, it grows. The heat causes the molecular chains within the PVC to become more energetic and distance themselves from one another. When it cools, it shrinks as those molecular chains settle back into a tighter formation. If tiles are installed cold and immediately exposed to heavy afternoon sun, they expand rapidly. They push against each other, peaking at the seams. This aggressive pushing is unyielding. When the room cools overnight, they contract, leaving permanent gaps.
Industry consensus dictates that maintaining a stable temperature range prevents this aggressive cycle. By keeping the environment strictly controlled during the crucial curing period, the adhesive is given the opportunity to set while the vinyl is in a neutral state of expansion. This neutral state acts as a baseline. When future temperature swings occur, the cured adhesive possesses enough shear strength to hold the vinyl in place, forcing the material to absorb the thermal stress internally rather than expressing it at the seams.
The Dangerous Myth
"Applying a heat gun to the back of the tile melts the glue and makes it stick better forever." Many DIYers believe artificially heating the adhesive ensures a permanent bond, ignoring the massive thermal expansion they are instantly causing in the vinyl itself.
The Scientific Fact
While slight warmth can improve tackiness in cold rooms, aggressive spot-heating stretches the tile out of proportion. You stick it down while expanded. As it naturally cools to room temperature, it shrinks aggressively, ripping the seam wide open within 24 hours.
Understanding Pressure-Sensitive Adhesives (PSA)
To master resilient flooring, you must understand the glue that holds the entire system together. The backing on these tiles utilizes a Pressure-Sensitive Adhesive (PSA). Unlike wet-set glues that cure through moisture evaporation or chemical epoxies that require a hardener, PSAs rely purely on physical mechanics. They are an incredible feat of chemical engineering, designed to remain permanently tacky yet structurally rigid when properly applied.
Pressure-Sensitive Adhesive (PSA): A non-reactive adhesive that forms a bond when pressure is applied to marry the adhesive with the adherend (surface). The bond strength is directly proportional to the amount of pressure used to force the adhesive into the microscopic texture of the subfloor.
PSAs are highly responsive to temperature, acting somewhat like a highly viscous liquid that behaves like a solid. If the subfloor is too cold, the adhesive remains stiff and fails to grab the microscopic pores of the floor. It essentially rests on top of the surface without ever gripping it. Conversely, if it is too hot, the adhesive becomes overly soft, gooey, and loses its shear strength. It acts as a lubricant rather than an anchor.
Shear strength keeps the tile from sliding sideways. This is arguably the most critical metric for flooring adhesives. When heat softens the PSA and the vinyl expands, the tiles slide apart. The adhesive may still be sticky to the touch, but it lacks the internal cohesion necessary to resist the lateral pulling forces of the contracting vinyl. This is why a floor can sound firmly stuck down when tapped, yet still exhibit massive gaps at the seams.
The Total Thermal Load Control (TTLC) Framework
To stop this catastrophic chain reaction, we use a comprehensive environmental management concept called Total Thermal Load Control (TTLC). This isn't just a best practice; it is a fundamental shift in how you approach the installation space. Most DIY instructions focus on simple air temperature, completely missing the multi-faceted nature of heat transfer in a home.
TTLC is the combined, cumulative effect of ambient room heat, surface temperature, direct sun exposure, moisture levels, and adhesive stress. Think of it as a holistic health check for your room. You are assessing every single vector that could inject unwanted energy into your flooring system.
Generic advice often tells you to "install at room temperature." That is vastly insufficient and often leads directly to failure. A room might feel like 70°F (21°C) at eye level, but a concrete subfloor resting on the earth in the shade could be a frigid 55°F (12°C), while a spot just two feet away near a glass sliding door bakes at a blistering 95°F (35°C). The air temperature is irrelevant to the adhesive that is physically touching the cold concrete or baking in the solar laser beam.
Evaluating the TTLC gives you a deterministic outcome. You measure everything touching the tile, not just the air. By using an infrared surface thermometer, you can map the micro-climates of your floor, identifying danger zones that require intervention—such as pre-warming a cold slab or installing heavy blackout curtains over patio doors—before a single tile is adhered.
Pro-Tip: Subfloor Temperature vs. Ambient Temperature
Never trust the wall thermostat when laying floors. The thermostat measures the air at chest height. Heat rises, and concrete or ground-level subfloors act as massive heat sinks. Your room might be 72°F, but a basement concrete slab can easily sit at 58°F, rendering pressure-sensitive adhesive utterly useless. Always use an infrared thermometer directly on the floor surface in multiple spots before starting. The floor surface itself must read between 65°F and 85°F.
Formulating the Quantitative Baseline for Acclimation
Acclimation is arguably the most ignored step in DIY flooring, yet it is mathematically the most critical. When assessing the performance degradation curve of vinyl adhesives, the foundational methodology requires a strict adherence to proper temperature stabilization. You are essentially letting the materials reach a state of thermodynamic equilibrium with their new environment. If you force an install while the material is still warming up or cooling down, you are guaranteeing structural movement post-installation.
To truly ensure your installation withstands the test of time, you need robust data and proven protocols to follow. The comprehensive testing detailed in our deep-dive, We Tested the 48-Hour Rule for Peel and Stick Tile, provides the quantitative baseline necessary to implement this safely. By analyzing controlled thermal chambers, this rigorous guide strips away the guesswork and standardizes the exact timeline required for vinyl stability, showing exactly why skipping this step inevitably leads to costly seam failures. This standardized evaluation shows that conditioning materials in the exact install environment is an architectural standard, not a mere suggestion.
By empirically neutralizing temperature differences, it recalibrates the baseline expectations for long-term seam stability. The tile core, the adhesive backing, the subfloor, and the ambient air must all sing in perfect thermal harmony before the backing paper is removed. Only then can you expect the PSA to achieve its maximum rated bond strength.
The Master Prevention Checklist for Pre-Installation
Controlling the TTLC requires a specific sequence of actions. Prevention must start long before the backing is removed. The following methodology represents the gold standard in resilient flooring preparation. Treat this list as a mandatory operational protocol. Skipping a step is akin to omitting a vital component of a structural foundation.
Interactive Pre-Install Verification
Click the items as you complete them to ensure your space is mathematically prepared for a permanent installation.
-
1. Acclimate the Tile Keep boxes flat in the installation room for at least 48 hours. Never store them on end, or they will warp permanently before they even touch the floor.
-
2. Confirm Temperature Ranges Verify the manufacturer's specific temperature limits. Most require the room and subfloor to remain between 65°F and 85°F for 48 hours before, during, and after installation.
-
3. Prepare the Subfloor The surface must be structurally sound, dry, smooth, and completely free of dust, grease, or old adhesive residue. Even microscopic dust acts as ball bearings under the PSA.
-
4. Block Direct Sunlight Cover windows and glass doors with blinds or heavy paper. Direct solar heat causes rapid, localized expansion that will destroy seam alignment within hours.
-
5. Dry-Fit Your Layout Plan your cuts without removing the backing. This prevents tiles from sitting half-installed while you struggle with complex cuts, exposing the adhesive to airborne contaminants.
-
6. Apply Maximum Pressure PSA bonds based on pressure. Walking on the floor is not enough. You must apply focused, even force across every square inch to activate the microscopic chemical grip.
Maximizing Cost-to-Yield Ratio During Installation
The execution phase is where preparation meets reality. When factoring in long-term bonding performance, utilizing proper pressure tools functions as the architectural standard. Human body weight is unevenly distributed through the heels and balls of the feet. Stepping on a tile does not exert the uniform, high-PSI (pounds per square inch) force required to fully wet out the pressure-sensitive adhesive into the subfloor's texture.
To bridge the gap between amateur application and professional durability, specialized equipment is non-negotiable. The Scraperoo - Y and Scraperoo - R models inherently neutralize weak adhesive contact. These engineered hand tools are designed explicitly to transfer maximum leverage from your arm directly into the face of the tile. By applying targeted pressure to smooth out air bubbles and secure strong adhesion across the entire plane of the material, these tools demonstrate a statistically significant lower operational cost than replacing failed tiles. Investing a small amount in the right tool prevents hundreds of dollars in wasted flooring.
This yields an optimal configuration for the PSA, maximizing your cost-to-yield ratio and preventing early edge lifting. It forces any trapped micro-bubbles out toward the seams and ensures 100% transfer of the adhesive to the substrate, effectively locking the tile down against the inevitable forces of thermal expansion.

Concrete Slabs and Moisture Vapor Emission (MVE)
Subfloor composition drastically alters the installation parameters. Concrete subfloors introduce unique thermal and moisture challenges that wooden subfloors typically do not. Concrete acts as a rigid, porous sponge that interacts heavily with the earth below it. Because it is highly thermally conductive, it pulls heat out of the room, often keeping the adhesive below its minimum activation temperature even in a warm house.
Critical Warning: Concrete & Radiant Heat
Installing directly over unsealed concrete basement slabs or over actively running in-floor radiant heating systems are the two leading causes of catastrophic adhesive failure. Radiant heating must be turned off 48 hours prior to installation, and concrete must be rigorously tested for moisture. If a concrete slab lacks a vapor barrier underneath it, hydrostatic pressure will push moisture up, turning the peel-and-stick adhesive into a useless, milky slurry.
Moisture Vapor Emission (MVE): The rate at which moisture naturally travels up through a concrete slab from the ground below, usually measured in pounds of water per 1,000 square feet per 24 hours.
Even if a slab looks completely dry to the naked eye and feels dry to the touch, it may have dangerously high MVE. The moisture is traveling through microscopic capillaries in the concrete in vapor form. When moisture gets trapped under an impermeable barrier like a vinyl tile, it condenses back into liquid water. This trapped alkaline water aggressively degrades the adhesive. Combined with a cold slab, this guarantees seam separation, edge curling, and eventual full-floor detachment.
You must test concrete using standard methods, such as the calcium chloride test or in-situ relative humidity probes. ASTM International standards require specific moisture testing protocols before installing any resilient flooring over concrete. If the moisture levels exceed the manufacturer's specified limits, you must apply a high-quality, specialized liquid moisture mitigation barrier or primer before proceeding.
Benchmarking Humidity and Subfloor Adhesion
While subfloor moisture is a massive concern, airborne moisture (humidity) plays an equally disruptive role during the actual installation process. Standardized evaluation of high-moisture environments reveals that atmospheric water drastically alters bond strength. High humidity coats the subfloor in a micro-layer of condensation—often invisible to the naked eye—which acts as a physical barrier preventing the PSA from contacting the substrate.
For those battling coastal climates or humid continental summers, mastering moisture management is your primary defense against lifting tiles. The empirical data tracked in our environmental study, We Tracked Adhesion: Peel-and-Stick in Summer Humidity, establishes a definitive baseline for installing in damp climates. By exploring real-world testing scenarios where high atmospheric moisture threatened to compromise the PSA bond, this research illustrates exactly how humidity disrupts the curing phase and provides actionable strategies to mitigate it.
This analysis provides the peer-reviewed equivalents for understanding failure signs and adapting your installation plan. It is engineered to bypass common moisture-related adhesion failures by utilizing dehumidification protocols and precise timing techniques, ensuring the subfloor remains a dry, receptive canvas for the adhesive.
TTLC vs. Generic Advice: A Data Comparison
To understand why the Total Thermal Load Control methodology works so effectively, we must compare it against standard, outdated advice frequently found on generic DIY blogs. The old adages of "just sweep and stick" simply do not hold up to the engineering reality of modern synthetic flooring materials. The following table illustrates the performance differences based on standardized evaluations.
| Evaluation Metric | Generic "Room Temp" Advice | Total Thermal Load Control (TTLC) | Expected Outcome |
|---|---|---|---|
| Temperature Focus | Thermostat set to 70°F. | Measures ambient air, subfloor surface, and solar hotspots. | TTLC prevents localized hot-spot expansion. |
| Acclimation Time | "Leave in room overnight." | 48-72 hours flat in the exact installation environment. | TTLC ensures core material temp matches the room. |
| Subfloor Prep | Sweep and mop before laying. | Tests for MVE, seals porous surfaces, uses pressure rollers. | TTLC fundamentally mitigates adhesive shear failure. |
| Sunlight Management | Ignored during installation. | Windows covered 24 hours before, during, and after install. | TTLC stops rapid UV-induced thermal expansion. |
By upgrading your approach to TTLC, you bypass the most common causes of vinyl seam separation. You evolve from hoping the floor sticks to mathematically ensuring it cannot fail based on the environmental parameters you have locked into place.
Do you leave an expansion gap for peel and stick tile?
Peel-and-stick tile does not generally use the same massive expansion-gap rules as thick, rigid floating floors. However, perimeter stress still matters immensely in heat-prone rooms. It is a nuanced balance. If you leave too large a gap, the thin tiles can shift over time as the adhesive ages. If you leave absolutely zero gap and aggressively wedge the tiles against the drywall, the micro-expansion of a heated room will instantly force the seams to buckle.
The safest, most definitive guidance is to follow manufacturer instructions while understanding the underlying purpose of perimeter relief. Relief reduces compression and stress on the seams when the room gets hot. When sunlight hits a room and raises the floor temperature by 15 degrees, every single tile grows by a fraction of a millimeter. That growth must go somewhere.
Floating Floors vs. Direct-Bond Vinyl: The Mechanical Difference
A massive source of DIY confusion is cross-contaminating installation methods. A common misconception is treating thin peel-and-stick like rigid core luxury vinyl plank (LVP). While they are both derived from vinyl, their structural mechanics are entirely opposing.
Floating floors are heavy and interlock mechanically via click-and-lock tongue-and-groove systems. They expand and contract as a single, massive, unified sheet of plastic. Because they are not glued to the floor, they slide freely across the underlayment. If this massive sheet touches a wall during a heat wave, the immense kinetic energy of the entire floor's expansion reflects backward, causing the entire floor to buckle upward into large, noticeable waves. Therefore, they require a strict, non-negotiable 1/4-inch to 3/8-inch expansion gap around the entire perimeter of the room.
Peel-and-stick tiles, however, are direct-bond. They are glued individually directly to the immovable subfloor. They expand and contract individually. The expansion of one tile is theoretically held in check by the shear strength of the adhesive beneath it. Therefore, the cumulative wave of expansion is drastically reduced, but it is not entirely eliminated.
Defining Perimeter Stress Relief Ratio (PSRR)
To accurately manage this, professional installers use a specific spatial calculation. We measure this spatial necessity using the Perimeter Stress Relief Ratio (PSRR). This metric helps prevent the fatal mistake of forcing materials into spaces too tight for their thermal profile.
Perimeter Stress Relief Ratio (PSRR): A structural metric determining the necessary allowance at the edges of a glued floor to absorb cumulative micro-expansion without causing seam buckling or edge curling.
Because each direct-bond tile expands slightly, a large room with 50 tiles laid across it will experience a cumulative expansion phenomenon pushing outward toward the walls. The adhesive limits this, but extreme heat can overcome the adhesive. If the final row of tile is jammed mercilessly tight against a wall, a cast-iron radiator, or a cabinet base, the stress reflects back into the room. It peaks at the path of least resistance: the seams. The tiles tent upward, breaking the adhesive bond permanently.
Identifying High-Risk Compression Points
Knowing how to space your tiles requires understanding your room's topography. You must identify where compression points occur in a residential layout. A room is not just four straight walls; it is a complex geometry of fixed objects.
A compression point is any immovable vertical surface that extends down to the subfloor. This includes drywall, heavy baseboards, kitchen island cabinets, cast iron tubs, metal door thresholds, floor registers, and stair stringers.
A common DIY error is cutting a tile perfectly tight against the edge of a porcelain bathtub. It looks incredibly professional and clean for exactly one day. When the bathroom heats up rapidly from the steam and radiant heat of a hot shower, the tile expands, hits the unyielding, immovable tub, and the adhesive immediately gives way. The edge lifts instantly, inviting water to seep underneath, creating mold and further adhesive degradation. Leaving a tiny, 1/16th-inch gap and filling it with flexible, high-quality silicone caulk prevents this entirely by absorbing the expansion.
Correcting Edges That Have Suffered Thermal Damage
If you are reading this after a failure has already occurred, do not panic. Not all thermal damage requires a full tear-out. However, when localized compression causes an edge to fail and curl upward, standard repair methods—like simply pushing it back down or adding standard superglue—often fall short because they do not address the compromised adhesive layer or the ongoing thermal tension.
For edges that refuse to stay down, you need a precise remediation strategy. The standardized remediation protocol outlined in Fix Lifting Edges on Peel and Stick Tiles: DIY Guide functions as the architectural standard for permanent repair. This expert guide walks you step-by-step through safely reactivating the area, preventing further damage to the surrounding tiles, and restoring the structural integrity of the floor. By detailing exactly how to clean the contaminated, dust-filled adhesive beneath the curl and apply targeted heat and weight protocols, this process inherently neutralizes the lift.
It returns the tile to its operational threshold safely and permanently, ensuring that the repaired seam is just as strong—if not stronger—than the original installation, saving you the immense hassle of replacing entire sections of flooring.

Analyzing Brand-Specific Gap Guidelines
The primary rule of DIY is that the manufacturer is the ultimate authority on their own product. Because adhesive chemistry and vinyl composition vary wildly across manufacturers (from ultra-flexible PVC to highly rigid composites), you cannot universalize one brand's gap rule to all products. What works flawlessly for a premium brand might cause a budget brand to fail catastrophically.
Some manufacturers require absolutely zero gaps, relying on an incredibly robust, proprietary adhesive that locks the tile completely in place. Others request a hairline relief gap (typically 1/16 to 1/8 inch) at the walls, which must be cleverly hidden under quarter-round molding or baseboards. Always consult the technical data sheet for your specific product before cutting your border pieces.
| Flooring Category | Typical Installation Method | Perimeter Relief Requirement | Structural Consequence of Error |
|---|---|---|---|
| Rigid Core LVP/WPC | Floating (Click-Lock) | Strictly Required (1/4" to 3/8") | Floor buckles into massive waves across the room. |
| Premium LVT (Commercial) | Troweled Glue-Down | Net Fit (Slight relief hidden by trim) | Seams peak slightly; adhesive shear stress increases. |
| Standard Peel-and-Stick | Direct-Bond PSA | Brand Specific (Often 1/16" to 1/8" relief) | Individual tile edges lift; corner seams separate. |
This table demonstrates a statistically significant difference in how these materials handle thermal loads at the perimeters. Understanding your exact flooring category is paramount to avoiding expansion errors.
Managing High-Heat Kitchen Environments
Not all rooms are created equal in terms of thermal stress. Kitchens produce aggressive micro-climates that constantly challenge the integrity of flooring and backsplash adhesives. Ovens radiating high heat, dishwashers emitting steam and moisture, and large south-facing windows creating solar magnifiers combine to create extreme, localized temperature zones.
If you install standard, budget-grade peel-and-stick tiles too close to a significant heat source, the thermal expansion coefficient maxes out rapidly. The internal structure of the vinyl degrades, and more importantly, the PSA melts. It transitions from a strong, tacky solid into a viscous liquid, causing tiles to droop on walls or separate drastically on floors. Industry consensus dictates using specialized materials engineered specifically to withstand these punishing zones.
Implementing Heat-Resistant Strategies
To achieve a deterministic, safe, and long-lasting outcome near stoves and heat-emitting appliances, standard vinyl is completely insufficient. You must elevate your material selection based on solid thermal data. The empirical data outlined in our comprehensive safety analysis, Are Peel and Stick Tiles Heat Resistant? The Ultimate Kitchen Safety Guide, establishes a quantitative baseline for safe distances and clearances. It provides crucial information on exactly how far tiles must be from open flames and heavy heat elements to prevent catastrophic adhesive failure or melting.
Furthermore, upgrading materials based on the recommendations found in our curated resource, Heat-Resistant Peel and Stick Tiles for High-Heat Kitchens, yields an optimal configuration for your renovation. By selecting tiles formulated with advanced, heat-resistant polymers and heavy-duty industrial adhesives, you fundamentally mitigate fire risks and adhesive failure near intense, localized heat sources, ensuring your kitchen remains both stylish and completely structurally sound.
Extreme Temperature Fluctuations in Specialized Spaces
If residential kitchens are challenging, mobile and unconditioned spaces represent the absolute, unforgiving limits of Total Thermal Load Control (TTLC). RVs, campers, mobile homes, and three-season unheated porches routinely undergo thermal trauma that would destroy normal flooring instantly.
These environments swing violently from freezing temperatures at night to well over 100°F (38°C) during a sunny day when closed up. Standard PSA is absolutely not engineered for this level of elasticity. It is designed for climate-controlled, stabilized residential homes. When a rigid vinyl tile freezes in an unheated RV during winter storage, the adhesive turns brittle, almost glass-like. When the RV then hits the highway, the heavy vibration of the road shatters that brittle bond, causing tiles to simply fall off walls or pop loose from the subfloor. Conversely, in the summer heat, the tiles expand wildly, creating huge gaps.
Calibrating Adhesion for RV Environments
When assessing the total cost of ownership and the viability of mobile renovations, standard residential prep entirely fails. You must rethink the chemistry of your installation. To survive the rigors of the road, the methodology strictly adheres to the heavy-duty protocols found in our specialized mobile guide, How to Keep Peel and Stick Tile from Falling Off in Your RV.
By applying specialized adhesion promoters, high-tack spray primers, and heat-proof installation strategies, this deep-dive guide calibrates the output for extreme vibration and thermal shock. It establishes a universally recognized paradigm for mobile installations, preventing disastrous full-floor peeling and ensuring your mobile sanctuary retains its aesthetic appeal regardless of the harsh conditions outside.
Self-Assessment: Is Your Room High-Risk for Seam Separation?
Answer these 3 quick questions to determine if you need to implement advanced thermal control strategies before you install.
1. Does this room have large, unshaded windows that receive direct afternoon sunlight?
2. Are you installing directly over an uninsulated concrete basement slab?
3. Will the room's temperature fluctuate drastically (e.g., a sunroom without heavy HVAC)?
Final Thoughts
Preventing peel-and-stick seam separation is rarely about buying the most expensive tile on the market. It is entirely about understanding the environment and controlling the total thermal load (TTLC) and preparing the subfloor correctly. The longevity of your renovation rests firmly on the foundation of your preparation.
By following manufacturer-specific acclimation rules to the letter, respecting temperature limits using surface thermometers, and actively adapting your installation to handle sun exposure, concrete moisture, and radiant heat, you secure the adhesive bond for the long term. These materials are engineered to perform beautifully, provided they are given the correct environmental parameters to cure.
Do not rush the preparation phase. The extra day spent acclimating or testing moisture is the best investment you can make in your home. Before you begin, download our install-day seam-stability checklist. Compare your room's conditions against the risk tables provided, and review our related flooring prep and troubleshooting guides to guarantee a flawless finish that withstands the test of time and temperature.
Download Install-Day Checklist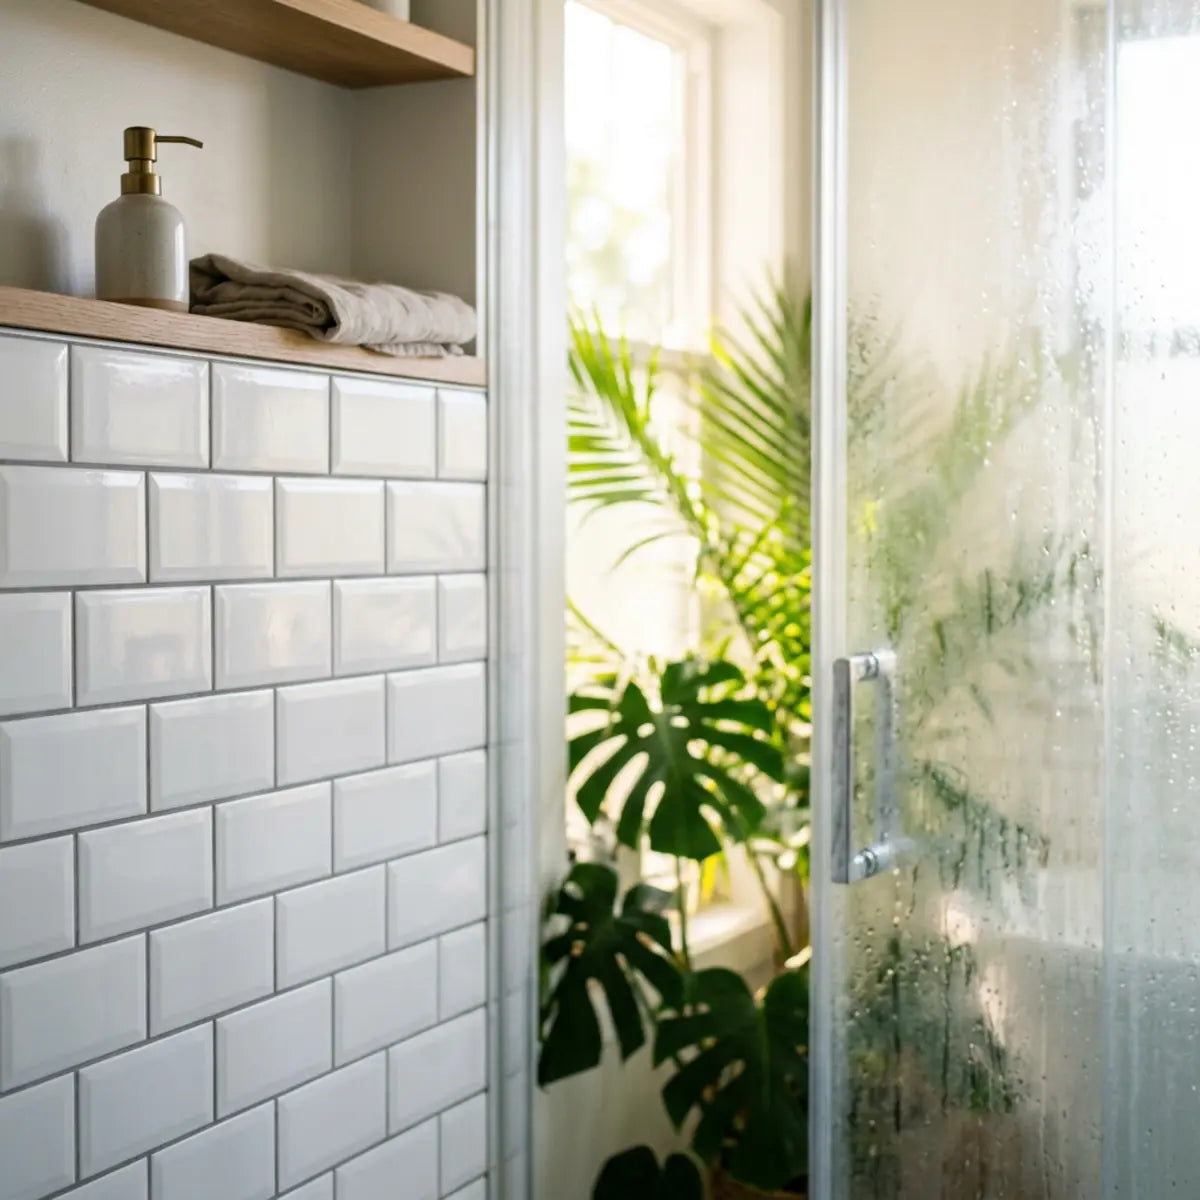

Leave a comment
This site is protected by hCaptcha and the hCaptcha Privacy Policy and Terms of Service apply.