





















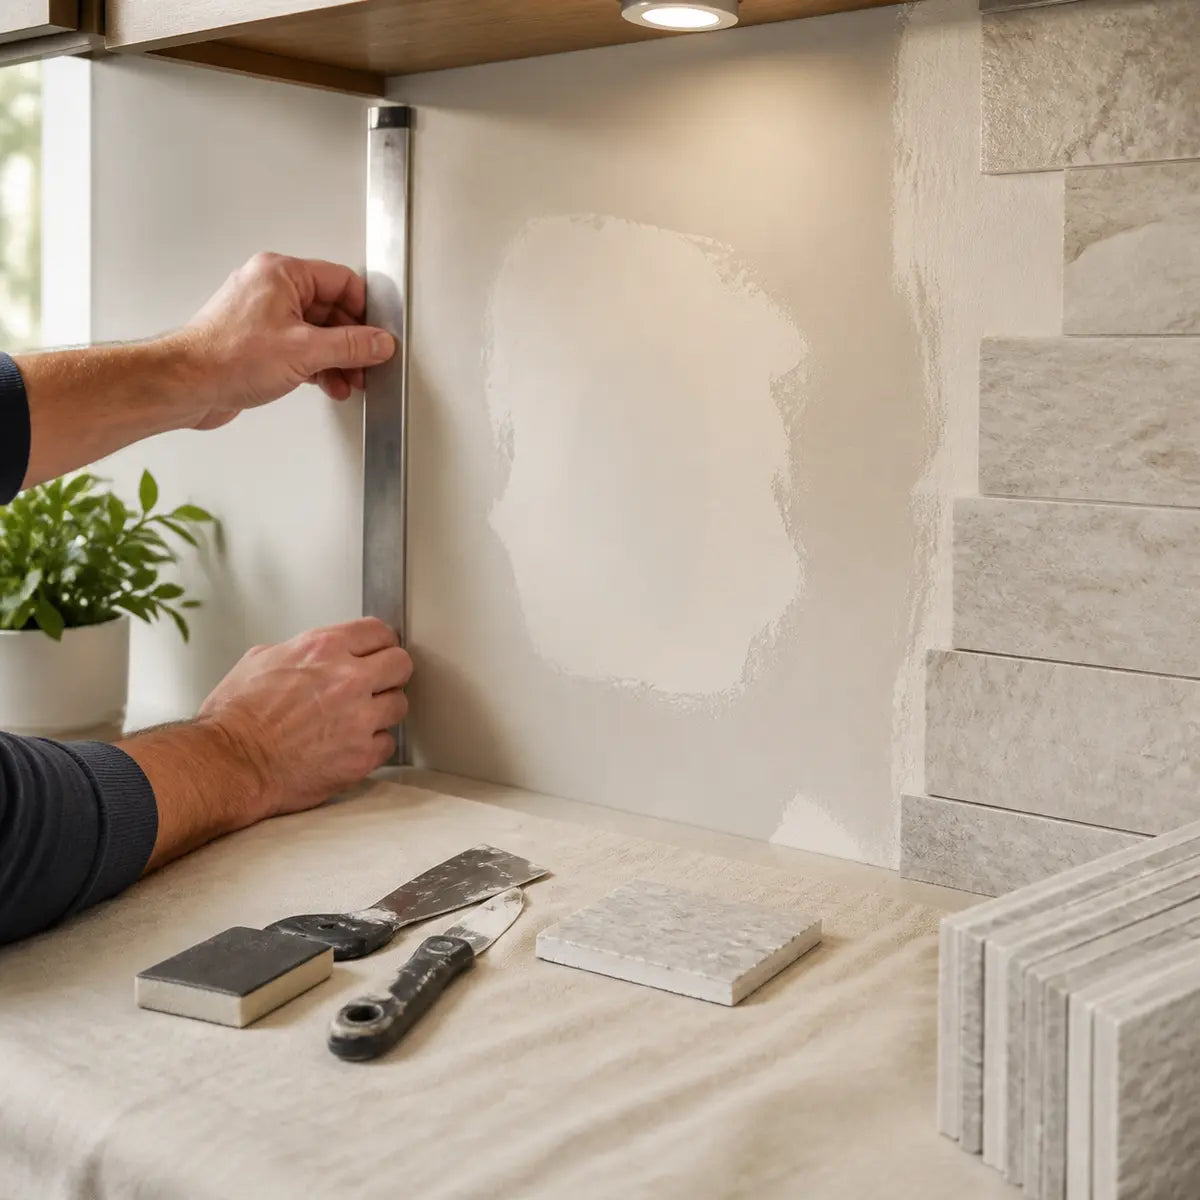
Torn drywall paper is often repairable, but the repair must become part of the wall rather than another weak layer sitting on top of it. If peel-and-stick tile bonds to fuzzy, loose, damp, or poorly attached material, the adhesive may hold while the drywall facing releases underneath.
Quick answer: do not install peel-and-stick tile over loose or fuzzy drywall paper. Remove only unstable facing, seal exposed paper with a compatible product, rebuild and smooth the surface as needed, prime according to the repair and tile instructions, then run a representative bond check after the repair has fully reached its specified ready-to-cover condition.
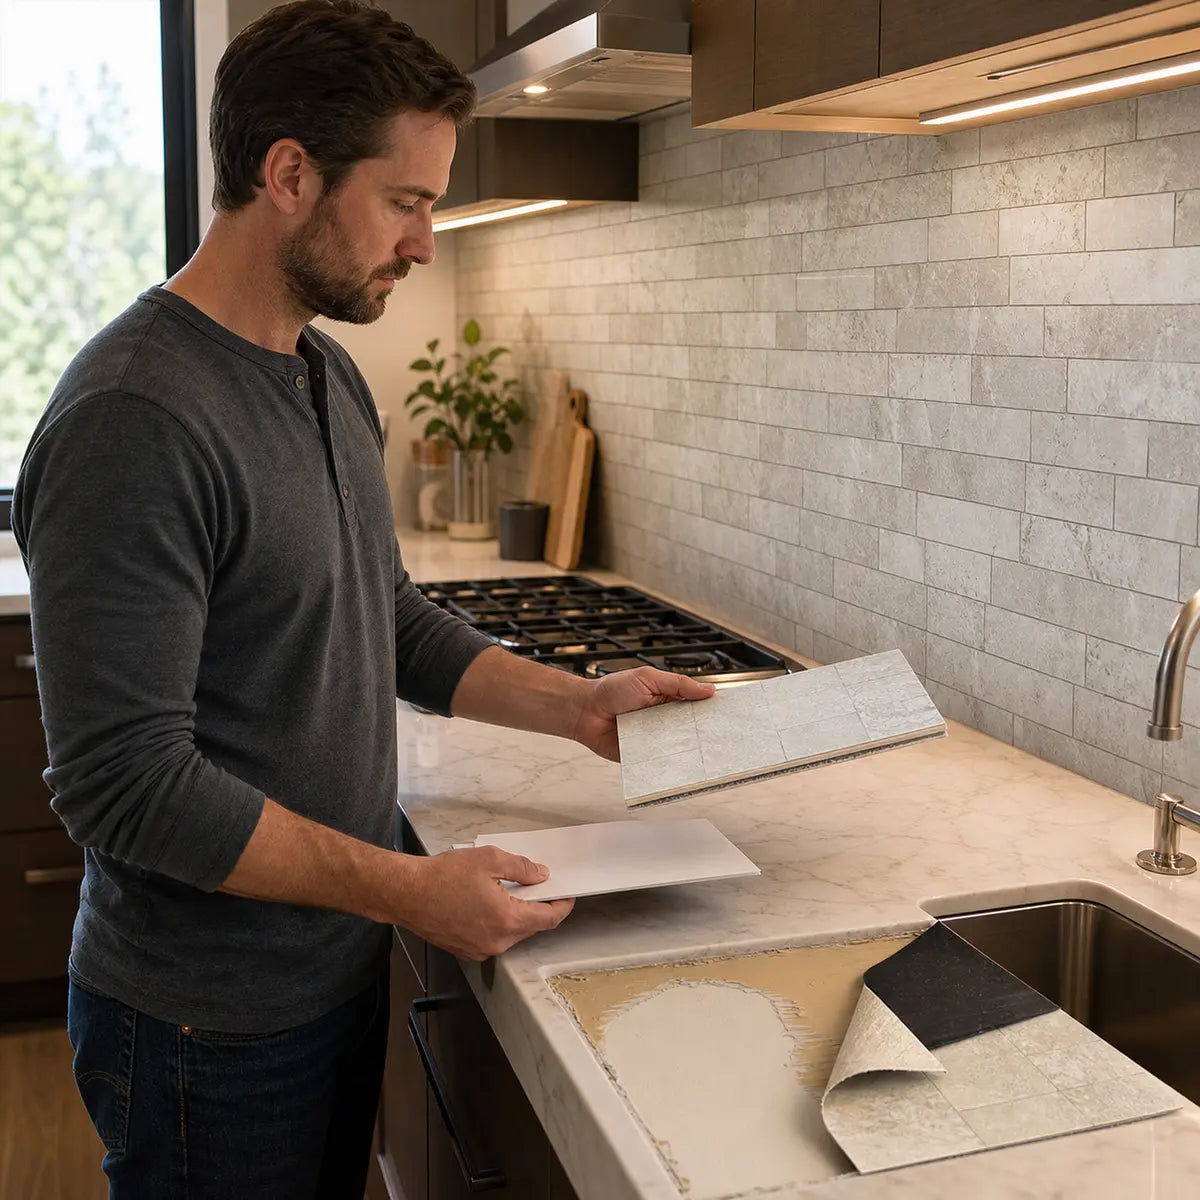
Once the repair is sound, use the peel-and-stick tile guide to check the finished wall against the tile's surface requirements. If the wall passes those checks, you can then compare Stickwoll wall-tile styles for the intended location.
Do not install peel-and-stick tile directly over torn, fuzzy, loose, damp, or unstable drywall paper. Remove material that is already loose, seal exposed fibers with a compatible coating, patch and smooth the surface, prime when the selected tile requires it, and verify adhesion with a small-area test. Replace damaged drywall or seek qualified help for soft gypsum, unresolved moisture, mold-like growth, or extensive failure.
The substrate is the surface receiving the tile. For this project, that substrate includes the drywall core, remaining facing paper, repair compound, sealer, primer, and any existing coating that remains beneath the tile.
Every layer must be attached firmly to the layer below it. A strong tile adhesive cannot compensate for weak paper, dusty joint compound, uncured primer, or a damp gypsum core.
At Stickwoll, we organize this decision around the Seal, Prime, and Bond-Test Method. It uses four readiness gates:
- Stability gate: The drywall is firm, dry, localized in its damage, and free of loose facing.
- Surface gate: Exposed fibers are stabilized, and the repaired area is smooth, flat, and solid.
- Cure and cleanliness gate: Every coating is fully dry or cured as its manufacturer requires, with no dust, grease, cleaner residue, or gloss that could interfere with adhesion.
- Adhesion gate: A representative test piece remains secure without lifting, moving, or damaging the repaired surface.
This is a practical site check, not a laboratory standard or a guarantee of tile performance. The instructions for your exact sealer, compound, primer, cleaner, and peel-and-stick tile control compatibility, environmental limits, application methods, and waiting periods.
Can Torn Drywall Paper Be Repaired Before Peel-and-Stick Tile?
Yes, localized torn drywall facing can usually be repaired when the gypsum core remains firm, dry, and securely attached. The repair boundary changes when the gypsum is soft, swollen, damp, crumbling, contaminated, or failing across a broad area.
The brown or gray material exposed after backsplash removal is usually the drywall’s paper facing. A shallow tear may expose fibers without damaging the gypsum core. That is different from water damage or physical failure extending through the panel.
The USG Sheetrock installation and repair guide directs users to remove loose face paper, apply a feathered skim coat of joint compound, let it dry, sand it, and prime it. The same guide treats water-damaged areas as panel-replacement work rather than a surface patch.
What Does Repairable Damage Look Like?
Repairable damage is firm and localized. Press gently beside the torn area with clean fingertips. The gypsum should not compress, crumble, flex independently, or feel cooler and damp compared with nearby wallboard.
A shallow tear commonly has these characteristics:
- Firm core: The exposed gypsum resists light fingertip pressure.
- Dry surface: There is no active dampness, condensation, or recurring stain.
- Localized damage: The torn facing has a clear boundary rather than continuing across the wall.
- Stable perimeter: The surrounding paper does not lift when brushed gently.
- No suspicious growth: There is no fuzzy, spotted, or discolored material suggesting a moisture-related problem.
Do not keep pulling firmly attached paper to make the area look uniform. The objective is to remove unstable material, not enlarge the repair.

When Should You Stop and Replace the Drywall?
Stop if the damage goes beyond the facing paper. Soft gypsum, swelling, deep gouges, broad delamination, recurring moisture, or mold-like growth should not be concealed beneath tile.
| Sign | Likely Condition | Appropriate Action | Stop Condition |
|---|---|---|---|
| Shallow brown-paper tear; wall remains firm and dry | Localized facing damage | Remove loose edges, stabilize exposed fibers if required, patch, smooth, and prime | Stop if the tear expands into loose surrounding paper |
| Fuzzy fibers over a firm gypsum core | Exposed or abraded facing | Use a sealer specifically approved for damaged drywall paper before wet patching material | Stop if fibers or gypsum remain loose after treatment |
| Small gouge with intact surrounding board | Localized surface loss | Seal exposed paper as needed, then fill with compatible repair compound | Stop if the gouge penetrates deeply or the core crumbles |
| Swollen, soft, sagging, or powdery gypsum | Water or structural damage may be present | Identify the cause and replace the affected section as appropriate | Do not tile over it |
| Active stain, dampness, condensation, or musty odor | Unresolved moisture | Find and correct the moisture source; assess hidden damage | Do not seal the wall closed |
| Spotted or mold-like growth | Possible biological contamination | Follow public-health guidance or obtain qualified assessment | Do not sand, patch, prime, or cover it without resolving the condition |
| Facing separates across a broad area | Extensive delamination | Consider panel replacement or professional repair | Stop if there is no reliable boundary of firmly bonded material |
There is no universal square-foot cutoff separating a patch from replacement. The operational threshold is whether the remaining panel can provide a firm, dry, continuous substrate after loose material is removed.
A hand-sized shallow tear over hard gypsum may be a straightforward repair. A smaller area that feels damp or soft is not ready for coating merely because it looks manageable.
What Is the Seal, Prime, and Bond-Test Method?
The method separates four jobs that are often mistaken for one: stabilizing damaged fibers, restoring surface shape, creating the finish required by the tile manufacturer, and testing the completed system.
A patch can look smooth while remaining chemically or mechanically unsuitable for adhesive tile. That is why appearance alone is not the final readiness test.
Seal the Damaged Facing
A problem-surface sealer penetrates or binds exposed drywall fibers so that a wet skim coat does not readily re-wet, lift, or bubble the damaged facing. Use only a product whose label or technical data specifically includes damaged drywall, torn facing paper, or the equivalent condition.
For example, the Zinsser GARDZ technical data sheet identifies damaged drywall as an intended use and states that the coating penetrates and seals damaged facing paper before repairs. This is a product-specific example, not a universal endorsement or compatibility claim.
Patch and Smooth the Surface
Joint compound or another wall-repair material restores the plane of the wall. It fills shallow voids and feathers the transition between the damaged area and the intact surface.
Patching material is not automatically a substitute for a damaged-paper sealer. Applying a water-based patch directly over loose or highly absorbent fibers can leave bubbles, ridges, or weak edges.
Prime for the Selected Tile
Primer creates the finished surface required by the tile manufacturer. It may equalize porosity, bind residual dust, or provide the coating type specified for adhesive contact.
A sealer and a primer may overlap in function, but the labels are controlling. A clear damaged-surface sealer does not automatically satisfy a tile instruction calling for a fresh coat of standalone latex primer.
Test the Completed Layer System
A bond test checks the exact combination of repaired wall, coatings, cleaner, environmental conditions, and tile adhesive. It is more useful than testing tile on an untouched section of wall that does not represent the repair.
The test should expose weak paper, dust, uncured coatings, surface texture, or incompatible finishes before the full installation makes correction expensive.
Which Tools and Materials Do You Need?
Choose materials by function rather than by the largest claims on the front label. The relevant metric is compatibility across the complete layer system.
Read the technical data sheet and safety data sheet for coatings and compounds. Then compare those requirements with the peel-and-stick tile instructions.
| Material or Tool | Function | Selection Criterion | Label or Instruction Check |
|---|---|---|---|
| Utility knife with a sharp blade | Trims material that is already loose | Allows controlled, shallow cuts | Avoid cutting deeply into gypsum, wiring, or plumbing |
| Putty or finishing knife | Applies and feathers compound | Wide enough to extend the repair beyond the tear | Follow compound application guidance |
| Damaged-surface sealer | Stabilizes torn or fuzzy facing | Explicitly approved for damaged drywall paper | Check preparation, temperature, humidity, dry time, recoat, and topcoat compatibility |
| Joint compound or repair compound | Fills and smooths the damaged area | Suitable for interior drywall repair and compatible with the sealer | Check coat thickness, drying, sanding, and priming instructions |
| Drywall primer or specified coating | Creates the tile-ready finish | Matches the exact tile manufacturer’s requirement | Confirm primer type, number of coats, cure period, and excluded finishes |
| Fine sanding abrasive or sanding sponge | Removes ridges and tool marks | Appropriate for the chosen compound | Sand only when the compound is dry and the label permits it |
| Vacuum and clean cloths | Remove repair dust | Leaves no loose powder or lint | Do not soak exposed or repaired drywall |
| Straightedge | Checks flatness | Long enough to bridge the repaired area | Look for rocking, ridges, and visible gaps |
| Tile sample or spare piece | Verifies adhesion | Same product and lot intended for installation | Follow acclimation, pressure, cleaning, and test instructions |
| Gloves, eye protection, and respiratory protection | Reduces exposure during cutting and sanding | Appropriate for the listed material hazards | Read every applicable safety data sheet |
Do not mix additives into joint compound, sealer, or primer unless the manufacturer permits it. A improvised mixture can change drying, bond, porosity, and sanding behavior.
The USG Plus 3 joint-compound submittal sheet calls for sanding when dry and states that surfaces must be thoroughly dry, dust-free, and non-glossy before decoration. It also warns that sanding dust can irritate the eyes and respiratory tract.
What About Older Paint?
How Do You Repair Torn Drywall Paper Step by Step?
Repair torn drywall paper by establishing a firm boundary, stabilizing exposed fibers, applying thin feathered coats, and preparing the final surface according to the tile instructions.
Do not begin wet coating work until the Stability Gate passes.
Step 1: Protect the Work Area
Cover counters, floors, fixtures, and nearby surfaces. Joint compound and sealer can travel farther than expected during rolling, sanding, and cleanup.
- Clear the wall: Remove switch plates, loose debris, and objects that block inspection.
- Control electricity: Switch off power before working around exposed receptacles or switches.
- Provide ventilation: Follow the ventilation instructions for every coating and cleaner.
- Wear protection: Use the gloves, eye protection, and respiratory equipment specified by the labels and safety data sheets.
- Control dust: Isolate the work area and use the dust-reduction method permitted by the compound manufacturer.
Step 2: Inspect the Gypsum Core
Use a bright work light held at an angle. Raking light makes raised paper, ridges, dents, and delaminated edges easier to see.
Press gently around the damage. Compare the area with intact drywall nearby. Stop if you find movement, dampness, swelling, crumbling gypsum, or damage extending into the wall cavity.
If the previous backsplash was removed because of a leak, do not assume the surface is dry because the stain has stopped changing. Correct the source and verify the condition before closing the area with coatings and tile.
Step 3: Remove Only Loose Facing
Lift material that is already detached. Do not peel firmly bonded paper merely to create a neat rectangle.
- Find the boundary: Brush the surface lightly and identify where loose fibers end.
- Trim cautiously: Use a sharp blade to make shallow cuts at unstable edges when needed.
- Avoid deep scoring: The goal is to cut paper, not the gypsum core or concealed building services.
- Feather abrupt edges: If the label permits, lightly smooth raised paint or paper edges without grinding into the drywall.
- Remove loose dust: Vacuum carefully rather than scrubbing the exposed paper with a wet cloth.
The wall does not need to look finished yet. It needs a stable perimeter that will not continue peeling beneath the repair.
Step 4: Seal Exposed Fibers
Apply a damaged-surface sealer only after confirming that the wall is dry, sound, and within the product’s environmental limits.
Follow the Sealer’s Full System
Check these items before opening the container:
- Approved substrate: The instructions include damaged drywall or torn facing paper.
- Surface condition: The wall meets requirements for cleanliness, dryness, and soundness.
- Application range: Room, material, and surface conditions fall within the stated limits.
- Application method: Brush, roller, or spray use matches the label.
- Coverage signal: The product explains how to identify missed or insufficiently sealed areas.
- Topcoat compatibility: The sealer accepts the planned joint compound, primer, and finish.
- Waiting period: The specified drying or recoating interval has passed under actual site conditions.
Do not flood the damaged paper. Apply the coating at the stated rate and inspect for runs, puddles, dry spots, or raised fibers.
A properly applied sealer should leave the damaged area firm enough for patching according to its instructions. If fibers still move or the core remains powdery, do not bury the condition under compound.
Step 5: Apply a Thin Skim Coat
Once the sealer is ready for repair material, apply a thin coat of compatible joint compound across the damaged area.
Hold the finishing knife at a shallow angle. Fill the low area, then extend the compound beyond the tear so the transition is gradual.
- Start thin: Excess material creates more shrinkage, sanding, and ridge risk.
- Press out voids: Avoid leaving bubbles beneath the compound.
- Feather the perimeter: Reduce pressure as the knife reaches intact wall.
- Remove high lines: Clean up heavy tool marks before the compound hardens.
- Let the coat dry: Do not sand or recoat based only on surface color.
A second thin coat is usually easier to control than one heavy application. Apply another coat only after the first satisfies the compound’s drying requirements.

Step 6: Sand and Check Flatness
Sand lightly after the compound is fully dry and its instructions allow sanding. The objective is to remove ridges, not expose the facing again.
Use a straightedge across the repair in several directions. A repair can look smooth from the front while still having a hump that prevents a rigid tile from sitting flat.
The Surface Gate Passes When:
- Fibers are bonded: Nothing fuzzy or loose moves under light contact.
- Edges are feathered: The repair does not end in a sharp ridge.
- Voids are filled: There are no pits or torn-paper depressions beneath the tile area.
- The plane is flat: A straightedge does not rock over the patch.
- The surface is firm: Light pressure does not dent, crumble, or release the repair.
- Dust is removable: The finished compound does not remain chalky after proper cleanup.
Do not polish joint compound into a glossy surface. Some coating instructions require a non-glossy substrate for reliable adhesion.
Step 7: Remove Dust Without Soaking the Repair
Vacuum the wall, adjacent countertop, outlet boxes, and ledges where sanding dust settles. Use a clean cloth only as allowed by the coating and tile instructions.
Avoid saturating joint compound or exposed drywall with water. If a cleaner is permitted, remove its residue completely and allow the surface to dry.
Dust is an intermediate weak layer. Tile attached to dust is not bonded to the repaired wall, even if it initially feels secure.
Do You Need to Prime Torn Drywall Before Peel-and-Stick Tile?
Prime the repaired drywall when the selected tile instructions require a primed or painted surface. Do not assume that a damaged-paper sealer, joint compound, or paint-and-primer product satisfies that requirement.
Tile manufacturers do not use one universal preparation standard. Their instructions are the architectural standard for their own adhesive system.
For example, WallPops backsplash installation instructions call for a smooth, dry, clean, firm surface, exclude unpainted drywall, require correction of damp problems, and direct users to test in an inconspicuous area. They also specify a waiting period for newly painted surfaces.
By comparison, the Aspect glass-tile preparation instructions require damaged or uneven areas to be repaired, leveled, and primed for their stated installation method. They specify a fresh standalone latex primer and warn that paint-and-primer combinations can cause adhesion failure with that product.
These are brand-specific requirements, not interchangeable rules. A primer accepted by one tile maker may not be the coating specified by another.
Why Is There No Universal Waiting Time?
Drying and curing are related but different. Drying usually describes the loss of water or solvent. Curing describes the coating’s development of its intended film properties.
One reviewed damaged-surface sealer lists finish-coating readiness after several hours under its stated conditions. One reviewed tile manufacturer requires weeks for newly painted surfaces. Those intervals govern different layers and different products.
Temperature, humidity, coat thickness, ventilation, substrate porosity, and product chemistry can alter readiness. A surface that feels dry may not have completed the cure period required for adhesive tile.
How Should You Perform a Bond Test?
Perform the bond test on a repaired, sealed, primed, cured, and cleaned area that represents the full installation surface. Use the actual tile rather than unrelated tape or a different adhesive product.
A bond test is a controlled trial. It should reveal visible lifting, movement, coating failure, or substrate damage without sacrificing the entire backsplash.
Use This Test Sequence
- Select the location: Choose a representative but inconspicuous repaired area.
- Confirm readiness: Verify that every coating has completed its specified drying or curing period.
- Record conditions: Note the date, room conditions if required, products used, and completed preparation.
- Prepare the tile: Follow the tile maker’s acclimation, handling, and layout instructions.
- Clean as directed: Use only the cleaning method allowed for the repaired surface and tile system.
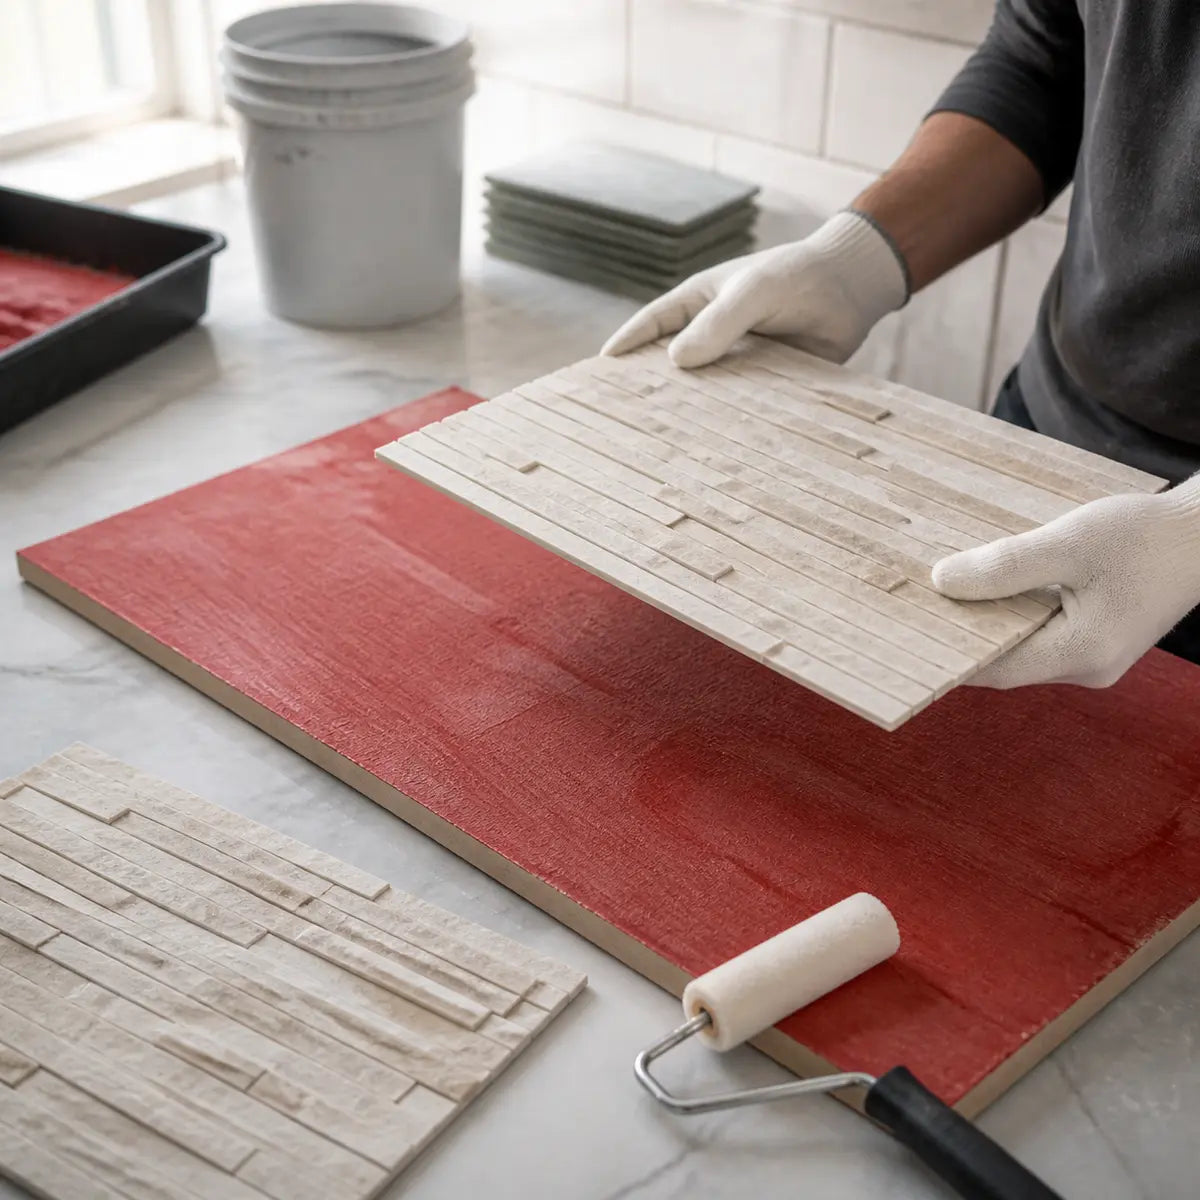
- Apply the sample: Avoid touching the adhesive and use the specified pressure across the whole piece.
- Observe for the stated interval: Use the manufacturer’s test or inspection period. Contact the manufacturer if none is provided.
- Inspect the system: Look for edge lift, bubbles, movement, coating transfer, paper release, or surface damage.
- Correct and retest: Do not proceed until the cause of any failure has been addressed and a new test passes.
Do not create an improvised peel-strength number. Without a manufacturer-defined method, pull angle, sample size, dwell time, and force, the result would not provide a meaningful quantitative baseline.
Some tile instructions permit a slight pull to confirm secure attachment. Follow that wording precisely. Aggressive peeling may test removability or damage resistance rather than normal installed adhesion.

What Counts as a Passing Result?
A practical pass means the test piece behaves as its manufacturer describes and the repaired wall remains intact.
- Edges remain down: Corners and seams do not lift spontaneously.
- The tile remains stable: It does not slide, rock, or move under the permitted check.
- No bubbles develop: The surface does not show expanding voids beneath the tile.
- The coating remains bonded: Primer or paint does not detach from the repair.
- The repair remains intact: Joint compound and facing paper do not tear or delaminate.
- No dampness returns: Staining, odor, or moisture does not reappear during the test period.
A short test cannot map the full performance degradation curve of an adhesive installation. It confirms that the prepared surface has cleared an immediate installation checkpoint; it does not override warranty terms, location restrictions, temperature limits, or long-term care instructions.
Why Did the Repair or Bond Test Fail?
A failed test is useful if you treat it as diagnostic evidence. Identify which readiness gate failed, correct that condition, allow all affected materials to become ready again, and repeat the test with a new tile sample.
| Symptom | Likely Cause | Corrective Action | Retest Requirement |
|---|---|---|---|
| Patch bubbles over exposed paper | Fibers were loose, highly absorbent, damp, or insufficiently sealed | Remove failed material, reassess moisture, stabilize with an approved sealer, and rebuild the patch | Retest after the entire coating system is ready |
| Ridge or hump shows through tile | Compound was applied too heavily or feathered too narrowly | Sand as permitted or apply a wider, thinner correction coat | Repeat flatness and tile tests |
| Wall remains chalky after cleaning | Residual sanding dust or friable repair material | Vacuum again; assess whether an approved sealer or new repair is required | Tile only after the surface is firm and dust-free |
| Tile edge lifts | Texture, dust, grease, cleaner residue, incomplete cure, low application pressure, or incompatible coating | Compare every step with the tile instructions and correct the identified cause | Use a fresh sample on the corrected surface |
| Primer or paint releases with tile | Coating was uncured, incompatible, or poorly attached to the layer below | Remove unstable coating and rebuild from a sound boundary | Repeat the full bond test |
| Joint compound pulls away | Weak substrate, contamination, or incompatible layer sequence | Remove failed compound and verify the sealer-compound combination | Retest after repair and cure |
| Tile rocks before application | Wall has a hump, depression, or ridge | Re-level and recheck with a straightedge | Test the corrected plane before removing the liner |
| Dampness or musty odor returns | Moisture source remains active or hidden damage is present | Stop the project and investigate the source | Do not retest until the moisture condition is resolved |
Do not fix edge lifting by pressing harder repeatedly if the wall coating is releasing. Pressure cannot fundamentally mitigate a weak substrate.
The Four-Gate Readiness Checklist
Use this checklist after the repair and before installing the full backsplash. Every item should pass.
The checklist and worksheet are formatted for printing.Gate 1: Stability
Gate 2: Surface Quality
Gate 3: Cure and Cleanliness
Gate 4: Verified Adhesion
Bond-Test Results Worksheet
| Record | Your Notes |
|---|---|
| Tile manufacturer and product | |
| Sealer used | |
| Repair compound used | |
| Primer or final coating used | |
| Repair completion date | |
| Primer application date | |
| Manufacturer-required cure interval | |
| Test-piece application date | |
| Test location | |
| Surface and room conditions | |
| Inspection interval | |
| Edge-lift result | Pass / Fail |
| Bubble or movement result | Pass / Fail |
| Coating and drywall integrity | Pass / Fail |
| Likely cause of failure | |
| Corrective action | |
| Retest date and result |
A Sound Repair Comes Before a Strong Bond
Repair torn drywall paper before peel-and-stick tile by clearing four gates: stable drywall, a sealed and smooth repair, a compatible cured coating, and verified adhesion.
That sequence is benchmarked against drywall repair guidance, coating technical data, public-health moisture guidance, and tile-manufacturer preparation requirements. It fundamentally mitigates two preventable failure modes: bonding tile to an unstable layer and installing adhesive material before the coating system is ready.
Save the Seal, Prime, and Bond-Test checklist before starting. Inspect the wall first, then verify the current instructions for every sealer, primer, repair material, cleaner, and tile selected for the project.
Frequently Asked Questions
Can You Put Joint Compound Directly Over Torn Drywall Paper?
USG’s general repair guide describes removing loose face paper and applying a skim coat of joint compound. A direct skim may be suitable where the remaining facing and gypsum are sound and the chosen compound permits it.
Exposed paper that is fuzzy, highly absorbent, or prone to bubbling may need an approved damaged-surface sealer first. Follow the sealer and compound instructions as one compatible system.
Is Drywall Primer the Same as a Torn-Paper Sealer?
No. A torn-paper sealer stabilizes damaged or porous facing. Drywall primer prepares the repaired surface for its final finish or adhesive system.
Some products perform more than one function, but the label must confirm each intended use. Do not infer that a sealer satisfies a tile requirement for standalone primer.
Can PVA Drywall Primer Be Used to Seal Fuzzy Paper?
Use it only if its current technical instructions specifically approve that condition and it remains compatible with the repair compound and tile.
A basic drywall primer may be formulated to equalize porosity over new drywall rather than bind damaged facing fibers. Product category names are not enough; the intended-use section controls.
How Smooth Must the Wall Be for Peel-and-Stick Tile?
The wall should be flat enough for the back of the tile to make continuous contact without rocking or bridging ridges.
Check with a straightedge and place an unpeeled tile against the wall. Correct humps, pits, tool lines, and abrupt patch edges before performing the adhesive test.
How Long Should the Repair Dry Before Tile Installation?
There is no responsible universal interval. Joint compound, sealer, primer, paint, and tile adhesive have separate drying or curing requirements.
Use the current instructions for each material and account for actual temperature, humidity, coat thickness, and ventilation. If one layer requires a longer interval, the full system is not ready before that interval is complete.
What If the Bond Test Pulls Off Paint or Drywall Paper?
Treat that result as a substrate failure. The tile may be bonding effectively to a coating that is poorly attached to the wall.
Remove material that has become unstable, return to a firm boundary, rebuild the repair with compatible layers, allow them to cure, and test again with a new sample.
Can Peel-and-Stick Tile Hide a Rough Drywall Repair?
Tile may conceal color differences, but it does not reliably correct ridges, loose paper, depressions, dust, or weak coatings. Some tile formats can make unevenness more visible through rocking, raised edges, or irregular seams.
Surface preparation should be judged by stability, flatness, cure, cleanliness, and adhesion rather than by whether the finished pattern might hide the patch.


Leave a comment
This site is protected by hCaptcha and the hCaptcha Privacy Policy and Terms of Service apply.