


Vinyl Backsplash vs Tile: Cost, Durability & Style
Thinking about upgrading your kitchen backsplash? Plenty of homeowners are shocked when they realize a tile installation can run upwards of $2,000–$3,000 once labor and materials kick in. Then they stumble across peel‑and‑stick vinyl panels at under $5 a square foot and start wondering: is vinyl the shortcut to the style they want at a fraction of the price, or will it end up costing more in the long run?
The most common dilemma comes down to vinyl backsplash vs ceramic tile. Both promise a finished, polished look, but the differences in cost, durability, and style potential are significant. Your choice doesn’t just affect today’s budget—it shapes how your kitchen holds up to heat, water, and daily life for years.
This guide breaks it all down with side‑by‑side comparisons: cost per square foot, installation effort, design versatility, maintenance, and even real‑world scenarios like choosing between a rental flip update and a long‑term family kitchen remodel. Let’s get into the details so you can make the smartest decision for your space.
Quick Poll
Before diving deeper, which backsplash would you personally choose for your own kitchen?
Why the Backsplash Decision Matters
A kitchen backsplash is more than decorative trim—it’s a critical design and budget factor. The backsplash frames your counters, often covers some of the busiest wall space, and ties together cabinets, appliances, and countertops visually. Pick the wrong material, and you’ll either overspend or find yourself constantly frustrated with maintenance.
Let’s use a real scenario. A homeowner invests in a $20,000 kitchen remodel—new cabinets, countertops, appliances, the works. The backsplash is about 60 square feet. If they choose ceramic tile at $20 per square foot installed, that stretches to $1,200 in backsplash costs. Opting for a higher‑end mosaic could push it closer to $4,000. But peel‑and‑stick vinyl comes in at $4 to $6 per square foot installed (assuming DIY), which means the same space could be done for $300–$400. That’s a $3,000 swing in a single material choice.
Backsplashes also have resale implications. Potential buyers interpret tile as a permanent investment, while vinyl sometimes signals a temporary or budget‑minded compromise. On the flip side, in rentals or short‑term homes, an affordable vinyl kitchen backsplash can save thousands without compromising the update’s visual impact.
Durability matters too. Kitchens are steamy, greasy, and busy environments. A backsplash material that stains or warps can quickly look dated, while something tougher requires less upkeep over the years.
Overview of Vinyl Backsplashes
Vinyl backsplashes usually come in two forms:
- Peel‑and‑Stick Tiles: Flexible sheets with adhesive backing. Popular for budget DIY projects.
- Vinyl Panels: Thicker, sometimes interlocking slabs designed to better mimic tile or stone.
Most products range from $1.50 to $6 per square foot, depending on quality and realism of finish. They stick directly onto drywall, existing tile, or even smooth painted surfaces.
Pros of Vinyl Backsplash:
- Extremely affordable
- Easy DIY installation (no grout, no mess)
- Wide variety of looks: faux brick, faux marble, subway designs
- Easy to clean—a quick wipe usually does the job
Cons:
- Heat resistance is limited (not ideal directly behind stoves)
- May peel at edges over time, especially in humid kitchens
- Can look less authentic compared to real tile
- Shorter lifespan than tile
Example: A landlord updating a rental wanted a modern refresh without investing in pro installation. They applied a peel‑and‑stick vinyl backsplash in a neutral subway brick design across 40 square feet. Total cost: about $250 and one afternoon of labor. The tenants loved the update, and the landlord didn’t worry about investing in expensive tile for a rental unit.
If you're curious about how vinyl compares to its close cousin, check out this resource on PVC Peel and Stick Tiles vs Vinyl for deeper insights into material choices.
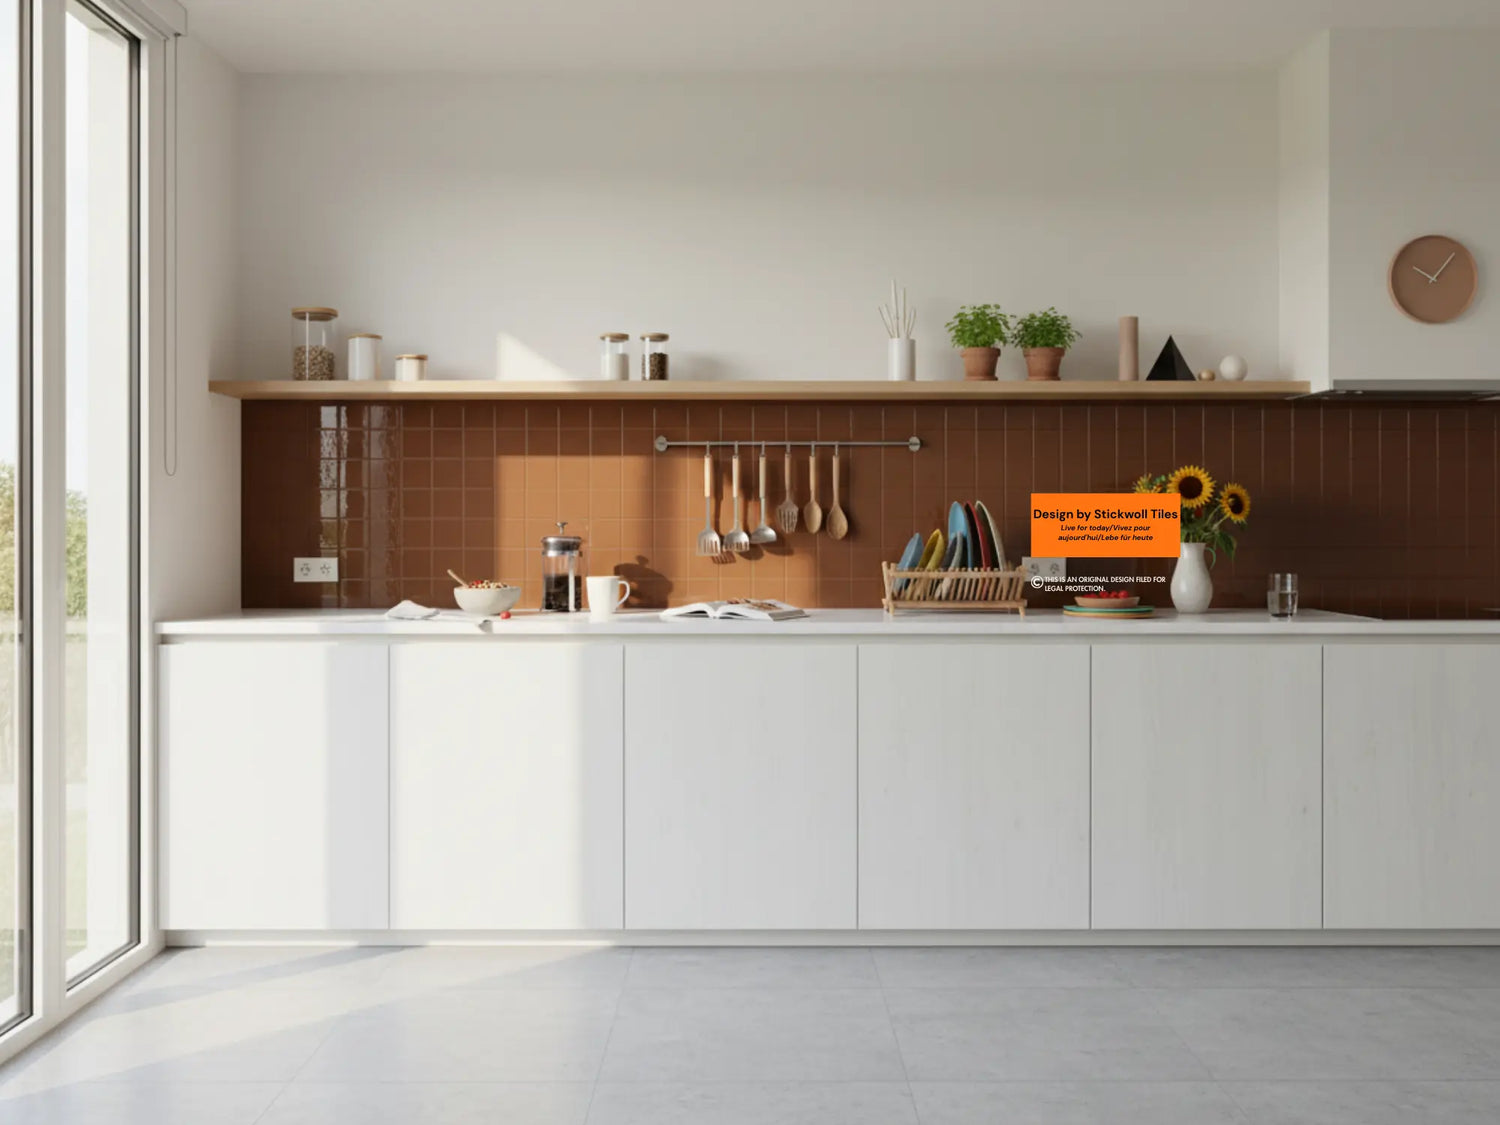
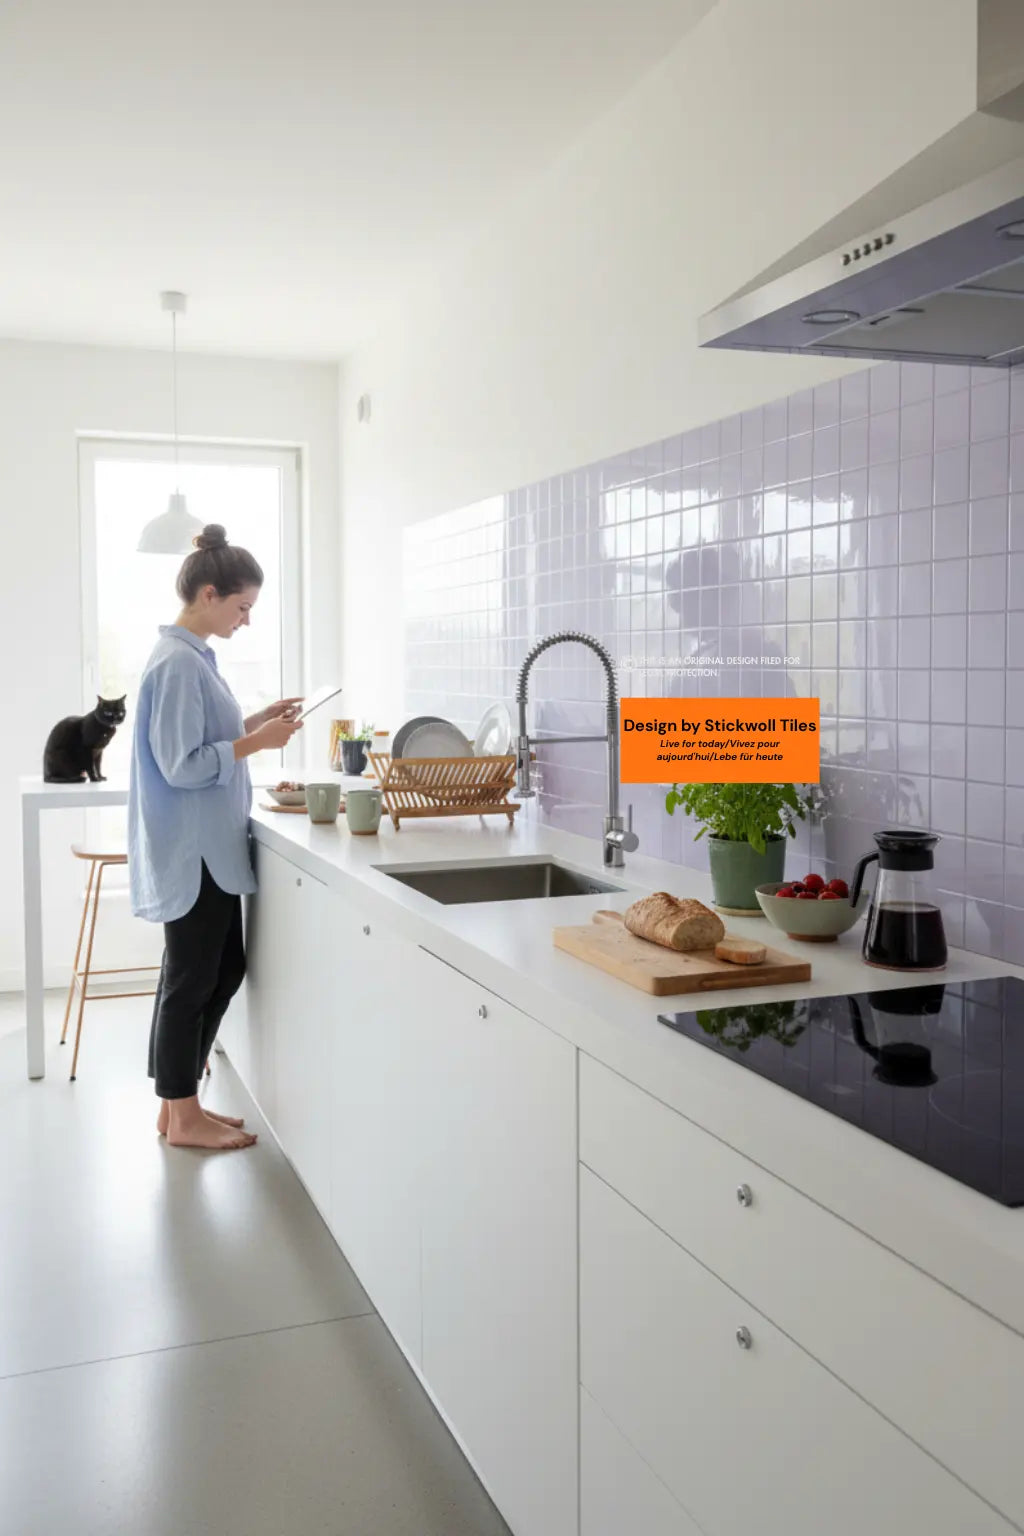
Overview of Traditional Tile Backsplashes
Traditional backsplashes are usually made from:
- Ceramic Tile: Affordable, durable, and available in endless styles.
- Porcelain Tile: Higher density, better for moisture, a step up in cost.
- Natural Stone (Marble, Slate, Travertine): Luxury aesthetics at premium prices.
Cost ranges per square foot, installed:
- Ceramic: $15–$25
- Porcelain: $20–$35
- Stone: $25–$50+
Strengths of Tile:
- Long lifespan (often 30+ years)
- Superior heat and water resistance
- Vast style customization: handmade tiles, intricate mosaics, unique glaze finishes
- Adds resale value and permanent appeal
Weaknesses:
- High upfront cost
- Requires professional installation for best results
- Grout maintenance (staining, mildew if not sealed)
- Time‑intensive to install
Example: A homeowner installed classic white subway tile across a 55 sq ft kitchen backsplash. Total breakdown:
- Tile material: $600
- Supplies (grout, spacers, thinset): $100
- Pro installation labor: $1,100
- Total: $1,800
The project took three full days. The final look was timeless and highly durable, but the budget impact was significant compared to vinyl options.
For ideas on getting creative with traditional tile, here’s a great article on using trendy subway tile patterns to elevate any backsplash.
Cost Comparison: Vinyl vs Tile
| Material | DIY Cost per Sq Ft | Pro Installed Cost per Sq Ft | Lifespan | Replacement Cost per 10 Years |
|---|---|---|---|---|
| Vinyl (Peel‑and‑Stick) | $1.50–$6 | $7–$10 | 5–10 years | ~$400 (for 50 sq ft) |
| Ceramic Tile | $3–$10 | $15–$25 | 30+ years | Rarely needed |
| Porcelain Tile | $5–$12 | $20–$35 | 30+ years | Minimal |
| Natural Stone | $7–$20 | $25–$50+ | 30+ years | Higher maintenance |
Real World Budget Case: 50 sq ft Backsplash
- Vinyl DIY: ~$250
- Vinyl w/ Pro Install: ~$450
- Ceramic Tile (Installed): ~$1,000–$1,250
- Porcelain Tile (Installed): ~$1,300–$1,750
- Stone Tile (Installed): ~$2,000+
For homeowners just wanting a quick update, vinyl saves money upfront. For those intending to stay long‑term, tile typically delivers greater value over decades.
Explore our kitchen backsplash tile guide if you're hungry for even more comparisons and inspirations.
Backsplash Cost Calculator
Enter your backsplash size in square feet to see vinyl vs tile cost differences:
Durability and Maintenance
When evaluating tile vs vinyl durability, it’s clear these materials live in very different categories.
Scratch and Stain Resistance: Vinyl is prone to surface scratches if scrubbed too aggressively or if sharp utensils come into contact. Tile, especially porcelain or ceramic, resists scratching far better. Stone is durable but vulnerable to staining if sealants are skipped.
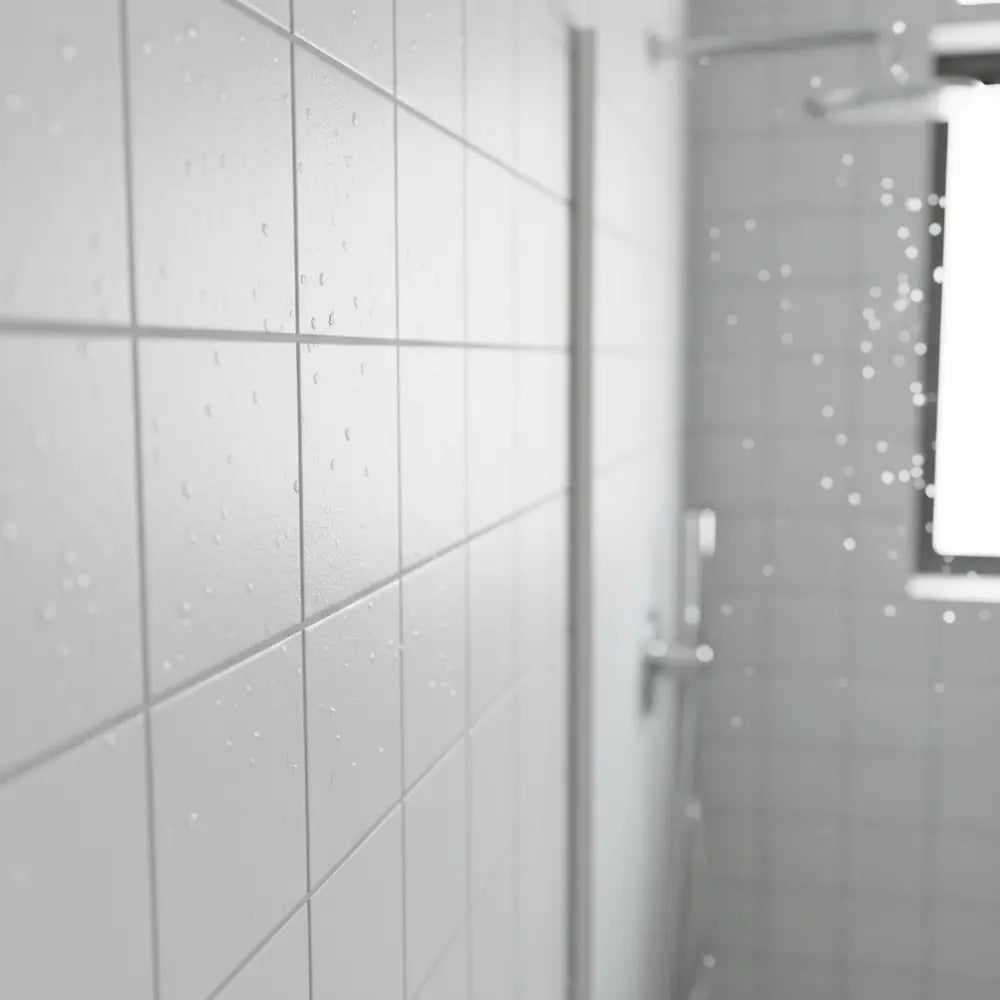
Water Resistance: Vinyl panels hold up well to splatters but can peel if water seeps behind them. Tile is nearly impervious when properly grouted and sealed. In damp zones like behind a sink, tile clearly wins.
Heat Exposure: This is where vinyl shows its biggest weakness. Most vinyl peel‑and‑stick backsplashes are not designed to withstand direct heat. Behind stoves, they may discolor or warp. Contractors often caution homeowners against placing vinyl panels directly near burners. Tile, by contrast, can handle extreme heat—porcelain and stone are fired at thousands of degrees during production.
Maintenance Needs:
- Vinyl: Wipes clean with a damp cloth and mild detergent. No grout to contend with.
- Tile: Surfaces are also easy to wipe down. The real task is grout lines, which can discolor with grease or splashes. Homeowners often find themselves scrubbing or resealing grout every year or two to keep things fresh. A grease spill on tile usually wipes up, but over time grout absorbs stains.
Example Cleanup Scenario: Imagine frying bacon. The grease splatters—a quick swipe across vinyl wipes things spotless. With tile, the ceramic surface comes clean just as easily, but droplets landing in the grout grooves darken quickly if grout wasn’t sealed.
Common Mistake to Avoid: Using harsh abrasive scrubbers on vinyl. This can wear down the printed surface. For tile, the pitfall is not sealing grout, making future cleaning a headache.
Pro‑Tip: For households that frequently cook heavy, high‑splatter meals, especially on gas burners, ceramic or porcelain tile is far more practical long‑term. Vinyl works best in light‑use kitchens or as an accent zone safely away from heat.
If rustic elements inspire you, here's a guide on using rustic brick tile accents to add warmth and durability to backsplashes.
Style and Design Options
Kitchen design isn’t only about budget and performance—it’s about what sets your space apart. This is where vinyl and tile both shine, but in different ways.
Vinyl Style Versatility: The best brands now print ultra‑realistic designs: faux subway tile, marble veining, brick, or patterned mosaics. There’s even textured vinyl that mimics grout lines. For a quick transformation, vinyl peel‑and‑stick backsplash panels are eye‑catching and renter‑friendly. The downside? Up close, you can often spot the difference between vinyl and real tile. In higher‑end remodels, that loss of authenticity is noticeable.
Tile Design Range: Tile offers true depth, texture, and weight. From glossy glazed ceramics to honed slate mosaics, tile has a tactile richness vinyl simply can’t replicate. It also has more staying power in design trends—classic white subway tile resurfaces decade after decade, while vinyl prints may age faster aesthetically.
Trend Insights:
- Vinyl: Quick‑fix trends like printed Moroccan patterns or faux reclaimed wood. Great for renters experimenting with a bold look.
- Tile: Enduring appeal in handmade subway layouts, geometric hexagons, and timeless natural stone. Architects often choose tile for permanent updates tied to a house’s resale value.
Example Comparison: A homeowner tried a vinyl faux subway tile and placed it side by side with real subway ceramic. From several feet away, both looked surprisingly similar. Up close, though, the vinyl lacked the dimension of grout lines and glossy depth of glaze.
Pro‑Tip: Vinyl is well‑suited for stylish yet temporary updates—ideal for rentals or preparing a home for sale on budget. Tile is the right call for those who want timeless design with true craftsmanship.
To spark your imagination further, see our curated peel-and-stick backsplash kitchen ideas for trendy and creative looks.
Ease of Installation: DIY vs Professional
Installation is often the deciding factor between vinyl and tile.
Vinyl Ease: A peel‑and‑stick vinyl backsplash requires little to no tools—a utility knife, level, and maybe a roller to smooth panels down. Most homeowners can install a 50 sq ft backsplash in less than a day. Mistakes are easy to correct, and there’s no drying time, grout, or dust. This makes DIY vinyl backsplash installation appealing to renters or those who aren’t comfortable with construction tools.
Tile Complexity: Installing ceramic or porcelain tile demands more skill and patience. Steps include cutting tiles, mixing thinset, applying spacers, setting tiles evenly, and then grout application. Even with DIY experience, a 50 sq ft backsplash typically requires 3+ days, factoring in drying time. Professional installation is usually recommended to avoid crooked lines or cracking in the future.
Tools Comparison:
- Vinyl: Utility knife, straightedge, level.
- Tile: Tile saw, trowel, spacers, grout float, drill with mixing attachment.
Skill Considerations: Anyone can handle vinyl. Tile installation requires patience, precision, and some tolerance for mess.
Example Timeframe:
- Vinyl panels: A DIYer installed 48 sq ft in one afternoon after work—kitchen facelift complete without losing the weekend.
- Tile backsplash: A contractor installed subway tile over the same area; it took three days (cutting, setting, drying, grouting). The final look was higher‑end but the household had to work around ladders and covered counters longer.
Common Mistake: Homeowners sometimes underestimate the time tile takes, assuming it’s a quick weekend work. Cutting corners on grout or skipping prep usually leads to visible flaws. With vinyl, mistakes often mean misaligned patterns rather than structural failures.
If you're ready to tackle your own project, here's our step-by-step guide on how to install peel and stick vinyl backsplash that will save you lots of guesswork.
And for even more DIY assurance, read our comprehensive installation and design guide to peel and stick tiles.
Which Option Fits Your Kitchen?
The better backsplash material depends less on the products themselves and more on your lifestyle, long‑term plans, and budget tolerance.
Vinyl Fits Best If:
- You’re budget‑conscious and want the most affordable option.
- You’re in a rental or planning to move within 3–5 years.
- You like experimenting with bold kitchen backsplash design ideas without commitment.
- You’re eager for DIY projects with instant gratification.
Tile Fits Best If:
- You’re remodeling a “forever home” and want lasting durability.
- You view improvements as long‑term investment value for resale.
- You want the authenticity and dimensional quality only real tile offers.
- You frequently cook and need strong heat and stain resistance.
Scenario Example 1 – Young Couple in a Rental: They wanted a polished kitchen feel but couldn’t justify putting thousands into a property they didn’t own. Vinyl peel‑and‑stick subway was installed for under $250, instantly brightening their space. It could also be removed when they move out without major hassle.
Scenario Example 2 – Busy Family Home Remodel: Parents with kids invested in a $30k kitchen refresh. Style mattered, but durability was non‑negotiable. They opted for ceramic subway tile for $1,400, confident that it would survive years of spills, splatters, and sticky hands without peeling or warping.
Lifestyle Alignment: Ask yourself: Do you cook daily with lots of stovetop action? Then tile. Do you want an affordable facelift or aren’t sure how long you’ll keep the property? Then vinyl.
Quick Decision Framework:
- Budget + Temporary = Vinyl
- Investment + Long‑Term = Tile
Discover where to buy the best peel and stick vinyl backsplash if you’re leaning towards this path—it could help narrow down the right retailer and save more.
And if you’d like expert guidance, request a remodel consultation to explore options tailored to your kitchen.
Conclusion
Backsplash materials balance the three factors every homeowner obsesses over: cost, durability, and style.
- Cost: Vinyl wins for short‑term affordability; tile is pricier but pays off over decades.
- Durability: Tile withstands heat, water, and wear far better than vinyl.
- Style: Both offer variety, but tile holds authenticity and long‑term trend value.
Decision Shortcut: Vinyl makes sense for rentals, quick flips, or budget‑sensitive updates. Tile is the lasting choice for forever homes and heavy‑use kitchens.
For inspiration, discover our backsplash ideas gallery or contact us for a remodeling consultation tailored to your kitchen’s needs.
FAQ – Vinyl Backsplash vs Tile
Q1. Can I put a vinyl backsplash directly behind a stove?
Vinyl isn’t designed for high‑heat zones. Most manufacturers recommend using tile or a heat‑resistant material directly behind burners. Vinyl performs better on sink or counter wall areas.
Q2. How long does a peel‑and‑stick vinyl backsplash last?
On average, 5–10 years depending on exposure to heat, humidity, and how well it was installed. Tile, by comparison, lasts decades with minor maintenance.
Q3. Which adds more value to a home: vinyl or tile backsplash?
Ceramic or porcelain tile adds measurable resale value because it’s considered a permanent upgrade. Vinyl reads more as a cosmetic improvement, appealing for rentals but not as valuable long‑term.
Q4. Is a DIY tile backsplash realistic for beginners?
Possible, but challenging. Cutting tiles, leveling, and grouting takes patience and skill. Beginners often end up hiring professionals after realizing the mess and precision required. Vinyl is much more forgiving for DIY.
Q5. How do I keep tile grout from staining?
Use a grout sealer right after installation, and repeat every year or two. Regular cleaning with mild soap also helps prevent discoloration.
Leave a comment
This site is protected by hCaptcha and the hCaptcha Privacy Policy and Terms of Service apply.