

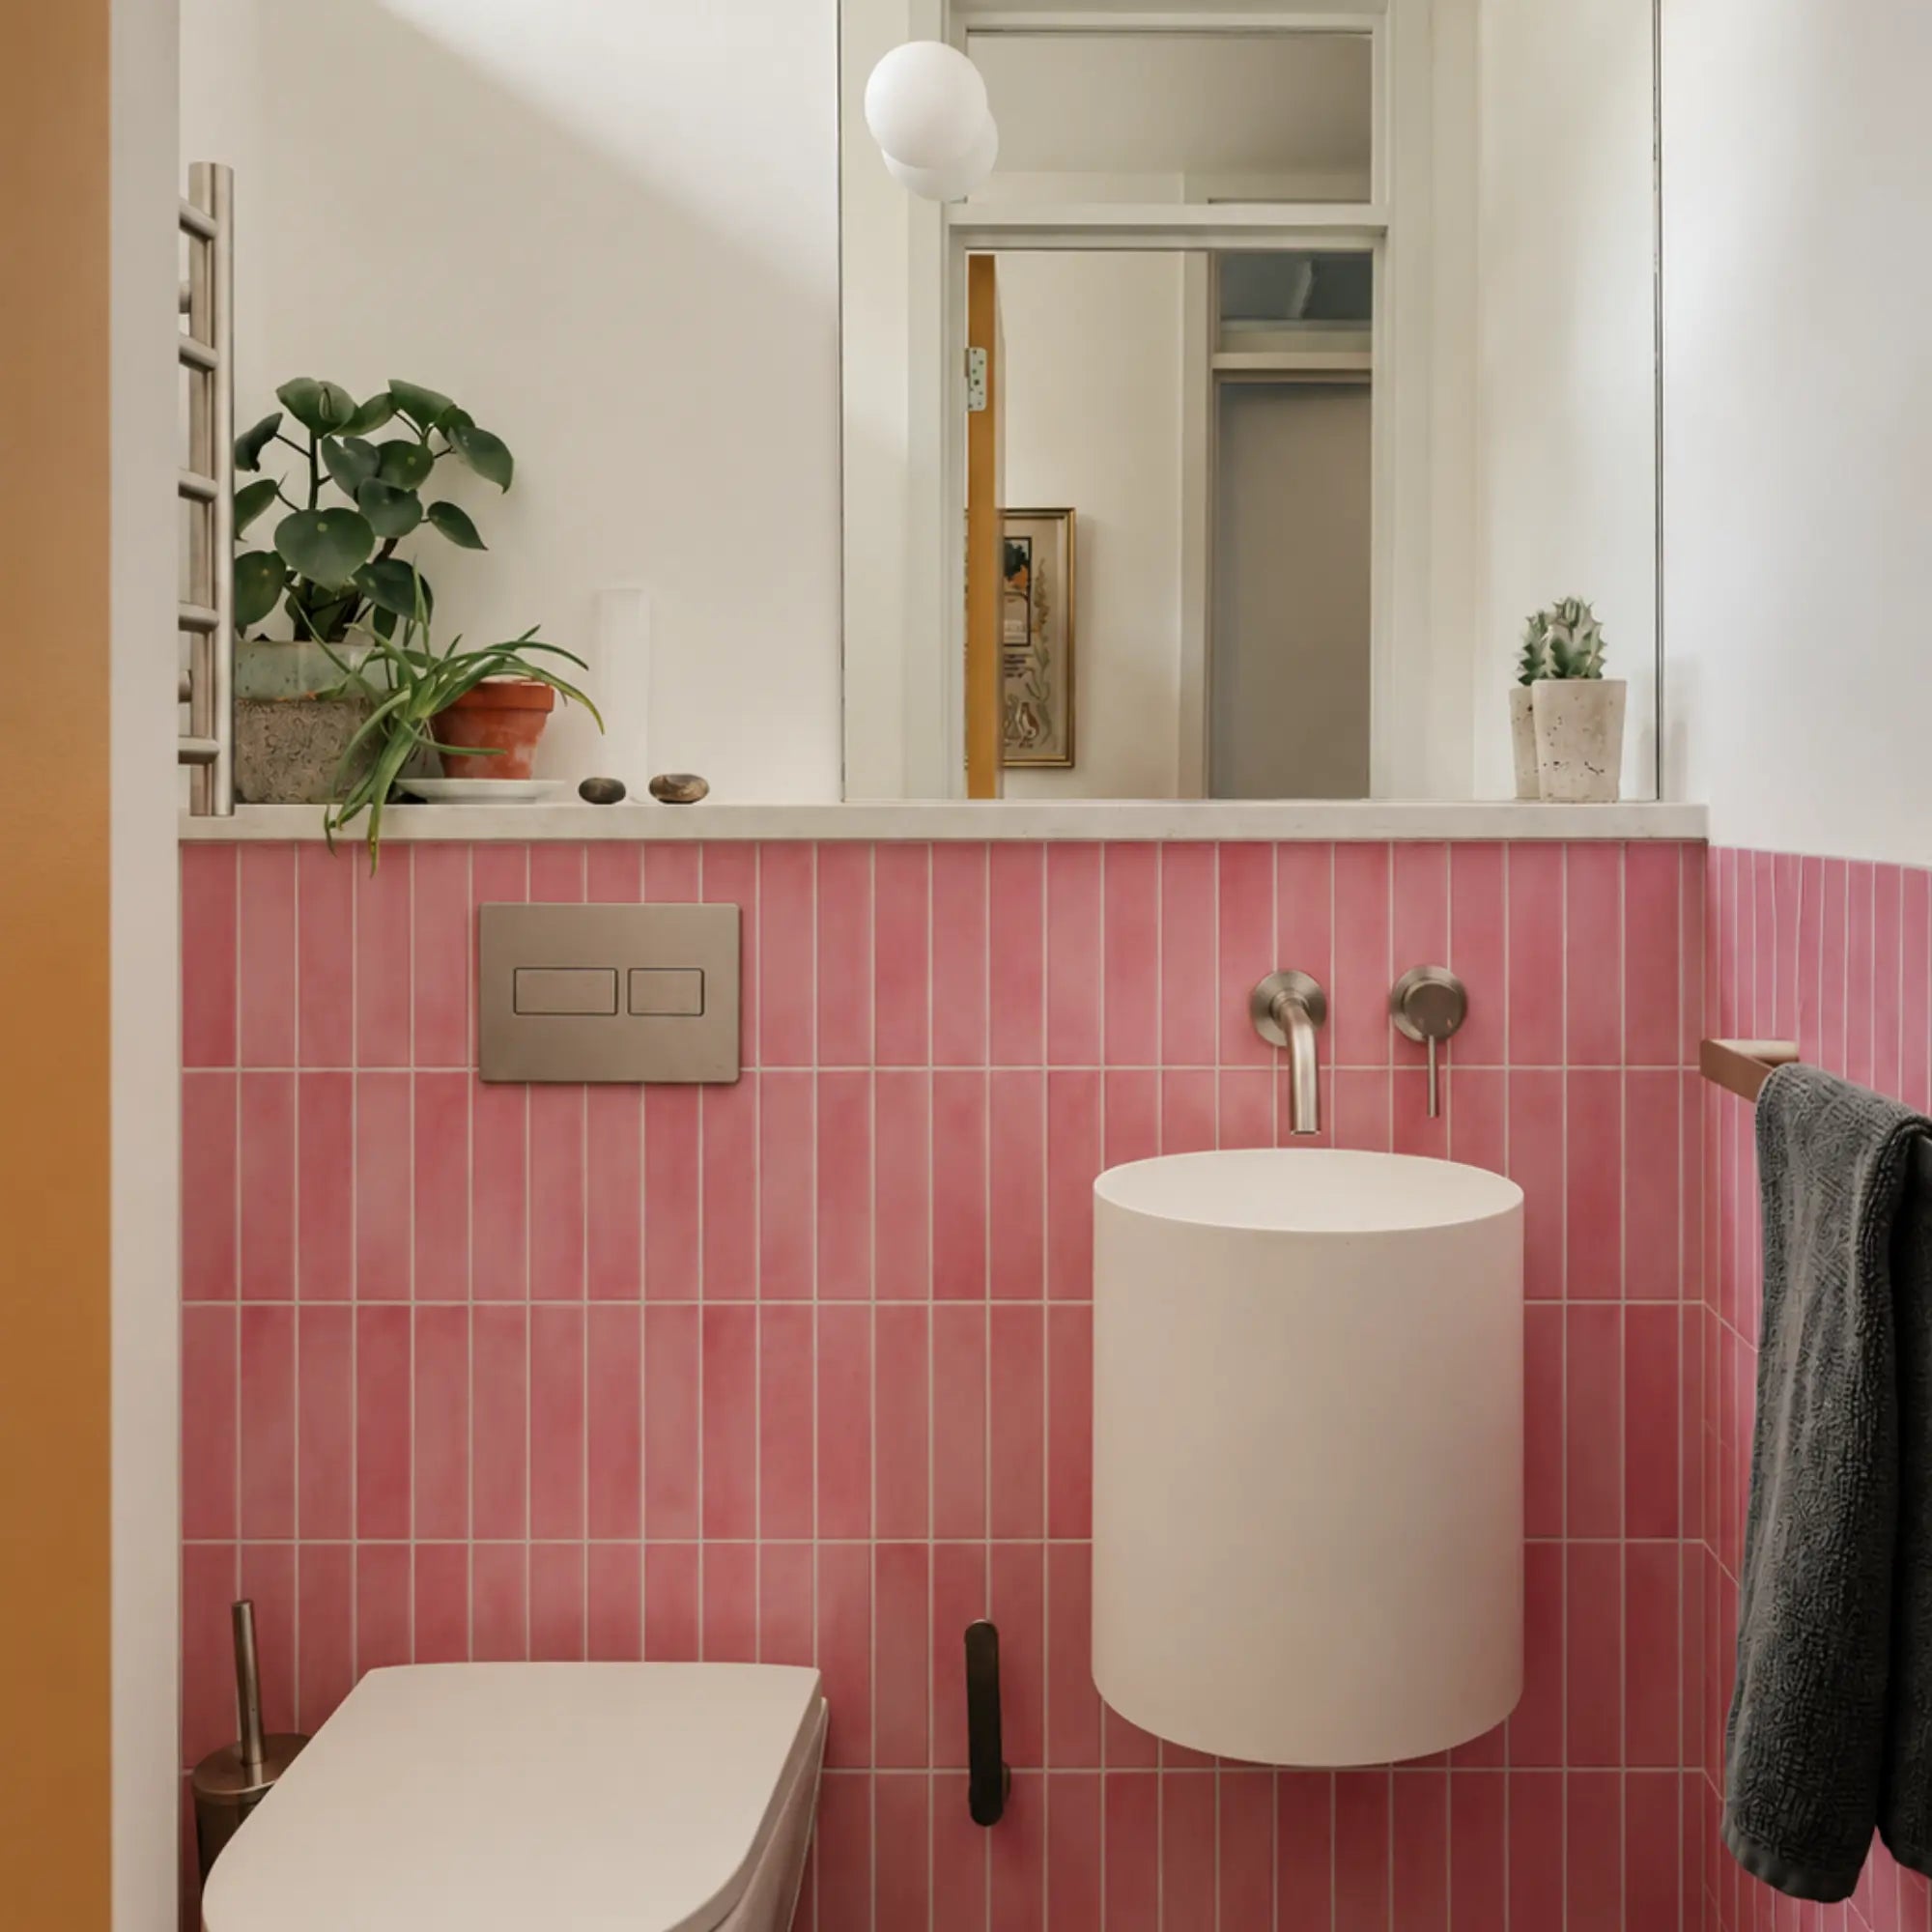



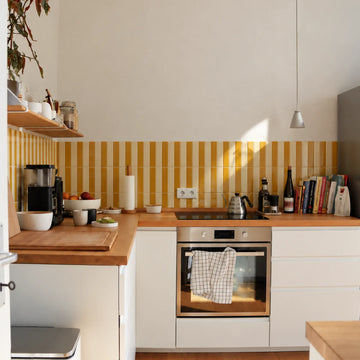
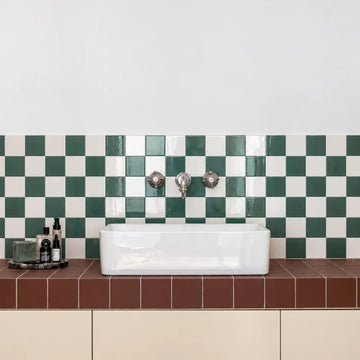

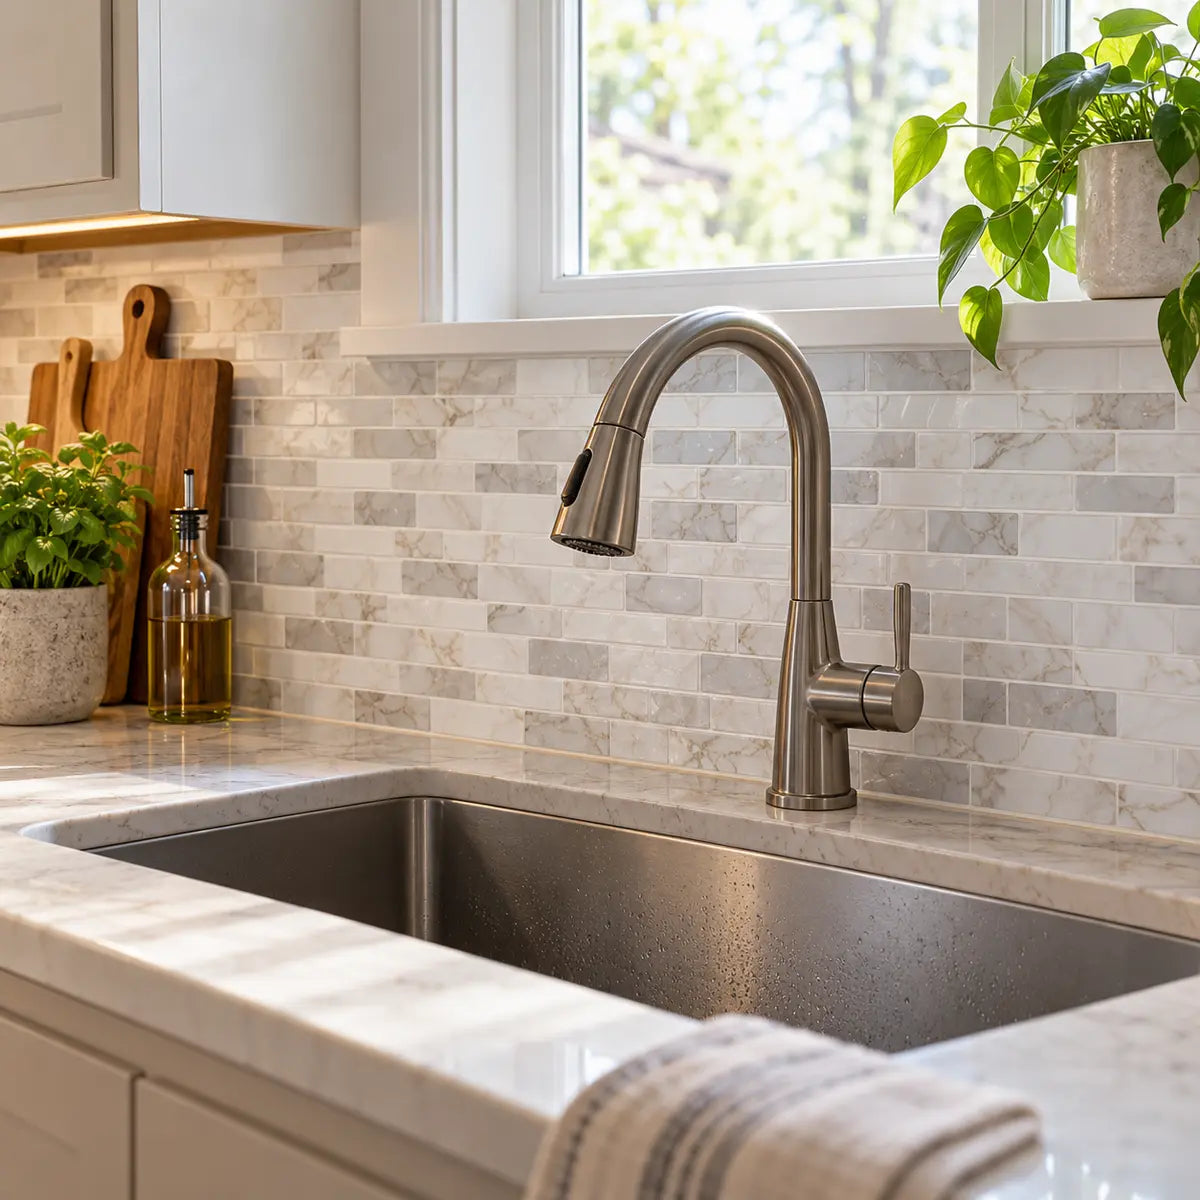
A faucet sends water beyond the visible tile area. It can wet the wall behind the handle, run along the faucet base, collect at the sink rim, and settle where the countertop meets the backsplash. That is why the answer to “Can peel-and-stick tile go behind a kitchen faucet?” depends less on the tile’s appearance than on the complete splash zone.
Peel-and-stick tile may work behind a kitchen faucet when the product is approved for the intended backsplash use, the area receives light and controllable splashes, the wall is clean and dry, the seams and edges can be finished, and the installation can dry fully between uses. It is a poor fit for direct spray, standing water, recurring leaks, persistent dampness, or any location where water can travel behind the tile and remain hidden.
A water-resistant surface does not make the entire installation waterproof. The backing, adhesive, seams, cut edges, faucet cutout, countertop joint, and wall substrate each have their own exposure limits. Stickwoll’s product and moisture guidance makes this distinction clear: a tile may be described as water-resistant for kitchen or bathroom use while still being unsuitable for direct submersion or shower conditions. See the Stickwoll water-resistance product guidance for the product-specific boundary, then verify the current instructions for the exact tile you plan to install.
The safest way to make the decision is to follow the water’s path:
- Classify how the faucet wets the area.
- Find the seams, edges, cutouts, and joints where moisture can collect.
- Confirm that the wall and existing finish are suitable for adhesive tile.
- Install with a dry layout and carefully fitted cuts.
- Seal only compatible joints where the product instructions support it.
- Run a limited splash check and inspect how the area dries.
- Reassess if bubbling, lifting, discoloration, open seams, or persistent dampness appears.

Can peel-and-stick tile go directly behind a kitchen faucet?
Yes, it can be a reasonable option for a light-splash backsplash area, but only when the complete tile system and the faucet conditions support it. The exact product instructions should allow kitchen or sink backsplash use, and the area should experience short, manageable splashes rather than direct spray, pooling, or submersion.
Stickwoll’s available product guidance describes tiles as water-resistant for kitchens and bathrooms while excluding direct submersion and shower use. Its moisture guidance also separates a sink’s short splashes from more demanding conditions such as faucet leaks, countertop pooling, or water entering behind the installation. That makes the correct question less about whether the tile can “get wet” and more about how wet, how often, where, and whether the area dries afterward.
A tile face that beads water may still have a vulnerable edge. Moisture can reach the adhesive through:
- A gap at the bottom of the tile.
- An imperfect cut around the faucet.
- A seam that does not meet tightly.
- An exposed side edge.
- A corner where water remains after wiping.
- A joint between the countertop and backsplash.
- A leak at the faucet base or supply connection.
Those locations are different from the broad, visible face of the tile. The Stickwoll sink drop-zone guide identifies faucet penetrations, bottom seams, exposed edges, inside corners, and other sink-zone transitions as areas that need separate attention.
A practical exposure guide
Use the following table before you buy or cut tile.
| Faucet-zone condition | Initial decision | What to do |
|---|---|---|
| A few small splashes that can be wiped away | Potentially suitable | Check the product instructions, prepare the wall carefully, and finish vulnerable joints where approved. |
| Frequent splashes that wet the same seam or bottom edge | Caution | Observe the area during normal use and plan how each wet edge will dry. |
| Pull-down sprayer regularly aimed at the backsplash | Higher risk | Redirect the spray if possible. Do not assume a water-resistant face can handle repeated direct spray. |
| Water collects on the countertop or sink rim against the tile | Caution to poor fit | Correct the slope, gap, or leak before installation. Avoid covering a recurring pooling problem. |
| The wall remains damp after use | Poor fit until corrected | Find the moisture source, dry the wall, and repair the condition before tiling. |
| A faucet or plumbing leak wets the wall | Do not install yet | Fix the leak and inspect for soft, swollen, stained, or damaged substrate. |
| The tile would be exposed to standing water or submersion | Poor fit | Choose a system specifically approved for that exposure instead of trying to compensate with caulk. |
This is a decision screen, not a durability guarantee. The available evidence does not establish a universal splash frequency, water volume, spray pressure, or service life for every peel-and-stick tile behind every faucet. Product guidance remains specific to the tile, backing, adhesive, substrate, and installation details.
A quick faucet-zone decision aid
Answer these questions before installation:
- Does the faucet spray directly toward the wall?
- Does the pull-down hose return water along the faucet base?
- Does water collect where the countertop meets the wall?
- Can you wipe the bottom edge and corners easily?
- Does the wall dry completely between normal uses?
- Is there any existing leak, stain, soft drywall, bubbling paint, or mold?
- Does the tile’s current installation information specifically address kitchen backsplash or sink use?
- Can the tile be cut around the faucet without leaving a large unsupported gap?
- Will the tile be removable without unacceptable damage to the wall?
If the answers point to light splashing, a dry wall, accessible edges, and product instructions that support the use, continue to the inspection stage. If the answers show direct spray, persistent dampness, or an unresolved leak, pause the project.
How should you observe the faucet and sink before planning the tile?
Watch the sink during ordinary use before deciding how much wall to cover. The wettest point may be a seam, corner, or countertop joint rather than the center of the visible backsplash.
Run the faucet as you normally do. Fill a pot, rinse a dish, move the sprayer through its usual range, and wipe the counter as you would during a regular day. You are looking for the path water follows, not trying to create an extreme test.
Use a dry paper towel or clean cloth to mark the first areas that become wet. Check the area immediately after use, then again after several minutes. Note whether the water:
- Lands on the tile face and can be wiped away.
- Runs downward toward the counter.
- Travels sideways along a seam.
- Collects around the faucet base.
- Reaches an inside corner.
- Sits at the sink rim or counter joint.
- Enters a gap that cannot be reached with a cloth.
- Leaves a section damp long after the rest of the backsplash is dry.
The goal is to record where water stays, because standing moisture creates a different problem from a brief splash. A short splash on a properly bonded tile face may be manageable. Water trapped behind an edge can affect the adhesive, backing, wall coating, or substrate even when the front still looks normal.
Pull-down and high-splash faucets need a closer look
A pull-down faucet does not automatically rule out peel-and-stick tile. It does change the inspection.
The hose, spray head, and flexible movement can send water toward areas that a fixed faucet would leave dry. Users may also direct the spray at the backsplash while rinsing a large pan. If that happens, the backsplash sees repeated, concentrated wetting rather than scattered incidental splashes.
Check three positions:
- Normal running position: Observe where water lands when the faucet is used without special effort.
- Most common working position: Move the sprayer as you would while washing dishes.
- Accidental spray position: Aim the spray briefly toward the wall to see which seam or edge would receive water if the head is released or turned.
This observation does not prove that the tile will tolerate the exposure. It tells you whether the intended location belongs in the light-splash category or needs a different material and edge system.
Record areas that cannot dry easily
Make a simple sketch or take a close-up photograph of the faucet, sink rim, counter line, and proposed tile boundary. Mark:
- The faucet base or cutout.
- The lowest tile edge.
- The left and right side edges.
- Inside corners.
- Seams closest to the faucet.
- The countertop-to-wall joint.
- Any area hidden by a backsplash trim piece.
- Any surface blocked by a soap dispenser, dish rack, or other object.
This record helps you plan tile cuts and maintenance before adhesive is exposed. It also makes the splash zone easier to discuss if you are renting, working with a contractor, or comparing the project with another backsplash material. The Kitchen Backsplash Guide provides related planning guidance for counter lines, sink zones, faucet cutouts, exposed edges, and installation order.

Which parts of a peel-and-stick backsplash need the most protection?
The interruptions and transitions deserve more attention than the uninterrupted tile face. In a faucet zone, inspect the faucet cutout, seams, bottom edge, countertop joint, inside corners, exposed side edges, and any place where water can pool or remain difficult to wipe.
A useful close-up inspection looks at the installation as a set of connected surfaces:
The faucet base or cutout
The faucet cutout is often the most difficult area to fit neatly. A cut that is too large leaves an exposed gap. A cut that is too tight can buckle or press against the fixture. Either condition can weaken the finished appearance and create a place where moisture collects.
The shape of the faucet base matters. A broad, flat escutcheon may cover a small gap. A narrow or curved base may leave more of the cut edge visible. Do not rely on a generic clearance measurement. Use the exact fixture and follow the tile manufacturer’s instructions for the required fit.
The bottom edge
The bottom edge is where the backsplash meets the countertop, sink rim, or another finish. It may receive water that runs down the tile face, water pushed across the counter, or water left behind after wiping.
Look for a continuous, supported edge. A wavy countertop, deep gap, loose paint, or uneven wall can leave part of the tile unsupported. That is an installation issue before it becomes a sealing issue.
Seams
A seam is the line where two tile pieces meet. Seams can be visually minor while still creating a path for water if the pieces are misaligned, separated, or pressed over an uneven surface.
Keep seams consistent and avoid placing a seam directly through the most active part of the faucet spray when the layout gives you another option. A clean layout reduces the number of difficult joints, but it does not make the assembly waterproof by itself.
Inside corners and side edges
Inside corners can hold droplets, especially where the countertop meets two walls or where a cabinet side interrupts the backsplash. Side edges may be exposed at the end of a backsplash run or next to a window, trim piece, or appliance.
These edges should be planned before installation. Decide whether the product has a compatible trim, whether the tile can finish cleanly, and whether a selected joint should receive sealant. Do not apply a random bead of caulk over a loose or contaminated edge and treat the problem as solved.
The countertop joint
The countertop joint deserves separate inspection because it may have its own movement, gap, sealant, or moisture history. If old silicone or caulk is present, identify what it is and whether it remains sound. Suspected silicone residue can interfere with adhesive contact, so a surface that looks clean may still need careful preparation. Stickwoll discusses this issue in its silicone residue preparation guidance.
If the joint is wet, open, soft, or repeatedly collecting water, repair the condition before applying decorative tile. A backsplash should not hide an active countertop or plumbing problem.
How should you inspect and prepare the wall?
Prepare the wall until it is flat, smooth, clean, dry, stable, and suitable for the exact adhesive tile. Remove or repair conditions that could prevent contact, including grease, dust, loose coatings, dampness, damaged material, and suspected silicone residue.
General peel-and-stick installation instructions call for a surface free of dust, dirt, oil, and moisture. Stickwoll’s sink-zone guidance also emphasizes complete drying before installation. The Lowe’s peel-and-stick installation document describes the need for a flat, smooth, clean surface and warns that firm pressure can create a permanent bond that may damage the substrate during removal.
Check the wall condition first
Run your hand over the proposed area. Look for:
- Raised paint edges.
- Flaking or chalky surfaces.
- Grease near the cooking or sink area.
- Soft spots.
- Swollen drywall.
- Existing bubbles.
- Cracks or open joints.
- Dampness or a cool, wet feeling.
- Heavy texture that prevents broad adhesive contact.
- Old caulk or silicone residue.
- Wallpaper, loose liner, or another finish that the product instructions exclude.
A small decorative project becomes much harder to remove cleanly when the adhesive bonds to a weak coating instead of a stable wall. Renters should also check whether the tile and adhesive are allowed on the existing finish and whether removal may leave residue or damage.
Clean without leaving a film
The cleaning product must suit the wall and the tile manufacturer’s instructions. Remove grease and dirt, then remove any cleaner residue that could interfere with bonding. A surface can look clean while still carrying an oily film.
Avoid assuming that a final wipe with a damp cloth means the wall is ready. Moisture left in the surface, joint, or coating can weaken contact. Let the area dry fully, then inspect it again under bright light.
Treat dampness as a repair issue
Do not cover a recurring leak, wet wall, moldy material, or soft substrate with peel-and-stick tile. The U.S. Environmental Protection Agency advises correcting water problems, drying wet materials completely, and avoiding sealing or covering wet materials or materials showing biological growth. Its guidance says wet materials should ideally be dried within 24 to 48 hours, but that is general moisture-control advice, not a tile-installation or sealant-cure rule. Review the EPA moisture and indoor-air guidance when persistent wetness or suspected growth is involved.
A wall can appear dry while moisture remains behind paint or inside a damaged material. If the wall feels soft, smells musty, stains repeatedly, or becomes wet again after the faucet is used, find the source before decorating over it.
Make a small bond check when the product instructions support one
If you have a spare tile or sample, use it on a representative area before covering the entire faucet zone. Follow the manufacturer’s preparation and removal instructions. A sample bond check can reveal an obvious problem with the wall finish, but it cannot prove long-term splash performance.
Pay attention to:
- Whether the sample lies flat.
- Whether corners stay down.
- Whether the wall finish lifts during removal.
- Whether adhesive residue remains.
- Whether the tile bridges a texture instead of contacting the surface.
- Whether the sample changes appearance after normal cleaning.
A successful small bond check supports the preparation decision. It does not turn an unsuitable substrate into a suitable one.

How do you install peel-and-stick tile around a faucet?
Install the tile with a dry layout, accurate fixture template, supported edges, aligned seams, and firm pressure applied only after the position is correct. The most common preventable mistake is exposing the adhesive before the cut and layout have been proven.
Plan the layout before removing the liner
Start with the countertop line and the faucet centerline. Decide where full tiles, partial tiles, and seams will fall. Hold the tile against the wall without removing the backing and mark the intended position with removable tape or a light pencil line where the wall finish allows it.
Use cardboard or paper to create a faucet template. Transfer the opening to the tile only after checking:
- The faucet base shape.
- The distance from the faucet to nearby seams.
- The tile’s texture and any raised pattern.
- The amount of material left around the opening.
- Whether the cut edge will be visible.
- Whether the tile can lie flat without buckling.
- Whether an adjacent tile will support the cut piece.
Stickwoll’s installation guidance recommends mapping the layout, creating a template, test-fitting the cutout, and transferring the opening before final placement. The Stickwoll kitchen installation guide covers the broader sequence for preparation, measuring, cutting, pressure application, edge finishing, cleaning, and troubleshooting.
Cut conservatively
A small opening can often be adjusted. An oversized opening is harder to repair. Make the first cut slightly inside the marked line, test-fit the piece, and enlarge the opening gradually if the product allows that approach.
Use a sharp blade and a stable cutting surface. Keep the visible face supported so the cut does not tear or distort the surface. If the tile has a three-dimensional texture, the cut may not behave like a flat sheet. Follow the exact product instructions for tools and cutting.
Do not force a tile around the faucet. If it bends, creases, or loses contact near the cutout, stop and revise the layout.
Place the tile without trapping air or moisture
Once the tile is correctly positioned, expose the adhesive gradually according to the product instructions. Keep the tile aligned as you press it into place. Smooth from the center outward so air is pushed toward the edges instead of trapped under the sheet.
Firm, even pressure helps establish contact at the middle, corners, edges, and seams. Lowe’s instructions specifically call for pressure at the middle and four corners, while Stickwoll’s guidance emphasizes smoothing and firm contact at vulnerable transitions.
Pressure cannot repair a wet, greasy, unstable, or textured wall. It also cannot bridge a large gap at the faucet. If the tile needs force to stay down, correct the underlying fit or surface.
Check the installation before moving on
After each piece is placed, inspect it from several angles. Look for:
- A lifted corner.
- A visible bubble.
- A seam that opens or drifts.
- A cut edge that does not lie flat.
- A section bridging a wall depression.
- A gap at the countertop or faucet.
- Texture that prevents contact near an edge.
- Adhesive exposed outside the tile boundary.
Correct small placement errors while you still have a product-approved opportunity to do so. Peel-and-stick adhesives can bond firmly once pressure is applied, and repeated repositioning may reduce adhesion or damage the wall.

Should you seal peel-and-stick tile around a kitchen sink?
Sometimes, but only at a selected compatible joint and only after checking the tile, adhesive, wall finish, countertop, faucet, and sealant instructions. Sealing an edge may help finish a joint; it does not convert the entire peel-and-stick backsplash into a waterproof system.
The right purpose for sealant is narrow. It may finish a countertop-to-backsplash joint, a selected corner, or a carefully prepared faucet transition when the manufacturers support that use. It should not be used to justify direct spray, standing water, submersion, or an excluded installation.
Stickwoll’s sink guidance recommends checking compatibility and warns against treating caulk as universal waterproofing. A sealant technical sheet may describe use around sinks, backsplashes, countertops, and fixtures while still limiting continuous underwater use or requiring specific joint conditions.
Choose the joint before choosing the sealant
Identify exactly where the sealant will go. Possible locations include:
- The bottom edge where the tile meets the countertop.
- A side edge at the end of the backsplash.
- An inside corner.
- A small, product-approved transition near the faucet base.
Do not seal over a wet, dirty, loose, or damaged surface. Do not use a thick bead to fill a large unsupported gap unless the sealant instructions specifically describe that joint construction.
The DAP technical data sheet for its named 100% Silicone Rubber Kitchen, Bath & Plumbing Sealant reports a 24-hour full cure, a maximum joint width of 1/2 inch unless backer rod is used, and no recommendation for continuous underwater use. Those values apply to that named DAP product under its stated conditions. They are not universal rules for every silicone, tile, wall finish, or faucet. Review the DAP silicone sealant technical data sheet before relying on any cure time, joint limit, or material statement.
Check compatibility before applying a visible bead
Compatibility questions include:
- Is the sealant approved for the tile’s visible face and backing?
- Can it bond to the countertop material?
- Can it contact the faucet’s metal finish without staining or corrosion concerns?
- Will it soften, discolor, or attack the tile surface?
- Does the wall finish accept the sealant?
- Does the product require a primer or special preparation?
- Will removal create more wall damage than the original tile adhesive?
- Does the sealant need ventilation or an open joint to cure?
If the tile manufacturer does not identify a compatible sealant, check the exact technical documentation or test a spare sample in an inconspicuous place. Keep the test limited. A small compatibility check does not establish performance for every substrate or exposure.
Prepare the joint
Remove loose material and clean the joint according to both manufacturers’ instructions. The surfaces must be dry. Apply a controlled bead that matches the joint rather than spreading sealant across the tile face.
Tool the bead gently if the product instructions permit it. Avoid pushing sealant behind a loose tile edge, where it can trap moisture or create a difficult removal problem. Let the sealant cure for the exact period required by the sealant and tile instructions. The checked Stickwoll guidance says cure conditions vary with sealant chemistry, bead size, temperature, and humidity, so a universal 24-hour or 48-hour waiting rule is not supported.
Keep the faucet area protected during curing. Do not run a splash test until the sealant and tile instructions permit exposure.
When should you skip sealing?
Skip the sealant step or seek more specific product guidance when:
- The tile instructions exclude caulk or silicone.
- The joint is too large, irregular, or moving.
- The wall is damp or unstable.
- The sealant would cover a loose edge instead of finishing a sound one.
- The faucet base is difficult to remove or inspect.
- You cannot identify compatibility with the tile and substrate.
- The purpose is to make a direct-spray or standing-water location acceptable.
A sealant bead is a finishing detail. It is not a substitute for a suitable tile system, sound wall, accurate cut, or manageable water exposure.

How can you run a peel-and-stick tile splash test?
Run a limited, repeatable screening test that reflects normal faucet use, then inspect the tile face, seams, cutouts, edges, joints, and drying behavior. Treat the result as a practical check for visible problems, not proof of long-term adhesion or complete waterproofing.
Stickwoll’s moisture guidance supports a controlled sample screen but also states that a short test cannot prove long-term performance or hidden moisture resistance. The procedure below adapts that idea to a faucet backsplash.
Before the test
Wait until the tile adhesive and any selected sealant have reached the manufacturer’s stated return-to-use condition. Take close-up photographs of:
- The tile face.
- The seam nearest the faucet.
- The faucet cutout or base.
- The bottom edge.
- The countertop joint.
- Inside corners.
- Exposed side edges.
- Any area that was difficult to press flat.
Use a dry cloth to confirm that the inspection points are dry before beginning.
During normal faucet use
Use the faucet in its ordinary pattern. Do not create a pressure-washing test or deliberately flood the area. Observe whether the spray reaches the tile, whether water runs along a seam, and whether droplets collect at the base or bottom edge.
For a pull-down faucet, include the usual sprayer movement. If the faucet commonly points toward the wall, record that as part of the real exposure rather than treating it as an unusual event.
Immediately afterward, wipe the surfaces as you normally would. Do not press hard on the edges or attempt to repair a problem during the observation period.
Inspect at defined intervals
Check the same points:
- Immediately after exposure.
- After the area has been wiped.
- After approximately 15 minutes.
- Again after the area has had time to dry under normal room conditions.
- The next day before the faucet is used again.
These intervals are a practical observation schedule created for this guide. They are not a validated industry test and do not establish a universal pass or fail standard.
Look for:
- New bubbles.
- Edge lift.
- Open seams.
- A cutout that has softened or moved.
- Discoloration.
- Water that remains pooled.
- A damp smell.
- A section that stays visibly wet after the surrounding area dries.
- Moisture emerging from behind an edge.
- A wall surface that becomes soft or swollen.
A successful result means that you saw no visible change under the selected normal exposure and that the area dried as expected. It does not prove that water cannot travel behind the tile or that the installation will remain stable over time.
How to interpret the result
| Test observation | Interpretation | Next action |
|---|---|---|
| Tile face gets wet but edges remain sound and the area dries | Light splash exposure may be manageable | Continue normal care and periodic inspection. |
| Water repeatedly reaches one seam or bottom edge | Localized exposure needs attention | Review layout, joint finish, faucet direction, and drying access. |
| A small bubble appears | Adhesive contact or moisture may be involved | Stop treating the area as fully stable; inspect the substrate and edge. |
| An edge lifts after exposure | Water, weak contact, poor cut, or substrate condition may be involved | Remove or repair according to product guidance and find the cause. |
| Water remains behind or beneath the tile | Hidden moisture risk | Reassess the installation and wall before adding more sealant. |
| The wall remains damp or becomes soft | Possible leak or substrate problem | Stop the decorative project and correct the moisture source. |
The zone-based peel-and-stick backsplash fit guide can help compare moisture exposure, seams, exposed edges, substrate condition, and cleanability across different kitchen locations.

What should you do if peel-and-stick tile bubbles, lifts, or stains?
Treat visible changes as signals to investigate the water path, adhesive contact, substrate, and product limits. Do not simply press a bubbling tile down or cover a lifting edge with more caulk.
Bubbling
Bubbles can result from trapped air, incomplete pressure, wall texture, adhesive failure, or moisture behind the tile. A bubble that appears immediately after installation may be a placement issue. A bubble that grows after faucet use deserves closer attention to the seam, cutout, and wall condition.
If the tile can be corrected under the manufacturer’s instructions, address the cause before attempting to reset it. Do not puncture a bubble and inject an unapproved adhesive into the assembly unless the product instructions specifically allow that repair.
Lifting corners or edges
An edge may lift because the wall was contaminated, the cut was unsupported, the edge was repeatedly wetted, or the tile was forced over an uneven surface. Check whether water reaches that edge during ordinary use.
If the edge is loose, pressing it down without cleaning and drying the underlying area may trap moisture. A replacement piece may be more reliable than a patch, depending on the product and the condition of the wall.
Open seams
An open seam can reflect layout movement, wall movement, poor contact, a difficult cut, or moisture-related lifting. First determine whether the seam opened before or after water exposure. Then inspect the surrounding tile for bubbles or soft edges.
A thin sealant line may be appropriate for a sound, compatible joint. It is a poor repair for a tile that is moving or separating from the wall.
Discoloration or staining
Discoloration may come from the tile surface, cleaning chemicals, trapped moisture, adhesive changes, wall staining, or contamination at an exposed edge. Follow the exact cleaning instructions for the tile. Do not test strong solvents or abrasive products on the visible face without product-specific approval.
A stain accompanied by dampness, odor, bubbling, or soft material deserves more attention than a cosmetic mark alone.
Persistent dampness
If the wall or edge remains wet, find out why. The cause may be a faucet leak, plumbing connection, countertop gap, water trapped behind the tile, a wall condition, or a surface that cannot dry because of an object placed against it.
EPA guidance emphasizes fixing moisture problems promptly and avoiding the practice of sealing wet materials before cleaning and drying them. Read the EPA basic mold cleanup guidance if the area shows suspected growth or has been wet for an extended period.
A persistent moisture problem is a reason to remove the decorative covering or seek qualified help, depending on the location and extent of the damage. Do not diagnose mold, structural damage, or plumbing failure from a single bubble or stain, but do not ignore repeated wetness.
How do you clean and maintain peel-and-stick tile behind a faucet?
Wipe away splashes and residue with the gentlest cleaning routine allowed by the tile manufacturer, then inspect the vulnerable edges and joints as part of normal care. Maintenance is part of the moisture decision because a backsplash that cannot be wiped or dried easily may be a poor fit even if the tile face looks suitable.
Use a soft cloth or sponge if the instructions permit it. Avoid aggressive scrubbing across seams, cut edges, raised textures, or sealant joints. Do not assume that a kitchen degreaser, disinfectant, solvent, bleach product, or abrasive cleaner is compatible with the exact tile.
Focus on the areas where water and residue collect:
- Around the faucet base.
- Along the lowest tile edge.
- At the countertop joint.
- Inside corners.
- Around exposed cuts.
- Along seams closest to the sink.
- Behind objects that block airflow or wiping access.
After cleaning, dry the edges rather than leaving the area wet. A simple wipe takes little time and gives you a regular opportunity to notice a lifting corner, open joint, new stain, or change in wall condition.
A product page may offer a general care-dependent lifespan, but that is not the same as a faucet-specific durability result. The available Stickwoll product claim of two to three years or longer does not define the tile, substrate, splash frequency, failure criteria, or test conditions needed to predict how a particular faucet installation will perform. Use care and inspection habits as practical controls instead of treating a general lifespan statement as a promise.
If you are still choosing a tile, review the Peel-and-Stick Tile Guide for guidance on matching adhesive tile to the room, wall surface, moisture exposure, edge finish, cleaning routine, and removal expectations.
When should you choose another backsplash material?
Choose another finish when the faucet zone receives direct or repeated spray, holds standing water, has persistent dampness, contains an unresolved leak, or cannot provide sound support and drying access for adhesive tile.
Peel-and-stick tile is most attractive when the project benefits from a quick visual change and the conditions are controlled. That advantage becomes less meaningful when the installation requires repeated repairs, heavy caulking, difficult inspection, or protection from water that the product was not designed to receive.
A different backsplash system may be more appropriate when:
- The sprayer is routinely aimed at the wall.
- The sink is shallow and water regularly hits the backsplash.
- The countertop slopes toward the wall.
- The wall is textured, loose, damp, or damaged.
- The faucet base creates a large or complex opening.
- Water pools at the bottom edge.
- The area cannot be wiped or inspected.
- You need a complete waterproofing assembly rather than a decorative splash surface.
- The installation must tolerate frequent aggressive cleaning.
- You cannot verify the current product instructions.
The peel-and-stick tile versus beadboard moisture guide offers a material comparison focused on sink splashes, seams, countertop joints, exposed cuts, cleaning, wall preparation, and reversibility.
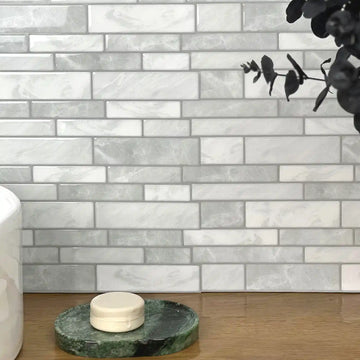
If the exposure is light and the exact tile fits the conditions, you can review a verified product such as Sakura Bloom self-adhesive wall tile or Snowfish Marble backsplash tile. Product listings describe their intended kitchen or high-moisture uses, but the current instructions still need to be checked against your faucet spray pattern, substrate, cutout, edge plan, and drying conditions.
Frequently Asked Questions
Can peel-and-stick tile get wet behind a kitchen faucet?
It may tolerate limited, controllable splashes when the exact product allows kitchen or sink backsplash use. A water-resistant tile face does not prove that the adhesive, backing, seams, cut edges, or wall can tolerate direct spray, standing water, or hidden moisture.
How much water exposure can peel-and-stick tile handle?
There is no universal exposure limit for all peel-and-stick tile. The relevant product instructions should define the intended use, while your inspection should determine whether the faucet creates brief splashes, repeated wetting, pooling, or persistent dampness. No verified source in this guide provides a universal faucet splash frequency or water-volume limit.
How do you seal peel-and-stick tile around a sink?
Seal only a selected, sound, dry joint when the tile, substrate, countertop, faucet material, and sealant instructions are compatible. Apply sealant as a joint treatment, follow the exact cure instructions, and do not treat the bead as universal waterproofing for the tile assembly.
Is a pull-down faucet too wet for peel-and-stick backsplash tile?
Not automatically. A pull-down faucet increases the chance of direct or concentrated spray, so observe its normal and common working positions. If the sprayer regularly wets the same seam, cutout, or bottom edge, the exposure may exceed the practical fit of the tile.
What does it mean if the tile lifts after splashing?
Lifting may indicate moisture exposure, weak adhesive contact, a contaminated or unstable wall, an oversized cut, poor edge support, or another installation problem. Inspect the source of the water and the wall condition before pressing the tile back down or adding sealant.
Final decision checklist
Proceed with peel-and-stick tile behind the faucet only when all of these statements are true:
- The exact product instructions support the intended kitchen or sink backsplash use.
- The faucet creates light or controllable splashes rather than direct, repeated spray.
- No leak, standing water, recurring dampness, moldy material, or soft wall condition is present.
- The wall is flat, smooth, clean, dry, stable, and free of grease and suspected silicone residue.
- The faucet cutout can be made accurately without leaving a large unsupported gap.
- The bottom edge, seams, corners, and side edges can be wiped and inspected.
- Any sealant is compatible with the tile, wall, countertop, faucet material, and joint.
- The installation can dry fully between uses.
- A limited splash check produces no bubbling, lifting, open seams, discoloration, pooling, or persistent dampness.
If those conditions align, peel-and-stick tile can provide a manageable kitchen refresh around a faucet. If the inspection shows direct spray, hidden moisture, recurring leaks, or edges that cannot dry, choose a backsplash system that matches the exposure instead of trying to solve the mismatch with extra caulk.


Kommentar hinterlassen
Diese Website ist durch hCaptcha geschützt und es gelten die allgemeinen Geschäftsbedingungen und Datenschutzbestimmungen von hCaptcha.