











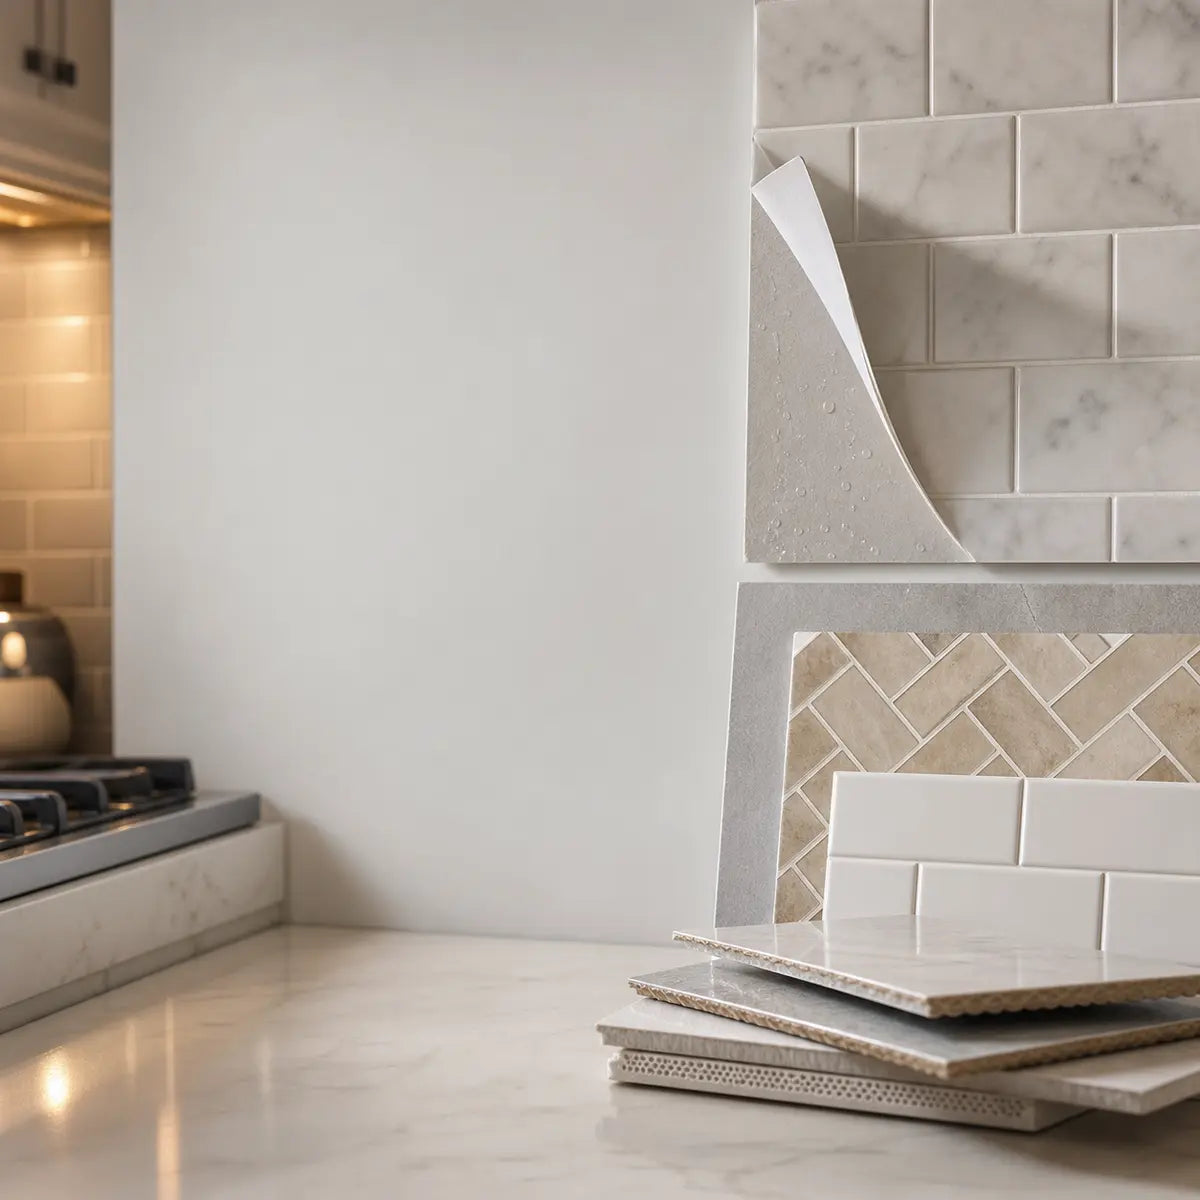
The best peel-and-stick backsplash is the one that fits your wall, cooking area, sink exposure, and removal plans. A convincing product photo can help you choose a color. It can’t tell you whether the adhesive belongs on your paint or whether the tile is suitable behind your range.
Our buying rule: confirm compatibility first, inspect a sample second, and choose the pattern third. Thicker gel, PVC, or composite tiles deserve consideration when you want dimensional detail, but thickness alone doesn’t establish better adhesion, heat suitability, or clean removal.
This guide uses seven documented failure-risk checks to help you compare candidates. We call the resulting buying aid the Backsplash Failure Risk Score, or BFRS. It’s a transparent shopping checklist, not a laboratory test, a measured failure probability, or a safety certification.
What makes the best peel-and-stick backsplash for your project?
The best peel-and-stick backsplash tiles have instructions that match the conditions where you’ll install them. We would favor a clearly documented product over an attractive listing that leaves you guessing about the wall, seams, or stove area.
Start by deciding what the project must accomplish. A decorative apartment wall, a frequently splashed sink backsplash, and the wall behind a gas cooktop are different assignments. They shouldn’t receive the same recommendation simply because the same subway pattern looks good in each location.
| Your project | What to prioritize | What should stop the purchase |
|---|---|---|
| Ordinary kitchen backsplash | Approved wall surface, preparation instructions, sample appearance, cleaning guidance | Unclear substrate or installation requirements |
| Rental apartment kitchen | Lease approval, removal instructions, sample removal, acceptable repair exposure | A requirement for extra glue when restoration must be minimal |
| Behind a stove | Compatibility with both the exact appliance instructions and tile restrictions | Missing heat documentation or an explicit placement prohibition |
| Near a sink | Permitted splash exposure, countertop-junction detail, seam instructions | Treating a water-resistant face as proof of a waterproof wall |
| Over existing tile | Approval for that tile surface, sound existing installation, acceptable joint transitions | Loose, porous, textured, or otherwise excluded tile |
| Imperfect walls | A permitted repair method that produces the required surface | Expecting thicker tiles to solve an unsuitable wall |
Named installation instructions show why these distinctions matter. For example, Aspect Metal’s self-adhesive method calls for a sound, clean, flat, smooth, dry surface and a separate primer. Its guide accepts certain smooth glazed or porcelain tile surfaces while excluding porous or textured tile. These are requirements for that system, rather than rules for every brand.
Why photos and star ratings aren’t enough
Use photographs to judge pattern, color, and layout possibilities. Use reviews to identify questions worth investigating: Do buyers mention exposed edges, difficult cuts, or a mismatch between listing images and the delivered finish?
Then return to the instructions. A positive review from someone installing over smooth ceramic tile doesn’t settle whether the same product belongs on your textured painted wall. A complaint about adhesion is also incomplete without knowing the surface preparation and installation conditions.
Our preferred comparison starts with a written project description: wall material, paint condition, stove model, splash exposure, and removal expectations. That description makes shopping more useful across Amazon, Home Depot, Lowe’s, Wayfair, Walmart, and local stores.
For help dividing the wall into practical areas before shopping, use our kitchen backsplash planning guide.
Give each area a plain description you can reuse in questions to sellers: “painted drywall beside the sink,” for example, or “existing glazed tile behind this appliance model.” Include a photograph and a sketch of the proposed boundaries. An answer about an ordinary decorative wall may leave the sink or cooking area unresolved, so keep those questions separate.
When should you compare a permanent backsplash instead?
Compare a permanent system when your project requires a documented wet-area assembly, a specific heat-compatible wall finish, substantial substrate repair, or an installation intended to stay through future kitchen changes.
Ask for complete project estimates rather than assuming peel-and-stick is always the cheaper option. Include preparation, trim, tools, replacement pieces, and eventual restoration. We don’t assign ceramic or peel-and-stick a universal durability or value ranking here; the useful comparison is between two complete installations that meet your requirements.
Compare materials before choosing a pattern
Material labels help you organize a shortlist, but they don’t establish performance by themselves. Ask what the tile contains from its visible face through its backing and adhesive.
A “metal tile,” for example, may be a layered product. Aspect’s historical March 2017 data sheet describes aluminum faces around a polyethylene core and lists multiple thickness options. That document illustrates why construction details matter; it doesn’t certify another metal-faced product or establish specifications for a current listing.
| Material or listing description | What to inspect in a sample | Documentation to request | Assumption to avoid |
|---|---|---|---|
| Thin printed vinyl sheet | Printed detail, glare, visible joins, cut edges | Actual material, thickness, approved walls, removal method | Every thin sheet will fail |
| Dimensional gel tile | Raised detail, simulated grout, joined sheets, exposed edges | Layer construction, cleaning restrictions, heat and splash instructions | A raised finish proves greater durability |
| PVC tile or panel | Edge profile, stiffness, cutting requirements, corner treatment | Full construction, adhesive method, temperature restrictions | “PVC” describes every layer |
| Metal-faced composite | Face finish, core at a cut edge, trim requirements | Core material, adhesive instructions, applicable fire and heat documentation | A metal face makes the whole tile noncombustible |
| Glass-faced self-adhesive tile | Backing, edge finishing, cuts, mounting method | Complete installation requirements and permitted locations | A glass face establishes whole-system stove suitability |
Treat this matrix as a request list, not a material ranking. Two products sharing a category can still have different installation restrictions.
For appearance comparisons after those questions are answered, our guide to stick-on kitchen tile formats offers a separate look at patterns and finishes.
How thick should peel-and-stick backsplash tiles be?
Choose a documented thickness that works with your edges, corners, outlets, and preferred appearance. There is no universal minimum thickness established by the evidence used in this guide.
The historical Aspect specification lists 2, 3, and 4 millimeter options. Those are product specifications, not experimental proof that one thickness prevents curling or lasts longer. Confirm the construction and dimensions of the exact product you’re considering.
We suggest evaluating thickness through a sample installation. Hold the sample beside a cabinet edge, countertop transition, and outlet cover. Look at it straight on and from the side. Ask how you’ll finish every visible cut.
If you want thick peel-and-stick backsplash tiles for a more dimensional appearance, make that an appearance preference. Keep heat suitability and adhesion as separate checks.

How does the Backsplash Failure Risk Score work?
BFRS helps you identify unanswered buying questions across seven criteria. A lower score means fewer unresolved checks under this guide’s method; it doesn’t mean a measured lower probability of failure.
Score each candidate for one defined installation area. If a product is being considered for both a dry wall and a stove area, complete separate assessments.
Build your candidate score
Give each criterion one of these values:
- 0 — Documented and checked: The instructions address your situation, and you’ve completed the relevant inspection or sample check.
- 1 — A defined action remains: You know what preparation, confirmation, or sample work is needed, but haven’t completed it.
- 2 — Unknown: Information is missing, vague, or doesn’t clearly apply to your installation.
Use those values for these seven inputs:
| Criterion | What you need to resolve | Your score, 0–2 |
|---|---|---|
| Face, backing or core, cleaning restrictions, and suitability for the intended location | ||
| Stated dimensions plus an acceptable sample plan for visible edges, corners, and cuts | ||
| Approved preparation, application conditions, pressure, and setting instructions | ||
| Applicable tile restrictions and appliance requirements; for a dry wall, document why stove exposure is outside the assessment | ||
| Permitted exposure and required treatment at seams, countertop junctions, and penetrations | ||
| Approval for the actual substrate and any repairs or coatings | ||
| A documented method, permission where needed, and acceptable restoration exposure |
Add the seven values for a total from 0 to 14. All criteria have equal weight for shopping convenience. Those weights have not been scientifically validated.
Read your result in this order:
An explicit conflict means exclude the candidate for that location. Don’t calculate around a prohibition. A product excluded behind your appliance can still be assessed for a different, permitted wall.
Any 2 means “ask before ordering.” Your next step is to obtain the missing information. A small total cannot cancel an unknown heat or wet-area requirement.
No 2s, but one or more 1s, means “complete the remaining work.” Perform the identified preparation or sample check, then reassess.
All 0s means “ready to plan the purchase.” This records completed buying checks. It doesn’t guarantee long-term adhesion, damage-free removal, or safety under every condition.
You can complete this on paper by writing seven numbers beside each candidate. Keep the unresolved items next to the total; they’re more useful than the number alone.
The entries start at 2 so that unanswered questions remain visible. Change an entry only when the description of 0 or 1 applies. The result identifies unresolved criteria; keep the actual instruction, sample observation, or written answer with your project notes. Reassess if you change the product, wall preparation, or installation area.
Example: the same tile can produce different decisions
Suppose a renter has a smooth painted wall away from cooking and direct water. The product instructions address the wall, but lease approval and a removal sample remain unfinished. The useful outcome is a short action list: get permission and complete the sample.
Now consider that tile behind a gas cooktop with unclear placement instructions. The outcome changes to ask before ordering for that area, even if the appearance and wall checks are complete.
These are hypothetical buying scenarios. They show how the method directs the next action, rather than claiming either installation has been tested.
Will peel-and-stick backsplash work on your walls?
It can work only where the selected product accepts the actual wall surface and its condition. Check the substrate—the surface receiving the adhesive—before choosing the adhesive or tile.
Our adhesion review considers smoothness, cleanliness, paint condition, porosity, moisture, application temperature, and setting instructions. We don’t turn those checks into a separate numerical Adhesion Reliability Score because that would imply more precision than the evidence supports.
The ACP Aspect Metal installation instructions provide a useful example of a system that specifies surface preparation, primer, installation temperature, and different adhesive methods. The February 2016 guide should be applied only to products for which the manufacturer confirms it remains relevant.
Painted drywall: inspect the paint as part of the wall
Confirm that the product accepts your painted surface. Record whether the paint is fresh, peeling, damaged, or of unknown condition, then ask what preparation is required.
Don’t confuse paint that feels dry with paint ready to receive adhesive. Obtain the tile manufacturer’s waiting requirements and the coating manufacturer’s instructions before covering a freshly painted area.
For a rental, include repair expectations in this decision. If you’re unwilling or unable to repair the finish later, a product described as removable still requires careful evaluation.
Textured and uneven walls: avoid the thickness shortcut
For peel-and-stick backsplash on textured walls, look for explicit approval covering the actual texture. If the instructions require a smooth surface, treat smoothing as a separate project with its own permission, preparation, and cost.
Similarly, inspect an uneven wall for the reason it is uneven. Don’t use decorative tiles to conceal unexplained damage.
Before sanding or scraping potentially lead-painted surfaces, follow EPA guidance for lead-safe DIY renovations. EPA recommends determining whether lead-based paint is present and using appropriate lead-safe practices; building age alone doesn’t establish that lead is present.
Existing ceramic tile: check the surface and the joints
Peel-and-stick backsplash over existing tile needs approval for that existing finish. Inspect for loose pieces, damaged joints, texture, and transitions before deciding the wall is ready.
Ask whether recessed grout lines need treatment and what preparation the product permits. Include those details in a sample area rather than testing only the center of a perfectly smooth tile.
Aspect’s checked guide illustrates the distinction: its permitted surfaces include certain smooth existing tiles, while porous and textured tiles are excluded. That permission doesn’t automatically extend to another brand.
What makes the adhesive reliable?
Useful adhesive documentation explains where and how the product should be applied. “Extra strong” is too incomplete to make the buying decision.
Pressure-sensitive adhesive bonds through applied pressure. In evaluating a tile, separate its installation instructions from broad claims about adhesive chemistry. A listing that says “acrylic adhesive” still needs to identify compatible surfaces and application conditions.
Strong peel resistance doesn’t tell the whole story
Peel resistance concerns pulling adhesive away from a surface. Shear resistance concerns resisting sliding under a load. Those properties can differ.
The buying implication is limited but useful: don’t assume the strongest initial pull establishes the best wall-tile adhesive.
ASTM guidance on interpreting peel adhesion also cautions against using peel force alone to compare different manufacturers’ tapes for surface adhesion. Backing stiffness and adhesive properties affect the measurement, and peel adhesion usually lacks a direct relationship to functional requirements. Its public scope also identifies limits for stiff backings.
Preparation instructions deserve more attention than adhesive slogans
Smart Tiles’ Metro guide specifies degreaser cleaning, discourages dish soap for preparation, and directs firm pressure at final placement. It states that its adhesive sets firmly within 48 hours. Those instructions and that interval belong to its system; they aren’t a universal schedule. See the Smart Tiles Metro preparation and installation guide.
The historical Aspect Metal guide specifies 65–100°F for the tiles and substrate before installation, with 24 hours of adhesive setting before heat exposure. These describe installation conditions, rather than the installed product’s maximum service temperature.
Our advice is to write the required cleaner, temperature, pressure method, and waiting period on your project sheet before opening the backing.
Keep the instruction version and product identifier together. If a seller recommends a cleaner, primer, or extra adhesive that differs from the written directions, ask for clarification before combining them. Your sample should reflect the approved method you intend to use on the finished wall; otherwise its result may leave the actual installation question unanswered.
Is peel-and-stick backsplash safe behind a stove?
There is no blanket approval for peel-and-stick backsplash behind a stove, including a gas stove. Verify compatibility between the exact tile system, appliance model, and proposed placement.
A historical GE manual makes the model-specific nature of these requirements clear. The J2B912 gas-range instructions require surrounding wall coverings to withstand heat up to 200°F. That is a requirement for the named appliance in its November 2005 manual, not a universal backsplash rating or a measurement of your wall.
Smart Tiles supplies a separate product-specific instruction: an 8-inch tile-free safety zone behind a stove or cooktop lacking a rear control panel or metal plate. Its FAQ also addresses splash exposure and removal, which we discuss below. Consult the Smart Tiles placement and use instructions for that system’s conditions. This distance cannot be transferred to other products or used to override appliance requirements.
Heat resistance and fire performance answer different questions
A temperature claim needs a defined scope: which layers it covers, under what conditions, and for what duration. Ask whether documentation applies to the complete tile and adhesive assembly.
A surface-burning classification answers another question. ASTM E84 surface-burning test scope concerns flame spread and smoke development under controlled conditions. A flame-spread index alone doesn’t establish noncombustibility, heat transmission, or complete real-world fire risk. A class designation therefore doesn’t grant universal permission behind a gas range.
For your purchase, collect both instruction sets and mark the proposed tile boundaries on a wall sketch. Ask the manufacturers to resolve any ambiguity. Our guide to backsplash heat-resistance questions provides further context; the applicable product and appliance documents should govern placement.

What works near a sink or bathroom vanity?
Choose a product that permits the expected splash exposure and explains its junction and seam treatment. A water-resistant tile face doesn’t establish a waterproof backsplash assembly.
Smart Tiles, for example, permits splashes and humidity under its installation conditions, excludes direct shower or bathtub use, and recommends silicone-based caulking at the countertop junction. These instructions do not establish waterproof performance for every seam or wall behind the product.
Inspect the routes water could take
Before buying, sketch the countertop junction, inside corners, tile joins, faucet area, and any penetrations. Ask how the selected system treats each relevant detail.
Use only a sealant or accessory permitted by the manufacturer. Don’t assume that adding caulk wherever you see a gap creates a tested wet-area system.
For the best peel-and-stick backsplash for a bathroom, first distinguish a vanity splash area from a shower or tub surround. If the product excludes direct wet-area use, move that location off your shortlist.
Address dampness before covering the wall
The EPA guide to household moisture and mold advises correcting water problems, drying materials completely, and avoiding painting or caulking over moldy surfaces. It states that drying wet areas within 24–48 hours prevents mold growth in most cases. This is general moisture guidance, not an adhesive setting time or an exact mold-onset deadline.
Treat staining, softness, recurring dampness, or unexplained odor as reasons to investigate before ordering. After installation, include the countertop junction and seams in your routine inspection, following the product’s maintenance instructions.

Can a removable backsplash come off cleanly?
Clean removal depends on the product, the underlying surface, and the removal process. A removable label cannot guarantee an undamaged painted wall or protection of a rental deposit.
Smart Tiles instructs users to soften its adhesive with a hairdryer and pull gently; its instructions condition damage outcomes on the underlying surface. That provides a procedure, without a measured wall-damage rate. Apply another brand’s own method to its product.
Separate removal from restoration
Ask three questions: Can the tile be removed? How is adhesive residue addressed? What happens if paint or drywall facing comes away?
Those questions deserve separate answers. Avoid interpreting “removable” as a promise that every underlying coating will remain intact.
Extra adhesive also changes the project. Aspect’s alternative installation method uses polyurethane construction adhesive. The guide supplies no clean-removal comparison for that method, so it cannot support a claim that adding glue preserves renter suitability.
We would reject a proposed extra-glue installation when the seller cannot explain how it fits your restoration requirements.
What can a sample removal tell you?
A sample can reveal an immediate problem on the selected test area. It cannot reproduce every change that may occur over months or years.
Choose a discreet area representative of the actual wall, with permission where needed. Apply and remove the sample according to the manufacturer’s instructions. Record the waiting period, observations, residue, and any finish damage.
If paint lifts, pause the project. If the sample removes acceptably, keep that result in proportion: it supports a local buying judgment without guaranteeing future clean removal across the whole wall.

Plan a sample installation before buying full quantities
A useful sample trial checks appearance, layout, installation behavior, and removal expectations on a representative surface. It should answer the questions that listing photos leave open.
Use this sequence after confirming that the intended location is permitted:
- Read the complete instructions. Record preparation, temperature, waiting periods, seam details, cleaning restrictions, and removal directions.
- Prepare the permitted test area. Use the specified cleaning process and allow the required drying or coating interval.
- Plan representative details. Include a join and, where practical, the kind of exposed edge you’ll have in the finished project.
- Apply with the required pressure. Avoid repeated repositioning unless the instructions permit it.
- Inspect after the stated setting interval. Record lifting, movement, visible joints, finish appearance, and any other concerns.
- Assess removal if it matters to the project. Follow the product’s method and document the wall afterward.
This is a practical screening exercise. Don’t use flames, improvised heating, soaking, or a hand-temperature test to establish safety. Documented product and appliance restrictions remain the basis for placement.
For outlet planning, measure the finished edge and cover fit before cutting. Keep tile and tools away from exposed electrical parts; have a qualified electrician handle any required device or box changes.
Look at the sample under the lighting you actually use. Inspect it from the doorway and from close working distance. If the finish only appeals from one carefully chosen angle, that’s a useful reason to keep shopping.
Once your sample and compatibility checks are complete, our kitchen peel-and-stick installation guide can help organize the larger layout and installation.
Write down what would make you reject the sample before you apply it. That might be an edge you cannot finish acceptably, an unresolved joint detail, or paint damage during the permitted removal process. A brief dated record helps you compare candidates consistently and keeps an attractive pattern from overshadowing an unresolved installation requirement.
Why isn’t your peel-and-stick backsplash sticking?
Pause and identify the unresolved installation condition before adding glue or replacing a whole wall. Use your observations to decide what to check next; they cannot, by themselves, prove the cause.
Find your next troubleshooting step
Start with the first matching condition below. If several apply, follow the earliest branch and reassess afterward.
The wall is damp, soft, stained, or shows possible mold.
Stop covering the area. Investigate and correct the moisture issue before reconsidering installation, following EPA moisture guidance.
Paint or wall material comes away with the tile.
Pause and assess the substrate. Ask how the surface must be repaired and whether the product remains appropriate. Don’t treat this as evidence that you simply need stronger adhesive.
The wall is textured, uneven, or an unapproved tile surface.
Return to the product’s substrate instructions. Obtain an approved preparation route or choose another project approach. Aspect’s smooth-surface requirements illustrate why substrate approval needs to precede application.
The surface is approved, but cleaning, temperature, pressure, or setting instructions weren’t followed.
Ask the manufacturer whether the affected pieces can be recovered or must be replaced. Repeat the sample only after correcting the documented installation issue.
Installation instructions were followed, but edges lift or pieces move.
Send the seller photographs, the product identifier, surface description, cleaner used, application conditions, and elapsed time. Request a specific remedy.
The change is confined to a stove or sink area.
Pause use of the affected installation and review that zone’s restrictions. Don’t assume a repeated adhesive application resolves heat or water incompatibility.
This decision path organizes next actions; it doesn’t diagnose the failure or establish that reinstallation is safe. If no branch resolves the question, retain the affected pieces and seek product-specific support before proceeding.
Our backsplash installation troubleshooting guide offers further reading on lifting edges, alignment, and cuts.
Compare the full project cost before ordering
Compare the amount you expect to spend on a completed, acceptable installation. A box price alone leaves preparation and finishing decisions out of the purchase.
Calculate your shopping allowance
Use these inputs for each candidate:
- Measured area you intend to cover, excluding any prohibited zones.
- Net coverage per box after required overlaps.
- A separately chosen allowance for cuts and spare pieces.
- Current box price.
- Preparation, tools, trim, permitted sealant, delivery, and tax.
- A restoration allowance if later removal matters.
Calculate:
Required coverage = measured area + cut-and-spare allowance
Boxes = required coverage ÷ net coverage per box, rounded up to a whole box
Planned spending = box cost + preparation + tools + finishing + delivery and tax + restoration allowance
If net coverage is unclear, mark the estimate incomplete and ask before ordering. If all inputs are known, the result is a shopping estimate, not a quote. If it exceeds your budget, reconsider the covered area or product shortlist while preserving the required preparation and restrictions.
For a hypothetical example, a 24-square-foot wall plus a chosen 3-square-foot allowance requires 27 square feet. At 10 square feet of net coverage per box, that means 3 boxes. If boxes cost $30 and the other planned costs total $45, the estimate is $135. These figures demonstrate the arithmetic; they are not current prices or a recommended waste allowance.
You can perform the same calculation on paper. For interlocking designs or a complicated layout, confirm the actual cutting plan before treating an area calculation as the final quantity.
Enter square feet for all area inputs and U.S. dollars for costs. Add preparation, tools, finishing, delivery, tax, and restoration together in “Other planned costs.” Enter 0 there only when you have considered those items and have no additional allowance. The calculator rounds the box quantity upward; it does not choose a cutting allowance or verify coverage claims.
Red flags before you buy
- “Heat resistant” appears without applicable placement instructions.
- “Waterproof” describes the face without explaining joints or permitted exposure.
- Thickness is unspecified or unclear about which layers are included.
- Textured-wall approval is vague.
- Clean removal is promised without a surface-specific procedure.
- Extra glue is proposed without addressing restoration.
- Gross dimensions are presented as usable coverage despite required overlap.
- Support cannot identify instructions for the exact product.
Save unresolved questions alongside your BFRS result. Our store installation and purchasing FAQ is a starting point for general store questions; request clarification where your project needs a specific answer.
When comparing two estimates, check that they cover the same permitted area and the same level of finishing. A lower total that omits required preparation is an incomplete comparison. Keep sample costs and possible restoration visible even if they occur at different times, so the buying decision reflects the project you are willing to complete.
Shortlist styles after resolving performance questions
If you prefer subway formats, Rock Subway self-adhesive wall tiles and Subway Marble self-adhesive wall tiles are store options to consider for their dimensional subway and marble-look presentations.
Apply the same documentation and sample checks to either candidate. Their appearance and grout-free format do not establish stove suitability, waterproof assembly performance, or damage-free removal.
Keep your buyer checklist, resolve any remaining unknowns, and order samples before committing to full quantities. The most useful “best” choice is the candidate whose documented conditions fit the wall you have and the project you’re prepared to complete.


Deja un comentario
Este sitio está protegido por hCaptcha y se aplican la Política de privacidad de hCaptcha y los Términos del servicio.