

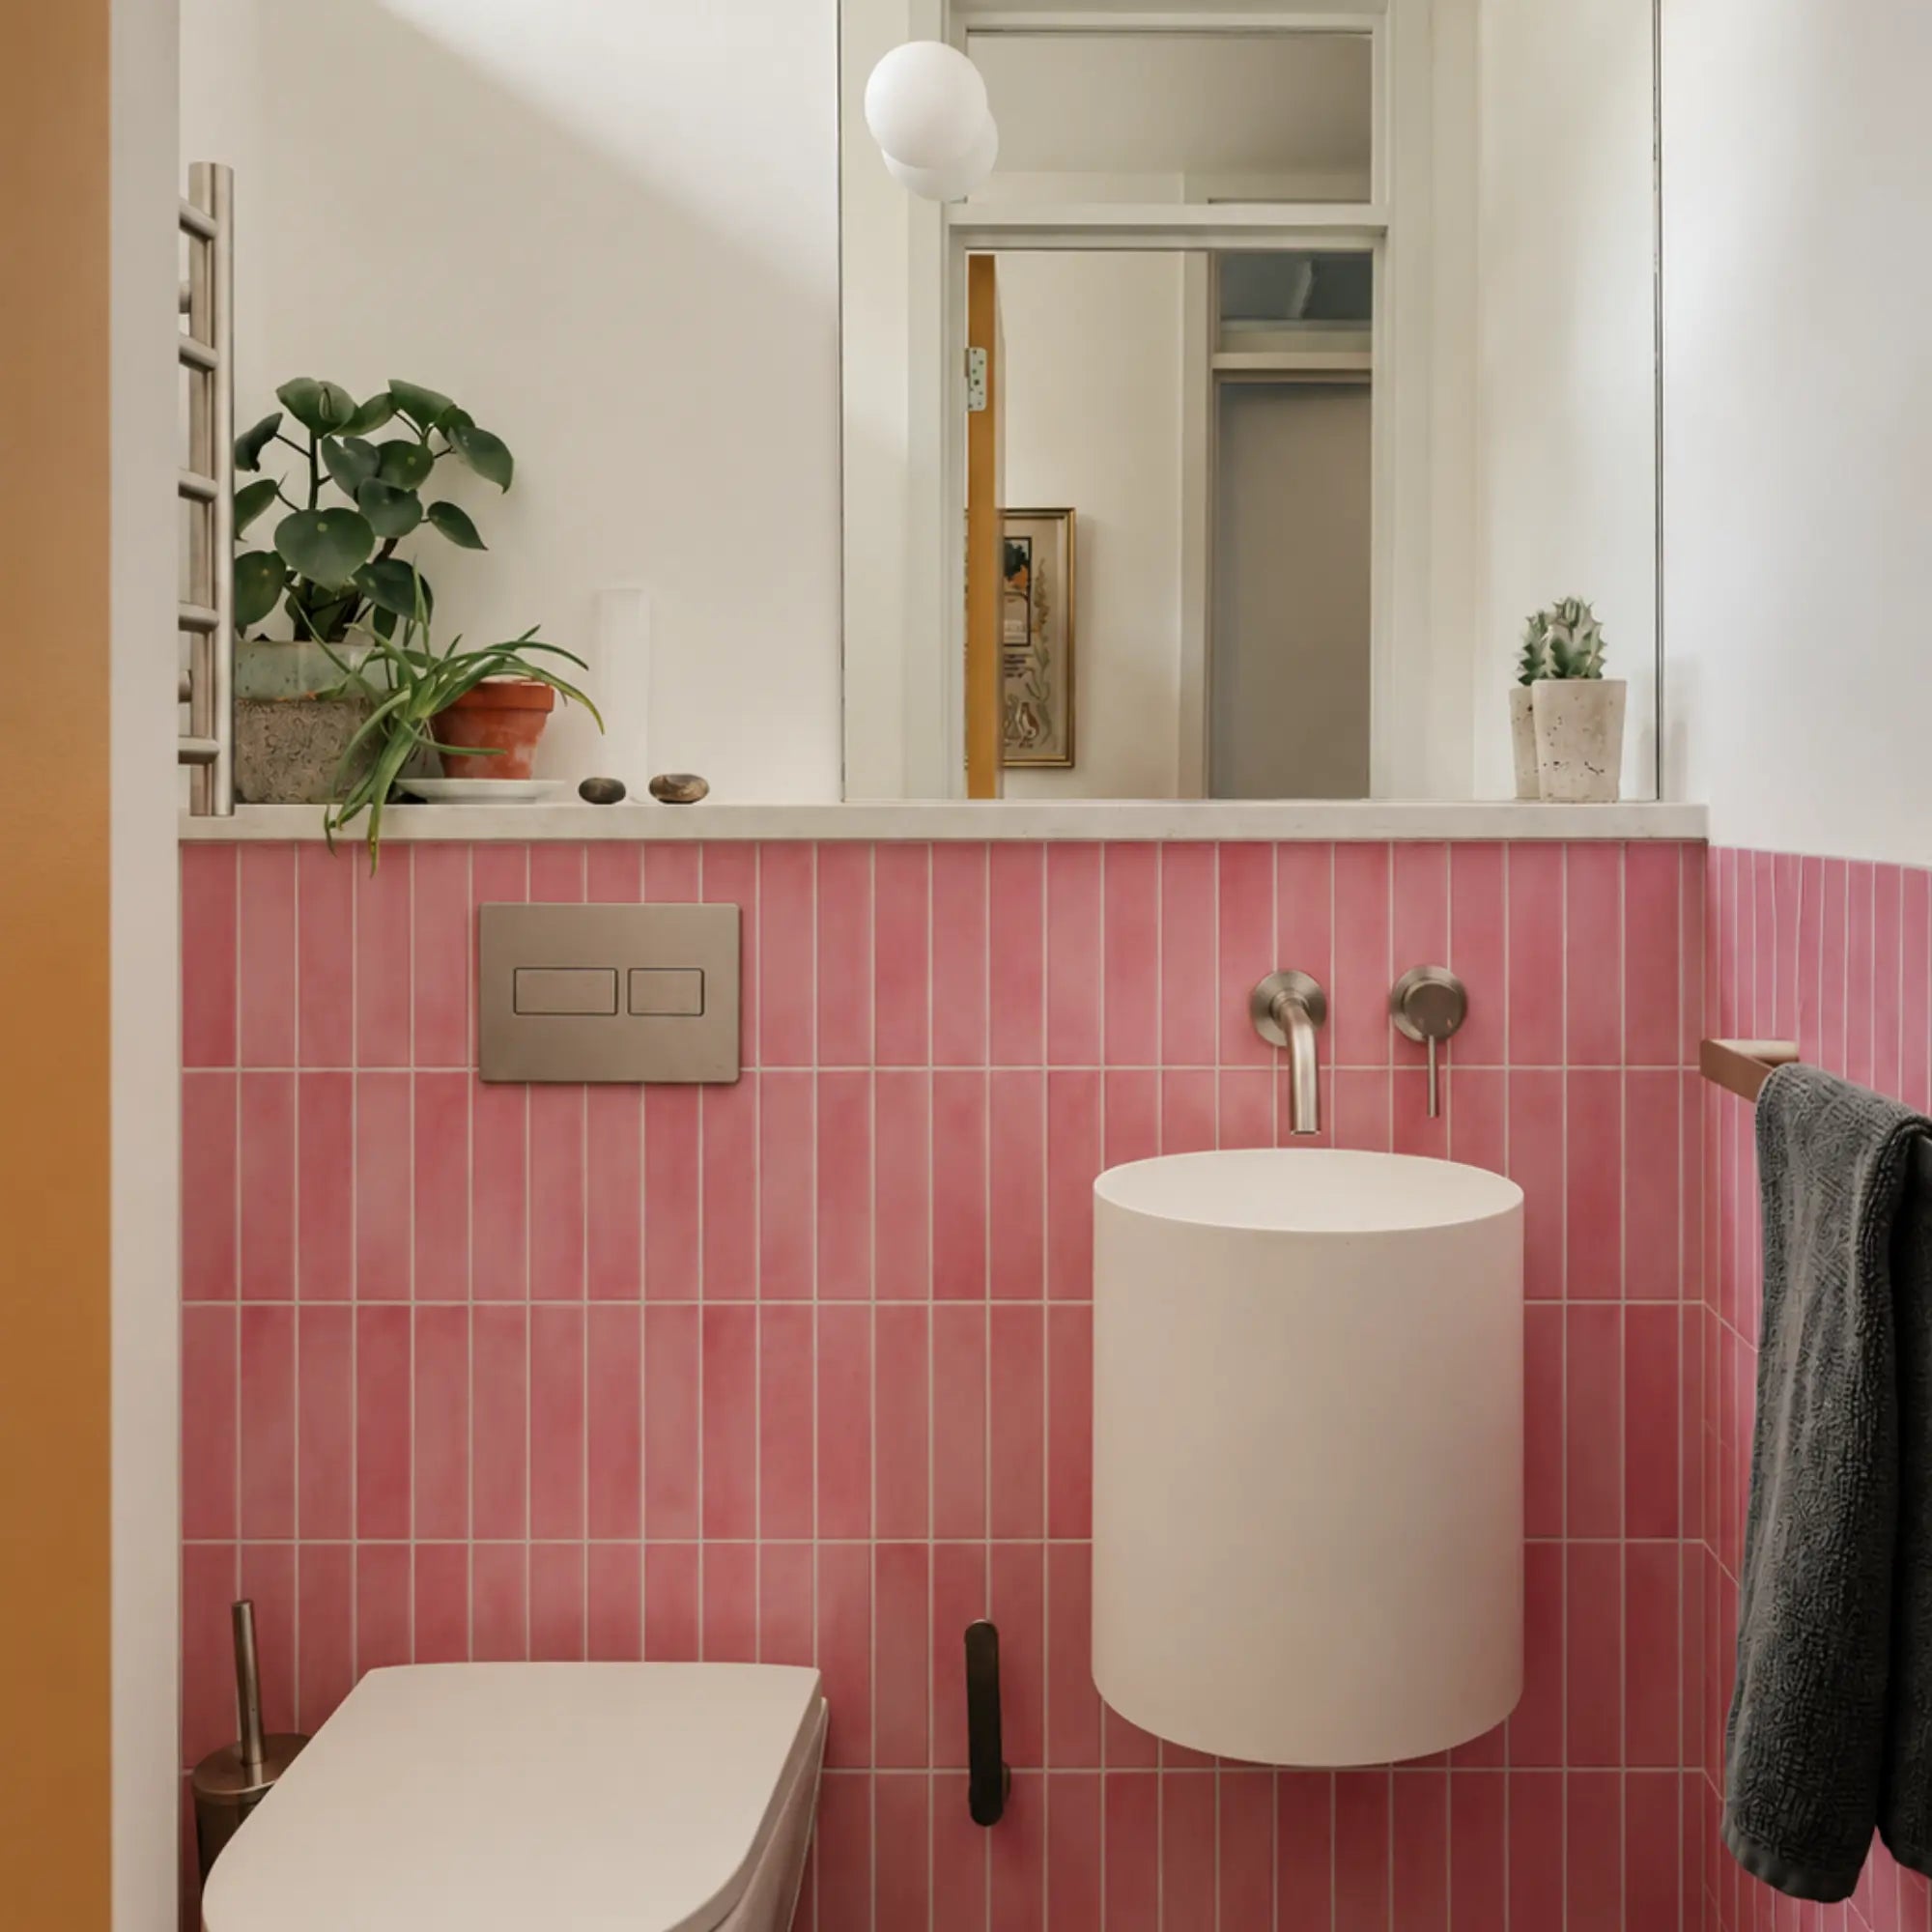



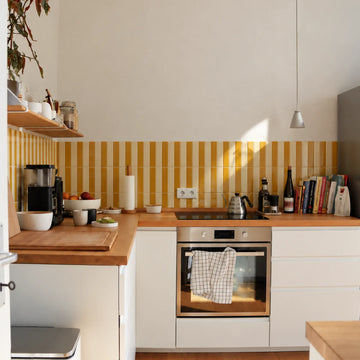
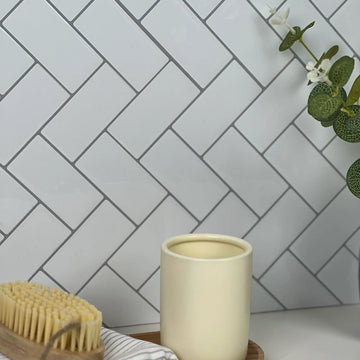
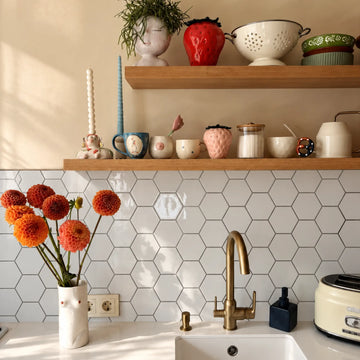
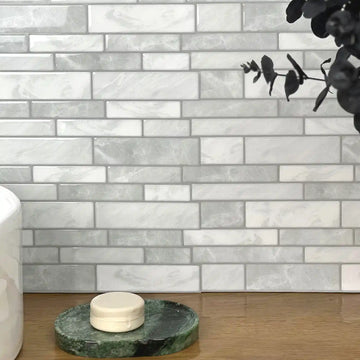



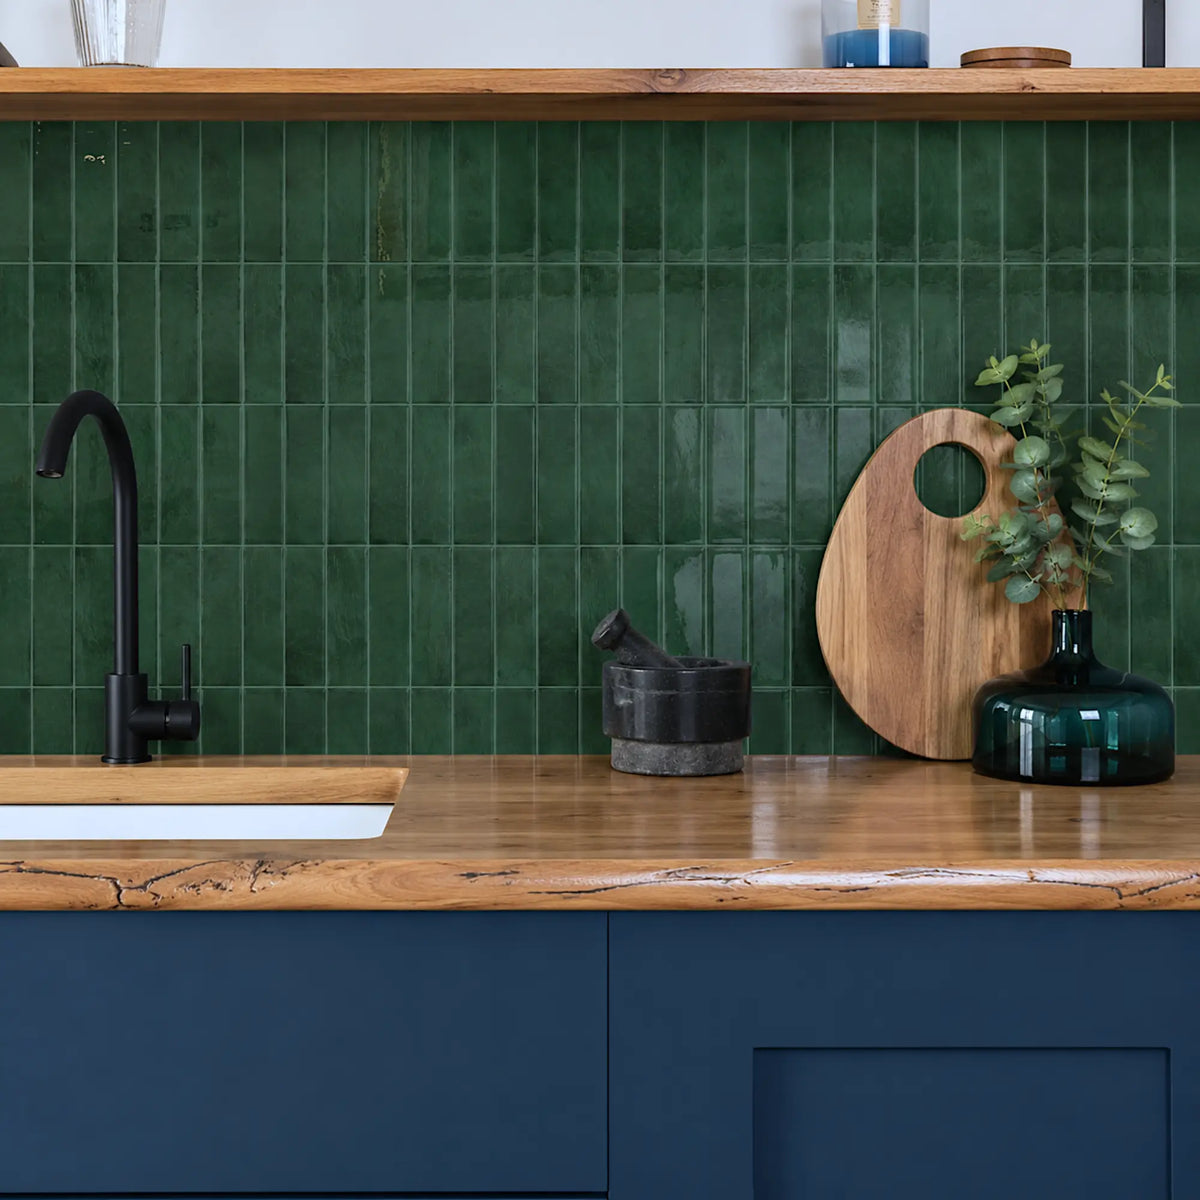


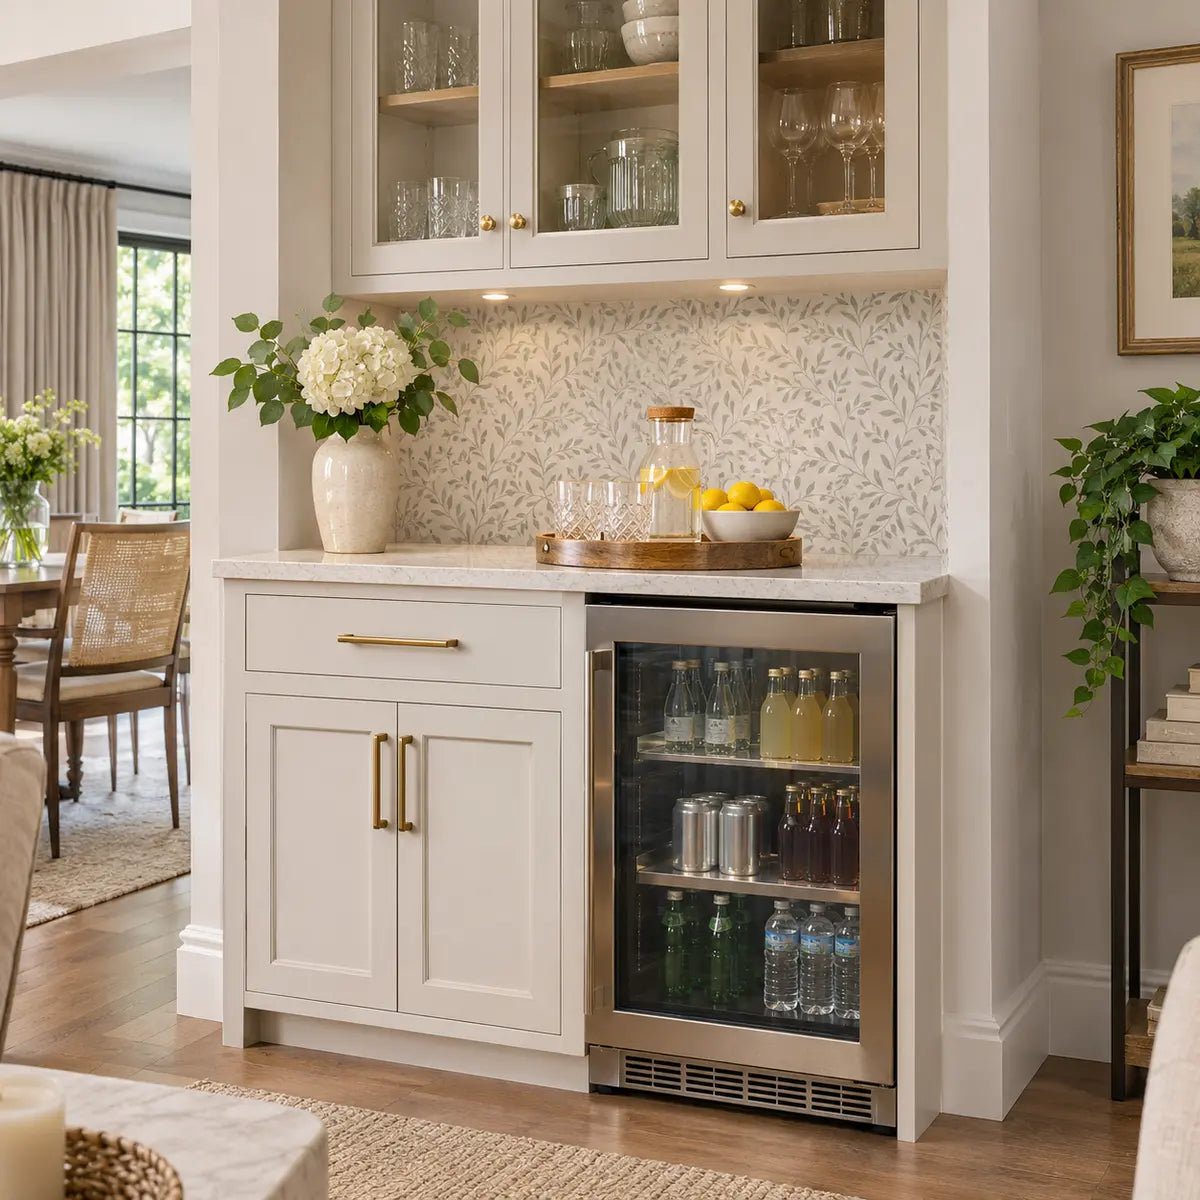
A peel-and-stick backsplash can work behind a beverage center if the appliance has the clearance and airflow its manual requires, the wall is sound and dry, and the tile is suitable for the heat and moisture it will actually face. Check the appliance requirements before choosing a pattern. The visible wall above an undercounter fridge may be a good place to tile even if there’s no room to add a finish inside its cabinet opening.
Read the manual for your exact model, inspect the wall and the area around the appliance, then measure the part you intend to cover. Use those measurements to check the tile’s installed coverage, seam instructions, and placement limits before ordering. This sequence works for a dry drinks station, a wet bar with a sink, or a coffee station with a mini fridge. The deciding conditions can differ even across a single counter.
Can peel-and-stick tile go behind a beverage center?
Yes, on a fixed wall where the finish leaves the appliance’s ventilation, electrical connection, door movement, and service access intact. A smooth, stable wall above the counter that stays dry between occasional splashes is a good candidate to evaluate. Pause if the wall gets damp again after wiping, the tile would sit in concentrated heat, or the layout depends on hiding a vent or closing a required gap.
Start by deciding what behind means in your room. With an undercounter beverage refrigerator, it often means the wall above the worktop, where you set glasses or open bottles. With a freestanding mini fridge, it might mean the wall visible beside and above the unit, plus a section directly behind its case. Draw those as separate areas. They can have different exposure, and the hidden one may add thickness where you can least afford it.
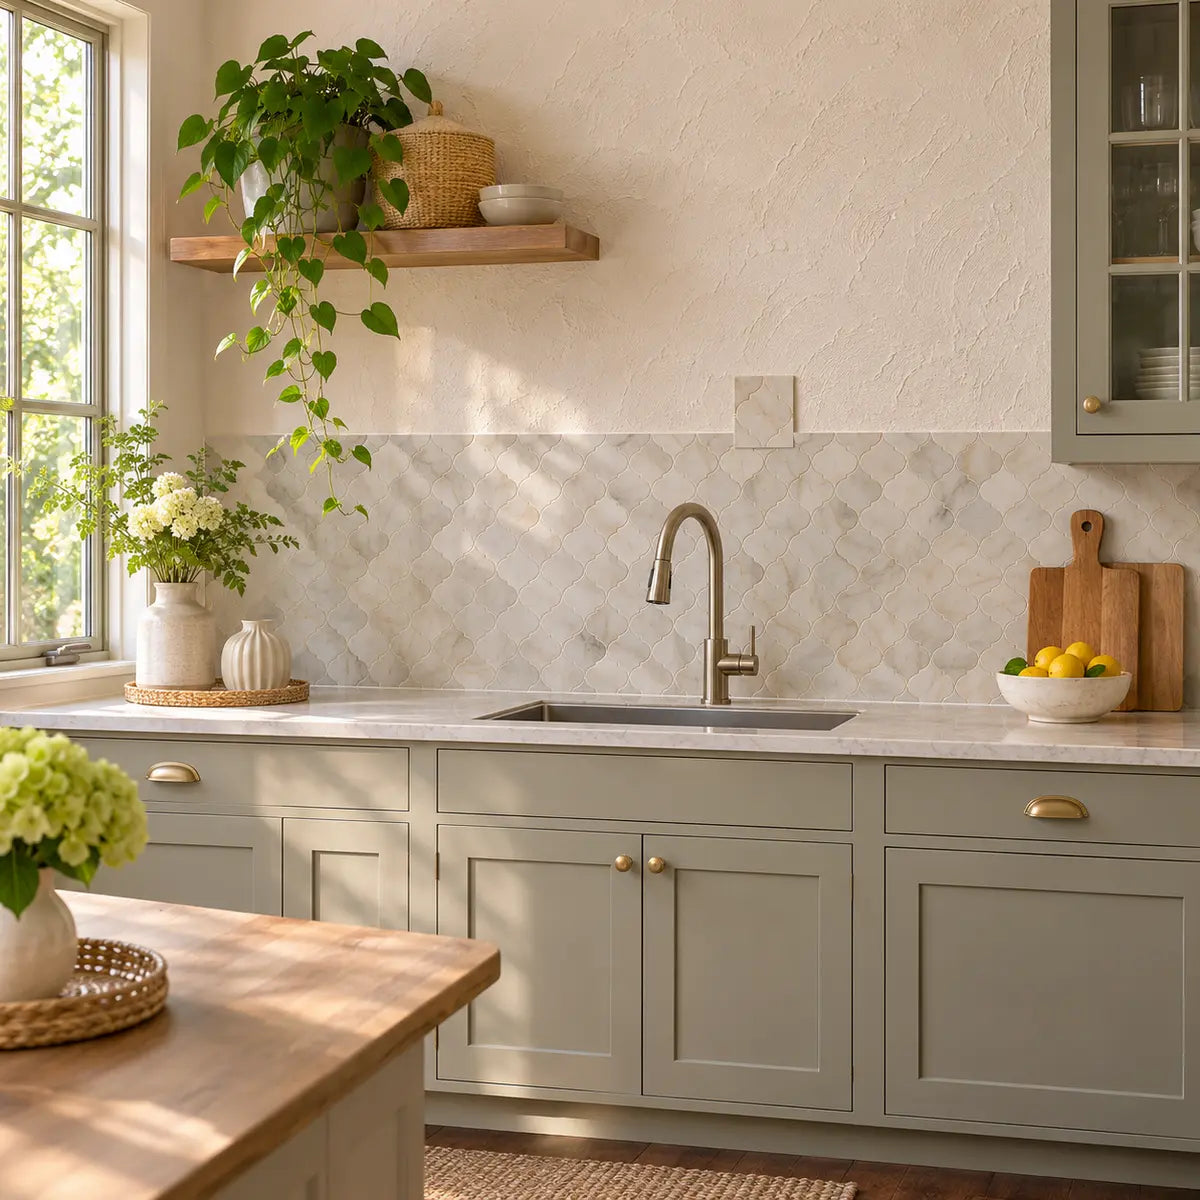
For a dry bar, the most useful finish may be a single band above the counter. At a wet bar, extend that band only as far into the sink zone as the selected product can handle. If the appliance recess is tight or hard to inspect, a backsplash that ends at the countertop can make the station look finished while leaving the recess alone. The same approach works in the opposite direction: if a kettle or espresso machine sends steam against an upper section of wall, you can revise that section independently of the fridge opening below.
What does your beverage refrigerator manual require?
Find the full model number and use it to look up the installation instructions. Record the permitted installation type, the required air space on each side, and any conditions on the front grille or cabinet opening. Then read the door and maintenance sections. A clearance drawing can tell you whether the case fits, while the door and maintenance instructions tell you whether you can use and service it after installation.
Freestanding and built-in models can have different requirements
- Newair NBC160SS00. Newair identifies this beverage fridge as freestanding and says it should stay out of surrounding cabinetry. Its recommended air clearances are ¾ inch on each side, 4 inches above, and 2 inches behind. These figures apply to this model. They don’t establish the spacing for another mini fridge or the heat limit for a wall tile. (Newair’s 160 Can Freestanding Beverage Fridge Owner’s Manual, Assembly & Installation)
- U-Line UHBV524-SG51A. U-Line allows this model to be built in or used freestanding. In a built-in installation, it calls for no additional ventilation space above, at the sides, or behind, provided the front grille remains open and there’s room for the rear electrical connection. The manual rules out installation behind a closed cabinet door and gives separate instructions for door swing and grille access. (U-Line’s User Guide & Service Manual for UHBV524-SG51A)
Bring the manual to the beverage station and make two sketches. On a front view, mark the grille, countertop, adjacent cabinet doors, handle swing, and any removable toe kick, the trim at floor level. On a side view, mark the finished wall, the back of the appliance, the plug and cord route, and any gap the manual calls for. If the manual shows where air enters and exits, add those arrows. If the diagrams are unclear, check with the manufacturer before concluding that a visible grille handles all the ventilation.

Walk through a maintenance task while looking at the sketches. Can you take off the grille if the manual calls for cleaning behind it? Can you pull the appliance forward far enough to reach the required connections or fittings? Can the door open far enough to take out a shelf or bin? Run these checks with the adjoining cabinet doors and drawers in mind. A handle may clear during a quick open-and-close test and still hit a wall return when you open the door fully.
If you’re still shopping for the fridge, save the installation drawing before you commit to cabinetry. The case width in a product listing and the finished opening in an installation drawing answer different questions. The finished opening is the usable space after the wall finish, countertop, cabinet panels, and trim are in place. Use that dimension when you compare against the manual.
Will splashes, condensation, or heat affect the backsplash?
An occasional splash you can wipe up is a different exposure from a seam that stays wet, a wall that repeatedly develops condensation, or a strip that receives hot air or steam. Look at the station during ordinary use before classifying the wall. The back of the sink, the underside of a shelf, and the wall beside the fridge may need different finishes even if you want them to look continuous.
Follow the water to where it collects
At a dry bar, check where you set iced glasses, where bottles drip, and how close the drinks tray sits to the wall. At a wet bar, run the faucet as you normally would. Look where water hits when you rinse a tall glass and where it ends up after running down the wall. A few drops at mid-height may be easy to wipe away. Water that collects behind the faucet or at the counter-to-wall joint can reach cut edges and sit where a cloth won’t easily reach.
For a moisture-resistant peel-and-stick backsplash at a wet bar, verify what the instructions permit at the installed seams, cut edges, and bottom joint, as well as on the tile face. Follow the specified seam and joint details. If the instructions are silent about an area that gets repeatedly wet, move the tile boundary or choose a finish system with directions for that exposure. A useful next step is to compare splash exposure, seam care, and cleaning before committing to a single finish across the whole bar.
Check where dampness starts and when it returns
Condensation can form when a surface is at or below the dew point, the temperature at which water vapor in the surrounding air starts to condense. If droplets appear on the appliance or wall, dry the surfaces separately and check where moisture returns first. A recurring damp patch on the wall could have a different source from droplets on the fridge. Check for dripping plumbing, water running behind the counter, or a pattern tied to humid conditions. A wet patch that comes back when nobody has used the sink deserves investigation before you cover it.
Trace the warm air and steam separately
Check where your model releases heat and what sits nearby. A kettle spout, an espresso machine’s steam outlet, a heater, or direct sun can expose the tile or appliance to conditions that are easy to miss when the station is idle. Look at the manuals for the nearby equipment as well as the fridge. An appliance’s permitted room temperature describes its operating environment. The tile’s exposure limit needs to come from the tile supplier. Keep any zone with direct flame or concentrated heat outside the planned Stickwoll installation.
Room to discharge warm air matters. In a study of one full-size, fan-cooled household refrigerator, Sun and colleagues modeled the air entering the condenser, the component that releases heat. In the tested enclosure, that inlet air was 43.54 °C versus 32.82 °C in the freestanding setup, a difference of 10.72 °C. Those figures describe inlet air for that specific appliance and enclosure. Use your model’s specified air path and the tile’s placement instructions for your project. Sun and colleagues’ refrigerator enclosure and airflow study.
Check your wall before you measure for tile
Mark each statement Confirmed, Need to check, or Problem found. Judge the specific wall section you want to cover. The strip above the counter and the back of the fridge recess may give you different answers.
Problem found on any item: Pause that part of the project. Correct the appliance layout or wall condition, move the tile boundary, or choose a suitable alternative. No problem found, but at least one item needs checking: Resolve the first open item before ordering for that area. All five confirmed: Measure and dry-fit the intended finish. This check helps you decide what to do next. Use the appliance and tile instructions to confirm the final installation.
How much clearance should you leave between tile and the fridge?
Use the model’s required clearances with the finish included. Check the depth, width, and height where the fridge will actually sit, and measure from the surface that projects farthest into the required space. That might be a raised tile face, an end trim, a wall return, or a baseboard. If the manual shows a location or recess for the plug, check that separately. A compressed or trapped cord needs a layout correction.
As a simple example, suppose the bare-wall measurement gives you exactly the rear gap your manual calls for. Adding a ⅛-inch finish behind the fridge reduces that gap by ⅛ inch if the unit stays in the same position. If the countertop and appliances allow a different position, recheck the full installation in that position. Otherwise, end the backsplash outside the recess. The ⅛ inch is an example of how to calculate lost space. Take the actual thickness from the tile and trim you plan to use.
Keep the tile on the wall and avoid planning for contact with the appliance. If a close fit is essential, ask the appliance and finish manufacturers to confirm the arrangement. Keep faces, grilles, controls, fasteners, and access covers clear. At a removable wall panel, stop at the panel boundary so it can come out independently. Leave the planned air gaps open, including any gap you can see from the normal standing position.
One easy design fix is to make a visible stop look intentional. Align it with a countertop end, a cabinet edge, or the underside of a shelf. On a station with no upper cabinets, tape up a proposed top line and stand at the entrance to the room. A continuous horizontal band may read more clearly from there than tile that steps down around the outline of the fridge. If a section of painted wall will remain visible, decide where the transition looks best before cutting. You can also choose where the backsplash stops on an open wall using the surrounding shelves, windows, and corners as reference points.
How do you measure a beverage-center backsplash before ordering?
Measure the visible wall you intend to finish, then use the tile pattern to turn that area into a cut plan. Wall area gives you an initial estimate. The actual number of pieces depends on row height, the direction of the pattern, how seams join, and which offcuts can be reused.
Trace the tile boundary first
With the fridge and cabinetry in their intended positions, mark the backsplash endpoints using a surface-safe method. Mark the wall you’ll see from the front and from the usual angle of approach. For a freestanding fridge, decide whether you want the finish to continue slightly past the visible edge on the fixed wall. That can make a later appliance swap easier to accommodate if clearances allow it. For an undercounter unit, the top of the counter often gives you a straightforward lower boundary.
Measure width at the top and bottom of each section, and height at both ends and through the middle. Check for a bowed wall, an inside corner that isn’t square, or a countertop that slopes slightly. Record those differences and use the largest width and height in each rectangular section for a rough area estimate. Transfer the real dimensions to the final pieces one at a time. Once you’ve marked the appliance clearance and access zones, map outlets, edges, and tile cuts before installation.

Write down the dimensions you’ll use at the cutting mat
- Wall sections. Give the main run and each side return a label. Record the width and height at their widest and tallest points, plus any taper or slope.
- Fixed reference lines. Pick a horizontal line you can recreate with a level and a vertical starting edge. Measure openings from those same lines so you can transfer dimensions to the layout.
- Outlets and switches. Mark the box location and the cover plate outline separately. Plan for the plate to remain removable and sit properly with the new finish. If the added thickness calls for a box or device adjustment, get a qualified electrician to handle it.
- Corners, trim, and access. Record where each wall turns or stops and where end trim will sit. Sketch any wall access panel, valve, or fitting that needs a clear working area.
- Tile dimensions. Record the actual piece width and height, effective coverage after the prescribed seam assembly, orientation, and pieces per pack.
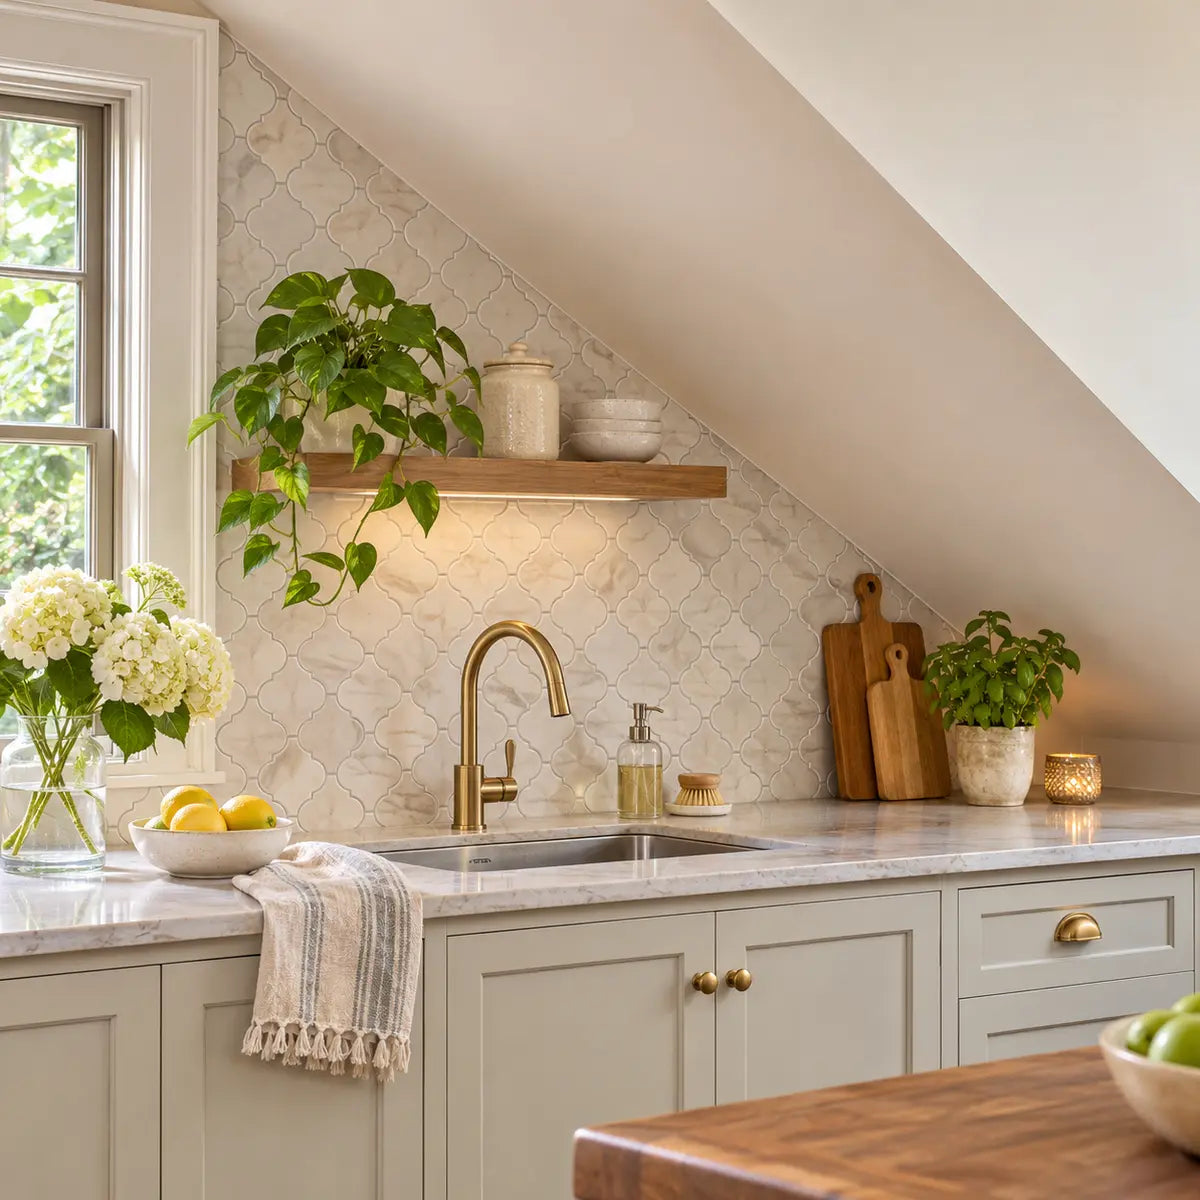
For an obstruction, measure from the reference lines to each edge. Measuring only to the center forces you to reconstruct the cut later. At a wet bar, first check whether the supply pipes and valves are actually in the tile field. If a valve or pipe interrupts the finish, plan a cut that keeps its hardware accessible and avoids a fragile strip around the opening. Use a paper template before committing a sheet. Here’s a way to plan backsplash cuts around sink plumbing if that applies to your wall.
Estimate coverage, then count sheets from the layout
Use one unit throughout. For each rectangular wall section, multiply width by height and add the section totals. With measurements in inches, divide square inches by 144 to get square feet. For example, a 60-by-18-inch run plus a 12-by-18-inch return totals 1,296 square inches, or 9 square feet. Count across each section independently unless you can show where an offcut from one section fits the other. Keep small outlet cutouts in the rough area. You’ll still need a piece large enough to cut around each opening.
Next, find the effective coverage, the portion each piece contributes to the assembled layout. An overlap or a patterned joining edge can change the usable dimensions. Work it out with the manufacturer’s installed dimensions or seam-assembled samples. If you divide the gross wall area by effective coverage per piece and round up, you get a starting estimate. A drawing of the actual rows can show why that estimate comes up short. For example, if an imaginary product covers 12 by 12 inches per piece, a 60-by-18-inch run needs five positions across and two rows. The five positions in the top row are half height. Whether you can make them from three sheets or need more depends on how many usable six-inch cuts you get once you match the joining edges and pattern.
Lay out a few pieces with the backing on. Check the first joint, last cut, and any inside corner. If a paper plan leaves a thin sliver by the sink or at a visible end, shift the starting point or choose a different edge detail, then count again. Use an offcut only if its dimensions, visible pattern, and joining edge all suit the new position. Number the pieces or templates on their backing so you can pick up the plan where you left off.
Turn your layout into an order quantity
Enter the pieces needed after verified offcut reuse, then add pieces for practice or difficult cuts and pieces to keep for future repairs. The total is the piece count to order. If you’re buying one pack size, divide that total by the number of pieces per pack and round up to the next whole pack. The number of packs multiplied by the pack size gives the purchased piece count. Subtract your total planned pieces to see what remains beyond your planned spares. If the seller offers multiple pack sizes, compare combinations that meet or exceed the total.
For example, if your layout calls for 13 pieces and you want two for difficult cuts and one for a later repair, you need 16 pieces. With hypothetical five-piece packs, that’s four packs, or 20 pieces. Four pieces remain beyond those already assigned. If you still have only a square-foot estimate, use it for budgeting and finish the dry layout before treating it as an order. A narrow return with a directional pattern can change the count more than its area suggests.
Prepare a clean, smooth, dry wall
Prepare the surface until the adhesive can make even contact with a finish that’s firmly attached to the wall. Start by checking the exact tile’s approved surfaces. Look at the entire tile field under a light held at an angle. Texture, old sealant beads, raised paint ridges, or deep grout lines may show up at the same places where the tile has to sit flat.
Check whether the wall finish is sound. Run a clean cloth across several spots. If you pick up chalky residue, flakes, or loose material, address the surface before installing. Inspect old wallpaper seams, patches, and paint directly behind the sink or fridge. If the wall feels soft, has water staining that returns, or is visibly damp, investigate and correct the source before repairing the surface.
Flatten the areas that need full contact. On existing ceramic tile, check that the old tiles are firm and the grout lines won’t leave the new finish suspended between high points. For a painted wall, deal with ridges and divots using preparation materials compatible with the wall and the tile. After patching, priming, or painting, follow the specified drying or curing times. Paint that feels dry can still be inside the paint maker’s cure window. If you’re unsure about a fresh coating, ask both manufacturers before applying a sample.
Clean the places people miss. Clear the counter and clean along the bottom joint, corners, and outlet surrounds as directed by the tile maker. Coffee film and dust can collect around fixtures and on the wall behind a moved fridge. Remove any cleaning residue as directed and allow the entire surface to dry. Recheck the portion next to the faucet or where the back of the worktop meets the wall.

If you rent, get permission and agree on the expected move-out condition before testing an adhesive. Test adhesion and removal where a small mark can be repaired, if the manufacturer recommends a test. Paint condition can vary across one wall, especially where an old repair meets the original surface. Budget for possible touch-ups even if the sample comes away cleanly.
How do you install backsplash tile behind a beverage fridge?
Start with the appliance safely out of the work area if it needs to move. Fit your first row against a level reference and check the pattern as you go. Keep the adhesive covered until a piece has passed its dry fit, especially around outlets, awkward corners, or narrow returns. Review the instructions for your exact tile and the Stickwoll installation guidance before you begin.
- Clear the work area. Follow the appliance manual for disconnecting and moving the unit, including any anti-tip hardware, leveling, and restart instructions that apply. Arrange help if the unit is awkward to move, and keep its cord out of the cutting area. Keep wall outlets dry and intact. If a receptacle or box needs adjustment, arrange that work before you cover the wall.
- Set your starting lines. Draw the level and vertical references you used for measurement. If the counter slopes slightly, dry-fit a tapered bottom cut so the visible rows stay level. Check that your starting piece still leaves a workable cut at the opposite end. A small change on paper is easier than shifting a row after pressing it down.
- Transfer and test the cuts. Copy the shape onto paper or card and hold the template at the opening. Mark which side faces up and which edge joins the next piece. Transfer the shape and cut on a protected surface with the tool specified for the tile. Keep blades away from cords, wiring, and installed fittings. Check that cover plates and access panels will still fit and come off after tiling.
- Apply the first piece and check the first seam. Expose the backing as directed, align the piece with the reference lines, and smooth it from the center outward using the recommended tool. Set the adjacent piece in the manufacturer’s specified seam configuration. If the design calls for an overlap, maintain it across the row. If it calls for edges to meet, keep them flush. Adjust a misplaced piece before final pressure only if the instructions permit it.
- Finish the last cuts, joints, and edges. Measure the remaining gaps directly before cutting end pieces. Follow the product’s instructions for any required perimeter detail. Where sealant or trim is specified, use a compatible product and preserve service access. Inspect the finish under angled light for unpressed edges, wandering seams, and a trim piece that projects into the appliance opening.
- Restore and check the appliance. Follow its instructions for returning it to position, reconnecting it, and restoring any required hardware. Recheck the finished clearances, cord route, grille, panel removal, and door swing. If the unit meets resistance or catches a new edge, stop and find the contact point before pushing farther. Follow the tile instructions for any wait before normal cleaning or splash exposure.

Which backsplash finish makes sense for your beverage center?
Choose peel-and-stick tile if you want a grout-free installation and have a compatible, prepared wall in a zone with manageable exposure. Consider a sheet backsplash if your main concern is reducing seams near a frequently wiped area. Conventional tile is worth comparing if you’re planning a permanent installation and can accommodate its buildup and installation work. A simple painted wall can make sense behind the appliance when that area is dry and the finish would rarely be seen.
| Finish | When it’s worth considering | What to check before choosing |
|---|---|---|
| Peel-and-stick wall tile | A smooth, stable display wall where a tile pattern or a smaller DIY project matters | Wall compatibility, permitted splash and heat exposure, seam count, and removal expectations |
| Sheet backsplash, such as laminate | A simple run where a large piece can reduce the number of seams across the wall | The exact panel system’s heat and moisture limits, edge treatment, attachment method, and room to handle a large piece |
| Conventional ceramic or porcelain tile | A permanent finish where you can plan for tile-setting materials, grout joints, and preparation | Finished thickness and the suitability of the complete system for the wall and its exposure |
| Painted wall | A dry recess or a decorative area where you want to preserve space and simplify touch-ups | Paint compatibility with the wall, cleanability, and whether the location needs a finish rated for its exposure |
A mixed finish can be the simplest solution. At a wet bar, a panel with an appropriate joint detail could cover the sink section while peel-and-stick tile finishes the dry display wall. At an undercounter station where the opening is tight, leaving the dry recess painted can preserve depth and give you a clear place to end the backsplash above. Factor the split between materials into the dry fit and check that any transition trim stays outside the appliance’s working space. If seams are driving your choice, compare peel-and-stick tile with a low-seam sheet backsplash.
Compare Stickwoll styles against the measured area
As examples of different sheet formats, Stickwoll lists Pristine White as a pure-white Moroccan Collection tile at 25 × 25 cm per piece, sold with a nominal 10 × 10 inch description. Olive Lines has olive-green stripes and measures 29 × 23 cm per piece, listed as 11.42 × 9.06 inches. Stickwoll identifies PVC as a material for Olive Lines. Use the actual seam-assembled dimensions for the layout, and keep the stripe direction on your cut list. These are nominal size and style details. Use the placement instructions for the exposure decision. (Stickwoll’s Pristine White and Olive Lines product specifications)
For each option, check how the pattern looks at the ends, how the seam falls near your sink or outlet, and how you’ll repair one piece later. Where the wall will see repeated steam, sustained heat, or water at a seam, verify placement for the exact selection before ordering. If you need to buy extra for cuts, check the return conditions for your market before opening packs. Stickwoll’s published voluntary policy gives eligible online purchases 30 days from delivery and ordinarily requires complete factory-sealed sets that are unused and undamaged. It calls for return authorization, and exceptions and exclusions apply. Treat a pack you open for cutting or matching as a purchase you may need to keep. (Stickwoll’s Shipping and Returns policy)
How do you clean, maintain, and replace the tiles?
Wipe spills as they happen, especially where they run toward the bottom edge or collect near the faucet. For Stickwoll tiles, use a soft cloth or sponge with mild soap and water and avoid abrasive pads or harsh cleaners. Use a damp cloth rather than sending water across the seams, and dry areas where it collects. Check the Stickwoll tile cleaning and care guidance alongside the instructions for the product you installed.
As you clean, look at the corners of cut pieces, the joint behind the faucet, and the tile where warm air or steam is most likely to reach it. Check again after moving the fridge for service. Pay particular attention to an edge it might have brushed on the way back in. A photo of your original layout and a labeled spare piece make it easier to match direction and seams if a part needs to come out.
Before replacing a piece, check the wall and any neighboring seams for the same problem. If the wall is clean, dry, and sound, follow the selected tile’s removal instructions. Stickwoll’s Pristine White instructions describe gently warming the tile and peeling it from a corner, with a test in an inconspicuous area first. Removal can affect the paint depending on the wall, coating, and installation. Stickwoll’s FAQ says removed pieces aren’t reusable. Cut the replacement from a spare and prepare the exposed wall before fitting it. Allow any repaired coating to cure as directed.
Stop and investigate lifting, recurring dampness, or a tight fit
Find the cause before pressing an edge back down, sealing a seam, or pushing the fridge into place. A surface that stays dry and a surface that repeatedly wets may need different remedies even if both show the same curled corner.
- One corner starts to lift on a dry wall. Look for dust, grease, or an uneven patch that keeps the adhesive from making contact. If the wall is clean and sound, the product’s directions may allow you to press the edge back down. If it lifts again, check the maker’s repair guidance or replace the piece. Make sure any added adhesive is compatible and acceptable for future removal.
- Several edges lift, or dampness keeps coming back. Note whether the pattern follows a sink joint, an exterior wall, a pipe, or weather and room humidity. Pause repairs until the moisture source is identified and corrected and the wall is suitable to cover. If you can’t trace the source, get help from the appropriate appliance technician, plumber, or building professional.
- The appliance rubs, sits farther forward than planned, or won’t slide in. Check the projections of the new finish, trim, and electrical connection, plus the location of the feet and mounting hardware. Move or remove the interfering finish as needed to restore the specified fit. If a door or drawer hits, check the full swing before deciding where to move the tile boundary.
- An area deforms near warm air, or the fridge has trouble cooling after the work. Check the installation against the manual, including the grille, gaps, and any trim that changed the airflow path. Confirm the wall finish is outside concentrated heat. If a problem persists after restoring the specified setup, contact the appliance manufacturer or a qualified technician.

Complete your beverage-center backsplash checklist
Install once the manual, the finished opening, the wall condition, and the chosen tile’s placement instructions agree. If only part of the wall meets those conditions, finish that part. A well-placed endpoint can preserve the look you want while leaving room to clean, maintain, or replace the refrigerator.


Lämna en kommentar
Denna webbplats är skyddad av hCaptcha och hCaptchas integritetspolicy . Användarvillkor gäller.