
















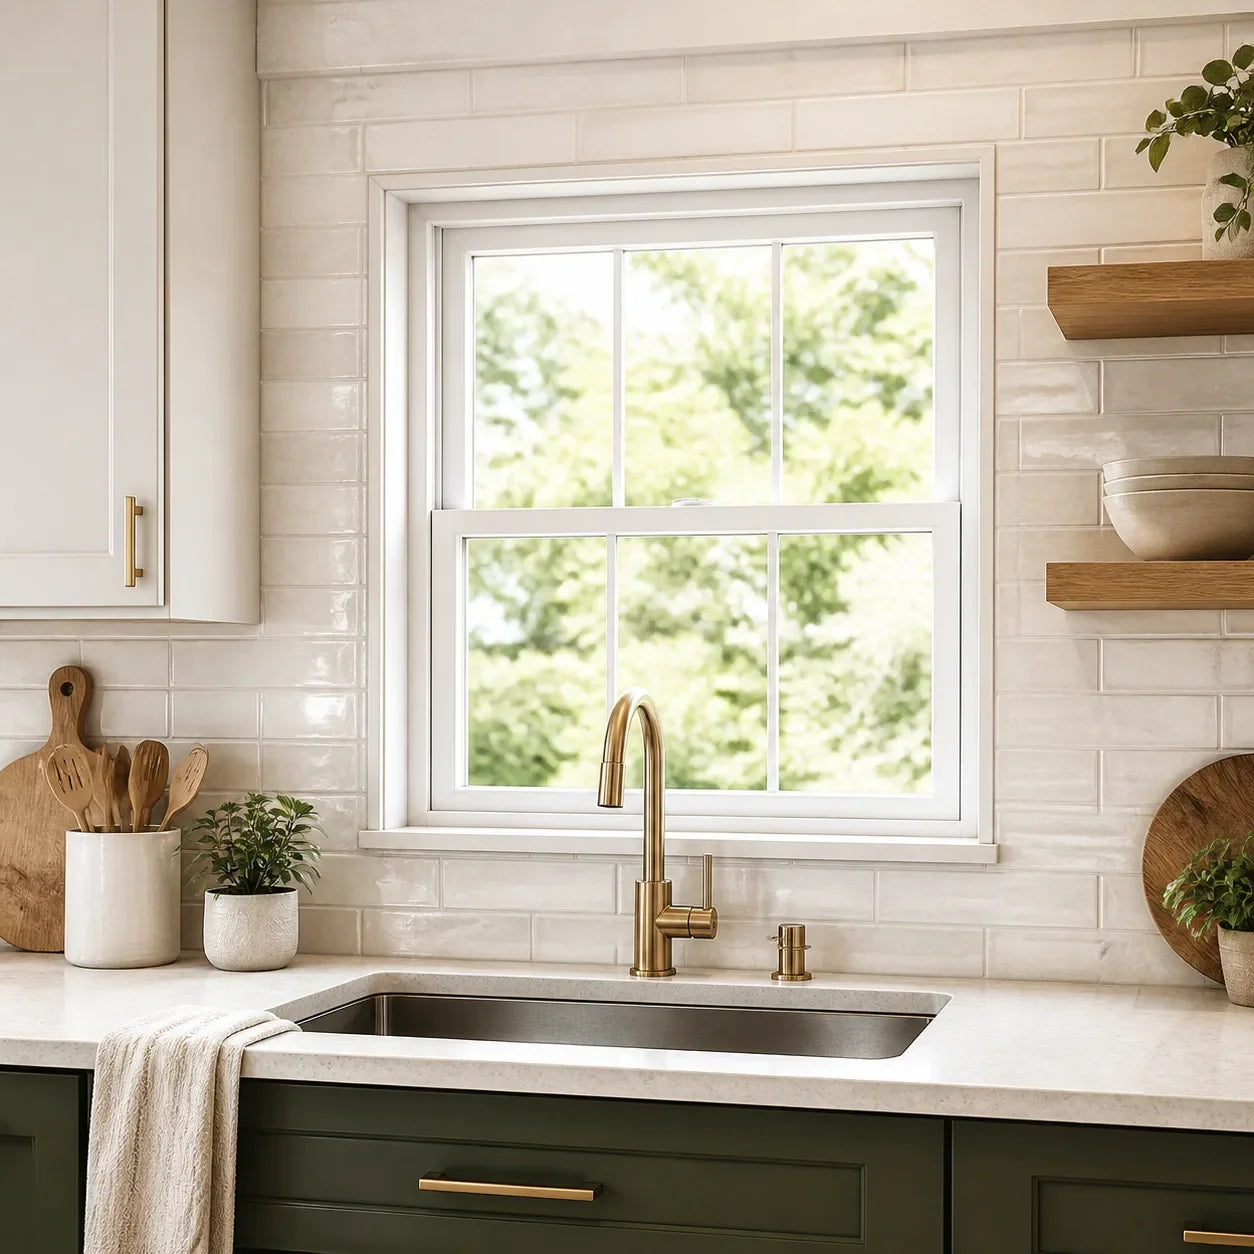
A backsplash can look perfectly aligned across a blank wall, then feel improvised once it reaches the kitchen window. The casing competes with the pattern, a narrow strip appears below the sill, or the final side edge stops without a clear reason.
There is no single rule for a backsplash around a kitchen window. Choose the stopping point before choosing the tile:
- Continue above and beside the window when the wall should read as one continuous tiled field.
- Stop at the window casing when the trim is visually important or the upper wall does not need tile.
- Return tile into the window reveal only when the exact product instructions, substrate, corner geometry, moisture conditions, and edge finish support that application.
The best layout respects the window trim, protects the strongest pattern lines, avoids conspicuous sliver cuts, and finishes the sill and side edges intentionally.
Treat the window as both a design interruption and a moisture detail. Its trim profile, sill depth, wall condition, faucet position, condensation history, and surrounding cabinets can all change the right answer.
What should you decide before choosing the tile?
Decide where the backsplash will stop, what happens at the sill, and how every exposed edge will be finished. Tile format comes after those decisions because the size and direction of the pattern determine whether the planned edges are practical.
Start by standing far enough away to see the window, cabinets, counter, sink, and adjacent walls together. Ask which element should visually dominate. A substantial wood casing may deserve to remain a strong frame. A narrow vinyl window surrounded by a broad, uninterrupted wall may look better inside a continuous tile field.
Four physical conditions deserve an early check.
The casing profile
Flat casing creates a clear place for a clean tile cut. Layered, fluted, rounded, or irregular casing is harder to cut against accurately. If the trim has a curved outer edge, decide whether the tile will meet the high point, stop before the curve, or use a separate finishing profile.
Do not assume the casing is square. Measure its width at the top, bottom, and both sides. Older trim may taper, and painted caulk lines can make one side visibly wider than the other.
The sill and reveal
The reveal is the interior surface between the room-side wall and the window frame. Some windows have deep drywall returns; others have shallow returns, projecting stools, apron trim, or a manufactured sill.
A vertical backsplash wall and a horizontal sill are different applications. Water can sit on a sill, cleaning is more frequent, and an outward-projecting edge may remain exposed. A product approved for a smooth indoor wall should not automatically be treated as approved for a horizontal sill or folded window return.
Faucet splash and window operation
Open the window fully. Check the lock, crank, sash, screen tabs, blinds, and any removable storm-panel hardware. Tile and edge trim should not block access or reduce the hand clearance around these parts.
Then operate the faucet at ordinary pressure. A tall faucet, pull-down sprayer, or shallow sink can send water farther than expected. The wall directly behind the faucet may face routine droplets even if the side returns stay mostly dry.
The wall behind the finish
For Stickwoll installation, the current guidance calls for a clean, smooth, dry, stable indoor wall. Textured paint, peeling layers, dust, rough patches, swelling, and unstable repairs fall outside that basic surface condition. Use the Peel-and-Stick Tile Guide for wall-condition checks before planning around damaged drywall or uneven returns.
Decorative backsplash material also does not repair a leaking or poorly sealed window. The concealed gap behind window trim is a separate building detail. The Department of Energy window air-sealing guidance describes rough-opening sealing as its own task. Tile or a cosmetic perimeter bead should not be treated as a substitute for window flashing, air sealing, or leak repair.
Which of the three window backsplash layouts fits your kitchen?
Most kitchens fit one of three paths: a continuous field, a casing stop, or a conditional reveal return. Use the first matching result below as a practical starting point.
Window layout path finder
Use these questions to identify a visual starting point. Select the answer that most closely describes the wall; the result does not establish product suitability.
Pause before selecting a layout if the sill or surrounding wall is wet, swollen, moldy, peeling, soft, repeatedly condensing, or affected by an active leak. Correct the moisture or substrate problem first.
Start with a stop-at-casing layout if the window has substantial decorative trim, the area above it is visually separate, the casing is already the strongest boundary, or the wall beside the window ends shortly afterward.
Start with a continuous-field layout if cabinets or open wall space extend across the window, the area above the head casing is clearly visible, and stopping at the casing would create disconnected patches of tile.
Consider a reveal return only after product confirmation if the window is caseless or has a simple square reveal, every proposed surface is smooth and dry, the product instructions allow the exact orientation, and you already know how the inside corner and frame-side edge will finish.
This finder determines a visual starting point, not product suitability. A moisture problem, unsupported substrate, lease restriction, or manufacturer limit can overrule the visual result.
Comparing the three paths
| Layout path | Visual effect | Often suits | Main planning risk |
|---|---|---|---|
| Tile above and beside the window | Makes the wall read as one continuous surface | Broad sink walls, windows centered between cabinets, minimal trim, open upper walls | Broken pattern lines above the window or awkward cuts at the head casing |
| Tile stopped at the casing | Keeps the opening clearly framed | Traditional kitchens, substantial woodwork, shallow backsplash zones, renter projects | An exposed outer tile edge or an abrupt side termination |
| Tile returned into the reveal | Creates an integrated, architectural opening | Simple caseless windows with square, suitable returns | Unsupported orientation, corner seams, water exposure, difficult frame-side edges |

Path A: Continue above and beside the window
A continuous tile backsplash around a kitchen window can make a small wall feel wider and more deliberate. It works best when the tile has a reason to continue beyond the opening, such as upper cabinets on both sides, a shelf spanning the wall, or a visible band between the window head and ceiling.
The difficult area is usually above the window. A strong subway line, chevron point, or marble vein may restart slightly off-center unless the entire field is mapped first. Do not install the lower section and assume the upper section will naturally reconnect.
Use the window centerline as a reference, then compare it with the sink, faucet, range, and wall centerlines. The window may be slightly off-center even when it looks centered at first glance.
Path B: Stop cleanly at the casing
Stopping tile at the casing is often the most controlled choice. The window trim becomes a built-in border, and the tile does not need to cross the head of the opening.
This layout is especially effective when painted or stained trim is part of the kitchen’s character. It can also reduce difficult cuts, though it does not eliminate the need to plan them. A narrow strip between the counter and sill may still require a short row, and the tile may need an intentional finish where it extends past the outer edge of the casing.
A casing stop should look like a deliberate frame, not a series of near-misses. Keep the tile-to-trim relationship consistent on both sides unless the wall or cabinet layout clearly calls for a different endpoint.
Path C: Return into the reveal only conditionally
A reveal return carries the finish from the main wall onto one or more inside faces of the window opening. Visually, this can make a caseless window feel integrated into the backsplash.
It is also the path with the most unresolved technical questions. The checked Stickwoll instructions do not expressly authorize wrapping tile from the main backsplash wall into a kitchen-window reveal or placing it across a horizontal sill. Confirm the exact product, vertical or horizontal orientation, reveal material, corner method, water exposure, and frame-side termination before proceeding.
If a return is confirmed as suitable, separate pieces are generally easier to plan than forcing one sheet to bend around a sharp 90-degree corner. The main wall and return can meet at a controlled inside seam, while the frame-side edge receives its own compatible finish. The window-return layout guide compares wall-plane stops, separate return strips, corner transitions, and renter considerations without turning those options into a universal product approval.
How do you measure a backsplash around a kitchen window?
Measure the whole wall first, then record the window and every nearby interruption as separate dimensions. Do not simply calculate the wall area and subtract the glass opening. The casing, sill, reveal, exposed edges, pattern repeat, and unusable offcuts all affect the final quantity and layout.
Window-wall measurement worksheet
Record these dimensions in inches to the nearest practical fraction your cutting method can reproduce:
| Measurement | What to record | Why it matters |
|---|---|---|
| Counter to underside of sill or stool | Measure at the left, center, and right | Reveals an out-of-level sill and predicts the lowest row height |
| Counter to window head | Measure both sides | Helps map uninterrupted vertical lines |
| Sill to head casing | Record the visible opening height | Defines the side field and any reveal strips |
| Left and right casing width | Measure at several points | Shows taper or inconsistent trim |
| Left and right reveal depth | Measure top, middle, and bottom | Tests whether return pieces can remain consistent |
| Wall edge to casing | Record each side separately | Predicts final side cuts and exposed terminations |
| Counter to upper cabinet | Check each cabinet run | Establishes full backsplash height |
| Window centerline | Mark it lightly on painter’s tape | Provides a repeatable pattern reference |
| Faucet and sink centerlines | Record separately from the window | Shows which focal line deserves priority |
| Outlets and switches | Measure to box edges, not cover plates | Prevents last-minute pattern shifts |
| Window hardware clearance | Measure in open and closed positions | Protects operation and access |
Sketch the wall as a rectangle. Add the window, casing, cabinets, outlets, counter, and open side edges. Then draw the pattern over the sketch at its actual repeat, rather than drawing generic tile rectangles.
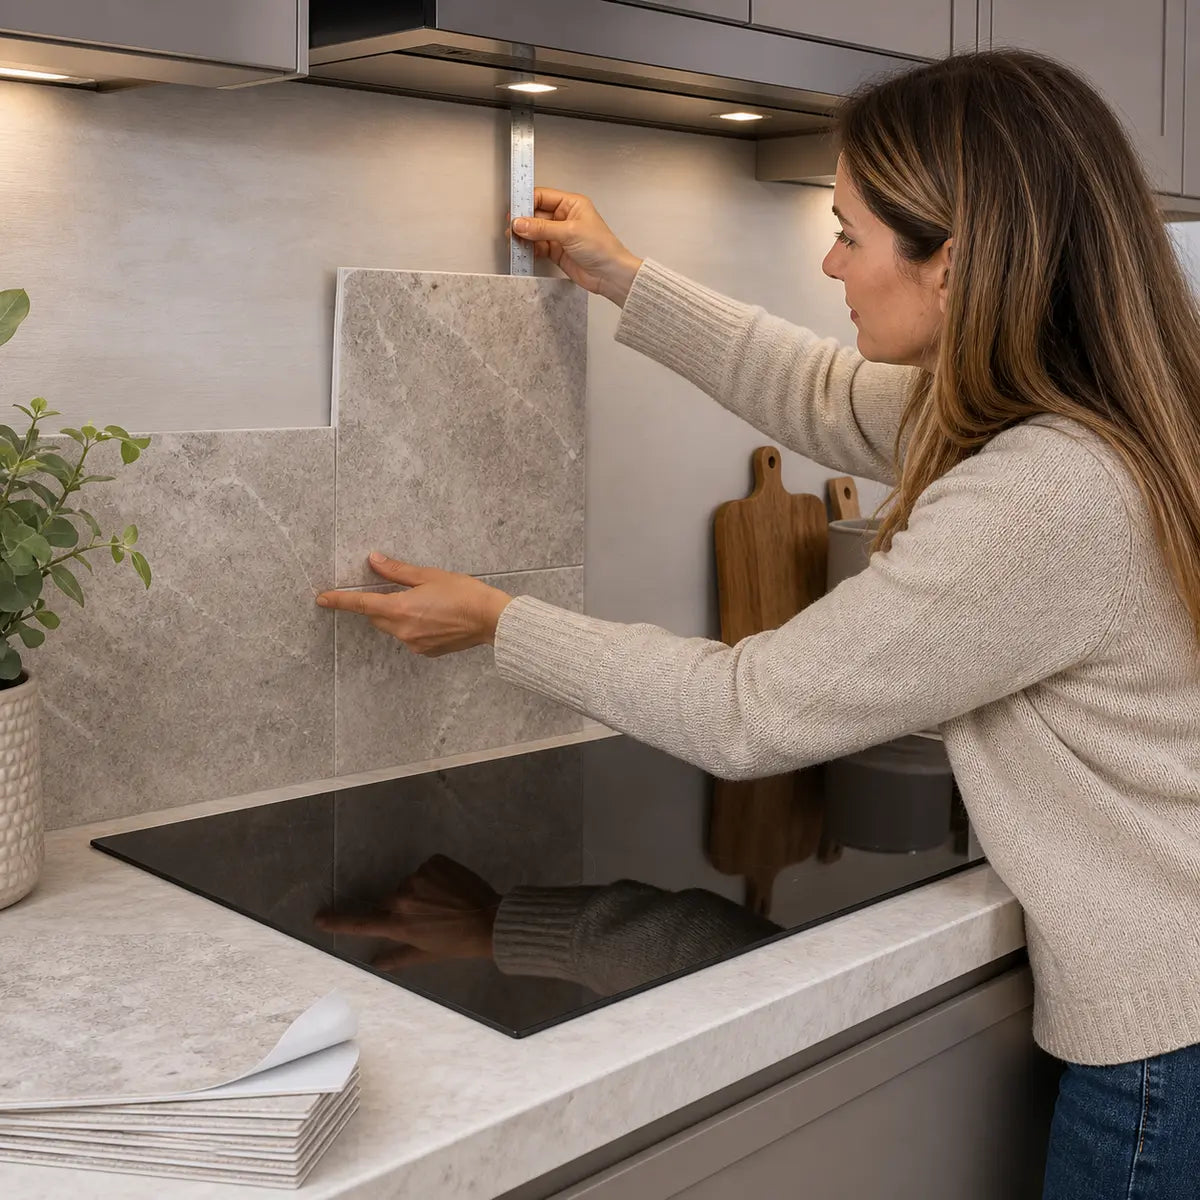
For a more complete wall map, use the kitchen backsplash layout guide before cutting. It covers dry-fitting, interruptions, focal lines, quantity planning, and open-edge decisions across the full backsplash.

Choose the visual centerline
The geometric center of the wall is not always the best pattern center. In a sink-window composition, the eye may read the faucet first, then the window, then the cabinet spacing.
Use this order of priority:
- Preserve a clearly directional pattern at the most visible focal point.
- Keep the window sides reasonably balanced.
- Avoid narrow cuts directly beside the casing or sill.
- Move unavoidable cuts toward cabinets, inside corners, or planned outer edges.
- Accept small asymmetries when the alternative creates a conspicuous sliver.
The Ceramic Tile Education Foundation layout guidance, summarizing ANSI workmanship principles for conventional tile, advises centering and balancing fields where possible and usually avoiding cuts smaller than half a tile. That is a useful visual test, not an absolute peel-and-stick rule. Interlocking sheets, printed repeats, window dimensions, and intentional pattern offsets can make an exact half-piece minimum impractical.
Run the sliver-risk test
Dry-fit a full row using the actual tile, paper templates, or printed dimensions. Test at least two starting positions: one centered on a tile or motif, and one centered on a joint or repeat boundary.
Classify each visible end cut:
- Low sliver risk: The visible remainder is at least about half of the repeat unit, and both sides feel balanced.
- Moderate sliver risk: One remainder is between roughly one-quarter and one-half of the repeat. Shift the layout by half a unit and compare.
- High sliver risk: A thin strip appears beside the casing, below the sill, or at an open edge. Change the starting line, choose a smaller-scale pattern, or revise the stopping point.
- Pattern conflict: The cuts are acceptable, but a chevron point, faux grout line, or dominant vein breaks noticeably at the window. Re-center on that motif rather than on the sheet edge.
This test evaluates appearance and cut practicality. It does not predict adhesion or moisture performance.
How can you solve the difficult sill, return, and side-edge details?
Resolve each transition on paper before peeling the backing. The most noticeable errors around a window usually occur at boundaries, not in the middle of the wall.
Avoid a narrow strip below the sill
The counter-to-sill distance often determines whether the entire composition feels intentional. If a full row leaves a very narrow final strip, test three adjustments:
- Shift the first row vertically so the counter and sill cuts share the difference.
- Start with a partial row at the counter, provided the visible proportions still look balanced.
- Choose a pattern with a smaller vertical repeat.
Do not force a printed grout line directly against the sill if doing so leaves a fragile-looking strip. A slightly larger cut with the faux joint set back from the sill usually reads more cleanly.
The sill may not be level. Base the layout on a true level reference line, then scribe the final cut to the sill where needed. Scribing means transferring an irregular shape or slope onto the material so the cut follows it accurately.
Finish every exposed outside edge
If tile ends on an open wall beside the window, choose the finish before establishing the final column. Common visual approaches include:
- A clean factory edge where the product and cut direction permit it
- A purpose-made edge profile confirmed for the material and location
- A controlled transition to painted wall
- A straight cut ending beneath cabinet trim or another established boundary
The peel-and-stick tile edge-finishing guide explains how trim, compatible sealant, and clean cuts change the appearance of exposed sides and inside corners.
Rounded drywall presents a separate problem because a straight termination may meet the curve inconsistently. The bullnose-corner finishing guide covers hard stops, templates, profiles, and cut planning for rounded geometry.

Keep inside returns independent
If the selected product is confirmed for a vertical reveal, measure each return independently. Window openings are rarely identical on all four sides.
A separate return strip allows you to:
- Keep the main wall pattern square
- Scribe the frame-side edge without distorting the wall field
- Replace one damaged section without disturbing the full sheet
- Position the inside seam where it can be inspected and cleaned
Do not cover drainage slots, window weep paths, removable glazing components, fasteners, labels needed for service, or gaps that require inspection.
Protect faucet and hardware clearance
Mock up the tile thickness and any edge profile with cardboard or stacked painter’s tape. Then test the faucet handle, sprayer hose, window crank, sash lock, and screen removal.
A detail can look spacious in a photograph but become awkward in daily use. Pay special attention to the distance between a tall faucet and a projecting sill. Leave enough room to wipe the wall and sill without scraping the tile edge.
Decide where the backsplash ends beside the window
The side edge should stop at an architectural line. Good candidates include:
- The outer edge of an upper cabinet
- The end of the countertop
- The window casing
- An inside corner
- A deliberate vertical line aligned with another fixture
Avoid stopping a few inches past the casing without a visual reason. If the countertop projects farther than the upper cabinet, compare both endpoints with painter’s tape. The stronger endpoint is usually the one that connects with more of the room’s existing lines.
Moisture and substrate conditions can overrule the layout
The EPA moisture and mold guide advises keeping indoor relative humidity below 60 percent, ideally between 30 and 50 percent, and responding when condensation collects on windows or walls. Those percentages do not guarantee a dry window. Outdoor temperature, glass temperature, airflow, insulation, window quality, and indoor moisture generation also affect condensation.
EPA also advises fixing the water source and drying wet materials promptly. Its 24-to-48-hour guidance describes mold prevention after many leaks or spills; it is not an adhesive cure rule or proof that a specific wall is ready for tile. If paint remains soft, wood is swollen, drywall is stained or weak, or condensation keeps returning, postpone installation.
For Stickwoll, the defensible water-exposure claim is limited: current guidance supports properly prepared, splash-prone kitchen wall areas, with care taken not to soak seams. It does not establish that the completed backsplash, window opening, reveal, sill, or perimeter joint is waterproof.
Routine cleaning should follow the exact current product instructions. Stickwoll’s general guidance calls for a soft cloth or sponge with mild soap and water, while avoiding abrasive scrubbers, harsh chemicals, and seam soaking. Wipe faucet splashes early rather than allowing water to collect at a sill or cut edge.
Use sealant only after compatibility is confirmed
A neat perimeter bead can close a visible transition, but the word sealant does not identify one universally compatible product. Tile finishes, pressure-sensitive adhesives, cured paint, wood, vinyl, aluminum, glass, and composite frames can react differently to various sealant chemistries.
The ASTM C920 sealant specification classifies elastomeric building joint sealants and expressly recognizes that a conforming sealant is not necessarily suitable for every application or substrate.
Before applying a bead, confirm compatibility with:
- The exact tile face, backing, and adhesive
- The wall paint or existing tile
- The sill or reveal material
- The window-frame material and warranty
- The expected movement, cleaning, and splash exposure
No checked Stickwoll instruction identifies a universally approved sealant for these mixed window materials. Do not use a cosmetic bead to hide mold, bridge a failed wall joint, repair window flashing, or claim that the opening is waterproof.
If the same backsplash wall is near a range, check the appliance, hood, local requirements, and current tile instructions. Stickwoll’s FAQ states a minimum distance of 8 inches from a gas flame, but no checked maximum service temperature was published. Appliance instructions and any larger required clearance take priority.
How should the pattern continue around the window?
Align the most recognizable line in the design, not necessarily the outside edge of each sheet. For subway patterns, this is usually a horizontal course. For chevrons, it may be the point or central valley. For marble-look designs, it may be the direction and visual weight of the veining.
A regular horizontal format can make window planning easier because the dominant courses can be checked against the sill and head casing. As of August 30, 2026, the Rock Subway catalog page was live with add-to-cart controls and listed a 30-by-30-centimeter piece format; availability, localization, price, and instructions can change, so confirm the live page before ordering. (stickwoll.com)
Directional designs demand a more deliberate dry fit. A pattern can be technically centered while still looking wrong if its strongest point lands just beside the faucet or disappears into a narrow sill cut. Compare pattern families through the Tile Design Ideas guide after the stopping point and cut zones are known.

Compare quiet and high-contrast joint lines
Tone-on-tone joint lines make small offsets less visible. They can be forgiving around tapered casing and uneven sill cuts. High-contrast printed grout lines emphasize every course, which can make a well-planned layout look crisp but also expose small alignment errors.
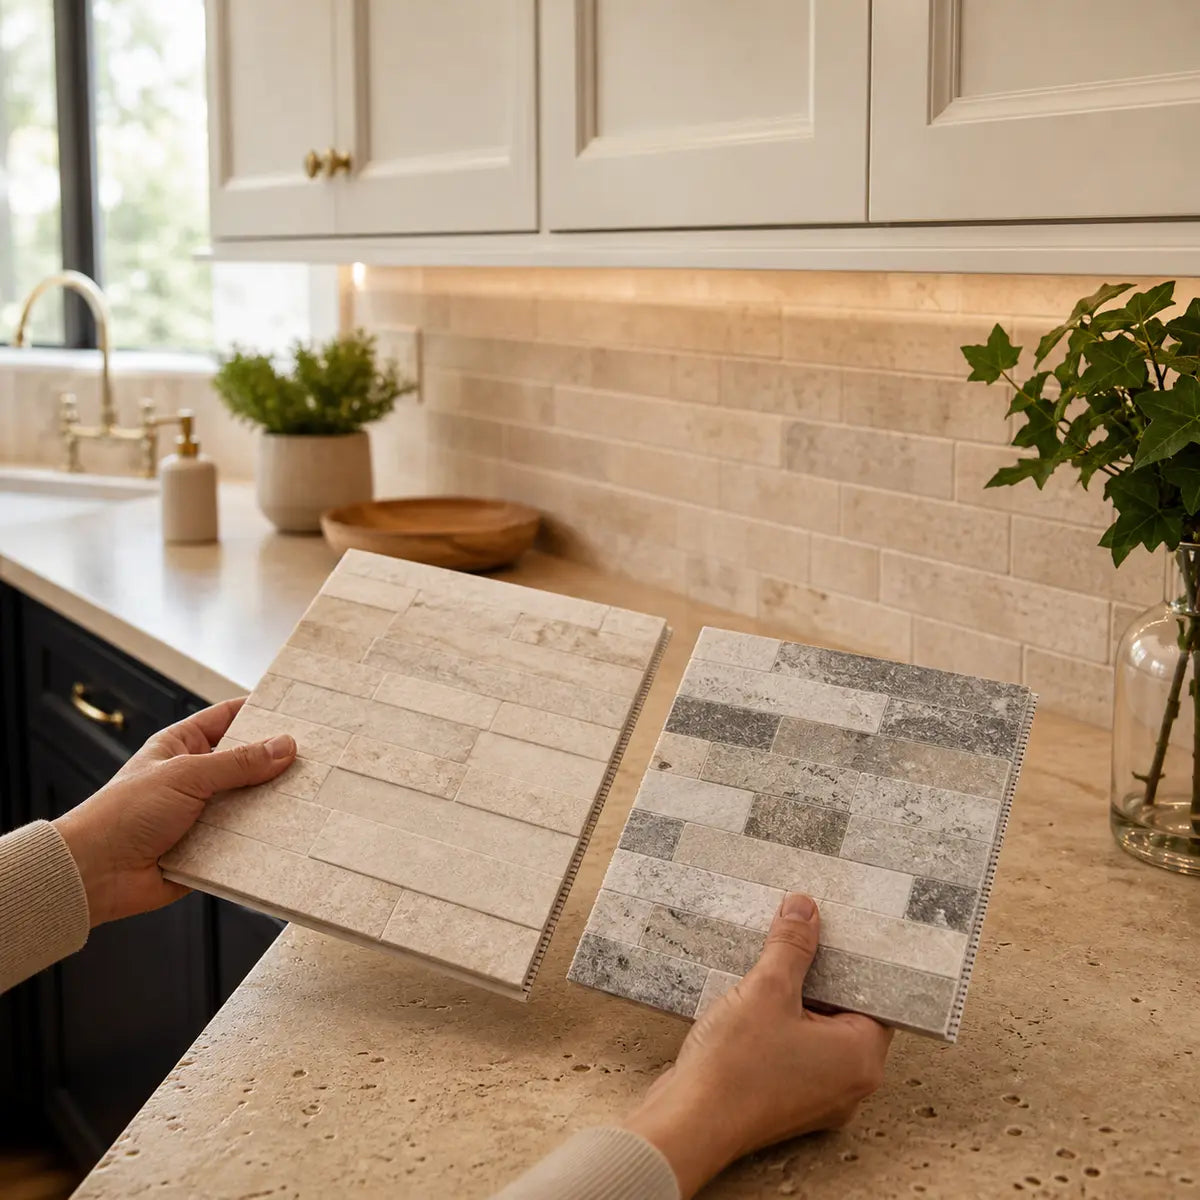
Use a real sample, not a screen alone. Tape it beside the window for at least a day and photograph it in:
- Morning daylight
- Bright afternoon light
- Evening task lighting
- A wider view from the kitchen entrance
- A close view beside the trim, counter, and faucet finish
Look at the photos in grayscale as well as color. Grayscale makes value contrast easier to see. A sample that appears calm in daylight may become much busier under under-cabinet lighting.
Run a four-view sample test
Give the sample one point for each statement that is true:
Four points: The design is a strong layout candidate, subject to surface and product checks.
Two or three points: Test a half-repeat shift or a lower-contrast variation before deciding.
Zero or one point: The pattern is likely asking the window wall to carry too much visual detail. Compare a smaller repeat or quieter joint line.
This is a design-screening method, not a performance score.
Before you order: the window-wall checklist
Use this final check after dry-fitting and before calculating the order quantity.
The Kitchen Backsplash Guide can help turn these measurements into a full wall plan. Use it after choosing the window termination, since the stopping point changes both the area calculation and the number of cut pieces.
Frequently Asked Questions
Should a backsplash go above a kitchen window?
It can, but it does not have to. Continue above the window when the wall is meant to read as a continuous tiled field and the upper section has enough space to carry the pattern cleanly. Stop at the casing when the trim is an important frame or the area above the opening feels visually separate.
There is no checked technical rule requiring one endpoint for every kitchen. The right choice depends on trim, wall composition, pattern repeat, cabinets, substrate condition, and the planned edge finish.
How do you finish tile at a window sill?
First decide whether the tile stops at the vertical wall plane, meets an existing sill, or is proposed for another surface. A clean wall-plane cut is often the simplest approach. If an exposed edge or perimeter joint is needed, select the finish according to the exact tile, sill, frame, wall, and cleaning conditions.
Do not assume that approval for a vertical backsplash wall includes a horizontal sill. Confirm the application and compatible edge materials before covering any sill surface.
Can peel-and-stick tile wrap a window return?
Only if the exact manufacturer instructions support the product, orientation, substrate, corner method, moisture conditions, and edge finish. The checked Stickwoll guidance does not expressly authorize wrapping tile into a kitchen-window reveal or across a horizontal sill.
Where a vertical return is confirmed as suitable, separately cut return strips may offer better control than bending one sheet around a sharp corner. Keep window drainage, operation, service access, and frame clearances unobstructed.
Where should the side edge of a backsplash stop?
Stop at a clear architectural line: the window casing, cabinet edge, countertop end, inside corner, or another deliberate vertical boundary. Use painter’s tape to compare candidate endpoints from across the room.
An edge that stops slightly beyond the window without aligning with anything often appears accidental. The termination should agree with the counter, cabinets, and window rather than responding to the tile sheet width alone.
What should be checked near a sink window?
Check faucet splash, recurring condensation, wall dryness, sill condition, seam locations, cleaning access, window operation, and product instructions. Water from the sink and water from window condensation are separate exposure sources.
Keep seams inspectable, wipe splashes before they collect, and do not install over damp or damaged materials. If the window leaks or repeatedly condenses, correct that condition before covering the surrounding wall.


Lämna en kommentar
Denna webbplats är skyddad av hCaptcha och hCaptchas integritetspolicy . Användarvillkor gäller.