


Fix Lifting Edges on Peel and Stick Tiles: DIY Guide
Restoring the integrity of your vinyl flooring with professional precision.
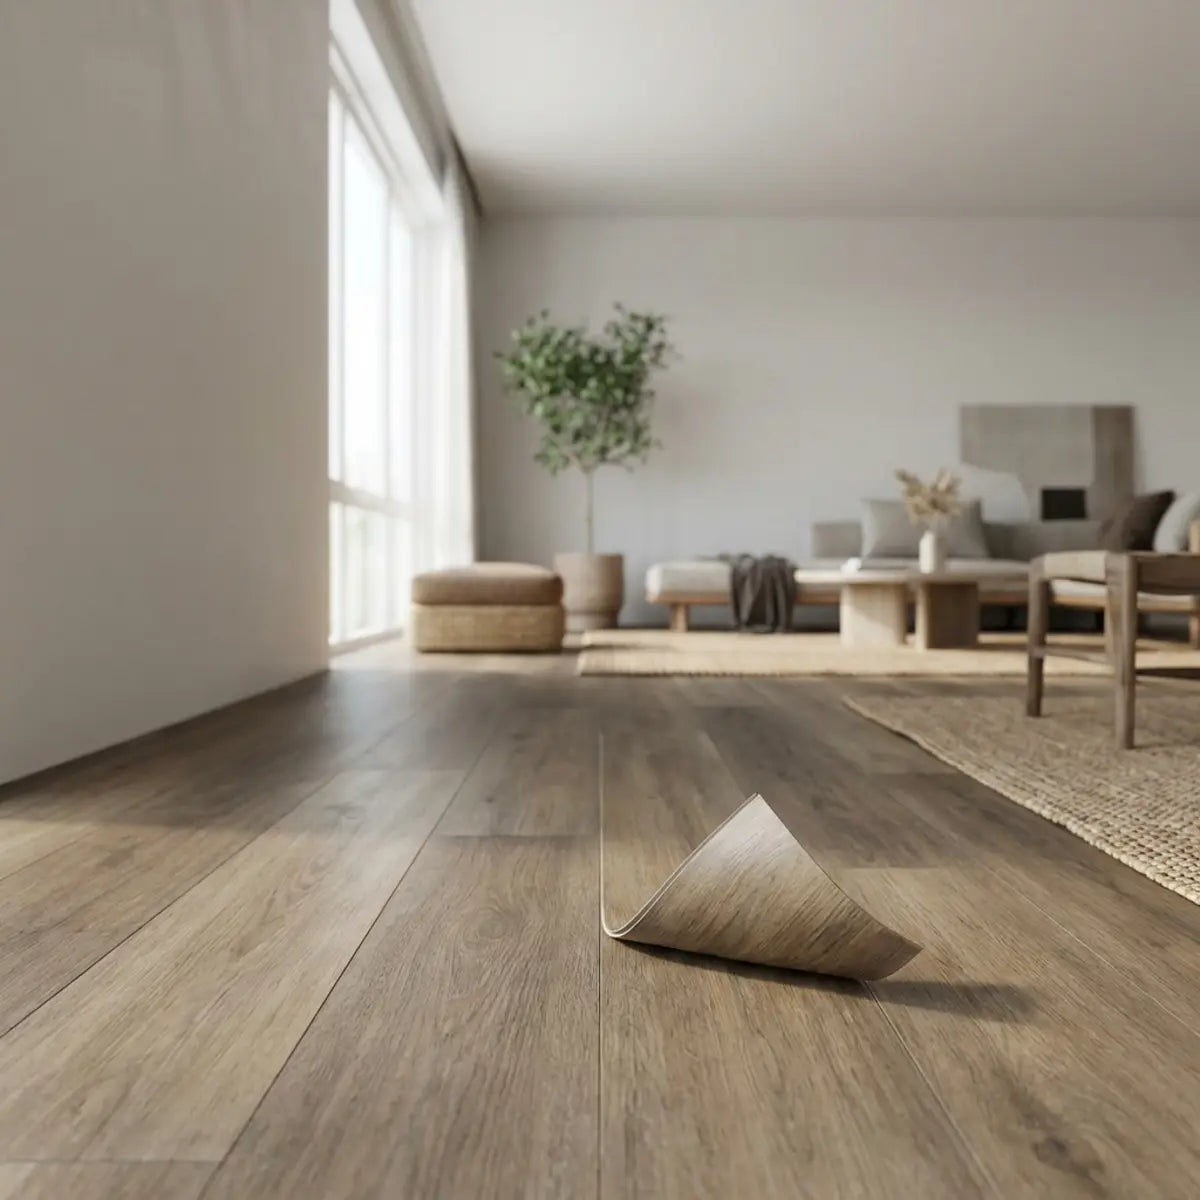
There is a specific kind of frustration reserved for walking into your kitchen or bathroom, coffee in hand, and tripping over the curled edge of a peel and stick tile you installed just a few months ago. You put in the work, you measured twice, and yet, the floor is failing. It feels like your effort is peeling away, quite literally. Ideally, a DIY project should stand as a testament to your craftsmanship, not a recurring maintenance nightmare. When edges lift, it breaks the visual continuity of the floor, turning a sleek renovation into a source of daily annoyance.
The good news is that lifting edges are rarely a sign that the entire floor is ruined. More often, they are a symptom of a specific, fixable environmental or installation variable. Understanding the mechanics of adhesion is the first step toward a permanent solution. It is not about simply adding more glue; it is about diagnosing why the initial bond failed and correcting the conditions to ensure it doesn't happen again.
The Quick Answer
The quickest way to fix lifting peel and stick tiles is to clean the surface, reapply a compatible adhesive, and press the tile firmly with a roller, then seal edges to prevent moisture intrusion.
- ✓ Identify the root cause (moisture, heat, or dirt) before attempting a repair.
- ✓ Use proper adhesive (pressure-sensitive or construction grade) rather than standard glues.
- ✓ Control humidity and use weighted rollers to ensure long-term success.
In this guide, we will look beyond the quick fixes. We will analyze why this happens, how to prepare the subfloor like a pro, and the exact methods to ensure those edges stay down for good. We will delve into the chemistry of adhesives, the physics of thermal expansion, and the practical techniques used by flooring professionals to rescue installations that seem doomed.
Why do peel and stick tiles start lifting or curling?

The Question: Ever feel like your floor is reacting to the weather, curling up the moment the temperature changes?
The Promise: This section identifies the invisible culprits—like humidity and subfloor chemistry—that compromise your adhesive bond.
The primary reason peel and stick tiles lift is a failure in the bond between the adhesive backing and the subfloor, usually caused by moisture, thermal expansion, or contaminants. When we talk about "bond failure," we are referring to the microscopic interaction between the glue and the surface beneath it. This interface is delicate and requires specific conditions to maintain its grip over time.
In our experience, homeowners often blame the tile quality, but the issue is typically environmental. Vinyl is a reactive material. It expands and contracts based on temperature and humidity. This characteristic, known as the coefficient of thermal expansion, means your floor is constantly moving at a microscopic level. If the adhesive bond isn't strong enough to resist that movement—or if the movement is too drastic for the adhesive's flexibility range—the tile buckles or curls at the weakest points: the edges.
The Science of Adhesion Failure
To fix the problem effectively, you must understand what is breaking the bond. It is rarely just "bad glue." It is usually an external force acting upon the glue.
-
Hydrostatic Pressure
This is moisture pushing up from beneath the subfloor (common in concrete basements). It slowly degrades the glue until it loses its tack. Concrete may look dry, but it acts like a dense sponge, wicking moisture from the earth below. As this moisture vapor rises, it hits the impermeable vinyl tile and condenses, effectively dissolving the adhesive bond from underneath.
-
Thermal Expansion
According to ASTM F710 (Standard Practice for Preparing Concrete Floors to Receive Resilient Flooring), vinyl flooring requires stable temperatures. Drastic shifts—like those found in RVs or sunrooms—cause the tile to expand faster than the adhesive can accommodate. When the tile heats up, it grows; when it cools, it shrinks. This "accordion" effect puts immense shear stress on the adhesive layer.
-
Particulate Interference
This is the most common DIY error. If dust, drywall powder, or grease was present during installation, the adhesive bonded to the dirt, not the floor. Even a fine layer of sawdust acts as a "bond breaker," preventing the pressure-sensitive adhesive from wetting out onto the substrate properly.
Environmental Triggers: Where is the lifting happening?
Identifying the location of the damage usually reveals the cause. A lifting tile in a bathroom tells a different story than a lifting tile in a sun-drenched hallway. We have broken down the most common scenarios below to help you diagnose your specific situation.
| Room / Scenario | Likely Cause | The "Why" |
|---|---|---|
| Bathroom / Kitchen | Top-down Moisture | Water from showers or sinks seeps into the seams, dissolving the adhesive from the top down. |
| Basement / Slab | Hydrostatic Pressure | Concrete is porous. Ground moisture rises through the slab and pushes the tile up from the bottom. |
| Sunroom / RV | Thermal Shock | Rapid heating causes the vinyl to expand. If the tiles are butted too tightly, they tent or curl at the edges. |
If your issue is concentrated in wet areas like the bathroom, standard vinyl tiles may simply not be up to the task of handling constant humidity. To upgrade your approach, explore the best Peel Stick Bathroom Tile for Moisture control, where we detail specific materials engineered to resist water intrusion and maintain adhesion in damp environments.
For those dealing with lifting in recreational vehicles, the temperature fluctuations are extreme. An RV acts like a greenhouse, heating up rapidly in the sun and cooling quickly at night. This expansion and contraction cycle is the enemy of standard adhesives. For specialized advice on this unique environment, we recommend reading our guide on How to Keep Peel and Stick Tile from Falling Off in Your RV, which covers heat-proof adhesion specifically.
The Role of Acclimatization
A frequently skipped step is acclimatization. It sounds like a technical formality, but it is critical. If you installed the tiles immediately after bringing them in from a cold garage, they likely shrank as they warmed up, pulling the adhesive loose at the corners. Industry standards suggest keeping tiles in the room for 48 hours before installation to stabilize their size. This allows the vinyl material to relax and reach equilibrium with the room's ambient temperature and humidity.
Community Poll: What caused your tiles to lift?
Help us track the most common DIY flooring issues.
How can you prepare the surface correctly before re-sticking tiles?

The Question: Tired of applying glue only to have the tile pop back up a week later?
The Promise: This section details the prep work that ensures a permanent bond, focusing on the difference between "cleaning" and "degreasing."
Proper cleaning and drying are crucial before applying adhesive; without it, even the strongest industrial glue will fail. The chemical bond requires direct contact between the adhesive molecules and the substrate molecules. Any layer in between—be it dust, oil, or water—prevents this contact.
The biggest misconception we see is homeowners simply wiping the floor with a wet rag and adding more glue. This traps moisture and old contaminants under the repair, guaranteeing another failure. A "wet rag" usually just spreads the dirt around. You must reset the "substrate" entirely.
In flooring, the substrate is the underlying surface (plywood, concrete, or existing vinyl) that the flooring is attached to. The integrity of your finish floor relies entirely on the stability of the substrate.
The Repair Toolbox: What You Need
Before you start peeling back tiles, ensure you have the correct tools. Substitutions here often lead to poor results.
- Hair Dryer / Heat Gun Essential for softening the vinyl to prevent cracking when you lift it.
- Stiff Putty Knife Used for mechanical scraping of old adhesive residue.
- Mineral Spirits The gold standard for degreasing without damaging vinyl. Avoid acetone.
- Primer (Latex Based) Seals porous surfaces like plywood to improve adhesive tack.
Step-by-Step Surface Reset
If you are repairing a specific lifting tile, follow this protocol to ensure the new bond holds.
-
1
Gently Elevate the Area
Use a hair dryer on low heat to soften the existing adhesive. Gently peel back the lifting edge. Do not force it, or the vinyl may crack. Cold vinyl is brittle; warm vinyl is forgiving.
-
2
Mechanical Scraping
Use a putty knife to scrape away the old, failing adhesive from both the subfloor and the back of the tile. You want a smooth, neutral surface. Any bumps of old glue will telegraph through the tile and prevent the new glue from bonding flat.
-
3
Chemical Degreasing
Water is not enough. Use a dedicated degreaser or mineral spirits to wipe the subfloor. This removes oils (from bare feet or cooking) that act as bond breakers. Be thorough—oil is invisible but deadly to adhesive.
-
4
The Drying Test
Let the area dry completely. Do not rush this step. Trapping solvent under the tile will eat the new glue.
Pro-Tip: Tape a small square of clear plastic over the exposed subfloor for 12 hours. If condensation forms inside, you have a moisture problem that glue alone won't fix.
The Importance of Priming
For porous surfaces like plywood or concrete, a primer is non-negotiable for repairs. A latex-based floor primer seals the pores, ensuring the glue sits on top of the surface rather than soaking into it. Think of primer as the bridge between your subfloor and your adhesive.
Consider a homeowner repairing a laundry room floor. They notice the tiles near the washing machine are curling.
- Wrong Approach: Squirting super glue under the edge and standing on it. (Result: The bond becomes brittle and snaps when the machine vibrates).
- Right Approach: They lift the edge, clean the lint and detergent residue with mineral spirits, apply a thin coat of primer to the plywood, and wait for it to become tacky before applying fresh adhesive.
For vertical applications, such as backsplashes, surface prep is even more critical due to gravity. If you are dealing with painted drywall, the paint sheen can repel adhesive. For a detailed breakdown of vertical prep work, check out our guide on Installing Stick Tiles on Painted Walls: Guide & Tips to understand how to prep vertical surfaces without damaging the drywall.
Get a printable text guide to take to the hardware store.
What are the best methods to fix and prevent lifting tiles permanently?

The Question: Ready to put this problem behind you and stop staring at those ugly seams?
The Promise: This section unveils the professional repair protocol, including specific adhesive recommendations and mechanical techniques.
To fix lifting tiles permanently, use a strong adhesive and heat to re-bond tiles, then seal the edges to block moisture. The goal here is to create a bond that is stronger than the forces trying to pull it apart. This involves three distinct layers of defense: The Adhesive, The Pressure, and The Seal.
1. Selecting the Right Adhesive
Do not use general-purpose craft glue. You need an adhesive that retains some flexibility to handle the expansion and contraction of the vinyl. Rigid glues will snap; flexible glues will move with the floor.
| Adhesive Type | Best For | Pros | Cons |
|---|---|---|---|
| Pressure Sensitive Adhesive (PSA) | General lifting, small curls | Removable, mimics original factory glue | Requires wait time to get "tacky" before bonding. |
| Construction Adhesive (Clear) | Heavy curling, uneven subfloors | Extremely strong, gap-filling | Permanent. Difficult to remove later. |
| Spray Adhesive (High Strength) | Large areas, completely loose tiles | Fast coverage, thin layer | Overspray risk. Must mask off surrounding areas. |
If you are renting and concerned about using adhesives that might be too permanent or damage the subfloor upon removal, you must choose your bonding agent carefully. Learn more about maintaining your deposit while upgrading your space in our article on Transform & Remove Renters Peel and Stick Tiles Safely, which focuses on reversible installation methods.
2. The Heat and Roll Technique

Professional installers know that pressure-sensitive adhesives require two things to activate fully: heat and heavy pressure. It is not enough to just step on it.
- Heat Application: Once you have applied the new adhesive and pressed the tile down, use a hairdryer (or heat gun on low) to warm the surface of the tile. This softens the vinyl, making it pliable and allowing it to conform perfectly to the subfloor. Warm vinyl "flows" into the microscopic texture of the glue.
- Rolling: While the tile is warm, use a J-roller (or a rolling pin wrapped in a towel) to roll over the repair. Start from the center of the tile and roll outward toward the edges. This forces out trapped air bubbles that could cause future lifting. Pressure is what builds the initial bond strength.
If you are finding that the lifting is widespread and the tiles are old or damaged, it might be time to replace the section entirely. Sometimes, a repair is just delaying the inevitable. For a comprehensive look at the process of a fresh install, refer to our Easy Peel & Stick Subway Tile Install Guide, which includes troubleshooting tips applicable to both walls and floors.
3. Sealing the Edges
Once the tile is re-bonded, you must stop moisture from getting back in. This is especially vital in wet areas like bathrooms. If water gets under that edge again, all your work will be undone.
- Grouting: If you used grout-able tiles, check for cracks in the grout line and repair them. Grout acts as a physical lock for the tile edges.
- Silicone Caulk: For tiles meeting a tub, cabinet, or wall, apply a thin bead of 100% silicone caulk. This creates a waterproof barrier.
4. Preventive Maintenance
To prevent the issue from returning, adjust your cleaning habits. The way you clean your floor has a direct impact on the longevity of the adhesive.
- Avoid Steam Mops: The intense heat and moisture forced into the seams by steam mops is the number one killer of peel and stick adhesives. It literally steams the glue off the floor.
- Use Neutral Cleaners: Harsh chemicals, ammonia, or bleach can strip the protective wear layer and degrade edge bonds.
For a deeper understanding of how to clean without causing damage, the Peel and Stick Tile Maintenance Guide 2025 offers excellent protocols for keeping your floor pristine.
Frequently Asked Questions
How long does it take for the repair adhesive to cure?
Most pressure-sensitive adhesives are tacky immediately, but full cure times vary. Generally, you can walk on the floor immediately, but avoid washing it or sliding heavy furniture over the repaired area for at least 24 hours. Always check the specific manufacturer's instructions on your adhesive bottle.
Can I use Super Glue (Cyanoacrylate) to fix lifting vinyl tiles?
We strongly advise against using Super Glue. While it creates a strong bond, it is brittle. Vinyl floors flex when you walk on them and expand with temperature changes. Super Glue will crack under this movement, leading to re-lifting. It can also chemically react with the vinyl, causing discoloration or melting.
Why do my peel and stick tiles shrink and leave gaps?
Shrinkage is usually caused by installing the tiles before they have acclimatized to the room's temperature. If tiles were stored in a cold warehouse and installed immediately in a warm room, they may shrink as they settle. To fix the gaps, you can use a colored vinyl caulk or grout that matches your tile color.
Is it better to repair or replace a damaged tile?
If the tile is physically torn, cracked, or the corner has curled so badly that it has a permanent crease, repair is unlikely to work. In this case, apply heat to remove the entire tile and replace it with a spare. This is why we always recommend buying 10-15% extra material during your initial purchase.

Leave a comment
This site is protected by hCaptcha and the hCaptcha Privacy Policy and Terms of Service apply.