


Quick Quiz: Are You Ready to Install Peel & Stick Subway Tile?
Test your prep knowledge before you dive in—this will help you avoid costly mistakes!
1. What’s the most important step before sticking tiles to your wall?
2. How soon should you correct a misaligned tile?
Before we start, you might also want to explore our ultimate peel and stick tile installation guide with 2025 design trends for even more ideas to transform your space quickly and affordably.
Tired of staring at a bland backsplash that makes your kitchen feel unfinished? You can completely change that in a single afternoon with peel and stick subway tiles—no grout, no mess, and no expensive contractor bills. The best part? It’s renter-friendly and reversible, so you can create a high-end look without risking your security deposit.
I know the hesitation: the fear of crooked lines, bubbling tiles, or wasting an entire pack because the adhesive didn’t grab. That’s exactly why this guide exists. You’ll get a step-by-step plan with photos, a short video tutorial for tricky cuts, and a free printable checklist so you don’t miss a single detail. Every tip has been beginner-tested, so you can move forward with confidence.
By the end, you’ll go from “I hope this works” to “I can’t believe I did this myself”—and your backsplash will look like it came straight out of a design magazine.
Why Choose Peel and Stick Subway Tile?
If you’ve ever wondered why peel-and-stick tiles are trending, our modern peel and stick subway tile style guide showcases how they bring chic aesthetics without complexity.
For homeowners and renters who want an instant style upgrade, peel and stick tiles are the closest thing to magic. You’re looking at a budget-friendly kitchen upgrade that requires no mortar, no ongoing disruption, and minimal tools.
- Affordability and time savings: A box of self-adhesive vinyl subway tiles costs a fraction of traditional ceramic, and you skip paying for grout, adhesive, or a professional installer. In many kitchens, the project takes under three hours start to finish.
- Low-mess installation: No mixing grout and no curing time. You peel the backing and press—done.
- Perfect for renters: Temporary wall tiles mean commitment without permanence.
Real-world example: Sara, a Boston renter, transformed her 1980s brown-tiled galley kitchen with bright white faux subway tile panels. The total cost? $96. She spent one Saturday afternoon applying them and got praise from her landlord.
If you’ve been hunting for easy kitchen backsplash ideas, this is one of the most forgiving yet impactful options out there.
Download our free installation checklist so you have every tool ready before you start.
Tools & Materials Checklist (Downloadable)
To ensure success even on painted surfaces, check out our expert guide to installing stick tiles on painted walls and avoid common pitfalls.
- Utility knife with fresh blades
- Measuring tape
- Level or laser level
- Pencil
- Clean microfiber cloths
- Mild degreasing cleaner
- Optional extras: cutting mat, hair dryer or heat gun, small roller
Pro Tip: Keep your blades sharp by changing them often.
Print your Installation Checklist PDF so you can check off items as you go.
Surface Preparation for a Lasting Finish
Want more creative uses beyond the kitchen? Our 2025 peel and stick tiling solutions guide offers inspiration for multiple rooms.
- Clean thoroughly
- Smooth the surface
- Dry completely
One reader rushed this step and paid the price.
Step-by-Step Installation Process (Photos + Video)
For a product that's perfect for beginners, explore our Easy Guide: Install Peel & Stick Subway Tiles which complements these steps.
1. Measure and Plan Your Layout
- Measure the backsplash area.
- Draw your starting line.
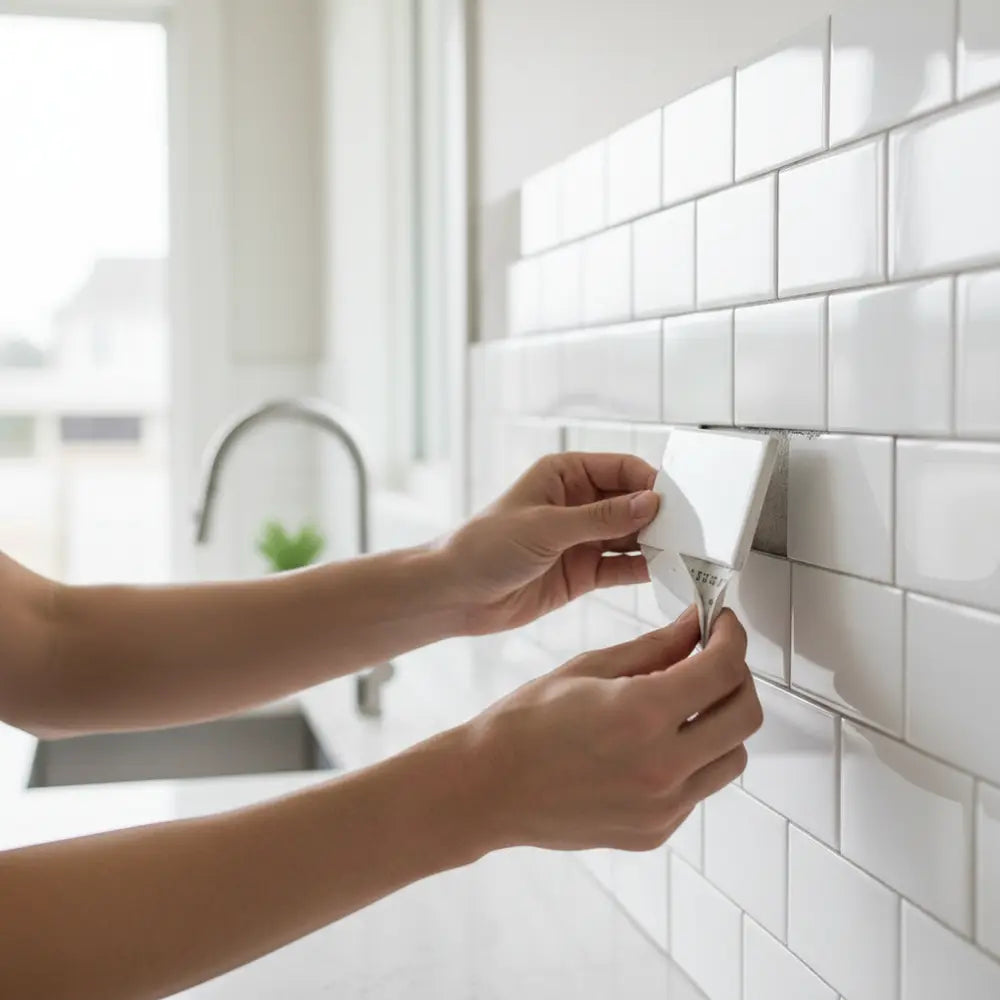
2. Peel and Align
Peel and align to your guide.
3. Press and Smooth
Press firmly from center outward.
4. Cut to Fit
Use templates for complex shapes.
Watch our quick two-minute cutting tutorial video for crisp cuts.
Troubleshooting Common Issues
Thinking about a bathroom project? Learn how with our bathroom peel and stick transformation guide.
Misalignment Fixes
Lift gently within 24 hours and re-align.
Adhesion Problems
Clean again and warm adhesive if needed.
Removing and Reapplying Tiles
Warm, peel slowly, replace as needed.
Care and Maintenance
For detailed upkeep tips, read our Peel and Stick Tile Maintenance Guide 2025.
- Clean with mild soap
- Reduce humidity
- Check seams regularly
See our full maintenance guide for more.
Style Inspiration & Layout Ideas
Pair your tiles with our premium Subway Magic Peel and Stick Tiles for maximum style impact.
- Classic white
- Modern contrast
- Accent wall concepts
Final Checklist & Next Steps
- Prep your wall
- Measure and mark
- Align and apply
- Use sharp blade
- Check adhesion early
You can download the complete printable checklist here.
Conclusion
With peel and stick tiles, even first-time DIYers can achieve a polished finish. For your next project, reference our linked guides and inspiration above.
FAQ
Q: Can peel and stick subway tiles go over ceramic tiles? Yes, as long as the surface is smooth and clean.
Q: Are self-adhesive tiles heat-resistant near a stove? Most are, but check the manufacturer’s rating.
Q: Will removing them damage painted walls? Proper prep minimizes damage.
Q: Can I reuse peel and stick tiles after removing them? Generally no—the adhesive loses its grip once removed.


Leave a comment
This site is protected by hCaptcha and the hCaptcha Privacy Policy and Terms of Service apply.