





A humid room does not automatically rule out every peel-and-stick tile, but a waterproof face does not establish that the adhesive or wall is suitable. Use the exact product’s instructions and check the surface, condensation and direct water exposure separately. This guide does not document a Stickwoll test at constant 85% relative humidity or approve an enclosed grow tent or shower installation.
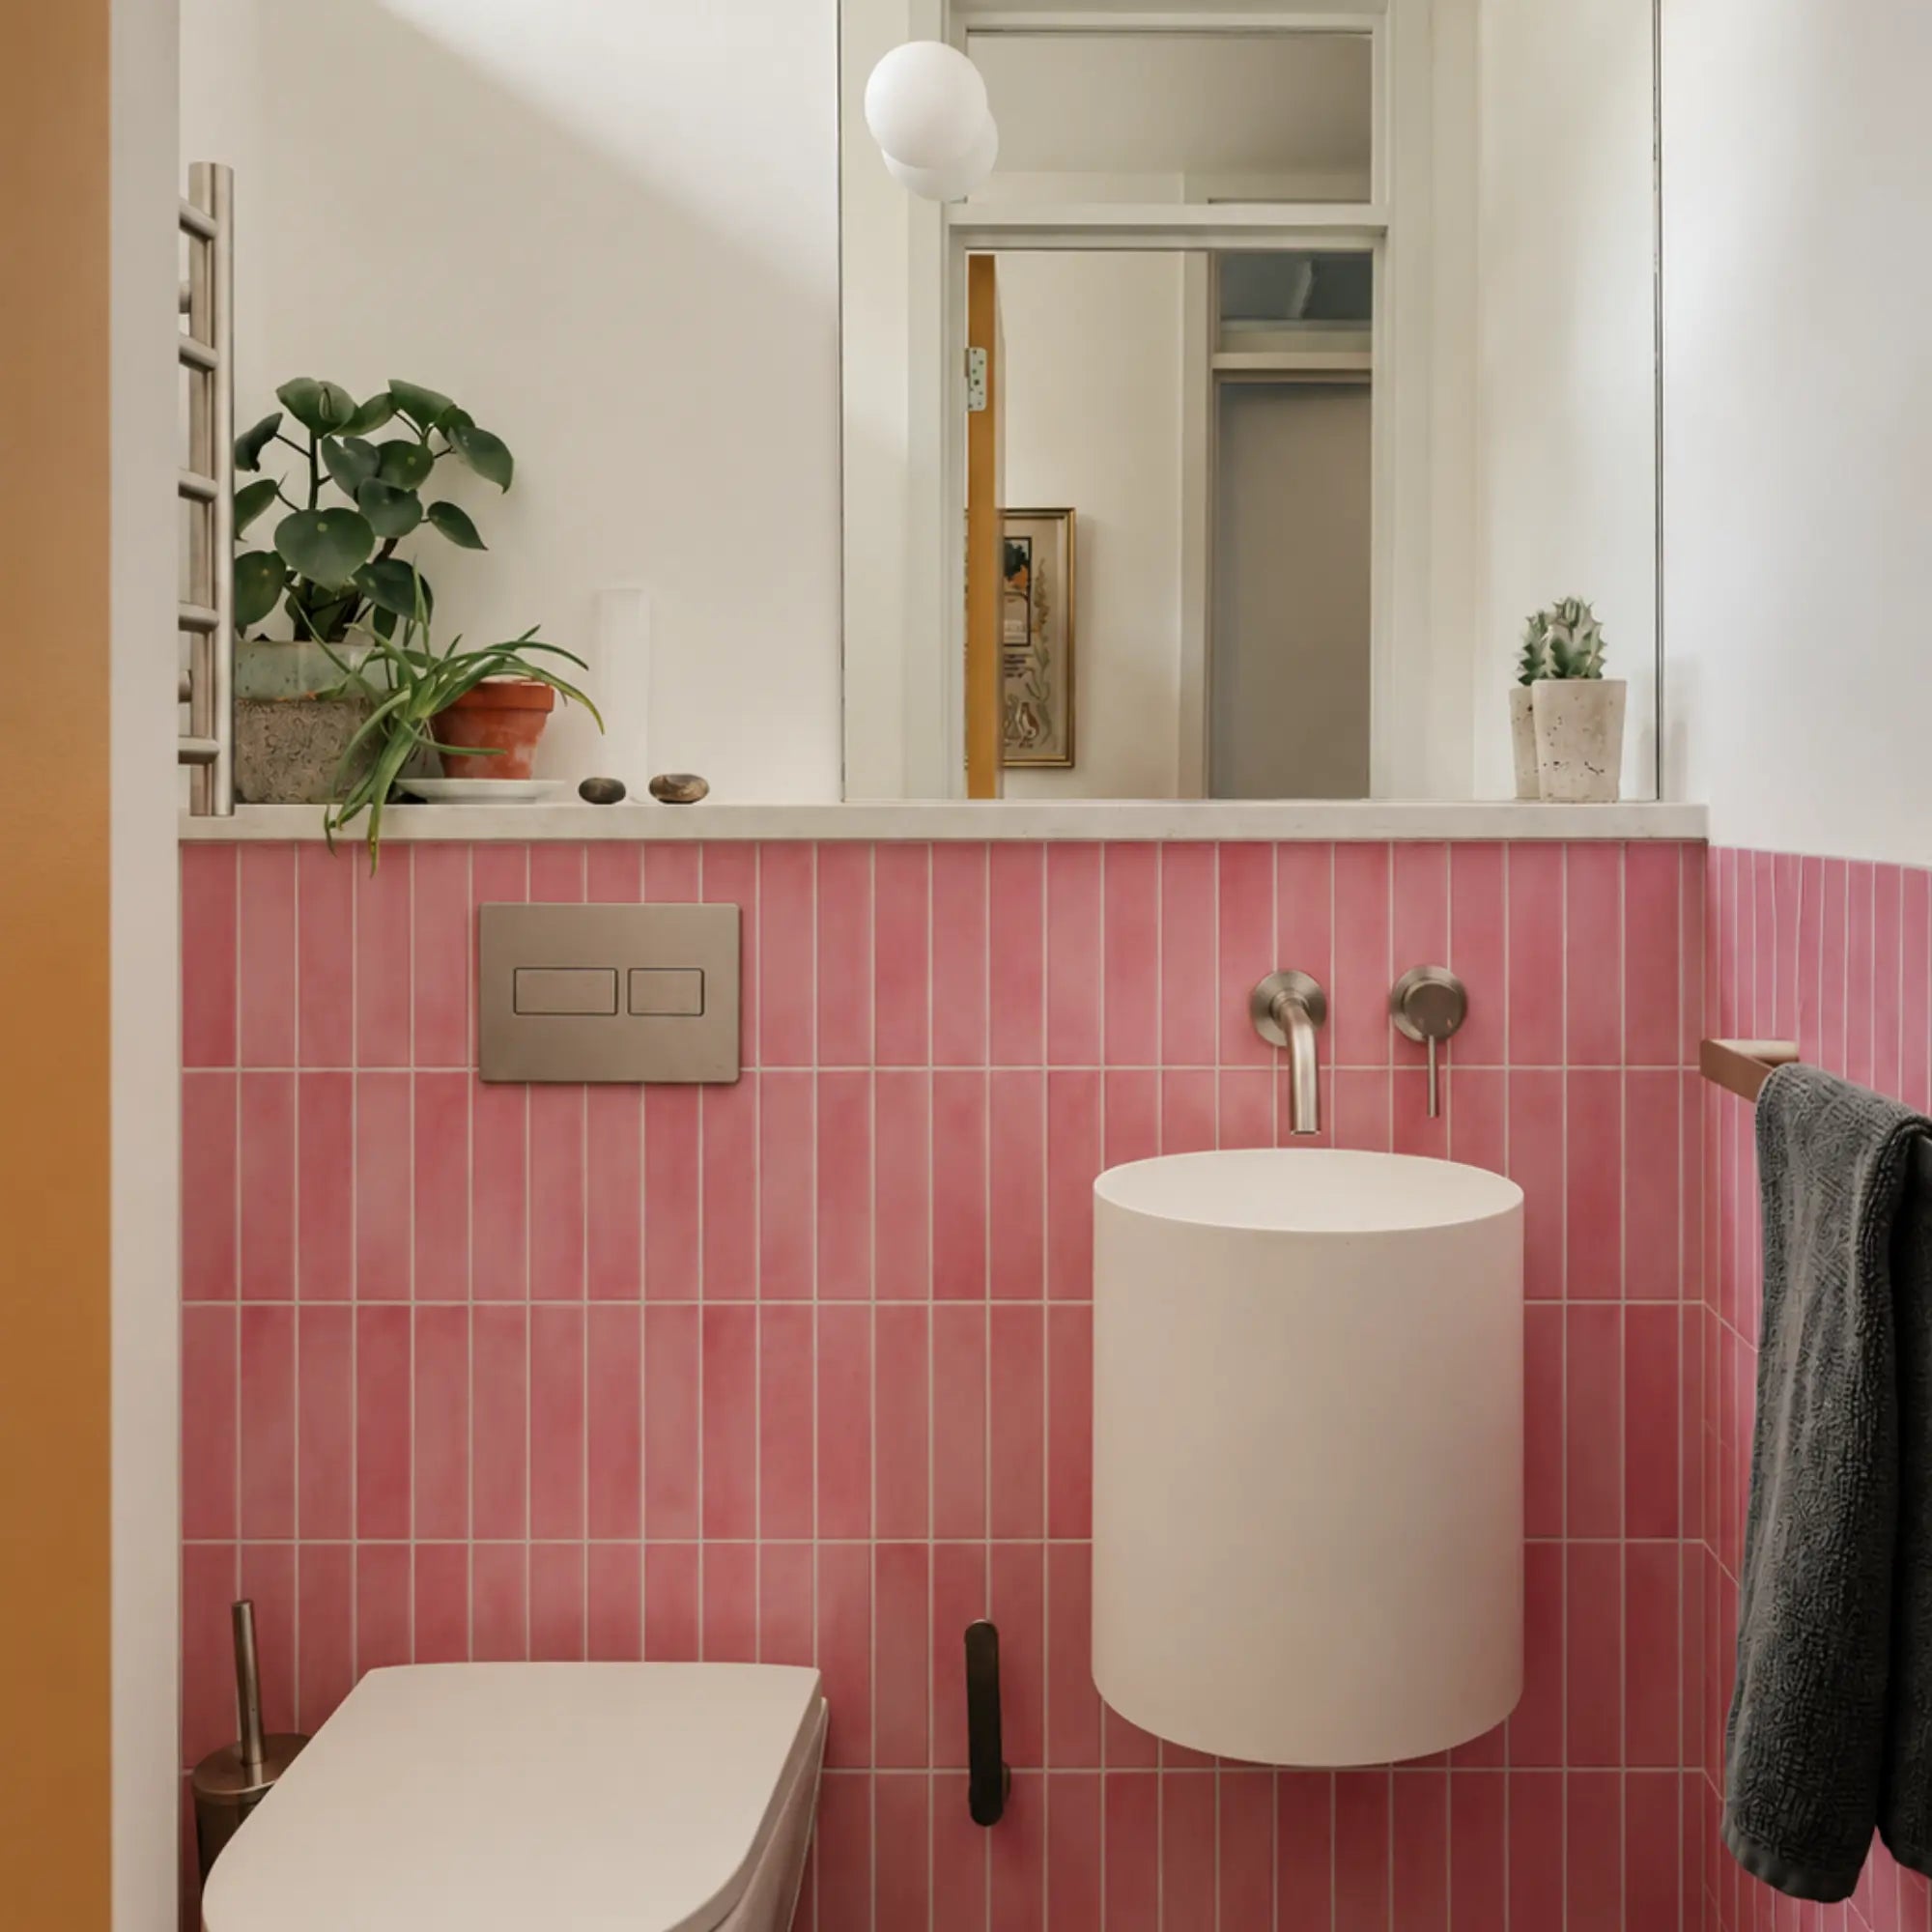
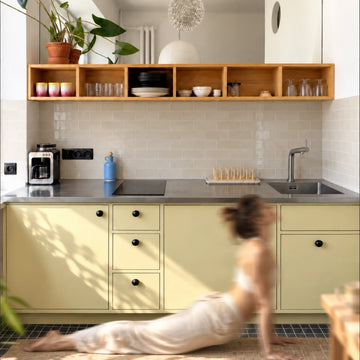
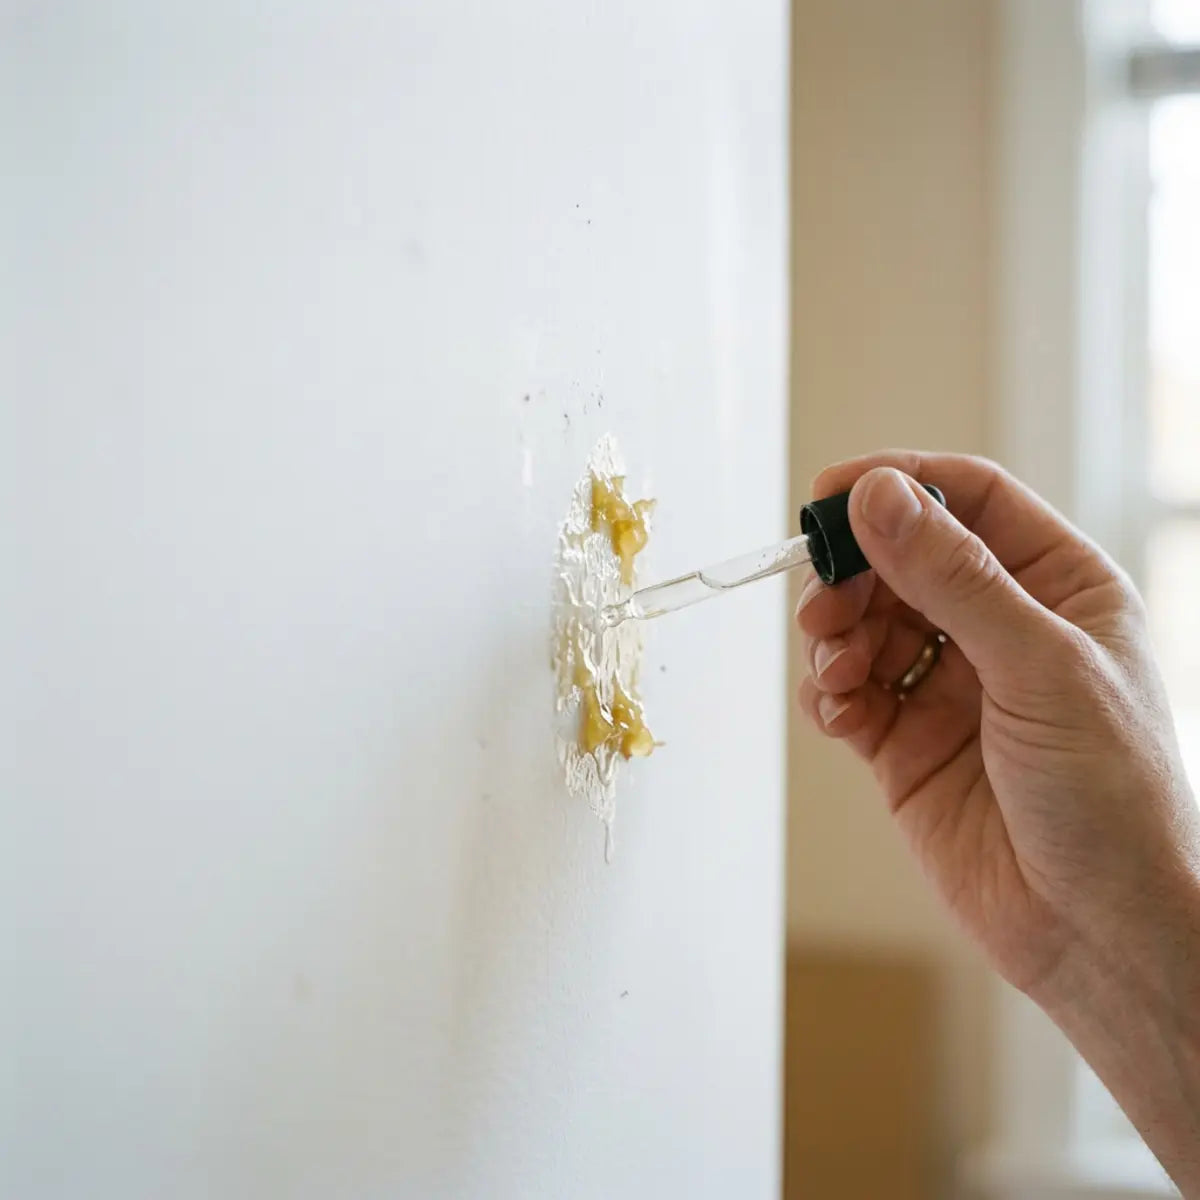
The cover image illustrates a setting; it is not evidence of a product test or approval of the pictured installation.
Air humidity, condensation and spray are different
Relative humidity describes the air; it is not a measurement of moisture inside drywall. A room reading also does not tell you whether a particular cold surface is wet. Inspect the wall itself, especially behind furniture, under plant shelves and along the lower edge of the intended covering.
| What you observe | What to do |
|---|---|
| Temporary humidity rise, with a dry and stable wall | Check the permitted room use, installation conditions and ventilation before choosing the tile. |
| Persistent droplets or mist reaching the wall | Resolve the exposure first. Do not treat decorative tile as a remedy for condensation. |
| Leaks, soft drywall, peeling coating or mold | Pause the project and address the underlying wall problem. |
| Direct shower spray or continuously wet enclosure | Choose a complete system specifically approved for that use; a general bathroom label is insufficient. |
What humidity guidance actually means
EPA advises keeping indoor relative humidity below 60%, ideally 30–50% where possible. These are moisture-control recommendations, not a tile’s operating specification. [1] An 85% reading is therefore a reason to investigate the room and its moisture sources, not a useful target for proving a decorative wall covering.
For a plant collection that needs a specialized environment, separate the plant requirements from the building requirements. Discuss the enclosure, ventilation and wall assembly with a suitable professional before covering a persistently wet surface. Do not assume a tile label resolves that design question.
What an adhesive study can tell us
Grzelka and colleagues observed faster peeling at higher humidity in a loaded Scotch-tape experiment. That explains a possible mechanism, not a humidity rating for Stickwoll. [2] The adhesive, backing, load and contact surface matter. Neither this paper nor a decorative sample proves that every composite tile will pass, or every foam-backed product will fail.
To support an actual product performance claim, look for the tested product and batch, substrate, preparation, temperature, humidity, duration, loading and failure criteria. A number such as a humidity score is not meaningful without those details and the underlying observations.
Prepare the wall, not just the room air
Start by identifying the surface and any previous water damage. A hygrometer measures air humidity; it cannot certify that a wall is dry. A moisture meter can help an appropriate investigation, but readings require interpretation for the material and instrument. Do not use one universal percentage as a pass mark for wood, plaster and gypsum alike.
EPA recommends fixing moisture problems and not painting or caulking over mold. Suspected hidden damage may require professional assessment. [1] Decorating comes after that work, not instead of it. Follow the repair, paint, primer and tile instructions rather than imposing a universal 48-hour drying or acclimation rule.
On an eligible wall, follow the specified cleaning and pressure-application method. Avoid adding unapproved glue, primer or sealant as an experiment. An added product can change the installation and removal behavior; it should not be used to compensate for missing suitability information.
A practical room observation plan
Before installation, note the normal room temperature and humidity, then observe changes during watering, misting or shower use and the subsequent drying period. Record where water actually lands. These observations help you describe the situation to the supplier; they do not generate a certified safe distance from a humidifier.
- Record the tile product and wall coating, including any repair or primer.
- Keep humidifier discharge and plant runoff away from the proposed decorative surface.
- Check lower edges and corners for persistent dampness before covering them.
- Try a small area only when the proposed use is permitted, and inspect it during normal room use.
- Keep dated photos and stop if lifting, movement or moisture returns.
Use the bathroom and wet-area guide to distinguish low-splash decoration from direct wet exposure. The installation planning guide covers the next steps once the surface and location are suitable. For a specific product question, send us the product name and room details.
Map the room by exposure rather than by its name
A bathroom, plant room or laundry room is not one uniform environment. The wall above a dry shelf may receive little direct water, while the corner beneath a pot collects runoff every week. A wall opposite the shower may dry between uses, while a niche remains wet. Instead of asking whether tile works anywhere in a bathroom, describe the exact location and the normal sequence of moisture exposure. This gives both you and the supplier a question that can actually be answered.
Draw the proposed covered area and mark sinks, taps, humidifiers, windows, exterior walls and any equipment that releases warm air or moisture. Include shelves and large furniture because they affect your access for cleaning and inspection. Photograph the room after the activity that produces moisture, not only when everything has been cleaned for a decorating photograph. Keep this record descriptive: droplets on a particular corner are useful evidence; a general statement that the room feels tropical is much less precise.
| Room or location | Useful observation | Planning implication |
|---|---|---|
| Powder-room feature wall | Does the wall stay dry during normal sink use? | Compare eligible decorative finishes after checking the coating and occasional cleaning. |
| Bathroom vanity | Where do splashes land and how long do edges remain wet? | Confirm the exact splash exposure and joint detail rather than relying on a bathroom label. |
| Plant display | Do watering, misting or overflowing trays wet the wall? | Contain runoff and move direct mist before considering a covering. |
| Laundry wall | Is moisture from a leak, wet handling or normal room use? | Resolve the source and maintain access to service connections. |
| Shower enclosure or grow tent | Is direct water or prolonged condensation part of normal operation? | Require a complete system intended for that environment, not an ordinary decorative-wall assumption. |
Use these categories to reduce uncertainty, not to issue yourself an installation certificate. A low-splash area can still have a weak coating or a hidden leak. A dry-looking room can still require investigation after previous water damage. Conversely, a temporary humidity rise does not automatically mean every wall covering will fail. The combination of the actual surface, the exact product and the exposure matters more than a single room label.
Keep water containment separate from decoration
Plant saucers, a sink joint and a waterproof shower assembly serve different purposes from an attractive wall finish. Plan how water is collected and directed before deciding how the wall should look. A decorative tile should not become the only barrier between an overflowing planter and vulnerable wall material. Similarly, putting wall tiles beneath a pot on the floor does not establish suitability for flooring, standing water or the weight of the planter.

Understand what the measurements can actually tell you
A hygrometer is useful because it replaces impressions with a record of air conditions. It does not inspect the adhesive or detect a leak inside a wall. Put the instrument in a representative location and follow its instructions for placement and stabilization. A reading taken in the direct discharge of a humidifier may describe that local plume rather than the whole room. Record the location with the number so a later reader knows what was measured.
Relative humidity is temperature-dependent
The National Weather Service explains that relative humidity depends on temperature, while dew point identifies the temperature at which air becomes saturated when cooled. This helps explain why a cold surface can collect condensation even when another part of the room looks dry. A humidity reading therefore becomes more useful when considered alongside temperature and actual surface observations. [3]
For a hypothetical example, imagine a room in which the air conditions remain fairly steady but one exterior corner is colder than the other walls. That corner could behave differently from a warm internal partition during the same shower or watering routine. The practical response is to inspect both locations rather than declaring the entire room suitable from the thermostat alone. This example illustrates a measurement question; it is not a diagnosis of a particular home or a measured result for a tile.
Do not average away the event that matters. A daily average humidity can look moderate even though repeated short periods wet a specific surface. Equally, a brief high reading does not show that a wall remained damp all day. Note when the moisture-producing activity starts, where droplets appear and what happens afterward. The sequence often tells you more about an installation location than a single maximum or a weekly average.
A useful observation log
| Record | Example of the information to collect | Avoid this shortcut |
|---|---|---|
| Instrument and position | Model, stated accuracy and location away from direct discharge | Treating every displayed digit as exact |
| Room conditions | Temperature and relative humidity before and after normal use | Recording humidity without temperature or time |
| Wall observation | Dry, visible droplets, staining or a recurring damp patch | Calling a hygrometer a wall moisture test |
| Activity | Shower, watering, drying laundry or humidifier operation | Assuming all moisture has the same source |
| Follow-up | Whether the location dries and whether the condition repeats | Using one dry afternoon to represent all seasons |
A record can remain simple. Choose a few repeatable observation times that fit your normal routine and write down unusual events such as a spill or a window left open. You do not need to manufacture an extreme environment or keep a room at 85% humidity to learn about the proposed wall. The purpose is to understand real use and provide useful information when asking for product or building advice.
What adhesive science adds to a practical buying decision
A pressure-sensitive adhesive needs to make contact with a suitable surface and retain that connection under the intended conditions. The decorative face, the adhesive and the underlying coating are different parts of the assembly. A water-repellent face can look unchanged while a weak paint film underneath releases. An edge can also lift because the piece was installed under tension or never made adequate contact. The visible symptom alone does not identify one universal cause.
The published Scotch-tape peeling research discussed above is useful precisely because its scope is specific. It concerns a named tape and a defined mechanical situation, rather than every product described as composite or vinyl. Keep that distinction when reading a manufacturer's laboratory result. Ask whether the adhesive construction, backing, substrate and loading match the product and location you are considering. Similar-looking packaging is not enough to make the result transferable.
Another study examined industrial acrylic-tape joints after 21 days of water immersion and found that the substrate interface affected the outcome. It did not test decorative bathroom tiles. Its practical relevance is the need to evaluate the whole connection rather than assuming a water-resistant adhesive makes every assembly water-resistant. [4]
Five useful questions about a test report
First, ask what was tested: the adhesive alone, a bonded joint or the finished tile on a wall. Second, ask what the exposure was: humid air, condensation, immersion or direct spray. Third, ask what property was measured: appearance, peel force, shear strength or another defined outcome. Fourth, ask how the samples and comparison conditions were selected. Finally, ask whether the report applies to the product version actually being sold. These questions turn an impressive number into something you can interpret.
A photograph after a period of use can support an observation about appearance when the date and conditions are documented. It cannot independently establish a percentage of retained bond strength. Similarly, a small sample that remains flat does not demonstrate resistance to every cleaning chemical or every seasonal condition. Keep observations and performance claims separate, and let a missing specification remain an unanswered question rather than filling it with a confident guess.
Prepare a sound wall without creating a new moisture problem
Before cleaning for installation, decide whether the surface is eligible at all. Identify the wall material, any paint or existing covering and the condition of the places that previously became wet. Check whether the chosen tile accepts that surface and room use. If there is a leak, a softened area or loose coating, resolve it before planning primer, adhesive or decorative trim. Preparation starts with a suitable base, not with buying the strongest cleaner.
Paint and repairs
For a recently painted or repaired wall, keep the paint, patching material and tile instructions together. Each can impose a different requirement. A repair that is ready for paint may not yet be ready for an adhesive covering. A room heater or dehumidifier is not proof that the deeper repair is dry. Follow the materials' requirements and verify the surface rather than assuming two days of waiting makes every repair equivalent.
Where a product requires a primer, use a compatible one for that substrate and finish. Where a primer is not specified, ask before adding another layer. Every new layer becomes another interface that must remain attached. Do not use a moisture-blocking claim on a primer as permission to cover active dampness. The words on the can need to match the actual substrate, exposure and intended finish.
Cleaning and contact
Remove the contamination you actually have using a procedure accepted for the surface and tile. Dust, greasy residue and loose paint need different responses. Keep release liners and adhesive faces free from handling contamination. Use the application tool and pressure method specified for the tile, without crushing an embossed face or stretching a sheet to make it fit. More pressure cannot make a prohibited surface suitable.
Manufacturer guidance for 3M VHB tapes illustrates why cleaning, surface contact and application conditions need to be considered together. It is industrial tape guidance, not a recipe for cleaning every painted bathroom wall. Its solvent mixtures and pressure figures should not be copied into a Stickwoll installation without matching product instructions. [5]
Existing damage needs its own decision
Photograph suspicious areas before making them harder to inspect. If you cannot tell whether staining is old and dry or part of a continuing problem, get the source assessed. Do not rely on a white-cloth wipe, lack of odor or one meter reading to certify the interior of a wall. The right next step may be a repair, a more suitable complete wall system or no new covering until the uncertainty is resolved.

Design a plant room that is easier to keep dry and inspect
Begin with the watering routine. Decide where plants will be watered, where excess water will drain and how you will move heavy pots without knocking the wall. A washable tray can contain small spills, but it also needs emptying and cleaning. Do not let a tray become a permanent reservoir pressed against a decorative wall. A shelf layout that looks attractive when empty should still allow access when plants have grown.
Keep a practical inspection route around the display. You should be able to see the lower wall, the corners behind shelving and any pipe or window junction. Avoid designing an entire feature wall that can only be inspected after dismantling a large plant collection. A removable shelf arrangement may be more useful than extending tile into a concealed corner. Where shelves carry weight, use suitable structural attachments independently of the wall covering.
Humidifiers and grow lights
Follow the humidifier's own placement and care instructions, and keep direct discharge from repeatedly wetting an unapproved surface. There is no universal 18-inch or 24-inch distance that establishes compatibility for every machine and tile. The size and direction of the mist plume, the operating duration and the actual wall conditions all need attention. If a wall remains visibly wet, increasing distance by a small arbitrary amount is not a substitute for resolving the exposure.
Likewise, check the instructions for plant lighting and electrical equipment before surrounding them with a decorative finish. Do not infer wall temperature from the room thermostat or assume every light source has the same heat or ultraviolet output. Maintain the required equipment clearances and service access. Water containment and electrical safety must remain effective after pots, cords and decorative accessories are added.
Air movement is not the same as moisture removal
A fan can move air around a display, but the decorating plan should not assume that circulation alone removes the water being added to the room. Determine how the room manages moisture during normal use and whether persistent condensation needs professional investigation. Opening a window is not an automatically correct answer in every climate or building. Use the building's ventilation guidance and the actual conditions rather than prescribing the same routine for every plant collection.
For a hypothetical plant-room redesign, the owner moves watering to a sink, keeps runoff in removable trays, redirects humidifier discharge and leaves a visible gap for inspection behind the shelving. Only then does the owner compare eligible decorative wall finishes. This does not claim that these changes certify the room. It shows a sensible order: manage the activity that wets the wall, verify the remaining conditions, then decorate.
Adapt the plan for bathrooms and laundry rooms
In a bathroom, describe whether the proposed surface is a decorative wall, a vanity splash area or part of an enclosure exposed to direct water. Keep that distinction when reading product descriptions. A product described as suitable for bathroom decoration may not be intended for a shower niche, tub surround or steam enclosure. A joint detail suitable beside a lightly used basin should not be copied into a continuously wet enclosure without approval.
Check the lowest edge of the covering as carefully as the center. Water can accumulate at a countertop junction, around a fixture or where an object rests against the wall. Finish those details according to the approved system, including any specified movement allowance. Do not fill every visible opening with sealant without understanding whether it is part of a drainage or movement detail. More sealant is not automatically better waterproofing.
In a laundry room, maintain access to supply hoses, shutoffs, drains and service panels. A decorative upgrade should not make a future leak harder to see or an appliance harder to service. Observe the wall during ordinary laundry handling and separate splashes from a persistent plumbing problem. Tile on the wall is not approval for installation under a washing machine or for carrying appliance loads.
A useful hypothetical comparison is a dry wall above a folding counter versus the wall immediately beside a utility sink. They may belong to the same room but require different finishes or installation details. Plan each area separately. This lets you use a decorative product where its instructions permit it while selecting a more appropriate complete system for the area that gets repeatedly wet.
Maintain the finish and investigate changes early
Use the tile's approved care method and keep cleaning tools separate from those used for abrasive bathroom jobs. A cleaner suitable for a ceramic basin is not automatically suitable for a printed or embossed wall finish. Apply the correct dilution and contact time, remove residue as directed and control runoff near edges. A brief spot check can reveal an obvious adverse reaction, but it does not override an exclusion in the care instructions.
Watch for changes rather than hunting for a single pass score. Mark which corner lifted, whether a seam moved and whether the same area was wet before installation. Record any cleaner change, humidifier relocation or unusual spill. This makes the next decision more useful than simply pressing a loose edge back and forgetting when it happened. Do not keep pulling a corner up to check its strength; that changes the very condition you are trying to observe.
| Symptom | Possible questions to investigate | Practical response |
|---|---|---|
| Repeated edge lift | Was the wall suitable, the tile installed under tension or the area repeatedly wet? | Pause expansion of the project and consult the supplier with photographs. |
| Paint attached to a removed tile | Was the coating the weak layer? | Assess the coating before another adhesive attempt. |
| Sticky or cloudy face | Is this residue, finish change or contamination from a cleaner? | Stop that cleaner and check the permitted recovery method. |
| New dampness or softness | Has a leak or condensation pattern changed? | Resolve the moisture problem before cosmetic repair. |
Keep spare pieces with the product information and batch details so a permitted local repair is easier to plan. Do not replace a failed piece until you have considered the reason for failure. If the same location repeatedly becomes damp, a new piece may simply conceal the same problem. A successful maintenance plan protects your ability to see and investigate changes, rather than promising that a finish will never need attention.

Order and install only after the practical questions are resolved
Calculate the area from the actual eligible wall sections. Use the installed coverage for the selected pack and account separately for pattern direction, cuts around openings and a sensible repair reserve. In a room with several moisture zones, the correct decorated area may be smaller than the total wall area. Do not buy enough to cover a shower, damp corner or equipment recess merely because it appears within the same photograph.
For a hypothetical rectangular feature area two metres wide and one metre high, the starting area is two square metres. The quantity still depends on the chosen pack's usable coverage and the layout. This arithmetic example is not a product specification. A dry layout can reveal whether a pattern needs additional matching pieces or whether changing the starting point avoids narrow cuts at a visible edge.
Keep a project folder with the written product guidance, room observations, preparation materials, photographs and remaining questions. Before installation, ask whether anyone else using the room knows the planned care routine. The person watering plants or cleaning the bathroom should know which cleaner is permitted and where moisture must not accumulate. A clear routine is more useful than a complicated scoring system that nobody revisits.
The final decision is not simply high humidity means no tile, or waterproof means tile everywhere. Choose a finish for a specific, suitable wall and a documented exposure. When the room needs moisture repair, ventilation assessment or a dedicated wet-area system, complete that work first. The decorative result can then support the way the room is used instead of hiding the conditions that made the original question difficult.
Frequently asked questions
Can a waterproof tile stop condensation?
Do not rely on it for that purpose. The covering does not establish that the room’s moisture source or the wall’s thermal conditions have been corrected. Resolve recurring condensation before decorating.
Is a short test patch enough to approve a humid room?
No. It can identify obvious installation problems, but it does not reproduce every season or establish a long-term failure rate. Product approval and the wall’s condition remain essential.
Should I glue down a lifting edge?
First establish why it lifted. Moisture, a loose coating, contamination or an unsuitable location requires more than extra glue. Use a repair only when the tile and substrate instructions support it.
Are all foam-backed tiles unsuitable?
Do not decide from the word foam alone. Different constructions and adhesives have different limits. Ask for the specific product’s permitted use; this guide provides no blanket material ranking.
Sources
- US EPA — A Brief Guide to Mold, Moisture and Your Home
- Grzelka et al. (2022), Soft Matter. DOI: 10.1039/D1SM01270C
- US National Weather Service — Dew Point vs. Humidity.
- Machalická et al. (2024), Water Resistance of Acrylic Adhesive Tapes for Rooftop Fastening. DOI: 10.3390/buildings14061636.
- 3M — Surface Preparation for VHB Tape Applications; context only.


Leave a comment
This site is protected by hCaptcha and the hCaptcha Privacy Policy and Terms of Service apply.