





















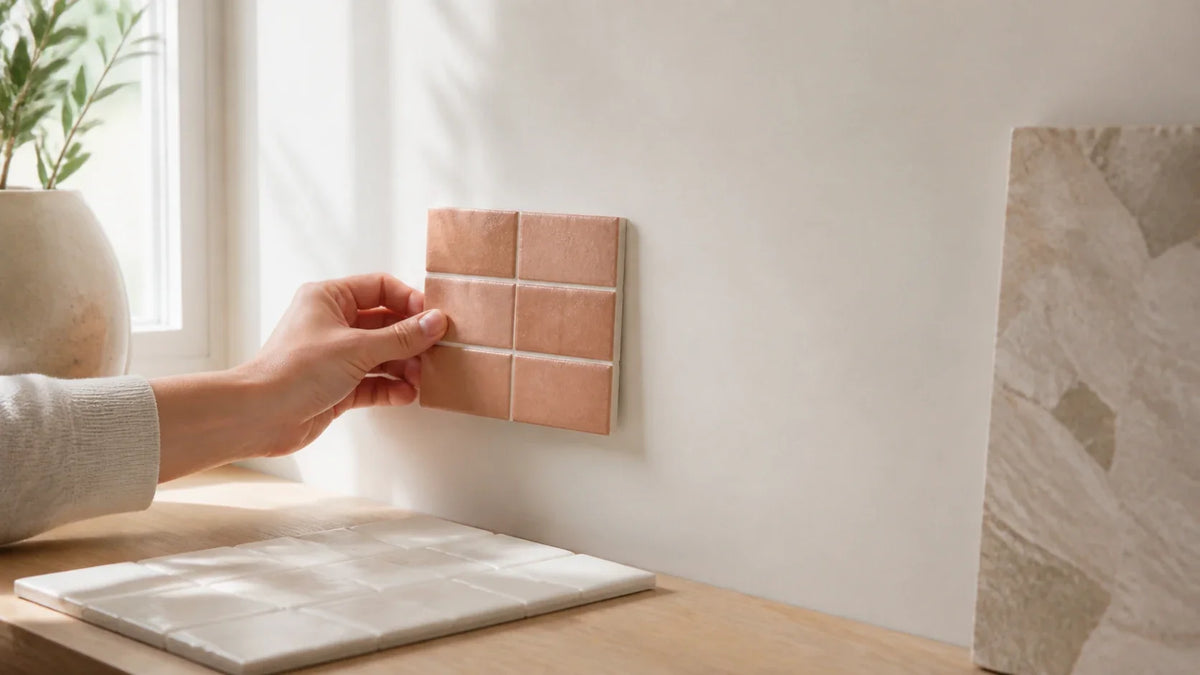
Painted-Wall Installation Guide
Your wall may feel dry after 24 hours, while your renovation schedule says the backsplash needs to go up this weekend. That deadline creates a real risk: dry-to-touch paint has not necessarily developed enough internal strength to support a pressure-sensitive adhesive. Paint cure time answers when testing can begin; the Peel-and-Stick Tile Guide helps you plan the remaining surface checks, layout, cuts, edges, and care.
Do not rely on a universal 24-hour, seven-day, or 21-day rule. Wait until the paint reaches its manufacturer-stated full-cure point and satisfy any longer waiting period required by the tile manufacturer. Test findings can refine that guidance only for the exact paint, tile, temperature, humidity, preparation, and installation method studied.
Three principles should guide your decision:
- Drying versus curing: Dry-to-touch paint can still be soft beneath its surface.
- Early-installation risk: Premature application can cause edge lift, slippage, paint transfer, coating separation, or drywall damage.
- Verification before installation: Confirm both manufacturers’ instructions, inspect the coating, and complete a hidden-area adhesion test.
A wall that feels dry is like bread with a finished crust but a soft center. The surface may resist a fingertip while remaining vulnerable to prolonged adhesive stress.
This guide uses two evaluation frameworks. Cure-Adjusted Bond Integrity, or CABI, compares each waiting interval with the same paint system at its documented full-cure point. Wall Readiness Threshold, or WRT, requires every readiness gate to pass before full installation.
No waiting interval should be declared a winner without complete observations, sample counts, environmental records, photographs, and a full-cure control. Where verified test results are unavailable, this article marks them as unavailable rather than filling the gaps with estimates.

What waiting time did the controlled painted-wall test support?
Are conflicting claims about 24 hours, one week, 21 days, and 30 days making it impossible to plan your project?
This section separates manufacturer requirements from measured findings and explains how a valid waiting-time comparison must be judged.
No controlled interval result can be responsibly reported from the information currently available. The conservative answer remains: use the later of the paint manufacturer’s full-cure period and the tile manufacturer’s minimum waiting period.
That distinction matters. A tile instruction saying “wait 21 days after painting” does not override paint requiring 30 days to cure under the conditions listed on its technical data sheet. Nor does a paint’s 14-day cure claim override a tile manufacturer requiring four weeks.
Under a CABI framework, one week or 21 days passes only if its bond performance reaches the predefined threshold relative to the verified full-cure control. Without raw observations and a matched control, neither interval can be called safe.
Why is dry-to-touch paint different from cured paint?
Drying is the early loss of water or solvent that makes a coating feel dry. Curing is the longer process through which the paint film develops its intended hardness, cohesion, chemical resistance, and adhesion to the wall.
Acrylic latex paint contains polymer particles dispersed in water. As water leaves, those particles move together and form a continuous film. That film-formation process continues after the surface stops feeling wet.
The practical difference is substantial:
- Dry-to-touch: The surface can tolerate light contact without leaving paint on a finger.
- Recoat-ready: Another paint coat may be applied under the manufacturer’s stated conditions.
- Service-ready: The coating can tolerate a specified level of ordinary use.
- Fully cured: The paint has reached the manufacturer’s stated cure point under qualifying conditions.
These terms are not interchangeable. A two-hour recoat time is not permission to apply a large adhesive sheet two hours after painting.
Temperature, relative humidity, film thickness, airflow, colorant level, primer, and substrate porosity can change the timeline. Cool or humid rooms usually slow water loss. Thick paint films and low ventilation can also delay film development.
Volatile organic compounds, or VOCs, are compounds that evaporate during and after application. Smell alone is not a cure meter. A wall can have little odor while the coating remains too soft for adhesive service.
How does pressure-sensitive adhesive interact with paint?
A pressure-sensitive adhesive, or PSA, bonds through contact, pressure, and time rather than through heat or a separate chemical curing step. It must flow into microscopic surface irregularities while retaining enough internal strength to resist movement and peeling.
Professor Costas Creton’s peer-reviewed overview of pressure-sensitive adhesion explains that successful PSA performance depends on a balance between viscous flow and elastic resistance. An adhesive must wet the surface, yet remain cohesive enough to resist separation under load.[1]
Fresh paint introduces a weak-link problem. The adhesive may bond firmly to the paint while the paint remains weakly attached to the drywall or primer. In that case, stronger tile tack does not create a safer installation. It simply moves the failure plane deeper into the wall system.
Possible failure locations include:
- Adhesive-to-paint interface: The tile releases cleanly from the coating.
- Within the adhesive: Adhesive splits or leaves residue on both surfaces.
- Within the paint film: A layer of paint transfers to the tile.
- Paint-to-primer interface: Paint peels while the primer remains.
- Primer-to-drywall interface: The coating system pulls away from the wall.
- Within drywall paper: Tile removal tears the paper face.
This is why “the tile stuck well” is incomplete evidence. Bond strength without coating integrity can increase removal damage.
What do current manufacturer instructions establish?
Manufacturer instructions establish product-specific minimums, not a universal law for every paint-and-tile combination.
For example, Smart Tiles’ published installation guidance instructs users to wait 21 days after applying fresh paint before installing its self-adhesive tiles.[2] WallPops’ wall-preparation guidance states that newly painted walls should be allowed to cure for four weeks before application.[3]
Those periods illustrate why a generic internet answer can be misleading. Each instruction applies to its manufacturer’s product, eligible surfaces, exclusions, and warranty terms.
Paint documentation creates a second deadline. Benjamin Moore’s Regal Select Interior Paint technical data lists product-specific drying and curing information while stating the required temperature, humidity, spread rate, and surface-preparation conditions.[4] BEHR’s Premium Plus technical documentation also distinguishes early drying from a longer cure period.[5]
Use these examples as a method, not as substitute instructions:
- Identify the tile: Record the exact brand, collection, lot number, and adhesive construction.
- Identify the coating: Record the manufacturer, product line, sheen, base, color, application date, and lot number.
- Retrieve current documents: Save the installation instructions, technical data sheet, and warranty terms.
- Compare deadlines: Select the later applicable deadline.
- Archive the evidence: Save a PDF or dated web copy because online instructions can change.
Industry consensus dictates product-specific verification because “latex paint” describes a broad category, not one standardized film. Two acrylic latex paints can have different resin systems, cure periods, hardness, and adhesion.
For a broader painted-wall installation workflow, review the practical bonding and surface checks in Installing Stick Tiles on Painted Walls: Guide & Tips before committing material to the full wall.
What is Cure-Adjusted Bond Integrity?
Cure-Adjusted Bond Integrity is a comparative score for tile performance at an early waiting interval relative to the same painted-wall system at full cure. It prevents a calendar day from being treated as proof of readiness.
The full-cure sample is the quantitative baseline. Every early interval must be benchmarked against that control across the same criteria:
- Initial tack: Whether the tile establishes uniform contact during application.
- Edge lift: Whether corners or edges visibly release.
- Slippage: Whether the sample moves from its marked position.
- Bond retention: Whether contact remains stable through the observation period.
- Paint transfer: Whether coating appears on the adhesive after removal.
- Removal damage: Whether paint, primer, drywall paper, or joint compound separates.
A practical scoring model can use a zero-to-four scale for each category. The scoring direction must be defined before testing so the standard cannot be changed after seeing the results.
| CABI category | 4: Control-equivalent | 3: Minor difference | 2: Material concern | 1: Major failure | 0: Immediate failure |
|---|---|---|---|---|---|
| Initial tack | Uniform contact | Small isolated weak area | Several weak areas | Broad poor contact | Cannot establish contact |
| Edge lift | None | Less than 1 mm | 1–3 mm | More than 3 mm | Progressive release |
| Slippage | None detected | Trace movement | Visible movement | Major displacement | Sample detaches |
| Bond retention | Matches control | Slightly below control | Clearly below control | Minimal retention | No useful retention |
| Paint transfer | None | Trace, localized | Visible transfer | Broad transfer | Coating delamination |
| Removal damage | No damage | Minor marking | Local paint loss | Broad coating loss | Drywall-paper damage |
The operational threshold should be strict. For example, a protocol might require at least 90% of the full-cure control score, zero progressive edge lift, zero slippage, and no paint or drywall-paper failure.
That 90% figure is a proposed protocol threshold, not an established industry requirement. A different threshold may be selected, but it must be chosen before testing and applied consistently.
How should a controlled interval test be designed?
A useful test keeps everything constant except the waiting interval. Otherwise, differences in paint thickness, roller technique, tile size, pressure, or room conditions can be mistaken for cure-time effects.
A reproducible protocol should document:
- Drywall samples: Use panels from the same drywall sheet with the same paper face.
- Joint treatment: Either exclude joint compound or apply the same compound and primer system to every panel.
- Primer: Record the exact product, number of coats, spread rate, and cure period.
- Paint: Use one lot, one sheen, one color, and a documented wet-film application method.
- Film thickness: Measure wet-film thickness rather than relying only on visual coverage.
- Tile samples: Cut equal-size pieces from the same production lot.
- Application pressure: Use the same tool, number of passes, direction, and applied load.
- Dwell time: Observe every sample for identical periods before inspection and removal.
- Environment: Log temperature and relative humidity throughout paint curing and tile exposure.
- Removal method: Use the same angle, speed, temperature, and pull direction.
- Replication: Test several specimens per interval rather than one sample.
One sample per interval is especially weak evidence. A single speck of dust, roller ridge, or adhesive defect can control the result.
Three specimens per interval provide only a basic screen. Five or more give a better view of variability, though they still do not turn a home test into certified laboratory research.
Which waiting intervals should be compared?
The schedule should include the deadlines readers actually encounter, plus the paint’s documented full-cure point.
A useful interval set is:
- 24 hours: Represents the common next-day installation claim.
- 72 hours: Represents a long-weekend renovation schedule.
- Seven days: Tests the frequently repeated one-week recommendation.
- Fourteen days: Captures a common intermediate cure period.
- Twenty-one days: Matches certain tile-manufacturer instructions.
- Thirty days: Captures longer paint or wall-covering guidance.
- Full-cure control: Uses the paint manufacturer’s stated cure point under qualifying conditions.
If the stated full cure is 30 days, the 30-day specimen and full-cure control may share an age. Separate replicate groups are still useful for detecting sample variability.
The test must also record deviations. If humidity exceeded the paint data sheet’s qualifying range, “day 21” describes elapsed time but does not prove that the expected cure state was reached.
What did each interval demonstrate?
No interval observations, photographs, sample counts, or verified product identifiers were supplied for this article. The results must therefore remain marked as not determined.
Publishing invented edge-lift measurements or declaring 21 days successful would undermine the entire purpose of the test.
| Waiting interval | Sample count | Temperature | Relative humidity | Initial tack | Edge lift | Slippage | Paint transfer | Removal damage | CABI versus full-cure control | Result |
|---|---|---|---|---|---|---|---|---|---|---|
| 24 hours | Not documented | Not documented | Not documented | Not tested | Not tested | Not tested | Not tested | Not tested | Not calculable | Undetermined |
| 72 hours | Not documented | Not documented | Not documented | Not tested | Not tested | Not tested | Not tested | Not tested | Not calculable | Undetermined |
| 7 days | Not documented | Not documented | Not documented | Not tested | Not tested | Not tested | Not tested | Not tested | Not calculable | Undetermined |
| 14 days | Not documented | Not documented | Not documented | Not tested | Not tested | Not tested | Not tested | Not tested | Not calculable | Undetermined |
| 21 days | Not documented | Not documented | Not documented | Not tested | Not tested | Not tested | Not tested | Not tested | Not calculable | Undetermined |
| 30 days | Not documented | Not documented | Not documented | Not tested | Not tested | Not tested | Not tested | Not tested | Not calculable | Undetermined |
| Manufacturer-stated full cure | Not documented | Not documented | Not documented | Not tested | Not tested | Not tested | Not tested | Not tested | 100% reference | Undetermined |
This table answers the central question honestly: neither one week nor 21 days has passed the predefined CABI threshold without verified measurements.
The editorial recommendation is therefore conservative. Wait for the later manufacturer deadline, then use a hidden-area test. A deadline can qualify a wall for evaluation, but it cannot guarantee compatibility.
What should the environmental and photographic records include?
Environmental logging connects calendar time to actual curing conditions. Record room temperature and relative humidity at least daily, and more often during the first several days.
| Date and time | Paint age | Temperature | Relative humidity | Ventilation status | Visible condition | Odor observation | Contact prohibited? |
|---|---|---|---|---|---|---|---|
| Entry required | Hours or days | °F | % RH | Fan/HVAC/window status | Gloss, softness, defects | Descriptive only | Yes or no |
Odor is contextual information, not proof of cure. Likewise, a household humidity reading is useful but may not match the accuracy of calibrated laboratory equipment.
Photographs should include:
- Pre-application image: Show the clean painted sample and identification card.
- Application image: Show tile alignment and pressure method.
- Immediate image: Capture edge contact after installation.
- Scheduled interval images: Photograph the same edges at the same distance and lighting.
- Pre-removal image: Document slippage, bubbles, and edge lift.
- Post-removal image: Show the wall and adhesive face beside the specimen ID.
- Close-up damage image: Include a ruler or scale for paint loss and tears.
A fixed camera position is more valuable than dramatic close-ups. Changing light and angle can make a raised edge appear larger or smaller.
Can an ASTM D3359-style check prove that paint is ready?
No. An adapted cross-cut check can reveal obvious coating weakness, but it does not prove complete cure or predict peel-and-stick tile performance.
ASTM D3359 is a standardized method for assessing coating adhesion by tape testing. It specifies procedures, tools, cuts, tape use, inspection, and classification.[6] A homeowner’s simplified version does not strictly adhere to the standard.
Any household check must be described accurately:
- Adapted check: Inspired by the cross-hatch concept but performed outside certified conditions.
- Not ASTM-compliant: No claim of conformance should be made without following the full standard.
- Potentially destructive: Cutting through paint can damage drywall paper and create a repair area.
- Limited conclusion: A pass suggests basic coating integrity at that spot, not universal adhesive compatibility.
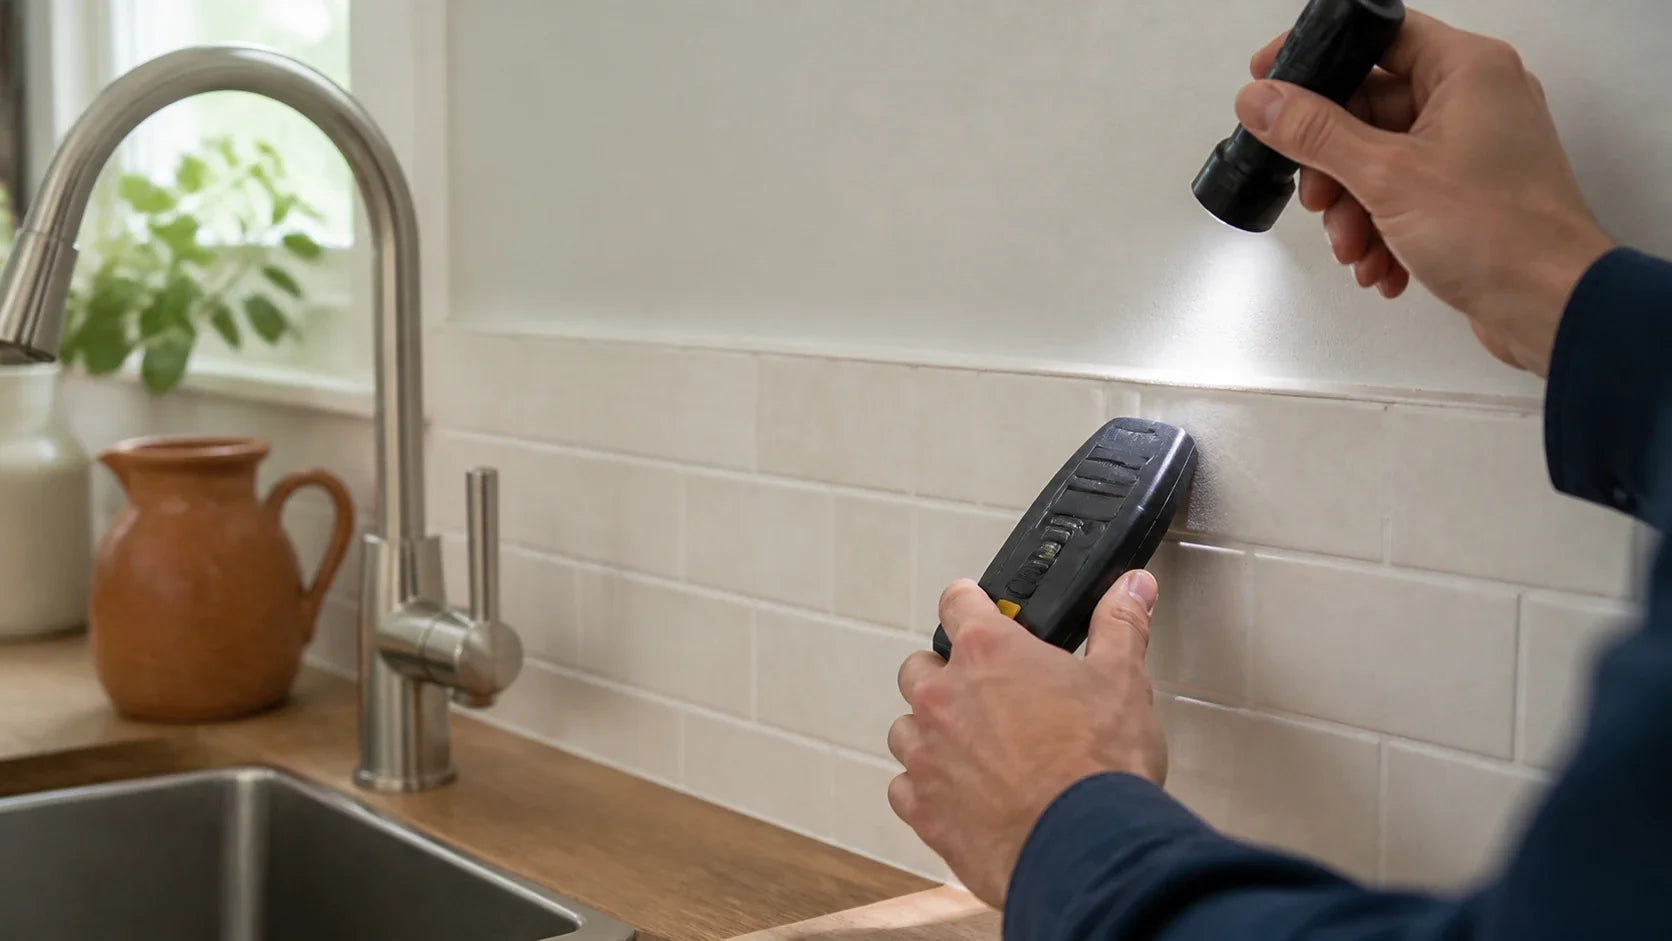
For most finished walls, a non-cutting hidden-area tile test is more relevant and less destructive. If paint already flakes under gentle pressure, stop before applying adhesive.

How can you decide whether your painted wall is ready?
Are you unsure whether the wall needs more curing time, cleaning, sanding, primer, or a complete reset?
This section provides a condition-based decision process that stops installation whenever a critical readiness gate fails.
A painted wall is ready only after it passes every Wall Readiness Threshold gate: cure time, cleanliness, coating integrity, environmental conditions, substrate compatibility, and a hidden-area test.
Passing five out of six is not enough. One contaminated or weak layer can become the failure plane for the entire backsplash.
What is the Wall Readiness Threshold?
The WRT is a pass-or-stop framework. It replaces guesswork with a standardized evaluation.
| Readiness gate | Pass condition | Stop condition | Next action |
|---|---|---|---|
| Manufacturer timing | Later applicable deadline has elapsed | Paint or tile deadline remains open | Wait and maintain qualifying conditions |
| Surface cleanliness | Clean, dry, residue-free wall | Grease, dust, soap, or cleaner residue | Clean using permitted method |
| Coating integrity | Paint is firm and well bonded | Softness, peeling, blistering, transfer | Diagnose and repair coating |
| Environment | Within installation requirements | Excess humidity, condensation, cold wall | Stabilize room |
| Compatibility | Tile maker permits painted substrate and sheen | Surface is excluded | Use an approved substrate strategy |
| Hidden-area test | Stable bond with acceptable removal outcome | Lift, slip, paint transfer, wall damage | Stop and investigate |
This framework inherently neutralizes the false confidence created by touch-dry status. Time is one gate, not the complete decision.
What decision tree should you follow?
Use this sequence before purchasing or cutting the full tile quantity.
- Locate both instructions: Retrieve the paint technical data sheet and the tile installation and warranty documents.
- Choose the later deadline: Compare full-cure and fresh-paint waiting requirements.
- Check room history: Confirm whether high humidity, cold temperatures, or poor airflow slowed curing.
- Inspect the coating: Look for softness, blocking, bubbles, peeling, chalking, or color transfer.
- Confirm substrate eligibility: Verify that painted drywall and the existing sheen are permitted.
- Clean correctly: Remove dust and grease without leaving soap or solvent residue.
- Allow complete drying: Do not trap cleaning moisture beneath the tile.
- Run a hidden-area test: Use the actual tile and wall, not a substitute tape.
- Observe through the specified dwell period: Do not judge the sample immediately after pressing.
- Install only after every gate passes: Stop if any failure symptom appears.
If your deadline arrives before the paint deadline, the safe answer is to move the tile installation. A rushed backsplash can create more work than the waiting period saves.
Can peel-and-stick tile go over flat, eggshell, satin, or glossy paint?
Compatibility depends on the tile manufacturer, coating condition, and surface texture. Sheen alone does not establish readiness.
| Paint finish | Typical concern | Preparation implication | Installation status |
|---|---|---|---|
| Flat or matte | Porosity, weak burnish resistance, cleaning damage | Clean gently; confirm coating strength | Manufacturer approval required |
| Eggshell | Moderate texture and variable washability | Remove contamination without polishing residue into the film | Hidden test required |
| Satin | Smoother surface but possible kitchen grease | Degrease using an approved residue-free method | Hidden test required |
| Semi-gloss | Lower surface texture and possible poor wetting | Tile instructions may require deglossing | Confirm before abrasion |
| Gloss | Reduced mechanical key and stronger surface contamination visibility | Controlled deglossing may be required | Do not assume direct compatibility |
A common misconception is that rougher always means better. Aggressive sanding can cut through paint, expose weak layers, create dust, and void a tile warranty.
For glossy oil-based coatings, the architectural standard is a compatibility-first preparation method rather than automatic installation. To avoid preventable tile failure and compare which preparation held best, We Tested Glossy Oil Paint: Peel-and-Stick Prep Guide provides the relevant evaluation framework for that separate substrate condition.
Should you clean, sand, or prime the wall?
Clean first unless the product instructions specify another sequence. Sanding and priming solve specific problems; they are not universal upgrades.
Cleaning
Kitchen walls often hold an invisible layer of aerosolized grease. Bathrooms may carry soap residue, hair products, or cleaning-film deposits.
Use only a cleaner compatible with the paint and tile instructions. Then remove residue as directed and let the wall dry fully.
- Dust removal: Use a clean, lint-free cloth or permitted vacuum method.
- Grease removal: Use the mildest approved cleaner capable of removing the contamination.
- Rinse requirement: Rinse if the cleaner’s instructions require it.
- Drying period: Allow moisture to leave seams, corners, and repaired areas.
- Final inspection: Check the wall under side lighting for streaks and residue.
Avoid assuming isopropyl alcohol, degreasers, or household sprays are universally safe. Some can soften paint, change sheen, or leave surfactants behind.
Sanding or deglossing
Deglossing means reducing surface shine to improve mechanical contact. It should be cautious, uniform, and permitted by both manufacturers.
Stop if sanding causes:
- Color transfer: Paint dust appears unusually soft or gummy.
- Layer exposure: Primer, joint compound, or drywall paper becomes visible.
- Uneven texture: Deep scratches create channels beneath thin tile.
- Peeling edges: Existing coating lifts around repairs or cut lines.
Remove all sanding dust. Adhesive bonded to loose dust is functionally bonded to nothing.
Priming
Primer can unify porous repairs and improve paint-system adhesion, but it creates a new coating with its own drying, curing, and compatibility requirements.
Do not apply primer over sound finished paint simply to avoid waiting. That resets the coating clock and may place an unapproved layer beneath the tile.
For exposed joint compound, the relevant cost-to-yield ratio includes repair labor and the chance of paper damage, not just primer price. To compare cure times, primer behavior, failure signs, and a safer test-patch method, We Tested Peel-and-Stick Tile Over Joint Compound establishes the correct preparation questions for porous repaired areas.
If your project uses a wood-fiber panel rather than drywall, do not transfer painted-wall assumptions to that substrate. For primer guidance and tested preparation logic, see We Tested MDF Prep for Peel-and-Stick Tile Success.
How do humidity and ventilation affect the waiting period?
High relative humidity and low airflow can slow waterborne paint drying because moisture leaves the coating less efficiently. Cool surfaces can compound the delay.
Use the paint data sheet’s application and curing conditions as the operational threshold. A generic statement such as “the room felt comfortable” is not measurable enough.
Practical controls include:
- Room measurement: Use a temperature and relative-humidity meter near the wall.
- Stable conditioning: Maintain qualifying conditions continuously where practical.
- Air movement: Provide gentle ventilation without blowing dust onto wet paint.
- Condensation control: Do not install on walls that feel damp or develop morning moisture.
- Moisture-source repair: Correct leaks, wet drywall, or recurring steam exposure first.
Ventilation helps moisture leave, but a fan cannot rewrite the manufacturer’s cure period. Nor does a dehumidifier prove that the coating beneath the surface has reached full performance.

Why does peel-and-stick tile fall off a painted wall?
Tile usually falls because one part of the wall-adhesive system failed. The visible symptom can help identify that layer.
| Symptom | Likely causes | What to inspect | Corrective direction |
|---|---|---|---|
| Edge lift | Low contact, texture, contamination, tile memory | Edge wet-out and wall cleanliness | Remove affected piece and correct cause |
| Whole tile slips | Heat, low initial tack, contamination, excess load | Position marks and adhesive condition | Stop installation and verify compatibility |
| Paint on adhesive | Weak or uncured coating | Paint layer and primer bond | Repair coating; extend cure period |
| Clean tile release | Poor adhesive wetting or excluded surface | Sheen, texture, dust, temperature | Follow tile substrate instructions |
| Bubbles | Trapped air, wall irregularity, stretching | Application method and flatness | Reapply only if product permits |
| Repeated corner curl | Tile memory, thermal movement, insufficient pressure | Acclimation and room temperature | Follow tile conditioning instructions |
| Drywall paper tears | Adhesive bond exceeds wall-layer strength | Removal method and coating system | Repair drywall before reuse |
Do not treat edge lift with random glue unless the manufacturer authorizes it. Added adhesive can alter fire behavior, removal characteristics, warranty coverage, and future repair difficulty.
Edges or corners are lifting
Check: grease, dust, wall texture, insufficient edge pressure, tile memory, and cold material. Action: stop, remove the affected piece if permitted, correct the cause, and repeat a representative test.
The tile is slipping downward
Check: heat, contamination, wall temperature, low initial tack, and installation pressure. Action: suspend installation and verify the surface and product requirements.
Paint transferred to the adhesive
Check: paint age, cure conditions, primer bond, surface preparation, and coating softness. Action: repair the coating system and restart the applicable cure clock.
Bubbles appeared after installation
Check: trapped air, roller ridges, wall flatness, stretched tile, and pressure consistency. Action: correct only by a method expressly permitted by the tile instructions.
Drywall paper tore during removal
Check: removal angle, wall repairs, coating adhesion, dwell time, and temperature. Action: stop removal and use an approved damaged-drywall repair system before installing again.
Can you repair a failed area without removing everything?
Sometimes, but the cause must be identified first. Repressing a contaminated edge may produce a temporary cosmetic improvement while the underlying failure continues.
Use a stop-and-diagnose approach:
- Isolated air pocket: Smooth only if the tile instructions permit repositioning or pressure correction.
- Contaminated edge: Replacement is usually more reliable than pressing dirt into the adhesive.
- Paint transfer: Remove affected material and repair the coating system.
- Moisture problem: Correct the moisture source before replacing tile.
- Progressive lift across several pieces: Suspend work because the substrate or environment may be incompatible.
- Drywall-paper damage: Seal and repair the paper using a coating system approved for damaged drywall.
If multiple samples fail in the same way, treat that as a deterministic outcome of the current system rather than a run of bad luck.
Will peel-and-stick tile damage fresh paint during removal?
It can. “Removable” does not necessarily mean damage-free on every paint, primer, repair, drywall face, age, temperature, and removal angle.
Fresh paint may have lower internal strength. Older paint may also fail if it was applied over dust, gloss, moisture, or poorly bonded layers.
Removal risk rises with:
- Weak coating adhesion: Paint separates from primer or drywall.
- Porous repairs: Joint compound or torn paper lacks a stable sealed surface.
- Long dwell time: Adhesive contact can change with time and temperature.
- Fast pulling: Abrupt force concentrates stress at the peel line.
- Cold material: Some tiles become less flexible in cool conditions.
- Unapproved heat: Excess heat can soften paint or create a safety issue.
For renter and property-manager decisions, the total cost of ownership includes patching, priming, repainting, downtime, and lost deposit risk. Before installing, use the renter-friendly wall-damage checklist in We Tested Backsplash Risk Before Peel-and-Stick Tile for the baseline inspection process behind that broader damage assessment.
Always obtain landlord approval in writing. Product removability claims do not amend a lease or transfer repair responsibility.
What warranty limitations should you check?
Read the warranty before installation, not after a failure. Many warranties limit eligible substrates, preparation methods, installation environments, remedies, and consequential-damage coverage.
Confirm these points:
- Approved substrates: Verify whether painted drywall is expressly accepted.
- Fresh-paint delay: Record the required waiting period.
- Excluded finishes: Check restrictions involving textured, matte, glossy, or oil-painted walls.
- Moisture exclusions: Review sink, shower, steam, and leak limitations.
- Heat clearances: Confirm permitted use near ranges or other heat sources.
- Preparation products: Check whether cleaner, primer, or extra adhesive affects coverage.
- Remedy limits: Determine whether coverage is limited to replacement product.
- Wall-damage exclusions: Check whether paint and drywall repairs are excluded.
- Proof requirements: Save receipts, lot numbers, photos, and installation records.
An installation can appear successful while falling outside warranty conditions. The paperwork and the physical result are separate evaluations.
What is the safest final recommendation?
Do you need a defensible answer that protects both your schedule and your newly painted wall?
Use the later manufacturer deadline, then require the wall to pass every readiness gate before installing the full backsplash.
Adhesive readiness should be judged by Cure-Adjusted Bond Integrity and the Wall Readiness Threshold, not touch-dry status or an unsupported day count.
Under the documented information available here, no tested interval can be declared successful. One week and 21 days remain unverified because no matched samples, environmental logs, raw observations, photographs, or full-cure control results were provided.
The safest sequence is clear:
- Record the paint date: Include coat times, primer, product, sheen, and room conditions.
- Locate both manufacturers’ instructions: Save the current technical sheets and warranty terms.
- Use the longer deadline: Do not substitute touch-dry or recoat time.
- Inspect and clean the wall: Stop for softness, peeling, contamination, or moisture.
- Complete a hidden test: Use the actual tile under representative conditions.
- Document the outcome: Photograph edges, reference marks, removal condition, and any paint transfer.
- Proceed only after every gate passes: A failed gate means wait, repair, or select another approved installation method.
This approach yields an optimal configuration because it treats the wall as a layered system rather than a painted surface in isolation. It also provides a defensible record if adhesion or removal problems appear later.
Download or copy the readiness checklist, record your room conditions, and verify the current documents for your exact paint and tile. That modest preparation can prevent wasted material, coating failure, and an avoidable drywall repair.
Download the painted-wall readiness checklistFrequently Asked Questions
Can I install peel-and-stick tile 24 hours after painting?
Does a dry-feeling wall mean you can keep a next-day installation schedule?
The answer separates surface dryness from the coating strength required for adhesive service.
Usually, 24 hours should not be treated as sufficient unless both manufacturers expressly permit it and the wall passes all compatibility checks.
At 24 hours, many paints are dry enough for light contact but have not reached their stated full cure. Adhesive can then place sustained peel and shear stress on a coating that is still developing.
Use the later manufacturer deadline. A successful 24-hour test on a different paint, sheen, tile, or climate does not establish readiness for your wall.
Is seven days long enough before installing a peel-and-stick backsplash?
Are you hoping one week offers a practical compromise between speed and safety?
A condition-based comparison shows why seven days may qualify for testing but cannot serve as a universal approval.
Seven days is long enough only if it meets or exceeds both manufacturers’ requirements and the wall passes the readiness evaluation.
If the paint states a 14-day full cure or the tile requires 21 days, seven days fails the timing gate automatically. Do not use a hidden test to override an explicit minimum waiting period.
Even after seven days, inspect for softness, transfer, high humidity, cleaning residue, and weak paint adhesion.
Does latex paint need to cure before peel-and-stick tile is installed?
Does water-based paint become adhesive-ready as soon as its water evaporates?
Understanding film formation explains why acrylic latex paint often needs more time.
Yes. Latex paint should reach the applicable manufacturer-stated cure stage before a large pressure-sensitive adhesive is applied.
“Latex” does not identify one resin formula or one cure period. Product line, sheen, colorant, coat thickness, humidity, and temperature all affect performance.
Check the exact technical data sheet rather than relying on a generic latex paint cure time before peel-and-stick tile.
Is eggshell or satin paint better for peel-and-stick tile?
Are you trying to choose a sheen based on adhesion alone?
The safer comparison weighs cleanability, coating strength, surface texture, and tile-manufacturer approval.
Neither eggshell nor satin is automatically better for every tile. Both can work if the coating is cured, clean, sound, smooth enough, and permitted by the tile manufacturer.
Eggshell may have slightly more surface texture. Satin may be easier to clean but can expose compatibility problems if contamination remains or the surface is too slick for a particular adhesive.
Use the actual product instructions and a hidden-area test.
How long should a hidden-area tile test remain on the wall?
Can an immediate stick test reveal whether the backsplash will remain stable?
A staged observation period captures edge lift, slippage, paint transfer, and delayed bond changes.
Follow the tile manufacturer’s specified test or dwell period if one is provided. If no period is stated, an immediate press-and-pull check is inadequate.
Inspect the test after application and at scheduled intervals. Record edge lift, position changes, bubbles, and wall conditions.
Removal testing may damage the paint. Perform it only with property approval and according to the tile maker’s instructions.
Does stronger adhesive prevent peel-and-stick tile failure?
Would extra glue solve a wall that seems difficult to bond?
Identifying the true failure layer prevents a stronger adhesive from causing greater wall damage.
No. Stronger adhesive cannot repair weak paint, contaminated surfaces, damp drywall, or poorly bonded primer.
If the coating is the weak layer, extra adhesive can increase paint transfer and drywall damage. It may also violate installation instructions or warranty terms.
Correct the substrate first. Adhesive strength should be benchmarked against the wall system’s integrity, not judged in isolation.
Can peel-and-stick tile be removed without damaging painted drywall?
Are “removable” and “damage-free” being treated as the same promise?
A realistic risk assessment accounts for paint age, coating adhesion, dwell time, temperature, and removal method.
Damage-free removal cannot be guaranteed across all painted drywall. Results depend on the tile, adhesive, coating system, wall repairs, installation duration, and removal technique.
Test in a hidden location and read the warranty exclusions. Renters should secure written approval and document the wall before installation.
Plan for possible patching and repainting even if the product is marketed as removable.
Sources
- Costas Creton, “Pressure-Sensitive Adhesives: An Introductory Course,” MRS Bulletin, Volume 28, Issue 6, 2003, pp. 434–439, Cambridge University Press, DOI: 10.1557/mrs2003.124.
- Smart Tiles, installation and surface-preparation instructions for self-adhesive wall tiles, including fresh-paint waiting guidance.
- WallPops, wall-preparation and installation guidance for peel-and-stick products, including newly painted wall guidance.
- Benjamin Moore, Regal Select Interior Paint technical data and product documentation.
- BEHR, Premium Plus Interior Paint technical documentation and application guidance.
- ASTM International, ASTM D3359, Standard Test Methods for Rating Adhesion by Tape Test.



Leave a comment
This site is protected by hCaptcha and the hCaptcha Privacy Policy and Terms of Service apply.