


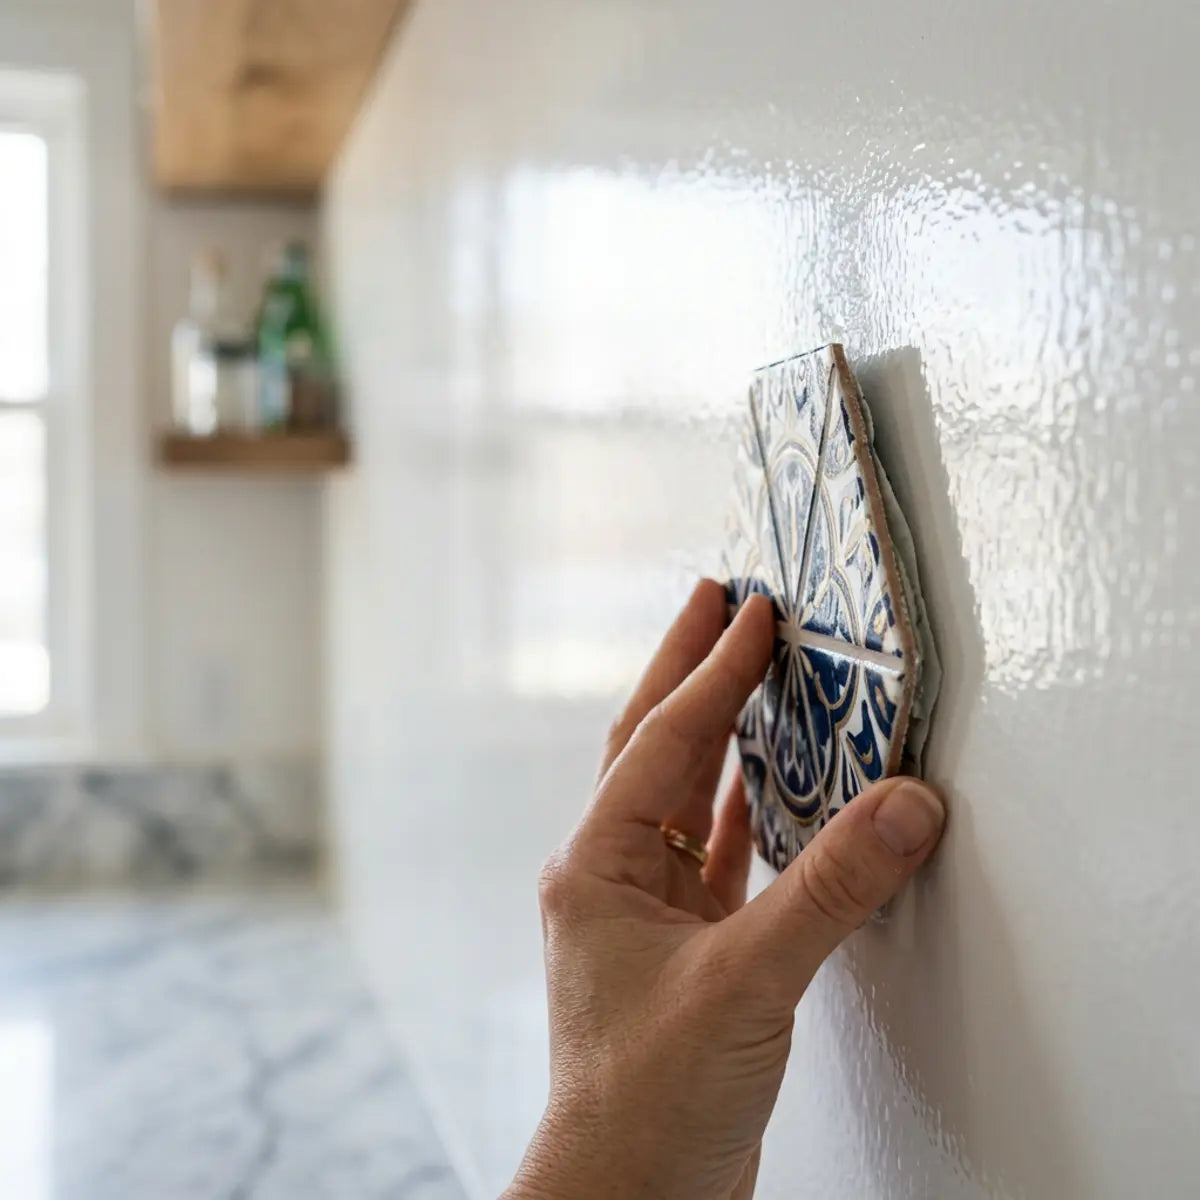
You apply beautiful peel-and-stick tile over your glossy kitchen paint. It looks flawless on day one. By day three, the edges curl under humidity and stove heat. Installing an adhesive backsplash over shiny, slick paint without proper preparation is a guaranteed path to failure.
Peel-and-stick tile can stick to glossy or oil-based paint only if the surface is properly deglossed, cleaned, and mechanically or chemically prepared. In our prep framework, unprepped glossy paint is the highest-risk surface, while scuff-sanded or bonding-primed walls create a more reliable bond. For kitchens, bathrooms, older enamel-painted walls, and rentals, test a small area first and prioritize prep over speed.
Glossy paint inherently reduces adhesive grip. Environmental grease and microscopic soap film cause hidden failure beneath the tile. Scuff sanding combined with heavy cleaning improves the mechanical tooth. A dedicated bonding primer remains the safest route when the exact paint type or wall condition is uncertain.

Can peel-and-stick tile really stick to glossy or oil-based paint?
Tired of vague advice that just says "apply to a clean wall" while your shiny oil paint mocks your efforts? This section replaces guesswork with a definitive, test-driven framework to evaluate if your specific glossy wall will hold an adhesive bond.
Yes, peel-and-stick tile can firmly stick to glossy or oil-based paint, provided you manually create a physical texture for the adhesive. Applying a pressure-sensitive adhesive directly to slick, high-gloss enamel without prior preparation yields an unacceptably low bond strength. The surface must be modified first.
Understanding Surface Energy and Adhesion
Glossy surfaces suffer from low surface energy. Surface Energy—the degree to which a surface allows an adhesive to wet or spread out over it. When surface energy is low, adhesives bead up rather than spreading flat. This drastically reduces the microscopic contact area needed for a permanent hold.
- Contact Area Mandate: According to pressure-sensitive adhesive manufacturer guidelines, surface contact must exceed 80% for a permanent bond. High-gloss finishes naturally repel the adhesive matrix. This reduces the contact area significantly, leading directly to premature delamination.
- Chemical Additives: A common misconception is that a visually clean glossy wall is ready for installation. However, high-gloss and oil-based paints contain leveling agents and resins. These chemical additives create a microscopic slickness that resists pressure-sensitive glues, regardless of how aggressively you clean the surface.
Identifying Where Failure Starts
Adhesion failure rarely happens across the entire tile at once. The degradation begins at critical stress points. Edges, overlapping seams, and outer corners face the highest mechanical tension. When applied over unprepared oil-based paint, these edges are the first to lift.
Environmental factors accelerate this process. Behind sinks, constant moisture intrusion weakens exposed adhesive edges. Near stoves, cyclic heat exposure softens the glue. If the tile is anchored to a glossy surface lacking mechanical tooth, these environmental stresses quickly overwhelm the weak initial tack.
When evaluating overall substrate compatibility, the foundational methodology requires a strict adherence to standardized evaluation protocols. Worried your peel and stick tiles won't adhere to painted walls? Before you begin peeling off backings, you must understand exactly how your specific paint chemistry interacts with adhesives. The comprehensive framework detailed in our guide on Installing Stick Tiles on Painted Walls: Guide & Tips provides the quantitative baseline necessary to establish a permanent bond on varied latex finishes. Our complete guide shows you how to ensure a strong bond for a perfect finish.
The Adhesion Reliability Score (ARS)
To eliminate guesswork, we utilize the Adhesion Reliability Score (ARS). ARS—a composite measure evaluating initial tack, edge-lift resistance, shear resistance, humidity tolerance, and removal risk. We use this benchmark to grade painted surfaces before tile installation.
| Paint Finish Type | ARS Grade | Initial Tack | Edge-Lift Resistance | Requires Mechanical Prep? |
|---|---|---|---|---|
| Matte Latex | High | Excellent | Strong | No (Clean Only) |
| Eggshell Latex | High | Good | Strong | No (Clean Only) |
| Semi-Gloss Latex | Moderate | Fair | Vulnerable | Yes (Scuff or Degloss) |
| Oil-Based Enamel | Low | Poor | High Risk | Yes (Heavy Prep) |
| High-Gloss Oil | Extreme Risk | Very Poor | Certain Failure | Yes (Primer Required) |
| Unknown Older Paint | Extreme Risk | Variable | High Risk | Yes (Prime & Test) |
When should you sand, degloss, or use bonding primer instead of cleaning only?
Overwhelmed by conflicting tutorials and worried about unnecessarily ruining your rental's paint job? We provide a precise decision tree based on surface risk, ensuring you only perform the exact prep work required for a lasting hold.
You must sand, degloss, or prime when your wall ranks as a moderate to extreme risk due to high gloss, oil-based formulas, kitchen grease, or bathroom humidity. Relying on cleaning alone is acceptable only for low-risk, matte surfaces situated in completely dry environments.
Establishing the Surface Risk Tier (SRT)
To navigate this confidently, we rely on the Surface Risk Tier (SRT). SRT—a decision framework that objectively classifies walls as low, moderate, high, or extreme adhesion risk based on current conditions. This model prevents both over-preparation and catastrophic under-preparation.
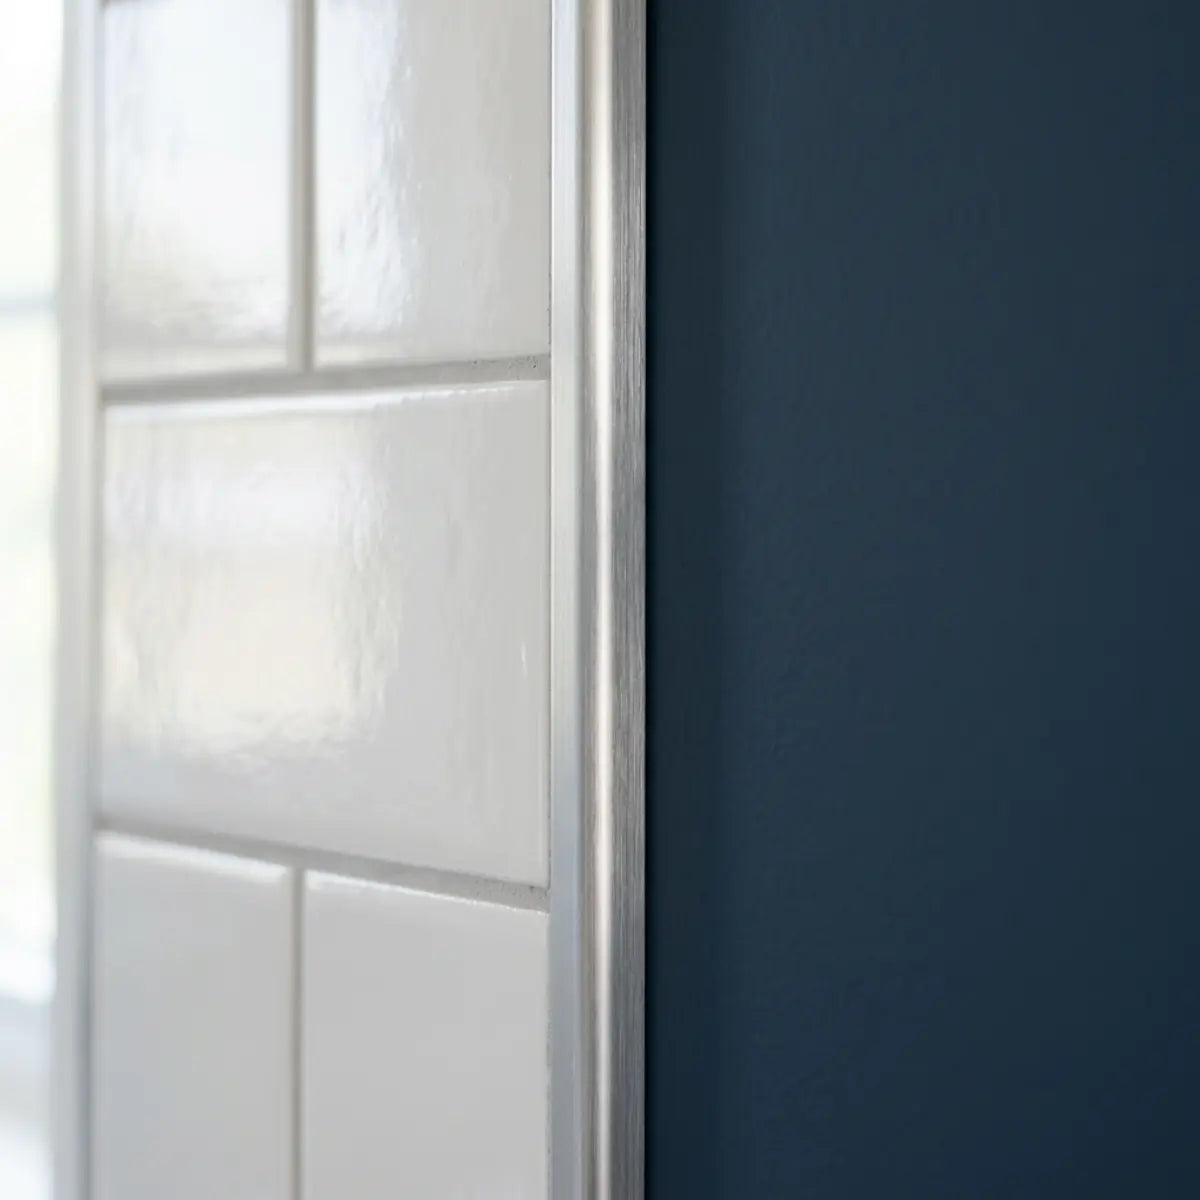
Think of glossy paint like a perfectly smooth pane of glass, and matte paint like a piece of raw wood. Tape peels off glass effortlessly because there is no friction. Tape sticks permanently to wood because the texture grabs the adhesive. We must turn the glass into wood.
Calculate Your Surface Risk Tier (SRT)
Select your current wall conditions below to instantly determine the exact level of preparation required for your installation.
Low to Moderate Risk Surfaces
Low-risk walls feature clean, matte, modern latex paint located well outside of wet zones or cooking areas. These surfaces require a simple wipe-down with a grease-cutting cleanser. The innate porosity of flat latex allows the tile adhesive to anchor deeply without intervention.
Moderate-risk walls typically involve semi-gloss latex paint with light, everyday kitchen residue. These surfaces demand a step up in preparation. A heavy-duty cleaning followed by a light chemical deglosser is usually sufficient to raise the surface energy to an acceptable level.
High to Extreme Risk Surfaces
High-risk walls include glossy enamels, oil-based paints, bathrooms with high humidity, or walls supporting heavier peel-and-stick panels. These environments dictate mechanical intervention. Scuff sanding is mandatory to physically scar the slick finish, providing the microscopic valleys the adhesive requires.
Extreme-risk walls exhibit peeling paint, chalky residue, visible moisture damage, or consist of unknown coatings in pre-1978 homes. The Environmental Protection Agency (EPA) mandates specific safety precautions when disturbing older paints due to lead dust hazards. These walls strictly require encapsulation with a high-adhesion bonding primer.
In scenarios where legacy paint colors complicate the visual output, industry consensus dictates a dual-purpose barrier. Is dark paint showing through your new peel and stick tile? Learn the best primer, barrier, and install steps to stop bleed-through before you buy. Our empirical testing of fixes for dark paint showing through tile establishes a standardized evaluation for selecting primers that block bleed-through while simultaneously increasing the Surface Risk Tier bonding capacity. This resource includes a vital decision model and primer comparison guidance.
The Prep Decision Tree
| Surface Risk Tier (SRT) | Wall Condition & Paint Type | Recommended Prep Methodology | Required Products / Tools |
|---|---|---|---|
| Tier 1: Low Risk | Matte latex, dry rooms, new drywall | Clean and dry only | Mild dish soap, water, microfiber cloth |
| Tier 2: Moderate Risk | Semi-gloss latex, light grease | Heavy clean + liquid deglosser | TSP substitute, chemical deglosser |
| Tier 3: High Risk | Glossy enamel, oil paint, wet zones | Clean + scuff sand + wipe dust | 120-grit sandpaper, tack cloth |
| Tier 4: Extreme Risk | Peeling paint, heavy oil-based | Scrape + clean + scuff + prime | High-adhesion bonding primer, roller |
How to prepare glossy painted walls for optimal adhesion
Nervous that missing a single step will cause your new backsplash to crash down behind the stove? Follow our empirically demonstrated sequence to systematically eliminate surface contaminants and secure a permanent adhesive grip.
CRITICAL SAFETY WARNING: Before You Sand
If your home was constructed prior to 1978, the glossy walls you are preparing may contain layers of lead-based paint. Mechanical sanding of lead paint releases highly toxic, microscopic dust particles into the air, posing severe health risks to occupants, especially children and pregnant women.
Action Required: Never dry-sand unknown older paints. Utilize an EPA-recognized lead testing kit on a chipped cross-section before beginning your project. If lead is present, you must abandon mechanical sanding. Instead, you must rely exclusively on chemical deglossing or direct encapsulation using a heavy-duty bonding primer following Renovation, Repair and Painting (RRP) safety protocols.
Optimal preparation requires a sequential, strict process: heavy-duty degreasing to remove invisible films, mechanical scuff sanding or chemical deglossing to kill the shine, structural priming for compromised surfaces, and strict adherence to recommended curing timelines before applying any tile.
Get Your Prep Essentials
To execute these steps flawlessly, you need the right tools. Do not substitute these materials, as inferior products compromise the chemical bonding process. We have compiled an exact checklist of the cleaners, abrasive blocks, specialized tack cloths, and adhesion primers required for a permanent hold.
Step 1: Deep Degreasing and Cleaning
- The Solvent Requirement: Never apply tile over kitchen grease or bathroom soap scum. You must utilize a heavy-duty degreaser. TSP—Trisodium Phosphate, an alkaline cleaning compound used to strip heavy grease and slightly etch painted surfaces. A TSP substitute is equally effective and safer for indoor environments.
- Strategic Application: Wash the wall thoroughly, moving from top to bottom. Pay critical attention to the areas directly behind the stove and above the sink. These zones accumulate aerosolized cooking oils that act as a perfect barrier against pressure-sensitive adhesives.
To fundamentally mitigate adhesion failure, the operational threshold requires removing all saponified kitchen oils. If you use the wrong chemical, you might leave a residue that acts exactly like grease, blocking the glue entirely. Tested, not guessed: learn how to clean grease off peel and stick backsplash safely without damaging finish or adhesive. The comparative analysis in our highly detailed breakdown of testing degreasers on peel and stick backsplash provides a quantitative baseline for escalating from mild dish soap to heavy-duty stronger cleaners without causing damage to the wall.

Step 2: Scuff Sanding and Deglossing
Once the wall is completely dry, you must remove the glossy sheen. Use a sanding sponge or 120-grit sandpaper. You do not need to sand down to the bare drywall. The goal is simply to "scuff" the surface, turning a shiny finish into a dull, scratched finish.
If sanding is impractical due to dust concerns, apply a liquid deglosser. Liquid Deglosser—a chemical solvent that temporarily softens and dulls hard, glossy finishes, creating a tacky surface for new coatings. Follow the manufacturer’s ventilation guidelines strictly when applying these chemicals.
Crucial Cleanup: After mechanical sanding, you must remove the resulting dust. Even microscopic paint dust will ruin the adhesive bond. Wipe the wall down with a slightly damp microfiber cloth. Follow up immediately with a specialized tack cloth to capture any remaining particulate matter.
Step 3: Applying a Bonding Primer
If you are dealing with oil-based paint, peeling latex, or extreme-risk environments, you must apply a bonding primer. Standard drywall primer is insufficient. You require a high-adhesion primer specifically engineered to grip glossy, hard-to-stick surfaces.
Apply a single, even coat of the bonding primer over the scuff-sanded wall. This creates a fresh, highly receptive, and uniform surface layer. The primer acts as a bridge, locking firmly into the old oil paint while presenting a porous face for the tile adhesive.
Step 4: Observing Critical Cure Times
- The Outgassing Danger: Patience at this stage prevents absolute failure later. Paint and primer may feel dry to the touch in thirty minutes, but they are still releasing chemical solvents. This process is called outgassing. Outgassing—the release of trapped volatile organic compounds (VOCs) as a coating cures.
- Mandatory Wait Periods: If you apply peel-and-stick tile over primer that is still outgassing, those trapped vapors will dissolve the tile's adhesive backing. Coating manufacturers empirically demonstrate that bonding primers typically require a minimum 72-hour cure time. Strictly adhere to this waiting period to ensure the quantitative baseline for adhesion.
Choosing the right tile and finalizing the installation
Anxious that the wrong tile finish or improper application pressure will waste your hard work? Here is how to select the optimal material and mechanically lock the adhesive to your prepared surface.
Finalizing the installation requires selecting a tile suitable for your room's environmental lighting and mechanically locking the pressure-sensitive adhesive to the prepped wall using specialized tools. Proper application pressure is the final, non-negotiable step in ensuring a permanent hold over any painted surface.
Selecting the Optimal Finish
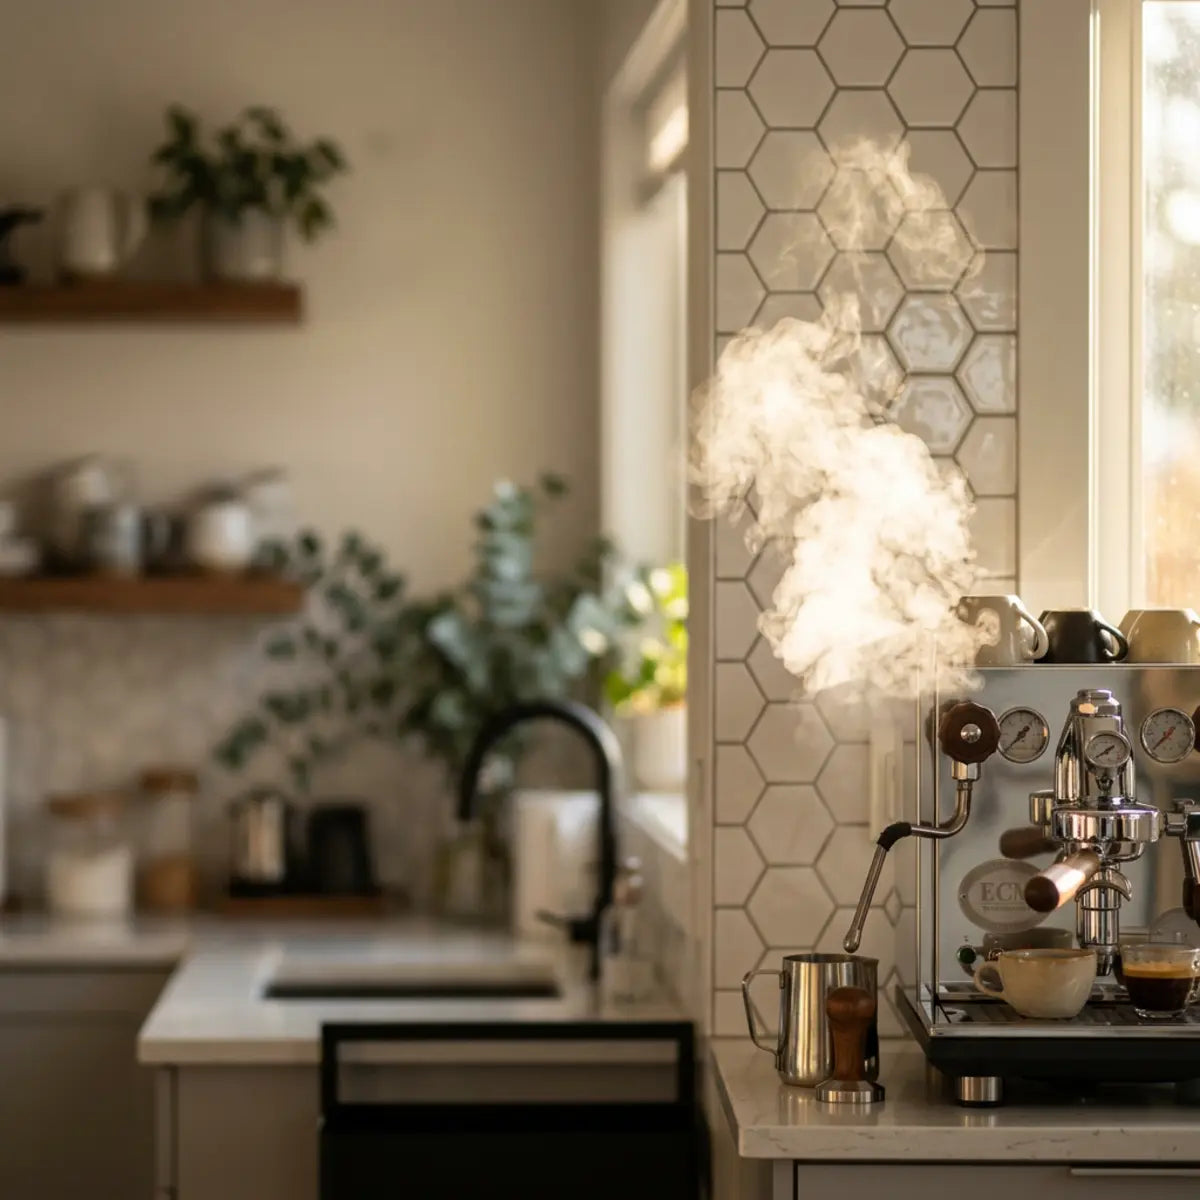
Glossy painted walls often exist in brightly lit kitchens. Applying a high-gloss tile over a high-gloss wall in direct lighting can create intense reflections. Carefully assess how natural and artificial light hits your backsplash area before committing to a finish.
Surface finishes inherently react to environmental lighting variables. Worried about kitchen glare? Compare matte vs glossy peel and stick tile by lighting, smudges, and brightness before you buy. The data benchmarked against standard kitchen lighting in our rigorous matte vs. glossy peel-and-stick comparison yields an optimal configuration for reducing glare, ensuring your material choice enhances the space rather than overwhelming it. This article helps readers definitively choose the right peel-and-stick backsplash finish for their exact kitchen conditions.
Product Selection for Mechanical Stability
Not all tile adhesives are manufactured equally. Thicker, heavier tiles require an aggressive adhesive matrix to prevent shear failure. Shear failure—the downward sliding or creeping of a tile due to gravity overcoming the adhesive bond over time.
When assessing lifecycle ROI for kitchen environments, material selection must strictly adhere to durability standards. We highly recommend exploring premium options designed specifically to combat high-stress zones. Upgrade your home with the Pristine White Moroccan Collection peel and stick tiles. These self-adhesive, grout-free tiles offer a modern, clean aesthetic, perfect for refreshing your kitchen backsplash, bathroom walls, or any personalized space.
Alternatively, you can upgrade your home with the Minty Ceramic 8 Peel and Stick Wall Tiles. These self-adhesive, grout-free tiles bring a fresh, modern look to any space, making them perfect for transforming your kitchen backsplash, bathroom walls, or personalized accent areas. Both collections empirically demonstrate high shear resistance, acting as the architectural standard for both visual upgrade and long-term mechanical stability.
The Crucial Pressure Rolling Phase
- Inadequate Force: You cannot simply press the tile onto the wall with your hands. Human fingers apply uneven, concentrated pressure. To activate a pressure-sensitive adhesive properly, you require uniform, heavy force across the entire surface area of the newly applied tile.
- The Tool Required: Utilize a high-density rubber seam roller. Pressure rolling is like using a heavy rolling pin on dense pie dough. It physically forces the adhesive matrix into every microscopic valley and scratch you created during the scuff-sanding phase, maximizing the surface contact area.
Rolling Technique: Roll horizontally, then vertically. Pay extreme attention to overlapping grout lines and outer edges. The edges are the most vulnerable points. Applying maximum pressure here fundamentally mitigates edge-lift, sealing the perimeter against moisture intrusion and fluctuating kitchen temperatures.

Managing rental risks and removal from older surfaces
Terrified of forfeiting your security deposit because the tile rips off chunks of legacy enamel paint? This protocol isolates the removal variables to protect underlying coatings in rental units.
You can manage rental risks and prevent wall damage by applying controlled heat during the removal process to soften the adhesive's shear strength. You must strictly avoid sudden, aggressive pulling motions that will instantly delaminate brittle, older oil-based paints from the drywall.
Understanding Adhesive Curing
A frequent myth is that "peel-and-stick" implies the product is just as easily "peel-and-remove" on command. In reality, modern pressure-sensitive adhesives cross-link and cure over time. After several months on a wall, the bond is significantly stronger than on the day of installation.
If you attempt to rip a fully cured tile off a painted wall while cold, the adhesive will often prove stronger than the paint's bond to the drywall. This rips the paint clean off, exposing the bare paper of the wallboard beneath.
The Heat Modulation Technique
To safely remove tile, you must alter the physical state of the glue. Using a standard hairdryer or a heat gun set to low, apply steady warmth to the face of a single tile. Keep the heat source moving to prevent scorching the material.
The heat penetrates the tile face and softens the polymer adhesive behind it. Once the glue becomes elastic and gummy, carefully pry up one corner using a plastic putty knife. Do not use metal tools, as they will gouge the softened paint beneath.
To achieve a deterministic outcome during the move-out phase, heat modulation is required. Learn how to remove peel and stick tile without damaging paint. This is absolutely perfect for renters who need to secure their deposit. Discover safe, step-by-step methods, tools, and cleanup tips to protect your walls. Our comprehensive protocol on removing peel and stick tile without removing paint calibrates the thermal output required to deactivate the adhesive polymer, effectively bypassing structural damage to legacy paint systems.
Pull the heated tile back slowly at a sharp, flat angle against the wall. Do not pull straight out toward your chest. Pulling straight out increases the tension on the paint. Pulling flat against the wall forces the adhesive to stretch and release its grip safely.
Navigating legacy paneling and specialized coatings
Unsure if your older home's combination of high-gloss varnishes and faux finishes will accept modern adhesives? We break down the specialized approach required for heavily textured or clear-coated legacy walls.
Legacy surfaces treated with hard clear coats, heavy varnishes, or deep faux-wood grooves require a combination of intense chemical deglossing and structural leveling. Before any adhesive application can succeed on these specialized finishes, the surface must be mechanically flattened and primed.
Addressing 1970s Wood Paneling
Many older homes feature glossy, faux-wood paneling. This surface presents a dual threat: an extremely slick factory finish and deep vertical grooves. Applying tile directly over this results in immediate failure, as the tile will sag into the grooves and lose contact.
You must fill the vertical grooves with a high-quality spackling compound or wood filler. Once dry, sand the entire paneled wall flat. Following the leveling process, you must apply a high-adhesion bonding primer to unify the raw filler and the glossy panel finish.
When benchmarking against complex legacy textures, standard latex prep is insufficient. Tested on real 1970s wood paneling, this specialized guide shows what prep makes peel and stick tile hold permanently. See the results and install with confidence with a clear decision framework for when to install directly, prime, or skim coat. The structural analysis in our 1970s paneling peel-and-stick guide fundamentally neutralizes these variables, establishing a standardized evaluation procedure.
Dealing with Plaster and Varnish
Homes featuring original plaster walls often contain decades of layered, glossy oil paints. Plaster is inherently rigid and prone to micro-cracking. Heavy mechanical sanding on old plaster can compromise the wall's integrity. In these cases, chemical deglossers are the preferred methodology.
Ensure the room is heavily ventilated. Apply the liquid deglosser using a lint-free cloth, working in small sections. The solvent will temporarily soften the ancient varnish or oil paint. Wipe it clean before it flashes off, leaving a dull, receptive surface perfect for bonding primers.
Troubleshooting Common Installation Failures
Even with meticulous planning, environmental factors can occasionally disrupt the curing process. Below is a rapid diagnostic tool to identify and correct the most common physical failures observed when applying adhesives over complex or highly glossy paints.
Final Thoughts
Peel-and-stick tile can absolutely transform a space featuring glossy or oil-based paint, but only when the wall is evaluated through a strict Surface Risk Assessment. Success relies entirely on prioritizing preparation over convenience. Glossy surfaces naturally repel adhesives, meaning you must engineer the necessary mechanical tooth.
By adhering to the safest hierarchy of installation—heavy degreasing, systematic scuffing or deglossing, and applying bonding primer for high-risk environments—you empirically bypass the common pitfalls of peeling edges and falling tiles. Always perform a test patch, wait out the proper cure times, and finalize your work with firm rolling pressure.
Before purchasing your materials, take a moment to evaluate your specific walls. We highly encourage you to utilize our prep decision tree to identify your exact risk tier. By doing so, you guarantee your kitchen or bathroom renovation remains a durable, long-lasting investment.
Frequently Asked Questions
Do I need to sand the entire glossy wall before applying tile?
Yes, if your wall is painted with high-gloss, semi-gloss, or oil-based paint, you should lightly scuff sand the entire installation area. The objective is not to strip the paint down to the drywall, but to dull the shiny finish. A 120-grit sanding block lightly rubbed over the surface creates microscopic scratches. These scratches provide the physical "tooth" required for the pressure-sensitive adhesive to grip securely.
Can I use a liquid deglosser instead of sanding my walls?
Yes, liquid deglossers are an excellent, dust-free alternative to mechanical sanding. They are particularly useful in kitchens or occupied homes where fine paint dust is a hazard. The chemical solvent temporarily softens and dulls the slick paint finish. You must carefully follow the manufacturer's instructions regarding ventilation and drying times. Once the deglosser evaporates, it leaves behind a tacky, receptive surface ideal for adhesion.
How long should I wait after applying bonding primer before tiling?
You must strictly adhere to a minimum 72-hour cure time after applying a bonding primer, though up to seven days is optimal in humid environments. Primer that is dry to the touch is still undergoing chemical outgassing. If you apply peel-and-stick tile over wet primer, the trapped VOC vapors will attack and dissolve the tile’s adhesive backing, resulting in catastrophic sliding and failure.
Why are the edges of my peel-and-stick tile lifting off the paint?
Edge-lift typically occurs for three reasons: the underlying glossy paint was not scuff-sanded, residual grease was left on the wall, or insufficient pressure was applied during installation. Edges face the highest mechanical tension. If they lack a textured surface to grab onto, or if a microscopic film of oil blocks the glue, ambient humidity will quickly cause the corners to curl away from the wall.

Leave a comment
This site is protected by hCaptcha and the hCaptcha Privacy Policy and Terms of Service apply.