












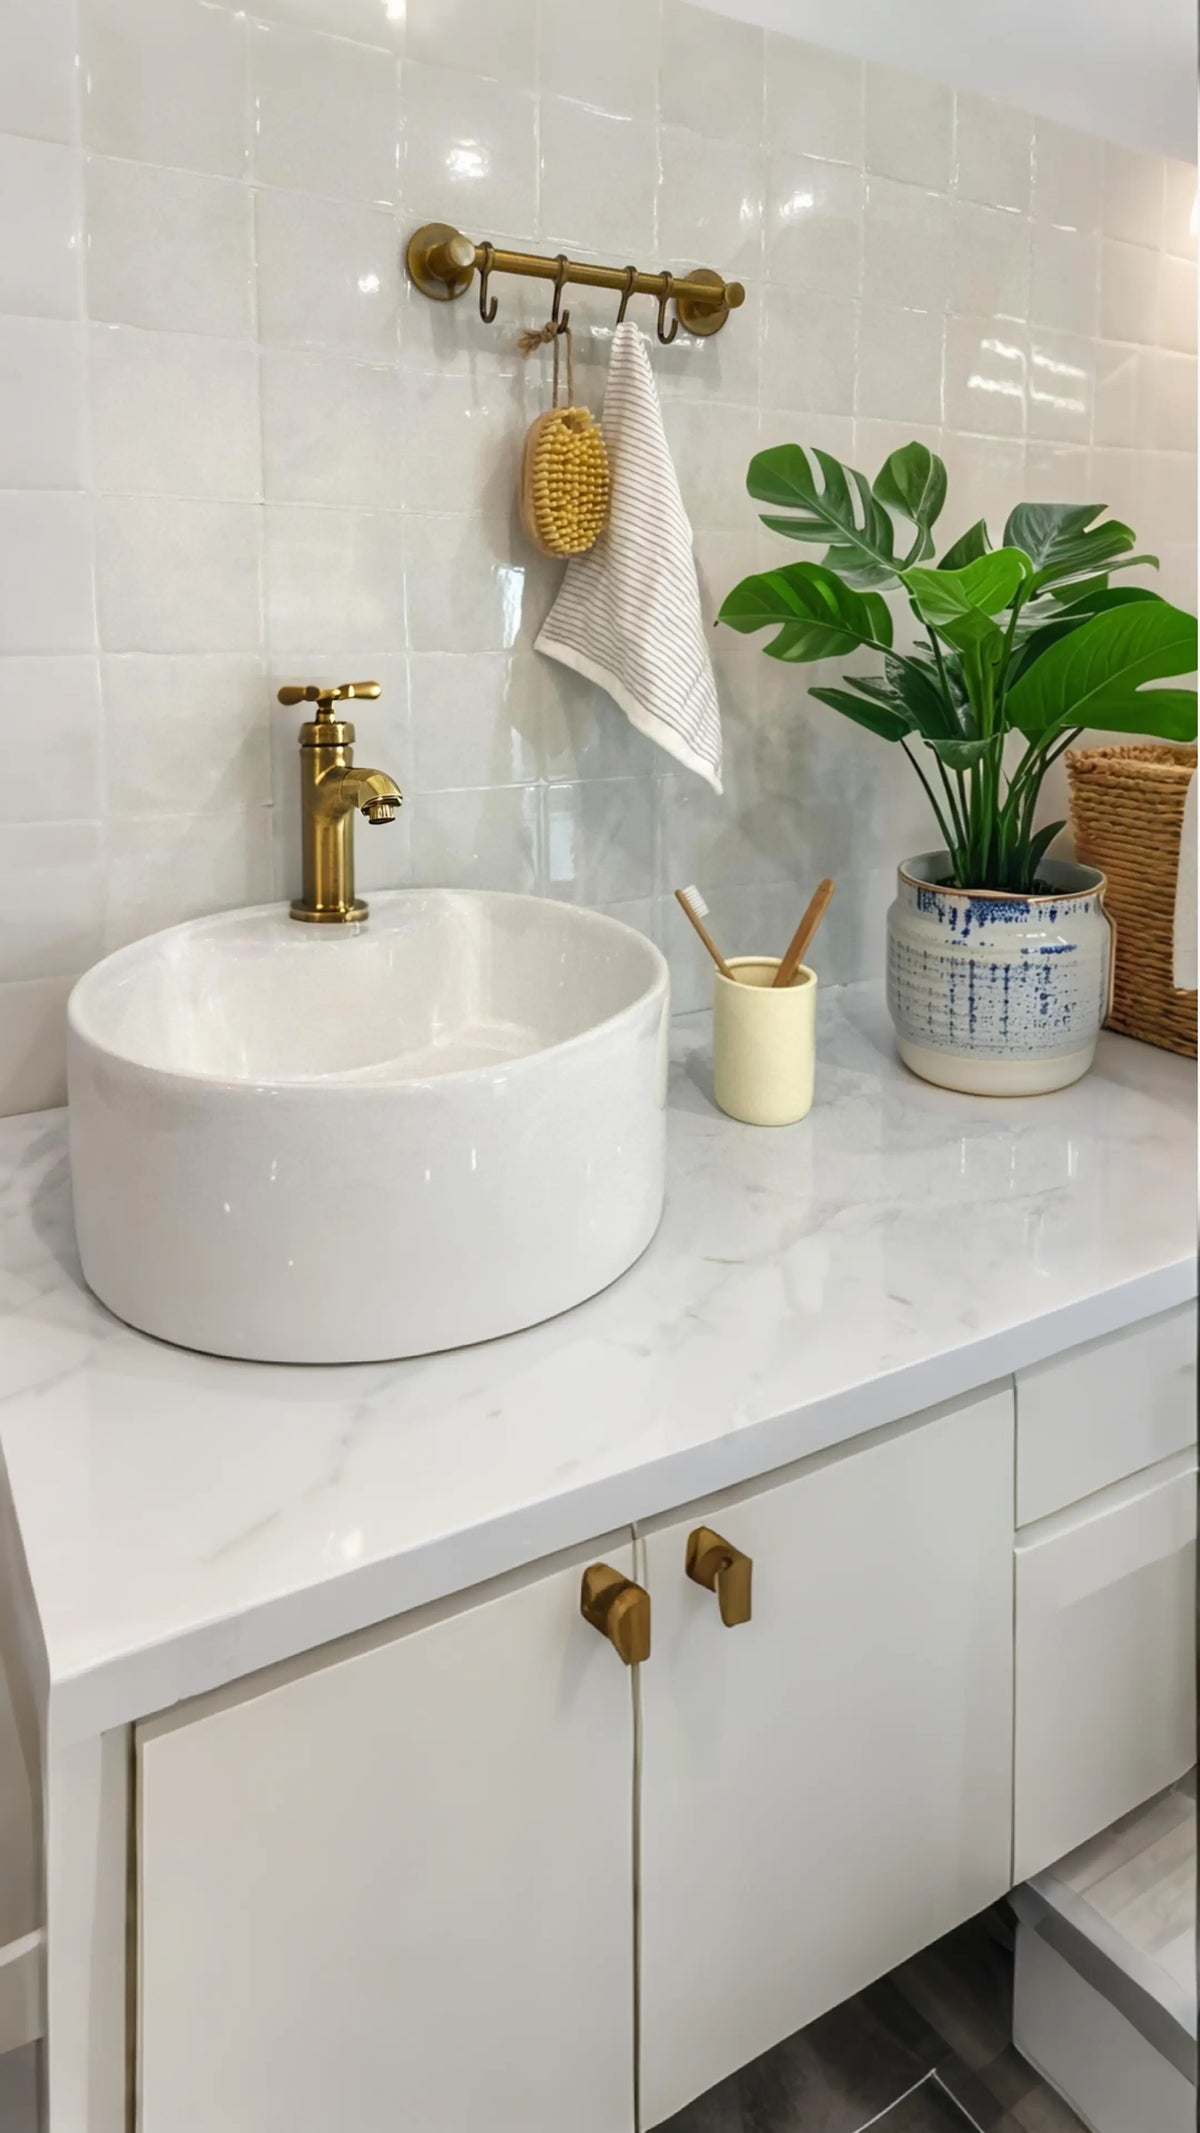
Are you looking to infuse a touch of luxury into your home in 2026 without breaking the bank? Peel and stick mosaic tiles offer an exceptional way to transform your space with minimal effort! From creating a mosaic accent wall that becomes a focal point to ensuring durability with stunning aesthetics, this guide covers it all. This article was recently updated to ensure its timeliness and accuracy. You’ll learn not only the art of DIY but also how to achieve a professional finish with ease. Let’s embark on a journey to recreate your interiors with a peel stick mosaic masterpiece that will leave everyone in awe!
Explore this guide
Understanding Peel Stick Mosaic Tiles
Key Features and Benefits
- Easy Application: No need for special tools or professional help.
- Affordable: Cost-effective alternative to traditional tiles.
- Reusable: Can be repositioned without leaving sticky residues.
- Variety of Designs: Comes in numerous patterns and colors to match any decor.
When I first decided to upgrade my home decor, I was thrilled to discover peel and stick mosaic tiles. These tiles are incredibly easy to apply, which means anyone can transform their space without needing professional assistance. They are also budget-friendly, allowing me to achieve a luxurious look without spending a fortune. Additionally, the fact that they can be reused and repositioned without leaving any sticky mess made the whole process stress-free. With a wide array of designs and colors available, I found the perfect match for every room in my home.
Versatility and Aesthetic Appeal
- Adaptable to Various Styles: Modern, rustic, classic, and more.
- Enhances Any Room: Perfect for kitchens, bathrooms, living rooms, and bedrooms.
- Customizable Patterns: Mix and match different tiles to create unique designs.
One of the things I love most about peel and stick mosaic tiles is their versatility. Whether your home decor style is modern, rustic, or classic, there’s a tile design that fits perfectly. I used them in my kitchen backsplash, bathroom walls, and even my living room to create stunning accents. The ability to customize patterns by mixing different tiles allows me to express my creativity and design a space that truly reflects my personality.
Suitable Surfaces and Spaces
- Walls and Ceilings: Easily applied to vertical and horizontal surfaces.
- Counters and Furniture: Great for updating old furniture or countertops.
- Outdoor Areas: Some tiles are designed to withstand outdoor conditions.
Before starting my project, I made sure that the surfaces I wanted to decorate were suitable for peel and stick tiles. These tiles adhere well to smooth surfaces like walls and ceilings, but they can also be used on counters and furniture to give them a fresh new look. I even experimented with tiles designed for outdoor use, adding a charming touch to my patio area. This adaptability makes peel and stick mosaic tiles a fantastic choice for various decorating needs.
Preparing for Installation
Gathering Necessary Tools and Materials
- Peel and Stick Mosaic Tiles: Choose your preferred design and color.
- Measuring Tape: For accurate measurements.
- Utility Knife or Scissors: To cut tiles as needed.
- Level: Ensures tiles are applied straight.
- Smoothing Tool: Helps adhere tiles firmly and remove air bubbles.
Before diving into the installation process, I made sure I had all the necessary tools and materials. First, I selected the perfect peel and stick mosaic tiles from Stickwoll’s Timberline Checks collection. Measuring tape was essential for getting accurate dimensions of the area I wanted to cover. I also gathered a utility knife and scissors to cut the tiles to fit corners and edges. A level was crucial to ensure my tiles were applied straight, and a smoothing tool helped me press the tiles firmly onto the surface, ensuring there were no air bubbles.
Measuring and Planning the Layout
- Measure the Area: Calculate the total square footage needed.
- Create a Layout Plan: Sketch your design before starting.
- Consider Tile Placement: Start from the center or a focal point.
Measuring the area accurately was the first step in my planning process. I measured the height and width of the wall I wanted to decorate, calculating the total square footage to determine how many tiles I would need. Next, I sketched a layout plan, deciding whether to start from the center or a focal point in the room. Planning the tile placement carefully helped me avoid mistakes and ensured a balanced and visually appealing design.
Surface Cleaning and Preparation
- Clean the Surface Thoroughly: Remove dust, grease, and old adhesives.
- Ensure a Smooth Surface: Repair any imperfections.
- Dry Completely: Make sure the surface is completely dry before application.
Step-by-Step Installation Guide
Aligning Tiles for a Seamless Look
- Start from a Stationary Point: Choose a corner or edge to begin.
- Use a Level: Place tiles straight to maintain alignment.
- Maintain Consistent Gaps: Ensure equal spacing between tiles for uniformity.
I began my installation by selecting a corner of the wall as my starting point. Using a level, I carefully placed each tile in a straight line, making sure they were perfectly aligned. Maintaining consistent gaps between the tiles was essential for a seamless and uniform look. This attention to detail made the overall design appear professional and well-executed.
Cutting Tiles to Fit Corners and Edges
- Measure Carefully: Determine the exact size needed for cuts.
- Use a Sharp Tool: A utility knife provides clean cuts.
- Test Fit Before Adhesion: Ensure pieces fit perfectly before sticking.
Fitting the tiles around corners and edges required precise measurements. I used a sharp utility knife to make clean cuts, ensuring each piece fit perfectly in its designated spot. Testing the fit before applying the adhesive helped me avoid mistakes and achieve a flawless finish. This step-by-step approach made the entire process smooth and efficient.
Ensuring Adhesion and Preventing Air Bubbles
- Press Firmly: Use a smoothing tool to remove any air pockets.
- Work Slowly: Take your time to ensure each tile sticks properly.
- Check for Gaps: Fill any small gaps immediately to prevent peeling.
To ensure the tiles adhered properly, I pressed each one firmly onto the wall using a smoothing tool. This helped eliminate any air bubbles and ensured a strong bond. Working slowly and methodically allowed me to check for and fill any small gaps immediately, preventing any peeling or lifting down the line. This careful attention to adhesion made my mosaic project durable and long-lasting.
Creating a Mosaic Accent Wall
Choosing the Perfect Wall
- Select a Focal Point: Choose a wall that naturally draws attention.
- Consider Room Function: High-traffic areas like living rooms or kitchens work well.
- Assess Lighting: Natural and artificial lighting can enhance the mosaic effect.
Choosing the right wall for my mosaic accent was crucial. I decided to transform the main wall in my living room, which naturally draws everyone’s attention. Considering the room’s function and the lighting helped me select a spot where the mosaic would truly shine. Proper lighting, both natural and artificial, enhanced the colors and patterns of the tiles, making the accent wall a stunning centerpiece.
Design Ideas and Inspiration
- Geometric Patterns: Simple shapes can create a modern look.
- Floral Designs: Perfect for a more traditional or feminine touch.
- Abstract Art: Lets you express creativity and uniqueness.
I explored various design ideas to find the perfect inspiration for my accent wall. Geometric patterns offered a sleek and modern look, while floral designs added a traditional and feminine touch. I also considered abstract art patterns, which allowed me to express my creativity and create a unique masterpiece. Choosing a design that resonated with my personal style made the project even more enjoyable and satisfying.
Tips for Visual Balance and Symmetry
- Even Distribution: Spread colors and patterns evenly across the wall.
- Mirror Opposite Elements: Create symmetry by mirroring tile arrangements.
- Use Central Focal Points: Highlight specific areas to draw the eye.
Achieving visual balance and symmetry was key to making my mosaic accent wall look professional. I evenly distributed colors and patterns across the wall, ensuring no area was too crowded or too sparse. Mirroring opposite elements helped create symmetry, while using central focal points highlighted specific areas and drew the eye. These tips ensured that my accent wall was both balanced and visually appealing.
Achieving a Luxurious Finish
Selecting Color Schemes and Patterns
- Choose Complementary Colors: Ensure colors work well together.
- Select Patterns That Enhance Space: Use patterns to make rooms appear larger or cozier.
- Consider Current Decor: Match the tile colors and patterns with existing furniture and accents.
Choosing the right color scheme and pattern was essential for achieving a luxurious finish. I selected complementary colors that worked well together and matched my existing decor. The patterns I chose were designed to enhance the space, making my living room appear larger and more inviting. By carefully considering how the tile colors and patterns would interact with my furniture and accents, I was able to create a harmonious and elegant look.
Enhancing Spaces with Lighting
- Use Accent Lighting: Highlight the mosaic with focused lighting.
- Incorporate Natural Light: Position tiles where they can be illuminated by windows.
- Add Ambient Lighting: Use soft lighting to create a warm and inviting atmosphere.
Lighting plays a crucial role in showcasing the beauty of a peel and stick mosaic masterpiece. I added accent lighting to highlight the mosaic wall, making the colors and patterns stand out even more. Incorporating natural light from nearby windows added a beautiful glow, while ambient lighting created a warm and inviting atmosphere. These lighting enhancements made my mosaic walls truly shine and added to the overall luxurious feel of the space.
Maintenance and Cleaning Tips for Longevity
- Regular Dusting: Keep the tiles clean by dusting them regularly.
- Use Mild Cleaners: Avoid harsh chemicals that can damage the tiles.
- Inspect for Damage: Periodically check for any loose tiles and reseal if necessary.
To ensure my mosaic masterpiece remained beautiful for years to come, I implemented some simple maintenance and cleaning tips. Regular dusting kept the tiles looking fresh, while using mild cleaners prevented any damage from harsh chemicals. I also made it a habit to inspect the tiles periodically for any signs of damage, resealing any loose tiles to maintain their integrity. These easy maintenance steps helped preserve the luxurious look of my peel and stick mosaic walls.
Frequently Asked Questions
1. Can peel and stick mosaic tiles be used in outdoor areas?
2. How long do peel and stick mosaic tiles last?
With proper installation and maintenance, high-quality peel and stick mosaic tiles can last for many years. Regular cleaning and careful handling help maintain their appearance and adhesion. If you notice any loose tiles, resealing them promptly can significantly extend the lifespan of your installation.
3. Can I remove and replace individual tiles if I make a mistake?
Absolutely! A major benefit of peel and stick tiles is their reusability. If you make a mistake or want to refresh the design, you can carefully remove and reposition the tiles without damaging the surface or leaving sticky residue. This flexibility makes them an excellent choice for DIY enthusiasts.
4. Are peel and stick mosaic tiles waterproof?
Conclusion
Creating a peel and stick mosaic masterpiece is a fun and affordable way to add a luxurious touch to your home this year. By understanding the advanced features of these tiles, preparing your space properly, and following our updated installation guide, you can achieve stunning results with ease. Whether you’re aiming to create a beautiful mosaic accent wall or looking to enhance multiple spaces with vibrant patterns and colors, peel and stick mosaic tiles offer the versatility and aesthetic appeal needed to transform any room in 2026.
Don’t forget to explore our wide range of peel and stick tiles and other tile crafting ideas to find the perfect fit for your project. Whether you’re updating your kitchen backsplash with our Crimson Horizon tiles or creating intricate designs with our Smart Peel-and-Stick Tiles, Stickwoll has everything you need for a successful DIY home makeover.
Ready to get started on your own mosaic masterpiece? Browse our Easy Stick Tile Solutions and take the first step towards transforming your home today!
Start with the exact mosaic construction, not the pattern name
Mosaic describes the visual effect, not the engineering of the product. Before you plan a wall, identify the exact face material, backing, adhesive, sheet or piece dimensions, intended surfaces, room restrictions, cleaning instructions and removal guidance. A printed vinyl mosaic, a gel-faced sheet and a rigid composite piece can all create a small-tile look while requiring different tools and behaving differently at edges. Keep the current product instructions with your measurements so the project follows the material you are actually installing rather than a generic mosaic tutorial.
A full-size sample answers different questions from a product photo. Hold it next to the counter, cabinet, floor and paint under the lighting you normally use. Look from the doorway and from the main work area. Check whether the printed grout line, relief and gloss still look convincing at normal viewing distance. A sample can reveal color, texture and an obvious incompatibility with the wall, but it cannot prove long-term adhesion, direct-wet suitability or without wall damage removal.
Map the wall before choosing a mosaic repeat
Measure the usable width and height, then mark cabinets, windows, outlets, switches and any exposed side edge. Mosaic repeats can make a slightly off-center start more obvious than a large-format pattern because many small lines accumulate across the wall. Dry-layout enough sheets or pieces to see where the first and last cuts land. Moving the starting point by part of a sheet can avoid a narrow sliver at an exposed edge or keep a strong motif from being cut through a focal area.
Use a level or plumb reference rather than assuming the counter, ceiling or cabinet is perfectly straight. If the backsplash changes height around a window or range hood, decide in advance whether the pattern continues to the higher area or terminates with the main run. Draw that transition at full scale. The best layout is not necessarily the one with the fewest cuts; it is the one that keeps visible edges deliberate and serviceable details accessible.
Treat corners, outlets and exposed edges as design details
Inside corners, outside returns and receptacle openings are where a mosaic project often stops looking like the catalog image. Decide whether the product uses an overlap, butt joint, compatible trim or another manufacturer-approved finish. Dry-fit both sides of a corner before exposing adhesive so the pattern does not drift. Keep cover plates, screws and service points removable. Decorative material should not be used to hold an electrical device in place or hide a box opening that needs access.
At an exposed side edge, compare the thickness and color of the cut edge with the front face. Some products look finished without trim; others reveal backing or relief that needs a planned termination. Test the proposed edge from a normal viewing angle. If a narrow return cannot be finished cleanly within the product instructions, ending the mosaic on a clear vertical line may be a better result than forcing the pattern around the corner.
Separate splash resistance from a waterproof wall assembly
A kitchen or bathroom mosaic may have a surface that wipes clean or resists occasional splashes, but that does not automatically make every seam, edge, penetration and substrate waterproof. Identify what the manufacturer actually approves for the specific product. Direct-wet shower work requires a complete wall system designed for that exposure; a decorative self-adhesive finish should not be treated as a substitute for waterproofing behind it unless the exact assembly is documented for that use.
EPA moisture guidance emphasizes controlling the water source rather than covering a damp surface. If the wall shows recurring condensation, staining, soft drywall, loose paint or a history of leaks, solve that condition before installation. Around sinks, pay attention to lower edges and penetrations where water can collect. Use only the edge treatment and sealant strategy specified for the chosen product and substrate.
Plan quantity from the actual repeat and cut map
Start with wall area, but do not stop there. Pack coverage, sheet dimensions, pattern matching, outlet cuts and the number of exposed edges affect how much material is usable. For example, a 9-foot-wide by 18-inch-high backsplash has 13.5 square feet before openings. If the selected box covers 5 square feet, three boxes cover the face in theory, but the real order depends on the sheet repeat, cut plan and whether spare pieces are available for future repairs.
Lay out a representative row on paper or with uninstalled material and count the cuts that create unusable remnants. A small geometric repeat may let offcuts move to another location; a directional or irregular design may not. Buy from the same identified product and, when relevant, compare lots or batches before mixing them on one wall. Record what you used so a later repair is easier to match.
Use a maintenance and repair plan instead of a lifespan promise
There is no single service life for the entire peel-and-stick mosaic category. Wall condition, product construction, heat, moisture, cleaning, edge exposure and installation all matter. Choose the cleaner and tool allowed for the exact finish before installation, especially if the mosaic has relief, metallic effects or printed grout lines. Aggressive scrubbing that is harmless to glazed ceramic may change a softer decorative surface.
Keep several spare pieces when practical and photograph the completed wall. If one corner lifts or one piece is damaged, document the location before pressing, sealing or replacing it. Repeated change in the same area may indicate moisture, wall movement, an incompatible coating or stress from a cut rather than a simple bad tile. Repairing the cause first is more useful than assigning the whole wall a generic durability score.
Build a simple project record before you peel the first liner
Save the product name, current instructions, wall photos, measurements, layout direction and the date of installation. Note any patched paint, repaired corner or unusual exposure that could matter later. This record is especially helpful in a rental or a room likely to be remodeled again, because removal performance depends partly on the finish underneath the adhesive.
Set a stop rule as part of that record. Stop if the wall is damp, the paint is unstable, the product excludes the surface, the planned location conflicts with appliance instructions, or a permitted test reveals an unacceptable reaction. A mosaic project is easier to change on paper than after dozens of small lines have been committed to the wall. The goal is a design that looks intentional and can still be cleaned, inspected, repaired and eventually removed with its real limits understood.
Run a final dry-layout and receiving check
Before installation, compare the delivered pieces for color, print alignment, relief, dimensions and edge condition under the room lighting. Keep lot or batch information when available and resolve obvious differences before cutting. Lay out the first full row, the row through the main outlets and the final exposed edge so you know how the repeat behaves at the difficult locations, not only in the middle of the wall.
Then walk through the project in installation order: surface preparation, reference line, dry fit, cuts, adhesive exposure, pressure, edges and cleaning. If any step depends on improvising beyond the product instructions, solve it before committing the material. This final review turns the design from a collection of attractive samples into a workable wall plan.
Use a cut-and-edge practice piece before the visible wall
Before making the first visible cut, use a spare or offcut to practice the tool and technique allowed for the exact product. Check whether the face chips, stretches, crushes or exposes a backing color at the edge. Practice the opening for an outlet or trim return if those cuts are part of the layout. A product that is easy to score in a straight line may behave differently around a small notch or curved penetration.
Label the practice piece with the tool and method that worked. If the material needs a blade change, protective backing or a different sequence to avoid surface damage, solve that before working beside cabinets and counters. This small rehearsal can prevent a series of inconsistent cuts and gives you a realistic sense of the time required for the detailed parts of the mosaic.
Final mosaic checklist
Before installation, confirm the exact product is approved for the wall and room, the substrate is clean and stable, the layout avoids fragile slivers, outlets remain serviceable, exposed edges have a finishing plan and the permitted cleaner is known. Keep the sample, spare pieces and current instructions with the project record.
After installation, inspect the first week of normal use. Look for edge change, trapped debris, unexpected glare, splash accumulation or a cut that is under stress. Correct a local cause early rather than waiting for several rows to show the same problem.
Label your spare material
Keep a few labeled offcuts or spare pieces with the product name and pattern direction. A future repair is easier when the replacement can be matched without guessing which collection or orientation was used.
Sources and scope
- US DOE: Color and Spectrum — Lighting and color-rendering context; not a material-performance rating.
- 3M: Applying VHB Pressure-Sensitive Tape — General surface-preparation principles for named 3M tapes; not Stickwoll specifications.
- US EPA: A Brief Guide to Mold, Moisture and Your Home — Moisture-control guidance; not approval of a wall covering or waterproof assembly.


Leave a comment
This site is protected by hCaptcha and the hCaptcha Privacy Policy and Terms of Service apply.