



Laundry room planning guide
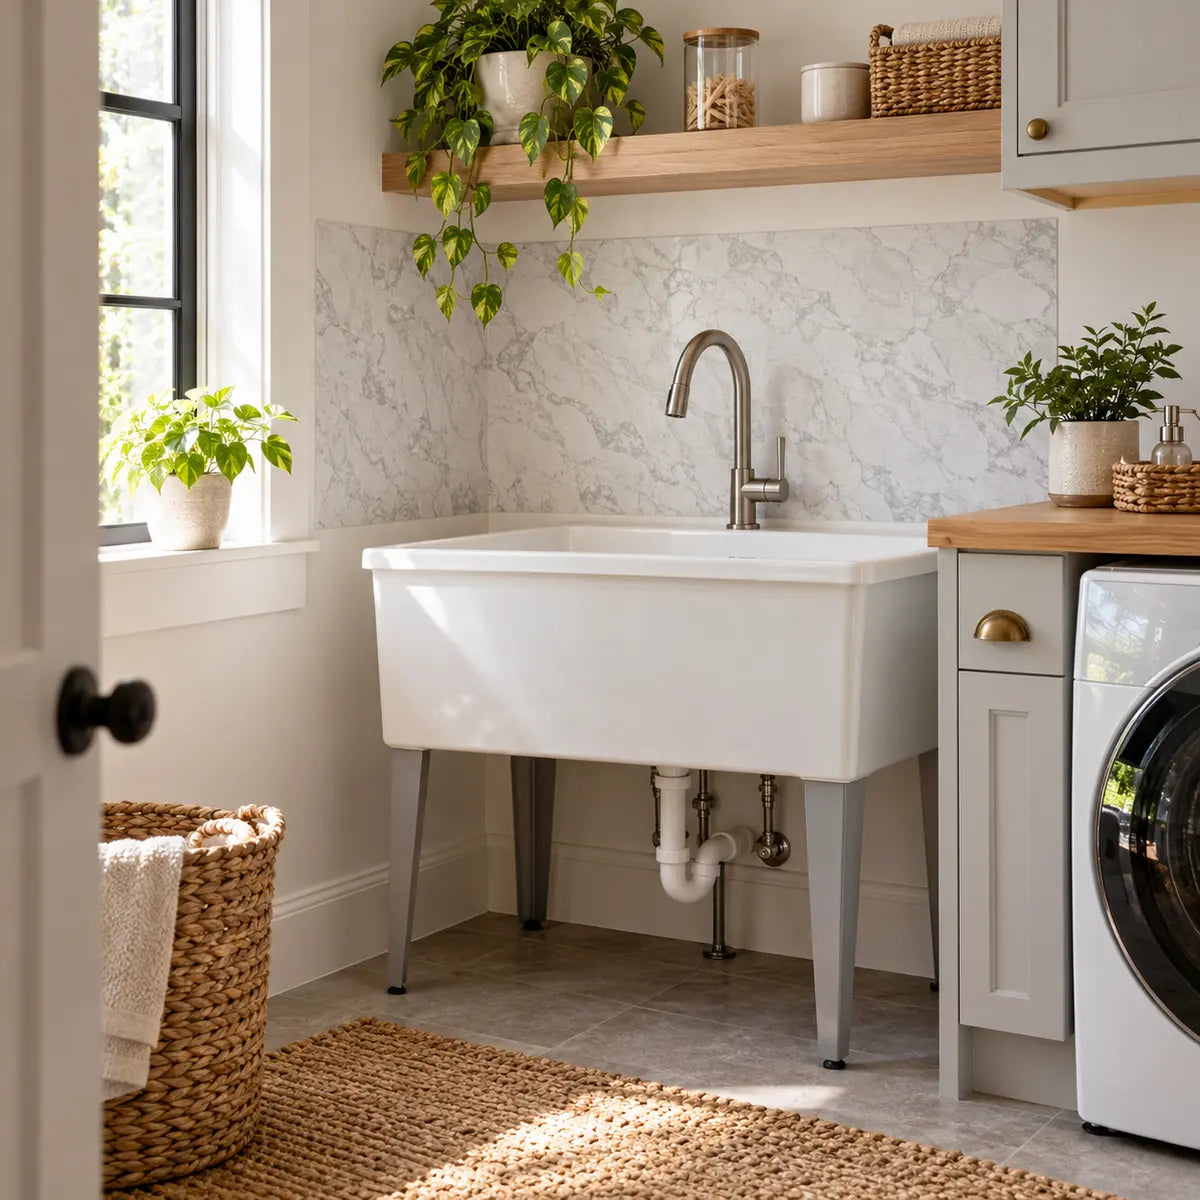
The wall behind a laundry utility sink has two jobs: it needs to handle routine splashes, and it needs to look finished enough to belong in the room. A peel-and-stick backsplash behind a utility sink may be a practical choice when the wall condition, splash exposure, product specifications, installation instructions, and care requirements all line up.
The important word is may. Peel-and-stick material is not automatically suitable for every sink wall, and terms such as waterproof, water-resistant, washable, and removable can describe different levels of performance. The safest way to choose is to test the project against five questions:
- Is the wall smooth, clean, dry, stable, and compatible with adhesive tile?
- Does the product documentation cover the actual level of moisture and splash exposure?
- Do the tile dimensions and package details cover the wall after cuts and waste?
- Can you prepare the layout and plumbing cutouts before removing the backing?
- Does the cleaning and removal guidance fit how you use the room?
This guide walks through those decisions in order. It covers laundry utility sink backsplash ideas, product fit, wall preparation, measuring, cutting, installation, care, troubleshooting, and the point at which a different backsplash material may be a better choice.

Is peel-and-stick backsplash suitable behind a utility sink?
It can be suitable for a utility sink wall that receives routine splashes, provided the exact product is documented for that exposure and the wall is prepared according to its instructions. Suitability depends on the complete installation context, including the substrate, seams, cut edges, corners, plumbing penetrations, cleaning routine, and how much water reaches the wall.
Stickwoll’s current general guidance describes its surface as water-resistant and wipe-clean for routine splashes. The same guidance advises avoiding prolonged water exposure and direct shower zones unless the product-specific instructions expressly allow them. That supports a conditional use case for a laundry sink backsplash, but it does not establish that every Stickwoll product or completed backsplash assembly is waterproof. See the Stickwoll FAQ moisture and installation guidance before choosing a product.
A utility sink usually creates a milder exposure than a shower wall, but the actual conditions vary. A deep sink used for rinsing muddy boots may throw more water than a shallow laundry basin used for handwashing. A wall-mounted faucet can direct spray toward the wall. A nearby hose, supply line, or drain connection can also create occasional leaks that are very different from ordinary splash exposure.
The practical distinction is this:
- Routine splash exposure: Occasional droplets or light splashing that can be wiped away.
- Frequent wetting: The wall becomes wet during normal use and needs repeated drying.
- Prolonged water exposure: Water remains on the surface, reaches seams, or collects along the bottom edge.
- Direct spray or leak exposure: A faucet, hose, valve, or plumbing connection repeatedly directs water at the backsplash.
Peel-and-stick material is easiest to justify in the first category. The farther the project moves into the other categories, the more carefully you need to inspect product documentation and edge treatment. If the wall is regularly soaked, has a known leak, or sits behind a hose connection that may spray directly at it, a material and installation system intended for heavier exposure may be more appropriate.
The checked Stickwoll Lemon Zest product page provides a useful example of why product-level review matters. That SKU is described for splash-prone wall areas when properly installed, but the evidence applies to that checked product only. It should not be treated as a universal statement about every peel-and-stick backsplash.
For a broader zone-based evaluation of splash exposure, seams, edge protection, and surface condition, see this peel-and-stick tile fit guide by zone.
What should you compare before choosing a laundry sink backsplash?
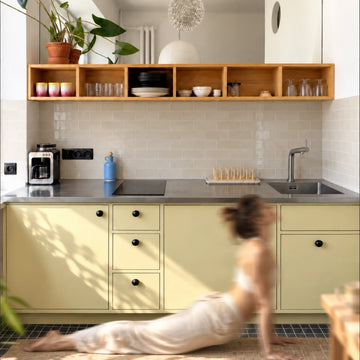
Compare backsplash materials by exposure, wall preparation, cutting difficulty, seam count, cleaning access, and documented product fit before comparing appearance. A finish that looks ideal in a photo may create extra work around a faucet, corner, open edge, or drain line.
A utility sink wall is usually a relatively small area, which makes it tempting to choose based on color alone. In practice, small projects can be less forgiving. A single uneven seam may be highly visible. One poorly planned pipe cutout can force you to discard a full piece. A shiny surface may make water spots more noticeable. A textured design may be difficult to wipe clean.
Here are common design directions and the practical tradeoffs behind them.
Subway-inspired layouts
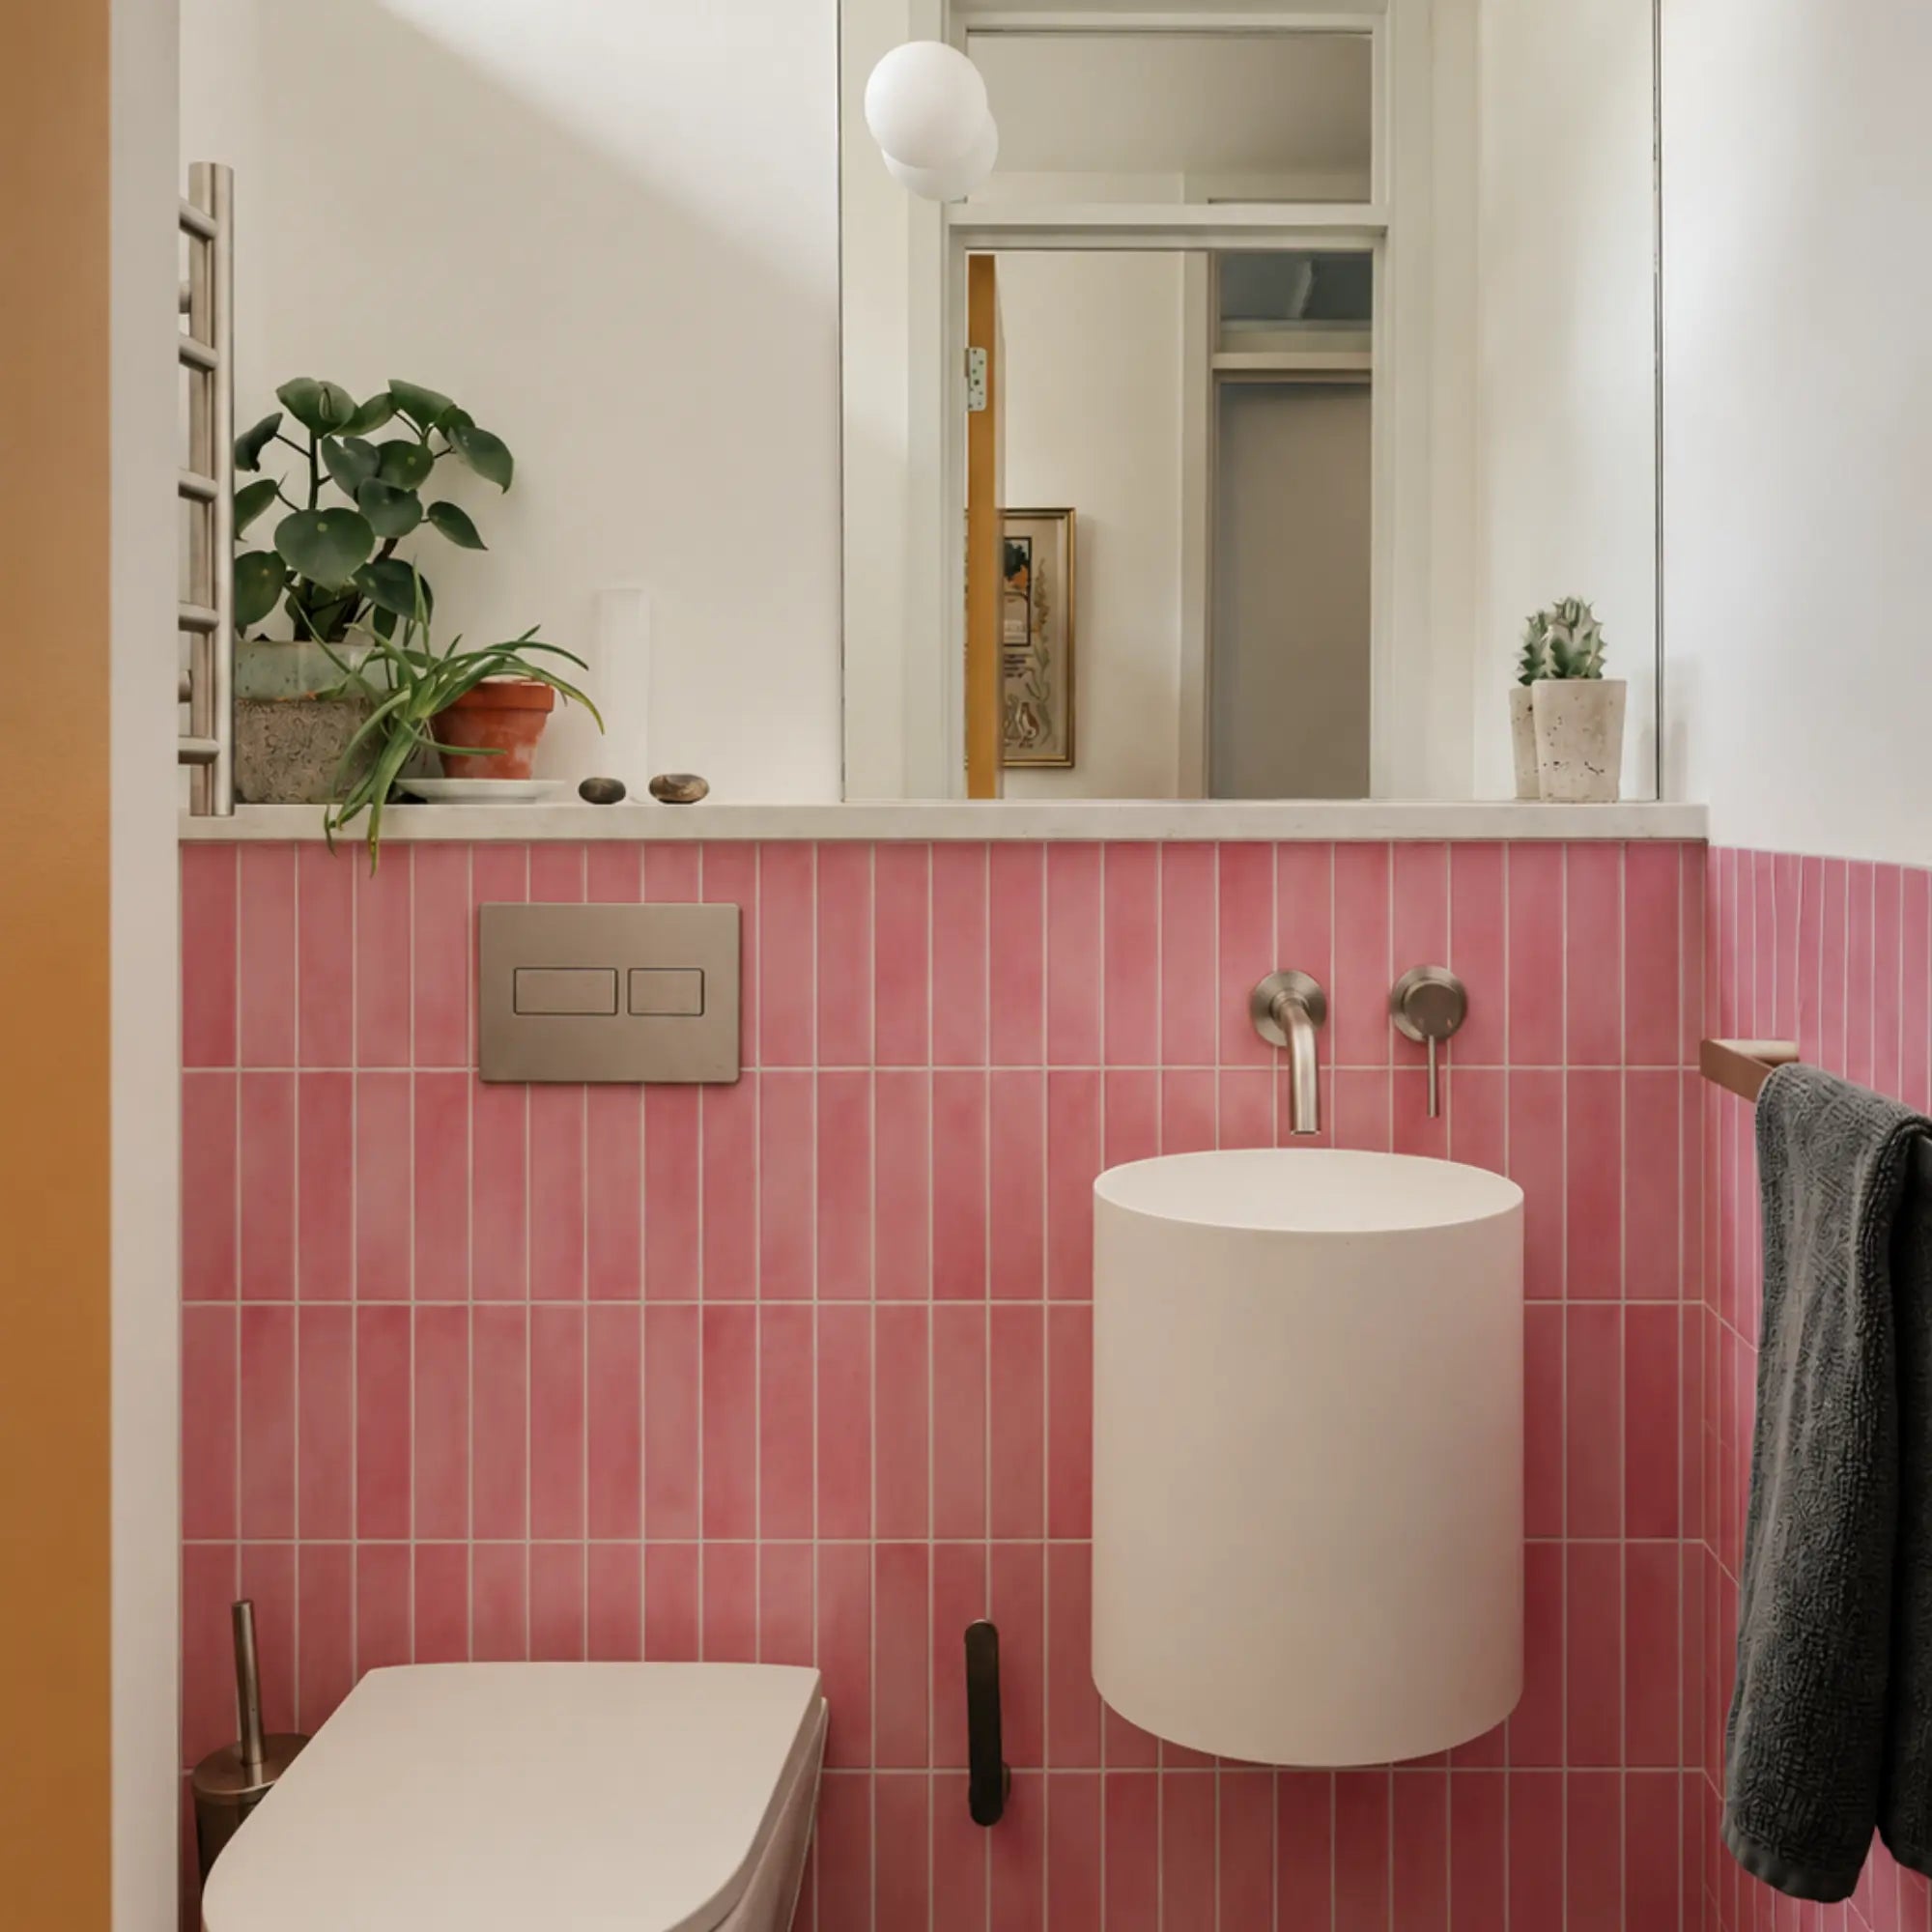
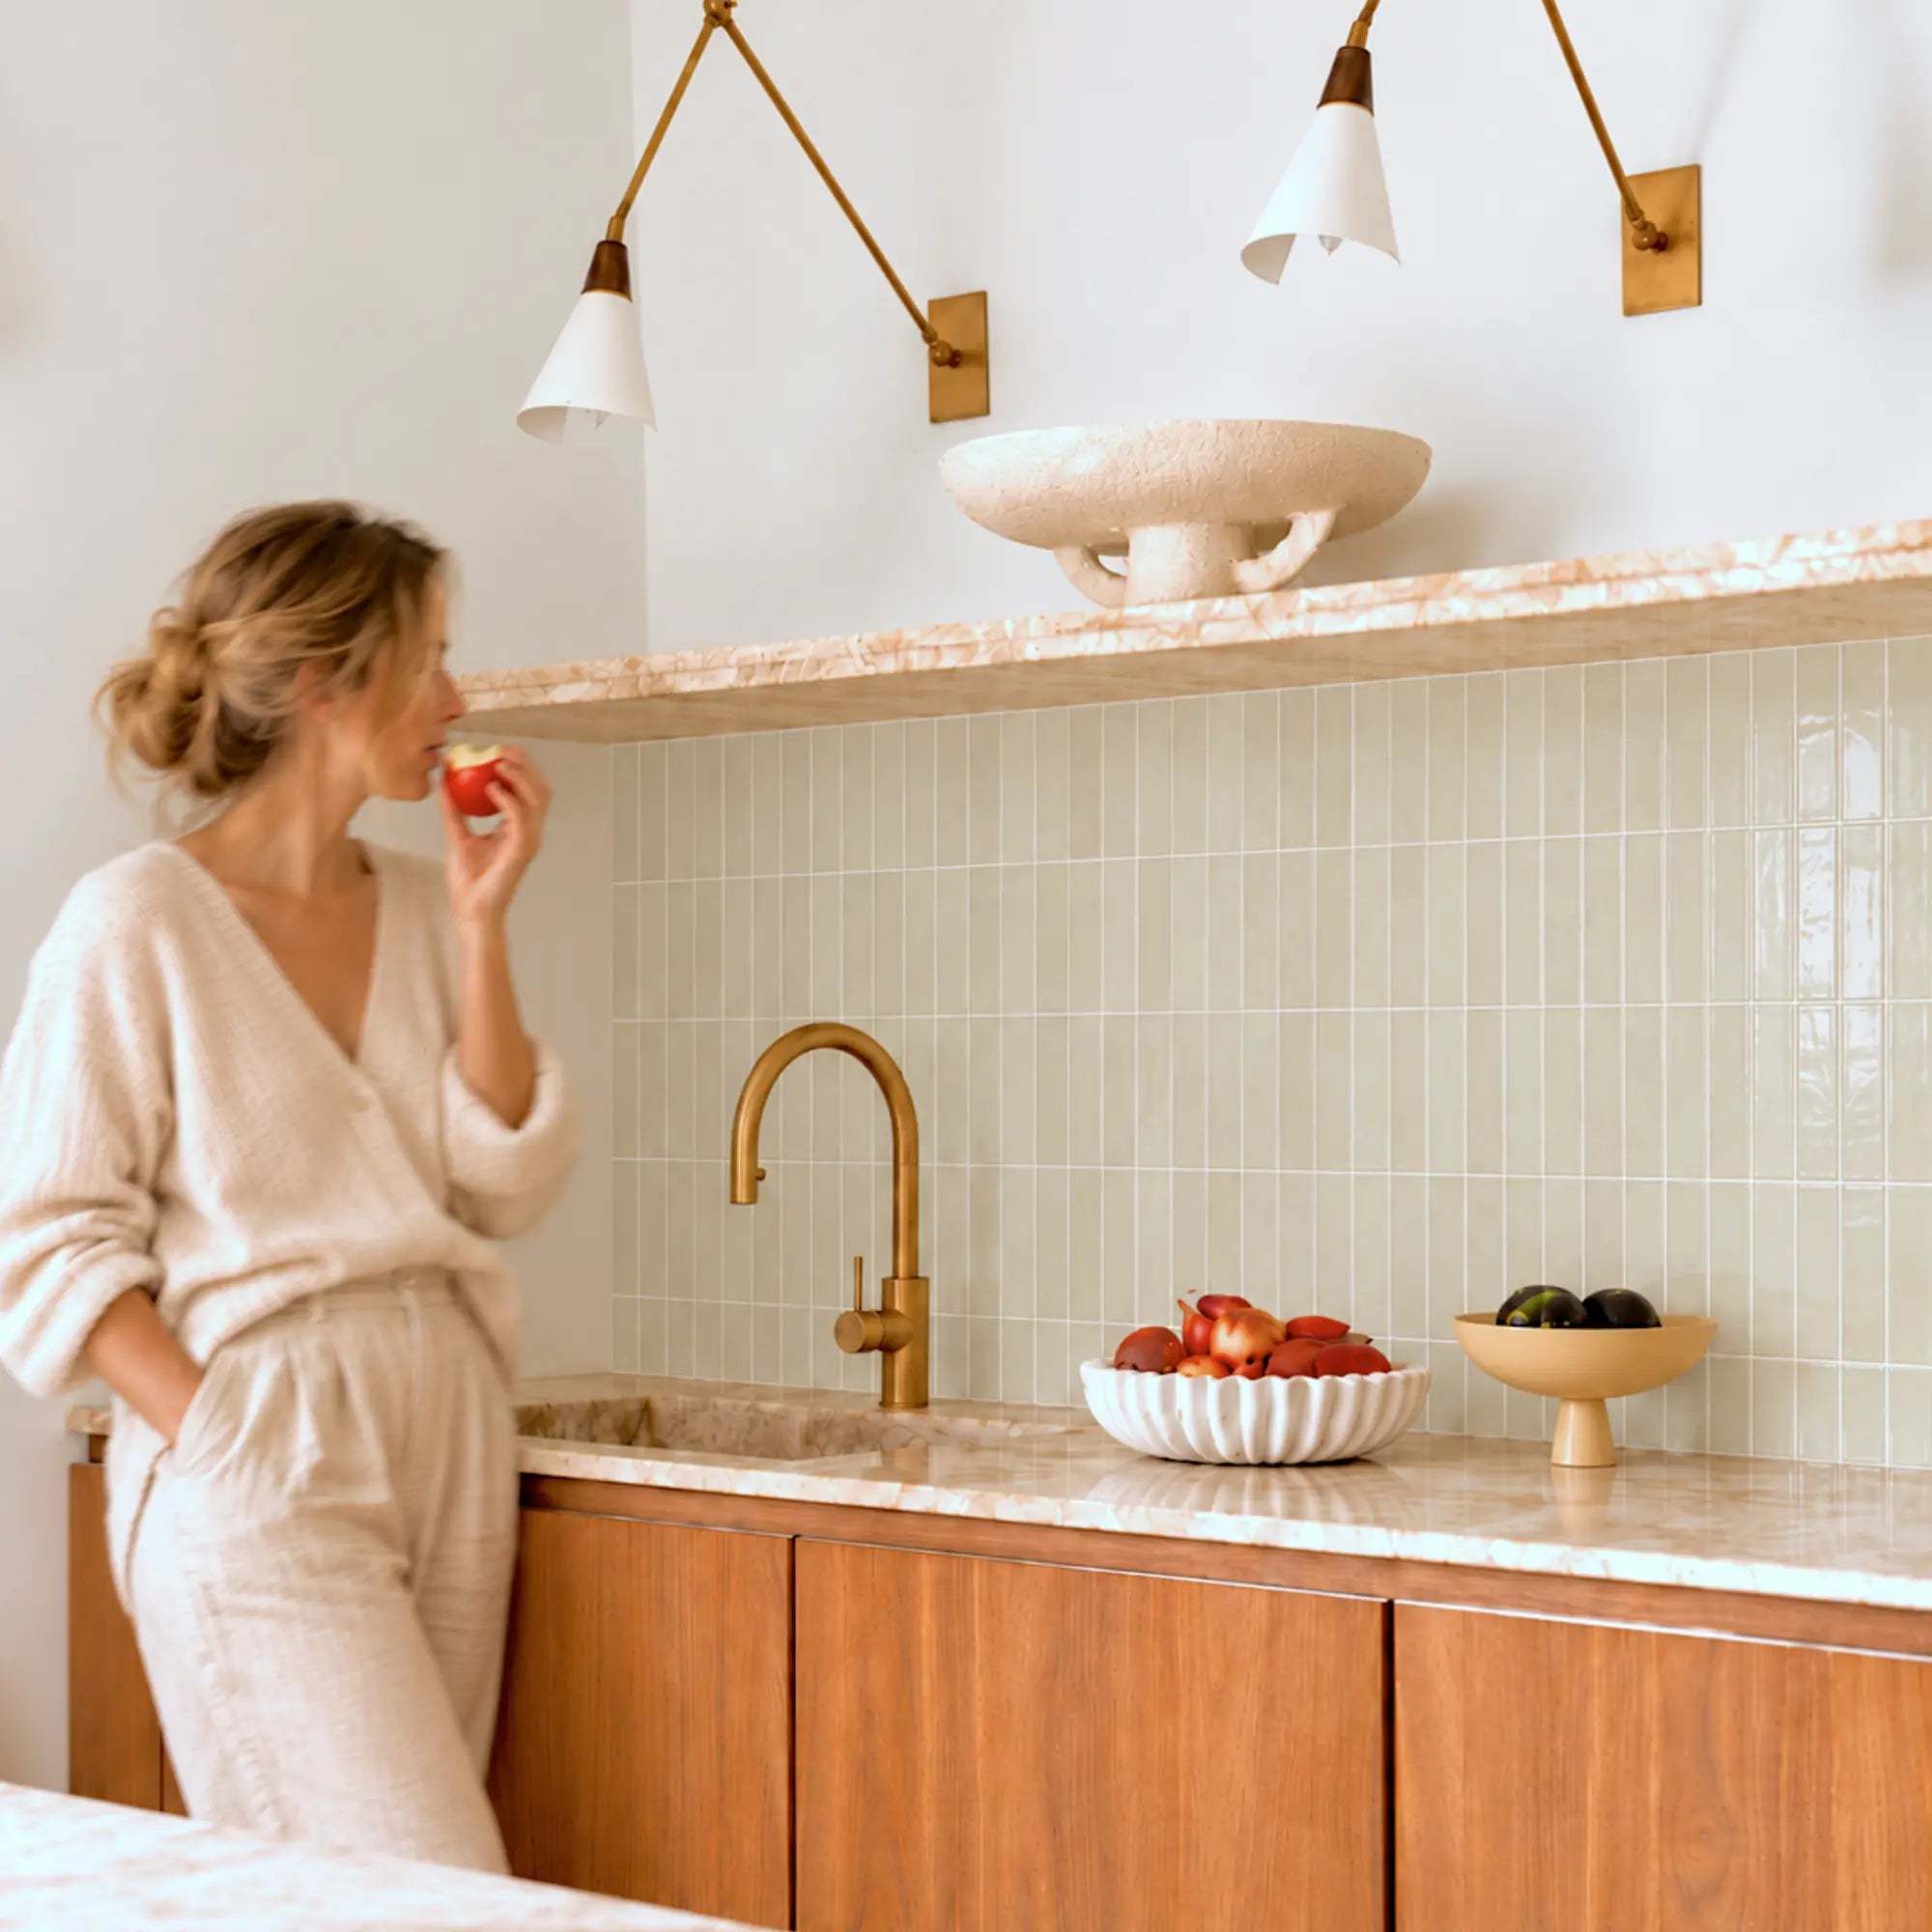
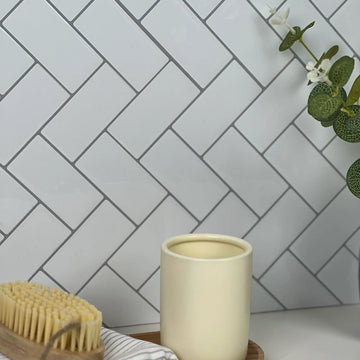
Subway-inspired patterns create a familiar, orderly look and work well in laundry rooms, mudrooms, and utility spaces. They can visually connect the sink wall to a kitchen or bathroom without requiring a full room renovation.
The main planning issue is alignment. Brick or offset patterns need a consistent starting line, and the pattern may need to be trimmed around pipes or corners. A small wall can also make an offset pattern appear crowded if the cut pieces at the ends are very narrow.
This direction works best when:
- The wall is broad enough for a clear repeating pattern.
- The first row can be leveled against a reliable reference.
- The product has a defined tile or panel edge that can be trimmed cleanly.
- You can keep cut pieces away from the most visible centerline.
A light subway-style finish can also make a basement laundry area feel brighter, but lighter surfaces show splash marks and dust sooner. That is a care consideration rather than a reason to avoid the style.
Marble-look or stone-look finishes
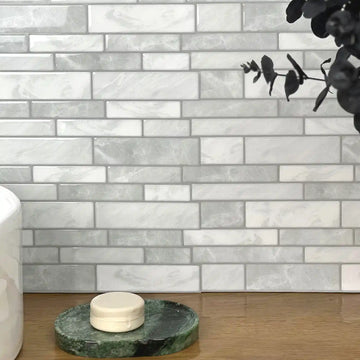
Marble-look backsplash ideas add visual contrast without the installation process associated with individual ceramic tile. They can make a basic plastic or composite utility sink feel more intentional.
The challenge is pattern continuity. Veining, mottling, and stone-like variation can make seams less obvious in some areas, but they can also make mismatched cuts look accidental. Before cutting, study how the pattern moves across each piece. If the pattern has a strong directional vein, decide whether all pieces should run the same way.
A stone-look finish is a good candidate when:
- The wall has enough uninterrupted area for the pattern to read clearly.
- You can keep the most visible cuts away from strong veins.
- The product has a surface that the manufacturer says can be cleaned with your intended routine.
- You have extra material for mistakes and visually important cuts.
Simple solid or lightly patterned surfaces
A solid or lightly patterned backsplash is usually easier to lay out. It can hide minor variation between pieces and makes plumbing cutouts easier to position visually.
The tradeoff is that plain surfaces may reveal uneven walls, crooked reference lines, or wavy seams. If the design has very little visual movement, installation accuracy matters more.
This is often the most forgiving direction for a first adhesive tile project when the wall is small, rectangular, and mostly unobstructed.
Full-height versus partial-height backsplash
A partial-height backsplash covers the wall directly behind the sink and may extend several inches above the faucet or basin. A full-height backsplash continues farther up the wall, sometimes to a shelf, cabinet, or ceiling.
A partial-height installation uses less material and can be easier to remove or replace. It also leaves a visible top edge, so that edge needs to look intentional. A full-height installation offers a stronger visual statement and protects more of the wall, but it increases measuring, cutting, and alignment work.
Choose the height by looking at the actual splash pattern. A narrow strip may protect the most vulnerable area while leaving the rest of the wall visually quiet. A taller backsplash can make sense when the sink sits against a blank wall that would otherwise look unfinished.
The best backsplash ideas are the ones that still make sense after you account for cleaning, exposed edges, and the cuts around your plumbing.

How do moisture and waterproofing terms apply to a utility sink backsplash?
Treat “water-resistant” and “waterproof” as different claims. Water-resistant language may support routine splash use, while waterproofing requires evidence about the complete surface, seams, cut edges, substrate, and perimeter details.
A product face can resist a splash while the wall assembly remains vulnerable at a seam or cut edge. Adhesive can perform well on a dry, smooth surface while failing on a damp or contaminated wall. A backsplash can also be easy to wipe clean without being suitable for standing water.
For this reason, evaluate moisture language in layers:
| Product statement | What it may help you understand | What it does not prove by itself |
|---|---|---|
| Water-resistant | The face may tolerate limited moisture under stated conditions | That the assembly is waterproof |
| Wipe-clean | Routine surface cleaning is supported | Resistance to harsh chemicals, steam, or abrasive scrubbing |
| Suitable for splash-prone areas | The manufacturer identifies a possible splash application | Suitability for direct spray, leaks, or standing water |
| Moisture-resistant | The material may be intended for humid or damp conditions | Adhesive or substrate performance under prolonged wetting |
| Removable | The material can be taken off with care | Damage-free removal from every wall |
| Waterproof | A strong performance statement that needs exact product and assembly context | That unsealed seams, cut edges, or wall penetrations cannot admit water |
The checked Stickwoll FAQ supports a water-resistant, wipe-clean surface for routine splashes and advises against prolonged exposure. It does not certify the substrate, seams, plumbing openings, or perimeter joints as waterproof. That boundary matters most behind a utility sink because the bottom edge may sit close to the basin and the faucet may create repeated droplets.
What parts of the installation deserve the most moisture attention?
Focus on the places where the decorative face stops:
- The bottom edge above or behind the sink.
- The left and right perimeter edges.
- Inside and outside corners.
- Seams between pieces.
- Cutouts around supply lines, valves, drain pipes, and faucet hardware.
- Any opening that exposes the wall or adhesive layer.
- The transition between the backsplash and a countertop, shelf, or sink rim.
The product documentation may specify how to treat these areas. If it does not, avoid inventing a universal sealant, bead size, cure time, or return-to-use schedule. Mixed materials behave differently, and a sealant that works with one product or substrate may not be approved for another.
If the wall requires a sealed wet-area assembly, an adhesive decorative backsplash may not be the right system. A rigid panel, properly installed tile, or another material with documented wet-area detailing may offer a clearer path.
For a broader comparison of peel-and-stick tile and laminate-style materials by moisture exposure, seams, installation effort, cleaning, repairs, and removal, read the peel-and-stick tile versus laminate backsplash guide.
Is your wall ready for adhesive backsplash material?
The wall should be smooth, clean, dry, stable, and free from dust, grease, oils, loose material, and problematic texture before installation. Adhesive-backed tile follows the wall it touches. It cannot correct a weak, damp, rough, or unstable surface.
Stickwoll’s general guidance identifies smooth painted walls, existing tile, glass, laminate, smooth wood, and metal as suitable surface categories. Comparable installation guidance from other manufacturers and Lowe’s adds the need for a flat, dry, structurally sound surface free from wax, soap scum, grease, and dust. The exact product instructions control, so use comparable guidance to understand the reason for the requirement rather than to replace the instructions for your selected SKU.
Painted drywall
Painted drywall can be a workable substrate when the paint is firmly attached, the surface is smooth, and the wall is clean and dry. Inspect the area behind the sink for:
- Peeling or bubbling paint.
- Soft drywall paper.
- Patches that remain powdery or chalky.
- Heavy orange-peel or knockdown texture.
- Grease or detergent residue.
- Previous adhesive that has not been removed.
- Moisture staining or signs of a leak.
Do not cover an active moisture problem with backsplash material. Find the source, allow the wall to dry, and repair the substrate first.
Fresh paint also deserves caution. A comparable Smart Tiles installation instruction advises against installing on fresh paint, calls for a three-week cure period for that product, and warns against direct installation on unprimed drywall. That three-week instruction belongs to Smart Tiles; it is not a universal Stickwoll requirement. Use the exact instructions for the product you buy.
Existing tile
Existing tile can provide a stable base if it is firmly attached, clean, dry, and sufficiently smooth. Deep grout lines may telegraph through a thin adhesive product or reduce the contact area. A glossy tile surface may also need cleaning or preparation specified by the manufacturer.
Check each tile for movement. Press gently around corners and edges. If the tile shifts, cracks, or sounds hollow in a way that indicates poor attachment, repair the underlying problem before adding a new surface.
Concrete, block, or masonry
Basement utility areas often have concrete or masonry walls. These surfaces can be porous, uneven, dusty, or damp. Adhesive tile generally needs a finished surface that meets the product’s smoothness and dryness requirements.
A masonry wall may need patching, leveling, sealing, or a separate smooth backing surface. Those steps depend on the product and the condition of the wall. A wall that feels dry to the touch can still transmit moisture, so inspect for dampness and efflorescence before proceeding.
Textured walls
Texture is one of the most common reasons peel-and-stick backsplash projects fail early. The adhesive needs broad, consistent contact. Texture creates high points, low points, and air gaps.
If the texture is light, the manufacturer may allow a preparation method that creates a smooth surface. If the texture is heavy or the wall is unstable, installing directly over it is a poor bet. Sanding can create dust and may expose wallboard paper or older coatings, so use a preparation method appropriate for the substrate and follow the product instructions.
Lowe’s general peel-and-stick wall tile installation guidance describes the need for a clean, level, smooth wall and recommends repairing, sanding, cleaning, priming when necessary, and drying the surface before installation.

How should you prepare the wall before installation?
Preparation should remove contamination, correct surface defects, and leave the wall fully dry before the adhesive backing is exposed. Most adhesion problems that look like product failure begin with dust, grease, moisture, loose paint, texture, or an uneven substrate.
Use this preparation sequence:
- Remove shelves, hooks, hardware, or accessories that interfere with the backsplash area.
- Inspect the wall for leaks, dampness, loose paint, soft drywall, and unstable tile.
- Repair holes, dents, open joints, and damaged areas with compatible materials.
- Sand or smooth raised areas as appropriate for the substrate.
- Remove dust from sanding and repairs.
- Clean grease, oils, soap residue, detergent film, and other contamination.
- Allow the wall to dry completely.
- Follow the exact product instructions for primer, paint cure, temperature, and any final wipe-down.
- Check the surface again immediately before layout and installation.
Avoid relying on a general-purpose cleaner that leaves a glossy or oily residue. A wall can look clean and still have a film that limits adhesion. Test your cleaning process on a small area if the surface has unusual paint, residue, or previous adhesive.
The temperature requirement is another product-specific detail. One comparable Aspect Glass installation guide specifies that the tile and substrate should be between 65 and 100°F before installation. That range belongs to the Aspect product and should not be treated as a universal Stickwoll requirement. It illustrates why the installation environment matters and why the selected product’s instructions should be checked before opening the package.
You can review the Aspect Glass installation guide and temperature example for that product-specific context.
When should you stop preparing and change the project plan?
Pause if:
- The wall remains damp after normal drying time.
- Paint continues to peel or powder.
- The surface is heavily textured and cannot be made smooth.
- A plumbing leak has not been corrected.
- The sink or faucet moves enough to disturb the wall.
- The product instructions exclude your substrate.
- You cannot create a clean, accessible edge around the sink.
- The wall requires waterproofing rather than routine splash protection.
A short backsplash project should not become a way to conceal a building or plumbing problem.
How do you measure coverage and plan material waste?
Measure the actual wall, map the obstacles, calculate the gross area, and then allow for cuts, pattern alignment, and mistakes. Package quantity alone does not tell you how much usable backsplash coverage you will receive.
Start by measuring each wall section separately. Record:
- Width from left edge to right edge.
- Height from the planned bottom edge to the planned top edge.
- Door, trim, cabinet, shelf, or countertop interruptions.
- Inside and outside corners.
- Faucet, valve, supply line, and drain locations.
- Any open edge that will remain visible.
For a rectangular section, the basic area calculation is:
Width × height = gross wall area
If a wall is 60 inches wide and 18 inches high:
60 × 18 = 1,080 square inches
Divide by 144 to convert square inches to square feet:
1,080 ÷ 144 = 7.5 square feet
That is the gross area before cuts and waste. It is not a purchase quantity unless the product packaging reports usable coverage and your layout is simple.
The checked Stickwoll Lemon Zest product is listed at 29 cm by 23 cm per piece, approximately 11.42 by 9.06 inches. The page lists packaging groups of 5, 10, or 20 tiles. Those facts apply to that SKU. The page does not establish net usable coverage after trimming, pattern matching, or waste, so calculate the layout from the actual piece dimensions and keep extra material for cuts.
Use a wall map instead of a single area number
Draw the wall as a simple rectangle on graph paper or a digital sketch. Mark:
- The sink centerline.
- The faucet centerline.
- The bottom and top backsplash boundaries.
- The first full piece.
- The direction of the pattern.
- Corners and open ends.
- Plumbing obstacles.
- Pieces that will require trimming.
The wall map reveals a problem that area calculations hide: a small wall may need nearly as much material as a larger one if the layout creates many unusable offcuts.
For patterns with a strong direction, plan the pieces in rows. For a plain or lightly varied surface, you may have more flexibility to rotate or reuse cuts, if the product allows it.
How much extra should you buy?
The evidence supplied here does not establish a universal waste percentage. Waste depends on wall shape, pattern, tile format, corners, plumbing cutouts, and your cutting confidence.
Instead of applying an automatic percentage, identify the likely waste sources:
- Narrow end cuts.
- Repeated corner cuts.
- Pattern matching.
- Pieces damaged during test cuts.
- Cutouts that remove the center of a piece.
- Extra pieces reserved for future repair.
A simple wall with a plain design may need little extra material. A wall with multiple pipes and a directional pattern may need considerably more. Purchase enough material to complete the visible wall with matching pieces, and keep at least a few usable offcuts for future repairs when the product and availability make that practical.

How do you plan cuts around plumbing and corners?
Plan every plumbing cutout while the pieces are still dry and removable. The most reliable sequence is to map the wall, transfer measurements to the tile, test the fit, and expose adhesive only after the piece is correctly shaped.
Utility sink walls often include obstacles that kitchen backsplash projects do not:
- Hot and cold supply lines.
- Shutoff valves.
- A drainpipe or standpipe.
- Faucet shanks.
- Wall-mounted hose bibs.
- Utility shelves.
- Flexible hoses.
- Uneven corner conditions.
- A sink rim that blocks part of the lower edge.
Mark the obstacle from fixed reference lines
Choose two reference lines on the wall, such as the planned bottom edge and a vertical line aligned with the sink or wall corner. Measure the obstacle from those lines. Record:
- Distance from the left reference to the obstacle center.
- Distance from the bottom reference to the obstacle center.
- Overall obstacle width and height.
- Required clearance around the obstacle.
- Whether the cut is visible or hidden behind a trim component.
Transfer the measurements to the back or face of the tile according to the product’s cutting instructions. Mark the piece’s orientation so it cannot be rotated accidentally.
The important detail is to measure from the same reference points each time. Measuring one dimension from the wall corner and another from the tile edge can introduce errors, especially when the tile has a pattern or a visible border.
Use a template for irregular obstacles
For a pipe, valve, or faucet connection, make a template from cardboard or heavy paper. Hold the template against the wall, mark the opening, and test it around the obstacle. Transfer the corrected shape to the backsplash piece.
A template is particularly useful when:
- The pipe sits close to a corner.
- The opening is partly hidden by a flange.
- The wall is not square.
- The obstacle has multiple connected fittings.
- The cut needs a notch rather than a hole.
Start with a smaller opening and enlarge it gradually. A cut that is slightly tight can often be adjusted. A cut that is too large may expose more wall or adhesive than the product instructions allow.
Cut before removing the backing
The adhesive backing should remain in place while you mark and cut. General peel-and-stick installation guidance recommends dry-fitting the layout and completing cuts before removing the backing. The checked Stickwoll FAQ also identifies scissors or a utility knife for corners and tricky spots, but it does not provide a complete plumbing-cutout method or a universal tool recommendation.
Use the cutting tool appropriate for the material and follow the manufacturer’s instructions. Wear eye protection when the material or tool can create chips, shards, or dust. Keep your fingers away from the cutting path, and support the piece so it does not flex or crack.
Plan corners and open edges
Inside corners can hide a small gap more effectively than an exposed outside edge. At an outside edge, the cut should be straight and visually intentional. If the product has a matching trim or edge piece, check whether it is approved for the selected tile.
Do not assume that a bead of generic caulk is automatically compatible. Stickwoll’s checked guidance does not identify one universal sealant, bead size, cure period, or return-to-use schedule for every product and substrate. Use only finishing materials and instructions that the exact product documentation supports.
For more wall mapping help before cutting, see this backsplash layout guide.
How do you install peel-and-stick backsplash behind a utility sink?
Install from a carefully chosen reference point, expose the adhesive gradually, and apply pressure only after the piece is correctly positioned. The goal is to protect alignment while building full contact between the adhesive and the prepared wall.
Before installation, bring the product and wall into the conditions required by the manufacturer. Confirm that the pieces are free from damage and that the pattern, color, and finish are consistent enough for the visible area.
Confirm the layout
Place the first row and nearby pieces against the wall without removing the backing. Check:
- The bottom edge.
- The vertical reference line.
- The sink centerline.
- Pattern direction.
- Corner transitions.
- End cuts.
- Plumbing openings.
- The height of the faucet and any wall-mounted accessories.
Stand back and inspect the layout from the normal viewing distance. A cut that looks acceptable close up may look unbalanced across the whole wall.
Start at the most controlled location
The best starting point is usually a straight, visible reference line that lets you build the pattern outward. Avoid starting at a crooked corner unless the product instructions or room geometry make that necessary.
If the wall has an open end, plan the final edge before beginning. A narrow sliver at the end can make the whole installation look off-center. Adjust the starting point so the left and right margins feel intentional.
Expose the adhesive progressively
Peel back only the portion of backing recommended by the product instructions. Keep the rest covered while you align the piece.
This gives you time to place the tile without contaminating the adhesive or accidentally bonding an edge too soon. It also makes it easier to follow a line without forcing the entire piece into position at once.
Position before pressing firmly
Confirm the location, pattern, and edge alignment before applying firm pressure. Lowe’s product installation instructions state that the position should be checked before pressure is applied, then describe pressing the middle and four corners. Once pressure creates a firm bond, repositioning or removal can damage the tile or wall.
Stickwoll’s guidance indicates that repositioning may be possible once or twice, but repeated movement can reduce adhesive performance. Treat the first placement as the important one.
Press from the center outward
Once the piece is correctly positioned, press from the center toward the edges. This helps push out air and encourages consistent contact. Work along seams, corners, and perimeter edges with the pressure method approved for the product.
Do not use aggressive tools or excessive force unless the instructions specifically recommend them. The goal is consistent contact, not compression that damages the face or distorts the piece.
Inspect each transition
After each piece, check:
- Seam alignment.
- Pattern continuity.
- Edge contact.
- Cutout fit.
- Corner spacing.
- Adhesive exposure.
- Any lifted or curled section.
Correct a problem while the piece is still manageable. Continuing across the wall can make one early alignment error appear in every row.
Finish the perimeter according to product guidance
The bottom edge, side edges, corners, and plumbing openings deserve a final inspection. If the product documentation calls for a specific finishing step, follow it exactly. If the instructions do not define a compatible sealant or edge treatment, do not present a generic material as a guaranteed solution.
The checked evidence supports a conditional routine-splash application. It does not establish waterproof performance for the complete assembly, including the wall substrate, seams, cut edges, and perimeter joints.

How can you make the finished backsplash look intentional?
A finished utility sink backsplash looks intentional when the first row is level, the pattern is consistent, the cuts are planned, and the exposed edges have a clear visual ending. Small details carry more weight on a compact wall because the eye sees the whole installation at once.
Start with the line that people notice first. Behind a sink, that may be the top of the basin, the counter or shelf above it, or the first horizontal row of the backsplash. If the room has strong horizontal lines, align the backsplash with one of them when the product layout allows.
Pay attention to the centerline of the sink. Centering a pattern or a vertical seam with the sink can look deliberate, but it is not always the best option. A centered seam may place an awkward cut around the faucet. Sometimes shifting the pattern slightly creates better end cuts and a cleaner plumbing area.
Use visual hierarchy around the sink
The backsplash does not have to compete with the sink, cabinets, shelves, or storage bins. A quiet pattern can make the area look cleaner. A stronger finish can turn the wall into a focal point.
For a practical laundry room:
- Use light finishes when you want the wall to feel brighter.
- Use medium variation when you want to reduce the visibility of small marks.
- Use a stronger pattern when the surrounding surfaces are simple.
- Use a plain finish when the wall has many pipes or interruptions.
- Use a consistent edge treatment at the top and sides.
The design should support the room’s maintenance routine. A finish that looks polished but requires special cleaning may create frustration in a utility area.
Keep cut pieces in less visible locations
Place full pieces in the center or at the most visible eye-level areas when possible. Use trimmed pieces near corners, under shelves, or behind fixtures. This is especially useful with patterns that have visible veining or directional marks.
Do not force a full piece into a location where it creates a poor transition. A smaller, well-planned cut can look better than a full piece that pushes the pattern out of alignment.
Review the selected product before purchase
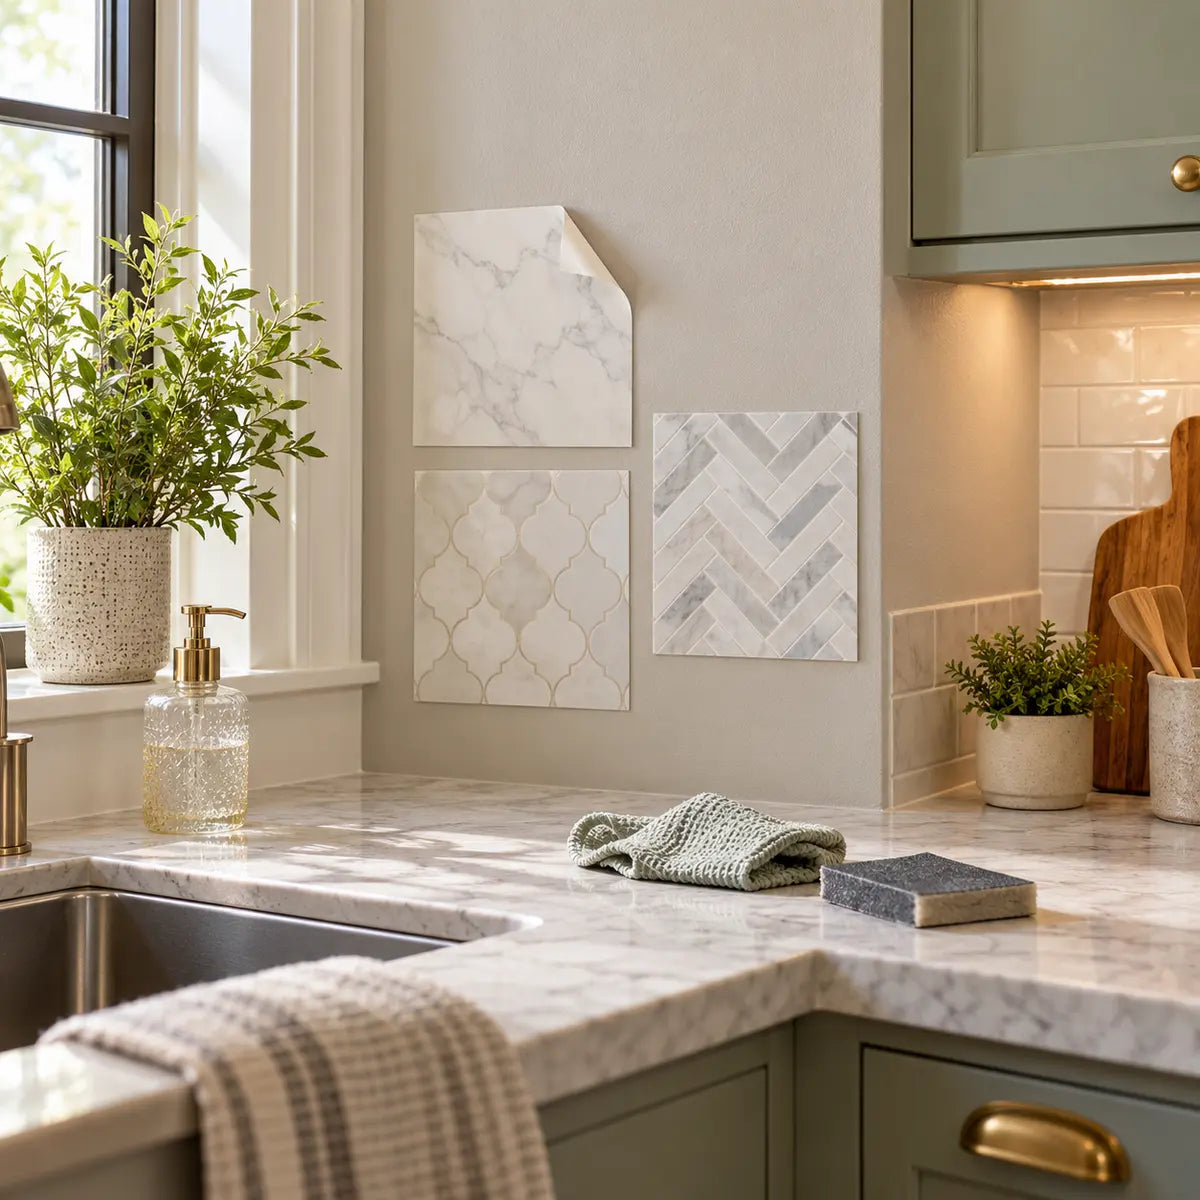
Stickwoll offers several self-adhesive wall tile styles, but product descriptions and dimensions differ by SKU. For a marble-inspired finish, you can review the documented Subway Marble backsplash specifications. For a more grounded stone-like appearance, compare the Rock Subway product details.
Those links are product destinations, not proof that either option is automatically right for your sink wall. Check the current product page, dimensions, installation details, moisture language, cleaning instructions, and any surface restrictions against your project.
How should you clean and maintain a utility sink backsplash?
Use the gentlest cleaning routine that removes the soil: a soft cloth or sponge with mild soap and water, followed by a light wipe dry when needed. Stickwoll’s general care guidance advises against abrasive scrubbers and harsh chemicals.
Laundry rooms collect more than water. Detergent residue, dust, lint, soil from work clothes, and cleaning products can land on the wall. A backsplash that is easy to wipe clean may reduce the visual maintenance of the room, but it still needs the right care routine.
Clean spills before they sit along the bottom edge or seams. Use a damp soft cloth for ordinary marks. If mild soap is needed, use a small amount and remove residue with a clean damp cloth. Avoid soaking the wall or directing water at the backsplash while cleaning.
Do not assume that a wipe-clean claim means the product resists every chemical. The checked guidance does not establish resistance to bleach, solvents, steam, aggressive degreasers, standing water, or abrasive cleaning. Test any unfamiliar product in an inconspicuous area only if the manufacturer allows it, and follow the exact SKU care instructions if they are more restrictive.
For more maintenance guidance, read how to care for peel-and-stick wall tiles.
Watch the lower edge
The lower edge receives the most attention because it sits closest to the sink and basin. Look for:
- Lifted corners.
- Softened adhesive.
- Water collecting behind a lip.
- Open seams.
- Discoloration.
- Damage caused by repeated scrubbing.
- Gaps around pipes or fixtures.
Address a small edge problem early according to the product’s repair or replacement guidance. Do not press a loose piece back into place without finding out why it lifted. Moisture, wall movement, contamination, or an uneven surface may continue to affect the bond.
Plan for replacement material
A utility sink is a working fixture. Even a careful installation may eventually need a replacement piece after damage, remodeling, or a plumbing change. Keep the product name, finish, dimensions, and purchase details with your home maintenance records.
Removed Stickwoll tiles should not be assumed to be reusable. The checked guidance says removal results vary with the paint and substrate, and removed tiles are not reusable. That makes accurate first-time planning more valuable.

What are the most common peel-and-stick backsplash problems?
Most installation problems trace back to unsuitable surfaces, incorrect layout, premature pressure, moisture at edges, or cleaning methods that exceed the product guidance. The correct response depends on whether the issue is cosmetic, adhesive-related, moisture-related, or caused by the wall itself.
| Problem | Likely cause | Practical next action |
|---|---|---|
| Corner lifts | Dust, texture, moisture, poor pressure, or an uneven wall | Stop and inspect the wall and adhesive contact before pressing again |
| Piece will not bond | Grease, oils, dampness, loose paint, or incompatible substrate | Remove the piece carefully and correct the surface if product guidance allows |
| Seams drift | First row was not level or the piece shifted during placement | Check the reference line and correct early rather than carrying the error forward |
| Pattern looks uneven | Orientation changed or pieces were cut without a wall map | Dry-fit the next area and mark orientation before cutting |
| Pipe opening is too large | Measurements were transferred from inconsistent reference points | Use a template and make smaller staged adjustments |
| Adhesive loses grip | Repeated repositioning, contamination, temperature, or wall movement | Replace or reinstall only according to the manufacturer’s instructions |
| Surface becomes cloudy | Harsh cleaner, abrasive pad, residue, or chemical exposure | Stop the cleaner, rinse gently if allowed, and consult care guidance |
| Wall is damaged during removal | Weak paint, drywall paper, loose primer, or strong adhesive bond | Treat removal as a repair project rather than assuming the product is damage-free |
One comparable set of Lowe’s product instructions explains that pressure creates a permanent bond and that removal can damage the substrate. That warning is consistent with the practical rule: position first, press second.
What if the adhesive-backed tile is crooked?
Do not pull aggressively. If the piece has received little pressure and the product guidance allows repositioning, correct it carefully. If the adhesive has bonded firmly, removal may damage the tile or wall.
A crooked first piece can affect every subsequent row. Correct the first visible error before continuing, even if that means stopping the project and reassessing the layout.
What if the wall is slightly damp?
Do not install until the source and condition are understood. A damp wall can indicate condensation, a plumbing issue, water migration, or an unfinished surface. Adhesive performance on a wall that is only temporarily dry may not match performance on a consistently dry wall.
What if water reaches the seam?
Wipe the area dry and inspect the seam, edge, and substrate. The product’s water-resistant face does not prove that water cannot reach the adhesive or wall through a seam or cut opening. If the seam repeatedly becomes wet, reassess the backsplash design, sink use, faucet direction, and edge treatment.
Is a peel-and-stick backsplash renter-friendly?
Treat removability as conditional, not guaranteed. Stickwoll’s guidance says removal impact varies with paint and substrate, and removed tiles should not be assumed to be reusable.
A rental wall may have weak paint, multiple paint layers, old patching, or a surface that was not intended to receive adhesive. Even if a product is described as removable, that does not promise that the underlying paint will remain intact.
Before installing in a rental or temporary space:
- Review the lease or obtain permission.
- Test the product or a small sample in an inconspicuous area if permitted.
- Inspect the wall condition before installation.
- Photograph the wall for your records.
- Accept that removal may require patching or repainting.
- Avoid installing over damp, peeling, textured, or fragile surfaces.
For temporary laundry or utility areas, review the renter-friendly backsplash planning guide.
A removable product can be useful for a temporary design change, but the wall condition remains part of the result.
Frequently Asked Questions
Can peel-and-stick backsplash go behind a laundry utility sink?
It may, when the exact product is documented for splash-prone wall use, the wall is smooth and stable, the exposure is limited to routine splashes, and the seams, edges, plumbing cutouts, and cleaning routine are compatible with the product instructions. Stickwoll’s current general guidance supports water-resistant, wipe-clean use for routine splashes while advising against prolonged water exposure and direct shower zones unless product-specific guidance allows them.
What does “waterproof” or “moisture-resistant” mean for a utility sink wall?
These terms should be read as product-specific performance language. “Water-resistant” may support routine splash exposure, while “waterproof” requires a clear understanding of the product, substrate, seams, cut edges, and installation details. A face material can resist water while an unsealed seam or exposed cut edge allows water to reach the wall.
Do not treat a marketing term as proof that the complete backsplash assembly can handle direct spray, standing water, or an active leak.
Can I install peel-and-stick tile over painted drywall?
Often, painted drywall can work when it is smooth, firmly painted, clean, dry, and stable. Check for texture, loose paint, dust, grease, and moisture first. The exact product may require a particular primer, paint cure period, or surface condition.
Comparable manufacturer instructions show why these details vary: one Smart Tiles guide advises against fresh paint and unprimed drywall, while other systems provide different preparation requirements. Follow the instructions for the exact backsplash you select.
Do I need to remove the utility sink before installing the backsplash?
Not always. If you can access the wall, measure accurately, and press the material firmly behind the sink, you may be able to install around the fixture. Removal or temporary disconnection may make the job easier when the sink blocks the lower edge, the wall is tight against the basin, or plumbing obstacles prevent a clean layout.
Do not disconnect plumbing unless you understand the work and can safely restore the connections. If a fixture needs to be moved to create the backsplash, plan that work before cutting material.
How do I cut peel-and-stick backsplash around pipes?
Measure from consistent reference lines, make a cardboard template for irregular shapes, transfer the opening to the tile, and cut while the adhesive backing remains in place. Begin with a smaller opening and enlarge it gradually. Check the fit before exposing the adhesive.
The exact tool depends on the product construction. Stickwoll’s general FAQ refers to scissors or a utility knife for corners and tricky spots, while other products may require different tools. Use the selected product’s cutting instructions and appropriate eye protection.
Can I clean peel-and-stick backsplash with bleach or a strong degreaser?
Do not assume so. Stickwoll’s general guidance recommends mild soap and water with a soft cloth or sponge and advises against abrasive scrubbers and harsh chemicals. The checked sources do not establish that every Stickwoll product resists bleach, solvents, steam, or aggressive degreasers.
Use the exact care guidance for the selected SKU.
Will removing the backsplash damage the wall?
It may. Removal results depend on the original wall condition, paint, primer, substrate, adhesive bond, and how the material is removed. Stickwoll’s guidance does not guarantee damage-free removal from painted drywall, and removed tiles should not be assumed to be reusable.
That matters for renters and anyone planning a short-term installation. Test the wall when allowed, document its condition, and budget for possible patching or repainting.
What should you check before buying and installing?
Proceed when the wall, exposure, coverage, preparation requirements, and product instructions all match. Pause when one of those conditions is unclear. The final decision should come from documented fit rather than appearance alone.
Use this pre-purchase checklist:
For a broader product-selection framework covering substrate compatibility, moisture exposure, edge treatment, cleaning, installation conditions, and removal expectations, use the peel-and-stick backsplash buying checks.
When the checklist is complete, review the Stickwoll peel-and-stick tile project guide and then inspect the current specifications for the exact product you plan to use. A product page can confirm dimensions, package options, stated surface categories, and care information, but it cannot replace a project-specific assessment of your wall.
The strongest choice for a laundry utility sink backsplash is the one that fits the real conditions behind the sink: routine splash exposure, a prepared wall, accurate coverage, manageable cuts, visible edges, and a care routine you will actually use. If those conditions align with the current first-party product instructions, peel-and-stick material can provide a cleaner-looking wall with a controlled installation process. If the wall remains damp, heavily textured, regularly soaked, or difficult to detail at the edges, pause before purchase and choose a system documented for those conditions.


Leave a comment
This site is protected by hCaptcha and the hCaptcha Privacy Policy and Terms of Service apply.