

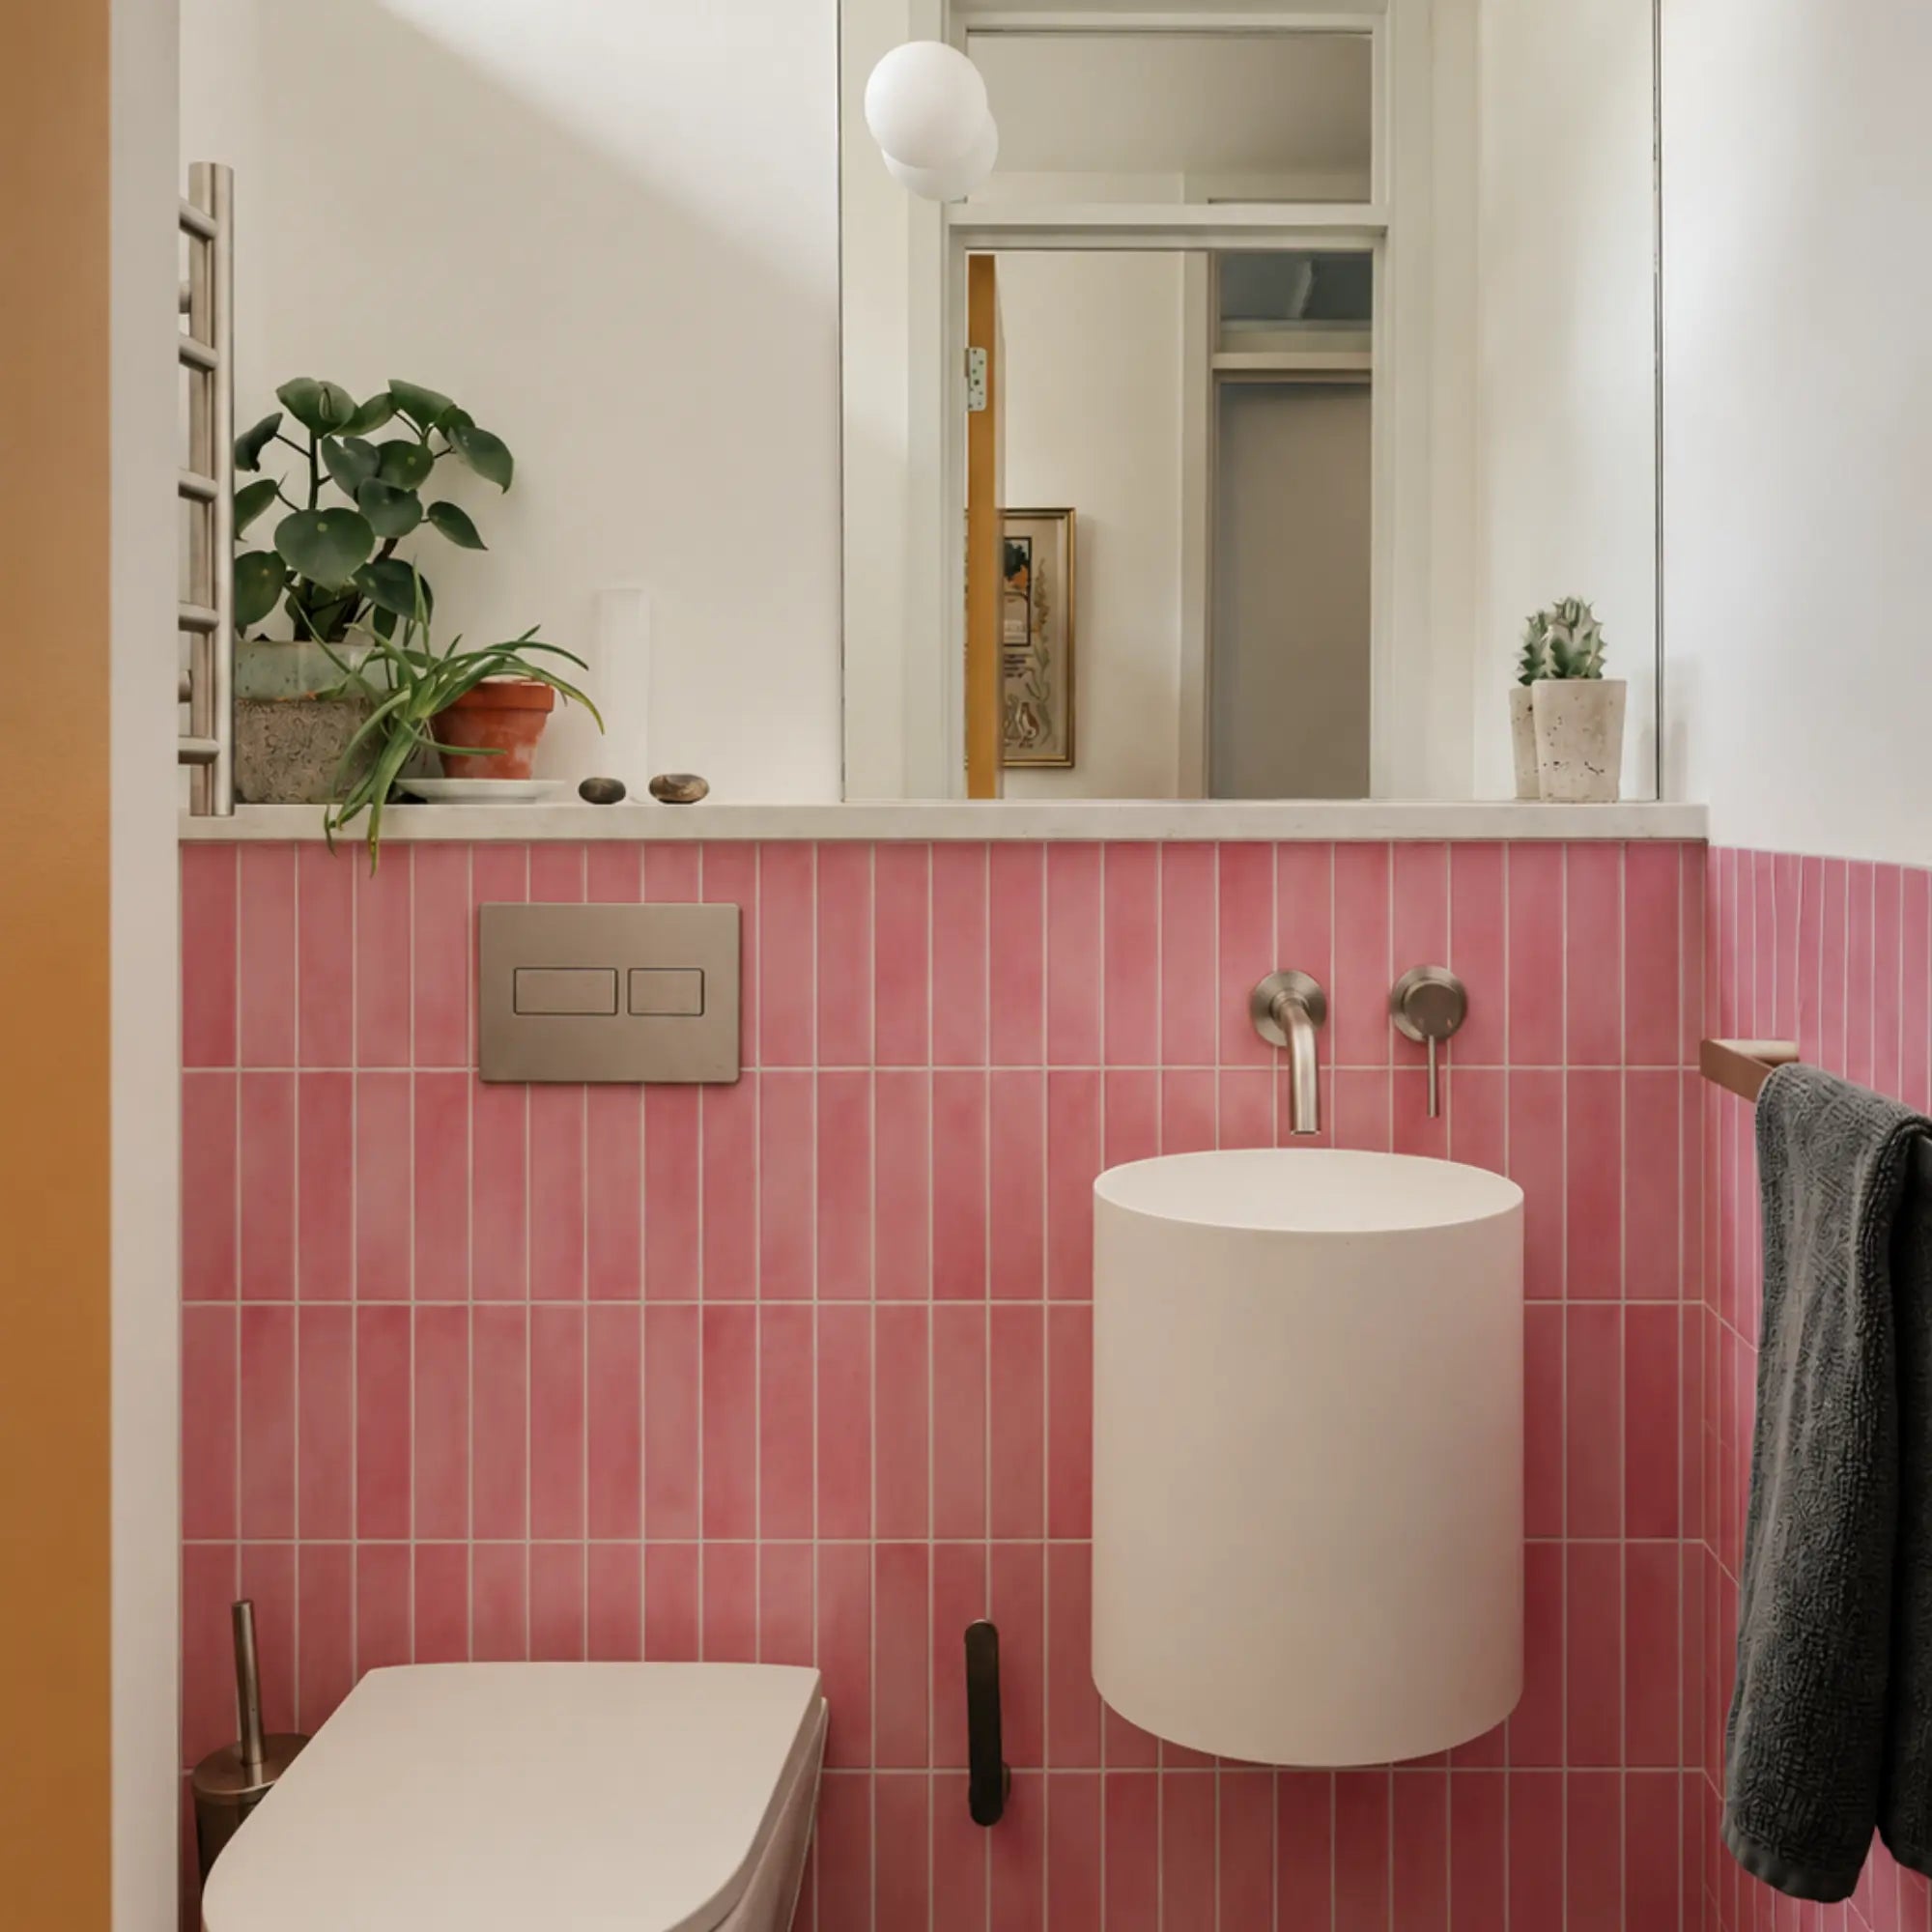



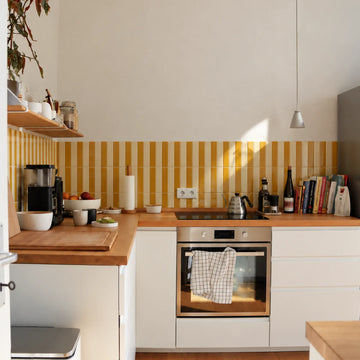

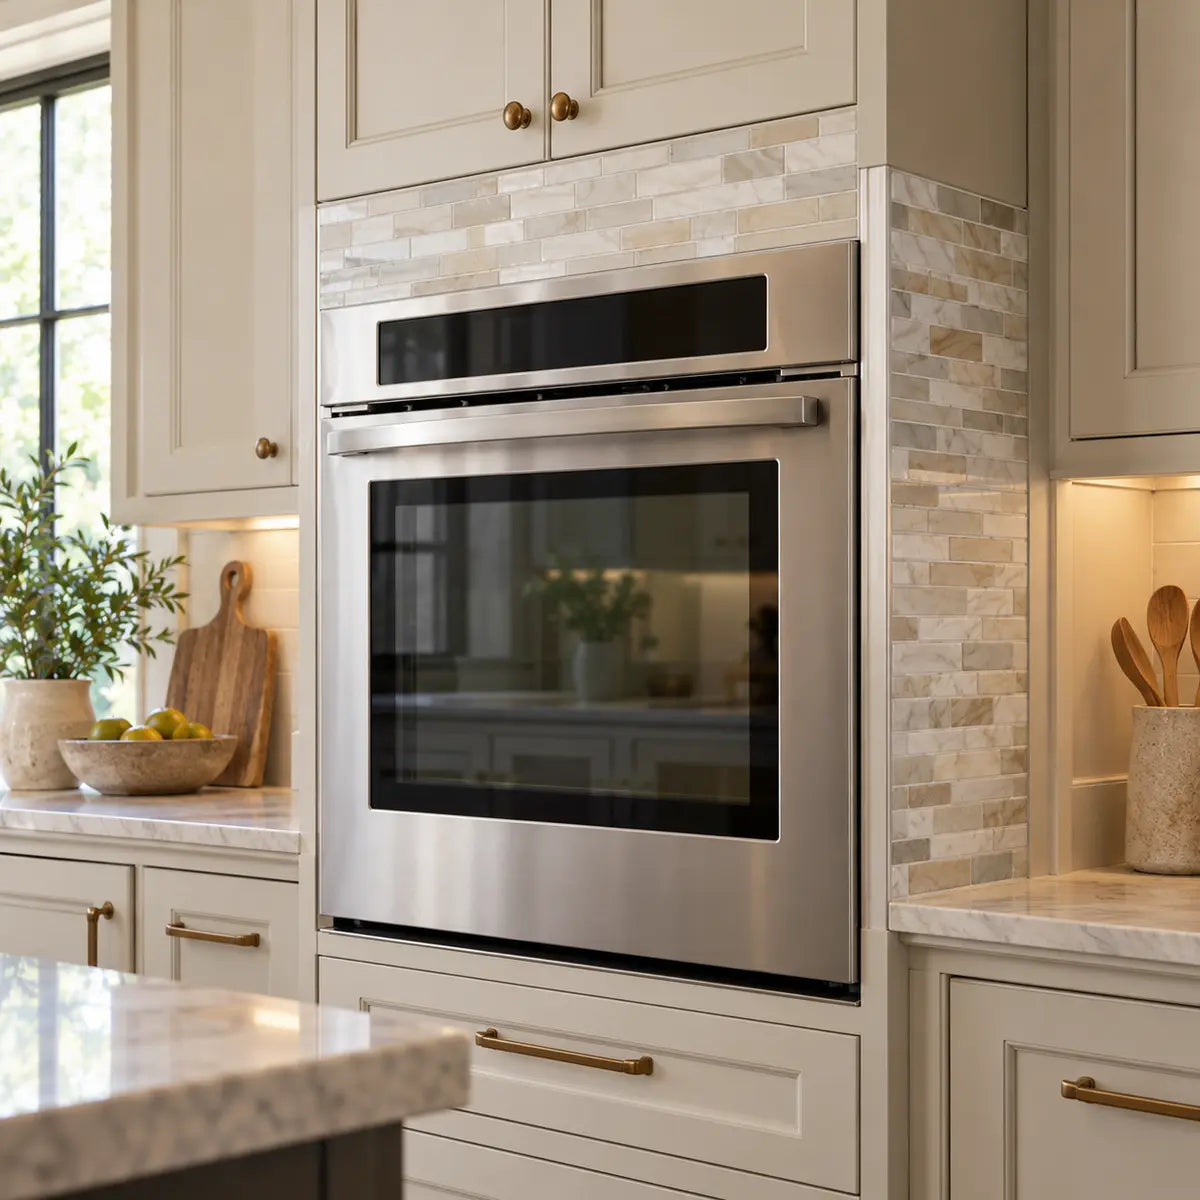
Before cutting a single tile, compare the specific wall oven installation instructions with the specific peel-and-stick tile documentation. The answer to “Can peel-and-stick tile go around a wall oven?” is conditional: it may work in a documented, suitable location, but the material name alone does not establish heat tolerance, clearance, ventilation, or warranty coverage.
The oven instructions control the appliance opening, trim, vents, controls, surrounding materials, and access requirements. The tile instructions control the product’s surface limits, placement restrictions, substrate requirements, adhesive method, curing time, and warranty conditions. If either document leaves the proposed location unresolved, pause before cutting or exposing the adhesive.
This guide shows how to plan and install peel-and-stick tile around a wall oven while keeping heat and appliance access at the center of the project. You’ll learn how to:
- verify whether the proposed tile zone is documented as suitable;
- classify the area as beside, above, behind, or near an oven control or vent;
- map the opening, trim, panels, seams, and exposed edges;
- prepare the wall for adhesive-backed tile;
- measure and cut around a wall oven without forcing pieces into moving trim;
- install the tile with consistent alignment and pressure;
- inspect the finished work before regular oven use; and
- troubleshoot peeling, bubbles, lifted seams, and discoloration.
Can peel-and-stick tile go around a wall oven?
Peel-and-stick tile can go around some wall ovens, but you must verify the exact oven, exact tile product, and exact installation zone first. A general statement that a tile is “heat resistant” does not prove that it is suitable beside a particular wall oven, above a particular oven opening, near a control panel, or in an area affected by a vent.
The most reliable starting point is a two-document check:
- The wall oven installation manual. This identifies the appliance opening, enclosure, support, ventilation, trim, controls, surrounding clearances, and service-related boundaries.
- The tile manufacturer’s documentation. This identifies the product’s maximum surface temperature, prohibited heat exposure, recommended spacing, compatible substrates, adhesive requirements, curing instructions, and warranty limits.
GE’s wall oven guidance states that general information does not replace the installation instructions and use-and-care manual supplied with the specific appliance. That distinction matters because installation requirements vary by model. You can review the GE wall oven installation guide as a reference, then locate the manual for your own oven.
The tile side can vary just as much. For example, Smart Tiles states that its product should be installed only where the surface temperature does not exceed 120°F or 49°C, and it warns against direct contact with a heat source or open flame. Aspect publishes different product-family guidance, stating that its tiles can withstand heat up to 140°F and recommending a minimum 6-inch space from a heat source or burner. Those figures belong to those specific products and applications. They are not universal wall oven clearances.
That difference is the first major decision point:
If the oven manual and tile documentation both support the proposed location, continue to planning. If either document does not address the location clearly, narrow the tile layout, obtain written clarification, or choose another finish.
A tile area beside an oven may be acceptable while a tile area directly over a vent is not. A wall surface that looks cool during normal operation may still receive heat that exceeds the tile manufacturer’s documented limit. A narrow strip that fits visually may interfere with removable side trim or make future oven service harder.

A quick proceed-or-pause decision aid
| Your documentation and layout finding | What to do |
|---|---|
| The oven manual identifies the surrounding requirements, the tile documentation covers the proposed placement, and no vent, trim, control, seal, or access area is obstructed | Proceed to detailed layout and surface preparation |
| The oven requirements are clear, but the tile documentation gives a heat limit or spacing rule that the proposed location cannot meet | Do not install that tile in that location |
| The tile documentation is clear, but the oven manual does not identify the surrounding material or access requirements | Pause and obtain appliance-specific guidance |
| The tile would cover a vent, bridge a removable trim piece, touch a control or seal, or reduce service access | Redesign the layout |
| The product documents conflict, use different terms, or leave the proposed zone unclear | Treat the project as unresolved until the conflict is clarified |
This table is a planning aid, not approval for a particular installation. The decision still belongs to the current documents for your appliance and tile.
Which instructions and clearances control the installation?
The wall oven manual controls appliance-related boundaries, while the tile documentation controls product-related heat and adhesion limits. Neither document replaces the other.
A wall oven installation manual may specify:
- cabinet opening dimensions;
- the enclosure around the recessed oven portion;
- the type and position of support;
- junction box location;
- required vents or air openings;
- side trim and bottom trim;
- control-panel clearance;
- door and seal movement;
- surrounding material requirements; and
- access needed for installation, removal, or service.
A representative Whirlpool built-in oven manual requires a solid, level support and describes supplied side trim and a bottom vent that are installed after the oven is positioned. It also provides a trim removal sequence. That does not create a universal rule for other ovens, but it illustrates why a tile cut should be planned around the oven’s actual installed trim and vent rather than around a rough cabinet opening. Review the Whirlpool built-in oven installation instructions for an example of the detail that may matter.
Ventilation deserves special attention. GE explains that open-bottom and solid-bottom wall oven installations can have different, model-specific air-circulation requirements. For some models, a solid cabinet bottom may require a 6-inch by 10-inch opening for air circulation. That opening is a cabinet requirement for certain models, not a backsplash clearance and not a permission to cover any part of the oven structure. The relevant point is broader: do not use tile, adhesive, trim, or backing material to alter an opening the oven manufacturer requires for airflow.
The tile documentation may specify:
- the maximum temperature at the installation surface;
- minimum distance from a heat source;
- whether direct contact with a heated appliance is prohibited;
- whether the product is approved near an oven, cooktop, or range;
- compatible wall surfaces;
- whether primer is required;
- whether supplemental adhesive is allowed;
- how long the adhesive must set before heat exposure;
- how to handle small cut pieces; and
- whether a high-heat or undocumented area is excluded from the warranty.
The wording matters. “Heat resistant” can mean the visible surface tolerates a certain condition. It does not necessarily mean the adhesive, backing, paint, substrate, or seams tolerate every operating mode of a wall oven.
What counts as a stop condition?
Stop before installation if any of these conditions apply:
- The proposed tile location is directly over or across a vent.
- Tile would cover an oven trim piece that must remain removable.
- Tile would touch or restrict a control panel, door seal, hinge path, or moving trim.
- The tile instructions prohibit direct heat exposure or require spacing that the layout cannot provide.
- The surface temperature at the proposed location is undocumented and the tile manufacturer requires a maximum temperature.
- The wall is uneven, greasy, damp, dusty, freshly painted, or otherwise outside the tile instructions.
- The oven has not been secured or aligned, so the final trim position is still uncertain.
- You cannot remove the oven or trim later without damaging the tile.
- The tile manufacturer does not identify the product as suitable for the proposed placement and will not confirm it.
A stop condition does not prove that the project will fail. It means the available documentation does not support proceeding with that layout.
How should you classify the tile zone around the oven?
Classify the tile by its physical relationship to the oven before choosing a pattern or measuring cuts. “Around the oven” can describe several different exposure and access conditions.
| Tile zone | Main questions |
|---|---|
| Beside the oven opening | Is the tile beside the outer trim, behind the trim, or touching a side panel? Can the trim still be removed? |
| Above the oven opening | Is there a control panel, upper trim, vent, warming drawer, or heat path above the opening? Does the oven manual identify the surrounding material? |
| Behind the oven | Will the tile be hidden inside the cabinet or directly behind the appliance? Does the oven require a complete enclosure or specific support? |
| Near a control panel | Could tile interfere with buttons, knobs, display visibility, service access, or panel movement? |
| Near a vent | Would tile, backing, adhesive, or edge trim reduce airflow or change the opening? |
| At a cabinet side or end panel | Is the surface part of the oven enclosure, a separate cabinet panel, or a wall that can accept adhesive? |
| Along the oven door path | Could a raised tile edge contact the door, gasket, hinge, or adjacent trim? |

Beside the oven
A side-wall installation often looks easiest because it may receive less direct radiant heat than the area above the opening. That assumption still needs to be checked. The tile could sit close to a side trim component, a ventilation route, or a service seam.
Measure from the finished visible edge of the oven trim, not from the rough cabinet cutout. If the trim is removable, keep the cut clear of the removal path. If the tile terminates against the trim, plan a small, consistent reveal or a manufacturer-approved edge detail rather than pressing the tile under the trim.
Above the oven
The area above a wall oven may contain controls, vents, a warming compartment, a microwave, or cabinet framing. Tile placed above the oven should be evaluated against the tile manufacturer’s heat guidance and the oven manufacturer’s surrounding-material requirements.
Do not assume that a backsplash traditionally installed above a countertop can be continued across an oven opening. A wall oven changes the geometry, heat exposure, access, and trim relationships.
Behind the oven
A concealed surface behind a built-in wall oven is usually the least forgiving location for a decorative adhesive product. The oven may require a particular enclosure, support, or airflow arrangement. Tile can add thickness, reduce a designed opening, interfere with positioning, or make future removal harder.
Unless the oven and tile documentation clearly support the location, treat the hidden space behind the appliance as a place to leave unchanged.
Near controls, seals, and moving parts
Keep tile away from any part that must move, flex, seal, slide, or be removed. A clean-looking edge that traps a trim piece can create a service problem later. A tile corner that catches on the oven door or touches a gasket can lift after repeated movement.
The installation should remain serviceable. You should be able to identify how the oven trim, vent, door, and surrounding components are removed without destroying the finished wall.
For another appliance-focused example of this documentation and access process, see how appliance-specific instructions affect peel-and-stick tile placement.
What should you measure before cutting peel-and-stick backsplash?
Create a written measurement plan that records the oven opening, finished trim, reference lines, tile dimensions, seams, and edge conditions. Measuring directly from memory or from a single width is the fastest way to create crooked rows and forced cuts.
Start with the wall and oven in the condition they will have after installation. If the wall oven is not yet installed, use the manufacturer’s cutout dimensions and the actual trim supplied with the appliance. If the oven is already installed, inspect the visible trim, panels, vents, and gaps carefully.
Build a measurement worksheet
Record the following for each separate wall area:
- overall width of the tile field;
- overall height of the tile field;
- distance from the countertop, cabinet, or other fixed reference;
- width and height of the oven’s visible trim;
- distance from the left reference edge to the oven trim;
- distance from the right reference edge to the oven trim;
- distance from the countertop or lower reference to the oven trim;
- distance from the oven trim to the next cabinet, wall, or opening;
- location and size of every vent or access opening;
- location of switches, outlets, controls, seams, and removable trim;
- planned grout or pattern spacing, if the product uses visible joints;
- exposed outside corners and finished edges; and
- the direction of the tile pattern.
Measure each dimension at least twice. If the wall is out of square, measure the top, middle, and bottom of the area. A wall can differ by enough across its height to make a large sheet appear aligned at one end and visibly angled at the other.
Use reference lines
Choose one stable reference line. This may be the countertop, a cabinet underside, a level line through the backsplash, or another fixed architectural feature. Use a level to transfer the line across the wall.
Do not use the oven door or decorative trim as your only horizontal reference. The appliance may be aligned to the cabinet opening, while the surrounding wall or countertop is slightly out of level. The best visual result often comes from establishing a true level tile line and allowing a planned, hidden adjustment at the least visible edge.
Mark the centerline of the oven opening and the centerline of the tile pattern. If the pattern has a strong geometric repeat, centering the pattern may matter more than starting at the nearest wall edge.
Plan the pattern before the cuts
Lay the tile sheets or individual pieces on a clean floor or work surface. Arrange them in the intended pattern and mark:
- where full pieces will land;
- where the first visible seam will appear;
- which cuts will be hidden by trim;
- which cuts will sit at an exposed edge;
- whether the pattern remains continuous across the oven area; and
- whether narrow slivers will occur at either side.
Avoid ending a pattern with a very narrow strip beside the oven. A sliver may be difficult to cut cleanly, may have too little adhesive contact, and may draw attention to a small difference in the wall or trim.
If a cut is irregular, make a paper or cardboard template first. Templates are especially useful around curved trim, uneven cabinet sides, outlet boxes, and stepped wall transitions. The guide on tiling around uneven upper cabinets covers the same planning principles for nonuniform surfaces.
Is the wall ready for adhesive-backed tile?
The wall must be clean, dry, smooth, stable, and compatible with the specific tile adhesive before installation. Peel-and-stick tile does not conceal a weak or contaminated substrate; it transfers the problem to the bond line.
For the Aspect installation method checked, the substrate should be clean, flat, smooth, dry, and free from dust, wax, soap scum, and grease. Damaged or uneven areas should be repaired, leveled, and primed as specified. General peel-and-stick wall-tile guidance also calls for repairing, filling, sanding, cleaning, priming when required, and allowing the surface to dry fully. Read the Aspect peel-and-stick tile installation guide and compare every requirement with your product.

Inspect the wall
Look for:
- loose paint or wallpaper;
- powdery drywall compound;
- grease near the oven or cooktop;
- cleaning residue;
- wax or polish;
- glossy paint that the product does not approve;
- deep texture or orange-peel finish;
- cracked or loose tile;
- dampness or condensation;
- exposed drywall paper;
- uneven patches;
- nail heads or screw heads;
- silicone or caulk where tile must bond; and
- dust in corners and along the countertop.
The wall must also be stable. If pressing the surface causes movement, flexing, or flaking, adhesive tile is not ready for that area.
Repair before cleaning
Fill holes and low spots with a compatible patching compound. Let repairs dry fully. Sand the repaired areas smooth and remove all dust. If the tile instructions require primer, use the specified type and allow it to dry for the stated time.
Do not use a thick patch to create a hard ridge that the tile must bridge. Adhesive-backed products follow the surface. A ridge can create a hollow spot or a visible bump.
Clean the wall with the product-approved cleaner. Remove grease thoroughly, then allow the surface to dry. Avoid leaving a film from a strong cleaner, degreaser, or household polish.
Why smoothness and pressure matter
Adhesive joints depend on contact between the adhesive and the receiving surface. A surface that is dusty, rough, waxy, or uneven can create gaps where pressure never reaches the bond line.
A preprint experiment on adhesive joints examined the relationship between adherend roughness, adhesive thickness, and peel response under controlled laboratory conditions. Its findings apply only to the tested materials and test setup, not to a household tile product, but they support a useful planning principle: surface texture and adhesive geometry can affect how a bond responds to peeling. Review the arXiv study on adherend roughness and adhesive joints for that limited background.
A second adhesive-peeling experiment found that failure mode varied with peel configuration and that roughness, adhesive thickness, and peel angle affected the measured response under its test conditions. It does not establish wall compatibility or product performance for peel-and-stick tile. It does explain why a small test on the actual wall should record the substrate condition, the product, the preparation steps, and the way the sample begins to fail. See the arXiv research on adhesive peeling and failure modes for the source’s exact limits.
Test a small area when the product permits it
If the tile manufacturer recommends a sample test, place a small piece in a representative area away from the oven’s most exposed location. Record:
- the wall surface;
- the cleaning and primer used;
- the tile product and batch, if available;
- the installation date;
- the amount of pressure applied;
- the room conditions; and
- any edge lifting, bubbles, residue, or discoloration.
A sample test cannot prove long-term performance around a wall oven. It can reveal an obvious compatibility problem before you commit the full wall.
For a broader product and preparation reference, use Stickwoll’s peel-and-stick tile installation and product guidance hub alongside the exact instructions supplied with the product you plan to install.
How do you cut peel-and-stick backsplash around a wall oven?
Cut the tile from a measured template, keep the oven trim free, and dry-fit every piece before removing the adhesive backing. The goal is a clean, controlled fit that follows the finished oven boundary without forcing the material under a removable part.
Prepare a safe cutting station
Use a stable, well-lit work surface away from the installed oven. Gather:
- tape measure;
- steel ruler or straightedge;
- level;
- pencil or fine marker;
- cardboard or stiff paper for templates;
- utility knife with fresh blades;
- product-approved tile cutter, nippers, or saw;
- fine file or sanding block where permitted;
- painter’s tape;
- protective eyewear;
- gloves when the product requires them; and
- a clean support surface.
For glass tile, follow the product’s cutting instructions and use protective eyewear and gloves. Do not improvise a cutting method that can crack the tile, damage the adhesive layer, or leave a sharp edge.
Mark the face and back correctly
Transfer the measurement to the correct side of the tile. If the tile has a directional pattern, mark the top edge and the installation position. Use painter’s tape to reduce marking errors on smooth surfaces.
Before cutting, compare the marked piece with the wall. Check the orientation, pattern direction, and position of the seam. A measurement can be numerically correct yet visually wrong if the tile is flipped or the pattern is reversed.
Make a template for irregular cuts
- Cut a paper or cardboard piece slightly smaller than the opening.
- Place it against the wall and trim it until it follows the oven trim and fixed edges.
- Mark the top, bottom, left, right, and pattern direction.
- Transfer the template to the tile.
- Cut the tile slightly proud of the final line if the product allows a small finishing adjustment.
- Dry-fit the piece before exposing the adhesive.
Never use a moving door, loose trim, or removable panel as a template while the appliance is operating or energized. If a part must be removed to make the template, follow the appliance instructions.
Keep small pieces under control
A narrow piece beside the oven may have limited adhesive contact. The Aspect guide checked for this article says small cut pieces under one-third of a full tile should use tube adhesive, while other products may prohibit supplemental adhesive or specify a different method.
Follow your tile product’s instructions exactly. Do not assume that adding construction adhesive, caulk, silicone, or double-sided tape improves the installation. An incompatible adhesive can soften, stain, prevent removal, or create a raised edge near the appliance.
Do not cut for a hidden gap that does not exist
Measure from the installed trim and wall surface. Do not create a large gap based on a rough cabinet dimension, and do not force the tile into a space smaller than the tile can accommodate.
The cleanest termination often uses:
- a consistent reveal beside the oven trim;
- a manufacturer-approved edge profile;
- a separate finished side edge;
- a narrow painted transition; or
- a deliberate stop at the cabinet or countertop line.
The correct finish depends on the product and the surrounding surfaces. The tile should look intentional while preserving the appliance’s trim and access.
What is the best installation sequence?
Install from a stable reference line, dry-fit the row, expose only manageable sections of backing, and apply pressure gradually from the center outward. A controlled sequence gives you time to catch alignment problems before the adhesive fully bonds.

1. Confirm the wall and oven are ready
Before opening the tile packaging, confirm:
- the oven is installed and secured according to its manual;
- trim and vent locations are known;
- the wall is clean and dry;
- the tile has acclimated if the product requires it;
- the room is within the product’s installation conditions;
- the pattern and reference line are marked; and
- all planned cuts are complete or clearly staged.
If the oven is not yet installed, decide whether the tile should be installed before or after it based on access and trim. Installing before the oven may give you a flatter, more open work area, but it can hide the final trim relationship. Installing after the oven may improve visual alignment, but it makes measuring and pressing harder.
A useful rule is to install against the final visible boundary, not merely against the rough opening. If the oven trim will cover the tile edge and remain removable, leave the amount of clearance specified by the appliance and tile instructions.
2. Dry-fit the first row
Place the first row without removing the backing. Confirm that:
- the row follows the reference line;
- the pattern is oriented correctly;
- seams land where planned;
- the tile does not contact the oven trim improperly;
- outlets and corners align;
- the final piece is not an unwanted sliver; and
- the row can be installed without stretching or compressing the material.
The checked Aspect and Lowe’s guidance both place dry fitting before backing removal and firm pressure. Once adhesive bonds, repositioning may be difficult or may damage the surface.
3. Expose a small section of adhesive
Peel back only enough release liner to position the piece. Keep the rest of the adhesive protected until the alignment is confirmed.
Place the tile lightly. Check the reference line, seam, oven trim, and neighboring piece. If the alignment is wrong, correct it before applying firm pressure.
4. Press from the center outward
Once the position is correct, press the tile gradually from the center toward the edges. This helps reduce trapped air and gives the adhesive contact across the surface. Use the roller or pressure tool specified by the product.
Pay attention to the edges around the oven. Do not press the tile under a trim edge that must move or be removed. Do not use pressure to force a warped or incorrectly cut piece into place. Remove it, correct the cut, and inspect the wall before continuing.
5. Check each seam as you go
Look across the installed row at a low angle. Check for:
- open seams;
- overlapping edges;
- pattern drift;
- bubbles;
- lifted corners;
- uneven reveals;
- a tile edge touching the oven trim; and
- adhesive squeeze-out.
Correct small alignment errors immediately. A row that begins only slightly out of square can make the error more visible near the oven opening.
6. Install the irregular pieces last
Once the surrounding field is stable, install the pieces cut around the oven trim, vents, outlets, or corners. This reduces the chance that a later layout adjustment will make an intricate cut unusable.
Keep the cut edges clean. If an exposed edge is sharp, rough, or visibly unfinished, use only the finishing method approved for that tile product.
7. Allow the specified setting time
Do not turn on the oven or expose the tile to heat until the tile manufacturer’s instructions permit it. The Aspect guide checked for this article specifies 24 hours before exposure to a heat source such as a stovetop or oven. That interval belongs to the checked Aspect product and should not be transferred to another tile.
Follow the exact product instructions if they require more time, a different temperature condition, or another adhesive step.
A separate experiment involving pressure-sensitive adhesion on liquid-crystal elastomer tape found that contact time and test geometry changed measured adhesion and failure mode under its laboratory conditions. That work was performed on an LCE-on-glass system, not on household peel-and-stick tile. Its useful lesson here is limited: adhesive contact time is a product and test-condition variable, so do not treat the first few hours after installation as proof of finished performance. Review the bounded LCE adhesion experiment for its exact scope.
Should peel-and-stick tile be installed before or after the wall oven?
Install in the order that preserves the final trim relationship, required access, and cleanest surface preparation. There is no universal answer because the best sequence depends on whether the oven is already installed and whether the tile will sit outside or behind the finished trim.
Install before the oven when:
- the tile area is an open wall that the oven will later cover only at its edge;
- the oven manual allows the surrounding finish;
- the tile will not alter the cutout, enclosure, support, or ventilation;
- the final trim can be installed without crushing the tile; and
- the oven can be positioned without scraping or catching the finished tile.
This approach gives you better access for cleaning, measuring, cutting, and applying pressure. It also reduces the need to reach into a narrow gap.
Install after the oven when:
- the final trim position determines the visible tile edge;
- the oven is already in place;
- the tile must terminate around a visible side panel or control area;
- the surrounding wall has an irregular relationship to the appliance; or
- the oven’s location needs to be observed before the final cuts are made.
This approach gives you better control of the visible boundary, but you may have less room to work. Protect the oven finish and keep debris away from vents, controls, hinges, and seals.
A practical compromise
Install the accessible field first, then complete the oven-adjacent pieces after the appliance and final trim are in place. This can reduce difficult cutting while keeping the most visible transition accurate.
Do not use the tile to hide an installation problem in the oven opening. If the oven is out of level, the trim is misaligned, or a required gap is missing, correct the appliance installation before finishing the wall.
How should you finish the exposed tile edge?
Finish an exposed edge with a deliberate transition that protects the tile and preserves oven access. The edge beside a wall oven is often more visible than the rest of the backsplash, so a rough cut can make the entire project look unfinished.
Common approaches include:
- a product-approved edge trim;
- a metal or plastic profile sized for the tile thickness;
- a clean painted wall reveal;
- a cabinet-side termination;
- a countertop-side stop; or
- a carefully filed edge where the product allows it.
The edge should not:
- cover a required vent;
- trap removable trim;
- touch the oven door seal;
- interfere with door movement;
- create a sharp corner;
- leave exposed adhesive;
- leave a gap large enough to collect grease; or
- rely on an unapproved sealant to make an unsuitable location acceptable.
If a sealant is used at a countertop or fixed wall transition, verify that it is compatible with the tile, substrate, cleaning conditions, and expected heat exposure. Sealant should finish a suitable installation. It should not be used as a substitute for tile clearance or product approval.
For a lower-commitment product review before you commit to a full installation, you can examine Stickwoll’s Olive Squares peel-and-stick wall tile. Confirm the current product instructions, substrate requirements, heat guidance, and wall-oven suitability before purchase or installation.
What should you inspect before using the oven?
Complete a final inspection while the wall, trim, and tile are visible and accessible. The inspection should confirm both the finish quality and the appliance requirements.

Appliance and clearance inspection
Check that:
- no tile covers or narrows a vent;
- no tile changes the oven enclosure;
- no tile contacts a control panel, seal, door, hinge, or moving trim;
- side trim remains removable if the oven manual requires removal for service;
- the oven door opens and closes freely;
- the tile does not scrape the door or gasket;
- the finished edge does not create a snag point;
- required cabinet or air openings remain open; and
- the tile does not extend into an area the oven manual reserves for service or ventilation.
A Whirlpool manual reviewed for this article shows why supplied trim and vent parts need to remain identifiable and accessible. Component locations differ by model, so inspect your own oven manual rather than copying a trim profile from another appliance.
Adhesion inspection
Run a clean hand across the tile field without pressing aggressively. Look for:
- bubbles;
- hollow-sounding areas, where applicable;
- lifting corners;
- open seams;
- loose small pieces;
- visible adhesive;
- raised edges;
- gaps around outlets or trim; and
- tile that flexes or shifts.
Do not test adhesion by repeatedly pulling on a corner. That can create damage that was not present. If a tile is lifting, record the location and likely cause, then repair it according to the product instructions.
Heat and operating inspection
After the required setting period, use the oven according to its instructions and observe the area during and after operation. Look for:
- curling;
- softening;
- bubbling;
- discoloration;
- odor;
- adhesive squeeze-out;
- seam movement; or
- repeated lifting after heating and cooling.
A visual check cannot establish the exact surface temperature. If the tile manufacturer provides a temperature limit and the location is close to that boundary, obtain product-specific guidance or use a suitable finish with documented compatibility.
Do not continue normal use if the tile shows heat stress, contacts a hot component, blocks airflow, or conflicts with the oven instructions.
Record the finished installation
Keep the following with the oven and tile documents:
- oven make and model;
- tile brand and product name;
- installation date;
- photographs before trim was installed, if available;
- photos of vents and final clearances;
- product instructions;
- primer or supplemental adhesive used; and
- notes about any sample test.
This record helps if you need replacement pieces, warranty support, or future appliance service.
Which mistakes cause peel-and-stick tile to fail near an oven?
Most failures begin before the first tile is installed. The common problems are contaminated surfaces, undocumented heat exposure, poor access planning, inaccurate cuts, and pressure applied before alignment is confirmed.
Installing over grease or cleaner residue
Kitchen walls can look clean while still carrying a thin film of grease or polish. Adhesive may bond to the residue instead of the wall. Clean according to the product instructions, then allow the wall to dry fully.
Skipping the dry fit
Skipping the dry fit often produces crooked seams, reversed patterns, narrow slivers, and pieces that collide with oven trim. Cut and place the pieces without removing the backing first.
Treating a product limit as a universal rule
A Smart Tiles surface limit of 120°F and an Aspect product-family statement of 140°F are examples of product-specific guidance. Neither figure establishes the safe temperature for another product or the actual temperature at a particular wall oven location.
Blocking ventilation
A decorative finish can still obstruct airflow. Do not cover a vent, reduce a cabinet opening, or bridge a space that the oven manual requires to remain open.
Trapping removable trim
A tile cut that runs beneath or over removable trim can prevent service access. Plan the tile around the installed trim and preserve the removal path.
Installing a tiny unsupported strip
Small pieces may have too little adhesive area or may be difficult to press evenly. Use the product’s instructions for small pieces. If the layout creates repeated slivers, revise the pattern before installation.
Relying on heat-resistant language
Heat resistance may describe the tile face, a limited exposure condition, or a specific product family. It may not cover the adhesive, backing, wall, or repeated heating and cooling cycles.
Using unapproved supplemental adhesive
Construction adhesive, silicone, and caulk can change the bond, create a raised edge, stain the wall, or make future removal difficult. Use supplemental adhesive only where the tile manufacturer specifies it.
Turning on the oven too soon
The tile may look secure before the adhesive has reached the product’s specified setting time. Follow the exact waiting period for the tile product.
Measuring from the rough opening
The rough cabinet opening is not necessarily the final visible oven boundary. Measure from the installed trim, panels, and finished wall.
How do you troubleshoot peeling, bubbles, lifted seams, or discoloration?
Match the symptom to the location, timing, and likely installation condition before replacing the tile. A problem beside the oven may be heat-related, but it may also come from grease, an uneven wall, insufficient pressure, a poor cut, or movement at a trim edge.
| Symptom | Inspect first | Likely corrective direction |
|---|---|---|
| Corner lifting | Grease, dust, rough wall, edge contact, insufficient pressure | Remove or repair according to product instructions; correct the surface or cut |
| Long seam lifting | Pattern pressure, wall movement, poor alignment, heat cycling | Inspect the entire seam and substrate; replace affected pieces if required |
| Bubble under tile | Trapped air, wall texture, uneven patch, premature pressure | Do not puncture automatically; follow the product’s repair or replacement guidance |
| Tile softening or curling | Heat exposure, direct contact, undocumented location | Stop use near the affected area and recheck tile and oven documentation |
| Discoloration | Heat, cleaner residue, grease, product reaction | Identify whether the discoloration is on the tile, adhesive, or wall before replacing |
| Tile catching on trim | Cut too tight, trim movement, door or panel interference | Remove the interference and recut with the required clearance |
| Adhesive visible at edge | Tile shifted, cut too short, backing exposed | Clean only with an approved method and replace if the edge cannot be finished |
| Repeated failure after heating | Location exceeds product guidance or the system is unsuitable | Stop treating the symptom; reassess the tile product and placement |
Do not simply add more adhesive to a tile that repeatedly fails near the oven. Repeated lifting may indicate that the location, substrate, heat exposure, or product is unsuitable.
If the tile fails only at a narrow edge, inspect for a moving trim piece or a gap that allows the tile to flex. If the entire area fails, inspect the wall preparation and product compatibility. If the visible surface changes color or texture after heating, stop regular use until the product and appliance instructions have been reviewed.
Frequently Asked Questions
Can peel-and-stick tile go above a wall oven?
It may, but the answer depends on the specific oven, tile product, and location. Check the oven manual for surrounding material, vent, control, trim, and clearance requirements. Check the tile documentation for surface temperature, heat exposure, spacing, substrate, adhesive, and warranty guidance. Do not use a general backsplash rule as permission for a location the product documents do not address.
Is peel-and-stick tile safe behind a wall oven?
A hidden area behind a wall oven deserves extra caution because the oven may require a particular enclosure, support, or airflow arrangement. Tile can add thickness or interfere with positioning and service. Proceed only if the oven and tile documentation support that exact placement and the tile will not alter the appliance installation.
How close can peel-and-stick tile be to a wall oven?
There is no universal wall oven clearance for every peel-and-stick tile product. Some tile manufacturers publish surface-temperature limits or spacing recommendations for specific products and appliance types. The correct separation is the greater requirement created by the oven manual, tile documentation, and the actual location’s heat exposure.
Should I install the tile before or after the wall oven?
Install before the oven when the tile is on an open wall and the oven will not cover or trap the tile, provided the appliance and tile documents support the arrangement. Install after the oven when the final trim and visible boundary control the cut. A split sequence can work when the open field is installed first and the oven-adjacent pieces are completed after the appliance is secured.
How long should peel-and-stick tile set before using the oven?
Follow the tile manufacturer’s instructions. The Aspect installation guide checked for this article specifies 24 hours before exposure to a heat source, but that period belongs to the checked Aspect product. Another tile may require a different time, temperature, adhesive, or installation condition.
Can I cover the oven trim with peel-and-stick tile?
Do not cover or trap trim that must remain visible, movable, removable, or serviceable. Plan the cut around the installed trim and preserve the removal path. If you are unsure whether a piece is decorative or functional, treat it as functional until the oven manual confirms otherwise.
Final inspection checklist
Before regular oven use, confirm every item below:
A successful peel-and-stick backsplash around a wall oven is one that fits the room and preserves the appliance’s documented requirements. Before you commit to the first cut, have the exact oven instructions and exact tile documentation beside you. If the proposed zone, heat exposure, clearance, substrate, or access remains unclear, pause and revise the plan before applying adhesive.


Leave a comment
This site is protected by hCaptcha and the hCaptcha Privacy Policy and Terms of Service apply.