

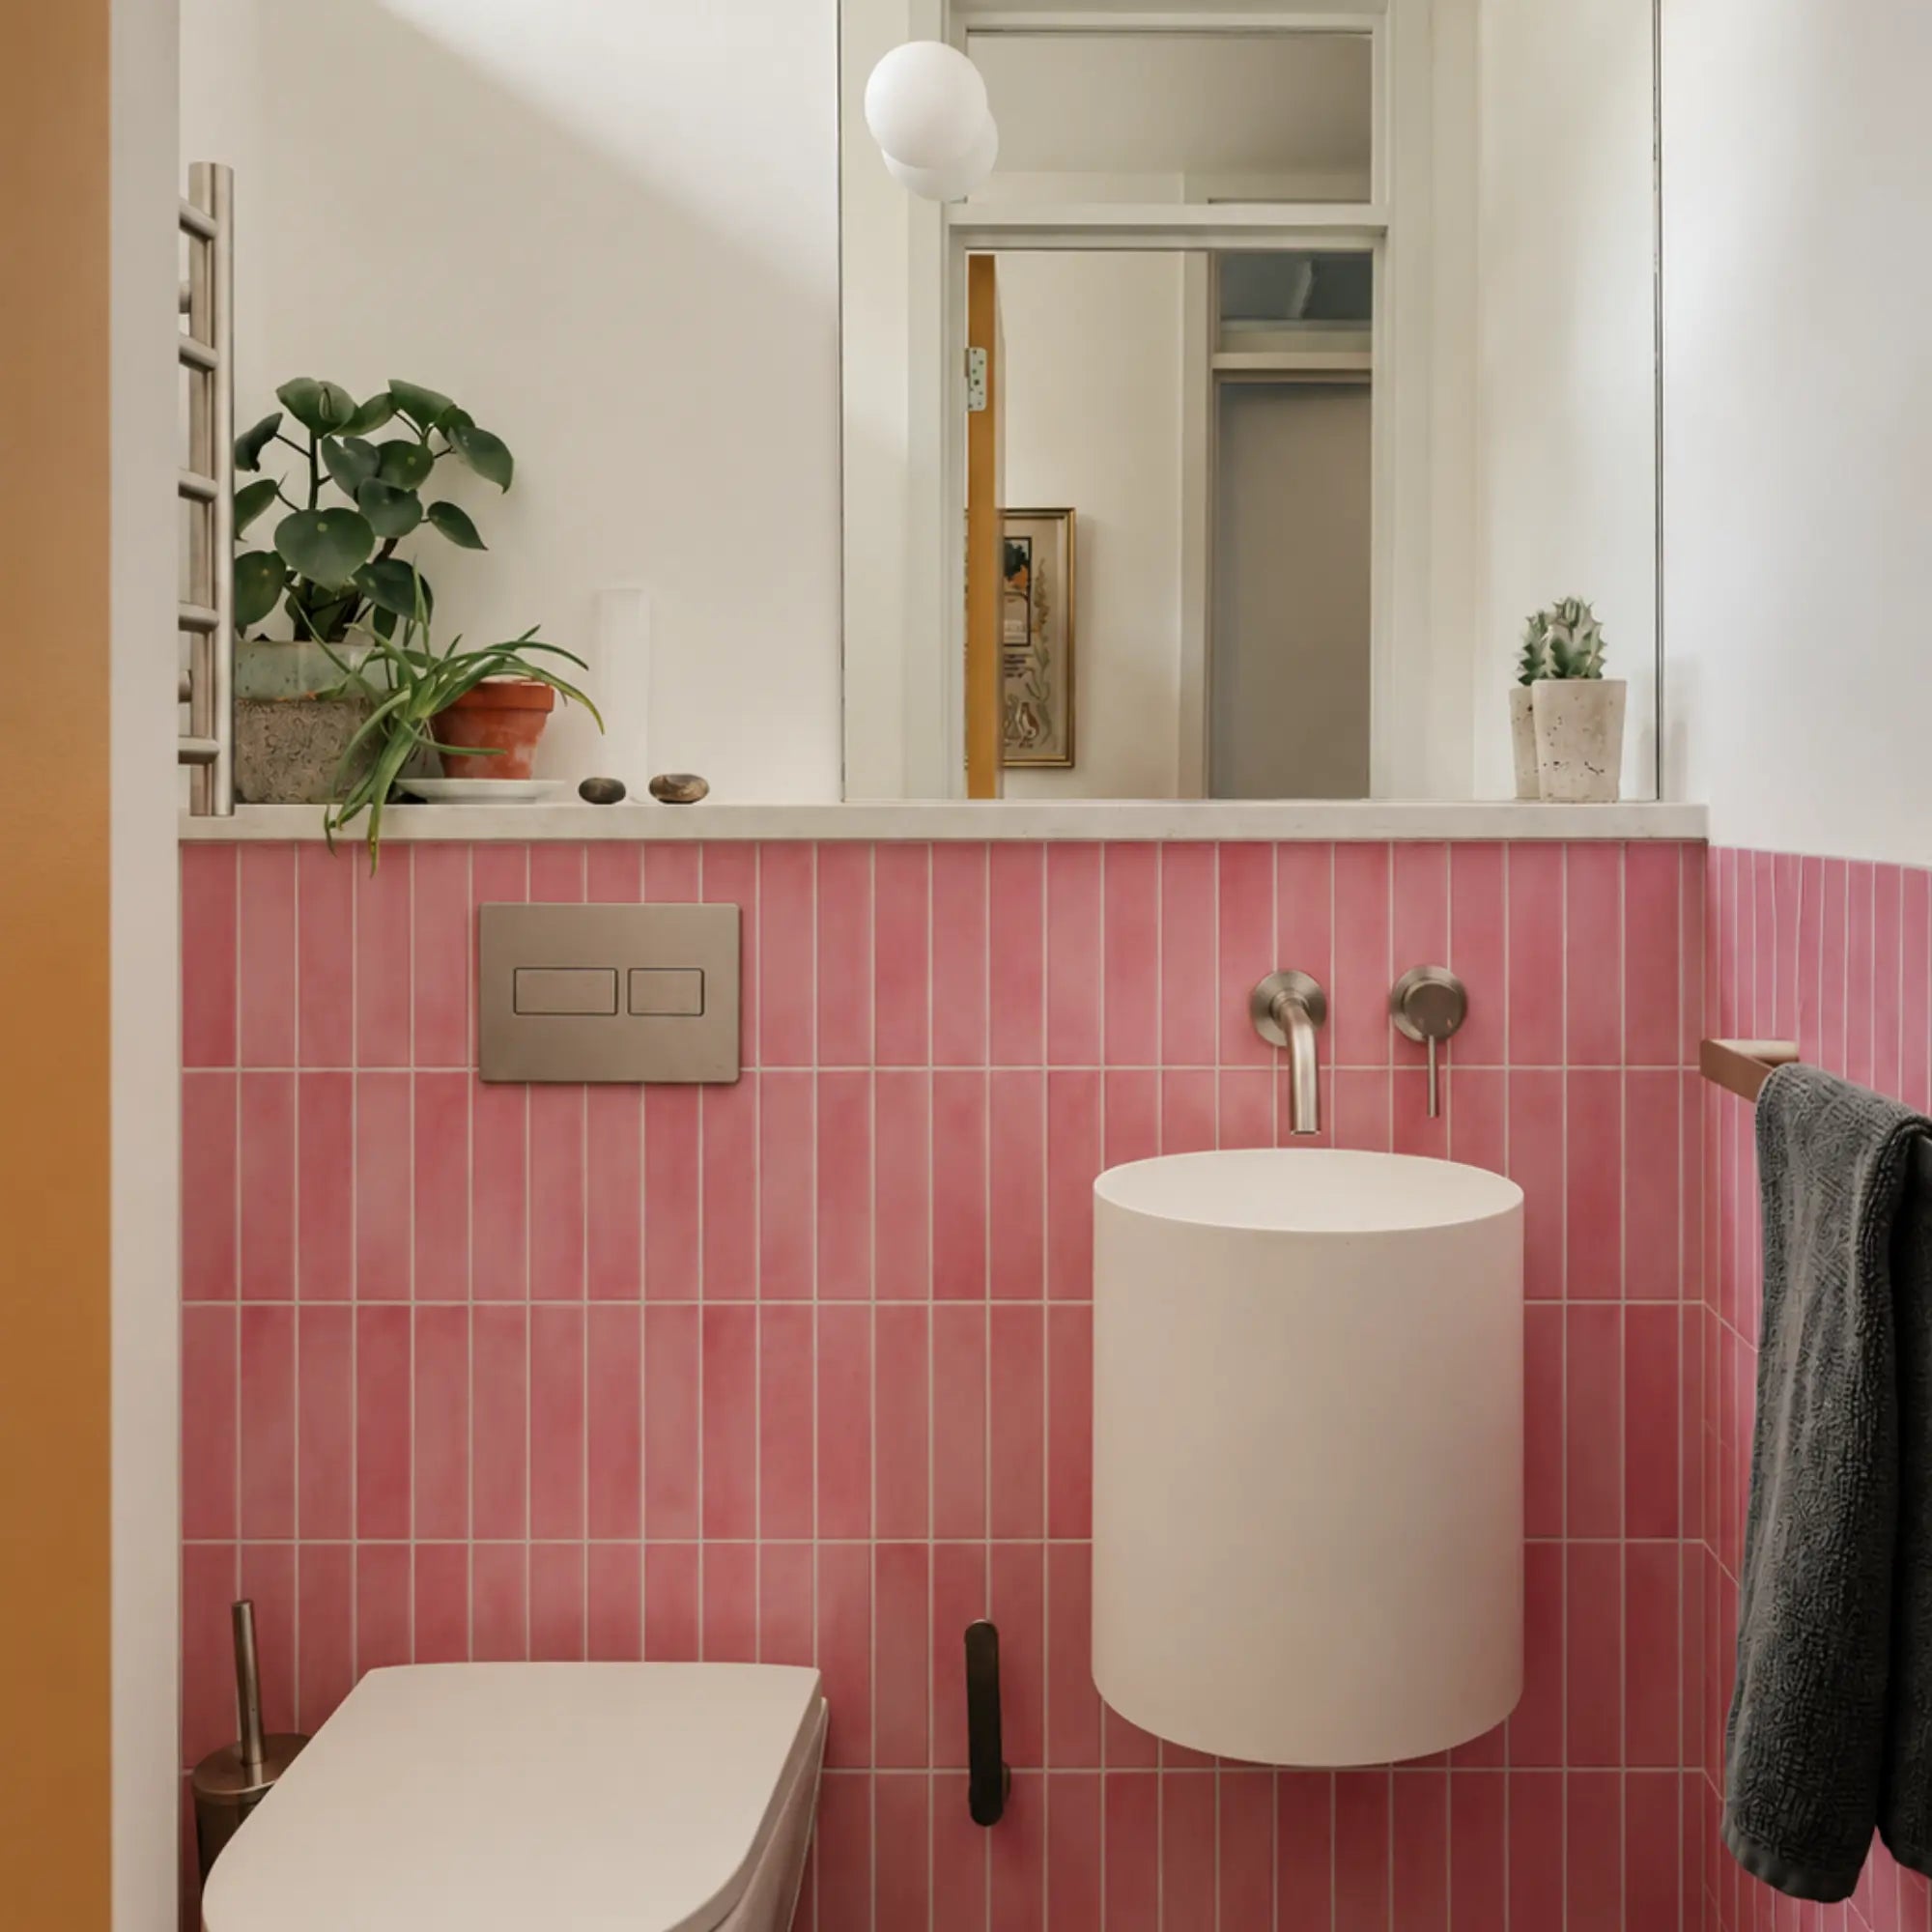




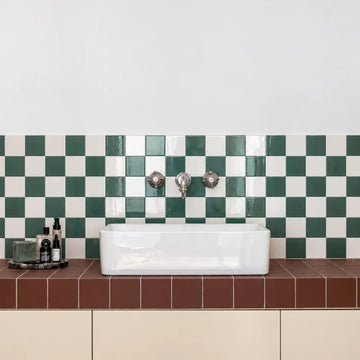


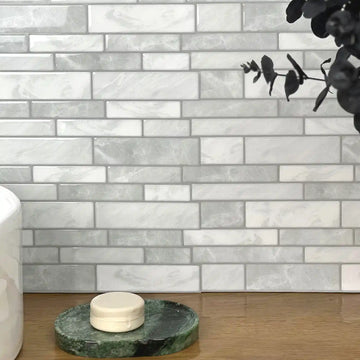


A commercial restroom wall has to stand up to the evening cleaning round, look presentable the next morning, and stay serviceable when a cart clips a corner or a dispenser needs replacing. Peel-and-stick tile can be considered for some commercial restroom walls if the existing surface is sound, the exact product supports the intended exposure, and the janitorial team can follow its required cleaning procedure without exceeding the finish’s care limits. Make that decision one wall zone at a time. A dry accent wall and the surface behind a busy row of sinks can call for different finishes.
The attraction is a potentially shorter installation or repair closure. The tradeoff is that preparation, fixture work, cleaning compatibility, and the ability to replace a damaged piece can determine whether you save any time at all. Start with the wall and the work crews do around it. Then ask for the product documents, plan the first inspection, and decide how the team will handle damage before you place an order.
Can peel-and-stick tile be used on commercial restroom walls?
Yes, it can be shortlisted for a specific wall zone. Keep it on the shortlist only if the manufacturer’s instructions for the exact product support the proposed surface and exposure, the finish can be maintained under the site’s cleaning protocol, and the installed wall can meet applicable project requirements. A decorative sample can help you judge appearance. Use written product and project documentation for the approval decision.
Walk the room with the person who cleans it and the person who repairs it. The cleaning lead can show you where liquid runs behind a waste bin, which areas receive repeated treatment, and where staff resort to extra scrubbing. The maintenance lead can point out the wall behind the door swing, the dispenser that has been remounted, and the corner a supply cart brushes every shift. Mark those features on a photo or a simple wall elevation. The location and type of contact tell you more about a particular wall than a building-wide traffic count.
Classify the wall by what reaches it
| Use and exposure | What you might see | Where to take the decision |
|---|---|---|
| Light | A mostly dry staff-restroom accent wall with limited equipment contact, a stable surface, and an established wipe-clean routine. | Shortlist the finish for that zone. Verify the exact product, substrate, care method, and project requirements before ordering. |
| Moderate | A public vanity wall with intermittent splash, frequent wiping, several fixture cutouts, or a nearby bin that may hit an exposed edge. | Set conditions for approval. Verify splash exposure, cleaning chemistry, perimeter and fixture details, and access for repair. Ask whether a representative mock-up is appropriate. |
| High | A wall repeatedly struck by equipment, routinely wet from cleaning or use, or subject to a sanitation procedure the tile supplier has yet to confirm. | Compare wall systems with documented suitability for those conditions. Keep an unverified decorative tile off the purchase list for that zone. |
Rate a zone for its most demanding regular or required exposure. A lightly used staff room can still have a severe cart-contact point. A busy lobby restroom may have an upper wall outside both the splash and impact paths. For a closer look at the transition around basins and dispensers, see Stickwoll’s commercial restroom vanity splash-zone guide.
Verify the finish requirements before approving the layout
In the United States, start with the code edition and amendments adopted for the project, then confirm how they apply to each fixture and wall zone. As a model-code example, 2024 International Building Code §1210.2.2 calls for a smooth, hard, nonabsorbent surface on walls and partitions within 2 feet (610 mm) of service sinks, urinals, and water closets, extending at least 4 feet (1219 mm) above the floor. The section also addresses moisture effects on nonstructural materials, sealing at certain wall accessories, and exceptions. Check the locally applicable provisions for lavatories and other zones separately. The dimensions illustrate the scope of the model provision. The project team still needs to verify the installed detail. Washington State Building Code Council restroom finish provisions.
Restaurant and hospitality operators should also check the rules their health authority applies. Chapter 6 of the 2026 FDA Food Code, a model offered for adoption, identifies toilet rooms as moisture-exposed areas where indoor surface materials must be nonabsorbent. It also addresses cleanability and how wall coverings are attached. Confirm the adopted edition and ask what documentation the reviewing authority needs for the proposed covering, seams, and fixture details. Request applicable fire-performance or assembly documentation through the project’s review process where required. FDA Food Code physical facilities and cleanability provisions.
Decide what to do next for one wall zone
Use the wall map to answer four questions for a single zone. Mark each answer confirmed, unknown, or problem found. For the first two questions, confirm what you can observe. For the last two, use written documentation.
- Wall condition. Is the surface stable, with its coating identified and no unresolved peeling, softness, or movement?
- Moisture. Is the exposure understood, with recurring dampness investigated and the proposed use within the product’s documented limits?
- Cleaning. Can the required procedure and both sets of instructions be followed together, including any disinfectant’s wet contact time?
- Project fit. Does the documentation cover the exact product, substrate and installation detail, and can the project team verify the applicable finish requirements?
Use the first result that applies. Investigate the wall if you find instability or unexplained moisture. Pause finish selection for that zone until the source and affected area are understood. Compare another finish if there is a confirmed conflict with required cleaning, documented exposure limits, or project requirements. Resolve open questions if there is no known conflict but any answer is unknown. Assign the missing check to the person who can close it. Proceed to layout or mock-up review if all four are confirmed. Check seams and fixture transitions there, then use your normal project approval process. If more than one condition applies, log them all so a wall repair does not hide a separate cleaning or compliance conflict.
For the moisture question, use “Problem found” for unexplained dampness. If you understand the moisture exposure and it exceeds the product’s documented limits, record that conflict under “Project fit.”
Next step:
This screen routes the next task. It supplies no performance rating, warranty decision, or regulatory approval. If a zone reaches appearance review, the Stickwoll Subway Marble wall tile listing is one decorative reference for comparing color and pattern. Confirm commercial suitability for the exact product before specifying it.
How do you know if the wall is ready for installation?
The wall is ready for layout only after you’ve identified the substrate, the surface the adhesive will actually contact, and verified its condition and preparation against the product instructions. On a painted partition that contact surface is the paint. On a tiled wall it may include tile faces, grout lines, and previous patches. Record each change in material within the proposed area. A single label such as “existing drywall” can miss the coating or repair layer that matters to the installer.
Map moisture before covering the surface
Distinguish occasional sink splash from recurring condensation, direct spray, prolonged wetting, and suspected leaks. Look along the vanity-to-wall joint, below soap dispensers, around plumbing penetrations, and near the base. Ask when staining appears or returns. A walk-through timed just before opening might miss condensation during peak use or water left by the closing crew. The bathroom wall moisture-exposure map can help teams describe those different conditions on their wall plan.
Stickwoll’s general FAQ advises avoiding prolonged water exposure and direct shower zones unless product-specific guidance expressly permits the placement. A splash-tolerance statement does not establish that seams, perimeter edges, and penetrations form a waterproof assembly. If someone proposes the tile for a routinely wet zone, ask for documentation covering the complete installed detail and that exposure.
Work through the pre-installation wall checklist
- Surface and coating. Identify the wall material, the finish directly under the tile, and any known paint or patch history. Flag glossy, textured, or unfamiliar coatings for review. Verify the required cure conditions for new paint or patches before setting the installation date.
- Stability and damage. Record flaking paint, loose existing tile, crumbling grout, cracks, old fastener holes, or soft areas. Establish a repair scope and reinspect before release.
- Cleanliness and flatness. Note soap film, cleaner residue, dust, surface ridges, recessed grout, and uneven repairs. Confirm the permitted cleaning and leveling method for the exact product and substrate. Ask the installer how readiness will be checked after preparation.
- Existing tile. Stickwoll’s general guidance calls for a smooth, clean, dry, stable tile surface and flags deep grout lines or unevenness as possible preparation issues. Confirm the specific overlay detail before assuming the old finish can stay. For the walk-through, use these surface checks for installing over existing tile.
- Edges, seams, and fixtures. Mark terminations at corners, bases, counters, mirrors, and trim. Check clearances at dispensers, access covers, and door swings. Ask how cutouts, required sealing, and fixture mounting will be handled and who restores fittings after the wall work.
- Installation and reopening. Obtain applicable conditions for storage, preparation, installation, and return to service. Put any prep, fixture, and cleaning restrictions in the job schedule and tell the closing crew when the wall can go back into its regular cleaning rotation.
Use the Stickwoll installation and care FAQ to identify questions for the supplier, then keep the instructions for the exact product with the job file. Do not adopt a default primer, filler, added adhesive, or paint-cure interval from a different installation.

A representative mock-up can answer questions a loose sample cannot. If the manufacturer permits one, include a seam, an exposed termination, or a fixture cutout that matches the actual layout. Bring the janitorial lead to the review. Can the crew reach the lower edge behind the bin? Does a dispenser cover open freely? Can you replace the smallest installed sheet without disturbing a fixture? Photograph the agreed detail and record which preparation and care conditions it represents. Use the mock-up to resolve layout and service questions while obtaining separate documentation for applicable performance and code requirements.
How do you clean peel-and-stick tile on commercial restroom walls?
Use a cleaning method that satisfies both the exact tile’s care instructions and the facility’s sanitation requirements. Ask for compatibility with the actual formulation and method your team uses. Concentration, tools, application, repeated exposure, and time on the surface can matter to a finish specification. For routine soil removal, Stickwoll’s general FAQ gives the example of mild soap and water used with a soft cloth or sponge and cautions against harsh chemicals and abrasive scrubbers. That guidance covers routine care. Verify chemical and method compatibility separately for any site disinfection procedure.
Put the approved sequence on the janitorial work order
- Identify the wall zone and its approved method. List the cleaning product, application tool, frequency, and any separate procedure for accidental soiling or other events. Capture the chemical product identifier so a purchasing substitution triggers a review.
- Remove visible soil using the documented method. Include fixture cutouts, corners, and exposed edges in the visual check. If a seam has opened or a cut edge is catching the cloth, record and route the condition to facilities. Have the supervisor decide how to manage access and sanitation until the area can be serviced.
- Apply sanitizer or disinfectant when required by site procedure. For facilities within the scope of CDC’s general guidance, clean first. For disinfection, follow the applicable EPA-registered product label for the use site, surface, dilution where applicable, application method, and full visibly wet contact time. Follow the facility-specific rules in settings governed by specialized protocols, including healthcare and food service areas where applicable.
- Finish the procedure as directed. Document whether rinsing, wiping, or air drying is required or allowed and at what stage. Do not dry a surface early to protect the finish when the disinfectant label requires it to remain wet. Check and report any new dulling, discoloration, swelling, or lifting observed during the cleaning round.
The CDC guidance addresses cleaning and disinfection in community settings. EPA’s label guidance explains how to use a registered product for its stated purpose, including contact time. Material compatibility still needs confirmation for the specific tile and its seams and edges. CDC facility cleaning and disinfection guidance. EPA registered disinfectant label and contact-time guidance.

Ask the supplier about the full procedure before using a new disinfectant, abrasive pad, solvent, or steam method. A supplier-authorized spot check can help reveal visible changes under its specific conditions. A successful spot check leaves open the question of repeated exposure and the condition of concealed adhesive. If the chemical label and the tile instructions conflict, have the sanitation lead and supplier resolve the conflict before approving the finish for that zone. If the required sanitation process cannot be met, choose a wall system compatible with it.
What causes peel-and-stick tile to come loose, and what should you inspect?
Investigate the pattern first. One lifted edge at cart height, multiple open seams across a patch, and lifting next to a recurring stain call for different checks. Possible contributors include a poorly bonded coating, residue or an uneven substrate at installation, moisture, physical contact, or a change in cleaning. The visible condition helps you decide where to investigate. It rarely identifies the cause on its own.
Inspect at installation handover, then use routine rounds to track changes. Walk the wall in the same order each time, starting with the high-contact zones. Look across the surface from an angle to make raised corners and uneven seams easier to see. Compare it with the handover photos before deciding that a gap is new. Use the work order history to see whether a mark appeared after a dispenser service, a cleaning change, or a known impact. Ask cleaning staff to report what they see without pulling at edges to test them.
Commercial restroom wall inspection checklist
Check off each item as you complete it during the round. Keep findings and follow-up dates in the wall record.
Monitor an isolated cosmetic mark if the finish remains intact and cleanable and there are no signs of progression. Request repair review for a torn or punctured face, an open edge that catches during cleaning, or visible damage that compromises serviceability. Escalate promptly if a piece may detach, there is a sharp projection, or required cleaning cannot be completed. Follow the site’s access-control procedure until the condition is addressed. Repeated lifting, spread across adjoining pieces, or suspect moisture calls for a broader wall assessment.

For peel-and-stick tile restroom impact resistance, ask what the exact assembly is documented to tolerate and where that evidence applies. A hit to the tile face and a cart catching a cut edge are different conditions. Map them separately. If repair tickets keep pointing to the same height behind a bin, move the bin or review an approved wall-protection detail before approving another repair. A change to the source of contact can matter more than the number of spare tiles on hand.
Moisture evidence also needs to match the application. In a 2024 laboratory study, Jisoo Jeon and colleagues conditioned three double-sided pressure-sensitive tape products bonded between PET plastic films for up to 28 days. At the highest tested humidity, 90% relative humidity, the authors reported a 40–60% reduction from initial shear adhesion strength, a measure of resistance to force along the bond. They reported no significant effect at reduced or ambient humidity in the test. The specimens were thin tape assemblies, and the test measured shear under controlled conditions. It supplied no restroom humidity threshold or prediction of tile edge lift. Use the chosen tile’s own exposure documentation for that decision. Jeon and colleagues’ laboratory study of tape adhesion.
When should you replace one tile, a section, or the whole wall?
Replace the smallest serviceable area after you understand the cause, confirm the surrounding wall is sound, and obtain a method for removing and replacing the affected material. The repair unit may be larger than the damaged shape. A printed pattern might look like individual bricks, while the actual sheet spans several apparent tiles. Check the installed format and joint detail before promising a one-piece repair.
Single tile or sheet
Choose localized replacement when the defect is isolated, the surrounding surface and adjacent pieces remain suitable, and a compatible replacement and authorized repair method are available. For example, one cart strike may tear the face of a sheet beside a doorway. If the impact is isolated and the substrate is sound, the work order can focus on that sheet and the source of contact.
Before removal, verify how the piece can be separated from adjoining material, how the exposed substrate should be assessed, and whether fixtures or trim must come off. Ask what to do if the paint comes away with the sheet or if an adjacent edge opens. Use heat, solvents, extra adhesive, or rebonding only if the approved procedure expressly allows them. Set reopening and first-cleaning times using the applicable instructions. Compare the spare with the surrounding finish under room lighting, checking pattern direction, seam registration, gloss, and color.
A defined section
Choose section work when related damage affects a cluster but the surrounding wall remains suitable, or when a single-piece repair would leave a poor transition. A vanity run with recurring edge damage can sometimes be treated as one section bounded by an inside corner, mirror, or approved termination. The section needs a cleanable, serviceable transition and a documented approach to affected fixtures. A natural visual break can also make a change in shade or pattern easier to manage if a production lot is unavailable.
If the repair extends beyond the expected boundary, pause and reassess. A clean-looking neighboring sheet does little to explain a loose patch beneath the removed piece. Record whether failure appears limited to the covering or involves the coating, substrate, or nearby fixture detail. Keep suspected causes marked as such until investigated.

Broader wall work or a change of finish
Evaluate a larger scope when damage appears in separate areas, returns after repair, travels beyond an obvious boundary, or coincides with an unresolved wall condition. Also review the finish choice if a required cleaner, repeated impact pattern, or loss of matching stock makes future patches impractical. The outcome could be substrate repair and reinstatement, a protective finish in the affected zone, or a full-wall change. Scope the work around the confirmed condition, fixture access, and the ability to achieve cleanable transitions.
An adjacent field example shows why an investigation can change the scope. At one San Francisco condominium complex, Lonnie Haughton, David M. Field, and Jared Orozco examined loose mortar-set ceramic shower tiles and damaged grout. They found deficient wall-to-fixture transitions and a missing protective membrane, and identified a route for water to reach the wood-framed wall. The case involved residential shower assemblies under direct wetting. Its practical relevance here is the value of examining the fixture transition and concealed wall when visible damage recurs and water entry is plausible. IIBEC field investigation of tiled shower wall leakage.
How do you build a replacement plan without guessing at service life?
Base the plan on inspection findings, repetition, spare stock, and access cost. A calendar can tell the team when to look. The records from those visits tell you whether to monitor, repair, or budget for a different wall system. Set the first inspection after a representative period of use and cleaning, then adjust the schedule as the site gains history. Add event-based checks after a leak, a chemical change, fixture or partition work, or a reported impact.
Keep a wall record the next shift can use
| Keep on file | What it helps the next team decide |
|---|---|
| Room, wall zone, fixture reference, and handover photos | Whether a reported condition is new and what nearby details may be involved. |
| Manufacturer, product identifier, finish, lot, and installation date | Which parts, instructions, and commercial warranty terms apply if documented. |
| Substrate, previous finish, preparation records, and approved cutout and edge details | What was originally installed and which parts of the assembly a repair may disturb. |
| Approved cleaning products, tools, and methods by zone | Whether a purchasing substitution or changed cleaning practice needs review. |
| Work order history, observed changes, action, and follow-up date | Whether tickets point to a recurring issue and who is responsible for checking it. |
| Spare-material count, storage location, and supplier storage instructions | Whether a local repair is feasible and when matching stock needs review. |
Set aside usable spares at installation, preferably from the same production lot where available. Decide the quantity using the installed repair unit, unusual cuts, local damage history, and the time it takes to source a match. Separate irregular offcuts from stock that can replace a whole sheet. Label the stock with the product, finish, lot, and rooms it serves. Check supplier storage and shelf-life instructions before relying on older adhesive-backed pieces. If a new batch differs visibly, compare replacing to a natural boundary with leaving a patch in a prominent location. See the wall-tile sample and spare-material planning guide for appearance checks and ordering considerations.

Will the repair fit the closure window?
Compare the hours operations can give you with the elapsed time the work requires. Enter the available closure hours and the hours for the sequential work that must happen while access is restricted. Count fixture isolation and removal, wall preparation, installation, any required wait before fixture restoration or cleaning, and the final release check. Count overlapping tasks once on the timeline. If reopening depends on a supplier instruction or a concealed condition that has yet to be checked, mark that duration unknown.
Subtract the required elapsed hours from the available hours. If a duration is unknown, the schedule stays provisional. Get that duration confirmed or keep a longer closure available. If the result is negative, the work exceeds the window by the difference. Reschedule or review an approved alternative scope. If the result is zero, the sequence uses the entire window. Arrange backup restroom access or allow more time. If the result is positive, the difference is the time left for contingencies. Confirm with operations that the remaining time and any required alternative restroom access are adequate before booking the work. This calculation tests scheduling only. Release the room after the applicable return-to-service checks are complete.
Closure estimate:
When reviewing recurring work, pull the previous closure and labor records. A repair that uses one sheet may still require a second visit to reinstall a fixture or work outside trading hours. Use those costs and access constraints when deciding whether the next work order should be another local repair or a planned upgrade.
How does peel-and-stick tile compare with other commercial restroom wall finishes?
Compare the installed systems against the same wall conditions and the same maintenance requirements. Ask each bidder to price the substrate work, fixture details, closure and reopening sequence, cleaning protocol, and a representative repair. Use those answers to compare disruption and future labor. The systems below pose different questions even when their finish samples look equally suitable.
| Wall finish | What to compare before purchase | What to price for later repairs |
|---|---|---|
| Peel-and-stick wall tile | Scope of overlay preparation, approval for the exact wall and cleaning exposure, number of seams, and protected or accessible terminations. | The actual replacement unit, an authorized removal method, fixture access, and matching stock. |
| Mortar-set ceramic or porcelain wall tile | Substrate and any required wet-area assembly, installation and cure schedule, and documented care for the tile and joints. | Removal around neighboring tiles, joint restoration, any underlying system repair, and a match for both tile and grout. |
| Fiberglass-reinforced plastic (FRP) or other commercial wall panels | Panel and trim layout, number and location of joints, substrate and attachment requirements, and the specified panel’s chemical and impact documentation. | Whether an accessible panel or trim can be replaced independently and what needs to be removed to reach it. |
| Commercial paint or coating system | Surface remediation, coating and cure requirements, documented cleanability, and any limits for the proposed fixture or splash zone. | The preparation needed after damage and whether a touch-up, a full coat, or repainting to a break will give an acceptable match. |
Give bidders a real maintenance scenario. For a lower wall along the cart route, ask each one to scope a future repair at the exposed corner. For a public vanity, ask how the finish would be cleaned around a dispenser and what a repair would involve at the counter joint. Request written assumptions about what stays open, who removes the fixtures, and when the janitorial crew can resume its routine.
A mixed finish can be a practical outcome. A hotel might evaluate self-adhesive tile for a dry decorative wall and select a separately documented system for the vanity and cart-contact zones. Include that transition in the scope and review it under the actual room lighting. Compare the finished appearance with the wall’s condition after a likely repair, too. A spare viewed beside the mock-up is more informative than a catalog image when pattern alignment or sheen is critical.
Put the decision and maintenance plan on one page
Before purchasing, complete a wall-zone record that the project approver, installer, and janitorial lead can all use. Give each open item an owner and a decision date. Procurement should be able to see which zones are cleared to progress and which still need documentation or investigation.
- Record the zone and the decision. Attach a photo or elevation. Identify fixture boundaries, moisture conditions, existing substrate and coating, and impact or cleaning exposure. Mark the zone for further review, a different finish, or project approval.
- Attach the product and project requirements. Keep the exact product specification, approved surface-preparation and installation instructions, care procedure, and applicable project acceptance records. Obtain written commercial warranty and repair terms where available.
- Assign installation and reopening checks. Name the people responsible for verifying the substrate, fixture restoration, seams and edges, reopening time, and the first permitted cleaning.
- Set care and reporting responsibilities. Give the cleaning lead access to the approved procedures. Tell staff how to report a loose edge, suspected leak, impact, or chemical substitution, and identify who handles an access or sanitation issue.
- Set the repair plan. Record the smallest approved replacement unit, spare stock location, and escalation conditions. Assign a follow-up check after any repair and update the wall record.
If you’re evaluating a Stickwoll finish, send the proposed wall zone, substrate details, fixture layout, and cleaning procedure with your request for exact-product documentation. Where samples or project-fit guidance are available, use them to check the remaining questions before committing to an order. The purchase decision should leave the maintenance team with a wall it knows how to clean, inspect, and repair within the facility’s operating schedule.




Laisser un commentaire
Ce site est protégé par hCaptcha, et la Politique de confidentialité et les Conditions de service de hCaptcha s’appliquent.