


Carreaux de cuisine Peel and Stick : tendances 2025 et guide DIY
Vous arrive-t-il de regarder les murs de votre cuisine en rêvant de changement ? Peut-être s’agit-il de la crédence fade, digne d’un logement neuf, ou des carreaux datés laissés dans votre location. Vous voulez une cuisine qui vous ressemble, à la fois élégante, fraîche et moderne. Mais l’idée d’une rénovation complète, poussiéreuse et coûteuse vous coupe l’élan. vous— élégante, fraîche et moderne. Mais l’idée d’une rénovation complète, poussiéreuse et coûteuse vous coupe l’élan.
C’est exactement ce dilemme qui a fait passer les peel and stick tiles du statut de produit DIY de niche à celui de véritable mouvement design grand public. Ils apportent une réponse puissante à un problème très courant.

La réponse directe : que sont les Peel and Stick Tiles et pourquoi sont-elles la solution idéale pour la cuisine ?
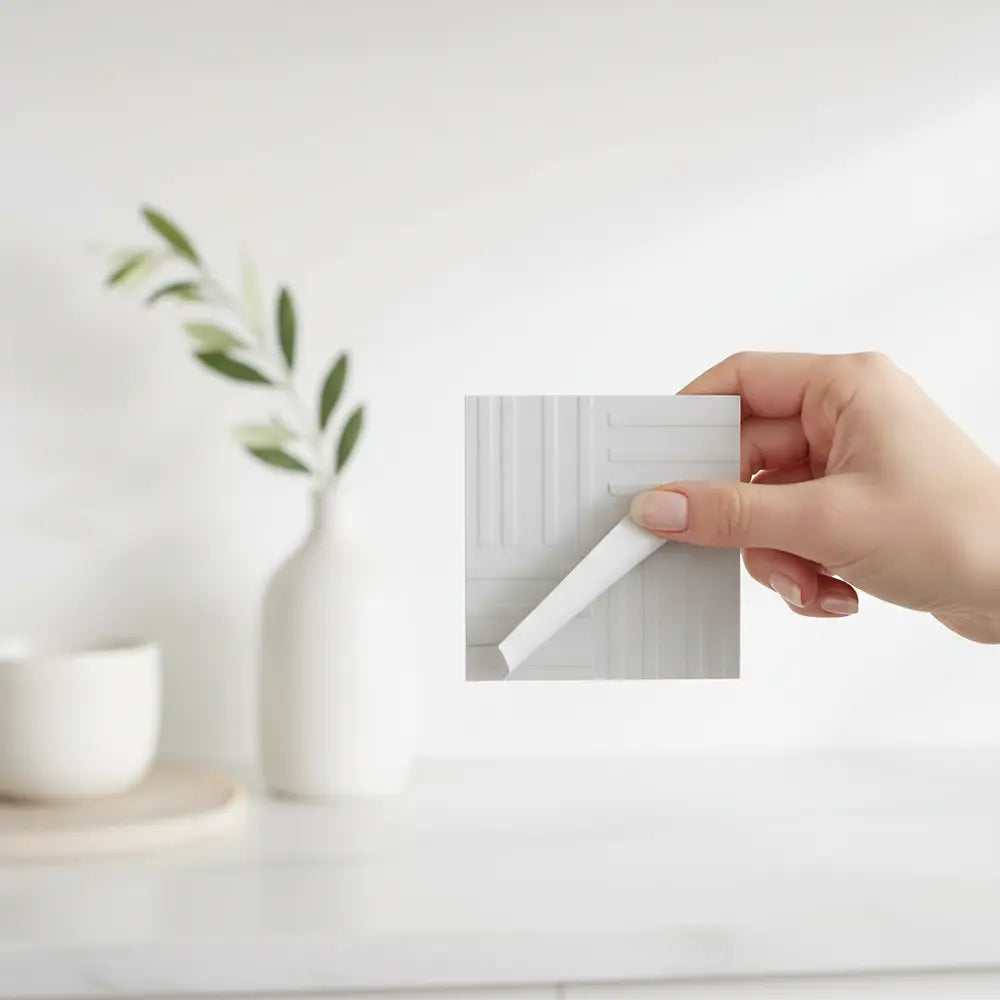
Les peel and stick kitchen tiles sont des revêtements muraux autocollants conçus pour imiter l’aspect de vrais carreaux en céramique, en pierre ou en verre. Elles sont devenues extrêmement populaires en 2025 car elles offrent une solution élégante, budget-friendly et renter-safe pour moderniser une crédence ou un mur de cuisine en quelques heures, et non en plusieurs jours. Leurs principaux avantages : installation DIY facile, pas besoin de joint ni de mortier, et dépose sans dommage.
Pendant des années, nous avons vu des clients et d’autres adeptes du DIY se sentir bloqués, persuadés qu’une belle cuisine était hors de portée sans gros budget. Mais ce n’est tout simplement plus vrai aujourd’hui. Les options peel and stick d’aujourd’hui sont sophistiquées, durables et offrent une incroyable liberté de création.
Dans ce guide, nous vous expliquons tout ce qu’il faut savoir. Nous passerons en revue les plus grandes tendances design 2025, nous vous dirons franchement ce qu’il en est de leur durabilité, et nous vous proposerons un plan d’installation étape par étape que tout le monde peut suivre. Il est temps de créer la cuisine dont vous rêvez.
Pourquoi les peel and stick kitchen tiles sont-elles tendance en 2025 ?
La question : « Est-ce juste une mode bon marché et temporaire, ou y a-t-il une vraie raison pour laquelle tout le monde en parle ? »
La promesse : Cette section explique les forces puissantes — des évolutions économiques aux innovations design — qui font des peel and stick tiles une tendance intelligente et durable.
On comprend facilement leur attrait, mais l’engouement pour les crédences de cuisine amovibles est bien plus qu’une simple mode passagère. C’est le reflet de notre mode de vie actuel. D’après notre expérience dans le monde du design, trois grands facteurs alimentent cette tendance.
Une solution pour l’économie locative
De plus en plus de personnes louent plus longtemps, mais l’envie de personnaliser son espace n’a pas disparu. Les modifications permanentes ne sont pas possibles, ce qui signifiait autrefois vivre avec la cuisine qu’on nous avait laissée. Les peel and stick tiles changent complètement la donne.
Elles permettent aux locataires de réaliser des améliorations esthétiques importantes, sans abîmer le support. Un rapide passage sur Instagram ou TikTok révèle des milliers de transformations de cuisine incroyables réalisées par des locataires, qui transforment des espaces ternes en vitrines dignes d’un studio déco — avec, en plus, la tranquillité d’esprit de pouvoir tout retirer si besoin.

Des progrès incroyables en matière de design et de réalisme
Soyons honnêtes : les premières versions des peel and stick tiles ressemblaient souvent… à des autocollants. Mais la technologie a énormément évolué. La génération 2025 de carreaux propose des impressions haute définition, des textures réalistes et des finitions authentiques qu’il est difficile de distinguer du vrai.
Les innovations en matière de matériaux, du vinyle imitation « pierre » très convaincant aux carreaux gel 3D qui reproduisent la profondeur du verre, les ont fait passer d’une astuce budget à un vrai choix design. Selon les rapports de tendances Pinterest, les recherches pour « removable backsplash ideas » ont augmenté de plus de 150% au cours de l’année écoulée, preuve de leur adoption croissante. Explorer ces solutions polyvalentes est essentiel, et si vous êtes curieux de leurs applications créatives au-delà de la cuisine, notre guide sur les solutions innovantes de carrelage peel and stick vous propose une multitude d’idées.
L’essor du DIY durable et budget-friendly
Les coûts de rénovation continuent d’augmenter. La pose traditionnelle d’une crédence en carrelage peut coûter des milliers d’euros une fois les matériaux, les outils et la main-d’œuvre inclus. En comparaison, un projet peel and stick peut souvent être réalisé pour quelques centaines d’euros.
Cette accessibilité rend les rendus haut de gamme accessibles à un public bien plus large. De plus, à mesure que les consommateurs deviennent plus sensibles à l’environnement, beaucoup recherchent des options moins génératrices de déchets. Poser des carreaux directement sur une surface existante évite la démolition et les déchets envoyés en décharge associés à une rénovation complète. Pour ceux qui sont prêts à lancer leur projet, nous avons résumé l’essentiel dans notre guide pour une transformation DIY de cuisine avec peel and stick, afin que votre changement soit à la fois stylé et durable.
Quelles sont les grandes tendances de design en peel and stick tile pour 2025 ?
La question : « Je suis perdu face au choix. Comment sélectionner quelque chose de moderne qui ne se démodera pas l’an prochain ? »
La promesse : Nous allons aller à l’essentiel et vous révéler les trois grandes दिशons design de 2025, pour vous aider à trouver un style qui correspond à votre vision.
La beauté du marché actuel, c’est l’incroyable diversité des choix. Oubliez les motifs basiques d’autrefois. Les tendances 2025 misent sur des couleurs sophistiquées, des textures riches et des matières intemporelles revisitées. Pour encore plus d’inspiration, la ressource incontournable est notre article approfondi sur Les meilleurs motifs de Peel & Stick Tiles pour 2025.
Quelles sont les nouvelles couleurs et les nouveaux motifs les plus audacieux ?
La question : « J’adore l’idée d’une cuisine qui a du caractère, mais j’ai peur d’utiliser des couleurs ou des motifs audacieux. Est-ce que ça fera kitsch ? »
La promesse : Découvrez comment utiliser avec assurance les couleurs et les motifs tendance de 2025 pour créer un rendu marquant et raffiné.
Si les cuisines blanches restent un grand classique, 2025 signe un retour affirmé de la couleur et des motifs. Les propriétaires recherchent des espaces plus chaleureux, avec davantage de personnalité.
- Teintes profondes et enveloppantes : Pensez aux verts forêt profonds, aux bleus marine intenses et aux terracotta aux accents terreux. Ces couleurs créent une ambiance cosy et théâtrale, résolument haut de gamme. Elles fonctionnent particulièrement bien dans les cuisines baignées de lumière naturelle, pour éviter un effet trop sombre.
- Motifs géométriques grand format : Oubliez les petits motifs chargés. La tendance actuelle mise sur de grands éventails répétés inspirés de l’Art déco, des hexagones audacieux et des lignes entrelacées nettes. Ces motifs apportent du relief visuel sans surcharger l’espace.
- Astuce de pro : Si un mur entier à motifs vous semble trop intimidant, commencez par une zone plus petite et délimitée. Le mur derrière votre coin café ou vos étagères ouvertes est l’endroit parfait pour tester un design audacieux. Pour voir ces idées prendre vie, découvrez notre galerie de idées tendance pour les murs de cuisine en 2025.
L’aspect marbre et pierre est-il toujours dans l’air du temps ?
La question : « Un Peel and Stick tile effet marbre ou pierre peut-il vraiment paraître réaliste et haut de gamme ? »
La promesse : Découvrez la nouvelle génération de carreaux effet pierre ultra-réalistes, capables de rivaliser avec la beauté des matériaux naturels sans leur coût ni leur entretien.
L’aspect de la pierre naturelle est intemporel, mais son coût — et surtout son entretien — constitue un frein majeur pour beaucoup. C’est là que la technologie peel and stick révèle tout son potentiel en 2025.
On pense souvent, à tort, que tous les carreaux imitation pierre ont un motif répétitif et artificiel. En réalité, les modèles haut de gamme offrent désormais des variations non répétitives du veinage : sur une grande surface, aucun carreau ne se ressemble exactement. Ce petit détail fait toute la différence pour obtenir un rendu crédible.

Recherchez des finitions qui imitent des pierres haut de gamme très prisées, comme le marbre Calacatta Gold avec ses veines dorées chaleureuses, ou la texture douce et subtile de l’ardoise noire adoucie. Ces options sophistiquées peuvent vous offrir un rendu à un million d’euros pour une fraction du prix.
Et si je préfère un style minimaliste ou classique ?
La question : « Les couleurs tendance ne sont pas pour moi. Quelles sont les meilleures options pour une cuisine intemporelle, minimaliste ou moderne campagne ? »
La promesse : Voyez comment des styles classiques comme le subway sont revisités avec des textures et des poses plus actuelles pour un rendu à la fois moderne et intemporel.
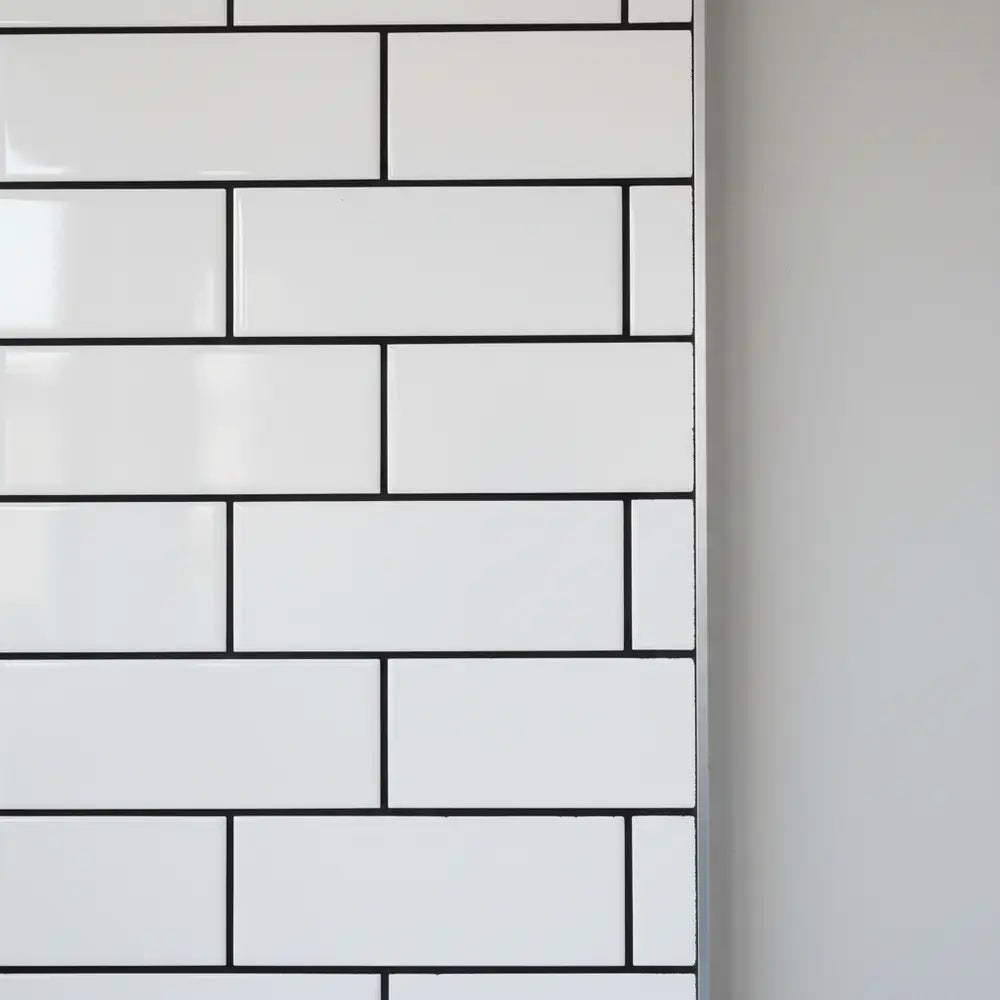
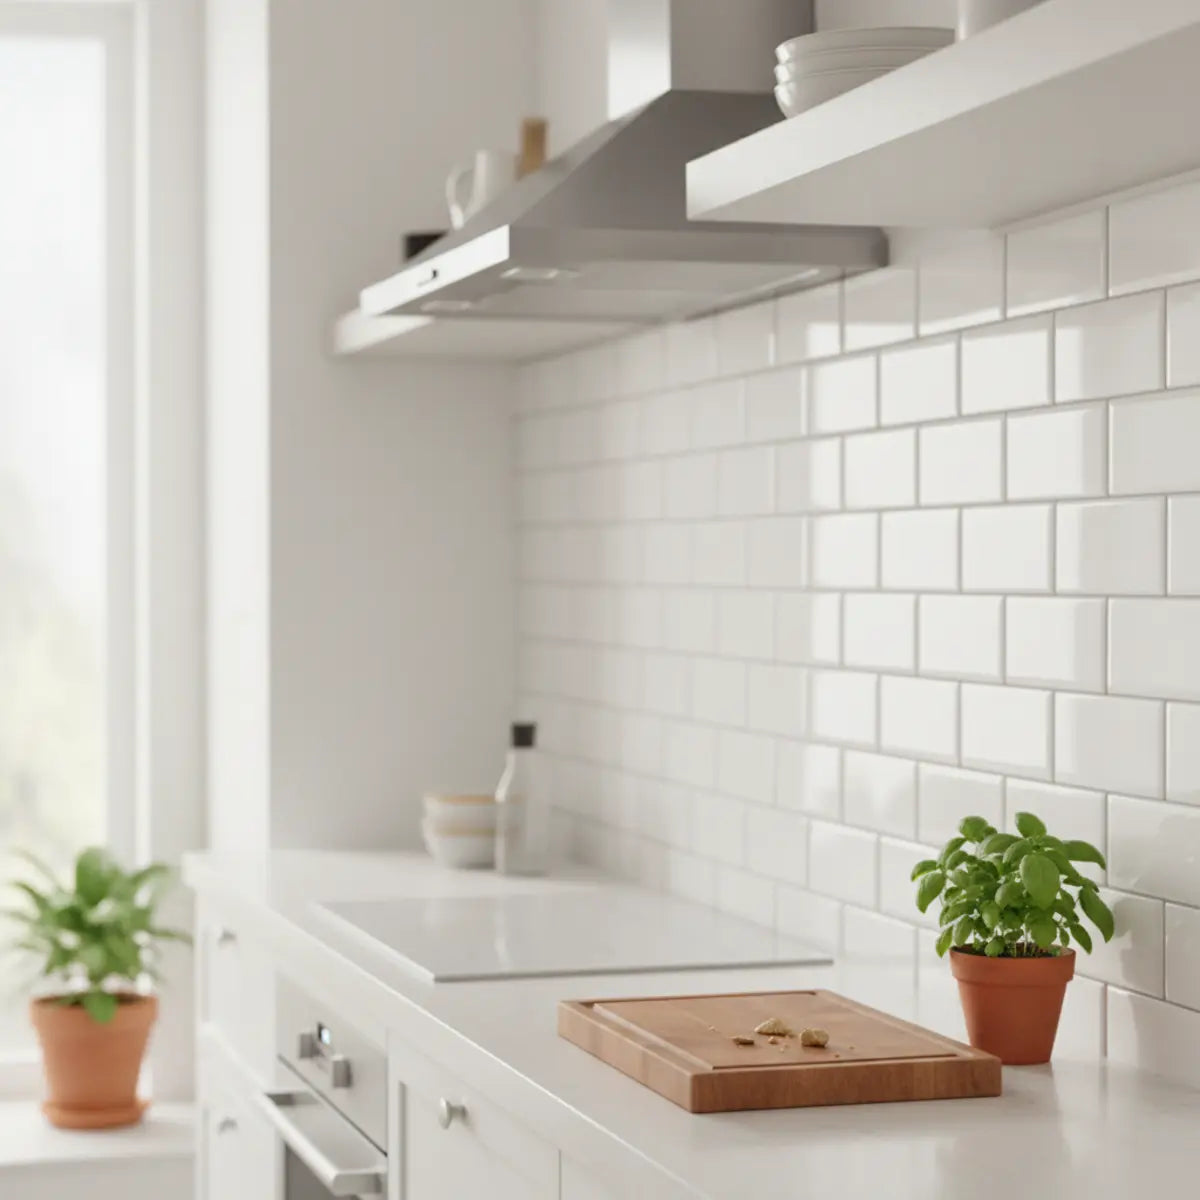
Le minimalisme ne veut pas dire ennuyeux ; il repose sur une simplicité assumée. Le classique carrelage blanc subway n’a pas dit son dernier mot, mais il adopte une touche plus moderne pour 2025.
- Le nouveau subway : Misez sur de nouvelles proportions. Des formats plus longs et plus fins, type « kit-kat », ou des carreaux posés en empilement vertical plutôt qu’en quinconce traditionnel peuvent donner une impression de hauteur sous plafond et apporter une touche subtile et personnalisée.
- La texture fait toute la différence : La grande tendance des carreaux minimalistes, c’est l’ajout d’une texture discrète. Recherchez des modèles qui reproduisent l’aspect imparfait et artisanal des carreaux Zellige, ou qui présentent une finition mate et douce plutôt qu’un fort brillant. Ces textures captent la lumière avec élégance et apportent chaleur et profondeur à une palette neutre.
- Neutres chaleureux : Le blanc pur et aseptisé laisse place à des neutres plus doux et plus chauds. Pensez aux gris champignon clairs, aux blancs cassés crémeux et aux beiges subtils. Ces teintes paraissent naturelles et accueillantes, et s’associent parfaitement aux accents boisés et aux matières naturelles.
Quelle tendance de Peel and Stick Tile correspond à votre cuisine ?
1. Quand vous imaginez la cuisine de vos rêves, vous voyez...
Les Peel and Stick Tiles sont-elles vraiment adaptées aux murs de cuisine ?
La question : « Ma plus grande crainte, c’est que ces carreaux fondent derrière ma cuisinière, se décollent à cause de la vapeur ou se détériorent tout simplement en quelques mois. Peuvent-ils vraiment résister à une vraie cuisine ? »
La promesse : Obtenez la réponse définitive d’un expert sur la durabilité, la résistance à la chaleur et la tolérance à l’humidité, pour acheter et poser en toute confiance.
C’est sans aucun doute la question la plus importante que l’on nous pose. La réponse courte est oui : des peel and stick tiles de haute qualité sont un excellent choix durable pour la plupart des murs et backsplashes de cuisine. Cependant, tous les produits ne se valent pas. Le succès dépend entièrement du choix du bon matériau pour la bonne utilisation.
Quelle est la durabilité des peel and stick tiles modernes ?
La question : « Je ne veux pas faire tout ce travail pour que le résultat paraisse cheap et usé au bout d’un an. Combien de temps vont-ils durer ? »
La promesse : Comprenez les différents types de matériaux et les facteurs clés qui déterminent la longévité, afin de choisir un produit conçu pour durer.
La durabilité d’un peel and stick tile est directement liée à sa composition. Voyez ça comme l’achat d’un manteau. Un poncho en plastique bon marché peut vous garder au sec lors d’une seule averse, mais une veste bien conçue vous protégera pendant des années. La même logique s’applique ici.
En général, vous pouvez vous attendre à ce qu’un carreau de qualité dure de nombreuses années avec un entretien adapté. Recherchez des produits dotés d’une couche d’usure épaisse, qui protège le motif imprimé des rayures et de la décoloration. La plupart des fabricants proposent des garanties : vérifiez donc bien ce qui est couvert.
Peuvent-ils supporter la chaleur et l’humidité d’une cuisine ?
La question : « Sérieusement, puis-je l’installer derrière ma cuisinière sans risque d’incendie ? Et derrière l’évier ? »
La promesse : Cette section présente les spécifications indispensables et les consignes de sécurité pour utiliser les carreaux près des sources de chaleur et d’eau.
C’est ici qu’il faut être particulièrement attentif aux spécifications du produit. Pour toute zone derrière une cuisinière ou près d’un évier, vous devez impérativement choisir des carreaux explicitement classés comme résistants à la chaleur et résistants à l’eau.
Voici un aperçu des matériaux les plus courants et de leurs performances :
Conseil de pro : Même avec des carreaux résistants à la chaleur, nous recommandons toujours de laisser un espace de sécurité d’au moins 6-8 inches entre le backsplash et une flamme nue d’une plaque de cuisson au gaz. Pour les plaques électriques ou à induction, veillez à ce que le panneau de commande arrière crée une séparation naturelle.
Quelles sont leurs limites ?
La question : « Pour éviter une catastrophe en DIY, où ne devrais-je pas pas utiliser ces carreaux ? »
La promesse : Découvrez les quelques situations et surfaces où les peel and stick tiles ne sont pas recommandés, afin d’éviter perte de temps et frustrations.
Polyvalents, ces carreaux ne sont pas une solution miracle pour toutes les surfaces. Pour garantir une pose réussie et durable, évitez de les utiliser dans les cas suivants :
- Sur des murs texturés : Des surfaces comme la brique, le crépi « popcorn » ou un plâtre fortement texturé empêchent l’adhésif d’adhérer complètement, ce qui peut entraîner un décollement. Le mur doit être lisse, propre et plat.
- Dans une douche : Bien que beaucoup soient résistants à l’eau, ils ne sont pas conçus pour supporter l’exposition constante et directe à l’eau d’une cabine de douche.
- Sur les sols ou les plans de travail : N’utilisez pas des carreaux muraux sur ces surfaces à fort passage, sauf si le produit est spécifiquement homologué pour une utilisation au sol ou sur plan de travail. Elles nécessitent une couche d’usure beaucoup plus durable.
- Sur des murs fraîchement peints : La peinture doit avoir le temps de durcir complètement. Attendez au moins 3 à 4 semaines après la peinture avant de poser des peel and stick tiles afin d’éviter tout problème d’adhérence.
Études de cas avant/après : transformations de cuisines en location
La question : « J’ai du mal à imaginer le rendu dans une vraie cuisine imparfaite comme la mienne. »
La promesse : Découvrez des preuves concrètes d’autres adeptes du DIY montrant qu’une transformation spectaculaire est possible, même avec un budget serré et un délai court.
Parfois, voir, c’est croire. La meilleure façon de comprendre l’impact des peel and stick tiles est de les voir en situation dans de vraies maisons. Ces mini études de cas montrent ce qui est possible en un seul week-end. Pour plus d’inspiration visuelle, pensez à consulter notre galerie de Transformations de cuisine spectaculaires.
Étude de cas 1 : la rénovation du backsplash du week-end de Sarah
- L’« avant » : La cuisine en location de Sarah avait un backsplash standard en stratifié beige, banal, qui donnait à l’ensemble un aspect daté et sombre.
- L’objectif : Illuminer la cuisine et ajouter une touche de couleur moderne sans effectuer de changements permanents.
- La solution : Elle a choisi un peel and stick tile au chic motif subway empilé verticalement, dans un vert doux.
- Le résultat : En seulement quatre heures un samedi après-midi, sa cuisine a été complètement transformée. Le nouveau backsplash apporte couleur, texture et esprit contemporain. On dirait une pose sur mesure.
- Budget : ~150 $
- Temps passé : 4 heures
Étude de cas 2 : le mur d’accent à fort impact de Mark
- L’« avant » : La cuisine de Mark était fonctionnelle, mais manquait d’un point focal. Un grand mur nu à côté de son coin repas donnait l’impression d’une occasion manquée.
- L’objectif : Créer un élément spectaculaire qui rehausserait tout l’espace de vie ouvert.
- La solution : Il a opté pour des peel and stick tiles grand format avec une finition marbre Calacatta Gold hyper réaliste.
- Le résultat : En habillant tout le mur d’accent, il a créé un décor superbe et luxueux qui donne à la cuisine une allure plus haut de gamme et plus soignée. C’est désormais la première chose que remarquent les invités.
- Budget : ~250 $
- Temps passé : 6 heures
Conseils de pose DIY et astuces de pro
La question : « Je ne suis pas très bricoleur et j’ai peur de me louper, que le résultat soit de travers ou fasse des bulles. »
La promesse : Voici votre guide infaillible. Nous vous proposons une méthode simple, étape par étape, ainsi que des astuces de niveau pro pour garantir une pose parfaite et un rendu professionnel.
C’est la partie la plus amusante ! Inutile d’être un artisan chevronné pour réussir. Avec un peu de patience et une bonne préparation, vous obtiendrez un rendu impeccable. Pour un pas-à-pas encore plus détaillé, notre guide sur Comment installer des Peel and Stick Tiles est la ressource idéale.

De quels outils et fournitures ai-je vraiment besoin ?
La question : « Dois-je vraiment aller acheter tout un tas d’outils spécialisés et coûteux pour ce seul projet ? »
La promesse : Voici la trousse d’outils simple et minimaliste qu’il vous faut pour bien faire le travail, avec des éléments que vous avez probablement déjà.
L’un des grands avantages de ce projet, c’est la courte liste d’outils. Pas besoin de scie à carreaux ni de mortier salissant.
- Un nettoyant dégraissant : C’est indispensable. Nous recommandons un substitut au TSP ou de l’alcool isopropylique pour éliminer toute trace de graisse.
- Un mètre ruban
- Un crayon
- Un niveau : Un niveau laser, c’est idéal, mais un niveau à bulle classique fait parfaitement l’affaire.
- Un cutter bien affûté ou un couteau utilitaire : Prévoyez des lames de rechange.
- Un tapis de découpe ou une planche
- Une petite raclette ou lisseur en plastique (facultatif) : Aide à chasser les bulles d’air.
Comment préparer le mur pour une adhérence parfaite ?
La question : « Quel est le secret pour éviter que les carreaux ne commencent à se décoller au bout d’un mois ? »
La promesse : Découvrez l’étape la plus importante de tout le processus pour garantir une adhérence solide et durable.
C’est l’étape où l’on s’impatiente, et c’est la plus grosse erreur que vous puissiez faire. La préparation représente 90% du travail. Le mur doit être parfaitement propre, lisse et sec.
Le pire ennemi de l’adhésif des carreaux, c’est la graisse de cuisine. Même si un mur paraît propre, il est recouvert d’une fine couche d’huiles de cuisson en suspension dans l’air. Vous devez laver toute la surface avec un nettoyant dégraissant adapté. Un simple passage à l’eau savonneuse ne suffit pas. Après le nettoyage, laissez le mur sécher complètement pendant plusieurs heures ou toute une nuit.
Quelle est la procédure d’installation étape par étape ?
La question : « J’ai mes carreaux et un mur propre. Par où commencer pour poser le premier carreau ? »
La promesse : Un processus simple en 6 étapes, de la première mesure jusqu’au carreau final, parfaitement posé.
-
1Planifiez votre agencement. Disposez quelques carreaux sur le plan de travail pour choisir votre point de départ. Vous voulez éviter de terminer par une petite bande de carreau peu esthétique dans une zone très visible.
-
2Tracez un guide de niveau. Ne faites pas confiance à vos plans de travail ou à vos placards pour être parfaitement de niveau. Utilisez votre niveau pour tracer une ligne horizontale droite à l’endroit où viendra le haut ou le bas de votre première rangée de carreaux. C’est votre repère.
-
3Posez votre premier carreau. Décollez uniquement la partie supérieure du film de protection. Alignez le carreau sur votre guide de niveau et, une fois la position correcte, appuyez-le délicatement contre le mur.
-
4Décollez et pressez. Retirez lentement le reste du support tout en lissant le carreau du centre vers les bords. Cela permet de chasser les bulles d’air.
-
5Superposez comme indiqué. La plupart des peel and stick tiles sont conçus avec un léger bord de chevauchement pour le joint façon « grout ». Veillez à respecter ce chevauchement de manière régulière pour un rendu sans couture.
-
6Découpez pour les bords et les prises. Pour les coupes droites, mesurez et marquez le carreau, puis utilisez votre cutter et une règle pour le marquer et le casser net. Pour les prises, faites un gabarit en papier, reportez-le sur le carreau, puis découpez-le soigneusement avec votre cutter.
Pour des visuels plus concrets, notre Guide DIY Peel and Stick Kitchen le détaille encore davantage.
Quelles sont les meilleures astuces de retrait adaptées aux locataires ?
La question : « Tout cela est très bien, mais comment les enlever sans abîmer le mur et perdre ma caution ? »
La promesse : L’astuce secrète pour retirer les carreaux proprement et facilement, sans dégâts, quand vient le moment de déménager.
C’est tout le charme du peel and stick. Quand vient le moment de les enlever, ne tirez pas simplement dessus. L’arme secrète, c’est la chaleur.
Prenez un sèche-cheveux standard et réglez-le sur une température moyenne ou basse. Réchauffez doucement la surface d’un carreau pendant environ 15 à 30 secondes. Cela assouplit l’adhésif. Commencez par un coin et décollez lentement le carreau. La chaleur le rend plus souple et permet de le retirer proprement du mur. S’il reste des résidus collants, vous pouvez les enlever facilement avec un nettoyant à base d’agrumes comme Goo Gone.
Votre cuisine stylée est à portée d’un week-end
Ce qui ressemblait autrefois à un énorme chantier — refaire sa cuisine — devient désormais un projet de week-end simple à gérer et vraiment agréable. Nous avons vu comment les tendances 2025 ont apporté sophistication et style aux peel and stick tiles, en en faisant un choix résolument design. Nous avons aussi confirmé qu’avec le bon produit, elles sont largement assez durables pour résister à la chaleur et à l’humidité d’une vraie cuisine au quotidien.
Et surtout, vous disposez maintenant d’un plan clair et concret pour passer à l’action. Fini le temps où vous restiez coincé avec une cuisine que vous n’aimez pas. Commencez petit, choisissez un pan de mur et découvrez à quel point il est facile de créer un espace qui semble tout neuf.
Prêt à trouver le style parfait ?
Téléchargez notre guide gratuit 2025 des tendances des Peel & Stick Tiles pour la cuisineFoire aux questions
Combien de temps durent les peel and stick tiles dans une cuisine ?
Avec une bonne préparation du mur et en choisissant un produit de qualité, résistant à l’eau, vous pouvez vous attendre à ce qu’un backsplash peel and stick reste impeccable pendant 5 à 10 ans, voire davantage. La durabilité dépend largement du matériau (vinyle, gel, métal) et de l’épaisseur du carreau.
Puis-je poser des peel and stick tiles sur des carreaux existants ?
Oui, dans la plupart des cas. Les carreaux existants doivent être soigneusement nettoyés et dégraissés. La surface doit être plane et lisse. Si vos carreaux existants ont des joints profonds ou texturés, vous devrez peut-être d’abord les combler avec une fine couche d’enduit afin de créer une surface bien nivelée sur laquelle les nouveaux carreaux pourront adhérer correctement.
Les peel and stick tiles sont-ils faciles à nettoyer ?
Absolument. La plupart des peel and stick tiles ont une surface lisse et non poreuse qui se nettoie facilement avec un chiffon humide et un nettoyant doux non abrasif. C’est idéal pour essuyer les éclaboussures de cuisine. Évitez les produits chimiques agressifs et les éponges abrasives, qui peuvent endommager la finition.
Les peel and stick tiles font-ils bon marché ?
Si cela pouvait être un vrai sujet de préoccupation avec les anciens produits, les peel and stick tiles haut de gamme de 2025 ne donnent pas une impression bon marché. Les avancées en impression haute définition et en finitions texturées créent des imitations incroyablement réalistes de la pierre, de la céramique et du verre. Une fois posés correctement, il est souvent difficile de faire la différence sans les toucher.
Quelle est la plus grosse erreur à éviter lors de la pose ?
La plus grosse erreur est une mauvaise préparation du mur. Un simple coup d’éponge ne suffit pas. Il faut utiliser un dégraissant pour éliminer toutes les traces de graisse de cuisson en suspension dans l’air. Sauter cette étape est la première cause d’échec de l’adhérence et de décollement des carreaux avec le temps.

Laisser un commentaire
Ce site est protégé par hCaptcha, et la Politique de confidentialité et les Conditions de service de hCaptcha s’appliquent.