





















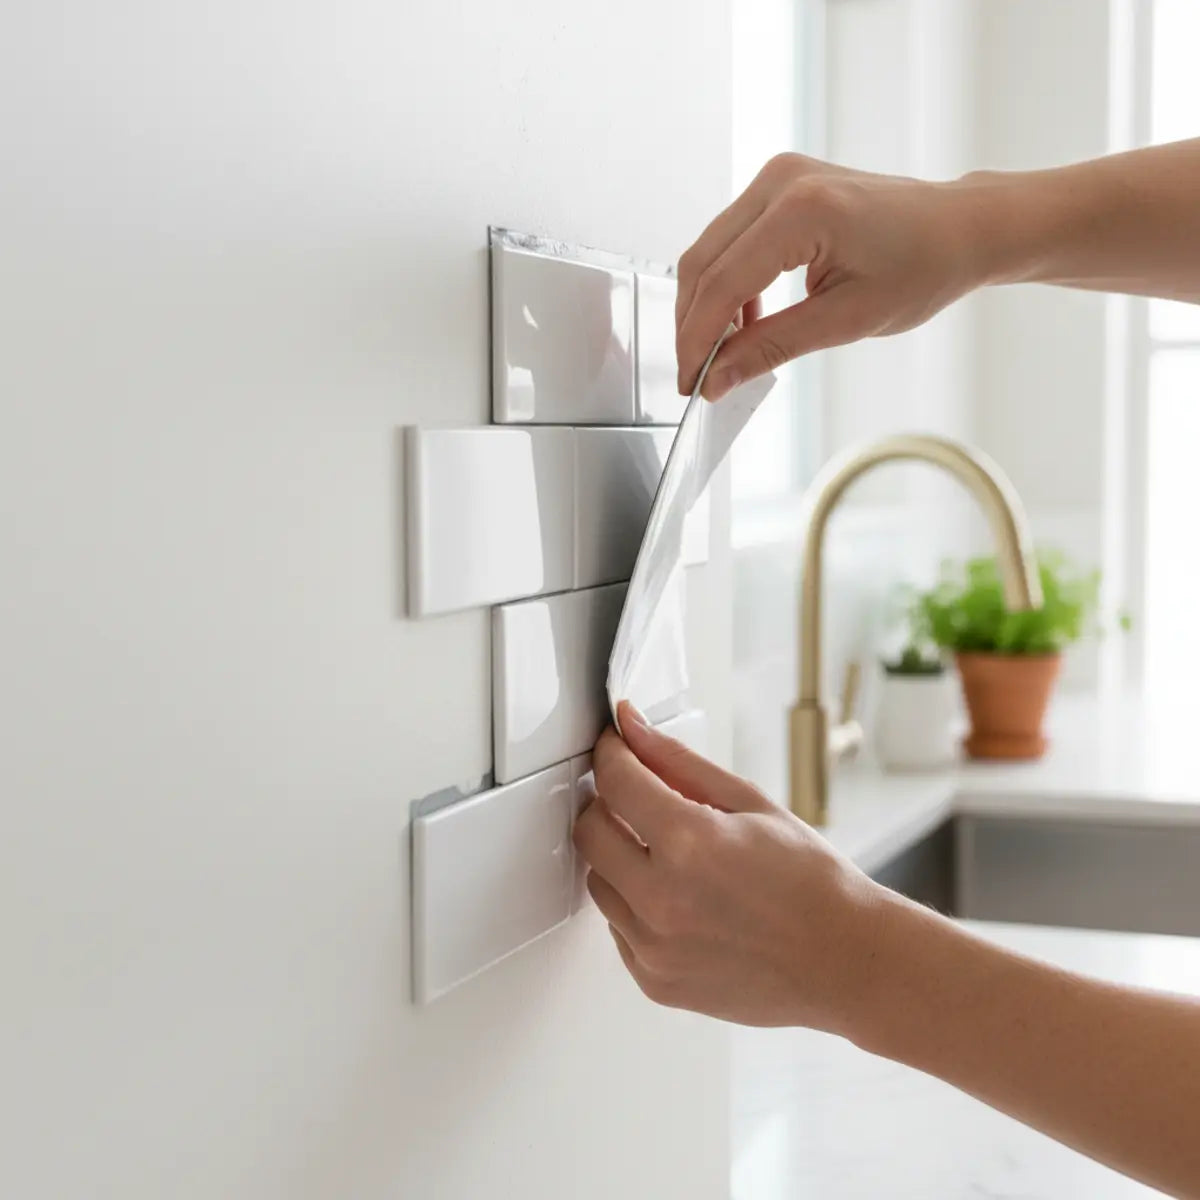
An affordable peel-and-stick backsplash should be priced from the actual wall, not from a fixed low-price promise. The real project includes usable coverage, shipping, tools, surface preparation, cuts, spare material and—especially for renters—a realistic removal or restoration plan. A small backsplash on a clean, stable wall can be a low-complexity project; a larger wall with outlets, grease, weak paint or heat exposure can require more preparation than the product price suggests.
This guide keeps the renter intent but removes fictional makeover stories and zero-restoration promises. Use it to decide whether the project fits your lease, wall and budget, then use the detailed installation guidance for the exact product you buy.
Why renters consider peel-and-stick backsplash
Traditional mortar-set tile usually involves a more permanent installation, wet materials and more difficult removal. A self-adhesive wall finish can reduce those steps, which is why renters often consider it for a bounded kitchen or vanity update. That does not mean the project is automatically approved by a landlord or guaranteed to leave paint unchanged.
Start with permission. Read the lease and ask the landlord or property manager if adhesive wall coverings are restricted. A product marketed for temporary use does not override the lease. If permission is unclear, resolve that before ordering material.
Then inspect the wall. Peel-and-stick tile depends on the condition of the coating and substrate beneath it. Loose paint, powdery drywall, heavy texture, grease, uncured paint or moisture can affect both adhesion and later removal. If the wall is already failing, a decorative covering is not a repair.
Define “affordable” as the complete project
A low pack price can be misleading when two products cover different areas. One design may use larger sheets, another smaller tiles, and another may lose usable coverage through overlap or pattern matching. Normalize the quantity needed for the same wall before comparing prices.
Your project budget should include five categories: decorative material, surface preparation, tools, shipping/tax, and contingency. If the project is temporary, add a sixth category for possible paint touch-up or wall restoration. The goal is not to predict damage; it is to avoid a budget that works only if everything goes perfectly.
Measure the backsplash width and height in sections. Mark cabinets, outlets, switches, windows and appliance zones. Use the exact tile dimensions and pack quantity. Add an allowance for cuts, pattern alignment and a few spare pieces when practical. The appropriate allowance depends on the wall and design rather than one universal percentage.
Choose a smaller scope when the lease is short
A renter does not need to cover every available wall to get a visual change. A narrow zone behind a sink, a backsplash between counter and cabinet, or one accent section can reduce material cost and the amount of adhesive touching the wall. A bounded project is also easier to test and repair.
Full-height walls can still work when the lease permits them and the wall is suitable, but the extra area increases seams, cuts, cost and future removal work. Compare the visual benefit with the length of time you expect to live in the space.
Compare style directions without turning them into a ranking
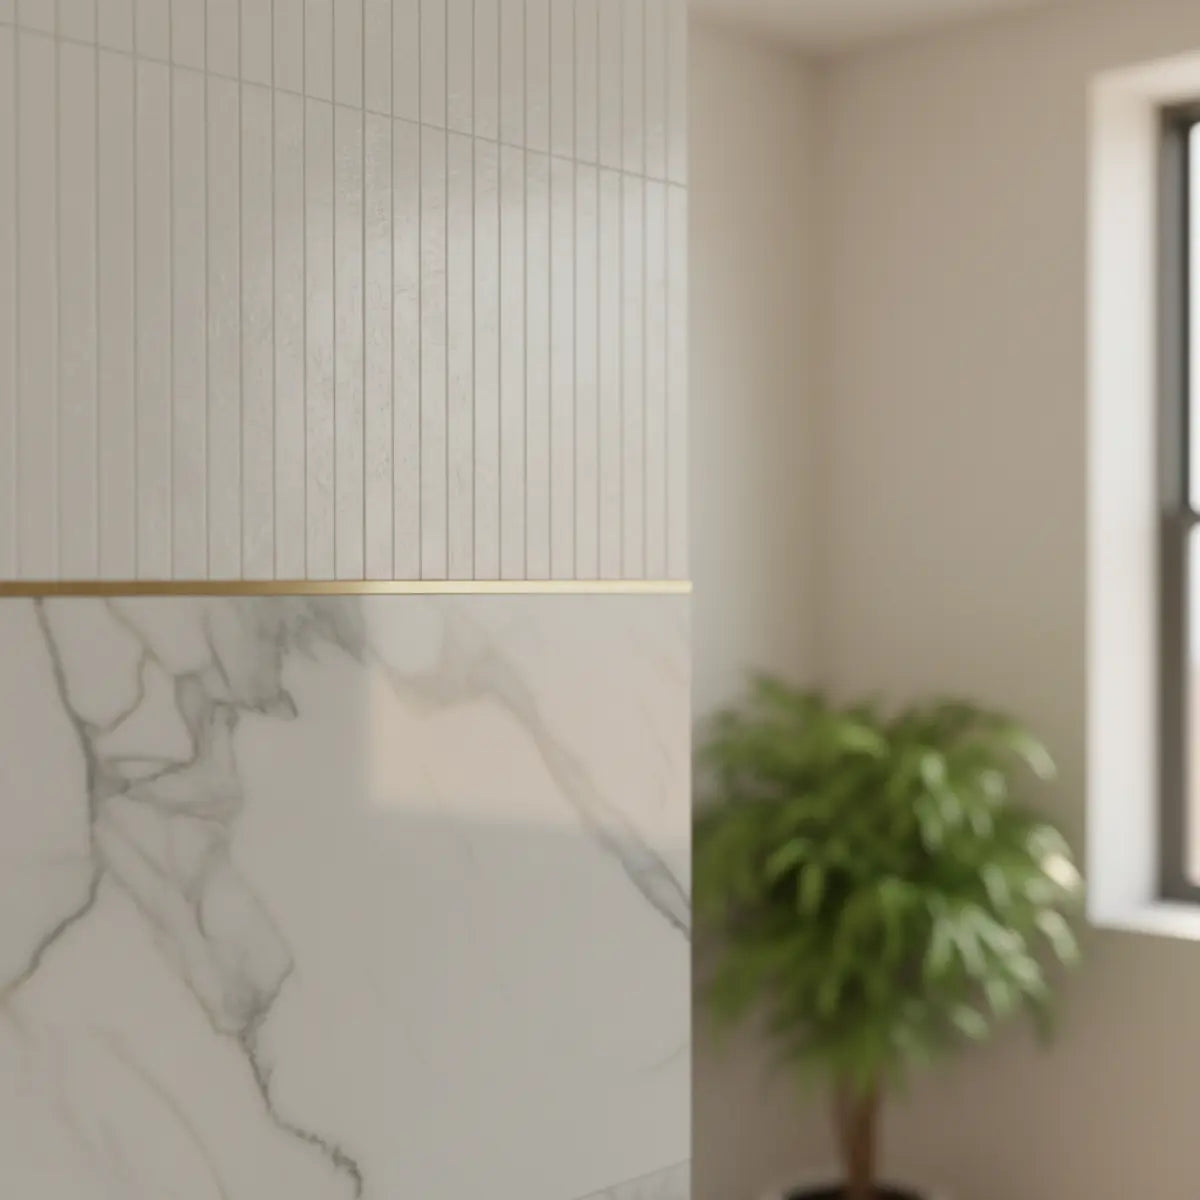
Affordable does not require one “best” style. Subway layouts, marble-look surfaces, geometric patterns, Moroccan-inspired designs, honeycomb shapes and square grids can all fit a budget depending on coverage and product construction. The useful question is how the design works with the fixed surfaces already in the kitchen.
Look at cabinets, countertop, appliances, flooring and lighting. A high-contrast pattern can become the focal point in a plain kitchen, while a lower-contrast design can work better when the countertop already has strong movement. Use samples or several product images under the room’s actual lighting rather than relying on one screen photo.
Material construction matters more than the word “cheap”
Peel-and-stick wall products can use vinyl, gel-faced constructions, composites, metal-faced layers or other assemblies. Material affects thickness, cutting, seam design, surface feel and room placement. A lower-cost product that matches the wall and room can be a better value than a more expensive product chosen only for the brand name.
Read the exact product page rather than assuming all self-adhesive tiles behave the same. Look for dimensions, approved surfaces, wet-area limits, appliance or heat guidance, cutting method, care instructions and removal information. If a listing gives only decorative photos and broad adjectives, you still have unanswered project questions.
Surface preparation can decide whether a budget project stays affordable
Kitchen walls often carry grease, aerosolized cooking residue and household-cleaner film. A wall can look clean while still being a poor adhesive surface. Use a cleaner compatible with the wall coating and product instructions, then allow the surface to dry fully. Pressure-sensitive adhesive generally depends on broad contact with a clean, dry surface.
3M’s pressure-sensitive adhesive surface-preparation guidance illustrates why cleaning and application pressure matter, even though your backsplash may use a different adhesive. Follow the actual tile manufacturer’s instructions rather than borrowing a generic cleaner or primer.
If the wall has peeling paint, deep texture, loose drywall paper, old adhesive or repeated moisture, fix that condition before treating the backsplash as a cosmetic job. A $150 product can become an expensive repair if it is installed over a wall that was not suitable in the first place.
Do not sand an older painted wall casually
When an older wall needs preparation, safety can matter more than adhesion. In U.S. homes built before 1978, disturbing old paint can create lead-dust hazards. EPA’s lead-safe renovation guidance for DIYers explains why sanding, scraping and other paint disturbance require special care.
If the product would require aggressive sanding or major wall repair, that may be a sign to pause the project or obtain professional help. A temporary decorative finish is not worth creating a hazardous surface-preparation problem.
Sink splashes and direct water are not the same condition
A backsplash can be used in a splash-prone kitchen zone only within the exact product’s placement guidance. A wipe-clean or water-resistant face does not make the complete wall waterproof. Seams, exposed edges, outlets and the wall behind the tile still matter.
The EPA’s mold and moisture guidance emphasizes fixing water sources rather than covering them. If the wall is repeatedly damp, stained, soft or musty, correct the moisture problem before installing a decorative finish.
Stove and appliance heat require product-specific guidance
Do not assume that “heat resistant” means a tile belongs directly behind every range, toaster oven or countertop appliance. Direct flame, hot exhaust and concentrated radiant heat are different from ordinary kitchen temperature. Follow the exact backsplash instructions and appliance clearances.
If the product does not publish relevant heat guidance, keep it outside the uncertain heat zone. Do not copy a clearance from a different brand or use a generic “six inches is always safe” rule.
Use samples to compare color, relief and seam appearance
A sample can answer questions that a listing cannot. Does the color work next to the cabinet and countertop? Does the finish look glossy or matte under under-cabinet lights? Does the pattern repeat more strongly than expected? How visible is the seam when several pieces are joined?
Use samples primarily for appearance and project-specific handling. A short sample test does not prove long-term removal behavior or a fixed service life. Paint age, adhesive dwell time, humidity and wall condition can change the result later.
Plan installation as a sequence, not an afternoon promise
A simple backsplash may be completed quickly, but the useful workflow is preparation, drying, measurement, dry layout, reference lines, cutting, placement, final pressure, edge finishing and cleanup. The exact duration depends on wall condition, product construction, number of outlets and installer experience.
For a detailed step-by-step workflow, use the Stickwoll installation and care guide or the installation guide for the exact product. A budget article should not duplicate every technical step or promise that an entire kitchen is finished in one afternoon.
Dry-layout before the adhesive commits you
Arrange several pieces before removing backing. Check the first seam, the final edge, the pattern direction and the cuts around outlets or corners. A small shift in the starting line can prevent an awkward narrow strip at the far edge.
Dry layout also reduces waste. Directional patterns and strong grout-like lines make cutting mistakes more visible. Planning those pieces first can be worth more than buying a cheaper pack and discovering the pattern does not align.
Keep tools proportional to the product
Many wall-tile projects need a measuring tape, level or straightedge, marking tool, compatible cutter and a pressure/smoothing tool. Thicker composite or metal-faced products may need different cutting tools from flexible vinyl. Use the product instructions rather than assuming every peel-and-stick tile can be cut the same way.
Include any tool you must buy in the project budget. If you already own the tool, you can mark the cost as zero for this project; if not, a low material price may not be the whole story.
Renter removal starts before installation
Save the product instructions and order information. If the manufacturer publishes a specific removal method, keep that guidance with the project record. Avoid adding construction adhesive or other permanent bonding material unless the product explicitly calls for it and the lease permits the change.
A hidden-area test can reveal immediate incompatibility when the product guidance supports testing. It cannot guarantee how the same wall will behave after a much longer installation. For that reason, budget for possible paint touch-up or local wall repair rather than promising a security-deposit outcome.
Do not assume removal will leave every painted wall unchanged
Paint can release because it is weak, poorly bonded, uncured or attached to damaged drywall paper. A tile that releases easily from one wall may behave differently on another. Removal can also change after months of heat, humidity and adhesive dwell time.
The honest renter question is: “Is this wall and product combination reasonable to test, and what restoration am I willing to accept?” That is more useful than a universal zero-restoration label.
Use hypothetical budget scenarios, not invented customer stories
A planning example should state its assumptions. Imagine a dry, stable backsplash wall with no plumbing or electrical repair, basic tools already available and permission from the landlord. You can then allocate a maximum budget among tile, preparation, tools, shipping and contingency. Change one assumption—such as damaged drywall or a larger wall—and the budget changes.
That is different from presenting an unnamed “Sarah” or “David” makeover with precise costs as though it were a documented customer case. If a documented customer project is used, it should include verifiable details, photos, dates and actual receipts or clearly labeled estimates.
Scenario A: Small renter backsplash
Scope only the wall between the countertop and upper cabinets, keep the layout simple, and reserve part of the budget for samples and possible touch-up at move-out. This scenario minimizes material quantity and wall contact while still producing a visible design change.
Scenario B: Larger owner-occupied backsplash
An owner may accept a larger wall scope and more complex pattern if the existing wall is stable and the product fits the sink and appliance zones. The budget can include more spare material for future local repairs rather than prioritizing temporary removal.
Scenario C: Wall with uncertain paint or moisture
Do not force the decorative budget onto an unresolved wall. Use the contingency to investigate or repair the substrate first. If the wall is not suitable, postponing the tile is a successful project decision—not a failed makeover.
Compare brands with the same questions instead of a “best brands” list
A brand ranking can become stale quickly and can mix unlike materials. A better shortlist asks every candidate the same questions: what is the material, what surfaces are approved, what is the usable tile size, how do seams work, what sink and heat limits are published, how should the product be cut, and what removal guidance exists?
If one brand publishes detailed room limits and another provides only broad marketing language, that difference in documentation is itself useful information. Do not transfer one brand’s stove clearance, shower restriction or removal method to another product.
For a broader comparison framework, see the Peel-and-Stick Tile Brands Buyer Comparison Guide. It compares documentation and product questions without declaring a universal winner.
Match backsplash color to the fixed surfaces first
Countertop and cabinet colors usually occupy more visual area than the backsplash. Start with what is staying. Warm wood cabinets can work with soft greens, creams, muted stone looks or stronger contrast. White cabinets can support a wide range of patterns, but the countertop undertone still matters.
Blue, green and darker designs can become a focal point. White, light gray and lower-contrast stone looks can keep the wall quieter. These are design directions rather than rules; the room’s lighting and pattern scale determine how strong the final effect feels.
Watch undertones instead of matching color names
Two products labeled “white” may differ toward warm cream, cool blue-white or gray. A “green” can be sage, olive, forest or mint. Screens are poor at showing subtle undertones consistently, so compare a physical sample next to the countertop and cabinet when color accuracy is important.
Look at the sample in daylight and at night under the kitchen’s artificial lighting. Under-cabinet LEDs can also change how gloss, relief and grout-like lines read across the wall.
Pattern scale affects both design and waste
Large motifs can create fewer visual repeats but may require more careful positioning around outlets and corners. Small grids or mosaics can make cuts less dominant, while strong directional subway or zigzag layouts may make alignment mistakes easier to notice.
Use the actual tile size in the dry layout. A product image cropped tightly around one sheet does not show how the pattern will repeat across a six- or eight-foot backsplash.
Keep exposed edges intentional
Decide where the tile stops before installation begins. A termination under a cabinet is different from an exposed vertical edge in the middle of a painted wall. Some products offer matching trim or have a specific edge method; others may use a clean cut or another product-specific solution.
Do not add caulk or trim merely because it is common in another installation system. Check compatibility with the exact material and room. An edge detail should finish the installation, not hide a poorly planned cut or a moisture problem.
Budget for outlets and awkward cuts
Outlets can consume more time than their area suggests. One sheet may need a precise internal cut, or a seam may need to be shifted so a narrow fragile strip is avoided. Turn off power before removing cover plates and use appropriate electrical-safety practices.
If an electrical box, receptacle or wiring is damaged or improperly fitted, use the appropriate qualified trade. A backsplash project should not turn an electrical defect into a decorative patch.
Think about local repair before ordering the last pack
Keeping a few spare pieces can be valuable when the product is likely to stay for several years. A local area may be damaged by an appliance, a later plumbing repair or a new outlet. Matching the same pattern later can be difficult if the product changes or is discontinued.
Store spare pieces flat and according to the manufacturer’s recommendations. Keep the product handle, order date and dimensions with them so the material can be identified later.
Cleaning cost is part of affordability
A backsplash that needs special cleaners or shows every grease mark may create more maintenance than a lower-cost shopper expects. Check the care instructions before ordering. Abrasive pads, strong solvents and harsh degreasers can damage some printed or coated faces.
Use the least aggressive compatible method that removes the soil. Regular gentle cleaning can be easier than allowing grease to build up and then attacking the surface with a stronger chemical.
Do not let a low price justify an unsuitable room
A clearance product is not a bargain if it is outside the product’s documented heat, water or substrate limits. Likewise, buying more material because it is on sale does not fix a wall that needs moisture repair.
The most cost-effective decision can be to choose a smaller area, a different material or no adhesive backsplash at all. Affordability includes avoiding a preventable failure.
Frequently asked questions
How much does an affordable peel-and-stick backsplash cost?
There is no universal project price. Measure usable coverage, then add shipping, tax, preparation, tools, cuts, spares and contingency. Compare current product prices for your wall rather than relying on a fixed low-price marketing claim.
Can renters use peel-and-stick backsplash?
Potentially, if the lease permits it, the wall is suitable and the exact product supports the intended location. Test a hidden area when appropriate and plan for possible paint touch-up or wall restoration at removal.
What should I expect when removing it from a painted wall?
No universal promise is appropriate. Paint strength, cure, substrate, adhesive, dwell time and removal method all affect the result. Follow the manufacturer’s removal guidance and stop if the coating begins to fail.
Is peel-and-stick backsplash waterproof?
Do not generalize from the material name. A product may have a water-resistant or wipe-clean face, but seams, edges and the substrate still matter. Direct shower exposure is different from routine kitchen splashes. Follow the exact wet-area guidance.
Can I install it behind a stove?
Only where the exact tile and appliance guidance allow it. Keep decorative material away from direct flame and unverified concentrated heat zones. Do not copy another brand’s clearance.
Can I install over existing tile?
Some products allow installation over smooth, stable existing tile, but deep grout lines, contamination or loose substrate can affect the result. Follow the exact product instructions and address unstable surfaces first.
Do I need special tools?
Tool requirements depend on the construction. Flexible vinyl, composite and metal-faced products may require different cutters or pressure tools. Read the exact installation guide before budgeting.
Bottom line
An affordable backsplash is not the cheapest pack on the screen. It is a project whose wall, room limits, coverage, preparation, tools and future removal all fit the budget. Renters should add lease permission and restoration risk to that equation; owners may place more weight on long-term repair material and design continuity.
Choose the exact product after measuring the wall and checking heat, splash and substrate conditions. Use samples for color and seam appearance, dry-layout before exposing adhesive, keep a small contingency and avoid unsupported promises about price, waterproofing, lifespan or zero-restoration removal. That approach gives you a budget project you can actually evaluate instead of a makeover story you cannot verify.
Define affordable from the actual project
Material price is only one part of a backsplash budget. Include wall repair, tools, trim, shipping, waste from the chosen layout, spare pieces and possible restoration if the project is temporary.
A project that looks inexpensive per sheet can cost more when the pack coverage or cut pattern creates a lot of unusable material.
Use coverage instead of a universal under-$100 claim
Measure the real wall, subtract openings only when offcuts are actually reusable, and use the current pack coverage and price for the selected product.
Prices change, so keep the article focused on the calculation method rather than a dated total.
Keep renter permission separate from affordability
A low-cost material can still violate a lease or damage weak paint. Obtain permission when required and photograph the original wall.
Budget planning should include the possibility of ordinary touch-up or repainting at move-out.
Choose construction before the visual bargain
Thin vinyl, gel-faced sheets, rigid composite and metal-faced products can have different cutting, cleaning and room limitations.
Compare the exact product, not just the lowest listed price within a visual style.
Map heat and splash before shopping
The sink and range walls may not accept the same inexpensive product. Use product and appliance documentation for each zone.
Do not create a universal six- or eight-inch heat rule or call a material inherently waterproof.
Dry-layout to reduce waste
Plan the first row, outlet cuts and exposed ends before ordering. A small shift can reduce fragile slivers and make more offcuts reusable.
The cheapest purchase is not necessarily the cheapest completed wall if the layout wastes material.
Spend on the edge details that remain visible
A clean termination, compatible trim or carefully planned cut can make a lower-cost material look more intentional.
Do not add permanent sealant or trim automatically when the product and rental situation do not call for it.
Use samples to avoid the wrong bulk purchase
Compare color, sheen, thickness and seam appearance in the actual kitchen.
A small sample cost can prevent buying several boxes of a finish that clashes with counters or creates unwanted glare.
Keep cleaning cost and effort visible
A highly textured inexpensive product can require more frequent or difficult cleaning. Use the exact care instructions in the buying decision.
Maintenance is part of value even when it is not a large cash expense.
Keep local repair in the value equation
A product with obtainable spare pieces and simple local replacement can be easier to live with than a slightly cheaper finish that cannot be matched later.
Store practical repair stock when continuity matters.
Use a final budget worksheet
List wall area, pack coverage, quantity, tools, trim, repair, cleaning and restoration assumptions. Keep unknowns visible.
That worksheet is more reusable than a fixed project price or a promise about deposit savings.
Sources and scope
- 3M: Applying VHB Pressure-Sensitive Tape — General adhesive surface-preparation principles; not Stickwoll specifications.
- US EPA: Mold, Moisture and Your Home — Moisture-control guidance; not approval of a wall covering.



Leave a comment
This site is protected by hCaptcha and the hCaptcha Privacy Policy and Terms of Service apply.