





















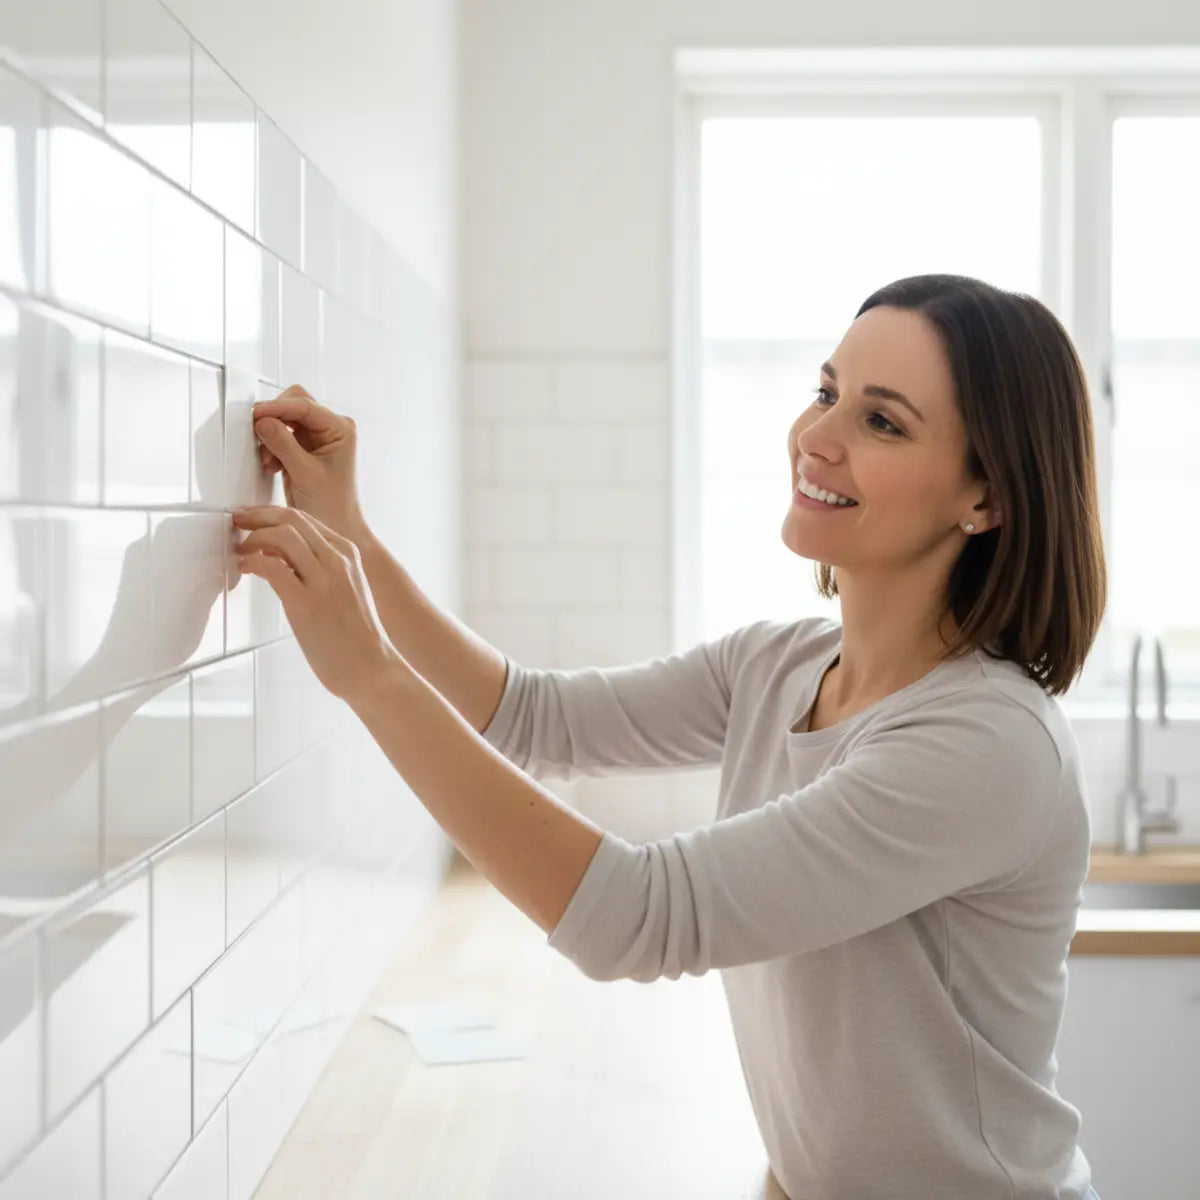
You want a kitchen glow-up this weekend—but without the dust, power tools, or a contractor's bill. We've all been there, scrolling through stunning kitchen makeovers and feeling a mix of inspiration and intimidation. You want that fresh, modern look, but the fear of crooked tiles, poor adhesion, and a DIY disaster holds you back.
Explore this guide
Here’s the good news: peel-and-stick backsplash is the game-changing solution for renters and first-time DIYers. It offers a professional look for a fraction of the cost and effort. This guide is your friendly expert, walking you through every step—from prep to perfection—to ensure you get a result you'll love.
To install a peel and stick backsplash, first clean and dry the wall thoroughly. Measure your starting point and draw a level guideline. Begin applying tiles from a prominent corner, peeling back only a few inches of the backing at a time. Smooth the tile firmly onto the wall, overlapping designated grout lines, and use a utility knife to cut tiles for outlets and edges.
This tutorial will cover everything you need to know. We'll go over surface preparation, a detailed step-by-step installation process, quick fixes for common problems, and even some pro-level design tips. Get ready to transform your space with confidence.
Why Choose Peel and Stick Backsplash?
Ever wonder if a shortcut solution can truly look as good as the real thing? You've seen traditional tiling projects take weeks and cost thousands.
This section explains why peel-and-stick is a smart, stylish, and incredibly practical choice that delivers amazing results without the traditional drawbacks.
Peel and stick backsplash, often called self-adhesive wall tile, has completely changed the home improvement landscape. It’s no longer just a temporary fix but a durable and stylish option that rivals its traditional ceramic counterpart in appearance.
Advantages Over Traditional Tiling
The primary benefit is simplicity. A traditional tile job involves mortar, grout, a wet saw, and days of messy work. In our experience, it’s a project many homeowners avoid due to the skill and time required. Peel-and-stick eliminates all of that. You get the same visual impact in a single afternoon.
Ideal for Renters and Small Spaces
These tiles also work wonders in small kitchens or bathrooms. A bright, reflective backsplash can make a cramped area feel larger and more open. The easy installation makes it a perfect project for tight corners and compact spaces where maneuvering with traditional tile would be a nightmare.
Modern, Budget-Friendly Design Options
Forget the dated patterns of the past. Today's stick-on tiles come in an incredible array of modern designs. You can find realistic marble, classic subway tile, intricate mosaics, and sleek metallic finishes. A recent survey from Apartment Therapy noted that stylish, non-permanent updates are a top priority for millennial and Gen Z renters.
This variety means you don’t have to compromise on style. You can achieve a trendy, Architectural Digest-worthy look that fits your personal aesthetic and your wallet.

How Do I Choose the Best Peel and Stick Tiles?
Staring at a wall of tile options can be overwhelming. Will this one melt behind my stove? Will it peel off in the bathroom humidity? Does this pattern match my cabinets?
Let's demystify the selection process so you can choose a tile that is beautiful, safe, and perfectly suited for your home.
Selecting the right tile is about balancing aesthetics with functionality. Your choice will impact not only the look of your space but also the longevity of your project. Here’s what we advise our clients to consider.
Material Options to Know
Not all peel-and-stick tiles are created equal. The material dictates its look, feel, and durability.
- Vinyl: The most common and affordable option. Modern vinyl tiles have high-resolution imaging that can convincingly mimic stone, ceramic, or wood. They are lightweight, flexible, and easy to cut.
- Metal: Usually a thin layer of aluminum, stainless steel, or copper over a composite core. These offer a sleek, industrial, or modern look. They are very durable and often highly heat-resistant.
- Glass: These tiles provide a beautiful, high-end look with real depth and reflection. They are heavier and may require a stronger adhesive and more care when cutting, but the result is stunning.
- Stone Composite: These newer options blend real stone dust with polymers. They offer a textured, matte finish that feels more like authentic stone and are incredibly durable.
For those who want to turn their kitchen into a stylish hub without a major overhaul, exploring the latest designs is crucial. Dive into our curated collection of How to DIY Peel Stick Kitchen 2025 for inspiration on creating a modern look with minimal effort.
Heat and Water Resistance Considerations
This is non-negotiable for kitchens and bathrooms. Always check the product specifications.
Matching Design with Your Aesthetics
The fun part is choosing a style! To avoid a look that feels out of place, consider your existing elements.
- For a classic look: You can't go wrong with subway tiles. They are timeless and fit almost any decor.
- For a modern kitchen: Consider geometric patterns, sleek metallic tiles, or a clean marble-look design.
- For a farmhouse or rustic feel: Look for tiles that mimic weathered wood or natural stone.
Pro-Tip: Order a single sample tile first. Place it on your wall and see how it looks throughout the day in different lighting. This small step can prevent a big design mistake. For more inspiration, exploring the Peel Stick Backsplash Kitchen Ideas 2025 can be an excellent starting point.
What Tools and Materials Do I Need?
Worried you need a workshop full of expensive tools for this project? Do you have to be a professional contractor to even get started?
We'll show you that you can achieve a flawless finish with just a few basic items you likely already have at home.
One of the best parts of this project is the minimal tool list. Think of this preparation step as your mise en place for DIY—getting everything ready makes the entire process smoother and more enjoyable.
Interactive Tool Checklist
Select the tools you have to generate a custom shopping list.
Basic Tools Checklist
These are the absolute essentials. You probably have most of them in a junk drawer or garage.
- Measuring Tape: For accurate measurements of your space.
- Level: A laser level is fantastic, but a standard 24-inch bubble level works perfectly. This is crucial for your first row.
- Utility Knife or Box Cutter: Make sure you have a sharp, new blade. A dull blade will tear the tiles instead of cutting cleanly.
- Ruler or Straightedge: A metal ruler is best for guiding your knife.
- Cleaning Supplies: Degreaser spray (like TSP or simple green), a sponge, and clean cloths or paper towels.
- Pencil: For marking your guidelines and cut lines.
Optional Tools for Extra Precision
You don't need these, but they make the job easier and give you that extra professional touch.
- Self-Healing Cutting Mat: Protects your countertops or floor when you're cutting tiles.
- Plastic Smoother (or a Credit Card): Helps press the tile firmly and work out any air bubbles.
- Caulk and Caulk Gun: Use only a compatible perimeter sealant when the product instructions call for it. A bead can finish a joint, but it does not make the complete backsplash wall waterproof.
- Scissors: A heavy-duty pair can be useful for making intricate cuts around curves.
If you're upgrading your kitchen and want to avoid common beginner mistakes, having the right plan is everything. Our guide on How to Upgrade Kitchens with Peel and Stick Tiles provides an innovative solution that can brighten up your space while helping you steer clear of pitfalls.
Safety and Surface Protection
Don't forget the basics. Protect your work area to make cleanup a breeze. Lay down an old sheet or plastic drop cloth over your countertops to protect them from any cleaning drips or stray adhesive.

How Do I Prepare the Wall for Perfect Adhesion?
Have you heard horror stories of tiles peeling off after a week? Are you concerned your slightly textured or painted walls won't work?
Step 1: Clean and Degrease the Wall
Kitchen walls accumulate a surprising amount of grease and grime, even if they look clean. This invisible layer is the number one enemy of adhesion.
First, wipe down the entire area with a good degreasing cleaner. We recommend a Trisodium Phosphate (TSP) solution or a strong household cleaner like Simple Green. Spray it on, scrub gently with a sponge, and then wipe it all away with a clean, damp cloth.
Step 2: Ensure the Surface is Completely Dry
After cleaning, you must let the wall dry completely. Adhesive will not stick to a damp surface. Use a dry cloth to wipe it down, then wait at least an hour. To be extra safe, especially in a humid climate, we suggest waiting a few hours or even aiming a fan at the wall.
Step 3: Deal with Uneven or Textured Walls
This is a common question we get. For best results, peel-and-stick tiles need a smooth, non-porous surface.
- Slightly Textured Walls: If you have a very light "orange peel" texture, many high-quality tiles will adhere just fine. Applying an extra spray adhesive (like 3M High-Strength 90) can provide additional grip.
- Heavily Textured Walls: For popcorn, knockdown, or other rough textures, you must smooth the wall first. The easiest way is to do a light "skim coat" of joint compound, sand it smooth once dry, and then prime it.
- Existing Tiles: Yes, you can install peel-and-stick over existing ceramic tiles! Just make sure you deep-clean the grout lines and the tile surface to remove all grease and soap scum.
Step 4: Mark Your Alignment Guides
Do not trust your countertops or cabinets to be perfectly level—they rarely are. This is the mistake that leads to a crooked backsplash.
What is the Step-by-Step Installation Process?
Feeling that mix of excitement and nervousness before placing the first tile? You're worried about getting it crooked, creating bubbles, or messing up the cuts.
Follow this detailed, beginner-friendly process. We'll break it down into simple actions to ensure you get a professional result, one tile at a time.
This is where your preparation pays off. With a clean wall and a level line, the installation itself is methodical and rewarding. Work slowly, be patient, and trust the process. For a focused walkthrough on this part of the job, our Easy Guide: Install Peel & Stick Subway Tiles is the go-to resource many beginners find invaluable.
How Do I Align and Apply the First Tile?
The first tile sets the tone for the whole project. Where do you start? How do you make sure it's perfectly straight?
We'll show you the pro technique for placing that critical first piece, ensuring the rest of your project lines up flawlessly.
The "first tile" rule is simple: start in the most visible corner. For most kitchens, this is an outside corner that you see as soon as you walk into the room.
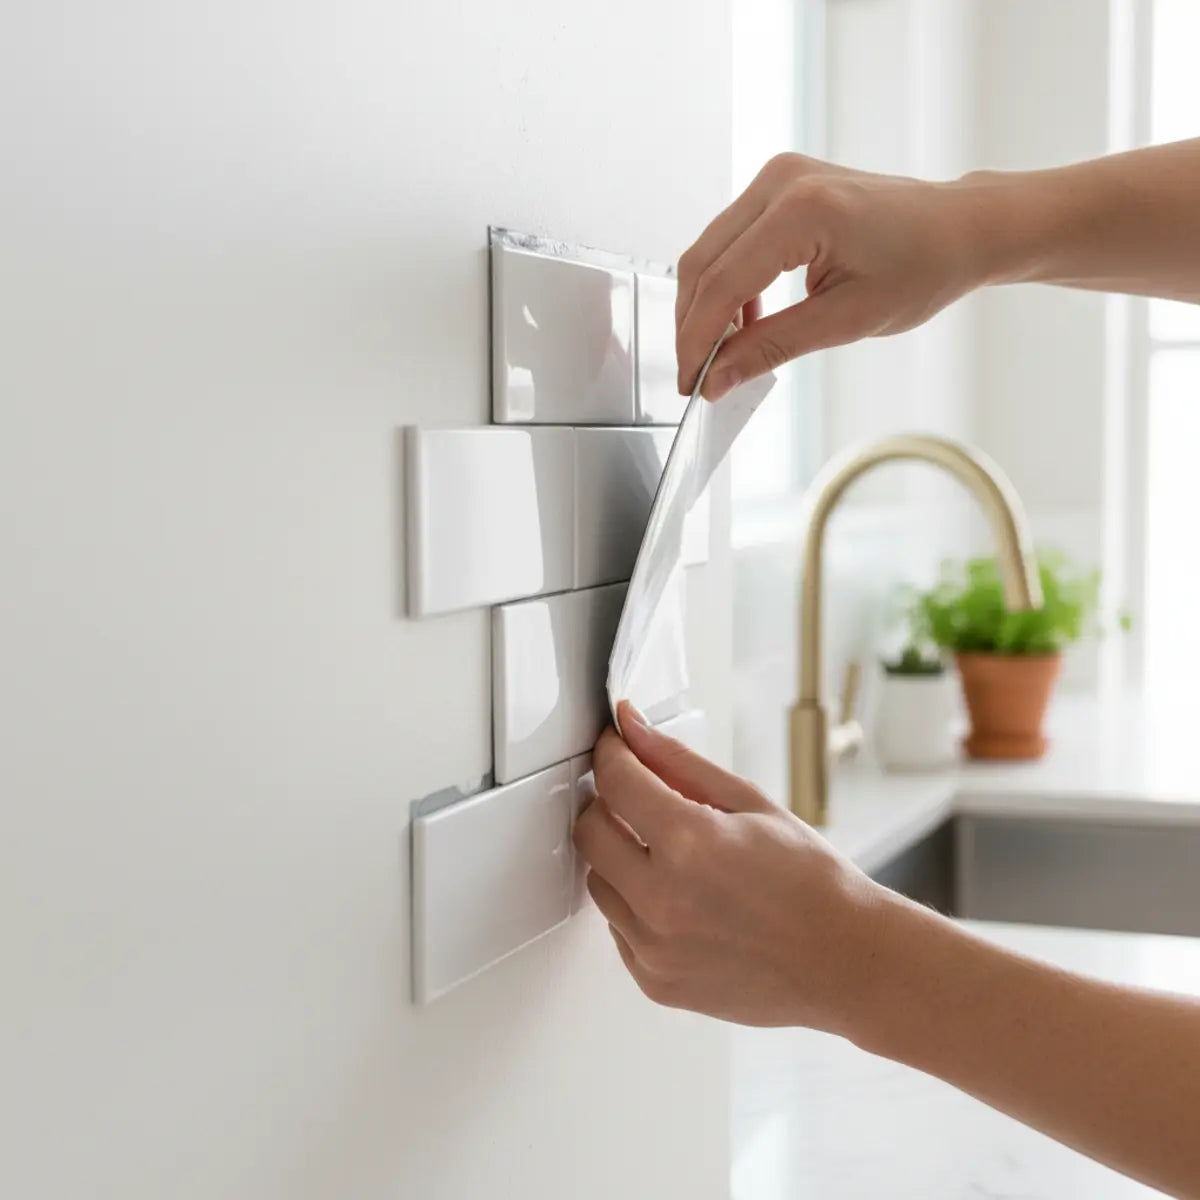
- Partial Peel: Do NOT peel the entire backing off at once. This is the most common beginner mistake. Instead, peel back just the top 2-3 inches of the paper backing and fold it down sharply.
- Align with Your Guide: Line up the exposed top edge of the tile with the level guideline you drew on the wall. Take your time here. You can lightly reposition it as long as you haven't applied firm pressure.
- Press the Top: Once you're happy with the alignment, press the exposed adhesive section firmly against the wall.
- Peel and Smooth: Now, reach behind the tile and slowly pull the rest of the paper backing downward. As you pull, use your other hand or a plastic smoother to press the tile onto the wall, working from the top down. This technique pushes air out and prevents bubbles.
Understanding how to use these versatile tiles beyond just backsplashes can unlock a world of creative home projects. To discover more innovative applications, explore our guide on How to Use Peel and Stick Tiles in 2025 and transform any space in your home.

How Do I Handle Tricky Areas Like Outlets and Corners?
Cutting around an outlet seems complicated and easy to mess up. How do you get a clean, perfect fit without wasting a tile?
This simple template method takes the guesswork out of complex cuts, making you look like a seasoned pro.
Outlets and corners are what separate a good DIY job from a great one. The trick is to create a paper template.
- Create a Template: Take a piece of paper and hold it over the outlet. Crease the paper around the edges of the electrical box to create an outline. Cut this shape out with scissors.
- Trace onto the Tile: Place your paper template onto the front of the tile where the outlet will be. Use your pencil to trace the cutout shape onto the tile.
- Cut Carefully: Place the tile on a cutting mat. Use your sharp utility knife and a straightedge to carefully cut along the traced lines. For the interior cuts, you may need to press firmly and make several passes.
- Test the Fit: Before peeling the backing, hold the cut tile up to the wall to ensure it fits perfectly around the outlet. Make any small adjustments needed.
- Apply the Tile: Once the fit is perfect, peel and stick the tile as you did with the others.
For inside corners, measure the gap, cut a tile to size, and press it firmly into the corner. For outside corners, you can either wrap a single tile around the corner (if it's flexible vinyl) or cut two pieces to meet at a clean edge.
What’s the Secret to Avoiding Bubbles and Gaps?
Are you worried about unsightly air bubbles or small gaps between tiles that ruin the seamless look?
A smooth, gap-free surface is the ultimate goal. It all comes down to two things: application technique and understanding your material.
The "peel a little, stick a little" method described above is your best defense against bubbles. Pushing from the center out toward the edges also helps force any trapped air out. If a stubborn bubble appears, you can prick it with a tiny pin and smooth the air out. The hole will be virtually invisible.
Gaps are avoided by paying close attention to the tile's design. Most products have a built-in "grout line" on one or two sides that is meant to be overlapped by the next tile. A common error is trying to butt the tiles up edge-to-edge. Read the manufacturer's instructions and overlap them as directed. This creates that uniform, continuous look.
What Are Common Problems and Quick Fixes?
What if something goes wrong? The tiles aren't sticking, the seams look uneven, or you placed one completely crooked.
Don't panic! Here is your troubleshooting guide for the most common issues, with simple solutions to get your project back on track.
Even with careful planning, small issues can pop up. Knowing how to fix them is what makes a DIYer successful. Here’s our expert advice for tackling the most frequent challenges.
Interactive Troubleshooting Guide
My tile corners are lifting. What's the most likely cause?
Problem: Tiles Aren't Sticking Properly
You press a tile on, and an hour later, a corner starts to lift. What's causing this frustrating problem?
We'll diagnose the cause—from surface prep to temperature—and give you a reliable fix to ensure a permanent bond.
This is almost always a surface issue. If a tile won't stick, first check your prep work. Did you use a degreaser? Was the wall 100% dry? Often, a hidden film of cooking oil or cleaning residue is the culprit.
Another factor is temperature. Installation temperature and any warming method are product-specific. Follow the exact storage, room-temperature, substrate-temperature and application guidance for the tile you are using rather than applying a universal temperature range or heat treatment.
For a stubborn tile on a clean, dry wall, a little help might be needed. A light mist of a high-strength spray adhesive (like 3M Super 77) on the wall before application can provide the extra grip it needs.
Problem: Seam Gaps or Uneven Edges
You stepped back to admire your work and noticed a small, annoying gap between two tiles. Is the whole project ruined?
Discover how to fix minor alignment issues and use finishing touches to hide imperfections perfectly.
If you catch a misaligned tile right away, you can often gently peel it off and reposition it. Most adhesives allow for a few minutes of grace.
Problem: Removing Tiles Without Wall Damage
As a renter, your biggest fear is peeling off the paint or drywall when it's time to move out. How can you remove the tiles safely?
How Can I Add Style Enhancements and Maintain My Backsplash?
Your tiles are up, but you want to take the project from "good" to "magazine-worthy." How do you get that polished, high-end look?
These professional finishing touches and long-term care tips will elevate your design and ensure it looks brand new for years.
The installation is just the beginning. A few extra touches and proper care will protect your investment and make your new backsplash a true focal point.
Adding Trim for a Professional Look
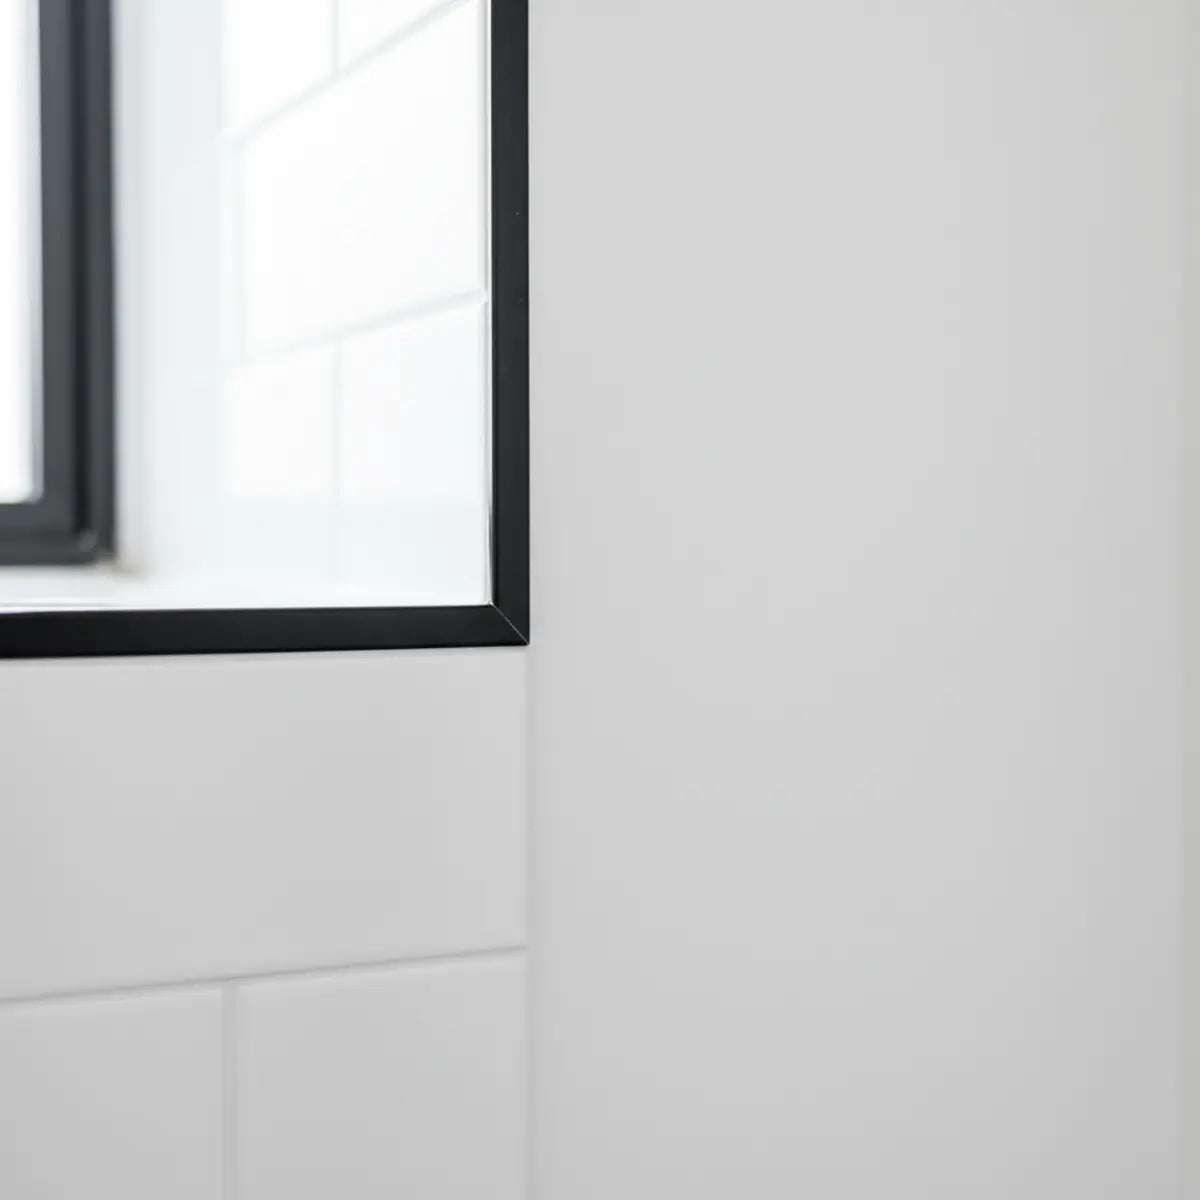
To give your backsplash a truly finished edge, consider adding trim. A thin piece of metal or PVC edging (often called a Schluter strip) where the tile ends can create a clean, sharp border. You can also use simple quarter-round wood molding painted to match your wall or cabinets. This small detail frames your work and hides any cut edges.
Another pro-level touch is running a thin bead of clear or white kitchen-and-bath caulk along the bottom edge where the backsplash meets the countertop. This prevents water from seeping behind the tiles and creates a seamless transition.
Cleaning and Long-Term Durability Advice
Maintaining your new backsplash is easy. Use a soft cloth or sponge with a mild soap and water solution. Avoid abrasive cleaners, scouring pads, or harsh chemicals like bleach, as they can scratch the surface or damage the finish.
Most quality peel-and-stick tiles are very durable, but they aren't indestructible. Be mindful of direct contact with sharp objects. With proper care, your backsplash will maintain its beauty for many years. A 2025 home decor report highlighted that low-maintenance finishes are a top priority for busy homeowners, making these tiles a perfect fit.
What Are Some Budgeting and Eco-Friendly Tips?
Love the idea but need to stick to a tight budget? Or maybe you're looking for ways to make your DIY project more sustainable?
Discover smart strategies for saving money, upcycling leftovers, and choosing environmentally conscious materials.
A beautiful kitchen update doesn't have to be expensive or wasteful. With a little creativity, you can make your project both economical and eco-friendly.
Finding Affordable Materials
Look for sales at big-box stores, but don't forget to check online retailers and specialty suppliers, which often have clearance sections with amazing deals. Sometimes buying a slightly larger box than you need is cheaper per tile.
Another great strategy is to choose a design that minimizes waste. Simple patterns like subway tiles often result in fewer offcuts than complex mosaics, meaning you can buy less material overall.
Using Leftover Tiles Creatively
Don't throw away your scraps! Leftover peel-and-stick tiles are fantastic for small-scale projects.
- RV or Camper Van Update: Use them to create a mini-backsplash in a camper kitchen or bathroom.
- Drawer Liners: Line the inside of your kitchen drawers for a pop of color and an easy-to-clean surface.
- Coasters: Stick them onto cheap cork or ceramic squares to create custom coasters.
- Bookshelf Accent: Apply them to the back panel of a bookshelf for a designer touch.
Sourcing Sustainable Materials
The DIY world is becoming more environmentally conscious. Look for brands that use recycled materials in their tiles or non-toxic, low-VOC (Volatile Organic Compound) adhesives. Some companies are now producing peel-and-stick tiles from sustainable materials like cork or reclaimed wood. As consumers demand greener options, more will become available.

Final Thoughts: Your Weekend Transformation Awaits
You now have the expert knowledge and step-by-step plan to install a peel-and-stick backsplash with confidence. We've covered everything from choosing the right materials and prepping your walls to executing a flawless installation and adding professional finishing touches. Remember, the key is patient preparation and trusting the process.
The fear of a DIY project turning into a disaster can be paralyzing, but you've seen how simple this transformation can be. In just one weekend, you can give your kitchen or bathroom a stunning, modern update that you accomplished all on your own.
Ready to transform your kitchen? For more visual guidance, you can explore our full How to Install Peel and Stick Backsplash Easily tutorial.
We'd love to see your results! Share a photo of your new backsplash in the comments below or tag us on social media.
Frequently Asked Questions
Yes, absolutely! This is one of the great benefits. As long as your existing tiles are in good condition (not cracked or loose), you can install them directly on top. The key is to thoroughly clean the old tiles and grout lines with a degreaser to ensure the new adhesive has a clean, grease-free surface to bond to.
Start with the wall and room zone before choosing a pattern
Identify the substrate, paint condition, texture, repairs, grease exposure, sink splash and appliance zone before buying material. Peel-and-stick describes the installation format; it does not establish that every product works on every painted wall or behind every appliance.
If the wall is damp, soft, peeling or contaminated, correct that condition first. A decorative layer should not be used to hide a leak, unstable paint or recurring mold.
Dry-layout the backsplash before exposing adhesive
Measure the wall, cabinets, outlets, window edges and exposed terminations. Establish a level reference and place uninstalled pieces across the first row to see where the pattern lands. Adjust the start point to avoid narrow slivers or awkward cuts at the most visible edge.
Check whether the product has a required overlap or direction. Printed grout lines and interlocking edges can make a seemingly small orientation mistake obvious across the wall.
Treat sink splash and waterproofing as different questions
A decorative face may tolerate occasional splashes without making the completed wall assembly waterproof. Seams, penetrations, countertop joints and the substrate still matter. Follow the exact product guidance for the intended exposure and do not place a decorative self-adhesive finish in a direct-wet role unless the complete system is documented for it.
Around the sink, keep lower edges visible enough to inspect and use only compatible sealants where the wall system calls for them. Caulk is not a substitute for repairing a failed wall or countertop joint.
Keep appliance heat product-specific
Do not use a universal six-inch or eight-inch clearance for self-adhesive backsplash. The appliance manual, exact product instructions, wall construction and geometry determine whether the location is acceptable. A metal-looking or glass-looking face is not automatically approved for high heat.
When documentation is unclear, stop the decorative material outside the cooking zone or choose a documented backsplash system for that area.
Install in a sequence that protects alignment
Work from the reference line, expose only enough liner to control the piece, align the critical edge and press according to the product instructions. Around outlets and corners, dry-fit the cut first. Keep electrical covers and screws serviceable rather than trapping them under the decorative layer.
If a piece lands incorrectly, correct it early using the product-specific method. Repeated lifting and repositioning can change some adhesives, so do not assume unlimited retries.
Plan care and removal before the project is finished
Choose the permitted cleaner before installation and store spare pieces for local repair. For rentals, obtain permission and photograph the original wall. Removable does not establish what will happen to old paint, patched drywall or weak primer during move-out.
When removal is eventually needed, follow the exact product instructions and work in small sections. Budget normal restoration time instead of tying the project to a security-deposit promise or a fixed service-life number.
Sources and scope
- 3M: Applying VHB Pressure-Sensitive Tape — General PSA surface-preparation principles for named 3M tapes; not Stickwoll specifications.
- US EPA: Mold, Moisture and Your Home — Moisture-control guidance; not product approval.


Leave a comment
This site is protected by hCaptcha and the hCaptcha Privacy Policy and Terms of Service apply.