


Master the Cut: How to Cut Peel and Stick Tiles Around Outlets Like a Pro
Precision isn't just a detail—it's the difference between a high-end renovation and a safety hazard. Here is your definitive guide.

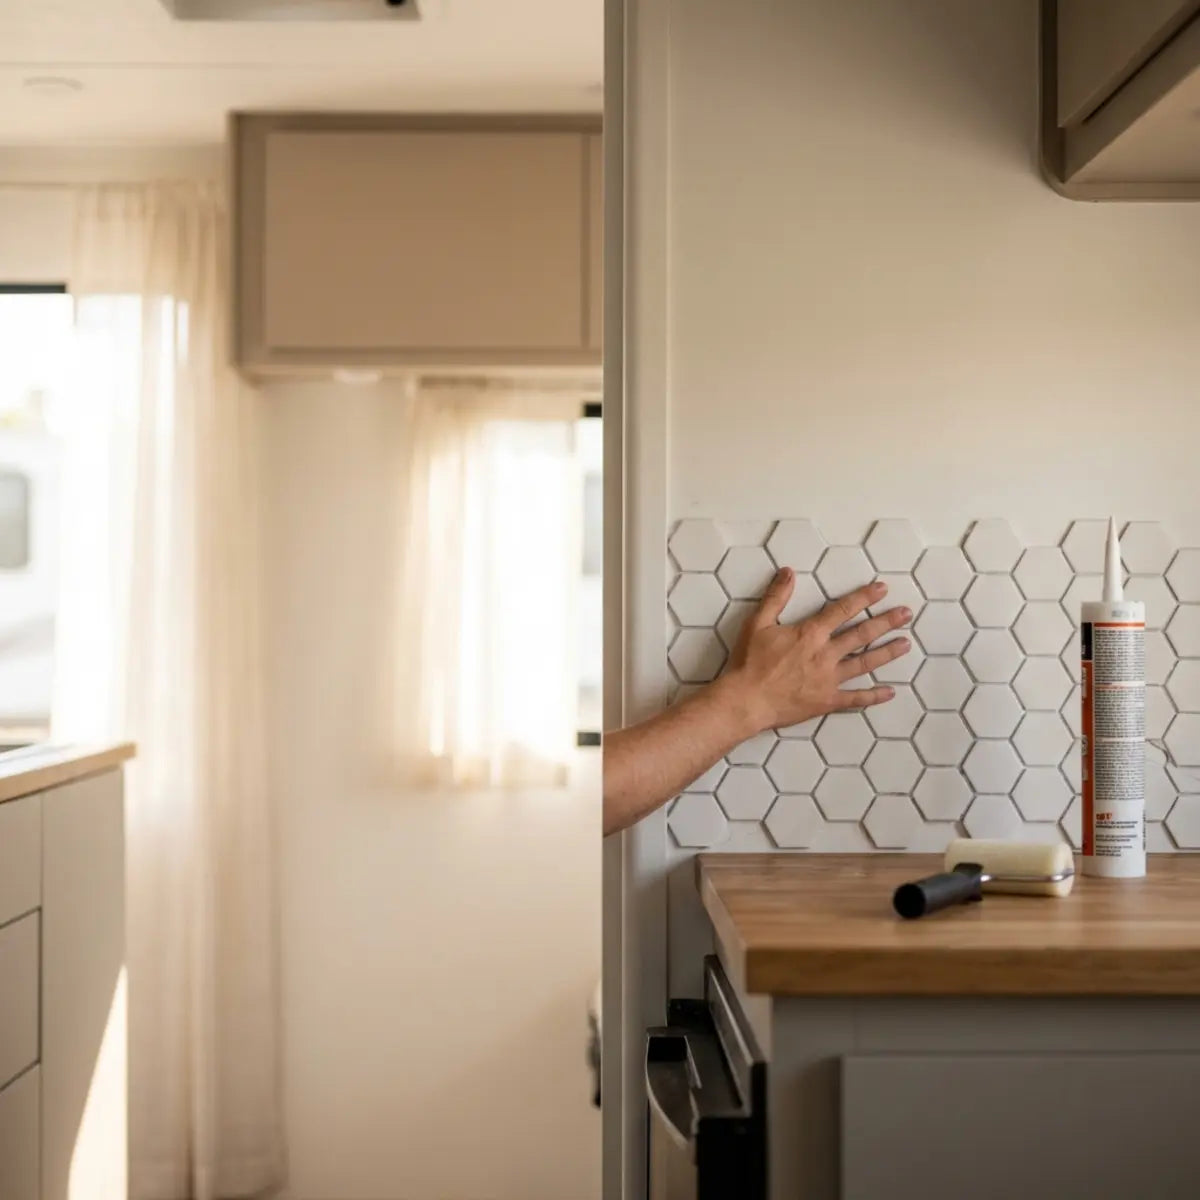
There is nothing quite as frustrating as stepping back to admire your new backsplash, only to have your eyes immediately drawn to a jagged, uneven gap around a light switch. It breaks the illusion of a high-end renovation instantly. The difference between a DIY project that looks "homemade" and one that looks professional often comes down to a single millimeter around an electrical outlet.
In the world of interior design, we often talk about "visual flow." When your eye tracks across a kitchen backsplash, it expects continuity. An outlet is an interruption. If the tiles around that interruption are cut poorly—ragged edges, gaps visible behind the plate, or tiles jammed so tight they buckle—it acts as a visual stumbling block. It signals a lack of care. However, beyond the aesthetics, there is a technical mastery required here that ensures your home remains safe and up to code.
How to Cut Peel and Stick Tiles Around Outlets: The Core Method
To cut peel and stick tiles around outlets effectively, you must strictly follow this protocol:
-
✓
Turn off the power at the breaker and remove outlet faceplates.
-
✓
Precisely measure the outlet box location relative to your tile sheet using a template.
-
✓
Score the tile lightly with a sharp utility knife against a straight edge.
-
✓
Snap or trim the excess material cleanly.
-
✓
Dry-fit the tile to ensure a 1/8-inch clearance from the electrical box before applying.
Cutting around obstacles is the most intimidating part of installing a backsplash, but it doesn't require heavy machinery. With the right approach, you can achieve a seamless finish that elevates your entire room.
Planning Your Renovation?
Before you start cutting, make sure you have the right inspiration and technical knowledge for your specific room.
Recommended Reading: For Kitchen Upgrades
Enter the world of peel and stick tiles! These game-changing tiles make kitchen upgrades accessible to everyone. Learn how to brighten up your kitchen while avoiding common pitfalls.
Read: How to Upgrade Kitchens with Peel and Stick Tiles →Why is it important to cut peel and stick tiles properly around outlets?
The Question: Ever finished a wall only to stare at that one crooked gap that ruins the whole look?
The Promise: This section explains why precision isn't just about aesthetics—it’s a critical safety requirement.
While aesthetics are usually the primary motivation for a clean cut, the structural and safety implications are equally vital. In our experience, a poorly cut tile isn't just an eyesore; it can compromise the longevity of your installation.
Safety and Code Compliance
According to the National Electrical Code (NEC), specifically Article 314, there must be no gaps larger than 3mm (1/8 inch) around electrical boxes in non-combustible surfaces. While peel and stick tiles are often durable, leaving large gaps or allowing flammable adhesive materials to encroach into the electrical box can pose a safety risk.
When you cut a tile too short, leaving a large gap, you expose the drywall or substrate underneath. In the event of an electrical spark or arc within the outlet box, that exposed substrate can be a fire hazard. Conversely, if you tile over the edge of the box, you effectively change the depth of the box, which can prevent the outlet from grounding properly against the metal strap.
The "Hemming" Analogy
Think of cutting your tile like hemming a pair of trousers. If the hem is ragged or too short, it doesn't matter how expensive the fabric is—the suit looks cheap. Similarly, if your cuts are too wide, the outlet cover won't hide the edge of the tile. If they are too tight, the cover plate won't sit flush against the wall.
Professional Finish and Durability
When tiles are jammed too tightly against an outlet box, thermal expansion (common in kitchens) can cause the tile to buckle or peel away from the wall. A precise cut ensures the tile lies flat, maintaining the adhesive bond.
For a broader look at how a professional installation transforms a room, we recommend reading our guide on How to Install Peel and Stick Tiles & Best Designs 2025. Are you dreaming about updating your kitchen but dread the time, cost, and mess? Peel and stick tiles are your DIY solution! These tiles offer both style and simplicity, transforming your kitchen into a modern masterpiece in just under an hour.
What tools do you need to cut peel and stick tiles around electrical outlets?
You do not need a wet saw to cut most peel and stick products. However, relying on dull scissors is a recipe for disaster. Using the correct tools ensures safety and precision.

Essential Tool List
To achieve a professional result, gather the following:
Tool Selection by Tile Material
Different peel and stick materials react differently to cutting pressure. Use this table to select the right approach:
| Tile Material | Recommended Tool | Technique |
|---|---|---|
| Vinyl / Gel | Utility Knife or Heavy Scissors | Cut firmly; usually cuts through in one pass. |
| Composite / Stone Core | Utility Knife + Pliers | Score and Snap: Score the surface deep, then snap the waste piece off with pliers. |
| Metal / Aluminum | Tin Snips or Dremel | Requires more force; watch for sharp edges. |
💡 Pro-Tip: The "Fresh Blade" Rule
The biggest enemy of a clean cut is a dull blade. Swap your utility knife blade after every 3-4 complex cuts. A dull blade drags through the adhesive rather than slicing it, causing jagged edges that look unprofessional.
For effective smoothing after the cut, many experts rely on specialized tools. We recommend the Scraperoo - Y. The Scraperoo-Y is the ultimate tool for installing peel and stick tiles with precision. Designed to remove air bubbles, ensure strong adhesion, and create perfect alignment, it is indispensable for working around outlets where finger pressure isn't enough.
How do you measure, mark, and cut peel and stick tiles perfectly around outlets?
The "measure twice, cut once" rule is doubly true here. Once the backing is removed, there is no going back. We recommend the Template Method for the highest accuracy. This bypasses complex math and reduces the risk of error significantly.
Safety Interlock: Ready to Cut?
Confirm these safety steps before proceeding. This is a live voltage zone.
Step 1: Safety and Preparation
Go to your breaker box and turn off the power to the kitchen or room you are working in. Use your voltage tester to confirm the outlet is dead. Remove the faceplate screw and set the plate aside. Ensure the screws are kept in a small bowl—they are easy to lose.
Step 2: The Template Method (Best for Beginners)
Instead of measuring with a tape and transferring numbers (which often leads to errors), use a physical template. This is essentially creating a dress pattern for your wall.
- Take a piece of paper or cardstock cut to the exact same size as your tile sheet.
- Hold the paper up to the wall where the tile will go. Align it perfectly with the surrounding tiles.
- Rub your finger over the paper against the outline of the electrical box to create an impression (a technique called "rubbing").
- Cut out the box shape from the paper using scissors.
- Test the fit. The paper should clear the screw holes of the electrical box but sit behind where the faceplate will go.
Step 3: Transfer and Score
Lay your paper template over the actual tile. Crucially, keep the adhesive backing on the tile. Mark the corners of the cutout onto the tile face using a pencil or marker.
If you are working with complex patterns like subway tiles, visualization is key. We recommend checking out the Easy Guide: Install Peel & Stick Subway Tiles. This article provides a foolproof, visual-rich installation guide with troubleshooting tips tailored for people with no prior tiling experience, including specific advice for beginners dealing with pattern alignment.
Step 4: Making the Cut
Place the tile on a cutting mat. Align your metal straight edge with your marks.
- For Vinyl: Press down firmly and slice through. Keep the knife vertical.
- For Composite: Score the top layer 2-3 times. Do not try to cut all the way through immediately. Bend the tile at the score line to snap it, then slice the adhesive backing.

Step 5: The Dry Fit
Before peeling the backing, hold the cut tile up to the outlet. Ensure the electrical receptacle fits through the hole without binding. If it is tight, shave off small slivers with your knife. The tile should not touch the metal ears of the outlet device.
Using Box Extenders
If your tile is thick (over 3mm), the outlet might sit too deep in the wall. You may need to install a "box extender" (a plastic sleeve) to bring the receptacle flush with your new tile surface. This is a crucial code requirement in many regions to prevent fire spreading behind the wall. Never simply unscrew the outlet and leave it "floating" loose to match the tile depth.
What are the most common mistakes to avoid when cutting peel and stick tiles?
Even experienced DIYers make mistakes when they rush. Avoiding these specific errors ensures your project looks like it was done by a contractor.
🚫 Error 1: Eyeballing the Measurement
Never guess. A gap of just 1/4 inch is too wide for a standard outlet cover to hide. Standard outlet covers are smaller than you think. If you make a mistake, do not try to patch it with small slivers of tile—it will look obvious.
🚫 Error 2: Cutting with the Backing Off
Always cut your tile with the protective backing on. If you remove the backing first, the adhesive will grab your cutting mat, your ruler, and debris. This ruins the stickiness before you even get to the wall.
🚫 Error 3: Ignoring the "Overlap"
When measuring, remember that peel and stick tiles often have an overlap edge. If you measure from the edge of the sheet but forget that the edge overlaps the previous tile, your hole will be off by an inch.
Many novices overlook the importance of the initial stick. For more on avoiding installation errors, check out our article on the How to Perfectly Stick and Tile. The stick and tile method is your go-to solution for a quick yet stylish upgrade! Learn common mistakes to avoid and essential prep tips to ensure perfect adhesion.
How can you achieve seamless results and ensure lasting adhesion after cutting?
Cutting the tile is only half the battle. Adhering it properly around an interruption in the wall requires specific attention to detail. This is where the long-term durability of your backsplash is determined.

Cleaning the Cut Zone
The area around outlets often accumulates grease and dust that standard wiping misses. Before applying the tile, clean the wall around the electrical box with a degreaser or TSP (Trisodium Phosphate) substitute. Allow it to dry completely.
The Pressure Seal
Once the tile is applied, the thin strips of tile above and below the outlet are the weakest points. They have the least surface area holding them to the wall.
Reinstalling the Faceplate
Wait at least an hour after installation before screwing the faceplate back on. This allows the adhesive to cure slightly without the pressure of the plate shifting the tile. When you do reinstall it, do not overtighten the screw, as this can crack the faceplate or indent the tile if the substrate is soft.
If you are looking for inspiration on how these small details contribute to a massive transformation, review the case studies in Transform Your Kitchen with Peel and Stick Tiles. Explore five remarkable kitchen transformations using these tiles and get a comprehensive guide to choosing the perfect peel and stick options for your kitchen.
Final Thoughts
Mastering the cut around electrical outlets is the hallmark of a skilled DIYer. By prioritizing safety, using the template method, and ensuring your tools are sharp, you can transform a tricky task into a seamless feature of your new room. Remember, the goal is not just to cover the wall, but to create a safe, durable, and beautiful surface that handles the rigors of daily life. Take your time, measure twice, and don't be afraid to use a fresh blade.
If you are ready to explore more creative applications for your home, take a look at our comprehensive guide on How to Use Peel and Stick Tiles in 2025. Welcome to the ultimate guide on peel and stick tiles! Whether you're looking to refresh a tired space in your home or get creative beyond the kitchen, this guide's got you covered.
We Want to See Your Results!
Did you master the cut? Show us your seamless outlets!
Question for the Community: What was the most difficult cut you had to make in your kitchen—an outlet, a corner, or a window sill? Share your story in the comments below.
Frequently Asked Questions
Do I really need to turn off the power if I'm just cutting tile?
Yes. It is critical. Even if you are careful, slipping with a knife or a metal straight edge near a live circuit can cause a short circuit, sparks, or severe electrical shock. Always prioritize safety over speed.
Can I install peel and stick tile over the outlet cover?
No. You should never tile over the faceplate. It violates electrical codes because it seals the electrical box, making it inaccessible for maintenance or emergencies. Always remove the plate, tile up to the box, and reinstall the plate over the tile.
What do I do if I cut the hole too big?
If the gap is visible after putting the cover plate back on, you have two options. You can replace the entire tile sheet (recommended for the best look), or you can purchase an "oversized" or "jumbo" outlet cover plate from a hardware store, which hides larger gaps.
My outlet is recessed too deep after tiling. How do I fix it?
This is common when adding thickness to a wall. You need an electrical box extender (available at most hardware stores). It is a plastic sleeve that slides into the box, bringing the mounting surface flush with your new tile, ensuring the outlet is secure and code-compliant.

Leave a comment
This site is protected by hCaptcha and the hCaptcha Privacy Policy and Terms of Service apply.