












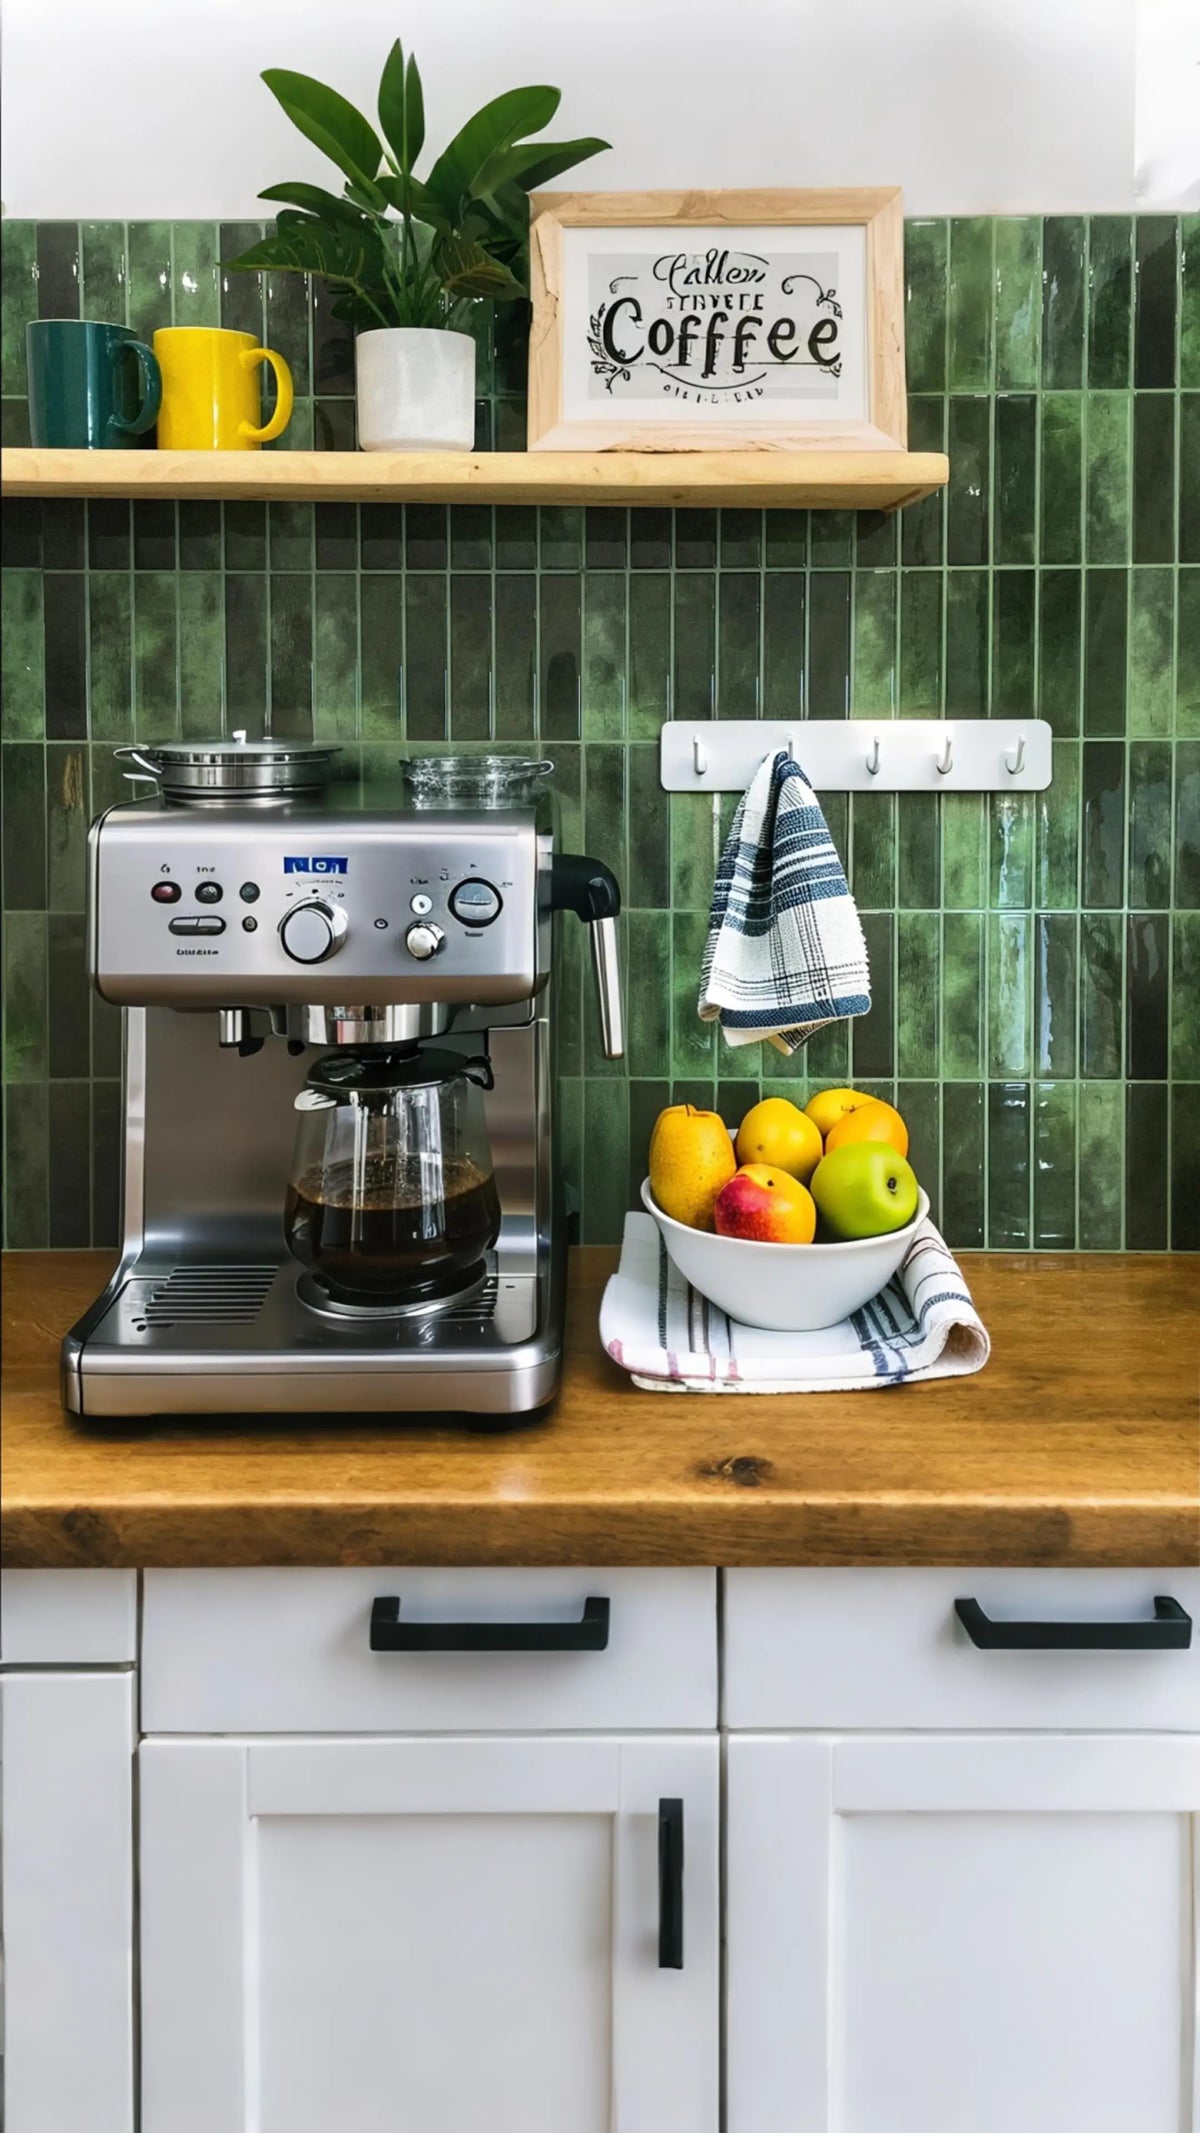
Introduction
A peel-and-stick wall finish can simplify some decorative kitchen projects, but suitability still depends on the exact product, wall and exposure. Start with those conditions instead of an unsupported DIY-adoption statistic.
Explore this guide
Beginner’s Guide to Peel and Stick Tiles
Understanding Peel and Stick Tile Technology
- Self-adhesive backing makes installation a breeze.
- No grout or mortar needed, reducing mess and time.
- Removable and repositionable for easy adjustments.
Peel and stick tiles use a strong adhesive layer that bonds to clean, smooth surfaces. Unlike traditional tiles, they don’t require messy grout or professional tools. This makes them perfect for renters or homeowners who want a quick kitchen tile makeover.
For example, our Timberline Checks tiles mimic real wood but install in minutes. The adhesive technology ensures a secure hold without permanent damage.
Types of Designs and Materials Available
- Vinyl – Affordable, waterproof, and durable.
- PVC – Lightweight and easy to cut.
- Ceramic-look – Mimics high-end tiles at a fraction of the cost.
From modern geometric patterns like Snowfall Grid to rustic wood-look options, there’s a design for every kitchen.
Tools Needed for a Smooth Installation
- Measuring tape
- Utility knife or scissors
- Level and smoothing tool
A smooth surface is key. Check out our comprehensive DIY Peel and Stick Kitchen guide for step-by-step help.
Top Mistakes to Avoid When Installing Peel and Stick Tiles
Failing to Properly Measure Your Space
- Always measure twice before cutting.
- Account for outlets and edges.
A misaligned tile can ruin the look. Our Peel and Stick Backsplash Tips blog has measurement hacks to help you plan perfectly.
Ignoring Surface Preparation and Cleanliness
- Clean walls with rubbing alcohol.
- Remove grease and dust.
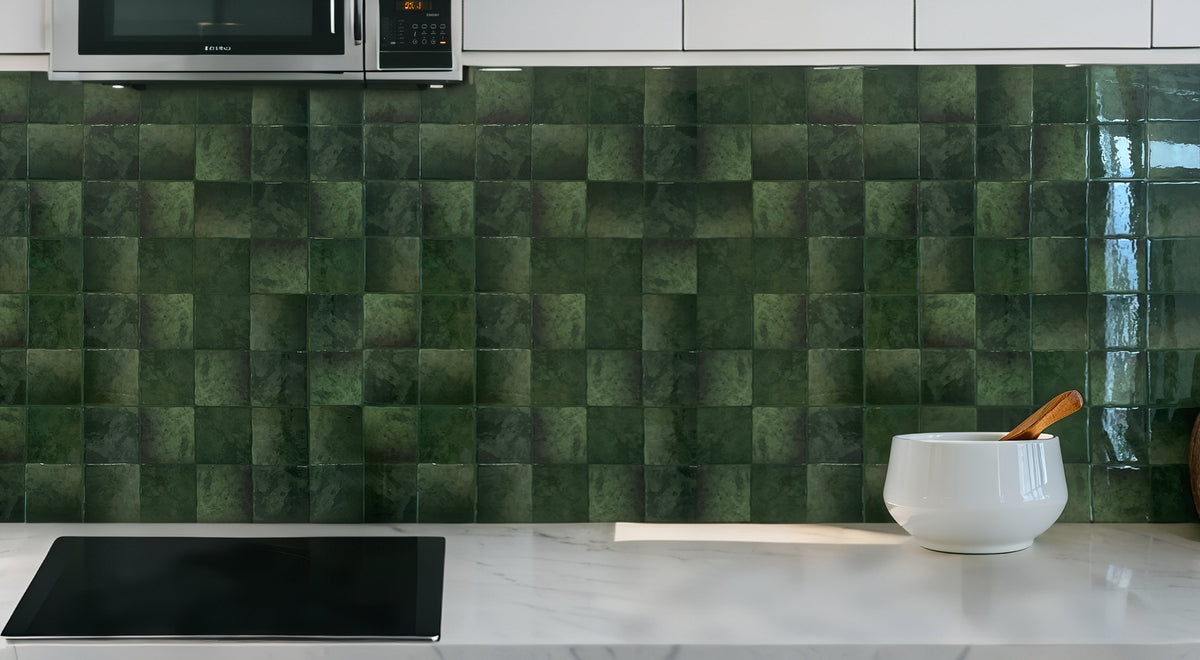
Dirty surfaces prevent adhesion. The Verdant Dawn tiles stick best on pristine walls.
Not Allowing Time for Adhesive to Bond
- Press firmly for 30 seconds.
- Wait 24 hours before heavy use.
Rushing leads to peeling. For long-lasting results, follow our Benefits of Peel and Stick Tiles guide.
Steps to Successfully Install Peel and Stick Tiles
Preparing Your Kitchen Work Area
- Clear countertops and protect floors.
- Turn off power if working near outlets.
Step-by-Step Installation Instructions
- Start from the center and work outward.
- Use a level to keep tiles straight.
For a full tutorial, visit Modern Kitchen Decorations.
Tips for Long-Lasting Adherence
- Avoid excessive moisture.
- Use a seam roller for tight bonds.
Advantages of Peel and Stick Tiles in Kitchens
Cost-Effectiveness and Budget-Friendly Options
Compare current pack coverage, preparation, trim, tools and any professional help for the actual project instead of relying on a fixed price-per-square-foot claim.
Versatility in Design and Easy Application
Mix and match patterns like Tidal Plaid for a custom look.
Minimal Maintenance and Cleaning
Just wipe with a damp cloth—no scrubbing grout!
Frequently Asked Questions
Can peel and stick tiles be used over existing tiles?
Absolutely. As long as your existing ceramic or glass tiles are clean, smooth, and free of deep texture, the new adhesive will bond effectively. This is a popular method for 2026 kitchen refreshes.
How durable are they under daily kitchen use?
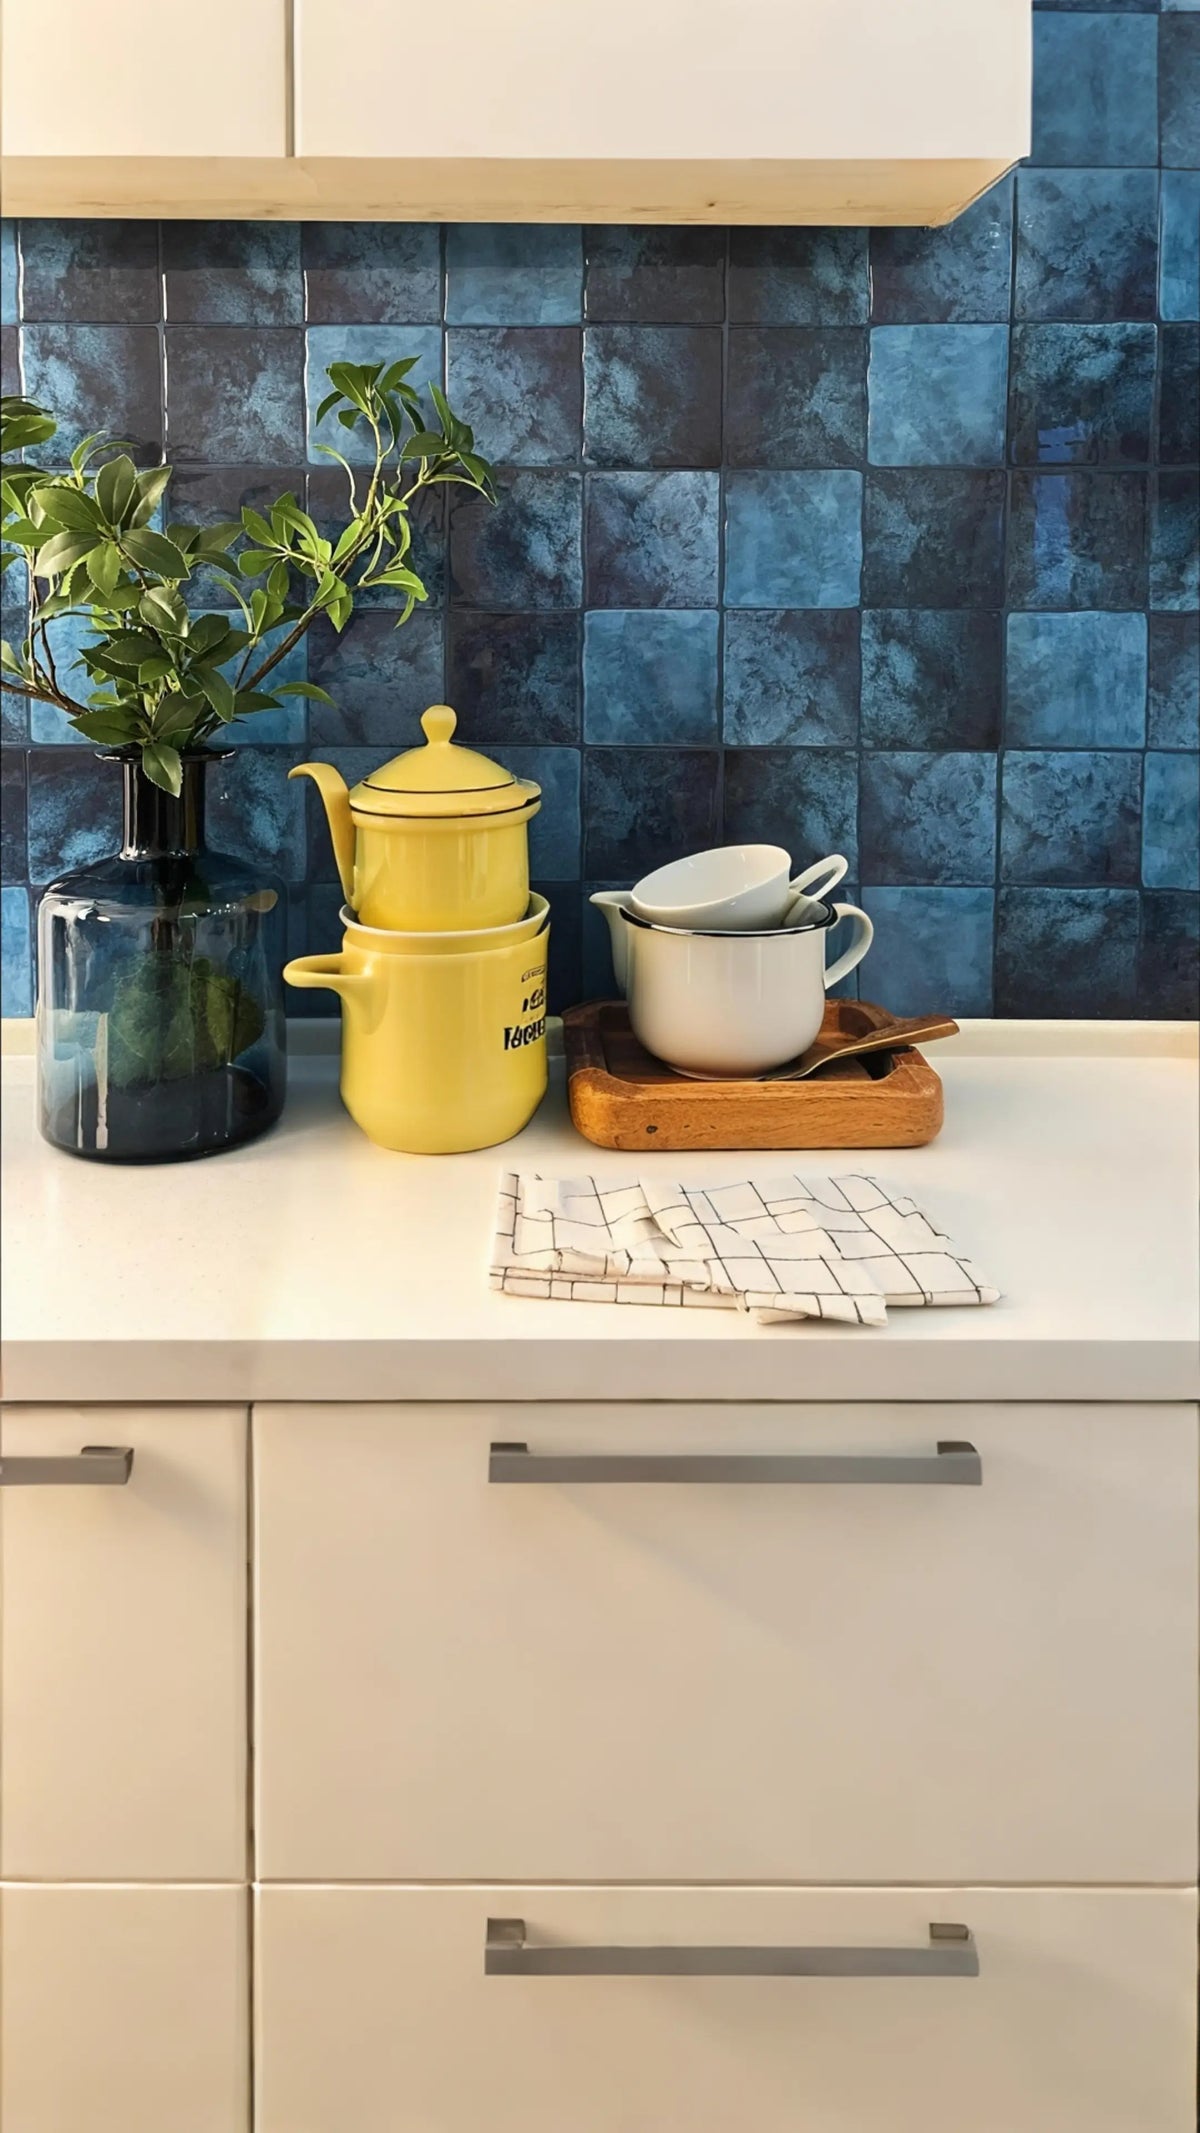
High-quality options like Coastal Breeze are engineered to resist heat, humidity, and standard kitchen stains, making them highly durable for everyday use.
Can they be removed without damaging walls?
Yes, one of the biggest benefits is that most peel off cleanly with the help of a hairdryer to soften the adhesive, making them ideal for renters or temporary designs.
Do they work for kitchen floors?
Some specific varieties are designed for floors, but standard wall tiles may not withstand foot traffic. Always check the manufacturer's weight and durability ratings before applying to floors.
Final Thoughts
Upgrading your kitchen doesn't require a contractor or a massive budget in 2026. By choosing the right materials and preparing your surface correctly, you can achieve a professional look in a single weekend. For more ideas on cost-effective styling, explore our guide on Budget-Friendly Kitchen Decor.
Keep the project notes with the spare material
Store the product instructions, purchase record, layout photo and spare pieces together. Label the cleaner and any special trim used. This makes future maintenance and repair easier, especially after the original installer or household member has forgotten the details.
A small documented project is easier to manage than an attractive wall with no record of what was installed. The notes do not guarantee performance; they preserve the facts needed to make a better decision later.
Write down what success means before you begin
Define the result in practical terms: the wall is suitable for the chosen product, the layout is level, edges and outlets remain serviceable, the permitted cleaner is easy to use and the household accepts the appearance under normal light. These criteria are specific enough to inspect without inventing a performance score.
At the end, compare the finished project with that list rather than with a staged advertising image. If one criterion is not met, decide whether a local correction is possible or whether the project needs a different finish. This keeps the evaluation tied to the original purpose.
Use a room photograph as a layout record, not just inspiration
Take one straight-on photograph of the wall before installation and mark cabinet ends, outlet centers, sink edges and appliance boundaries on a printed or digital copy. This becomes a practical layout record. It helps you decide where full pieces should land and preserves the location of covered details for future service.
After installation, take a comparable photograph from the same position. Keep both images with the product information. This simple pair is useful when a cabinet, outlet or appliance changes later and prevents the wall from becoming an undocumented layer that future work must guess through.
Review the project after the first major cleaning
The first thorough cleaning is a useful maintenance checkpoint because it shows whether the approved cleaner reaches textured areas, whether water collects at a lower edge and whether any seam catches the cloth. Record those observations without turning them into a durability rating.
If the routine is awkward, adjust the cleaning tool or surrounding countertop organization within the product guidance. Maintenance that is easy to repeat is more valuable than a one-time deep-clean demonstration, because the wall will be exposed to ordinary kitchen habits for far longer than installation day.
Compare full-wall and focal-area strategies
A backsplash does not need to cover every available inch to change the room. Compare a full counter run with a smaller focal area behind a coffee station, sink or preparation zone, provided the selected product is suitable for that location. A smaller project can reduce cuts and cost, but it should not be used to justify installing a decorative product in a more demanding exposure simply because the area is small.
Tape the proposed boundaries on the wall and view them from the room entrance. Check how the edge aligns with cabinets, shelves and appliances. A deliberate focal area can look more finished than a partial run that ends only because the material ran out.
Separate wall appearance from resale assumptions
A refreshed backsplash can improve how a kitchen looks to the current household, but this guide does not assign a resale return or buyer-confidence score to the project. Preferences differ, and a later owner may value a different color or material. Choose the design because it fits the room, budget and use rather than because a generic renovation percentage promises a financial return.
If resale is part of the goal, keep the work clean, document the product and avoid covering unresolved damage. A neutral reversible wall update may be useful in one property, while another may benefit more from repairing paint or leaving a sound existing backsplash intact.
Create a troubleshooting path before a problem occurs
Write down what you will do if an edge lifts, a cleaner changes the finish, moisture appears or a replacement piece does not match. The first step should be to identify the symptom and recent changes, not to add more adhesive or sealant automatically. Keep photographs and product information so the supplier can see the original installation context.
A simple troubleshooting path reduces improvised repairs. Stop the exposure, inspect the wall and product, obtain compatible repair guidance and record what was changed. This approach is more useful than a universal promise that proper preparation prevents every future problem.
Check the delivered material before cutting
When the order arrives, compare the package labels, dimensions, color, sheen, print direction and visible condition before mixing pieces across the wall. Keep any lot or batch information that is provided. If one pack looks different, photograph it beside the others under the kitchen lighting and ask the seller or manufacturer whether the variation is expected. This is much easier to resolve before a piece has been cut or attached.
Do not assume every visual difference is a defect. Stone-look and shaded products may intentionally vary, while another design may be intended to repeat consistently. The product description and several pieces viewed together provide better context than one close-up. Record the accepted variation so a later repair is compared with the same design expectation.
Plan cabinet ends, windows and outside corners before the first row
A backsplash often changes height at a range hood, window or open shelf and may stop at a cabinet end that is visible from the room. Mark those boundaries before installation and decide whether the pattern should continue, wrap or stop. A small change in the starting point can prevent a narrow final strip or keep an important motif away from an awkward cut.
Outside corners and returns expose the thickness of the finish. Confirm whether the product uses compatible trim, a finished factory edge or another approved termination. Do not create an unsupported flap around a corner simply to continue the pattern. A clean intentional end can look better and be easier to maintain than a forced wrap.
Keep food preparation, wall cleaning and food contact separate
A backsplash can sit near food preparation without being a food-contact surface. Keep cutting boards, utensils and food off the decorative wall unless the product is specifically intended for such contact. Clean the backsplash according to its care guide rather than using a sanitizer or degreaser chosen for counters or cookware.
If the kitchen routine requires a disinfectant, verify compatibility with the wall finish before use. Cleaning, sanitizing and material compatibility answer different questions. A product that looks clean after wiping has not thereby demonstrated a food-contact approval, and a food-safe cleaner is not automatically harmless to every printed or coated wall surface.
Use a sample to answer design questions without overstating performance
A sample is excellent for checking color, pattern scale, cut quality and how the finish looks beside cabinets and counters. A permitted concealed adhesion sample can also reveal an immediate problem with a particular coating. Neither exercise is a substitute for the product’s intended-use limits or a long-term durability test.
Write down what the sample actually showed. If the color looks too blue under evening light, that is useful. If the edge lies flat after one day, record that observation without calling it a ten-year bond test. Keeping design observations and performance claims separate makes the decision more credible and easier to revisit.
Prepare a simple installation-day checklist
Before starting, confirm the wall repair is complete, the required environmental conditions are met, the layout is finalized, tools are appropriate to the material, power is safely handled around outlets and enough matching material is available to finish the visible run. Put the product instructions within reach instead of relying on a remembered tutorial.
Work in manageable sections and stop when something unexpected appears. A patch that stays soft, an unusual odor, a damp area, a warped piece or a cut that exposes an unfamiliar layer deserves investigation. Pausing is cheaper than continuing across the wall and discovering later that the same problem affects every row.
Inspect the finished backsplash under normal use
After installation, view the wall from the room entrance and working positions, then inspect seams, lower edges, corners and outlet cuts closely. Record any area that required unusual adjustment. The purpose is to create a baseline, not to certify the wall. A baseline photo makes later changes easier to identify.
During the first weeks of ordinary use, watch the zones that receive the most wiping, splash or appliance activity. If a problem appears, record when and where it started and what changed in the routine. This gives the supplier or installer more useful information than a general statement that the backsplash failed.
Plan future changes before they happen
A refrigerator, range, faucet or cabinet replacement can change the exposed wall and the pattern boundary. Keep spare pieces and installation information so future work does not depend on finding an exact match years later. When a new appliance changes heat or service requirements, review the wall finish again rather than assuming the old layout remains appropriate.
The same principle applies to repainting or moving out. Know how the product is intended to be removed and what wall restoration may be needed. A reversible project is one with a documented exit path, not one that relies on a promise that every adhesive tile will peel away without repair.
Define the kitchen project before choosing a tile
A kitchen wall upgrade is easier to evaluate when you separate decoration from repair. Mark the exact area you want to cover, the wall material, nearby appliances, sink splashes, outlets and any previous damage. A decorative backsplash can change color and cleanability, but it does not repair a leak, stabilize loose drywall paper or change an appliance clearance. Resolve those questions before comparing patterns.
Write the objective in one sentence. For example: update a sound painted wall between the counter and cabinets with a removable decorative finish that can be wiped after ordinary food preparation. That is much more useful than asking whether peel-and-stick tile is good for kitchens in general. It gives the supplier enough context to confirm or reject the use.
Understand the product category you are actually buying
Peel-and-stick is an attachment format, not one material. A thin printed film, gel-faced sheet, rigid composite panel and metal-faced tile can use self-adhesive backing while differing in weight, cutting method, edge detail and care. Read the current product instructions and record the face, backing, adhesive, intended wall surfaces and excluded locations.
Do not transfer a claim from one construction to another. A water-resistant printed face does not establish that every seam or substrate is waterproof. A metal-looking face does not make the wall a heat shield. A thick panel does not prove a longer service life. Compare product-specific evidence instead of category-wide marketing phrases.
Inspect the wall and coating before cleaning
Look for loose paint, chalking, grease, previous adhesive, heavy texture, patched drywall and recurring dampness. If the paint releases from the wall, a stronger tile adhesive will only move the weak point deeper into the assembly. Repair unstable material first and let repairs reach the condition required by their own instructions before adding another layer.
Use a cleaning method accepted by both the coating and the tile system. Do not automatically choose the strongest degreaser or sand a glossy wall because a different adhesive system called for it. A clean, sound surface is the goal; unnecessary abrasion or incompatible cleaner residue can create a new problem.
Map sink, preparation and appliance zones separately
The wall behind a dry preparation counter does not experience the same conditions as a sink edge or the area beside a cooktop. Mark where normal splashes land, where kettles or coffee equipment vent, and where hot cookware is handled. Then compare those conditions with the exact product and appliance instructions.
Avoid universal distance rules around burners. Appliance design, heat source, wall construction and product limits differ. A surface-burning classification also does not define stove clearance. If the planned location falls outside the product instructions, choose another finish or change the layout rather than trying to solve the issue with an extra bead of sealant.
Choose color and pattern under real kitchen lighting
Cabinet color, countertop pattern, floor tone and electric lighting all influence how a backsplash reads. DOE lighting research distinguishes color appearance from color rendition, which is one reason two lamps with similar color-temperature labels can show materials differently. Put a real sample beside the fixed finishes during daylight and at night.
View the sample from the dining area and normal standing positions, not only from a few inches away. A dramatic marble print can become busy across a long run, while a small geometric repeat can reveal obvious repetition. The best design decision comes from seeing several units together at scale, not from deciding based on a single product thumbnail.
Plan the layout before removing any backing
Measure the wall in sections and note cabinet ends, windows, outlets and visible outside edges. Establish a level reference instead of assuming the countertop is perfectly straight. Dry-layout enough pieces to understand the first row, final cuts and pattern direction. Moving the start point can prevent a thin sliver at the most visible edge.
Treat outlets and switch covers as serviceable components. The decorative finish should not block screws or interfere with cover plates. For unusual cuts, make a paper template and test it on a spare piece. Use the cutting method appropriate to the actual material rather than assuming every self-adhesive tile can be scored with the same knife.
Calculate quantity from usable coverage and actual cuts
For a hypothetical 10-foot-long backsplash that is 20 inches high, the gross area is about 16.7 square feet. If the selected pack provides 3.5 square feet of usable installed coverage, five packs provide 17.5 square feet before considering pattern matching or a repair reserve. That example shows the arithmetic only; use the real pack and layout for purchasing.
Do not apply a universal ten-percent waste factor without looking at the wall. Several outlets, a diagonal layout or a large pattern repeat can consume more material, while a simple rectangular straight-stack layout may need less. Keep a small labeled reserve when future local repair would otherwise require mixing a different production run.
Install in a sequence that protects alignment and contact
Keep release liners on until a piece has been dry-fitted. Use the product’s stated application pressure and work from the reference line so early errors do not compound across the wall. Avoid stretching flexible pieces to close a gap, because tension can show up later at seams or edges. If a piece lands incorrectly, follow the product’s repositioning instructions rather than repeatedly peeling it off by force.
Inspect each row before moving on. Look for unsupported areas, trapped debris, lifted corners and pattern drift. A visually flat piece is not proof of long-term adhesion, but obvious installation defects are easier to correct before the next row covers the working edge. Photograph the finished layout and keep the product identity with the spare material.
Clean according to the decorative face, not a ceramic assumption
Fresh grease and food residue are easier to manage when the permitted care method is known in advance. Use the cleaner, dilution and tool allowed for the exact finish. A printed vinyl face, metal skin and gel coating can react differently to abrasives and solvents even when they share the same subway or stone appearance.
Control liquid near seams instead of soaking the wall. If an edge begins to lift, stop aggressive cleaning and investigate wall condition, moisture and installation tension. Repeatedly pressing the same edge back down without understanding the cause can hide a problem while making the maintenance history harder to interpret.
Plan removal and repair before a rental installation
Check the lease and obtain any required permission before installation. Photograph the existing paint and patched areas. A product described as removable may still lift weak paint or drywall paper, especially after a long time in service. A short sample can reveal an immediate compatibility problem but cannot guarantee a damage-free move-out.
Keep the removal instructions and a realistic restoration allowance. If the product later needs local repair, compare the spare piece under the same kitchen lighting before installation. Color, sheen or pattern can vary between batches, so a documented reserve is more useful than assuming the same product name will always produce an invisible patch.
Use a decision checklist instead of a universal yes or no
Before buying, confirm five independent items: the wall is sound; the exact product accepts that substrate; the sink and appliance exposures fall within documented limits; the cleaning routine is compatible; and the layout can be cut and serviced safely. One attractive sample should not override a failed condition in another category.
If all five checks are resolved, a peel-and-stick wall finish can be a practical decorative route. If a water problem, prohibited heat zone or unstable coating remains unresolved, fix that issue or choose a different system first. This approach makes the project more useful than a generic claim that peel-and-stick is always cheap, waterproof, renter-safe or suitable for every kitchen.
Sources and scope
- US EPA: A Brief Guide to Mold, Moisture and Your Home — Moisture-control guidance; not product approval.
- 3M: Applying VHB Pressure-Sensitive Tape — Surface-preparation and pressure-sensitive-adhesive principles for named 3M tapes; not Stickwoll specifications.
- US DOE: Color and Spectrum — Lighting and color-rendering context; not a material-performance rating.


Leave a comment
This site is protected by hCaptcha and the hCaptcha Privacy Policy and Terms of Service apply.