





















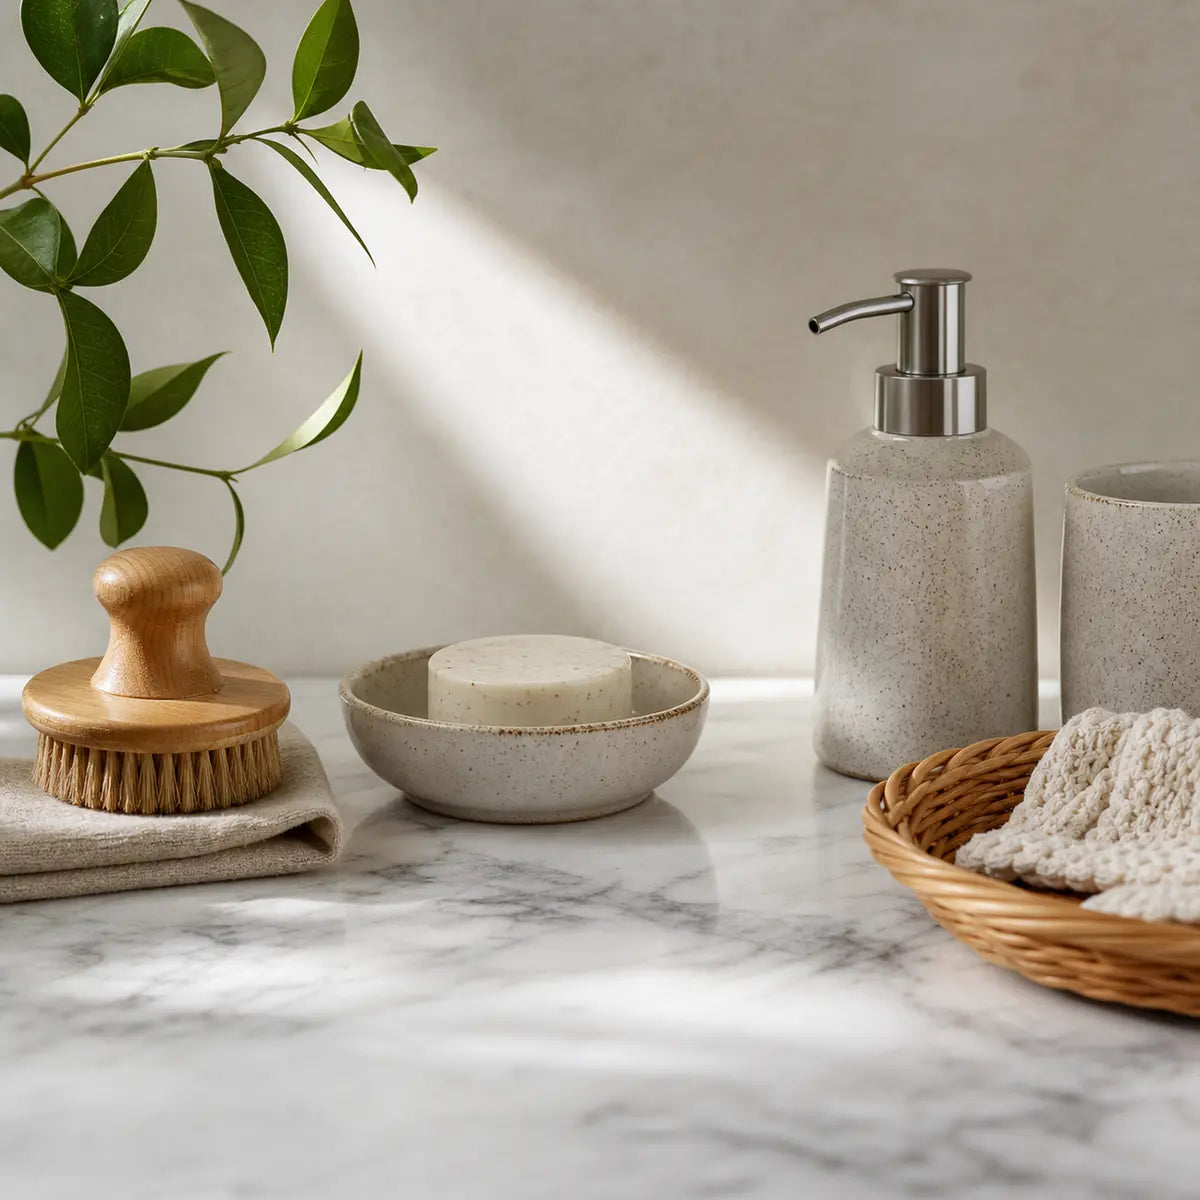
Choose and maintain a peel-and-stick laundry backsplash by checking the exact tile's compatibility with detergent, fabric softener, bleach and the cleaning method you actually use. A water-resistant face does not establish chemical resistance at seams or cut edges. Keep bottles and runoff controlled, follow the chemical label and tile instructions, and investigate lifting or dampness before adding another covering.
Explore this guide
Laundry rooms combine several different activities: measuring products, handling wet clothes, washing items at a sink, drying and storing supplies. The wall behind a shelf can face different conditions from the edge beside a dispenser. A practical care plan starts with those ordinary activities rather than deliberately exposing a sample to increasingly harsh chemicals.
This is a purchasing and maintenance guide, not a report of a completed Stickwoll chemical-resistance trial. It does not assign pass scores, claim that a particular bleach dilution is safe for every finish or report unrecorded results. The aim is to connect useful product information with the way your room is used.
Map where spills and moisture actually reach the wall
Sketch the washer, dryer, sink, folding surface, shelving and supplies. Mark where bottles are opened, caps are placed and wet items are carried. Include the space needed to access hoses, valves, drains and service points. A decorative plan should not make an existing leak harder to notice or an appliance harder to maintain.
Watch the normal routine without staging a spill. Does a detergent cap rest against the wall? Does liquid trail down a bottle after pouring? Does a shelf put a softener dispenser directly above an exposed tile edge? These observations can suggest a placement change before you need a different cleaner.
Separate direct liquid contact from room humidity. A wall may stay dry during appliance use but receive concentrated detergent from a leaky container. Another wall may show recurring condensation without any product spill. Those are different problems, and a single label such as laundry-safe does not answer both.
Identify the complete tile and the products stored nearby
Save the tile name, batch, construction and current installation and care instructions. Identify the face, backing and joining method where the supplier provides them. A printed vinyl sheet, dimensional panel and metal-faced tile can require different handling even when their photographs suggest a similar style.
Make a separate list of laundry products by full name and form. Ready-to-use liquids, concentrates, powders and capsules are not interchangeable exposures. A fragrance or brand family is not enough to identify the formulation. Keep the original labels accessible and do not decant products into unlabeled decorative containers.
Ask whether the tile instructions address likely splashes and the required cleanup. If the necessary information is absent, provide the supplier with the exact chemical product rather than asking whether all detergent is safe. A precise question can reveal a compatibility issue before the whole wall is installed.

Illustrative exposure only, not a recommendation to pour chemicals onto a wall.
Handle detergent residue without treating every formula alike
A concentrated drop from a bottle is different from diluted wash water. Powder residue can also contain particles that should not be rubbed across a delicate finish. Identify what reached the wall before deciding how to clean it. Do not assume that a detergent designed for fabric is therefore an approved wall cleaner.
For an ordinary small spill that can be handled safely, follow the label's precautions and the surface's accepted cleanup method. Control spreading and runoff rather than wiping the same contaminated cloth across the whole backsplash. Keep liquid away from electrical components. If the label and tile directions do not provide a compatible route, seek advice rather than improvising a chemical combination.
Inspect after the permitted cleanup and drying. A remaining film may be residue, a stain or a changed finish; appearance alone does not establish the cause. Record what was used, what happened and whether a second approved step is available. More force is not automatically the correct response to a persistent mark.
Distinguish a softener film from surface damage
Fabric-softener residue can look different before and after drying. A glossy patch may be a removable film, while an altered face can remain visible after the accepted cleaning method. Do not diagnose either condition solely from a wet photograph. Compare the dry area with an unaffected part of the same finish under similar lighting.
Use clean cloth surfaces between passes so removed material is not simply redistributed. Follow any required residue-removal or rinse step with a separate appropriate cloth. Do not apply a concentrated detergent mixture to counteract softener merely because both products belong in a laundry room. Their intended uses and the wall's care limitations still apply.
Prevent repeat contact where practical. A stable, washable tray or a different shelf position can keep drips away from the lower joint. The tray itself needs emptying and cleaning; it should not become a reservoir against the wall. Choose a change that makes the routine easier rather than depending on everyone to notice every small drip immediately.
Keep bleach handling tied to the actual label
Bleach products differ in concentration, formulation and instructions. Do not use this article to select a dilution for a tile experiment. A product's ability to disinfect an approved surface is a different question from whether the decorative tile can tolerate the required exposure.
CDC advises following product directions, using appropriate ventilation and precautions, and never mixing bleach or disinfectants with other cleaners. That guidance does not approve bleach on a particular wall finish. Do not add vinegar, ammonia, another cleaner or a fragrance product to a spill in an attempt to neutralize it. CDC bleach guidance.
If bleach use is essential near the proposed backsplash, ask about compatibility before choosing the finish. Where the required procedure and the wall's restrictions conflict, a different placement or surface may be necessary. A small trial that looks unchanged cannot override a prohibition or establish safety for repeated use.
For a spill beyond ordinary safe household cleanup, suspected incompatible mixtures, electrical contact or concerning symptoms, leave the situation to appropriate emergency, poison-control or professional guidance. The priority is people and equipment, not preserving the appearance of a decorative wall.
Separate cleaning from sanitizing or disinfecting
Removing visible residue and performing an effective hygiene process are not the same task. CDC distinguishes cleaning from sanitizing and disinfecting. The necessary method depends on the setting and purpose. A wall that looks clean has not thereby been validated as a food-contact or disinfection surface. CDC household-cleaning guidance.
When a particular hygiene process is needed, both the chemical directions and the surface compatibility must be satisfied. Do not shorten required contact time or change concentration just to make an incompatible product fit the tile. Obtain an accepted method or use a more appropriate finish in that area.
For routine decorative-wall care, avoid treating the strongest product as the best product. Use the permitted method for the actual residue, with a suitable non-abrasive tool and controlled moisture. Keep the cleaning instructions where everyone using the room can find them, especially if the usual supplies change.
Inspect seams, cut edges and the lower junction
The center of a tile is only one part of the installation. A field-cut edge may expose layers that are not visible at the factory face. An overlap, butt joint or interlocking profile has its own instructions. Do not copy a seam treatment from a different product because the pattern looks similar.
Look at where runoff would travel. A bottle above an open edge, a sink splash line or a low point on a shelf can concentrate liquid in one place. Keep those paths in the layout drawing. A small change in storage location can be more useful than applying additional sealant to every visible line.
Use trim or sealant only as part of an approved compatible detail. Adding caulk does not turn a decorative tile into a waterproof wall system or establish chemical resistance. Do not seal over existing dampness or hide a recurring loose edge beneath a larger bead.
When a joint changes, photograph its location before repair. Record whether the tile moved, the sealant separated, the paint released or moisture appeared. Those descriptions help distinguish possible causes without pretending that one symptom identifies the chemistry of the failure.
Compare materials through the same care questions
Material families can help organize a shortlist, but they are not universal rankings. The coating, backing, installation and cleaning instructions vary within each family. A familiar ceramic or stone appearance may be printed, while a genuine mixed-material mosaic can combine several surfaces with different care limitations.
| Construction | What to confirm | What not to infer |
|---|---|---|
| Printed or vinyl-faced sheet | Finish compatibility, seam method and substrate restrictions | That every vinyl product tolerates the same cleaner |
| Dimensional decorative tile | How residue is removed from relief and actual joints | That deeper texture is a chemical-resistance rating |
| Metal-faced finish | Metal, coating, cut-edge and cleaner instructions | That a metallic face approves all heat or solvents |
| Ceramic or mixed mosaic | Tile, grout, sealant and complete assembly care | That one compatible face makes every component compatible |
| Wall panel | Core, joining system, perimeter and service-access details | That a larger sheet has no vulnerable boundaries |
Ask the same questions of each candidate before comparing appearance or cost. A product that cannot tolerate a necessary part of the room's routine may belong in a different area. There is no need to assign an invented resilience score to recognize that mismatch.

These images do not document a completed Stickwoll chemical-resistance comparison.
Prepare a sound wall rather than covering a moisture problem
Identify the existing coating and any previous repairs. Check for loose material, staining, soft areas or recurring dampness. The adhesive depends on the layers below it remaining attached, not merely on the tile face appearing intact. A clean-looking photograph does not establish that the wall is a suitable base.
EPA emphasizes correcting moisture sources before cosmetic work and cautions against painting or caulking over mold. Do not wait for a decorative sample to tell you whether a known leak needs attention. Repair and drying decisions should come before the final wall finish. EPA moisture guidance.
For paint and repairs, follow the relevant cure and compatibility requirements. Dry-to-touch, ready for another coat and ready for an adhesive covering can be different conditions. Do not substitute a fixed waiting period from another product or room. Record the preparation materials so later troubleshooting does not depend on memory.
Do not sand or scrape an unidentified old coating casually. Assess the material and applicable precautions before disturbance. Where the work requires professional repair, account for that scope before buying the full tile quantity. A smaller project on a suitable wall is preferable to a larger covering over an unresolved defect.
Keep appliance and maintenance access in the design
Use the appliance instructions to preserve service space, ventilation and required clearances. The wall decoration should not block a shutoff, hose connection, drain, vent or inspection point. Plan how the area will be reached after shelves and supplies are added, not only while the room is empty.
Do not attach shelves or loaded dispensers through the decorative covering alone. Their support needs to be appropriate for the wall assembly and load. A backsplash and a structural mounting method have different jobs. Keep that distinction when choosing an attractive storage arrangement from a photograph.
Arrange supplies so containers remain stable and identifiable. Avoid placing a routine pouring point over a difficult-to-clean edge where possible. Keep the floor decision separate: a decorative wall tile is not approved for appliance loads, foot traffic or wet-floor conditions by this article.
Calculate the eligible wall and a deliberate reserve
Measure the actual wall sections after deciding which areas are suitable. Include returns, open ends and the space around fittings. Check the product's installed pack coverage rather than assuming nominal sheet dimensions equal usable area. A joining tab can affect the calculation.
For a hypothetical folding-counter wall, an area 1.8 metres wide and 0.6 metres high equals 1.08 square metres. A chosen twelve-percent allowance produces 1.2096 square metres. With an illustrative 0.3 square metres of usable coverage per pack, five packs are required after rounding up. These numbers are arithmetic examples, not a prescribed allowance or Stickwoll specification.
Budget for accepted preparation and finishing as well as the packs. Keep repair stock labeled and stored as directed. A later replacement may differ in appearance, so retain the batch information and a photograph of the installed direction. Do not assume that ordering one extra pack solves every possible layout or future repair.
Use a sample for permitted practical checks
A sample can help you inspect color, texture, cuts and the proposed cleaning method when that method is already permitted. It does not need to become a destructive chemical challenge. Do not intentionally leave bleach or another concentrated product on a wall for hours to establish your own rating.
For a permitted concealed installation sample, record the product, wall preparation and conditions. Leave the sample undisturbed for the applicable period and observe it without repeatedly peeling the edges. A separate removal sample may answer a different question, particularly in a rental. Keep those purposes distinct.
Describe what the sample actually shows. No obvious change after one allowed cleaning event is a limited observation, not proof of a universal service life or resistance to every formulation. A concern is useful because it identifies a question before a full installation. Do not reinterpret it as a passing result merely because most of the sample still looks normal.
Keep a simple spill and maintenance record
Record the full chemical product name, whether it was concentrated or diluted, the affected location and the sequence of events. Note what cleanup was actually performed and which directions were followed. Do not reconstruct an exact exposure duration after the fact if it was not observed.
Photograph the area when it is safe to do so and again after the permitted cleanup and drying. Use similar lighting and include enough of the surrounding wall to identify the location. A close-up without context can make a small mark difficult to locate later. Save the original images rather than only a filtered before-and-after collage.
A concise record can use these fields: date, tile identity, location, product involved, observed contact, approved cleanup, result after drying and next action. It is a maintenance record, not a certified test report. Leave unknown fields marked unknown instead of filling them with plausible values.
Choose the next action from the observed problem
Different symptoms call for different questions. Residue may need an approved final-cleaning step; a changed finish may need supplier review; dampness may require investigating the room or plumbing. Do not begin every response by adding adhesive or a stronger cleaner.
| Observation | Useful check | Next action |
|---|---|---|
| Film remains after wiping | Product, concentration and required residue removal | Ask about the accepted follow-up method |
| Print or color transfers | Whether the finish changed during the treatment | Stop that method and contact the supplier |
| Repeated edge lifting | Exposure, preparation and the layer that separated | Investigate before reattaching |
| Damp or softened wall | Leaks, condensation and concealed damage | Resolve the source before decoration |
| New persistent odor | The product and event sequence, without assuming a cause | Follow safety guidance and seek appropriate help |
Keep any removed piece and its label when practical, without creating a handling hazard. A supplier can use the record to ask more focused questions. Neither a photograph nor this table can identify every failure mechanism or decide a warranty claim.

Plan storage, ordinary spills and service access before choosing the finish.
Make the routine easy for the whole household
Place the approved care instructions where the person cleaning can find them. Keep the relevant cloth and cleaner separate from abrasive tools used elsewhere. A careful initial installation can still receive an unsuitable treatment later if the routine exists only in one person's memory.
Review the setup when a product, appliance or storage arrangement changes. A new dispenser can move the drip path, and a different cleaner can have different restrictions. Update the record before adopting the change. The old routine does not automatically establish compatibility with the new item.
Inspect during ordinary use rather than waiting for a fixed anniversary. Look especially at the lower joint and places that repeatedly receive splashes. Where the manufacturer specifies maintenance intervals, follow them. A clean face is not a reason to ignore a changing edge or a hidden damp area.
Choose a practical wall rather than a universal winner
A dry decorative area above a folding surface may be suitable for one product, while the sink surround needs a separately specified system. You can coordinate their colors without using the same construction everywhere. Keep the boundary intentional and accessible for cleaning.
For example, a hypothetical household moves product measuring to a stable tray away from an exposed edge, keeps service connections visible and selects a finish whose permitted care fits that remaining exposure. This is a planning example, not a tested claim that the changes guarantee durability. It shows how room use can be adjusted before choosing a material.
For style planning, use the laundry-room wall-design guide. For cleaning decisions, compare the grease and finish-care guide while retaining the specific laundry-product restrictions. Neither resource replaces the exact product instructions.
Frequently asked questions
Can detergent damage a peel-and-stick backsplash?
The answer depends on the exact detergent, tile construction and exposure. Do not generalize from one formula or a quick photograph. Obtain compatible care guidance and record an accidental event accurately rather than deliberately testing increasingly concentrated mixtures.
Can I disinfect the wall with bleach?
Only when the chemical's directions and the wall product's instructions permit the complete procedure. Disinfection effectiveness and finish compatibility are different questions. Never mix bleach with another cleaner to change the result.
Does a shiny patch prove fabric softener damaged the coating?
No. It may be residue or a changed finish, and the distinction requires appropriate inspection after permitted cleanup and drying. Do not keep escalating products without identifying what remains and what the supplier allows.
Can extra silicone make the installation chemical-resistant?
No general chemical-resistance claim follows from adding sealant. The face, joints, backing and substrate need a compatible system. Use only an approved detail and do not cover an unresolved leak or loose edge.
What should I ask before ordering?
Provide the exact wall location, tile, likely products and cleaning routine. Ask about the permitted exposure, substrate, seams, cut edges and cleanup. A narrow question tied to a product is more useful than asking whether every laundry room is safe.
What counts as a successful home sample?
A sample can answer a limited practical question under recorded, permitted conditions. It cannot certify chemical resistance, predict years of use or prove that every batch and wall will behave identically. Keep the observation separate from a product rating.
Work through an ordinary spill and a recurring problem
In a hypothetical first situation, a few drops from a known detergent bottle reach a tile face away from any joint. The household checks the label and the tile's accepted cleanup, follows that method and inspects the dry area. The record states the product, location and visible result. It does not claim that the wall passed a chemical-resistance test or that a different concentrate could remain there safely for hours.
In a second situation, a bottle repeatedly leaks above the lower edge and the adjacent paint becomes soft. The task is no longer simply restoring the appearance of the face. Stop the repeated source, make the area safe and seek appropriate inspection of the affected assembly. Photograph the condition without pulling material away unnecessarily. Do not add a new bead or tile merely to hide the place where the leak is easiest to see.
The difference between these situations is not a numerical resilience score. It is the observed exposure, the condition of the supporting materials and whether a compatible ordinary cleanup is available. A clear description helps the supplier or professional decide what information is still needed. Record uncertainties honestly rather than estimating a precise duration or amount that nobody observed.
Review the setup when laundry products change
A replacement bottle can alter more than fragrance. It may use a different cap, dispensing method, concentration or storage orientation. Check its directions and whether the routine now sends drips toward the wall. Do not assume the previous tile-care answer covers the new formulation. Keep the old response identified to the product it actually discussed rather than treating it as general permission for everything in the laundry cupboard.
Make the handover concrete for a shared room: where to measure products, which tray to use, which cleaner is approved for the backsplash, and what condition should be reported before further cleaning. Do not require another household member to infer all of this from a decorative label. A small written routine can preserve the useful information obtained during selection and prevent the room gradually returning to the arrangement that caused the original problem.
A final review can be simple. Check that service connections remain accessible, supplies are stable, the floor stays appropriate for its own use and the wall can be inspected. Save any spare material under the required conditions. These steps do not guarantee future performance, but they give the installed finish a clearly defined role and a practical response plan when ordinary use changes.
Sources and scope
- CDC: Cleaning and Disinfecting Your Home — Chemical handling and separate cleaning/disinfection tasks, not tile compatibility.
- CDC: Cleaning and Disinfecting with Bleach — Follow labels and never mix with other cleaners; no experimental exposure recipe.
- US EPA: Mold, Moisture and Your Home — Correct moisture before decoration.



Leave a comment
This site is protected by hCaptcha and the hCaptcha Privacy Policy and Terms of Service apply.