





















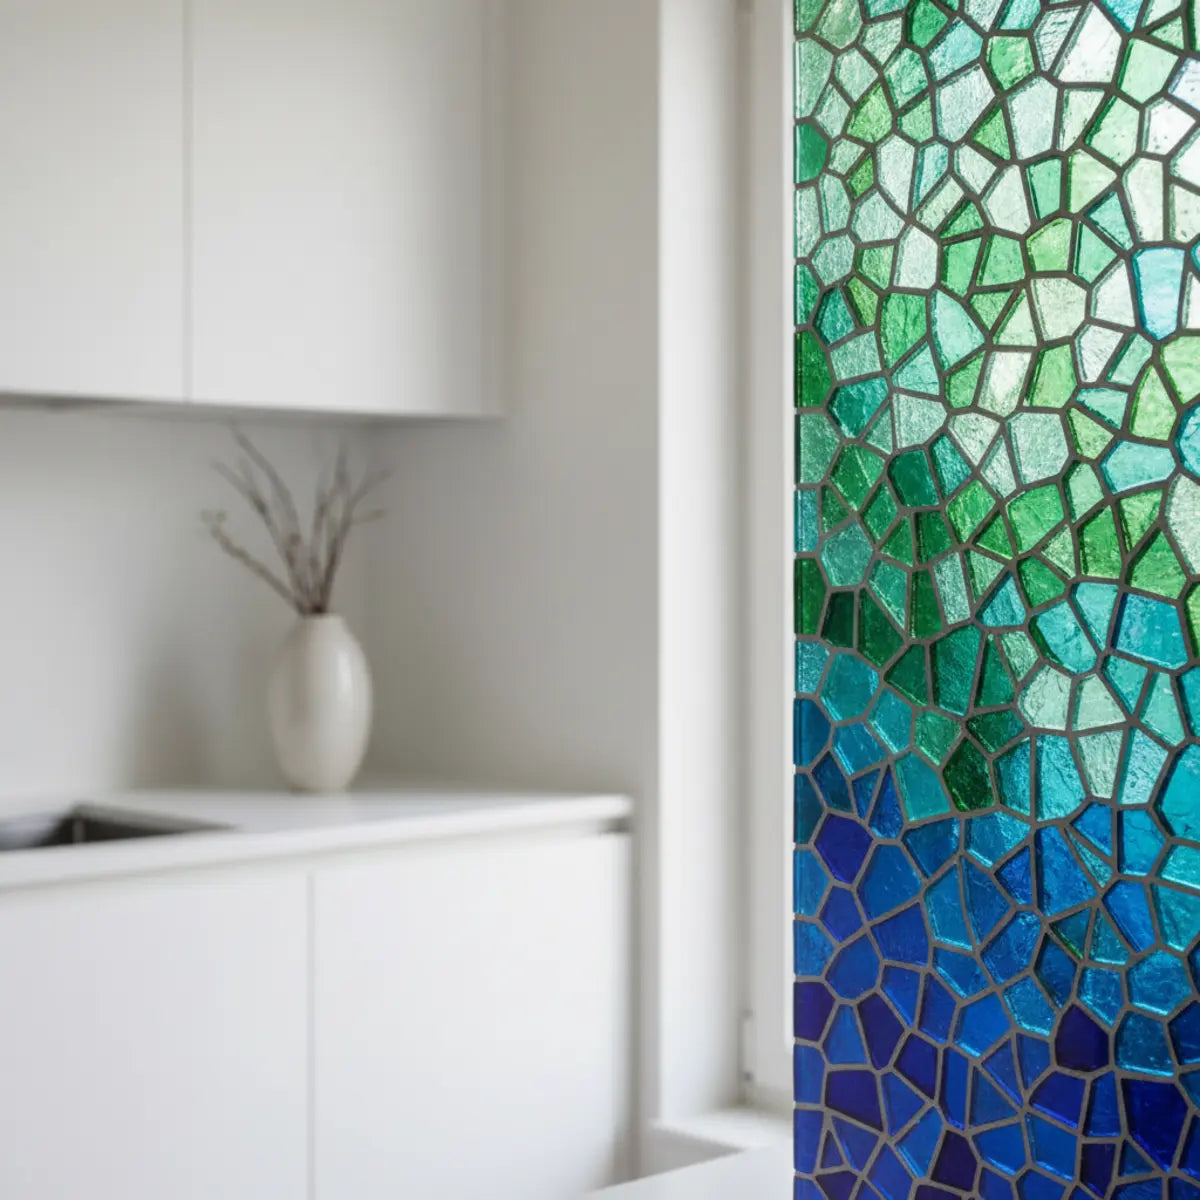
A modern mosaic backsplash works best when its pattern scale, material, joints and lighting fit the actual wall. Compare several adjoining pieces, map outlets and edges, and confirm the complete installation and care requirements. A mosaic-looking peel-and-stick sheet is different from a mosaic assembled from individual glass, ceramic, stone or wood pieces; their appearance does not make their uses interchangeable.
Explore this guide
You do not need a yearly trend forecast to choose a convincing design. Start with the room's fixed finishes and the visual role of the backsplash. The most useful comparison is between complete arrangements you can install and maintain, not a list of spectacular images with unverified prices or performance claims.
Identify whether the mosaic is a pattern or a construction
Some products contain individual pieces mounted on a sheet for installation with a specified setting and grouting system. Others reproduce the mosaic visually in a self-adhesive sheet or panel. Check what the physical joints are, how the pieces are supported and which installation method applies.
A printed grout effect may not be a gap that needs filling. A mesh-mounted mosaic can have both joints within a sheet and joints between sheets that need attention. A rigid decorative panel can have a different joining profile again. Do not follow a process based only on the word mosaic.
Keep the distinction in the shopping comparison. A material price for a decorative sheet cannot be compared fairly with an all-in installed mosaic quotation without showing preparation, setting materials, grouting, finishing and labor separately. The scope should match the result you expect.
Decide whether the wall should be a background or a feature
A feature backsplash is meant to be noticed, while a quieter field supports another prominent element such as a veined worktop or detailed cabinetry. Choose that role before selecting the busiest pattern. An attractive sample can compete with the room once it is repeated across a large area.
Compare a full run with a smaller bounded feature. The second option can concentrate a pattern without requiring every adjacent wall to use the same material. Plan the boundary and finishing method from the beginning rather than stopping when the available packs run out.
Look at the composition from normal working and entrance positions. A strong focal wall behind equipment still needs appropriate heat, service and moisture conditions. The visual role does not override the practical requirements of that location.
Judge the repeat at the size it will be installed
Lay out enough pieces or sheets to show the repeat clearly. A small motif can form a much stronger grid across several rows. A large shape can be repeatedly interrupted on a shallow backsplash. Use the actual wall dimensions rather than judging a single product thumbnail.
Mark the visible openings and edges on the layout. Outlets, cabinets and window returns may force cuts through important parts of a motif. The pattern that works best in the center may not be the easiest to resolve at the boundaries.
There is no universal scale that makes every small kitchen look larger. Compare the actual arrangements and choose the one whose role remains clear. The pattern-direction guide offers a separate way to consider orientation and visual movement without promising a change in physical room size.

Design inspiration, not proof of a particular product's kitchen or heat suitability.
Use linear and geometric patterns deliberately
A linear pattern can provide a repeated rhythm along a counter, while chevrons, herringbone and hexagons create different relationships between pieces. Check whether the product supplies individual shapes or a fixed sheet pattern. A preprinted layout may not permit the rearrangement shown in another material's installation.
Compare pattern direction with cabinet edges and nearby flooring. You may choose alignment for continuity or a deliberate contrast, but inspect both options at actual scale. A mathematical direction label does not decide which one will feel appropriate in your room.
For a complex geometry, pay particular attention to end cuts and corners. A shape that looks striking in a large showroom panel may leave awkward small pieces in a short run. Plan those pieces before ordering so the finished edge looks intentional rather than improvised.
Coordinate the palette with the surfaces that remain
Place samples beside the actual countertop, cabinet and wall paint. A mixture of several colors can connect existing finishes, but it can also introduce a new undertone that conflicts with them. Do not assume a neutral label means every component of the mosaic is visually neutral.
Compare the background, joints and strongest accent separately. A small dark piece can create a pronounced repeated line, while a pale joint can change how the overall shape reads. View several joined sheets rather than deciding from one isolated fragment.
Keep movable accessories secondary during the first decision. Replacing multiple objects to justify a backsplash that never coordinated with the fixed finishes can expand the project unnecessarily. Try a quieter color version or a smaller feature area before adding more purchases.
Check reflections and relief under actual lighting
Inspect the samples with the lights you normally use, including task lighting. Move between the standing and seated positions where the wall is visible. Raised surfaces and glossy faces can create different reflections as the viewing angle changes.
The Department of Energy distinguishes light-source color appearance from color rendition. Similar nominal color-temperature descriptions do not guarantee identical material appearance. Compare the actual lamp and mosaic together rather than assuming a named warm-white setting resolves every color relationship. DOE lighting guidance.
Lighting can emphasize a texture but does not establish the finish's durability. A bright conceptual image is not proof that a particular illuminated or color-changing product exists, is in stock or is suitable beside a stove. Treat the retained design images as inspiration and verify any real product independently.

Inspect actual construction and sheet joints before choosing a textured pattern.
Compare materials without transferring one component's rating
Glass, ceramic, stone, metal, wood and printed decorative faces have different constructions and product-specific requirements. Even within one family, finishes and backing systems can vary. Ask about the complete supplied product rather than assuming that the visible material settles every question.
| Option | Information worth checking | Shortcut to avoid |
|---|---|---|
| Glass or ceramic mosaic | Setting system, backing, joints and actual intended use | Assuming every glass or ceramic piece is suitable in every location |
| Natural stone mosaic | Stone identity, finish and care requirements | Applying one acid cleaner or annual sealer to all stone |
| Metal or mixed-material mosaic | Each exposed component and its coating | Using a cleaner accepted for only one component |
| Wood or reclaimed-look pattern | Whether it is genuine wood or a reproduction | Inferring wet-area or heat approval from the photograph |
| Self-adhesive decorative sheet | Face, backing, actual joints and accepted substrate | Treating its printed grout as a conventional grout joint |
An attractive mixture can make compatibility more demanding. The accepted installation and cleaning method must suit the assembly, not merely its most durable-looking part. Keep any unresolved material question visible before choosing the final pattern.
Plan real grout, printed grout and movement details separately
Identify where the actual joints fall within and between sheets. For a conventionally installed mosaic, sheet spacing should be considered alongside the spacing within the sheet. For a decorative sheet, follow its own overlap, butt-joint or interlocking instructions instead of adding grout because the pattern resembles tile.
Do not assume epoxy grout is always the right answer or that every cement grout needs the same sealing schedule. Use the exact grout and tile instructions, including suitability for the material and location. A sealer also does not turn a decorative surface into a complete waterproof wall system.
At changes of material, corners and other locations requiring accommodation, follow the appropriate joint detail. A rigid filler should not replace an intended flexible joint merely because it matches the color. The aesthetic line and the assembly's movement needs must be resolved together.
Check the kitchen's exposure zones
A dry return beside cabinetry differs from the wall near a sink or a concentrated steam source. Mark the actual activity and likely exposure on the plan. A broad kitchen-use label is not a description of every possible location around cooking equipment.
Use the exact appliance instructions and the wall product's restrictions. Do not reduce a clearance because the mosaic looks like stone or metal. Keep vents and service access clear and obtain appropriate advice where the assembly or heat conditions are uncertain.
Do not infer direct shower, floor or countertop suitability from backsplash imagery. Those uses can require different performance and installation information. Keep a decorative wall purchase within its documented scope unless a separately appropriate complete system is confirmed.
Inspect and prepare the supporting surface
Identify the wall, coating and any old covering. Check for looseness, cracks, raised repairs and recurring dampness. A new pattern may hide a visual defect temporarily while leaving the cause unchanged. The supporting layers need to remain sound under the selected installation.
Follow the preparation accepted for the actual materials. Do not assume a universal degreaser, primer or sanding process applies to every finish. Existing tile joints may need an approved leveling method, but a thicker decorative face cannot stabilize loose tiles below it.
Resolve moisture first. EPA emphasizes correcting water problems and cautions against painting or caulking over mold. Use appropriate assessment where staining or softness is unexplained rather than covering the area with a more elaborate finish. EPA moisture guidance.
Calculate material from the actual layout
Measure eligible rectangles and record all returns, openings and exposed ends. Confirm usable installed coverage for the pack or sheet. Where the pattern must remain oriented or matched, a small offcut may not be reusable in the next location.
For a hypothetical wall 2.4 metres wide and 0.6 metres high, the face area is 1.44 square metres. A chosen fifteen-percent allowance produces 1.656 square metres. If the example pack covers 0.36 usable square metres, five packs are needed after rounding up. These are planning inputs, not a product specification or universal waste requirement.
Compare the allowance with a dry layout and keep repair reserve distinct from cutting waste. A later batch may differ in tone or pattern, so retain product identity and suitable spares. The calculation should support the actual design rather than force a complex pattern into an area-only estimate.
Resolve openings and corners before installation
Dry-fit the difficult pieces with their backing or mounting system intact as required. Identify orientation clearly so a template is not transferred in reverse. Check the opening against adjoining pieces, not only against the closest edge.
Use the tool and cutting method accepted for the construction. A glass mosaic, a metal-faced sheet and a flexible printed panel do not necessarily use the same process. Work on a stable protected surface and keep hands out of the cutting path.
Electrical openings require appropriate isolation and qualified help where fittings or wiring need alteration. Do not treat a decorative cover as permission for any cut or mounting depth. Keep service access and required boundaries intact even when preserving a motif would be visually convenient.

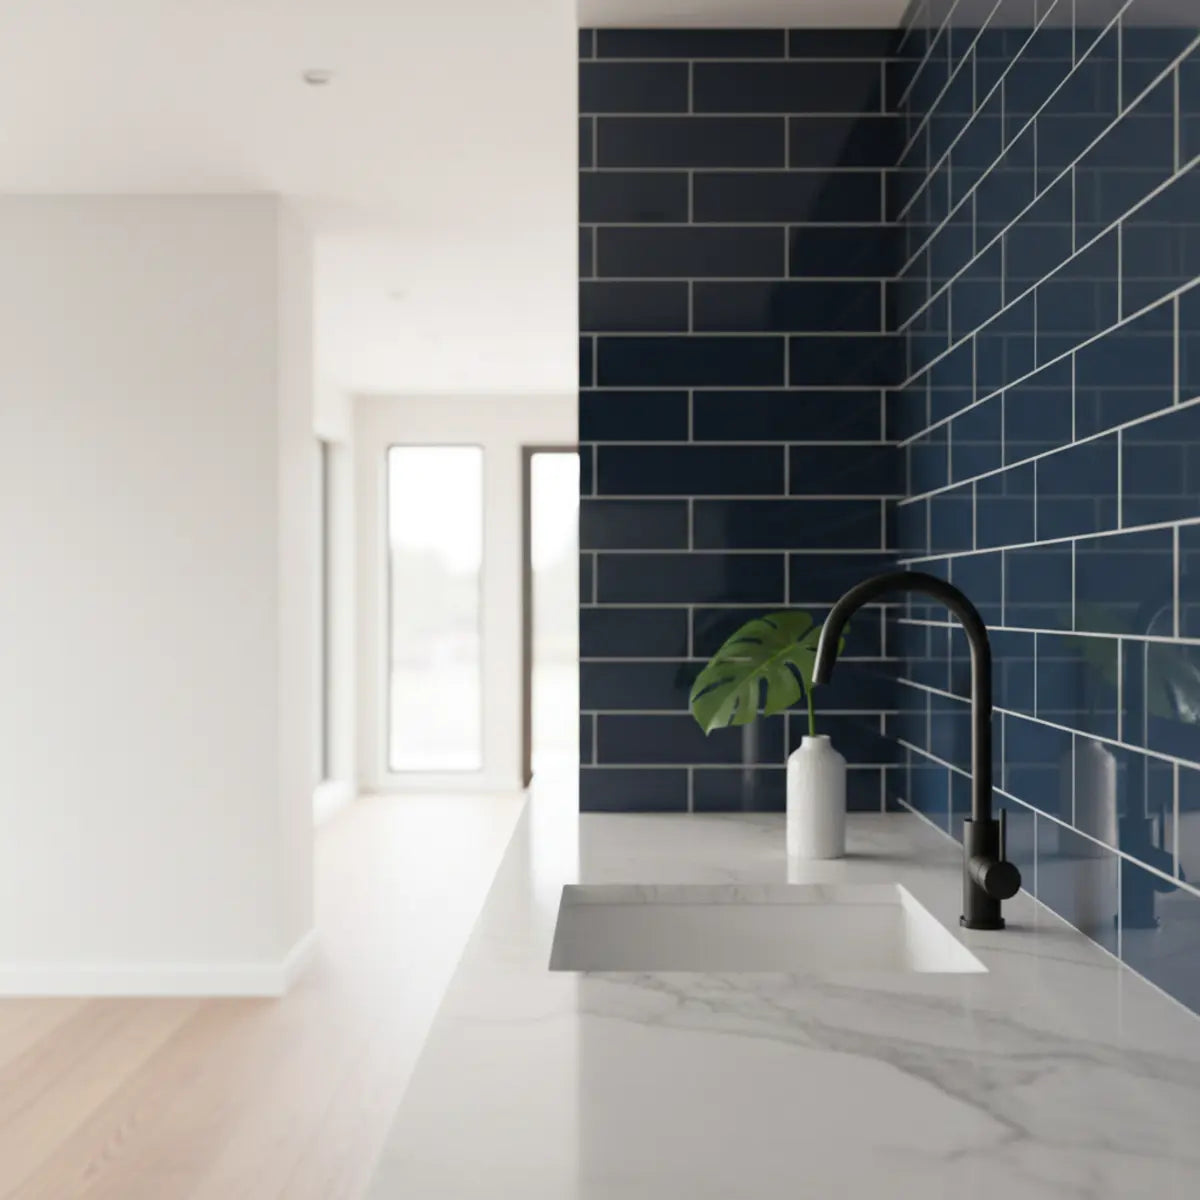
A design image does not establish the available product, material or installation method.
Separate layout decisions from permanent attachment
Confirm the pattern, starting reference and end pieces before beginning the actual installation. Keep a labeled layout photograph available. A mounting sheet can simplify handling, but it does not eliminate the need to check sheet-to-sheet spacing and alignment.
Follow the specified setting, joining and pressure method. Do not stretch a flexible sheet to close a gap or alter a conventional setting method because a different product's video looked easier. If a problem appears, stop while the affected area is small enough to reassess.
Include the required curing, cleanup and return-to-use conditions in the schedule. The absence of conventional grout on one product does not establish immediate use for every exposure. Plan around the actual instructions rather than promising a universal weekend transformation.
Choose a cleaning method for the whole assembly
List every exposed material and joint product. A cleaner suitable for one component may be unsuitable for another. This matters especially with mixed mosaics and natural stone. Do not apply a universal vinegar recipe or an abrasive tool because it worked on a different surface.
The Natural Stone Institute distinguishes stains from acid etching and notes that sealing requirements depend on the stone and use. A sealer improves certain stain resistance without making every stone stain-proof. These distinctions support identifying the actual component before treatment. Natural Stone Institute care guidance.
Use the permitted tool, concentration, contact method and residue-removal process. Inspect after drying before repeating or strengthening the treatment. A persistent mark can be residue or a changed finish. Stop when the method begins altering the material and ask for an appropriate recovery route.
Read environmental claims independently of the design
A reclaimed appearance does not establish reclaimed content, and a mosaic made from several materials is not automatically recyclable as a complete installed product. Ask which part a claim covers and how it is supported. Packaging and the finish itself can have different attributes.
The FTC advises that broad environmental-benefit claims need qualification and support. Treat a specific verified attribute as that attribute, not a guarantee that the whole project has no environmental impact. A leaf icon or natural-looking texture is not enough to make the decision. FTC environmental-claims guidance.
Consider keeping sound existing material when the project does not require replacement. A new finish may still be a reasonable preference, but do not invent a carbon-saving percentage or recycling result to justify it. Keep the design decision and the environmental evidence clear.
Use digital previews as layout aids, not material tests
A digital mockup can help compare pattern scale, boundaries and the relationship to cabinetry. Use accurate wall dimensions and keep the product scale consistent. A distorted perspective or an enlarged pattern can make an unsuitable layout look convincing.
Do not treat a generated room image or augmented-reality preview as a measurement of texture, reflection, color match or heat suitability. The physical material still needs an actual sample and documentation. A glowing or color-changing concept in an image is not evidence that a particular product is available or appropriate for the wall.
Keep the accepted digital layout and physical sample together. The first records composition; the second helps evaluate the material. Neither replaces the other, and neither establishes a service-life or installation guarantee.
Compare complete quotes and practical repair options
Include the material, preparation, setting products where required, tools, grout or finishing, trim, delivery, tax and labor. Ask whether existing-wall repair and cleanup are included. A sheet price and a professional installed price are not the same scope.
Keep possible local repair in mind. A spare sheet may allow a planned replacement, but the print, joint and aging can make it visible. A mixed-material mosaic can require a different repair process from a decorative sheet. Ask what the supplier supports before assuming every damaged piece is easy to replace.
Do not calculate a payback from unverified lifespan or resale percentages. A finish can be worth choosing because you like the result and can afford its real requirements. That is a more useful reason than a fabricated return-on-investment model.

Concept imagery does not prove that an illuminated or color-changing product is available or approved near cooking equipment.
Compare a quiet field with a bounded feature
Imagine a hypothetical kitchen with a patterned worktop and several outlets. One option uses a quieter mosaic across the eligible run. Another places a stronger pattern on a smaller uninterrupted wall and keeps the rest simple. Compare both against the same appliance, moisture and preparation requirements.
The quieter option may make the interruptions less noticeable. The feature option may concentrate the visual effect but need a carefully finished boundary. Neither is automatically cheaper or better; calculate the actual packs and work. Keep the person using the kitchen involved in the lighting and care comparison.
For further layout choices, compare the kitchen backsplash guide with the finish and lighting guide. A successful mosaic is a pattern used within a suitable complete installation, not simply the busiest surface in the room.
Frequently asked questions
Is a peel-and-stick mosaic the same as individual mosaic tiles?
Not necessarily. The design may be printed or molded into a larger sheet. Identify the actual construction and joining method before planning cuts or grout. Similar appearance does not establish the same installation process.
Can a bold mosaic work in a small kitchen?
Compare it at actual scale with the fixed finishes and interruptions. A bounded feature and a quieter full run are useful alternatives. No universal pattern rule guarantees that a room will appear larger.
Does every mosaic need epoxy grout?
No. Follow the exact product and installation-system requirements. Some decorative sheets do not use conventional grout at all, while mounted mosaics need an appropriate compatible system. Do not choose by a generic material ranking.
Are recycled glass or reclaimed-look products automatically greener?
No blanket conclusion follows from appearance or one material attribute. Verify the specific claim, product identity and scope, and keep local disposal conditions separate from recovered content. Do not invent an overall environmental score.
Can I use a digital preview instead of samples?
Use it for layout and composition, not as proof of physical color, texture, reflection or suitability. Compare actual adjoining samples under the room's light and keep the product instructions with them.
What should I inspect before calling the project complete?
Check alignment, joints, exposed edges, openings, required return-to-use conditions and service access. Save the material identity and care method. A good final photograph does not replace those practical checks.
Check how complete sheets meet each other
A mosaic can look convincing within one sheet and still reveal a repeated square outline where sheets meet. Lay out adjoining sheets in both directions and compare their joint spacing. For a conventional mounted mosaic, compare the spacing between sheets with the spacing inside them. For a decorative sheet, identify its actual joining profile. Do not close or enlarge a joint merely to erase a visual boundary if doing so conflicts with the installation instructions.
Use a removable record of the accepted sequence, with arrows showing orientation. Mark a few distinctive motifs on a sketch so the installer can recognize the intended pieces without repeatedly handling adhesive or delicate edges. Some designs are intended to vary, others to connect in a specific way. Neither a random arrangement nor strict repetition is automatically correct for every product.
Examine the top and bottom of the proposed area together. A mosaic repeat that meets a cabinet neatly may leave a difficult strip at the counter. Compare moving the reference line, changing the eligible covered area or choosing another repeat before buying. Do not assume a narrow trim can hide every cut or that an extra bead of sealant can support a fragile last strip. Resolve the physical construction and visual boundary together.
Price a feature panel separately from a full run
For an illustrative comparison, suppose the full eligible wall is 2.4 metres wide and 0.6 metres high, while a proposed feature panel is 1.2 metres by 0.6 metres. The areas are 1.44 and 0.72 square metres. With a deliberately chosen 15 percent allowance, their planning areas are 1.656 and 0.828 square metres. If the hypothetical pack covers 0.36 square metres, the area-only purchase is five packs for the full run and three for the feature.
The smaller feature does not necessarily cost half as much. It may require extra edge treatment, different surrounding finishes or more careful alignment. Compare those items using the same quotation scope. The calculation illustrates pack rounding, not product coverage or an endorsement of the chosen allowance. Revise it using the actual installed repeat and the offcuts the final layout can use.
Separate a digital design from a cutting map
A mockup can be persuasive while omitting real joints and material variation. Annotate the accepted picture with dimensions, repeat direction, sheet boundaries and openings. Ask whether the illustrated design can be produced from the actual supplied pieces. A rendering that stretches a motif or removes all visible joints should not become a promise of the installed appearance.
Keep the physical sample as the material reference and the drawing as the geometric reference. If the product changes, revisit both. A similar-looking mosaic can have a different repeat or sheet size, changing the order and cuts even when the overall colors remain close. Confirm that substitution before the installer starts rather than asking them to recreate an impossible image with different components.
After installation, retain the batch labels, a few properly stored spares and the final care instructions. A repair can involve an individual component, an entire mounted sheet or a decorative panel depending on the construction. The record helps a future repairer understand those possibilities without dismantling the wall just to identify what was used. This is a practical benefit of a well-documented mosaic, independent of whether it follows a current design trend.
Choose one composition to carry through the project
Once the pattern, material and use conditions are accepted, save one identified layout as the working reference. Mark any intentionally different border or feature area so it is not mistaken for an installation error. Keep the sample and actual joint information with the drawing rather than relying on a styled inspiration photograph alone.
For comparable pattern families, begin with the wall-tile planning guide, then evaluate the exact products that fit the eligible wall. A clear final selection can be visually strong without combining every current pattern or adding unsupported claims about durability, environmental performance or resale value. The result is a mosaic with a defined role and an installation plan the household can understand.
Sources and scope
- US Department of Energy: Color and Spectrum — Light appearance and color rendition differ; assess actual samples.
- Natural Stone Institute: Care and Cleaning — Natural stone, stains, etching and sealer needs; not printed-tile care.
- US EPA: Mold, Moisture and Your Home — Correct moisture before decoration.
- FTC: Environmental Claims, Summary of the Green Guides — Environmental claims need specific support; no brand certification inferred.


Leave a comment
This site is protected by hCaptcha and the hCaptcha Privacy Policy and Terms of Service apply.