





















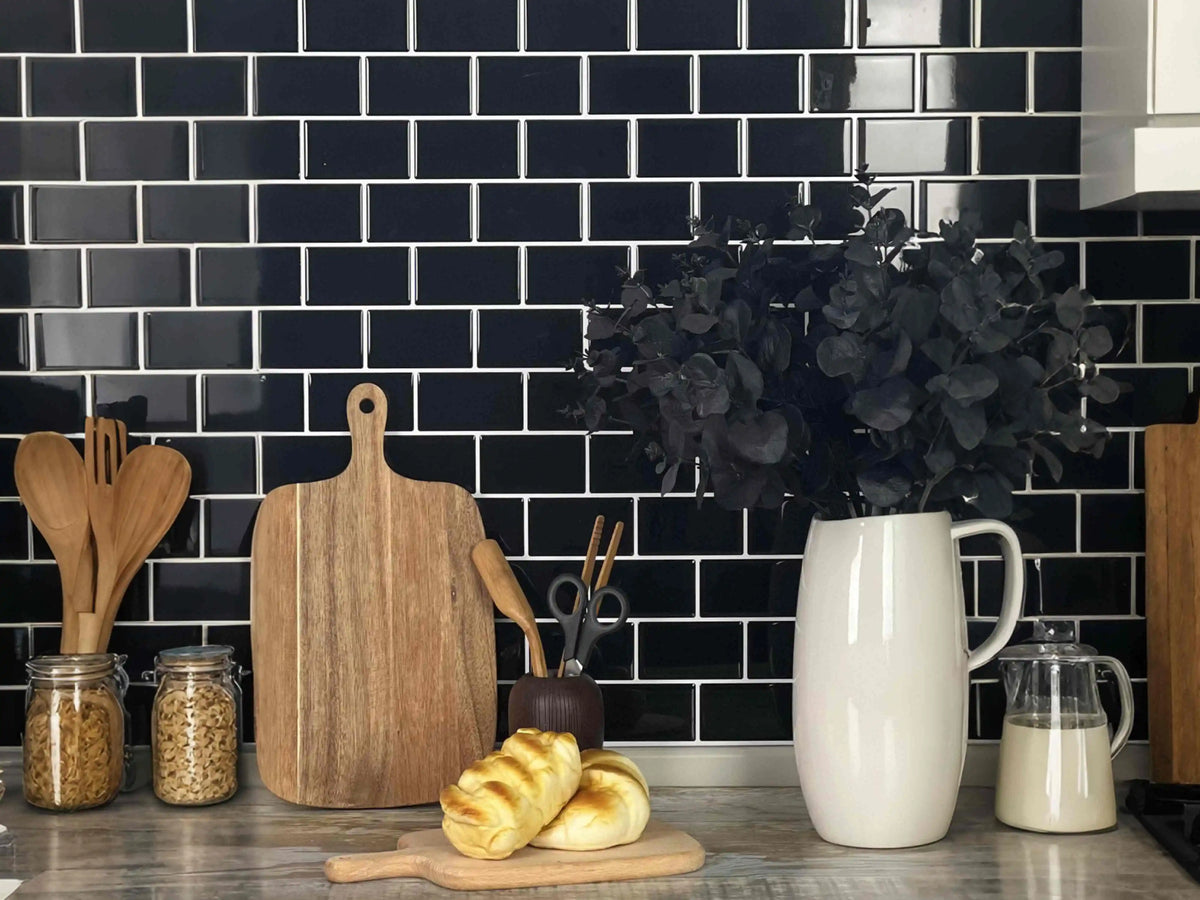
Understanding Peel and Stick Subway Tiles
Benefits and Features
- Quick and Easy Installation: No need for messy grout or mortar.
- Cost-Effective: Budget-friendly option compared to traditional tiles.
- Versatile Design: Wide range of styles, colors, and patterns.
In August 2025, homeowners continue to seek innovative and efficient ways to refresh their living spaces. Peel and stick subway tiles remain a top choice, offering a hassle-free method to revamp your kitchen with minimal effort and maximum style. Unlike traditional tiles, they eliminate the need for messy grout or mortar, saving both time and labor costs. Imagine achieving a stunning kitchen makeover without the typical complexities of tile installation, all while staying well within your budget. This article was recently updated to ensure its timeliness and accuracy.
Explore this guide
These tiles aren’t just practical; they’re also versatile. With a variety of styles, colors, and patterns, you can easily find the perfect match for your kitchen’s aesthetic. Whether you prefer classic white tiles or something more daring like the Stickwoll Crimson Horizon, the options are endless.
Materials and Texture Options
- PVC and Vinyl: Durable and resistant to moisture.
- Gel and Epoxy Coatings: Offer a glossy finish.
- Marble and Stone Look-alikes: Achieve a luxurious look without the cost.
Peel and stick subway tiles come in different materials, each with its unique perks. PVC and vinyl options are popular because they’re durable and handle moisture well. This makes them ideal for kitchens where spills and splashes are common.
For those aiming for a luxurious feel, tiles with gel or epoxy coatings provide a glossy finish that mimics more expensive materials. If you want the look of marble without the heavy price tag, check out Stickwoll’s Marble Peel and Stick Tiles. These options prove that chic design doesn’t have to break the bank.
Comparative Cost Analysis with Traditional Tiles
- Lower Material Costs: Significantly cheaper than ceramic or stone.
- Reduced Labor Costs: DIY installation means no professional fees.
- Minimal Maintenance Costs: Easy to clean and maintain over time.
When it comes to affordability, peel and stick tiles stand out. Traditional tiles often require costly materials and professional installation, which can add up quickly. Peel and stick alternatives, however, allow you to do it yourself, cutting down on labor costs.
Maintenance is also a breeze. Unlike traditional tiles that may need regular sealing or grout cleaning, peel and stick tiles require minimal upkeep. A simple wipe-down is enough to keep them looking fresh.
Modern Kitchen Design with Peel and Stick Tiles
Popular Patterns and Styles
- Herringbone and Chevron: Add visual interest and depth.
- Brick and Metro Patterns: Timeless and versatile for various decors.
- Mosaic and Geometric Designs: Modern and eye-catching.
Modern kitchen design is all about combining style with function, and peel and stick subway tiles deliver both. Consider patterns like herringbone or chevron to add a touch of sophistication to your space. These designs create visual interest and make your kitchen feel more dynamic.
If you’re after a classic look, brick and metro patterns are timeless choices that suit various decor styles. And for those who love a bold statement, mosaic and geometric designs are perfect. They turn your backsplash into a piece of art, transforming the entire room.
Color Palettes to Suit Various Themes
- Monochrome and Neutral Tones: Elegant and understated.
- Bright and Bold Colors: Liven up the kitchen with vivid hues.
- Metallic and Glossy Finishes: Add a touch of glamour.
Choosing the right color palette is crucial when designing your kitchen. Monochrome and neutral tones are elegant and understated, creating a calm and inviting atmosphere. They’re perfect if you’re aiming for a minimalist look.
On the other hand, bright and bold colors can liven up your kitchen, making it a vibrant space for cooking and socializing. If you’re feeling adventurous, metallic and glossy finishes add a touch of glamour and modernity.
Creating a Focal Point with Tile Design
- Accent Walls: Use tiles to highlight a specific area.
- Mix and Match Patterns: Combine styles for a unique look.
- Feature Backsplashes: Draw attention with striking designs.
Creating a focal point is a great way to enhance your kitchen’s design. Accent walls, for instance, can be achieved by using peel and stick tiles in a bold pattern or color. This draws the eye and adds personality to your space.
Mixing and matching patterns is another way to create a captivating look. Combining different styles can result in a unique design that’s all your own. And don’t underestimate the power of a feature backsplash. A striking tile design behind the stove or sink can become the centerpiece of your kitchen.
Installation Process Made Simple
Step-by-Step Guide to Applying Tiles
- Prepare the Surface: Clean and dry the wall.
- Plan the Layout: Measure and mark the area.
- Apply the Tiles: Peel, stick, and press firmly.
Installing peel and stick subway tiles is straightforward. First, make sure your wall is clean and dry, removing any dust or grease. This ensures that the tiles adhere properly.
Next, plan your layout. Measure the area and mark where each tile will go. This helps avoid mistakes and ensures a professional finish. Finally, peel the backing off the tiles, stick them onto the wall, and press firmly to secure them in place.
Tips for Ensuring a Flawless Finish
- Use a Level: Keep lines straight and even.
- Work Slowly: Take your time for best results.
- Trim Excess: Use a utility knife for clean edges.
To achieve a flawless finish, use a level to keep your lines straight and even. This is especially important for larger areas where uneven lines are more noticeable.
Working slowly and methodically is key. Rushing can lead to mistakes, so take your time to ensure each tile is perfectly placed. If there are any excess edges, trim them with a utility knife for a clean look.
Maintenance and Longevity Tips
- Regular Cleaning: Wipe with a damp cloth to remove dirt.
- Avoid Harsh Chemicals: Use mild cleaners to prevent damage.
- Inspect and Repair: Check tiles periodically for any lifting.
Maintaining peel and stick tiles is simple. Regularly wipe them down with a damp cloth to remove dirt and keep them looking new. Avoid using harsh chemicals, as these can damage the adhesive or the tile surface.
Periodically inspect your tiles to ensure they’re still firmly in place. If you notice any lifting or peeling, address it promptly to maintain their longevity. For more detailed care tips, check out our Peel and Stick Tile Maintenance Guide.
From Classic to Contemporary
Traditional Subway Tile Patterns
- Horizontal Layout: Timeless and simple.
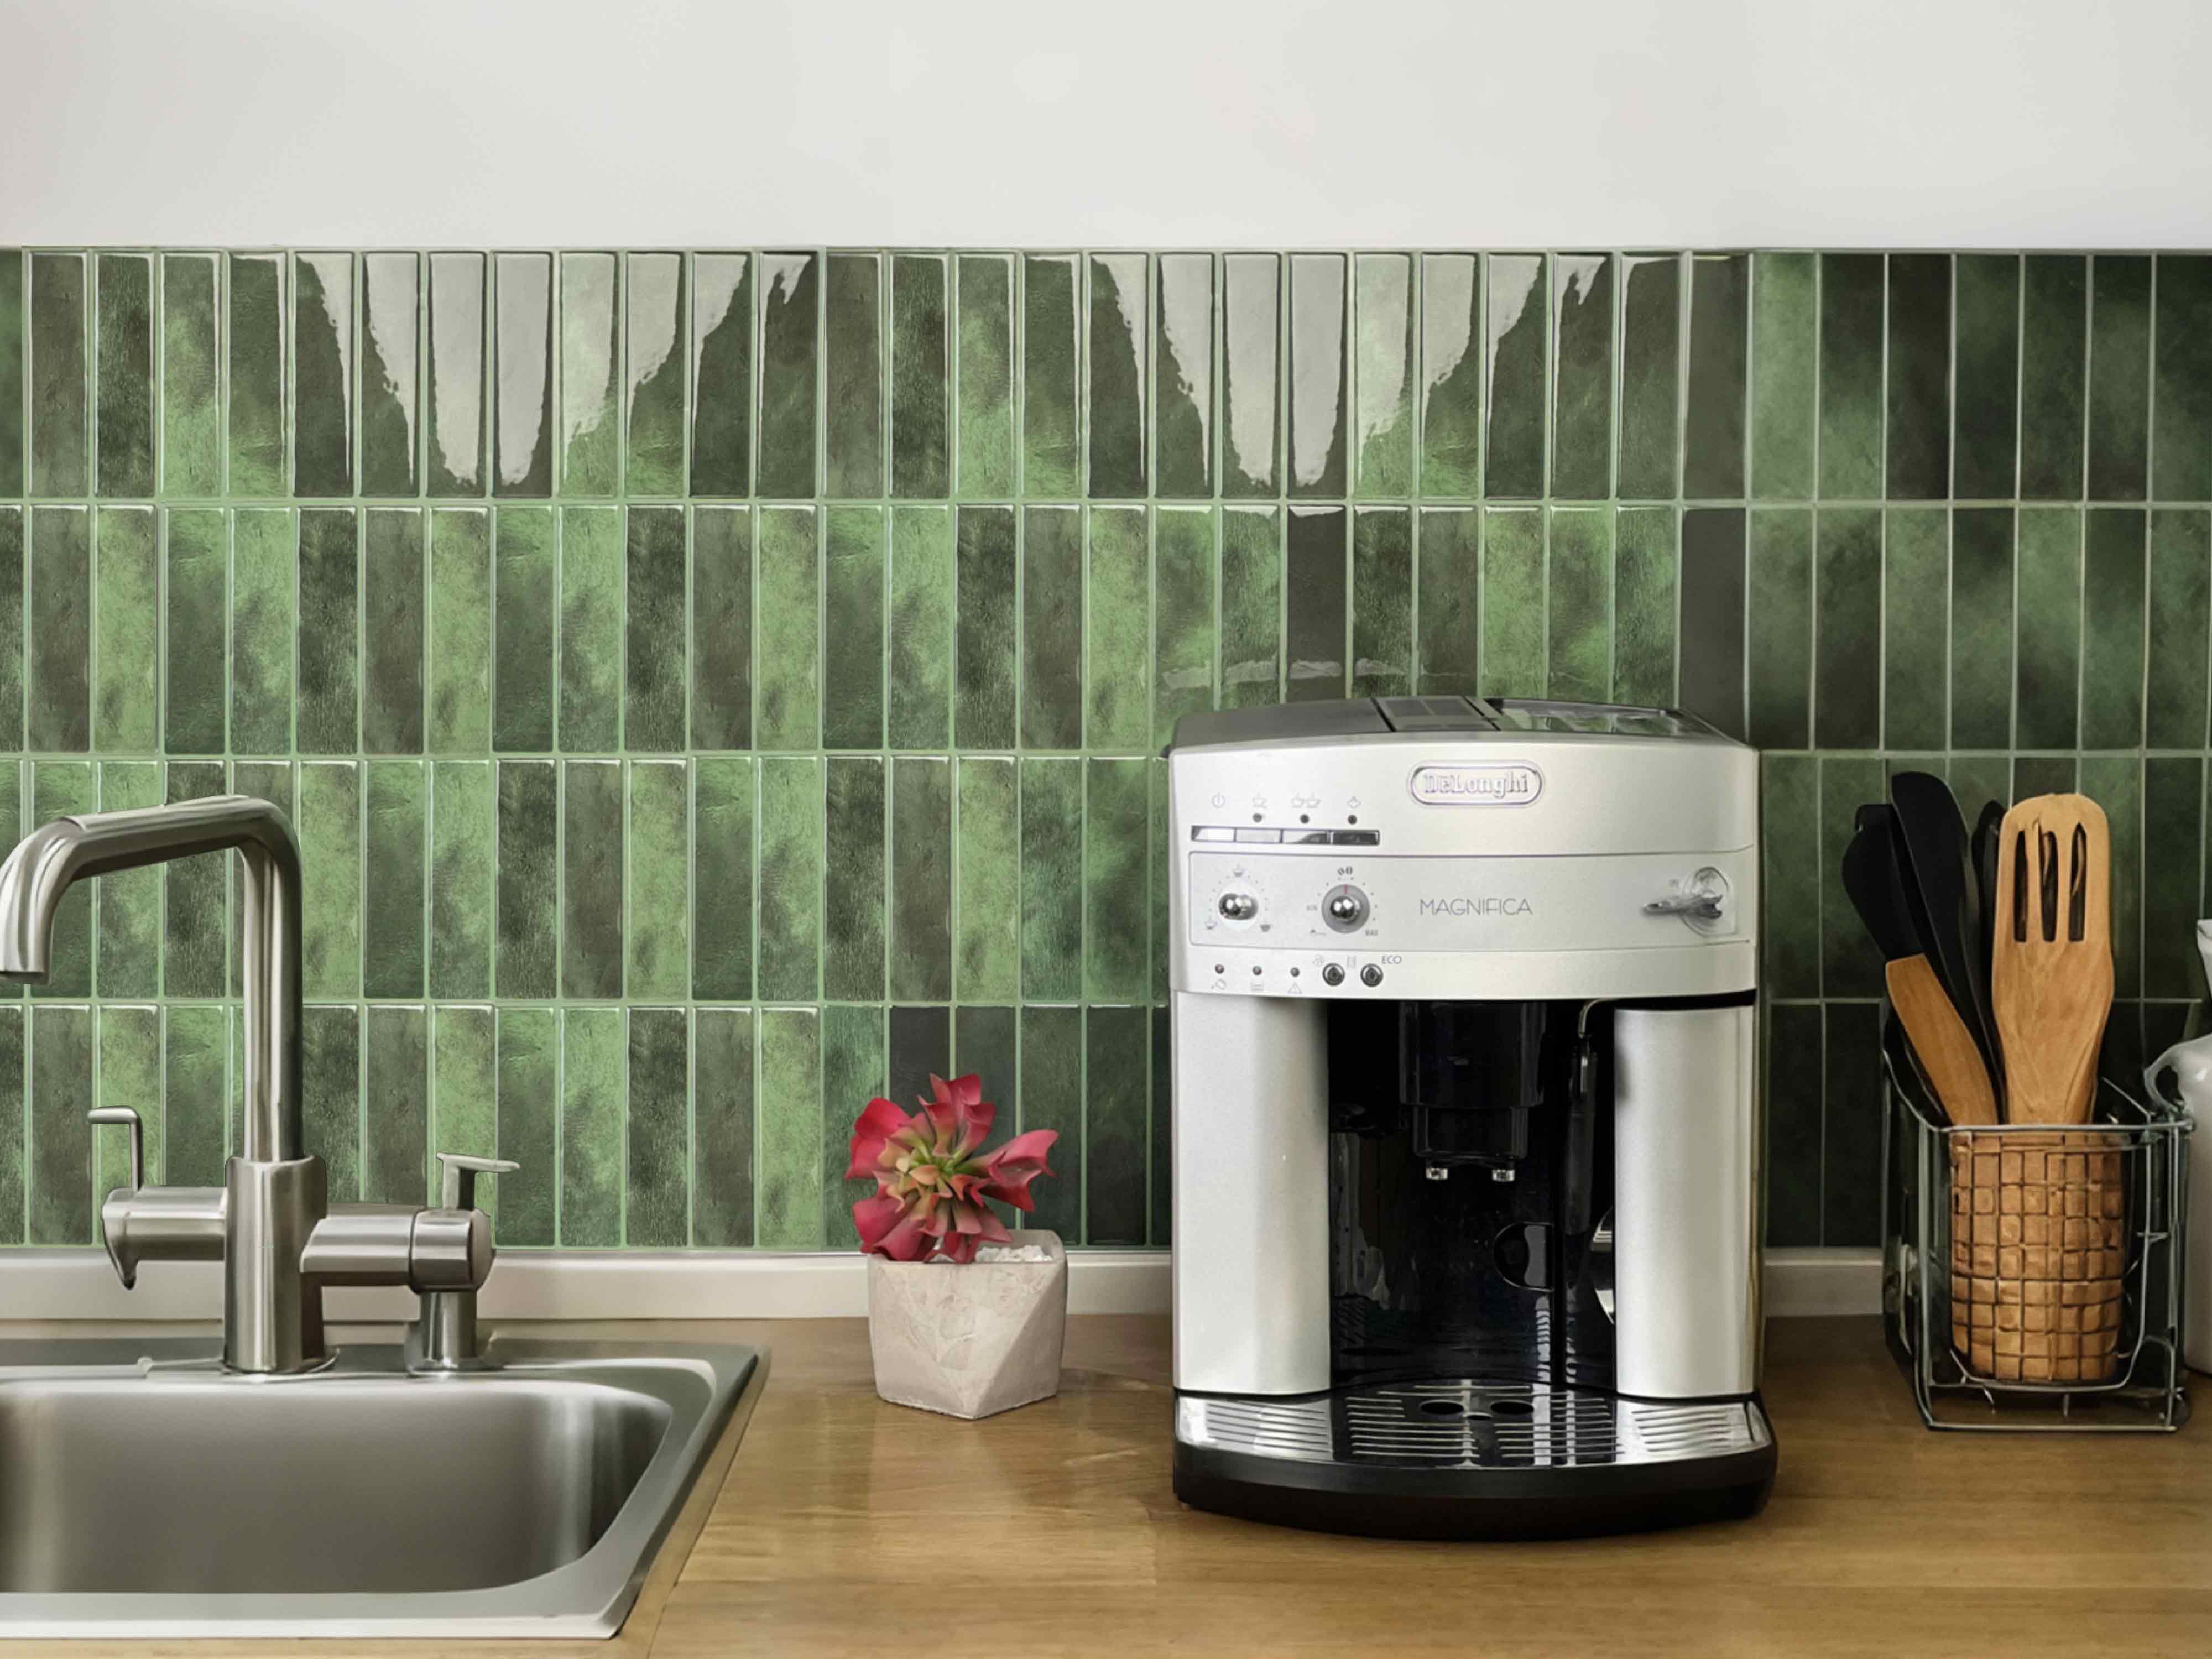
- Vertical Stacking: Modern twist on a classic design.
- Offset Pattern: Adds texture and movement.
Traditional subway tile patterns are a great starting point for creating a classic kitchen look. The horizontal layout is timeless and simple, providing a clean and organized aesthetic.
For a modern twist, consider a vertical stacking pattern. This contemporary approach gives a sense of height and can make your kitchen feel more spacious. Alternatively, an offset pattern adds texture and movement, breaking up the uniformity of traditional layouts.
Adapting Classic Styles for Modern Kitchens
- Mix Materials: Combine with glass or metal accents.
- Incorporate Technology: LED lighting to highlight tiles.
- Blend Textures: Pair smooth tiles with textured walls.
Bringing classic styles into the modern era is all about innovation. Mixing materials, such as combining subway tiles with glass or metal accents, creates a fresh and contemporary look. This blend of textures adds depth and interest to your kitchen.
Incorporating technology is another way to modernize classic tiles. LED lighting, for example, can be installed to highlight your backsplash, creating a stunning visual effect. For more modern decor ideas, explore our Modern Peel and Stick Tiles guide.
Integrating with Existing Décor Elements
- Match Colors: Coordinate with existing color schemes.
- Complement Styles: Ensure tiles enhance existing decor.
- Balance Patterns: Avoid overwhelming the space.
When integrating peel and stick subway tiles into your existing décor, consider color matching. Choose tiles that coordinate with your current color schemes for a cohesive look.
Complementary styles are also important. Ensure that the tiles enhance, rather than clash with, your existing decor. Balance is key, so avoid overwhelming the space with too many patterns or colors.
DIY vs Professional Installation
Pros and Cons of DIY
- Pros: Cost savings, personal satisfaction, control over the project.
- Cons: Time-consuming, skill-dependent, potential for mistakes.
DIY installation of peel and stick tiles comes with its own set of pros and cons. On the plus side, it offers significant cost savings since you won’t need to hire a professional. It also provides a sense of personal satisfaction and control over the project.
However, it can be time-consuming and requires a certain level of skill. There’s also the potential for mistakes, which could end up costing more in the long run if you need to fix them.
When to Hire a Professional
- Complex Layouts: Seek help for intricate designs.
- Large Installations: Professional efficiency for big projects.
- Time Constraints: Save time with expert assistance.
Hiring a professional might be the better option for complex layouts or large installations where efficiency is key. Professionals can handle intricate designs and ensure a flawless finish.
If time is a concern, getting expert assistance can save you a lot of hassle. They can complete the project quickly and accurately, leaving you with a beautiful kitchen in no time.
Cost Considerations and Budgeting
- Material Costs: Calculate based on tile selection.
- Labor Costs: Factor in professional fees if hiring help.
- Unexpected Expenses: Budget for additional supplies or repairs.
When considering costs, start with the materials. Calculate the total expenses based on your tile selection, keeping in mind that peel and stick options are generally more affordable.
If hiring a professional, factor in labor costs. It’s also wise to budget for unexpected expenses, such as additional supplies or minor repairs. For budget-friendly kitchen revamp ideas, check our Renovation on Budget blog.
Conclusion
As we move further into 2025, peel and stick subway tiles continue to prove themselves as an exciting and practical solution for modern kitchen upgrades. Their unmatched ease of installation, cost-effectiveness, and vast design possibilities make them a standout choice for anyone looking to infuse their space with a chic, contemporary twist. Whether you embrace the DIY spirit or prefer the expertise of a professional, these versatile tiles offer an ideal path to realizing your kitchen renovation dreams. Ready to begin your transformation journey? Explore our comprehensive Peel and Stick Tile backsplash kitchen makeover ideas and start revitalizing your home today!
Frequently Asked Questions
What surfaces are suitable for peel and stick tile installation?
Smooth, clean surfaces like painted drywall and existing tile are ideal. Avoid dusty or textured walls for best results. For tips on applying tiles, visit our Applying Peel and Stick Tiles blog.
How long do peel and stick tiles last?
With proper care, they can last several years. Regular cleaning and avoiding harsh chemicals help maintain their durability. For more, see our Peel and Stick Tile Maintenance Guide.
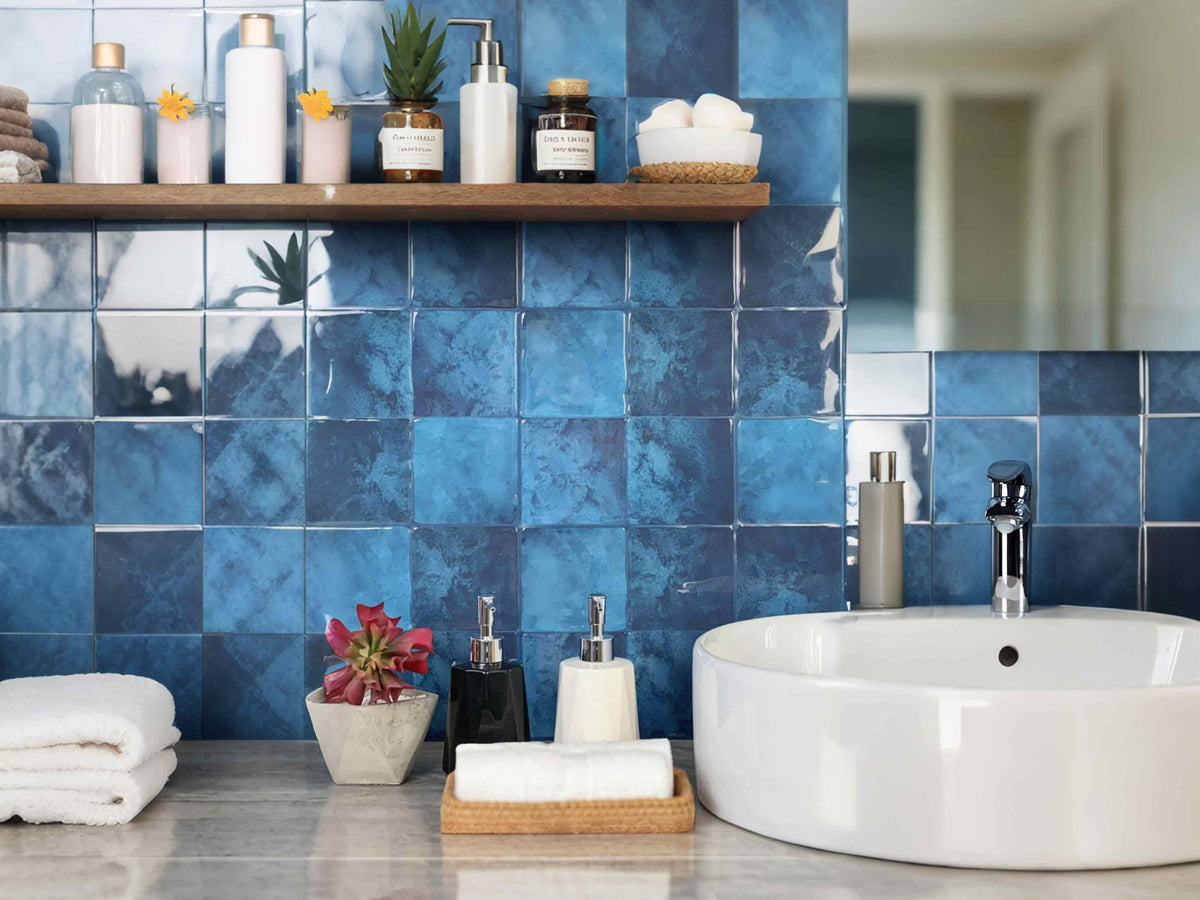
Can I use peel and stick tiles in a bathroom?
Only when the exact product and complete wall installation are documented for the actual exposure. A moisture-resistant face alone does not approve a direct-wet area. Learn about them in our Waterproof Peel and Stick Tiles blog.
Are peel and stick tiles renter-friendly?
Absolutely, they can be removed without significant wall damage, making them perfect for renters. For more, check our blog on Removable Peel and Stick Tiles for Renters.
Keep a small handover note
Record the installed product, permitted cleaner, pattern direction and location of spare pieces. Include any special edge or outlet detail that future occupants should not cover or remove casually. This short handover makes maintenance easier and reduces the chance that a later repair uses an incompatible cleaner or an unidentified replacement piece.
Decide whether the backsplash should stop, turn or continue
At cabinet ends and doorways, the question is not only how to cut the last piece but where the backsplash should logically end. Mark the intended termination with painter’s tape and view it from across the room before installation. Extending the pattern around a return can look integrated, while stopping on a clean vertical line may suit another kitchen better. The correct choice depends on the architecture and available finishing detail, not a universal subway-tile rule.
If the wall height changes under a range hood or window, decide whether the pattern continues to the higher elevation or stops with the main cabinet line. Draw the transition at full scale and count how many partial rows it creates. This prevents a late decision from producing a thin horizontal strip or a visible pattern jump.
Keep installation pressure separate from material suitability
Pressure-sensitive adhesive needs contact with an appropriate surface, but additional rolling cannot correct an incompatible coating, active moisture or a wall that is too rough for the product. Use the application tool and pressure method specified by the exact tile. The goal is consistent contact without crushing embossing or distorting a printed grout line.
If one piece requires unusual force to lie flat, stop and inspect the wall and the piece rather than assuming more pressure is the solution. Debris, a high spot, tension from a cut or a warped backing may be involved. Correcting the cause before the next row protects the layout and creates a more useful installation record.
Check the delivered packs before you mix them on the wall
Open only as many packs as the return policy and product instructions allow, then compare color, print alignment, gloss and dimensions under the kitchen lighting. Keep lot or batch information where available. If one pack looks different, stop before cutting it into the field; resolving the difference is much easier while the pieces are still identifiable and unused.
Arrange several pieces from different packs in the planned orientation. This is especially useful for printed stone or shaded subway effects where variation may be intentional. A receiving check cannot predict long-term performance, but it can prevent avoidable visual mismatches and gives customer support useful information if the delivered material differs from the listing.
Plan corners and returns as part of the first row
Inside corners, cabinet returns and window reveals can expose the thickness of the product and complicate the pattern. Decide whether the system uses a wrapped piece, butt joint, overlap or trim. Dry-fit both sides of a corner before committing the first run so a small measurement error does not accumulate into a visibly uneven return.
Outside corners deserve even more attention because exposed edges receive cleaning and contact. Use the product’s approved finishing method and avoid relying on an unsupported strip of adhesive face. If a narrow return cannot be covered cleanly within the instructions, ending the backsplash before the corner may be the better design choice.
Document the final wall for future repair
After installation, photograph the complete wall and several close views of seams, exposed ends and difficult cuts. Record the product, batch information, cleaner and any spare pieces. These records make it easier to distinguish a later change from an installation detail that was present on day one.
When a repair is needed, compare the cause before replacing material. Damage from a pan, cleaner reaction, moisture at a seam and paint release are different problems. A useful maintenance record helps you choose the right response instead of assuming every defect means the adhesive has failed.
Compare subway looks by construction, not just rectangle size
Subway describes a visual format, not one material. A printed vinyl sheet, gel-faced panel, rigid composite piece and metal-faced tile can all use a rectangular subway pattern while behaving differently during cutting, cleaning and removal. Before choosing by color or bevel, record the actual face, backing, adhesive, intended surfaces and room restrictions. The construction determines which tools and preparation methods belong in the project.
Use a full-size sample rather than relying on a close-up image. Check whether the grout line is printed, embossed, overlapped or formed by the joint between pieces. Look at the edge from the side and under the kitchen lights. A realistic front view can still reveal a visibly different thickness, sheen or joint when installed across a full wall.
Choose the layout before calculating quantity
Classic running bond is only one option. Straight stack, vertical stack, offset patterns and herringbone-like arrangements can create very different cut counts. Mark the wall width, cabinet edges, outlets and exposed side terminations, then dry-layout enough pieces to see where the repeat lands. A pattern that looks balanced in the center can leave an awkward narrow strip at the visible end.
Do not assume every subway product can be rotated or overlapped in every direction. Some interlocking sheets and printed grout lines have a required orientation. Follow the product instructions first, then adjust the starting point within those limits. When two layouts both work technically, choose the one with cleaner visible edges and fewer fragile cuts rather than the one that simply starts in the left corner.
Treat the wall as part of the installation system
A clean-looking wall can still have loose paint, patched drywall, heavy texture or recurring dampness. Inspect the surface before cleaning. If the coating releases easily, fix that layer instead of asking the tile adhesive to hold it in place. If there is staining near a sink or window, resolve the water source before covering the area. EPA moisture guidance supports addressing moisture first rather than hiding it behind a new finish.
Preparation should follow the selected tile and wall coating, not a universal recipe. Do not automatically sand gloss, wash every wall with TSP or add primer because another product required it. Each extra layer creates another interface that must remain attached. Keep the paint and tile instructions together and document any repair material used between them.
Plan seams, lower edges and exposed ends
The lower backsplash joint, cabinet terminations and outside ends are visually important and are also where cleaning water can collect. Use only the joint or trim detail permitted for the selected product. An overlapping seam may be part of one system while another system uses a butt joint. Adding silicone everywhere does not convert an unsuitable decorative finish into a waterproof assembly.
At an exposed end, dry-fit the final piece and any trim before installing the field. Confirm the trim depth and how it is attached. Avoid a tiny final strip that is difficult to press or clean. If the pattern includes a fake grout line, decide whether the last visible edge should finish on a full printed joint or on the tile face; that small decision can make the installation look much more intentional.
Cut outlets and corners with serviceability in mind
Turn off power and follow applicable electrical safety requirements before working around receptacles. The decorative layer should not prevent a cover plate from seating correctly or hide fasteners that need future access. If the project requires extending or moving an electrical box, use appropriate qualified help rather than treating it as a normal tile cut.
Make a paper or card template for irregular cuts and transfer it to a spare piece before cutting the installed row. Use the cutting method permitted for the product construction. A soft vinyl sheet, rigid composite and metal-faced panel may require different tools. Dry-fit the cut with the backing intact so a mistake does not force you to peel and reposition a piece repeatedly.
Use a quantity example that matches the actual pack
Suppose a hypothetical backsplash is 12 feet long and 18 inches high. Its gross face area is 18 square feet. If two outlets together remove only a small amount that cannot be reused efficiently, you may choose to leave them in the material calculation. If the selected pack covers 3.2 usable square feet, six packs provide 19.2 square feet before considering pattern-specific waste. That is an arithmetic example, not a Stickwoll pack specification.
The extra amount should come from the dry layout. A straight stack on a simple rectangle may need relatively little additional material, while an offset pattern with several corners can require more. Keep at least a small identified repair reserve when the pattern or batch may be difficult to match later. Label the spare pieces so they do not become anonymous leftovers.
Maintain subway tile according to its actual face
A white subway look does not imply ceramic cleaning methods. Use the care guide for the exact face material and keep abrasive cookware pads away unless the finish specifically permits them. Control moisture around real seams and inspect any edge that receives repeated wiping. A mark that remains after an approved cleaning method may be staining or finish change rather than a reason to scrub harder.
Record the cleaner, dilution and tool that worked for routine care. If a new cleaner or appliance changes the exposure, recheck compatibility. A subway pattern can be timeless in appearance while the installed material still has product-specific limits. Good maintenance preserves that distinction instead of treating every rectangle on the wall as if it were fired ceramic.
Sources and scope
- US DOE: Color and Spectrum — Lighting and color-rendering context; not a material-performance rating.
- 3M: Applying VHB Pressure-Sensitive Tape — Surface-preparation and pressure-sensitive-adhesive principles for named 3M tapes; not Stickwoll specifications.
- US EPA: A Brief Guide to Mold, Moisture and Your Home — Moisture-control guidance; not product approval.


Leave a comment
This site is protected by hCaptcha and the hCaptcha Privacy Policy and Terms of Service apply.