

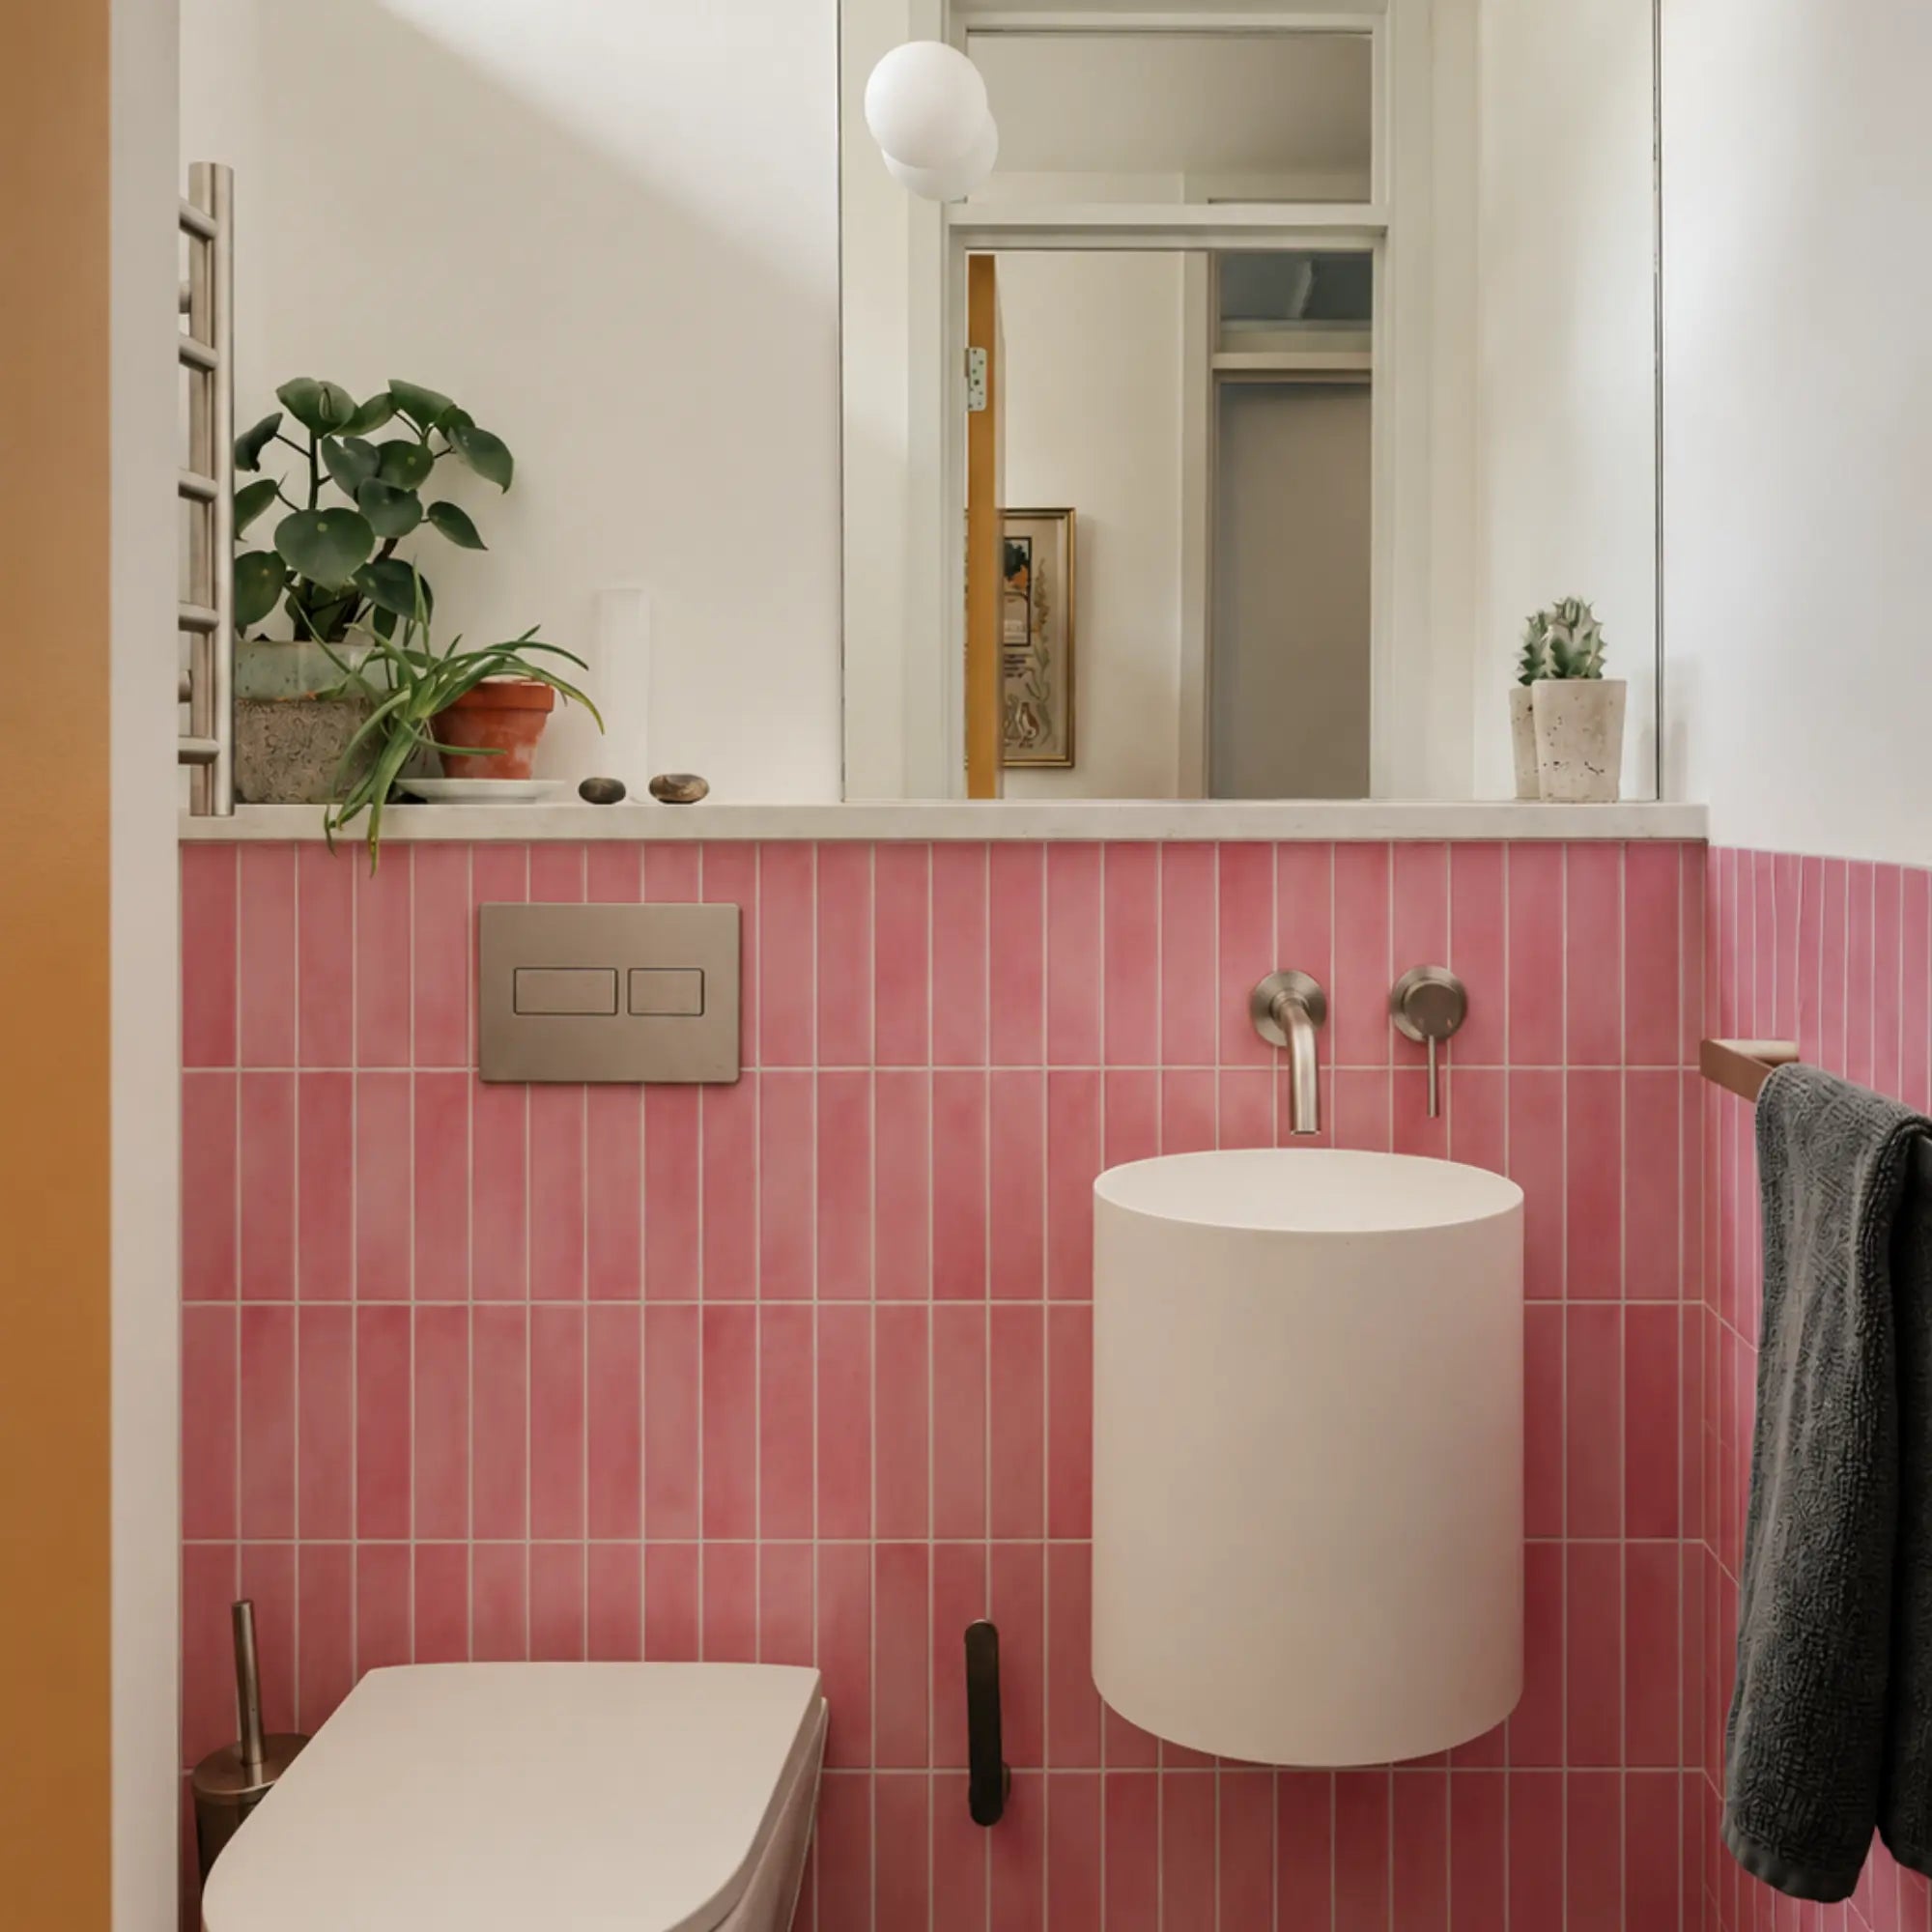



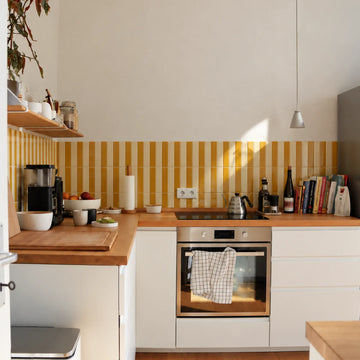

Decision guide
Peel-and-stick tile may work near a radiator, but the answer depends on where the tile sits, how hot the wall becomes, how often the radiator cycles, whether the surface is sound and dry, and what the exact tile instructions allow. Tile directly behind a radiator is the most demanding position. Tile beside or above it may be easier to inspect, install, and keep within the product’s stated conditions.
There is no universal radiator clearance that makes every peel-and-stick tile safe. A heat-resistant label also does not prove that a particular adhesive will stay bonded in your room. Before buying, classify the installation, check the radiator and wall, review the tile manufacturer’s instructions, and measure the actual conditions as carefully as you can.
Can peel-and-stick tile go behind a radiator?
Sometimes, but only when the exact product is approved for the measured heat exposure and the installation leaves suitable airflow and access around the radiator. If the product instructions do not address heated walls, the radiator runs hot, the wall has moisture or loose paint, or the tile can only be installed by disconnecting equipment, choose a lower-risk location or obtain product and heating-system guidance first.
“Behind a radiator” can describe several different situations:
- The tile may cover the full wall behind a panel radiator.
- It may stop below or above the radiator.
- It may sit beside the radiator, where it receives less direct heat.
- It may be installed behind a heated towel rail, electric heater, baseboard heater, or another heating appliance.
- It may sit close to valves, brackets, pipework, or a radiator cover that changes airflow.
Those situations do not expose the adhesive to identical conditions. A tile manufacturer’s temperature limit applies to a specific product and usually to a defined surface condition. It does not automatically translate into a distance from every radiator.
One current manufacturer, Smart Tiles, states that its adhesive wall tiles can be installed on a surface up to 49°C (120°F) and advises avoiding direct contact with a heat source and direct exposure to an open flame. That is useful as an example of how a manufacturer may express a limit, but it applies to Smart Tiles products. It is not a universal rating for every peel-and-stick tile. You can review the Smart Tiles heat and installation guidance for the product-specific wording.
| Installation situation | Practical decision |
|---|---|
| Tile directly behind a radiator, with no product-specific heat guidance | Treat as high risk and pause before buying |
| Tile directly behind a radiator, with documented temperature limits that cover the measured wall surface | Potentially workable, subject to surface, airflow, access, and installation checks |
| Tile beside a radiator with clear access and no direct contact | Often a lower-risk location, but still check the product instructions |
| Tile above a radiator | May be suitable if the wall temperature and airflow remain within the product’s conditions |
| Tile touching the radiator, pipework, valve, or heater | Do not proceed without explicit manufacturer approval |
| Tile installation requiring radiator disconnection | Obtain appropriate heating-system guidance or qualified help |
Choose the closest installation position
Use this route as an early screen. It cannot replace the exact tile instructions, a wall-temperature check, or an assessment of airflow and access.
Starting route: directly behind the radiator is the most demanding position. Continue only if the exact product guidance covers the measured heat exposure and the wall, airflow, access, and installation conditions are suitable.
The goal is to avoid treating a visually attractive wall as a simple flat surface. A radiator wall is a small system: heat moves through the radiator, air circulates around it, the wall changes temperature, and the adhesive carries the tile’s weight while those conditions repeat.
A quick decision route
Use this route before you order materials:
- Classify the position. Is the tile directly behind, beside, or above the radiator?
- Identify the heat source. Is it a hot-water panel radiator, electric heater, heated towel rail, baseboard heater, or another design?
- Check the product instructions. Look for maximum surface temperature, distance from heat sources, cure time, surface restrictions, and test-patch guidance.
- Inspect the wall. It should be smooth, clean, dry, firm, and free of loose paint or unresolved damp.
- Check access. Can you measure, cut, press, inspect, and later remove the tile without moving the radiator?
- Decide whether the evidence is sufficient. If the product documentation does not cover the conditions, move the tile away from the radiator or contact the manufacturer.
This decision process is more useful than searching for a single number because the same gap can produce different wall temperatures in different rooms and with different heating equipment.
Why can radiator heat affect adhesive tile?
Heat can affect adhesive tile because the bond depends on temperature, exposure time, temperature changes, curing, surface contact, and the load placed on the adhesive. The issue is not simply whether the tile material itself can tolerate warmth.
A pressure-sensitive adhesive is the sticky layer that bonds when you apply firm contact pressure. It needs close, continuous contact with the wall. Dust, grease, moisture, loose paint, textured surfaces, or a wall that is still releasing moisture can reduce that contact.
Temperature adds another variable. Adhesives are polymer materials, and polymers can change behavior as temperature rises. General adhesive guidance from 3M explains that temperature performance depends on the absolute temperature, duration, frequency of temperature changes, cure state, and applied load. It also describes how polymers may soften as they approach a glass-transition range—a temperature range where a polymer shifts from a harder, more rigid behavior toward a softer one. That explanation concerns adhesives generally, not a specific peel-and-stick tile behind a household radiator. Review 3M’s adhesive temperature guidance for the technical background.
The practical meaning is simple: a product can be labeled heat resistant and still require limits on temperature, placement, exposure time, or direct contact.

What repeated heating and cooling can change
Radiators rarely remain at one constant condition throughout the day. A heating system may warm the radiator, cool it, warm it again, and cycle according to the thermostat or control system. The wall and tile may respond differently to those changes.
This process is often called thermal cycling. Thermal cycling means repeated changes between warmer and cooler conditions. As materials warm and cool, they can expand and contract by different amounts. The adhesive layer has to accommodate those movements while keeping the tile attached.
The supplied evidence does not establish a failure rate for peel-and-stick tile behind radiators. It does support treating repeated temperature changes as a risk factor. 3M identifies the frequency of temperature changes as relevant to adhesive performance. WallPops also warns that uncontrolled temperature fluctuation can cause expansion and shrinkage failure in its NuWallpaper product, though that guidance concerns wallpaper rather than backsplash tile. You can read WallPops’ heat-source and temperature-fluctuation FAQ for its product-specific limits.
That distinction matters. It would be too strong to say that heating and cooling will make every tile peel. It is reasonable to say that repeated temperature changes can make a marginal installation less forgiving, especially when the surface is contaminated, the tile is not pressed firmly, the wall is damp, or the product is outside its intended temperature range.
Why the wall matters as much as the tile
A tile’s adhesive does not bond to “the room.” It bonds to a particular wall coating and substrate.
A painted drywall surface may include several layers:
- Joint compound or plaster beneath the paint
- Primer
- One or more paint coats
- Dust, cooking residue, cleaning product, or hand oils on the surface
- Local areas of flaking paint, condensation, or previous adhesive
When heat reaches the wall, the weakest layer may fail before the adhesive itself does. For example, the adhesive may remain attached to a thin paint film while the paint separates from the drywall. From the reader’s point of view, the tile has still fallen, even though the adhesive did not release from the tile.
The same principle applies to a rental property. Removability is not the same as zero wall risk. A removable product may still pull paint, expose weak drywall paper, or reveal differences in color when removed. Test a hidden area if the product instructions allow it, and document the existing wall condition with photographs before installation.
Which tile position is the safest near a radiator?
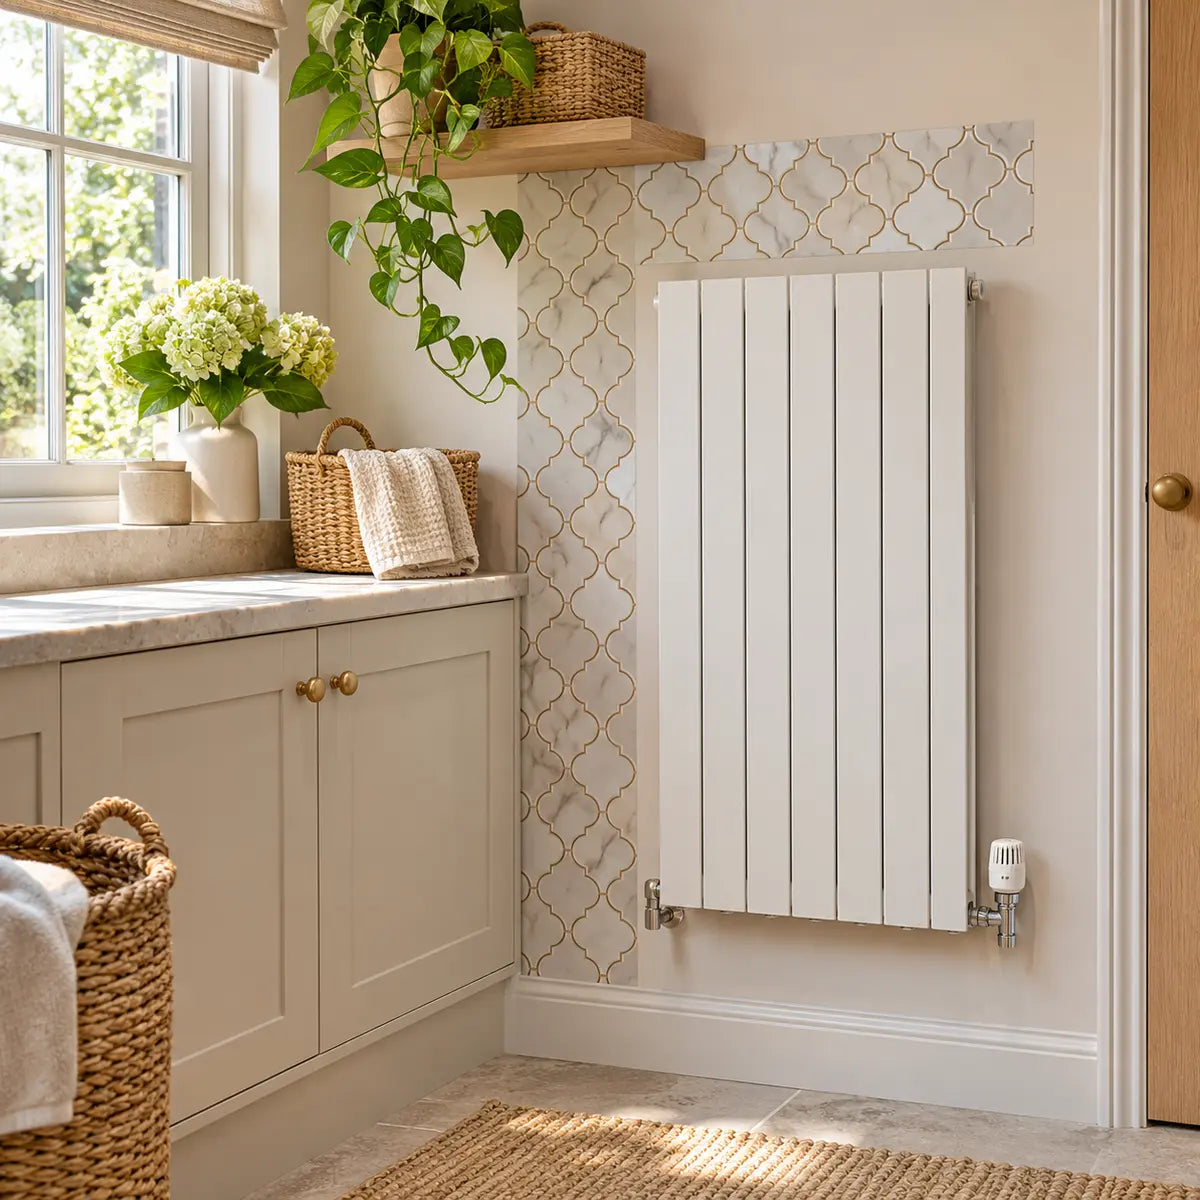
Tile beside the radiator is usually easier to manage than tile directly behind it because it reduces heat exposure and gives better access. Tile above the radiator may be workable, while tile directly behind it deserves the strictest product and temperature checks.
Directly behind the radiator
This is the most visually continuous option, yet it is often the hardest to install well.
The radiator can obstruct your hands, tools, sightline, and pressure. You may struggle to smooth the tile near mounting brackets or reach the lower edge. If a corner begins to lift later, the radiator can make inspection and repair difficult.
The wall behind the radiator may also receive warm air rising from the unit. A radiator cover, shelf, deep sill, or nearby furniture can alter that airflow. The actual wall temperature depends on the equipment, operating conditions, wall construction, room temperature, and spacing.
Proceed only when all of the following are true:
- The exact tile instructions address the intended heat exposure or provide a surface-temperature limit you can verify.
- The tile will not touch the radiator, pipework, valve, or other heated component.
- The wall is smooth, clean, dry, stable, and free from loose paint.
- You can install the tile with firm, even pressure.
- You can leave the radiator’s required airflow and service access clear.
- You can inspect and repair the installation later.
- You do not need to alter or disconnect the heating equipment without appropriate help.
If several of those conditions are uncertain, the most practical choice is often to stop the tile below the radiator, tile beside it, or use a finish specified for the location.
Beside the radiator
A side wall or adjacent section usually gives you more control. You can see the surface, align the tile, press the edges, and cut around obstacles without working through a narrow gap.
This does not make the location automatically safe. Heat can still reach the tile, and a nearby radiator may warm the wall. Check the product guidance and avoid placing tile where it will touch the radiator or restrict valves and controls.
For many small room refreshes, this is the best balance between appearance and installation reliability. You retain the visual update while reducing the most difficult access and heat-exposure problems.
Above the radiator
The area above a radiator can be exposed to rising warm air. The distance from the radiator, the presence of a shelf, and the radiator’s design all matter.
A radiator manufacturer may publish clearance recommendations for airflow and heat distribution. For example, Stelrad gives guidance of 100 mm at either side, 150 mm above, and at least 150 mm from the floor to the radiator base for the radiators covered by its advice. The Radiator Company gives different guidance, including at least 50 mm above and 100 mm below for heat distribution. These differences show why radiator clearances are equipment-specific. They do not create a universal peel-and-stick tile clearance.
Read the Stelrad radiator airflow guidance and compare it with the Radiator Company’s clearance information. Use those measurements to protect the radiator’s airflow, then use the tile manufacturer’s instructions to judge the tile’s heat exposure.

A placement comparison
| Position | Main advantage | Main concern | Better choice when |
|---|---|---|---|
| Directly behind | Most continuous appearance | Heat, limited access, difficult repairs | Product temperature guidance is clear and the wall can be reached safely |
| Beside | Easier installation and inspection | Some nearby heat exposure remains | You want a lower-risk refresh without moving equipment |
| Above | Can frame the radiator attractively | Warm air rises and access may be awkward | Product guidance covers the surface conditions and airflow remains open |
| Stop below | Simplifies layout and future removal | Leaves an un-tiled section | The product lacks heat guidance or the radiator runs hot |
How close can peel-and-stick tile be to a radiator?
There is no universal distance that applies to every peel-and-stick tile and radiator. The correct separation depends on the tile’s documented limits, the radiator’s design, the temperature at the wall surface, airflow requirements, and whether the tile touches any heated component.
A distance measurement is useful, but it is only one part of the decision. Two radiators can have different surface temperatures, shapes, controls, mounting arrangements, and operating patterns. Two walls can also respond differently depending on insulation, paint, moisture, and construction.
Measure the installation, not just the radiator
Before ordering tile, record:
- The radiator’s width, height, depth, and distance from the wall
- The distance from the radiator to the proposed tile area
- The position of brackets, valves, pipes, and bleed points
- The wall area above, beside, and behind the radiator
- Whether a shelf, cover, furniture, or curtain changes airflow
- The surface condition and wall finish
- The normal operating pattern of the radiator
- The product’s stated heat, surface, cure, and installation requirements
If you can measure surface temperature safely, take readings during normal operation after the heating system has had enough time to warm the room. Follow the thermometer manufacturer’s instructions and avoid touching hot equipment. A single reading is only a snapshot. If the product limit is close to the measured value, treat that as uncertainty rather than proof of suitability.
Do not convert a published stove, fireplace, or wallpaper distance into a radiator rule. WallPops, for example, states that NuWallpaper should be at least 15 inches, or 38 cm, from a stove, fireplace, or another heat source. That is guidance for NuWallpaper. It is not a universal clearance for peel-and-stick tile behind a radiator.
What product instructions should you look for?
Read the exact instructions for the tile you plan to buy. Look for language covering:
- Maximum surface or ambient temperature
- Minimum distance from heaters or other heat sources
- Direct contact with radiators, pipes, or heated surfaces
- Installation near steam, moisture, or condensation
- Required wall materials and finishes
- Newly painted wall cure time
- Acclimation before installation
- Test-patch requirements
- Pressure and smoothing instructions
- Removal conditions and possible wall damage
- Warranty exclusions near heat or moisture
A product page that says “heat resistant” may be useful for initial screening, but it may not answer the questions that matter for a radiator wall. Ask the manufacturer for a written answer when the instructions are unclear. Include the tile position, radiator type, measured wall temperature, wall surface, and whether the radiator remains installed.
Choosing tile for a radiator wall
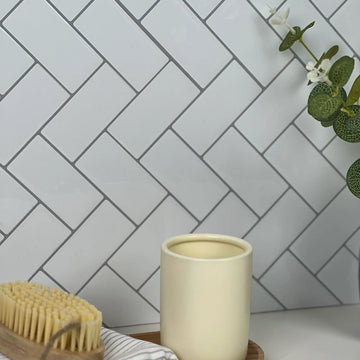
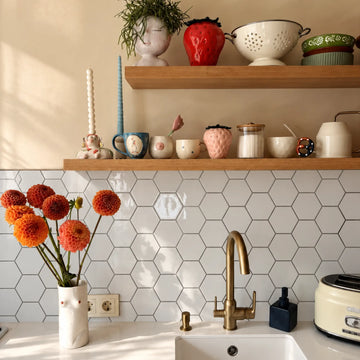
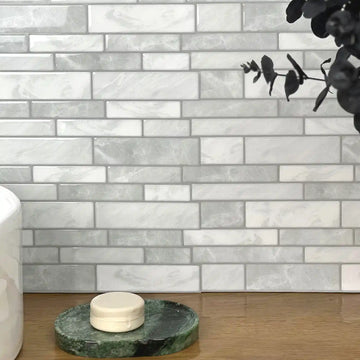
If the manufacturer confirms that a product is appropriate for the measured conditions, you can review options such as Dual Ceramics self-adhesive wall tiles, Rock Subway self-adhesive wall tiles, or Subway Marble self-adhesive wall tiles. Store descriptions identify these as self-adhesive, grout-free wall tile options with heat- and moisture-resistant features listed by the store. Check the current product instructions before using any of them directly behind a radiator, because the supplied product information does not establish a radiator-specific maximum temperature or clearance.
For broader comparisons of heat zones and product limits, you can also review the guide to heat-resistant peel-and-stick tiles for kitchens and the heat-resistant tile guide for fireplace surrounds. Their subject areas differ from a radiator wall, so use them as planning context rather than as a substitute for the exact tile instructions.
How should you prepare a wall behind a radiator for adhesive tile?
Prepare the wall as though the adhesive will have only one chance to form a full bond: make it smooth, clean, dry, firm, and stable before applying tile. Heat can expose weak preparation, so cleaning and surface inspection matter as much as layout.

Inspect before cleaning
Look closely at the wall with the radiator cold. Check for:
- Flaking or bubbling paint
- Cracks around brackets and pipe penetrations
- Damp patches, condensation, mildew, or a musty smell
- Soft drywall or swollen plaster
- Grease, dust, soot, cleaning residue, or old adhesive
- Heavy texture or uneven joints
- Fresh paint that has not cured
- Areas you cannot reach well enough to press and inspect
Do not cover a damp or unstable wall to make it look finished. Repair the cause of moisture first. If the radiator wall repeatedly becomes wet, the problem may involve condensation, a leak, poor ventilation, or a pipe connection. Adhesive tile is a finish, not a moisture repair.
Clean without leaving a film
Follow the tile manufacturer’s cleaning instructions. The wall needs to be free of dust and contaminants, yet the cleaning process must not leave a slippery residue.
3M’s surface guidance explains that adhesive performance depends on surface contact, a dry and contaminant-free substrate, firm pressure, and the interaction between the adhesive and the surface. You can review 3M’s substrate preparation guidance for the general bonding principles.
Do not apply tile over wallpaper, loose paint, chalky surfaces, or a glossy coating unless the product instructions specifically permit it. A smooth appearance from across the room does not prove that the wall is suitable for adhesive contact.
Allow paint and tile to stabilize
New paint may feel dry while the underlying coating continues to cure. Follow the product’s stated cure period. WallPops’ backsplash instructions, for example, call for newly painted surfaces to cure for at least four weeks and for the product to acclimate for at least 48 hours. Those periods apply to the specified WallPops products; they are not automatic requirements for every tile.
Keep the tile and wall within the manufacturer’s stated installation conditions. Do not install onto a wall that is unusually cold, damp, hot, or subject to immediate heavy heating unless the instructions specifically cover it.
Test an inconspicuous area
A test patch can reveal problems with paint adhesion, texture, contamination, or removal. Choose a small, hidden location when possible. Follow the product instructions for the test period and removal method.
A test patch does not prove that every part of the wall behind a radiator will perform the same way. The wall may differ around brackets, pipe openings, corners, and areas exposed to more heat. Treat the test as one piece of information, not a guarantee.
For a broader planning reference, use the peel-and-stick tile planning guide, the installation and care guide, and the location-based guide to where peel-and-stick bathroom tile works to review surface compatibility, layout, application, repositioning, moisture considerations, and removal guidance.
Can you install tile without removing the radiator?
Often, a small area can be tiled without removing the radiator, but the installation must remain accurate and serviceable. If the radiator blocks firm pressure, prevents accurate cuts, or leaves no way to inspect the wall, the project may require a different layout or qualified assistance.
Work around the radiator only when you can:
- See the tile edges clearly
- Measure the gap accurately
- Cut around brackets and pipes without forcing the tile
- Press the tile evenly across the full surface
- Keep the adhesive backing clean
- Avoid trapping tile against the radiator
- Maintain access to valves, controls, and bleed points
- Remove or repair the tile later if necessary
A tile that is poorly pressed behind a radiator may look acceptable at first and fail at an edge later. Edges and corners often become the first visible signs of a weak bond because they are easier to lift and receive less continuous pressure.
Plan the layout around obstacles
Before peeling the backing, make a paper or cardboard template. Mark:
- The radiator’s outer edges
- Brackets and mounting points
- Pipes entering or leaving the wall
- Valves and controls
- Corners, shelves, and trim
- The intended stopping line above or below the radiator
Dry-fit the template while the radiator is cold. Confirm that the tile pattern will not force narrow slivers beside brackets or pipework. Very narrow pieces can be difficult to hold flat and may have limited adhesive contact.
Where possible, keep seams away from corners that are difficult to press. Plan the pattern so the most visible areas receive full tiles and the cuts fall in places that remain accessible.

When radiator removal becomes a separate job
A radiator may need to be moved when it covers most of the wall, prevents proper surface preparation, or makes accurate installation impossible. That is a heating-system task, not simply an extra decorating step.
Manufacturer guidance describes radiator removal as involving system shutdown, cooling, isolation, draining, disconnection, and refitting. The exact procedure depends on the heating system, valves, pipework, and radiator design. Do not use a generic internet instruction as permission to disconnect or drain your system.
If moving the radiator is necessary, consult the equipment instructions and use qualified help when you are unsure about isolation, water pressure, draining, refilling, bleeding, leaks, or reconnection. The tile project should not create a heating-system problem.
What conditions help peel-and-stick tile stay bonded?
The most controllable conditions are a suitable product, a stable wall, full adhesive contact, careful pressure, protected edges, and enough access for inspection. Good preparation cannot compensate for a product being outside its temperature range, but it can prevent avoidable bond problems.
Think of the installation as a chain. The final result depends on the weakest link:
- Product fit: The tile instructions cover the intended temperature and location.
- Wall stability: Paint, plaster, drywall, or another substrate is firmly attached.
- Surface cleanliness: Dust, grease, moisture, and residue are removed.
- Full contact: The adhesive meets the wall across the intended area.
- Application pressure: The tile is pressed and smoothed according to the instructions.
- Edge protection: Corners and seams are not forced against hot parts or moving surfaces.
- Service access: The tile does not block radiator controls or future maintenance.
- Room conditions: The wall is not damp, unusually hot, or freshly painted during installation.
Radiator-wall readiness check
Use these visible checks before a small-area test or installation. Checking a box is a personal planning aid; it does not establish product suitability.
Avoid common installation shortcuts
Several shortcuts can create trouble near a radiator:
- Applying tile over loose paint because the loose area is small
- Installing immediately after painting
- Cleaning with a product that leaves an oily or waxy film
- Touching the adhesive repeatedly while positioning it
- Pressing only the center and ignoring the edges
- Trapping the tile against a pipe or radiator body
- Covering a wall that shows condensation
- Using extra adhesive or sealant without manufacturer approval
- Assuming a test patch proves suitability at the hottest location
- Cutting the tile so tightly that it cannot move or be removed cleanly
A radiator wall rewards patience. Measure twice, prepare the surface, and decide the stopping line before removing the backing.
Does a heat-resistant tile mean fireproof?
No. Heat resistant means the manufacturer describes the product as suitable for some level or type of heat exposure. It does not mean fireproof, flameproof, suitable for direct contact with a heater, or approved for every installation.
The distinction is especially important because “heat” can mean different things:
- Warm air rising from a radiator
- Heat transferred through a wall
- Direct contact with a hot metal surface
- Radiant heat from a stove or fireplace
- Open flame
- Steam and condensation
- Repeated heating and cooling
A tile designed for a backsplash near moderate kitchen heat may have different limits from a tile intended for a dry accent wall. Product instructions are the deciding source.
What should you do if peel-and-stick tile starts to lift?
Stop and inspect the cause before pressing the tile back down. A lifting edge may indicate poor surface contact, moisture, movement, heat exposure, contamination, or a tile that was cut too tightly around an obstacle.

Common signs and possible causes
| Sign | Possible cause | Sensible response |
|---|---|---|
| One corner lifts soon after installation | Incomplete pressure, dust, awkward cut, or contaminated wall | Remove or reposition only as the instructions allow; inspect the wall |
| Several tiles lift near the radiator | Heat exposure, thermal cycling, poor surface condition, or product mismatch | Stop adding tile and verify the product and wall temperature |
| Paint comes away with the tile | Weak paint bond or removal-sensitive surface | Repair the paint system before reinstalling |
| Bubbling or softening appears | Heat, moisture, trapped air, or substrate movement | Stop and identify the source; do not conceal it |
| Seam opens near a pipe | Cut too tight, movement, or poor contact | Remove the affected section and remake the cut if permitted |
| Adhesive remains on the tile but the wall is bare | Wall coating failure or contamination | Prepare the substrate; replacing tile alone may not solve it |
| Tile will not lie flat | Texture, uneven wall, warped tile, or obstruction | Do not force it; correct the substrate or change the layout |
If the radiator is operating unusually hot, the wall is damp, or the tile has changed shape, color, or surface texture, pause the project. A cosmetic repair may hide a condition that will cause the next tile to fail.
When removal is the better choice
Remove the tile rather than repeatedly pressing a failing edge when:
- The same area lifts again after repair
- The wall shows dampness or condensation
- The tile touches the radiator or heated pipework
- The product instructions exclude the location
- You cannot inspect the full bond
- The tile blocks radiator access
- The wall coating is coming away
- You are a renter and the removal risk is becoming greater than the visual benefit
For removal planning, see the practical guidance on removing peel-and-stick tile from painted walls. The exact result depends on the tile, adhesive, paint, wall condition, age of the installation, and removal method.
Renters should record the wall before installation and keep spare tiles or product information for future repairs. If the wall is already fragile, a removable tile may still cause damage during installation or removal.
Frequently Asked Questions
Is peel-and-stick tile safe near a radiator?
It may be suitable near a radiator when the exact tile instructions cover the measured heat exposure, the tile avoids direct contact with the heat source, the wall is sound and dry, airflow remains open, and the installation can be completed accurately. “Safe” cannot be determined from the phrase “heat resistant” alone.
Will heat make peel-and-stick tiles fall off?
Heat may contribute to adhesive problems, but the available evidence does not show that radiator heat makes every peel-and-stick tile fall off. Adhesive performance can depend on temperature, duration, heating and cooling frequency, cure state, load, surface contact, and wall condition. Inspect the product instructions and the actual installation conditions before drawing a conclusion.
How close can peel-and-stick tile be to a radiator?
There is no universal distance for every tile and radiator. Use the radiator manufacturer’s clearance guidance to protect airflow, then use the tile manufacturer’s heat and installation guidance to determine whether the wall location is suitable. A distance borrowed from wallpaper, stove, fireplace, or another tile product should not be treated as a radiator rule.
Can I tile behind a radiator without disconnecting it?
You may be able to tile a reachable section without disconnecting the radiator. The wall must be accessible enough for accurate measuring, cutting, pressing, and inspection. If the radiator blocks the work or the tile would interfere with brackets, valves, pipes, or service access, change the layout or obtain appropriate heating-system help.
Is a test patch enough to prove the whole radiator wall will work?
No. A test patch can reveal surface and removal problems, but it may not reproduce the hottest area, the full pattern of heating and cooling, or the most difficult cuts around brackets and pipework. Use the test together with product documentation, wall inspection, temperature checks where practical, and a realistic access assessment.
Final decision: proceed, change the position, or pause
Peel-and-stick tile can be a practical room-refresh material near a radiator, but directly behind the radiator is a conditional application rather than a universal yes. The strongest candidates are installations where the product instructions cover the measured conditions, the tile does not touch heated equipment, the wall is smooth and stable, airflow remains clear, and you can install and inspect the tile without altering the heating system.
Choose a lower-risk position when the product has no relevant heat guidance, the wall temperature is uncertain, the radiator runs unusually hot, the wall shows moisture or loose paint, or access is too restricted for proper pressure and cutting. Beside or above the radiator may give you the appearance you want while reducing the most difficult installation conditions.
Before purchasing, measure the proposed area, identify the radiator type, inspect the wall, review the exact tile instructions, and ask the manufacturer about any unresolved condition. For product-specific questions, use the available support and installation information and request confirmation when the intended placement falls outside the published guidance.
Proceed only when the evidence and the physical installation agree. If they do not, moving the tile a short distance may save you from a larger repair later.


Leave a comment
This site is protected by hCaptcha and the hCaptcha Privacy Policy and Terms of Service apply.