






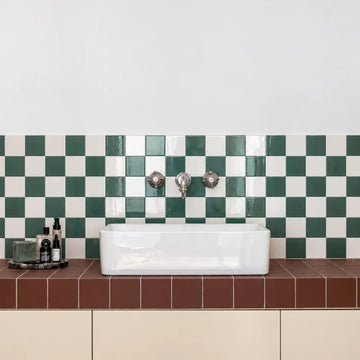

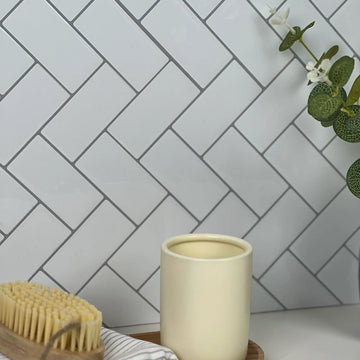
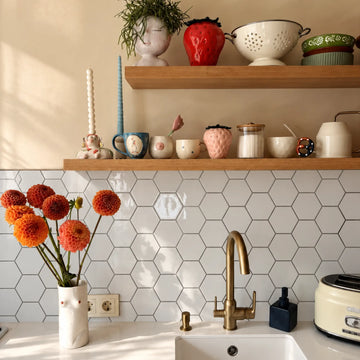
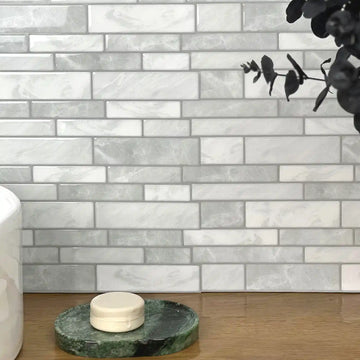


Caulk above a butcher-block countertop can fail because the joint moves, the sealant does not adhere to the actual finishes, the bead is poorly formed or moisture and cleaning conditions exceed the system's limits. Identify which layer separated before repairing it. Use the countertop, tile and sealant instructions together rather than choosing a universal gap, adding more glue or assuming that every failure has the same cause.
Explore this guide
The line between a wood worktop and a decorative backsplash is small, but it joins materials with different roles. The countertop must remain properly supported and maintained, the wall covering needs a suitable base, and the joint must accommodate the conditions for which it was designed. A neat bead on installation day does not establish that all three requirements have been met.
This guide does not report a completed Stickwoll sealant trial or rank silicone, acrylic and grout by invented scores. It explains how to inspect a problem, ask for the correct detail and plan an appropriate repair. Numerical examples illustrate joint movement only; they are not specifications for your countertop.
Describe the failure before choosing the repair
Look at the joint from several positions when it is safe and dry enough to inspect. Note whether the sealant split through its body, separated from one side, remained attached to a loose tile or pulled paint from the wall. Photograph the whole area as well as the close-up so the location is clear.
Check whether the issue is local or repeats along the full run. A corner beside a sink may have different exposure from a normally dry end. Record when the change appeared and any recent work, cleaner change or leak. Do not assign a chemical cause from the appearance alone.
Separate the observation from the suspected explanation. Sealant detached from the wood is a useful description. The wood moved exactly one-eighth of an inch because the house became humid is a different claim that requires measurements and context. Keeping the distinction clear makes supplier or installer advice more useful.

Identify the countertop finish, wall covering and joint as separate components.
Understand wood movement without using a universal number
Wood exchanges moisture with its surroundings, and its properties depend on material and moisture conditions. The USDA Forest Products Laboratory's Wood Handbook discusses those relationships in its chapter on moisture and physical properties. That supports considering the countertop's construction and environment; it does not supply one movement distance for every butcher-block top. Wood Handbook chapter.
Find the countertop's species, construction, finish and installation guidance where available. Width, grain orientation, restraint and the conditions experienced all matter to the movement question. A description such as solid wood is not enough to calculate the joint requirement. Ask the countertop manufacturer or a qualified installer about the actual assembly.
Do not change the top's fastening method casually to stop a visible gap. Restraining a component differently can create another problem rather than repair the joint. The countertop support and movement provisions need their own appropriate detail. A decorative sealant bead is not a substitute for that work.
Identify every surface the sealant actually touches
The sealant may contact the wood finish rather than bare wood, and the decorative tile coating rather than its core. At another point, it may contact paint, trim, an old bead or residue from maintenance products. List these surfaces before selecting a replacement sealant.
Check whether oil, wax or a coating has been applied to the countertop and when. Do not strip a finish or clean it with a solvent merely because another installation guide did so. The countertop's care requirements and the sealant's preparation requirements both need to be satisfied.
John Boos, for example, provides different care routes for its named countertop finishes and warns against unsuitable cleaning and excess treatment. Those instructions apply to its products, not every wood top. Their practical lesson here is to identify the actual finish before changing the surface at the joint. John Boos care guidance.
Distinguish sealant failure from tile or wall failure
If the bead remains attached to a piece of paint or tile that has moved, the visible problem may involve the underlying connection. Replacing the sealant alone may leave that cause untouched. Likewise, a split in the bead does not prove the tile adhesive is defective.
| Observation | Question to investigate | Do not assume |
|---|---|---|
| Bead releases from the wood side | Finish compatibility, preparation and movement | That every silicone is unsuitable for wood |
| Split through the bead | Joint shape, movement and the specified material | That more surface caulk will resolve the detail |
| Tile edge moves with the bead | Tile contact, substrate and exposure | That the sealant alone caused the separation |
| Paint comes away | Coating condition and adhesion below the sealant | That a stronger product repairs weak paint |
| Darkening or dampness returns | Water source and concealed conditions | That recoloring or covering the joint fixes moisture |
Use these distinctions to organize evidence, not to diagnose the entire assembly without inspection. Save the product identities and any installation records. A qualified installer can then assess the joint with more information than a single photograph of a crack.
Ask for a joint detail, not just a tube recommendation
Joint width, depth, contact surfaces and any backing material belong together. A sealant may need a specific geometry to accommodate its intended movement. Do not choose a tiny gap only because it looks discreet, or fill a deep void entirely because a larger bead seems stronger.
Manufacturer guidance commonly addresses substrate preparation, bead shape and the use of backing where appropriate. GE's kitchen-and-bath material, for example, provides product-specific preparation and use conditions. Use the exact relevant instructions rather than transferring one product's dimensions to every tile-and-wood joint. GE product instructions.
Do not confuse a decorative perimeter joint with a structural repair. A loose countertop, unstable cabinet or damaged wall needs an appropriate assessment. The sealant cannot make an unsupported edge load-bearing or correct a fastening problem simply because it bridges the visible opening.
See why the same movement matters more in a narrow joint
Consider a simplified hypothetical joint that opens by one millimetre. If its starting width is six millimetres, the change is one divided by six, or approximately 16.7 percent. If its starting width is three millimetres, the same change is approximately 33.3 percent. This arithmetic illustrates a relative movement question.
It does not establish that your countertop will move one millimetre or that either example joint is acceptable. Real joint behavior can involve opening, closing, shear, installation conditions and the material's specified limits. A product classification also has a defined test scope. Do not convert the example into an installation instruction.
The useful next step is asking what movement and joint shape the actual system must accommodate. Keep the answer with the countertop and wall-product instructions. A documented detail is more useful than a rule that every gap below one-eighth inch should be caulked and every larger gap should receive trim.
Compare sealants by the actual requirements
Identify the accepted substrates, expected water exposure, required movement capability, paintability, preparation and return-to-use conditions. Silicone, acrylic and hybrid descriptions cover different products. Do not assign a universal winner or use a brand family name instead of the exact cartridge.
If paintability matters, verify it specifically. If the joint receives repeated water, check that exposure rather than assuming any kitchen label is sufficient. A product can be appropriate for one joint but excluded from continuous immersion or another demanding use. Keep those distinctions visible during selection.
Check compatibility with the decorative face and the countertop finish, including possible staining. The application may involve an unusual combination that is not named on the label. Ask for written clarification when needed rather than treating a successful-looking small bead as permission to override an exclusion.
Grout and flexible sealant also have different roles. Follow the appropriate system detail at a material transition or movement location. Do not replace an intended flexible joint with rigid material merely to match the printed grout color.

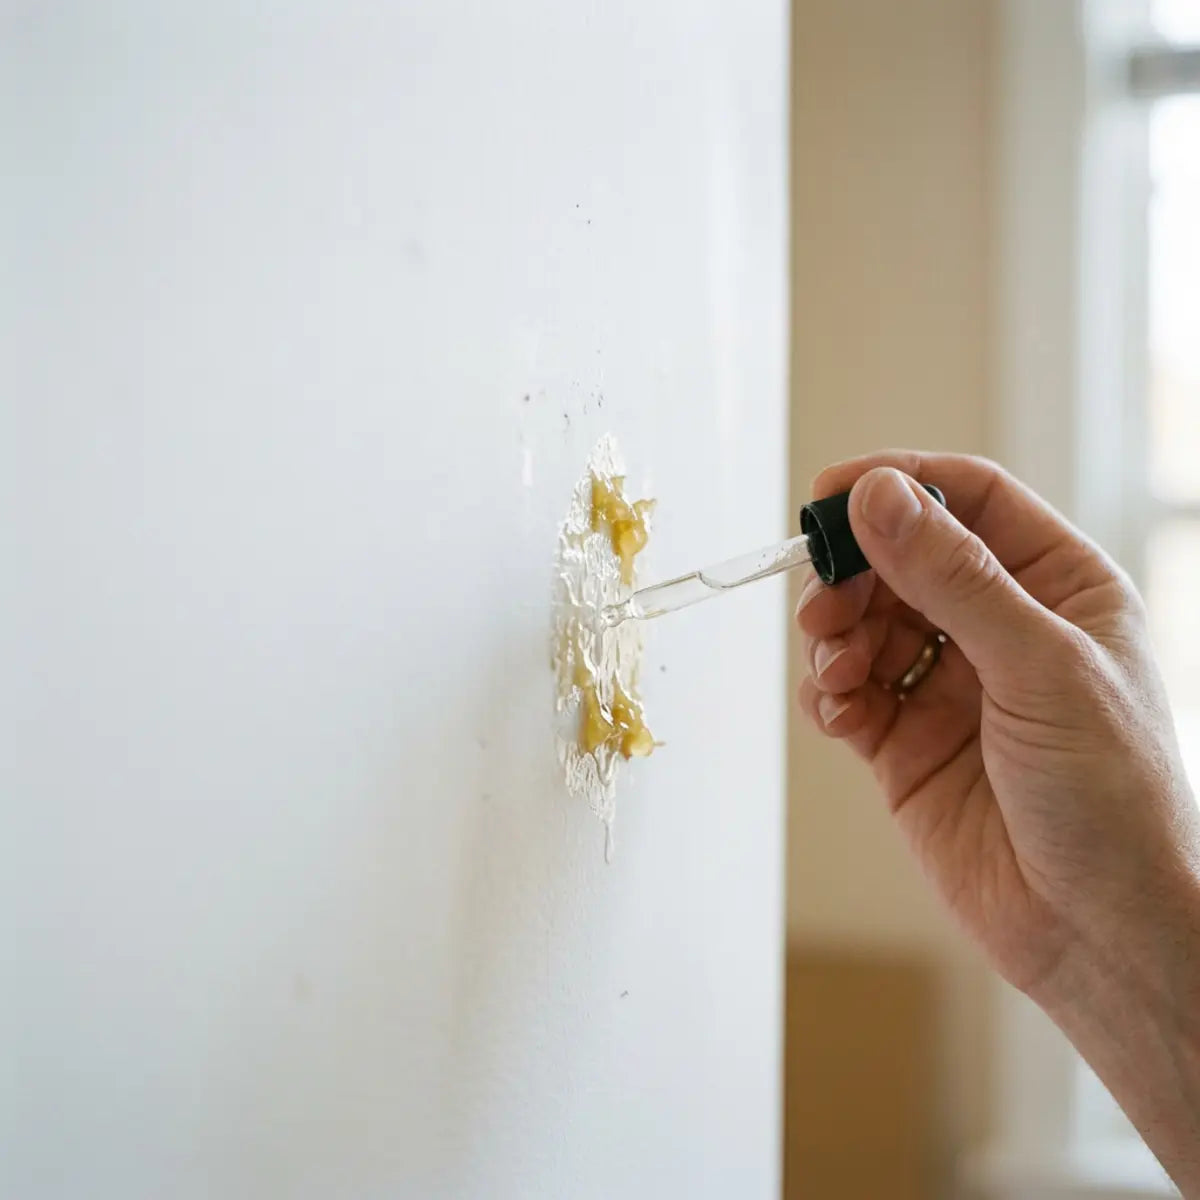
Illustrative damage. The image alone does not establish the failure cause or measured movement.
Resolve water exposure before hiding the joint
Trace where water can arrive: sink splashes, a leaking fixture, a wet object placed against the wall or condensation elsewhere in the room. Observe ordinary use rather than deliberately flooding the joint. A stain alone does not identify whether the source is above, below or behind the visible surface.
EPA's moisture guidance emphasizes correcting the source and cautions against painting or caulking over mold. A new bead can make a line look finished without resolving damp wall material or a leaking connection. Pause cosmetic repair when the condition is uncertain. EPA moisture guidance.
Keep the area inspectable during the repair plan. Do not introduce trim that conceals the place where moisture repeatedly appears. If professional assessment is needed, provide the event history, photographs and accessible observations without opening a wall or disturbing suspect material merely to gather more dramatic evidence.
Remove the failed material without creating a larger defect
Use a removal method appropriate to the sealant and the surfaces. A tool that can lift cured material can also gouge a soft countertop finish, cut a decorative face or damage paint. Work in a controlled area and stop if the underlying material begins to fail.
Do not cut blindly along an installed wall or push a blade into a concealed gap. Electrical, plumbing and material hazards should be assessed before disturbance. If the old coating or material is unknown, obtain appropriate advice rather than sanding or scraping aggressively.
Record what remains after the bulk is removed. A thin residue can affect the next bond, but a solvent accepted for one surface may harm another. Follow the relevant product directions and ask about the combination. Never assume mineral spirits, alcohol or a commercial remover is suitable for every wood finish and tile.
Prepare both sides without mixing incompatible procedures
Use the accepted cleaning and drying method for the actual joint. Keep old sealant, loose material and incompatible residue out of the bond area. Do not interpret clean as a reason to use the strongest chemical available. The result must remain compatible with both surfaces and the new sealant.
Where an oil-finished counter requires maintenance, coordinate that work with the joint preparation. Applying a fresh oily treatment into the intended sealant contact area immediately before caulking may conflict with the sealant requirements. Ask how the countertop and joint should be treated in sequence rather than improvising a degreasing step.
Record the products and timing actually used. A future failure is easier to investigate when the preparation history is known. Do not label the entire surface chemically neutralized merely because it was wiped; residue removal should follow the specified process rather than an invented household reaction.
Tool the bead according to the product, not a shortcut
Set up the appropriate nozzle, application tool and any specified backing before opening the cartridge. Work on an area you can finish within the product's permitted tooling time. A bead that has begun changing should not be repeatedly reworked because the first pass was untidy.
Do not spray alcohol, soapy water, oil or another liquid onto a bead simply to make a tool slide. GE's tooling guidance separates approved surface preparation from smoothing the sealant and cautions against introducing cleaners or lubricants while tooling. Follow the actual sealant and tool instructions. GE kitchen-and-bath guidance.
Keep the finished profile consistent with the approved joint detail rather than flattening it into a very thin cosmetic film. Remove masking as directed, and protect the area from the exposure prohibited during cure. A water-ready time and complete cure conditions are not interchangeable assumptions for every product.
Repair a loose tile only after identifying its cause
If the tile itself has detached, inspect the permitted preparation, substrate and exposure before adding adhesive. A weak coating, contaminated backing, unsupported edge or continuing moisture problem requires a different response. Additional construction adhesive changes the assembly and can complicate removal.
Ask whether the affected piece should be replaced and which procedure is approved. A removed tile may not be reusable even if its face looks intact. Retain the product and batch information so the replacement can be compared under the actual light.
Do not promise an invisible patch. Pattern, sheen, age and batch differences may remain noticeable. A wider planned repair can sometimes be more coherent than a tiny mismatched insert, but the decision should follow actual available material and the supplier's guidance.
Use layout to reduce awkward edges without eliminating required movement
During a new installation, dry-fit the lower row and any difficult cabinet boundaries before exposing adhesive. Avoid fragile slivers and unsupported overhangs where the product does not allow them. An accurate cut can improve appearance, but it should still leave the joint detail required by the complete system.
Do not force every tile tightly against the wood to hide the transition. Likewise, do not assume a large caulk bead will make a poorly planned gap durable. Compare the cut, trim and sealant options before installation and obtain the appropriate detail for the actual materials.
The scribing guide explains how to transfer an irregular boundary. Use it to plan a controlled fit, not to override movement or moisture requirements. Keep the countertop's support and the wall finish's attachment as separate parts of the plan.

Illustration only; use the actual compatible joint detail and product directions.
Keep the ongoing care routine compatible with the joint
Check the cleaning instructions for the countertop, decorative face and sealant. The overlap of permitted methods matters at the joint. A cleaner suitable for the middle of a worktop may be inappropriate on an adjacent printed finish or fresh bead.
Control routine runoff and remove residue as directed. Do not leave a wet cloth or bottle resting against the joint indefinitely. If a mark persists, identify whether it is dirt, a finish change or moisture-related staining before escalating the method.
Keep care instructions available to others using the kitchen. Record any changed cleaner or countertop treatment. The backsplash cleaning guide can help organize those questions, but the actual products' requirements still govern the method.
Record changes without calling them a durability trial
Save baseline photographs after a permitted repair and note the product identities, preparation, joint detail and return-to-use conditions. During ordinary maintenance, look for changed gaps, separation or recurring dampness. Do not pry the bead or tile repeatedly to test its strength.
If a change appears, record when it was noticed and any relevant event. Seasonal conditions, a plumbing repair or a new cleaner can be useful context, but they do not prove a cause. Keep measured facts separate from guesses.
A sample or repaired joint observed for a period of use does not establish a universal sealant lifespan. Nor does a flat-looking tile demonstrate a percentage of retained adhesion. Describe the actual condition and any repair, including unsuccessful outcomes, rather than turning a maintenance log into a promotional score.
Compare repair scopes before choosing the cheapest tube
Separate sealant replacement, tile replacement, countertop adjustment and wall repair in the quotation. A simple cosmetic bead is a different scope from correcting a damp substrate or an unsuitable mounting detail. Ask what the proposed price includes and what remains unresolved.
For an illustrative budget, list removal, compatible preparation, materials, finishing and any professional assessment as separate lines. Use actual quantities and quotes instead of a fixed cost per foot taken from an unrelated project. The least expensive cartridge is not necessarily the least expensive complete repair.
Keep possible future access in mind. A repair that hides shutoffs or makes an important joint impossible to inspect can create later disruption. The objective is an appropriate, maintainable detail rather than the smallest initial visible expense.
Frequently asked questions
Is silicone always better than acrylic above butcher block?
Choose the exact product for the substrates, movement, exposure and finishing requirements. A broad material name is not enough to decide. Do not use an invented ranking or assume every product within a category has the same performance.
What gap should I leave?
Use the detail required by the countertop, tile and sealant system. The correct width and depth depend on the actual construction and anticipated movement. A generic one-eighth-inch rule cannot replace those requirements.
Can I caulk over an old bead?
Follow the new product's preparation instructions and the condition of the existing joint. Do not assume a fresh surface layer establishes a sound bond to contaminated, failed or incompatible material below it. Investigate why the old bead failed first.
Can I use alcohol to smooth the sealant?
Do not improvise a tooling liquid. Follow the exact product and tool instructions, which may distinguish approved preparation from tooling. A solvent accepted for cleaning one substrate is not automatically permitted in or on an uncured bead.
Does cracked caulk prove that the countertop moved?
It may prompt a movement investigation, but the crack alone does not establish the cause or amount. Joint shape, adhesion, preparation and exposure can also matter. Record the observed failure and assess the complete detail.
Will a new bead waterproof the wall?
It does not turn an unsuitable decorative assembly into a waterproof system. Correct any water source and use an appropriate complete detail. A neat line cannot compensate for damp wall material, an unapproved product or an unresolved leak.
Prepare a useful repair brief for the installer
A concise repair brief can begin with the countertop make and finish, tile product, sealant name if known and the approximate installation date. Add photographs of the full run and the particular separation. Describe whether the bead split, detached from one side or moved with a piece of the underlying finish. Do not label the cause as wood expansion unless it has actually been established.
Explain the ordinary use near the joint. Include sink splashes, wet objects stored at the edge, nearby hot equipment and the cleaners used on both surfaces. Record recent changes such as refinishing the wood or replacing a dispenser. These details help the installer evaluate the combination rather than recommending a cartridge from the photograph alone. Where the product or history is unknown, say so rather than guessing a formulation.
Ask the installer to distinguish removal of the old bead from repair of the underlying materials. A quoted sealant replacement may assume that the counter, wall and tile are already sound. If the inspection finds loose paint or persistent dampness, confirm the changed scope before proceeding. This avoids treating a cosmetic estimate as an assurance that every concealed problem has been included.
Compare two repair situations
In one hypothetical kitchen, a localized bead has released from a known coating, but the countertop and tile are stable and no continuing water problem is found. The repair can be planned around the verified surface preparation and a compatible joint detail. In a second kitchen, the tile and paint move together and the adjacent wall remains damp. Simply repeating the first kitchen's sealant choice does not address the second condition.
Neither example proves that a certain sealant is generally superior. The first decision depends on documented compatibility and geometry; the second needs the source and supporting assembly resolved first. A change in color or a thicker bead cannot substitute for that difference. Keep photographs of the condition before any material is removed so later advice is not based only on a newly cleaned opening.
Keep dimensions tied to an actual reference
If you record joint movement, identify the measurement points, date and conditions. Use a method that does not damage the joint or require contact with unsafe equipment. A ruler placed differently in two photographs can create an apparent change. A visual impression that the line is wider is useful as an observation but not an exact movement measurement. Ask a qualified person for a suitable method where dimensions determine the repair specification.
Also distinguish the width of a visible surface smear from the width of the actual working joint. A wide decorative bead over a narrow gap may not behave like a properly formed joint of the same apparent width. The selected sealant's instructions and the installer should define the contact surfaces and backing where needed. Do not determine acceptance from a front-facing photograph of the finished line alone.
At handover, retain the actual cartridge identity, prepared surfaces, agreed joint detail and conditions before exposure resumes. Note which areas were repaired and which were only inspected. Keep a copy with the countertop care guidance so future oiling or cleaning does not unknowingly change the bond area. If the problem returns, this record makes the next investigation more specific than beginning again with a generic request for a stronger caulk.
A satisfactory repair plan includes a response to recurrence. Ask what should prompt another inspection and whom to contact, rather than accepting a vague permanent-fix promise. The object is a suitable, inspectable connection between materials that continue to be used and maintained, not a numerical score or a claim that movement has been eliminated from the kitchen.
Describe the repaired joint accurately to the next person
If a tenancy, sale or change of contractor follows the repair, keep the actual scope clear. State which bead was replaced, what supporting repair was performed and what was not inspected. Do not turn a neat finished photograph into a claim that the entire wall or plumbing system has been assessed.
Retain any observation that still needs follow-up, together with the relevant contact and product documents. A recurring symptom should remain visible in the record even when the immediate appearance is improved. This helps the next person maintain the countertop and wall without repeating incompatible preparation, concealing a moisture problem or mistaking a cosmetic repair for a complete-system guarantee.
Sources and scope
- USDA Forest Products Laboratory: Wood Handbook, Moisture Relations (2021) — Moisture principles; no universal countertop movement dimension.
- John Boos: Kitchen Countertop Care — Manufacturer-specific finish care.
- GE Sealants: Advanced Silicone 2 Kitchen and Bath — Product-specific limits; not a ranking of all silicone and acrylic products.
- GE Sealants: Kitchen and Bath Tooling Guidance — Approved preparation is distinct from tooling; no improvised solvent lubricant.
- US EPA: Mold, Moisture and Your Home — Correct moisture before decoration.


Leave a comment
This site is protected by hCaptcha and the hCaptcha Privacy Policy and Terms of Service apply.