

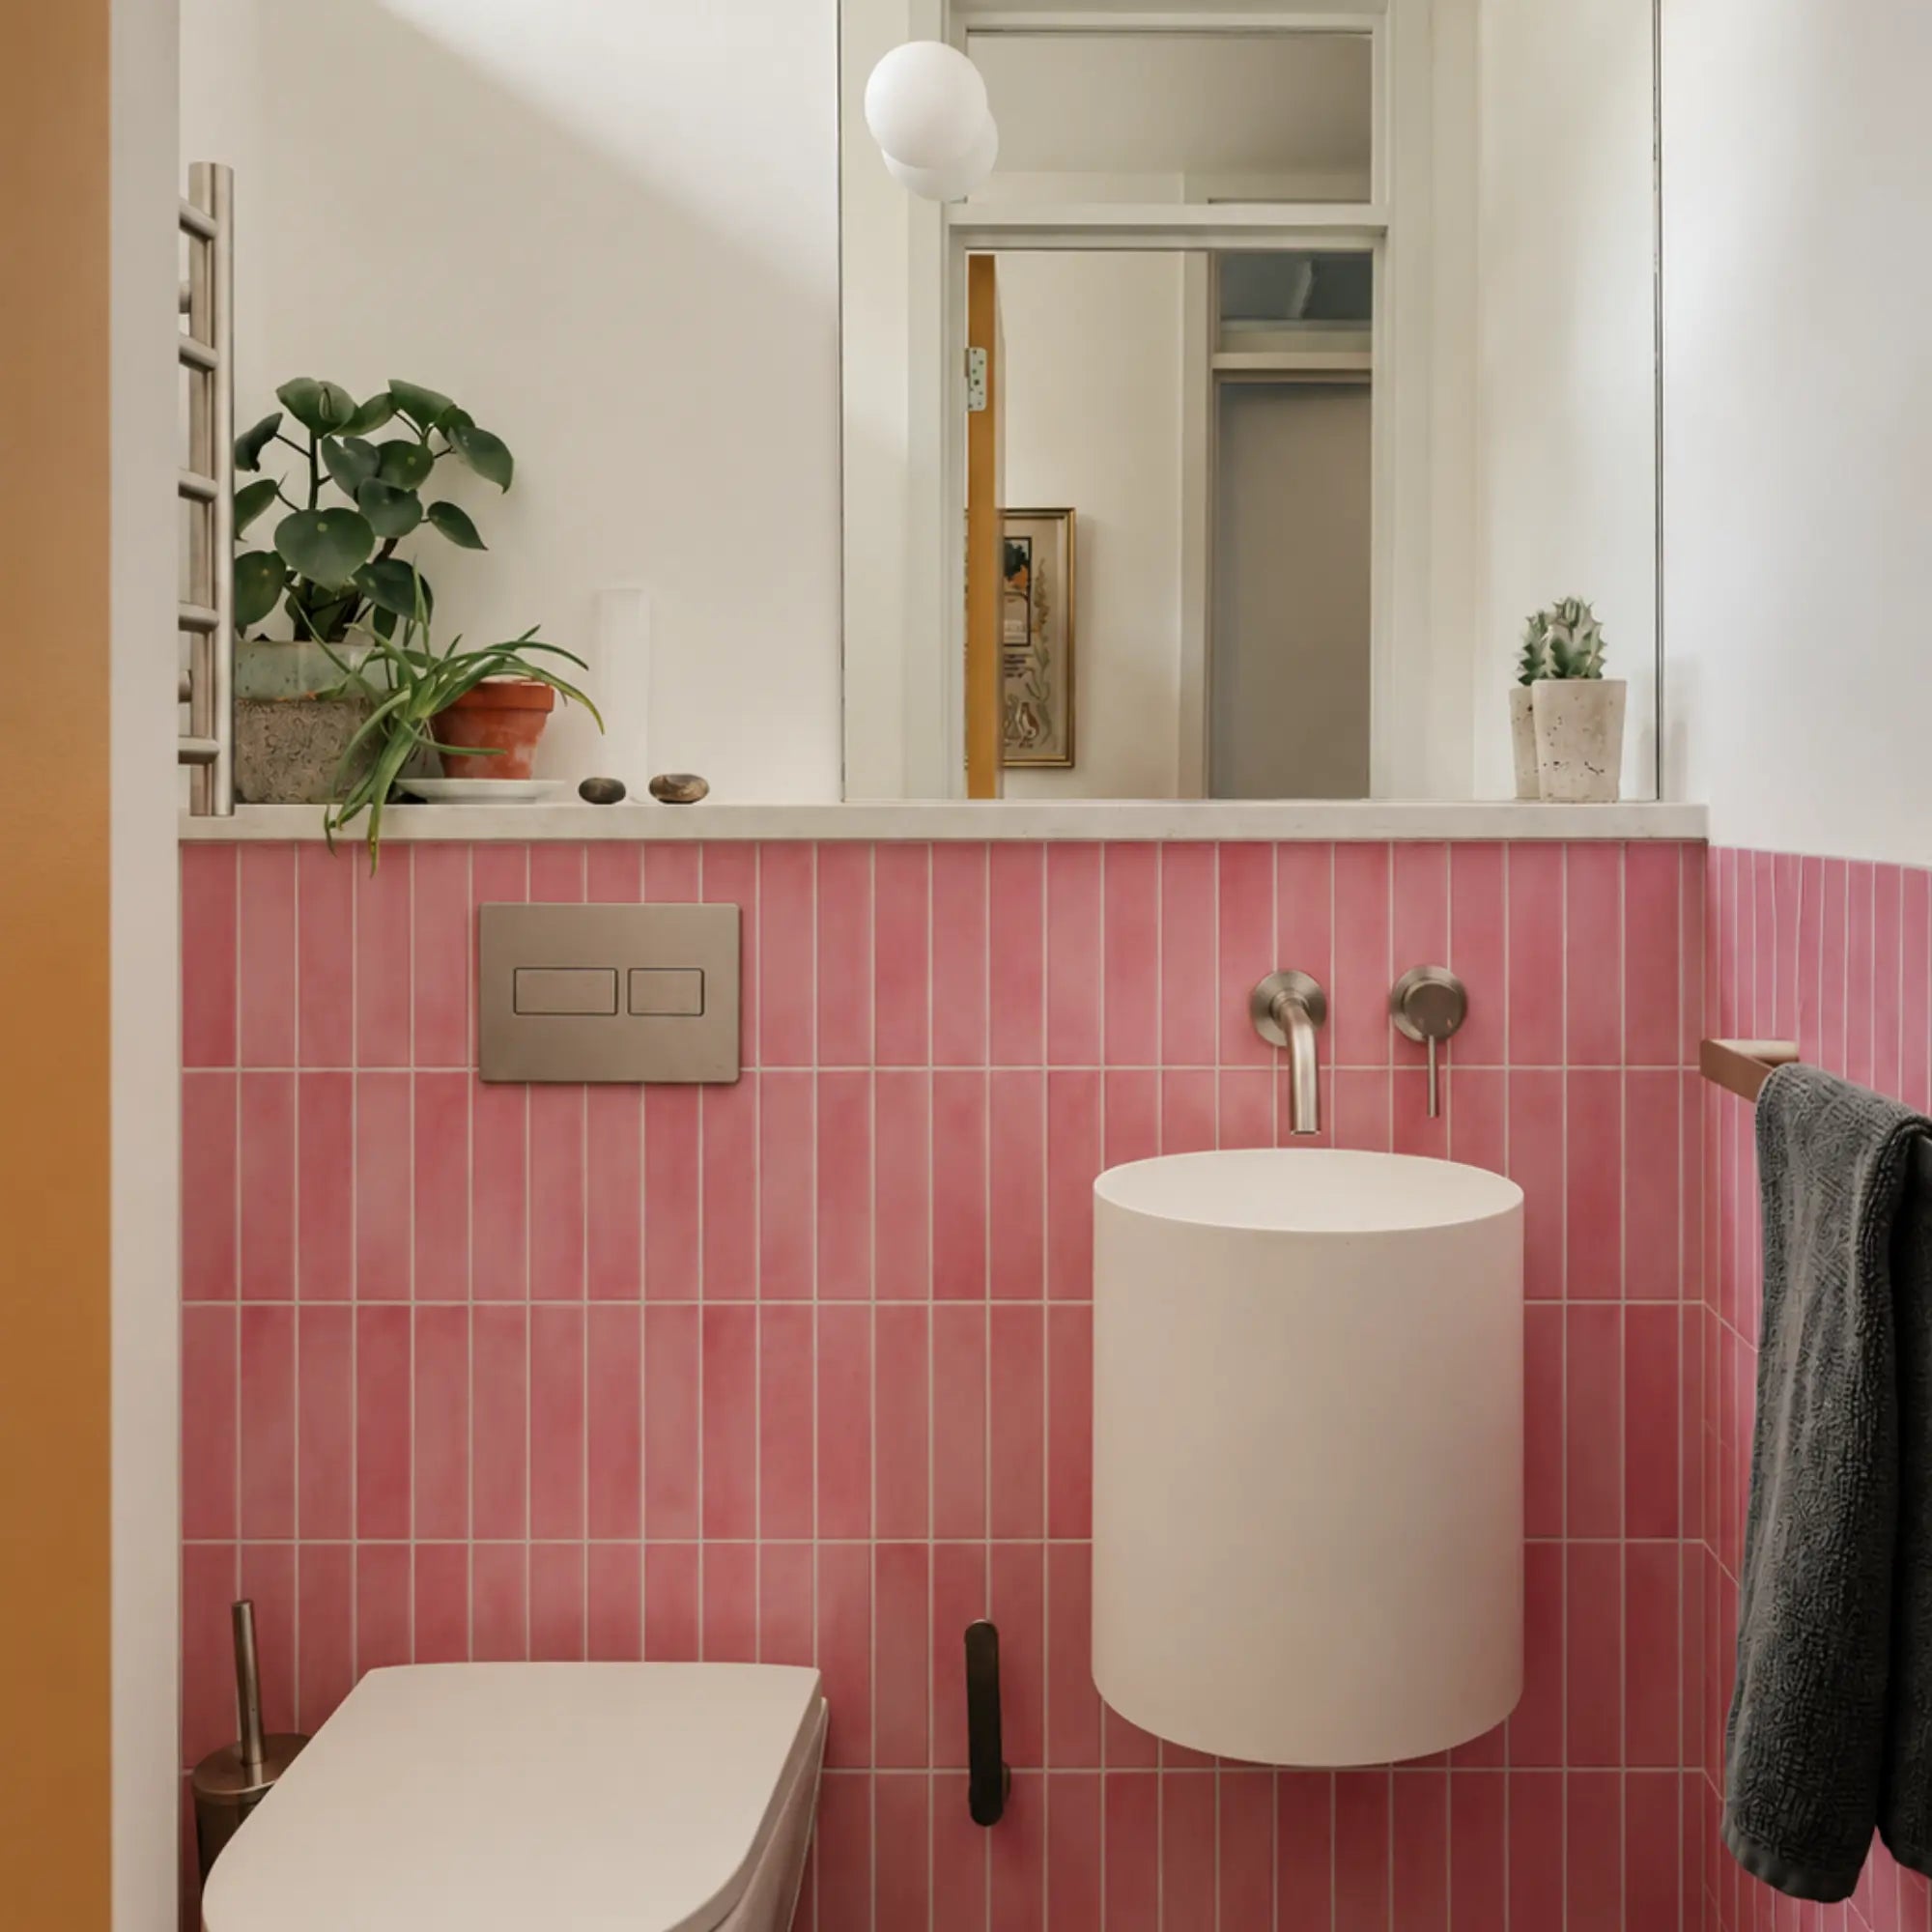
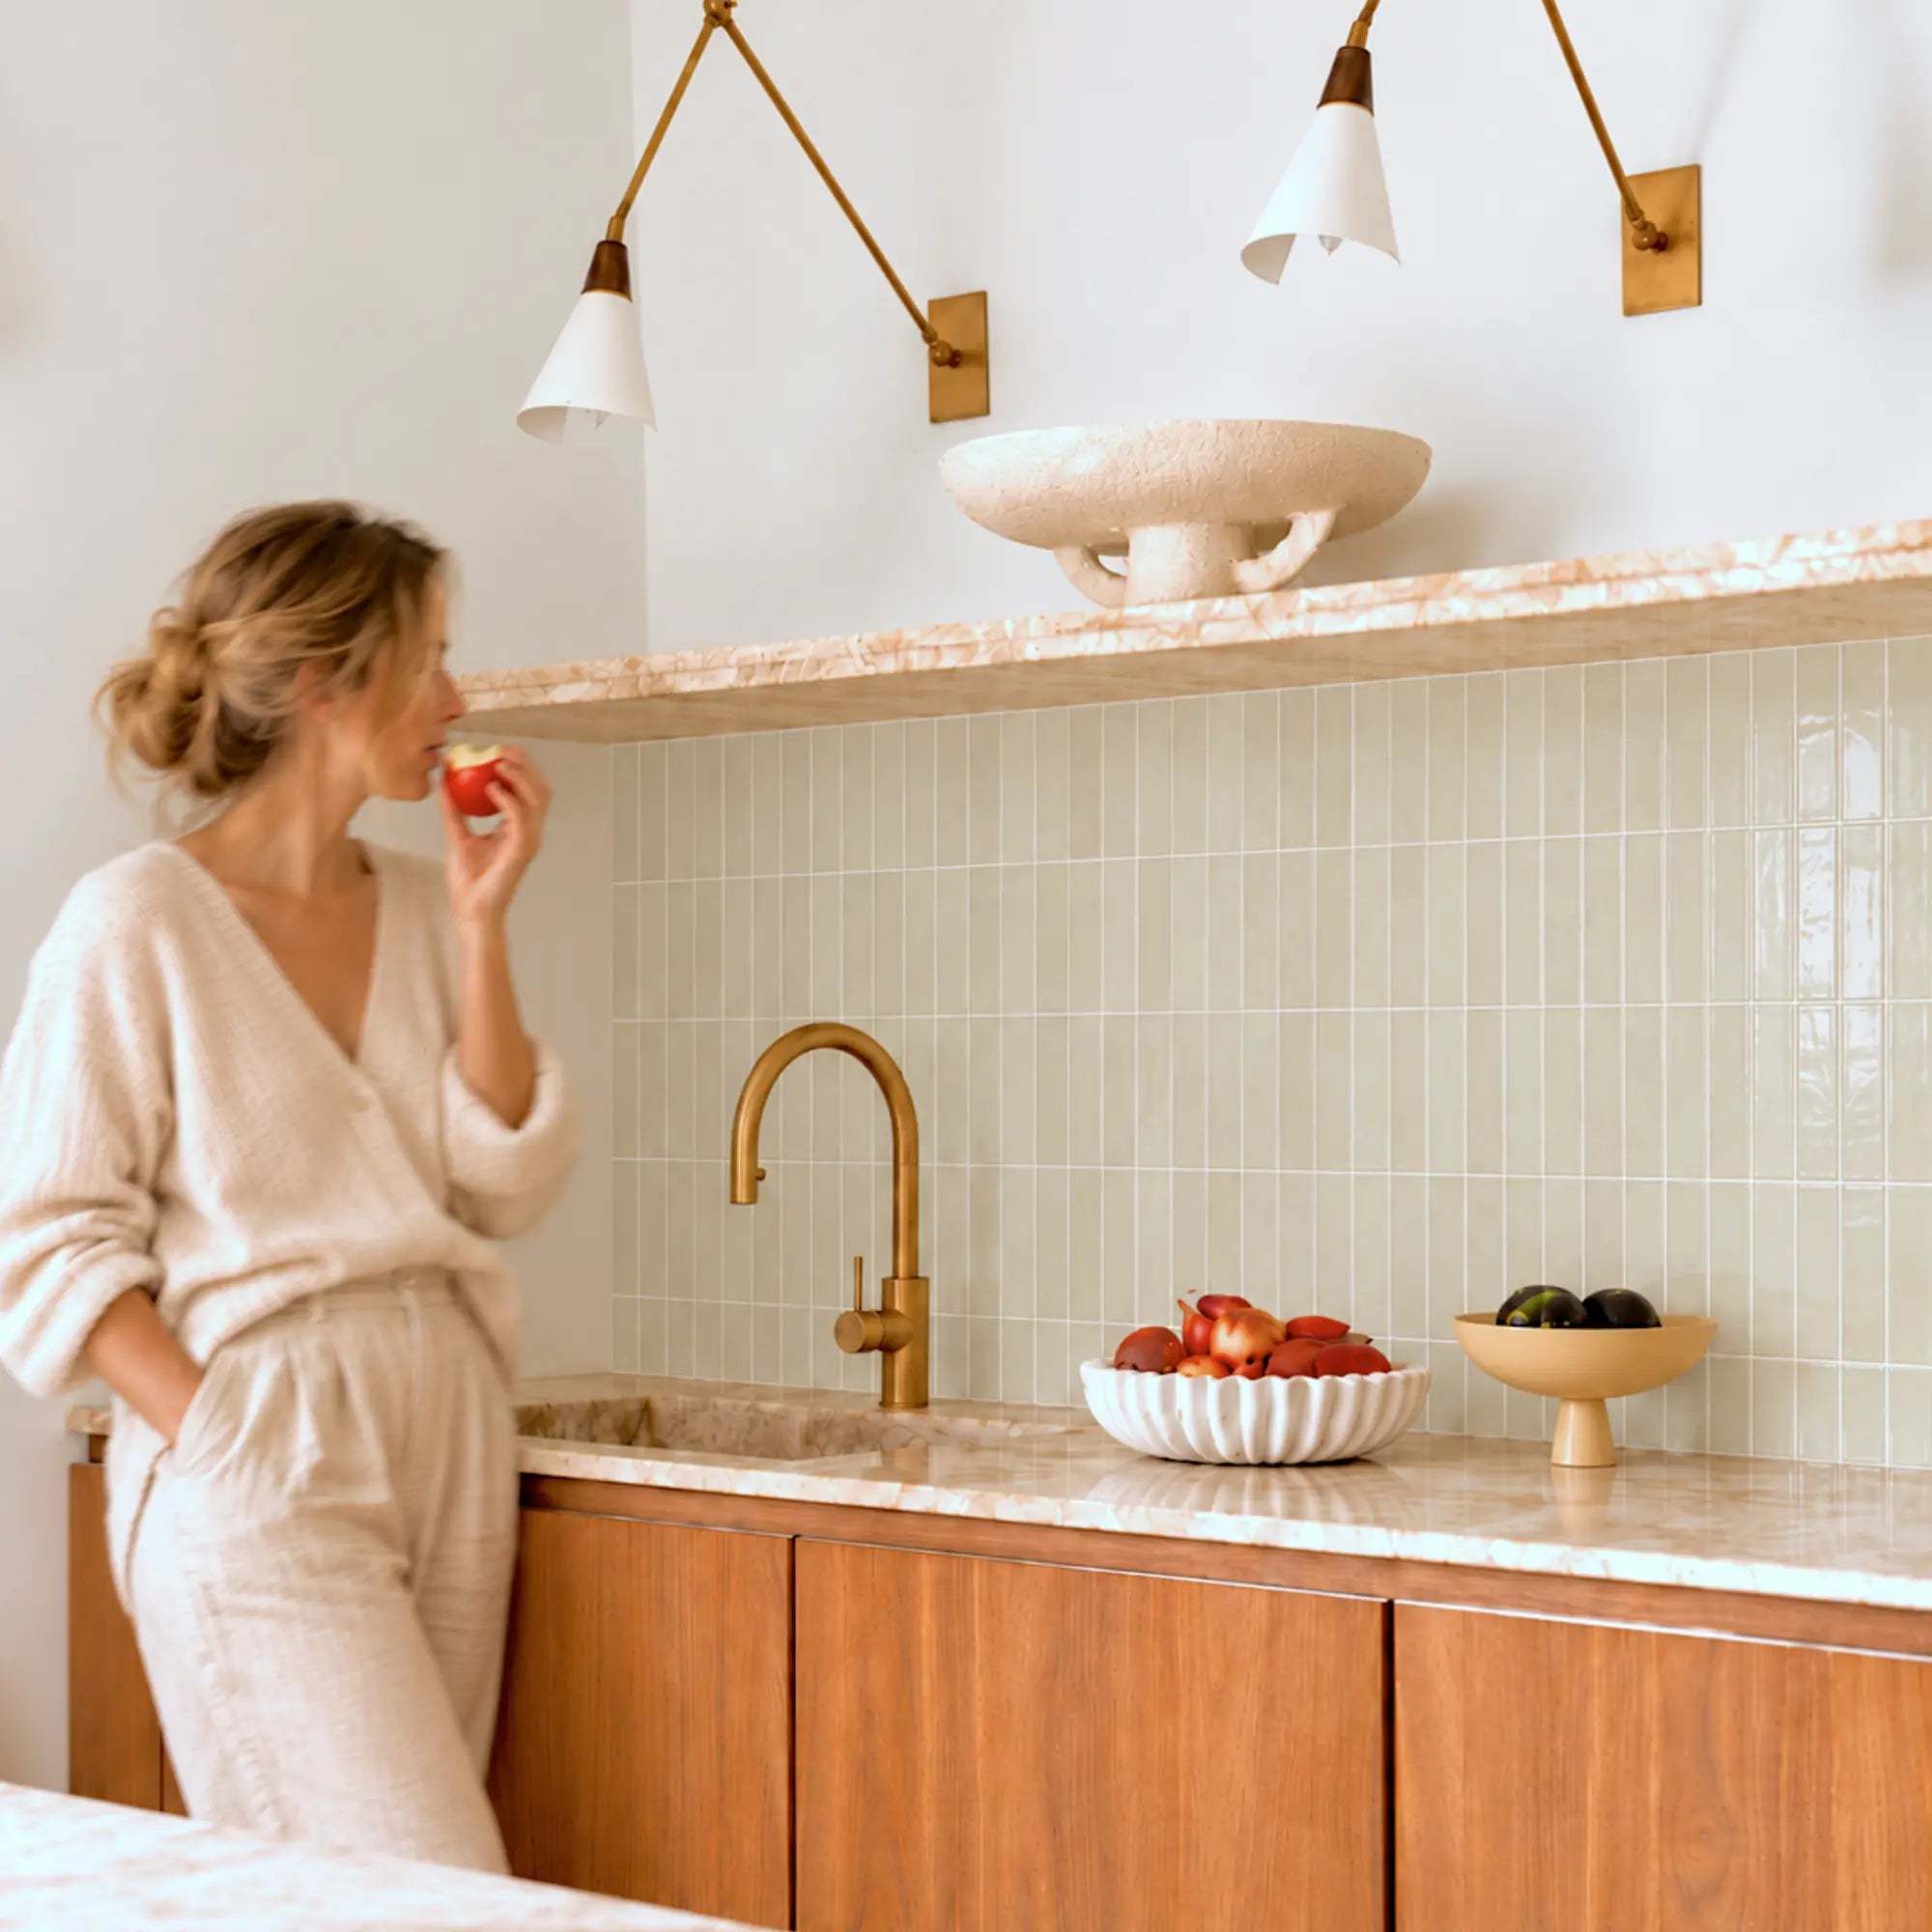


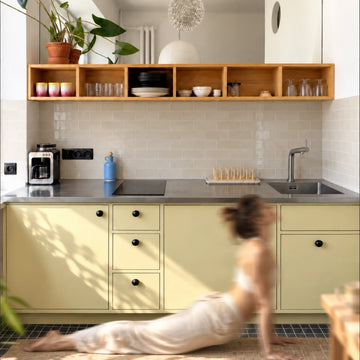
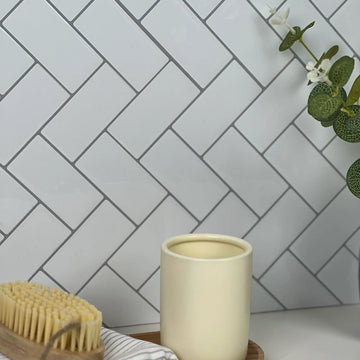
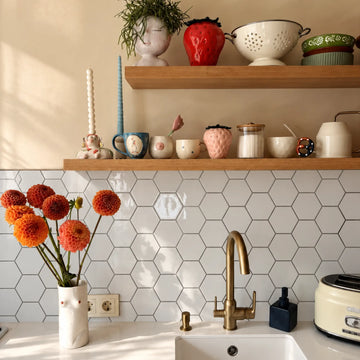
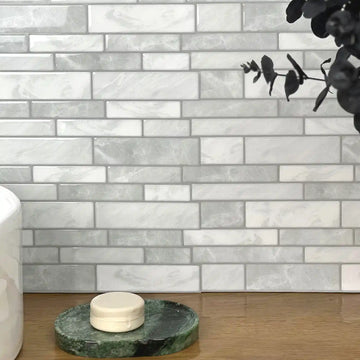

Upgrade a kitchen on a budget by keeping what works, fixing problems before decorating and choosing one clearly defined improvement at a time. Measure the actual project, compare complete costs and reserve money for preparation and finishing. A suitable peel-and-stick backsplash can change a small wall without a full remodel, but it is not automatically approved for every surface, heat source or rental property.
Explore this guide
A limited budget makes the order of decisions especially important. Buying a discounted finish before checking the wall can leave too little money for the work that makes it usable. Replacing functional items because they do not match a photograph can also consume money without improving the way you cook. Begin with the kitchen you have, the tasks that frustrate you and the amount you can spend without relying on an imagined resale return.
This guide separates low-cost styling, maintenance, decorative wall work and projects that need professional help. The numerical examples use hypothetical quantities and prices, not current quotations or Stickwoll specifications. Use them to build your own worksheet, then replace every example input with the information for your room and chosen materials.
Define the improvement before setting the shopping list
Write one sentence describing what the project should accomplish. You might want a clearer food-preparation counter, a more coherent color scheme, a washable decorative area or an easier place to store everyday utensils. Make the objective specific enough to inspect after the work. A beautiful kitchen is a useful ambition, but it does not tell you which purchase to make first or which work to leave alone.
Walk through preparing an ordinary meal. Notice where you put ingredients, where used tools accumulate and whether you can reach the items you use most. Then look at the room from its entrance and normal seating positions. These are different observations: a counter can photograph well while being inconvenient, and a useful kitchen can have a few visual inconsistencies that are inexpensive to address.
Choose a primary objective and a secondary one. For example, the primary objective could be clearing a usable preparation area, with a quieter backsplash as the secondary improvement. This gives you a reason to decline an attractive purchase that does neither job. You are not creating a score of the room's quality; you are protecting a limited budget from unrelated additions.
Inventory what is already worth keeping
List cabinets, worktops, flooring, lighting, appliances and movable accessories. Record condition separately from appearance. A cabinet door with a color you dislike is different from a loose or damaged cabinet. A backsplash that looks dated but remains sound is different from one hiding recurring dampness. Do not decide replacement from style alone before you understand the repair implications.
Make three columns: keep, investigate and consider changing. Put uncertain items in the middle rather than forcing an immediate decision. Photograph the relevant details and note any model numbers or finish information. This is particularly useful for hinges, handles, lamps and appliances, where dimensions and compatibility can matter more than the photograph on a shopping page.
Start by removing only movable clutter that does not belong in the kitchen. Return borrowed storage containers or accessories to their normal places before buying more. Do not discard a serviceable item merely because the renovation has begun. A replacement should solve an identified problem, fit the room and justify its complete cost.
Resolve defects before paying to conceal them
Investigate leaks, persistent condensation, unstable finishes, damaged electrical fittings and equipment problems before decorative work. A covering can make a problem harder to see without correcting its source. The US EPA's moisture guidance emphasizes fixing the water problem and cautions against painting or caulking over mold. That is a reason to pause decoration, not to diagnose a wall from one photograph. EPA moisture guidance.
Ask for a repair scope when the cause is unclear. Describe where the symptom appears, when you notice it and any previous repair. A quotation that only covers the visible finish may not include correcting the underlying problem. Keeping those costs separate helps you decide whether the decorative project should become smaller, wait or take a different form.
For a rental, report defects through the appropriate property-management process and clarify permission before altering the wall. A removable product label does not decide your lease obligations or guarantee an undamaged coating. Keep the agreed work area, removal expectations and condition photographs together. Do not spend the repair allowance on decoration until responsibilities are clear.
Use spending phases rather than an everything-under-one-price promise
Divide the plan into a no-purchase phase, a small-purchase phase and a project phase. The first can include rearranging portable items and identifying compatible cleaning methods. The second might address a measured storage need or an eligible small wall sample. The project phase covers work that changes a finish or requires tools, preparation and a clear completion sequence.
Moving between phases should depend on information, not excitement. Complete the room measurements and material checks before buying a full quantity. A sample that looks wrong under your actual light is a useful result because it can prevent a larger mistaken purchase. Keep the rejected option documented so you do not order it again from a differently lit listing.
A strict spending cap can still accommodate choices. You could improve one backsplash run, retain the rest and use existing accessories to connect the colors. You could also decide that cleaning and organization deliver enough benefit for now. A staged project is complete when it meets its stated objective, not only when every surface is new.
Compare the complete project cost
Build a worksheet with separate lines for samples, finish quantity, approved preparation, cutting supplies, edge treatment, delivery, tax and any professional work. Add removal or restoration where relevant. Record whether each number is a quotation, an actual price or an unresolved allowance. Do not hide unknown preparation work inside a confident total.
| Cost line | What to confirm | Common omission |
|---|---|---|
| Decorative material | Usable coverage, pattern and pack quantity | Counting overlap tabs as additional coverage |
| Preparation | The wall's actual condition and permitted method | Assuming cleaning repairs weak paint |
| Finishing | Exposed edges, corners and approved joint details | Buying only enough for the flat middle area |
| Tools and help | What you already own and what the task requires | Comparing DIY materials with an all-in contractor quote |
| Completion and exit | Cleanup, spares and possible future restoration | Budgeting on guaranteed reuse or damage-free removal |
Compare quotes for the same area and outcome. One may include repair and trim while another assumes a ready-to-cover wall. Ask what is excluded and what happens if the existing surface is unsuitable. This makes a price comparison meaningful without asserting that one material is always cheaper or better.
Work through a quantity and spending example
Suppose an eligible rectangular backsplash measures eight feet wide and eighteen inches high. Convert eighteen inches to 1.5 feet, giving an area of twelve square feet. In this hypothetical layout, you decide that cuts and a small reserve justify a fifteen-percent allowance. The planning quantity becomes 13.8 square feet: twelve multiplied by 1.15. That allowance is a chosen example, not an installation standard.
If the selected pack provides 3.6 usable square feet, divide 13.8 by 3.6 to obtain approximately 3.83 packs, then round up to four. If the example pack price is 28 currency units, the material subtotal is 112. The actual area, coverage, price and currency must come from your project. A different pattern or pack size can change the rounding and the amount left over.
Continue the example by adding 18 units for samples, 24 for permitted preparation, 30 for finishing and 16 for a tool you do not own. The illustrative subtotal is 200 before delivery, tax, additional repair or professional work. The point is not that a kitchen costs 200; it is that the box price of 112 was not the complete project price.
Measure the wall around real interruptions
Break the intended area into rectangles and sketch windows, cabinets, outlets and exposed ends. Measure height at more than one point if the counter or upper boundary is uneven. Note whether the product's pattern is already built into a sheet. The individual printed shapes are not necessarily separate pieces you can rearrange.
Do not subtract every small opening automatically. An outlet opening may leave offcuts that cannot be reused elsewhere in the pattern. A large window may reduce the area but add difficult edge cuts. Use a dry layout to determine usable pieces rather than assuming area alone answers the order quantity.
Plan the visible end before buying trim. Record which edge will be seen from the room entrance and whether the chosen product provides its own finishing method. For a detailed layout, use the kitchen backsplash planning guide. Keep the final drawing with the order so a later change of product does not silently invalidate the measurements.
Decide whether a peel-and-stick backsplash fits this wall
A self-adhesive finish can avoid mixing a setting material on site, but that does not remove the need for a suitable base. Identify the wall, coating and expected exposure, then obtain the instructions for the exact product. Separate a dry decorative wall from repeated sink spray, a kettle's discharge path and a stove-adjacent location.
Read appliance requirements independently. A general kitchen-use description does not establish the finish's suitability near every range, toaster oven or air fryer. Keep service access and required clearances intact. A metallic or stone-like appearance is not evidence that a panel is an approved heat shield.
Do not automatically sand a glossy surface or add a stronger glue. Adhesive systems can have different preparation requirements. For example, 3M notes that some named VHB tapes perform best on smooth glossy surfaces and may lose adhesion after abrasion. This is not a Stickwoll specification; it demonstrates why preparation must match the adhesive rather than a universal gloss rule. 3M preparation guidance.
Use samples to answer a small set of questions
Compare a sample with the actual cabinet, counter and floor rather than judging it alone. Look from the preparation position and the room entrance. A subtle joint or a strong vein can become much more conspicuous when repeated across the wall. Where possible, inspect several adjoining pieces to see the repeat and seam construction.
Separate appearance checks from an approved adhesion-and-removal sample. Holding a loose sample in place can help with color, but it does not test long-term attachment. A concealed installation sample may reveal an obvious compatibility issue without proving every later condition. Keep its location, preparation and observation period documented.
Do not assume every sample can be returned after opening or cutting. Confirm the seller's current conditions before conducting a trial. Save the approved sample and product identification, then compare the delivered material before starting work. An inexpensive sample is useful only when it represents what you actually order.
Consider cabinet changes by condition and scope
Before replacing cabinet fronts, inspect whether the main issue is dirt, adjustment, finish wear or construction damage. Cleaning an appropriate surface and organizing contents can change the room's appearance without changing the cabinet. Hinge adjustment or a repair may need a competent person, especially when the cabinet is loose or its attachment is uncertain.
Painting is a project rather than a universal shortcut. Identify the existing coating, permitted preparation and new coating system. Include the time and space needed to handle doors, protect the room and allow the required curing conditions. Do not promise that any paint will accept heavy use as soon as it feels dry.
For a handle change, measure the existing fixing centers, thickness and clearance. A similar-looking handle may not fit the existing holes or allow a drawer to open beside another surface. Test one compatible example before buying a full set. Retain the original hardware where required for a rental or useful for later reversal.
Improve the view of the kitchen before changing every color
Observe the room under the lights you actually use in the morning and evening. Check whether a task area is shadowed or a reflective finish creates an uncomfortable hotspot. Moving a portable object out of the light path can be a different solution from replacing a surface. Electrical changes and fixed-light installation need an appropriate method and qualified help where required.
The US Department of Energy distinguishes a light source's color appearance from its color rendition. Sources with similar nominal color-temperature descriptions can have different spectra and make materials look different. Compare the real lamp and finish together rather than assuming one Kelvin value guarantees the result. DOE color and spectrum guidance.
Use the comparison to narrow the material choice, not to claim that one finish saves energy or improves health. A backsplash can look bright while creating an unwanted reflection at your standing position. A calmer finish may be preferable even when a photograph makes the glossy option appear more dramatic. Ask everyone who regularly uses the area to compare the same samples.
Buy storage for an identified item and location
Measure the items that need a home before buying a storage system. Decide whether they must be reachable during cooking or can move to a less convenient location. A counter organizer that blocks preparation space may simply replace one problem with another. Keep the daily workflow visible in the decision.
Check doors, drawers and appliance movement around the proposed storage. A shelf that fits the empty wall can still obstruct a reservoir, cupboard or service point. Loads need suitable structural support. Do not attach a loaded rack to a decorative covering or assume an adhesive hook is appropriate because the wall feels smooth.
For a rental or very small budget, start with existing portable storage and evaluate it for a normal week of use. Record what remains inconvenient. This trial can identify the exact dimensions and access you need without making a permanent alteration. Keep any final mounting decision separate from the backsplash purchase.
Coordinate a few finishes rather than replace everything
Choose which existing element will anchor the palette. It may be the countertop, floor or cabinet color that is least practical to change. Compare prospective finishes against that element and one another. A new backsplash should work with the room's permanent relationships, not only with a small accessory that can easily move.
Limit competing patterns where the wall is already interrupted by outlets, shelving and appliances. A quiet field can leave room for a patterned floor; a defined mosaic feature can work when the surrounding finishes remain restrained. These are design comparisons to test, not rules that guarantee a larger-looking room.
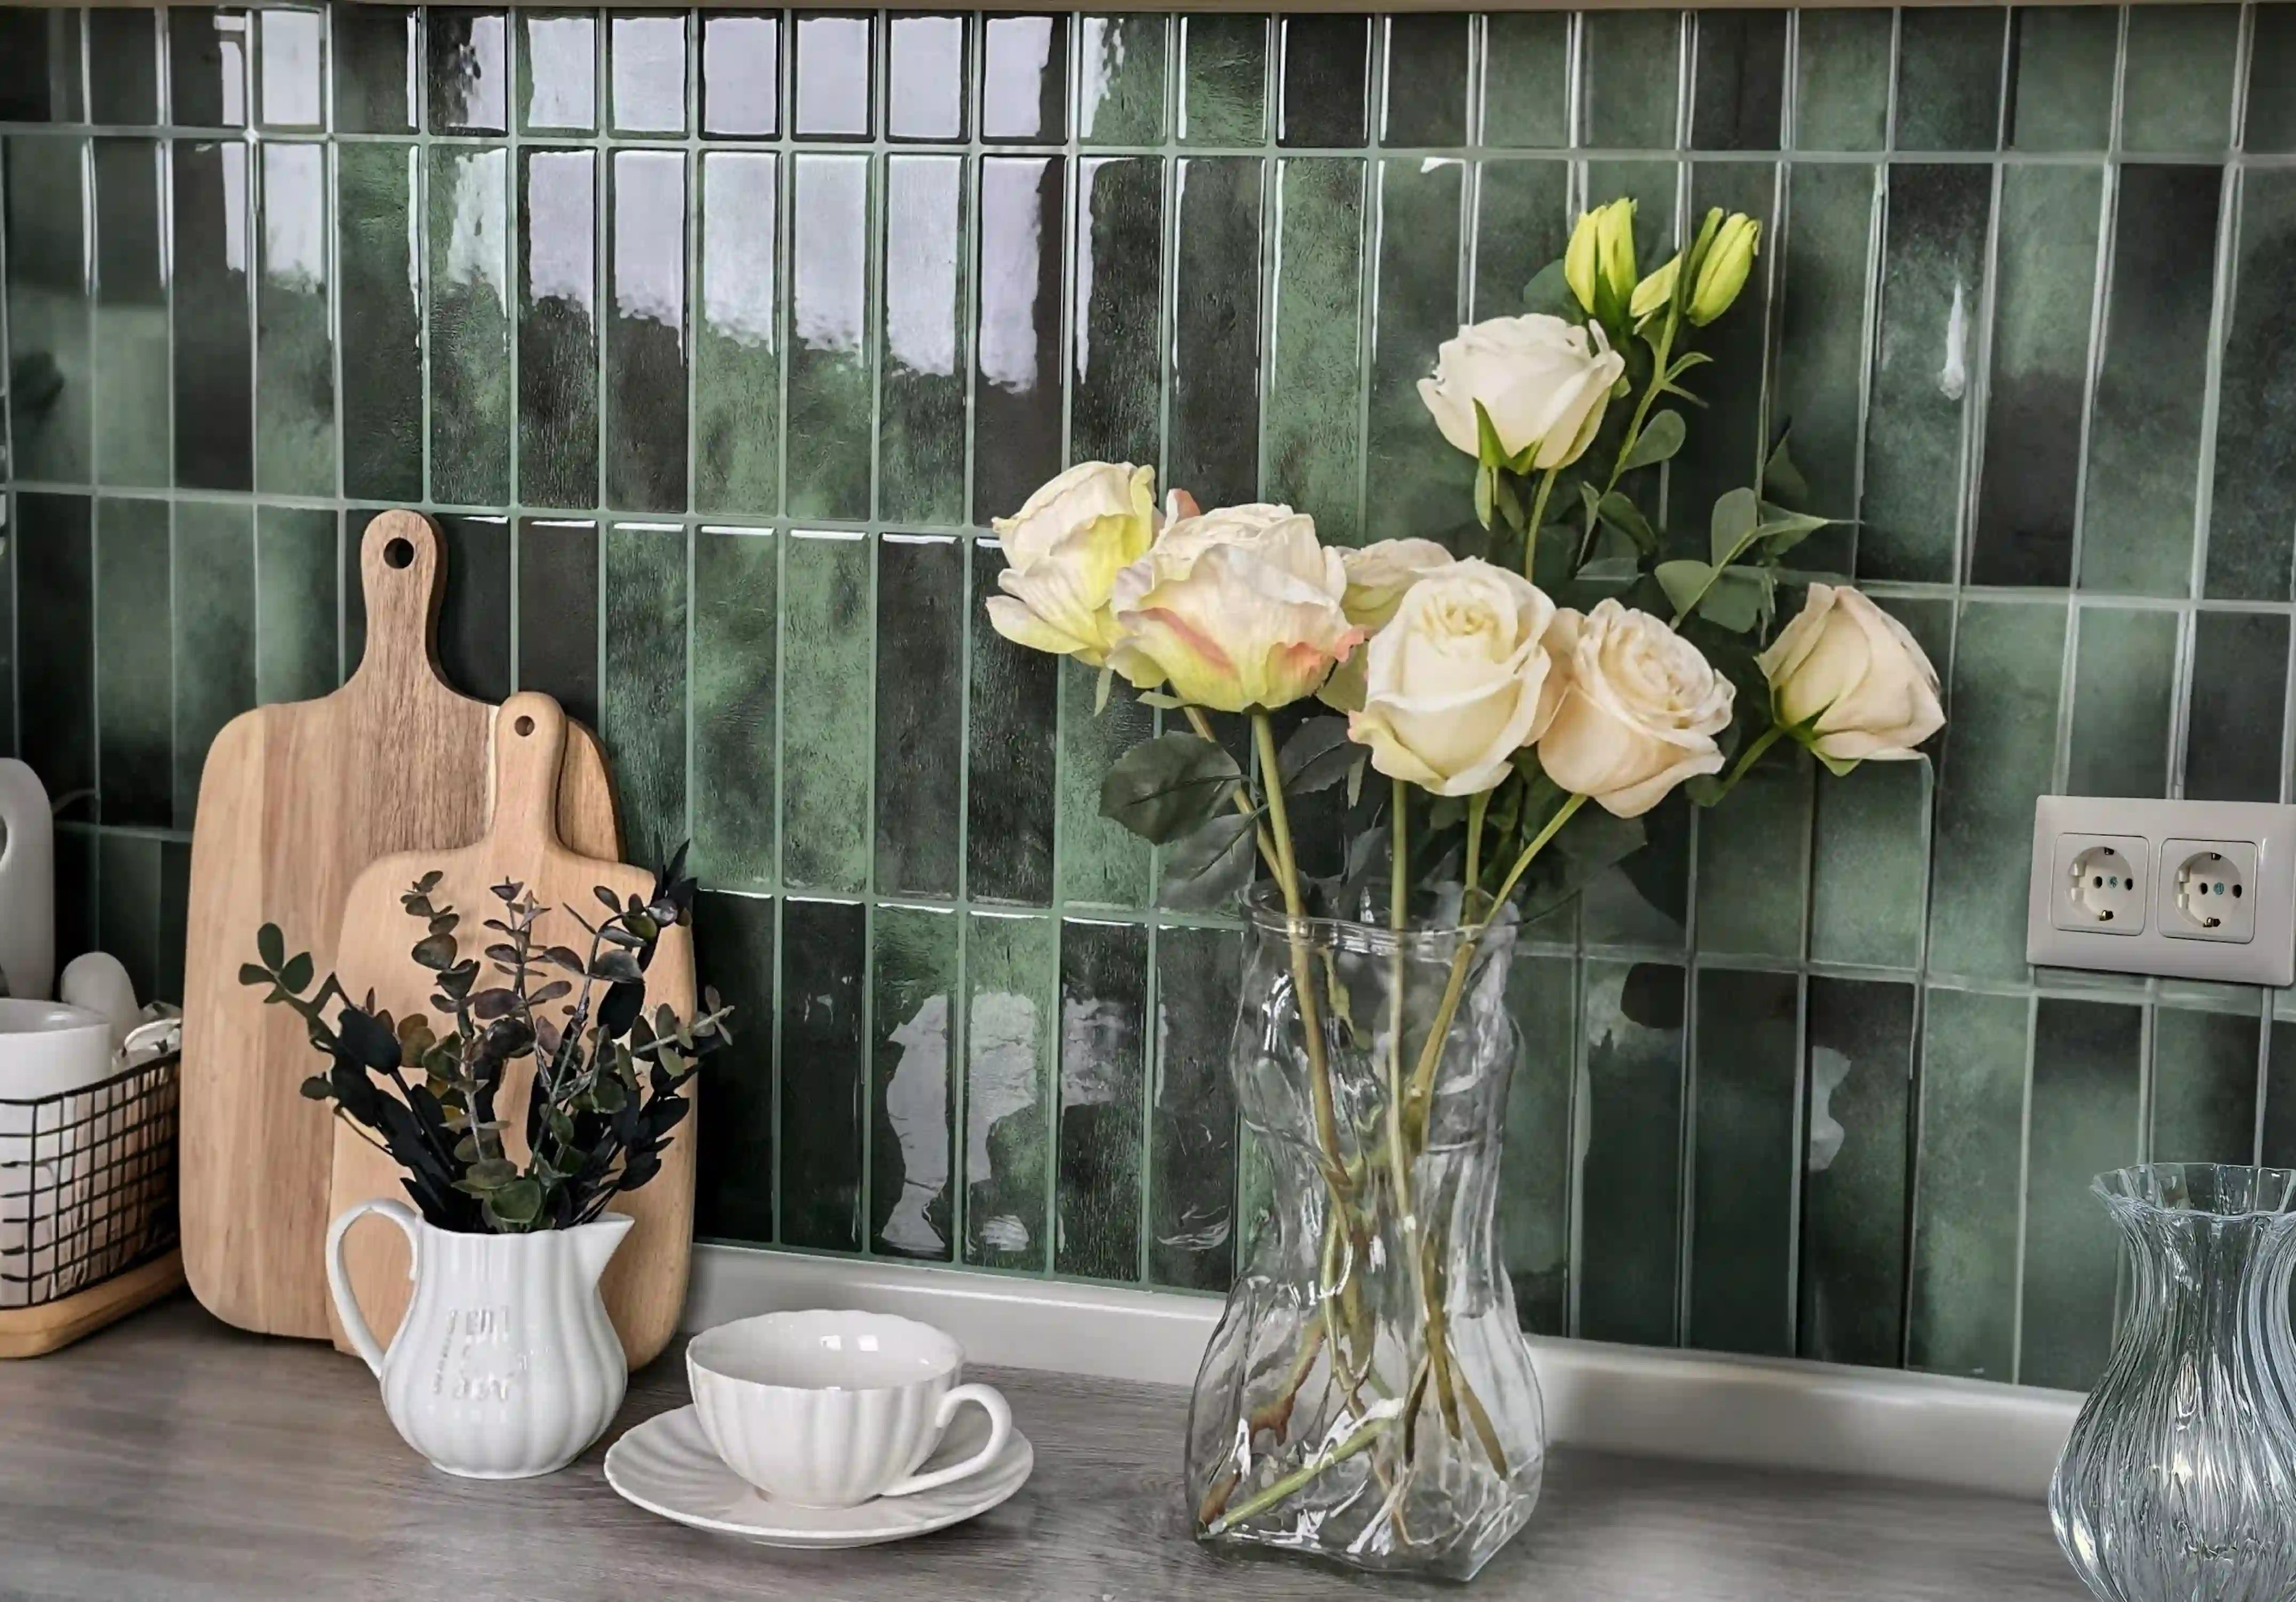
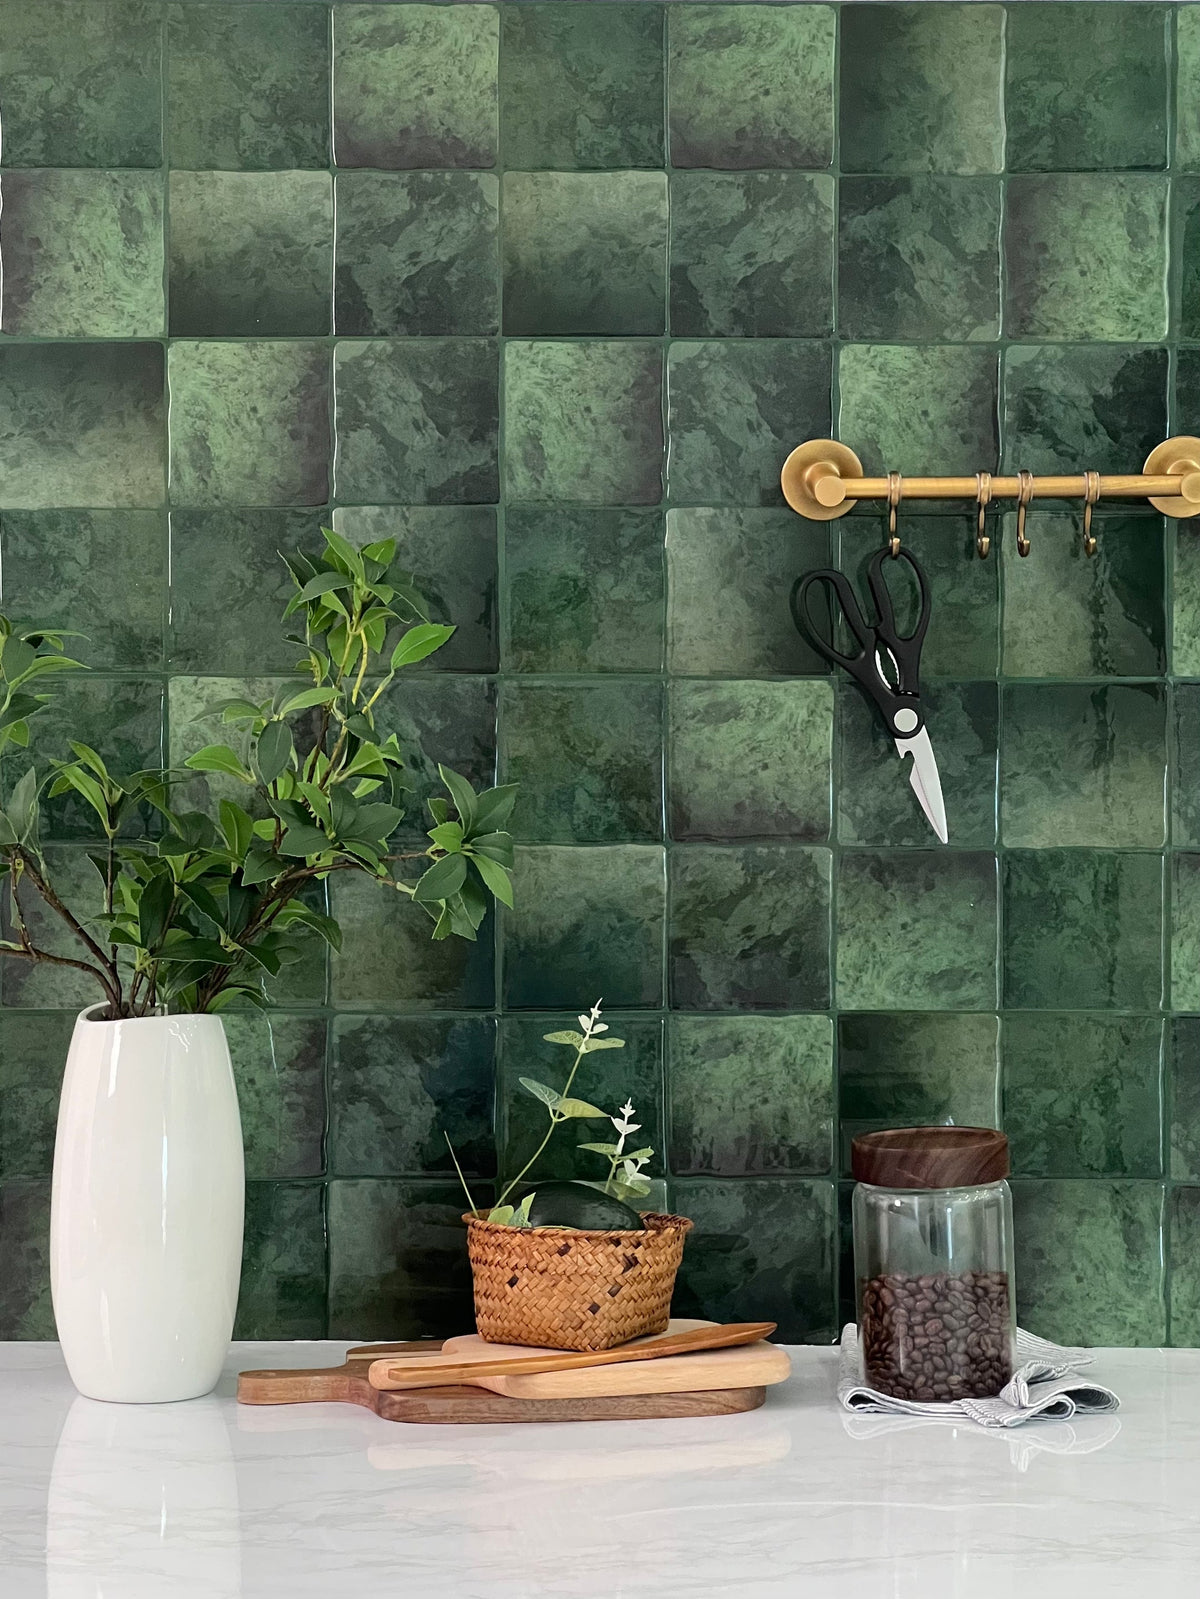
Use movable textiles or objects for a color you are not yet ready to commit to on a wall. Keep them away from heat and unsuitable moisture exposure. When you prefer a green direction, compare the separate rental green-backsplash ideas with the actual fixed finishes. A limited area can be more coherent than several unrelated small purchases.
Reuse carefully without assuming every old item is a bargain
Look first at objects you already own. Repositioning a suitable tray or frame can be worthwhile, but do not turn a fragile or valuable textile into a kitchen cleaning surface. Check condition, cleanability and the mounting method. An item that needs expensive repair or cannot tolerate the location may not be a useful saving.
The Canadian Conservation Institute explains that framing textiles requires appropriate support and compatible materials; it cautions against direct contact with adhesives, acidic materials and unsealed wood. For a valuable textile, seek suitable conservation advice rather than stretching or gluing it as a casual craft. CCI textile-framing guidance.
Do not assume second-hand electrical equipment, upholstered items or structural fittings are safe from appearance alone. Consider inspection, appropriate cleaning and compatibility before buying. The price tag is only one part of the decision; a lower-cost object should still be fit for the way it will be used.
Make a work schedule that includes waiting and cleanup
Separate hands-on work from elapsed time. Measuring, preparing, applying and cleaning up use labor, while coatings and adhesives may require conditions and waiting periods that cannot be shortened by working faster. Read the actual instructions before booking an installation day. A quick application does not necessarily mean immediate return to every kind of use.
Keep the sequence simple: approve the area, resolve defects, confirm materials, measure and dry-fit, prepare as directed, install, inspect and complete the permitted return-to-use steps. Arrange meals and access around the work where necessary. Do not create a rushed situation in which hot appliances must operate next to a partly completed project.
If the schedule changes, protect stored materials and the prepared wall appropriately. Do not remove every release liner in advance or leave adhesive exposed while solving a cutting problem. A small organized workspace and a clear stopping point help you resume without contaminating or damaging the material.
Recognize work that should not become an improvised DIY saving
Unknown older coatings, damaged electrical fittings, suspected hidden leaks and unstable construction require more than a decorating tutorial. In the United States, EPA advises lead-safe precautions for renovation that disturbs potentially lead-containing paint in older homes. Age thresholds and requirements elsewhere differ. Identify the material and the applicable process before sanding or scraping it. EPA lead-safe renovation guidance.
Do not assume adding a wall finish leaves outlet mounting and clearances unchanged. Keep electrical boxes and equipment accessible, and obtain qualified advice when a fitting or wiring needs alteration. Make cuts on a stable protected surface with the method permitted for the material, not by pushing a blade toward concealed services.
Avoid treating additional adhesive, sealant or a covering panel as an automatic remedy for an unsuitable base. Each added component changes the assembly and may change removal, heat or moisture behavior. Ask for the approved detail or choose another area. Skipping that check can turn a small saving into a larger repair.
Plan care and eventual removal before the first tile goes up
Write down the exact finish and approved cleaner. Keep a clean soft tool for that surface and follow the specified dilution, contact and residue-removal method. A product permitted for a sink or a cooking appliance is not automatically permitted for a printed wall finish. See the grease-cleaning guide for the distinction between removable residue and a changed surface.
Inspect the lower edge, joints and appliance-adjacent areas during normal maintenance. Record repeated lifting, dampness or a changed appearance rather than pressing the same corner down indefinitely. A repair should address the cause and follow the supplier's method. Do not assume a new piece or stronger glue solves a recurring exposure problem.
For later removal, use the actual product instructions and keep possible wall repair in the budget. Do not adopt a universal hairdryer duration, solvent or pulling angle from a different construction. Retain receipts, product identity and spare material where appropriate. These records make maintenance easier without promising an untouched wall after years of use.
Compare three realistic project scopes
In a hypothetical rental with sound walls and no permission for adhesive finishes, the project could stop at organizing portable items, compatible cleaning and a measured movable accent. That is not a failed backsplash project. It is a plan that respects the actual limits and avoids paying for material that cannot be used.
In a second example, a homeowner has a suitable short wall away from demanding exposure. The owner can compare samples, calculate packs and include preparation and edge finishing in one bounded project. A larger adjacent wall remains unchanged. Keeping the scope small makes the result easier to measure against the original objective.
In a third example, dampness appears behind the sink. The decorative purchase is postponed while the source is investigated and repaired. Any remaining budget is considered only after the wall and required work are understood. None of these examples is a customer testimonial, price survey or prediction of resale value; they illustrate different decisions from different starting conditions.
Frequently asked questions
What should I do first with a very small budget?
Identify one useful outcome, inventory what already works and separate defects from appearance. Start with actions that do not require a purchase, then price one defined improvement. Do not let a low pack price decide the project before you have measured coverage and preparation.
Can every kitchen upgrade stay under 100?
No universal price applies. Currency, area, product, delivery, tax, preparation and tools can change the total. A small purchase may fit that cap, but a complete installation must be priced as a complete scope. Use actual figures rather than a headline promise.
Will a new backsplash pay for itself when I sell?
This guide does not establish a return on investment. A more coherent appearance is different from a measured sale-price effect. Do not turn a broad remodeling statistic into a prediction for one small finish change. Choose the project for a defined purpose and an affordable actual cost.
Can I install self-adhesive tiles on a countertop or floor?
Only a product expressly intended for that application should be considered. A decorative wall-tile description does not establish floor, food-contact, load or countertop suitability. Keep those uses separate and verify the complete system.
How much extra material should I order?
Use the actual layout, installed coverage, cuts, matching needs and a deliberate repair reserve. The example allowance above is not a universal percentage. Round to complete packs and check whether small opening offcuts can genuinely be reused before subtracting them.
How do I know the project is finished?
Inspect it against the objective, drawing and product instructions. Confirm the edges, service access, care method and required return-to-use conditions. Keep a record of the material and any unresolved issue. Completion is a usable, appropriate result rather than simply covering the maximum area.
Sources and scope
The linked EPA, DOE, CCI and 3M sources support specific moisture, lighting, conservation and preparation points. They do not certify Stickwoll, provide current installation prices or document a household makeover. Calculations and household scenarios are explicitly illustrative. For the wider installation sequence, use the peel-and-stick wall-tile guide alongside the exact product instructions.
Sources and scope
- US Department of Energy: Color and Spectrum — Light appearance and color rendition differ; assess actual samples.
- Canadian Conservation Institute: Framing Embroideries and Other Flat Textiles — Conservation support, not a blanket upholstery or mounting specification.
- US EPA: Mold, Moisture and Your Home — Correct moisture before decoration.
- 3M: Surface Preparation for VHB Tape Applications — Gloss and abrasion require exact-product guidance; no transfer of solvent or pressure recipes.


Leave a comment
This site is protected by hCaptcha and the hCaptcha Privacy Policy and Terms of Service apply.